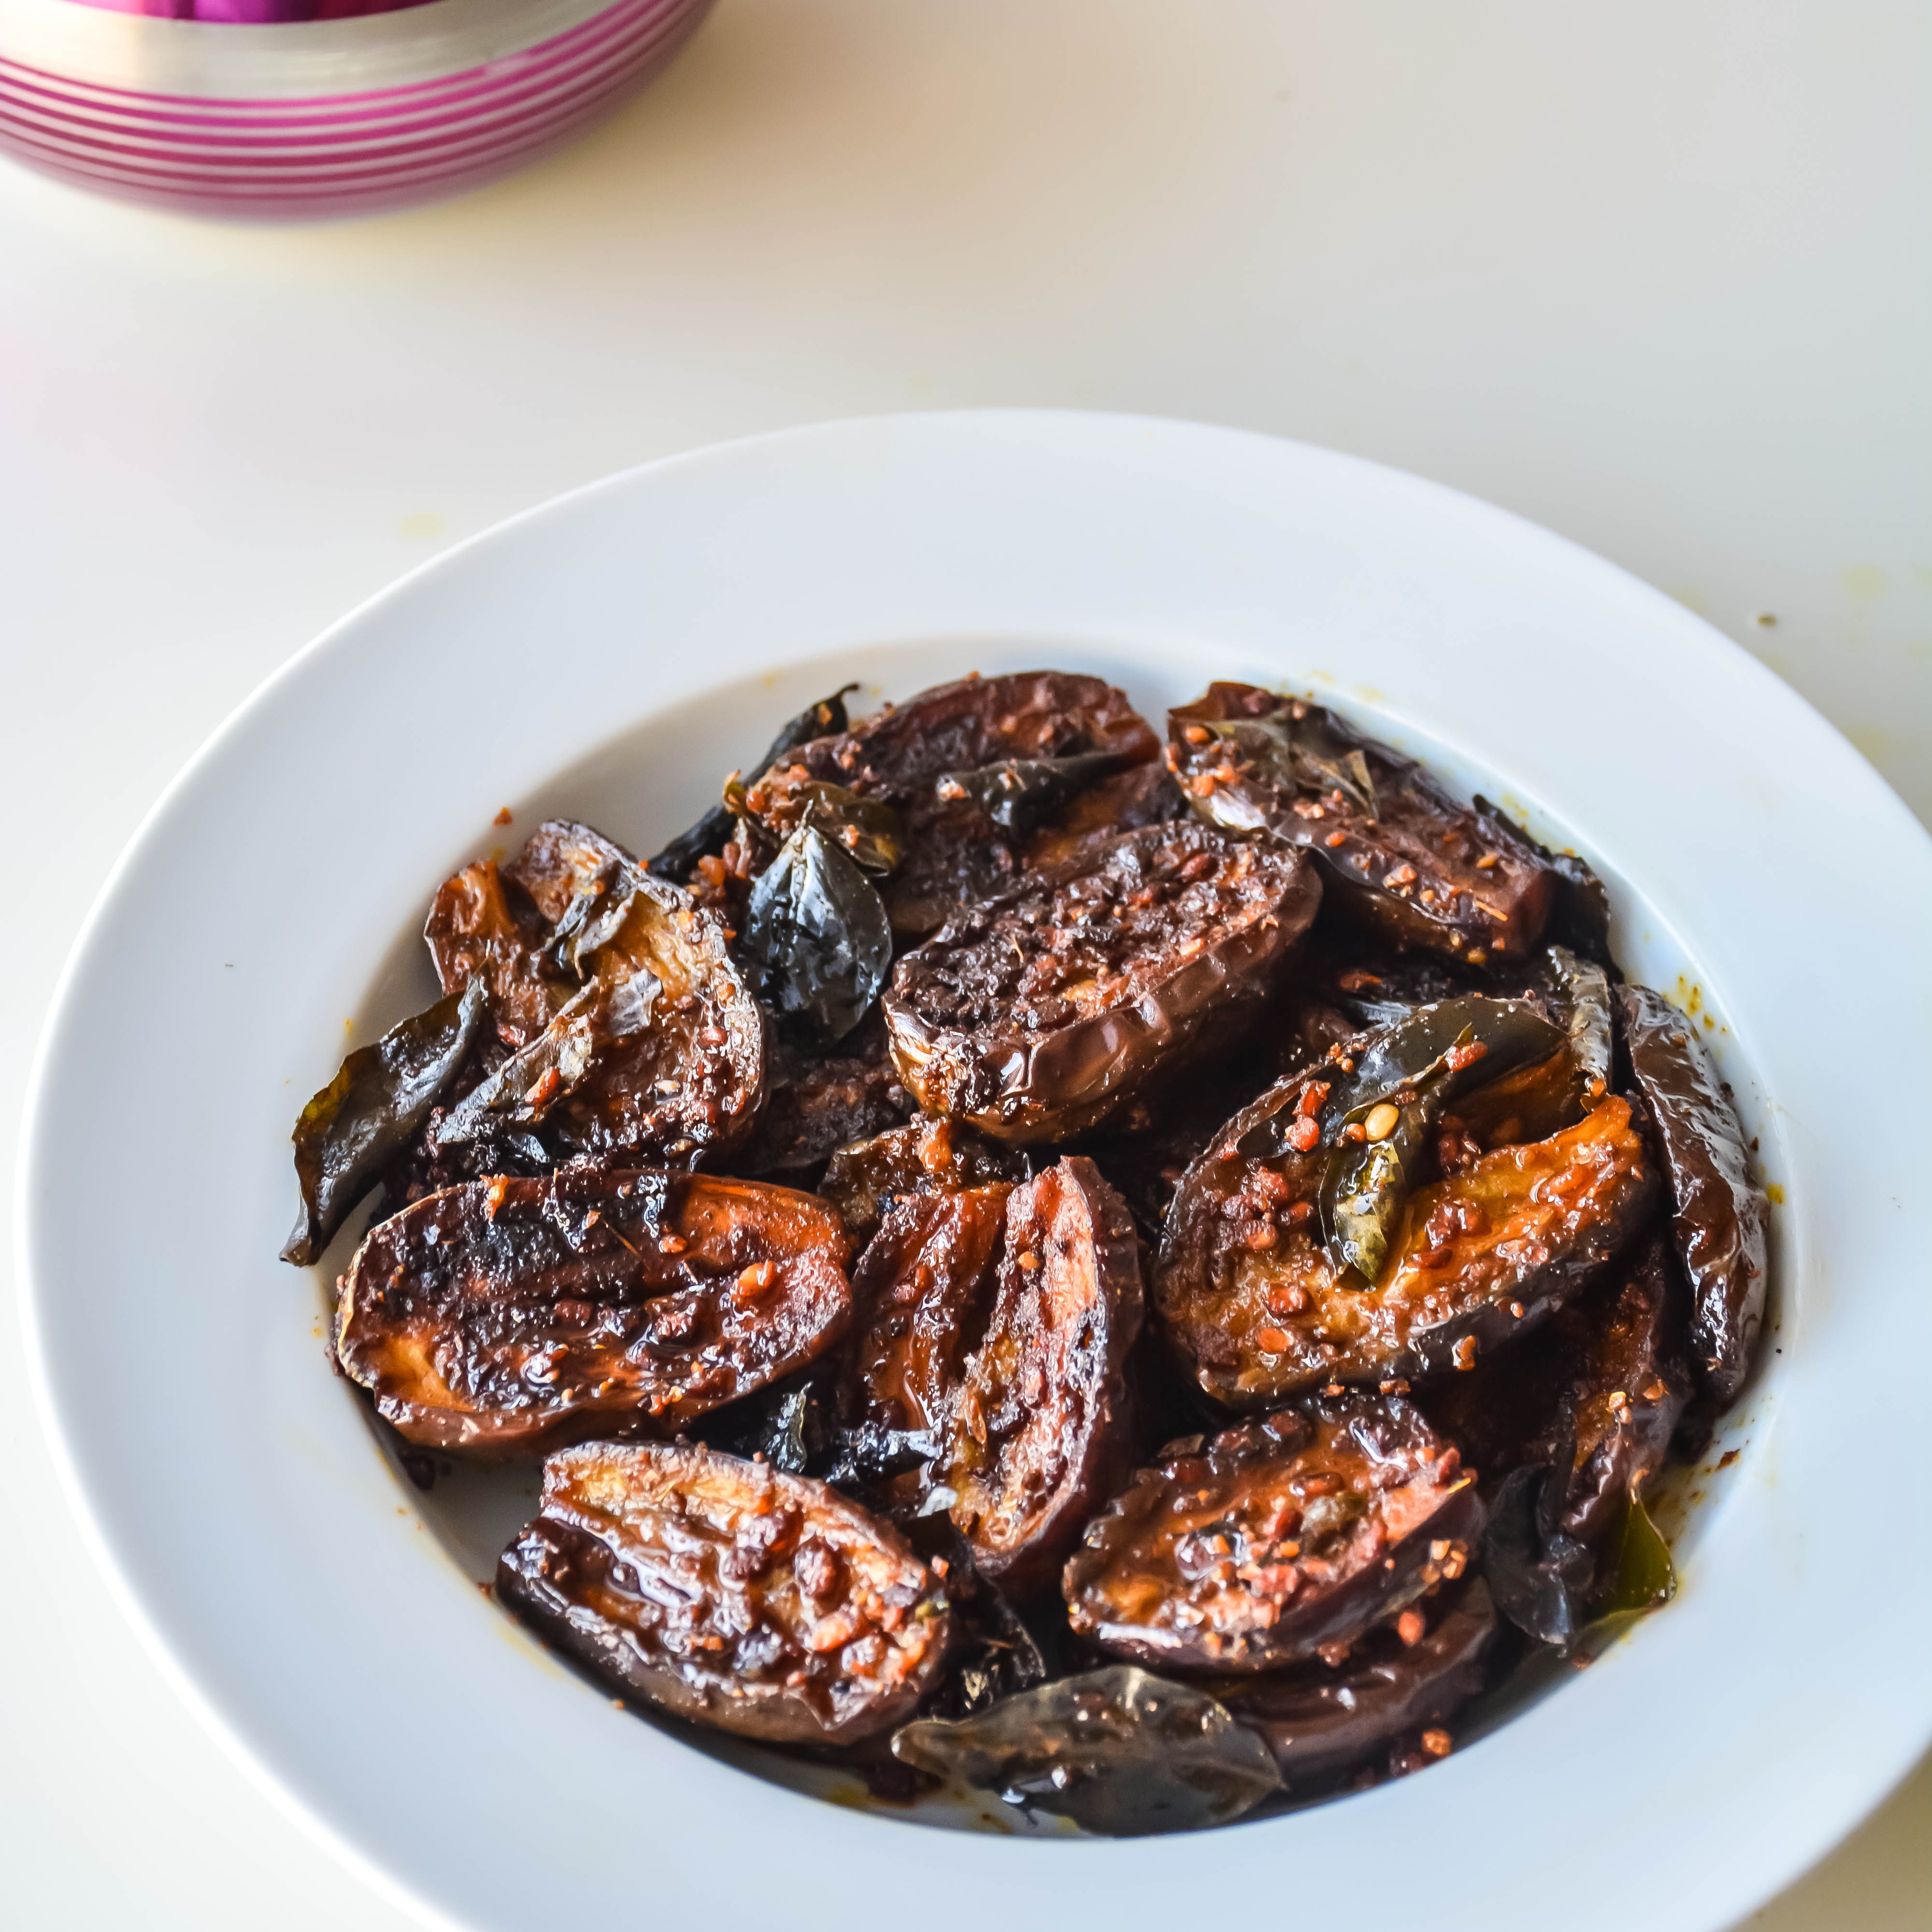
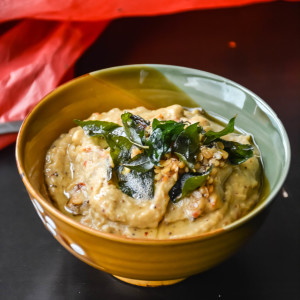
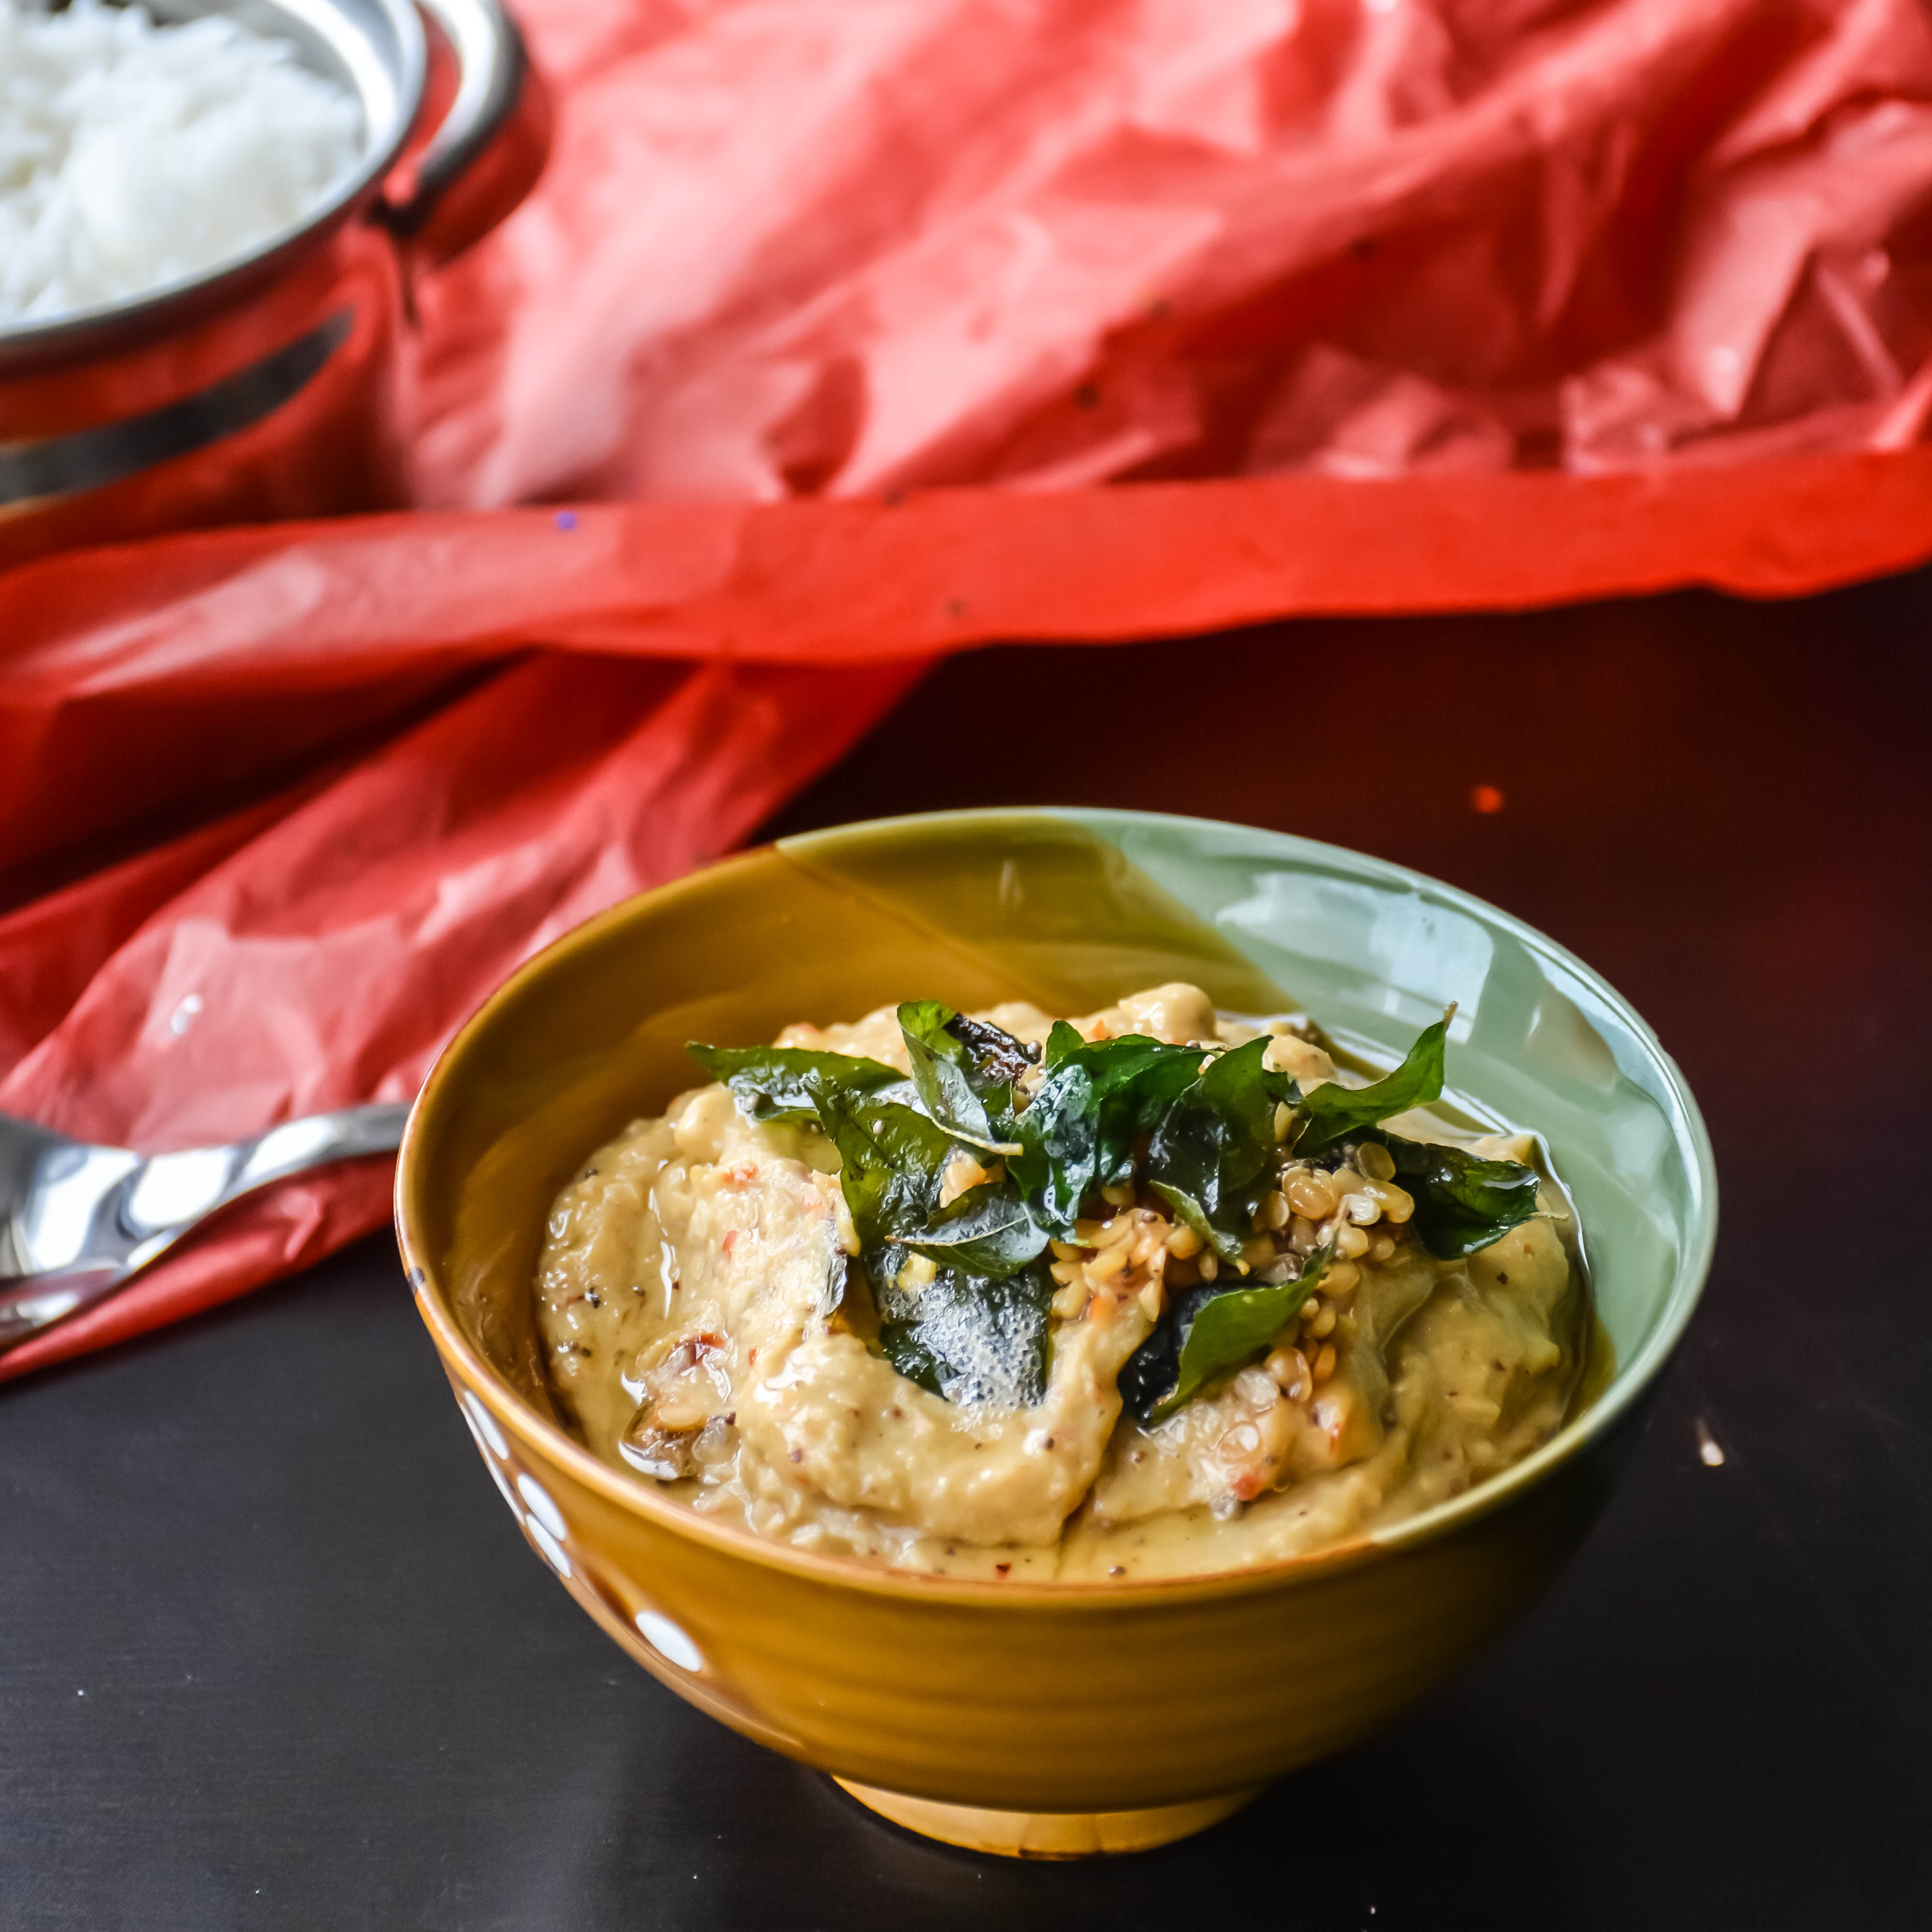
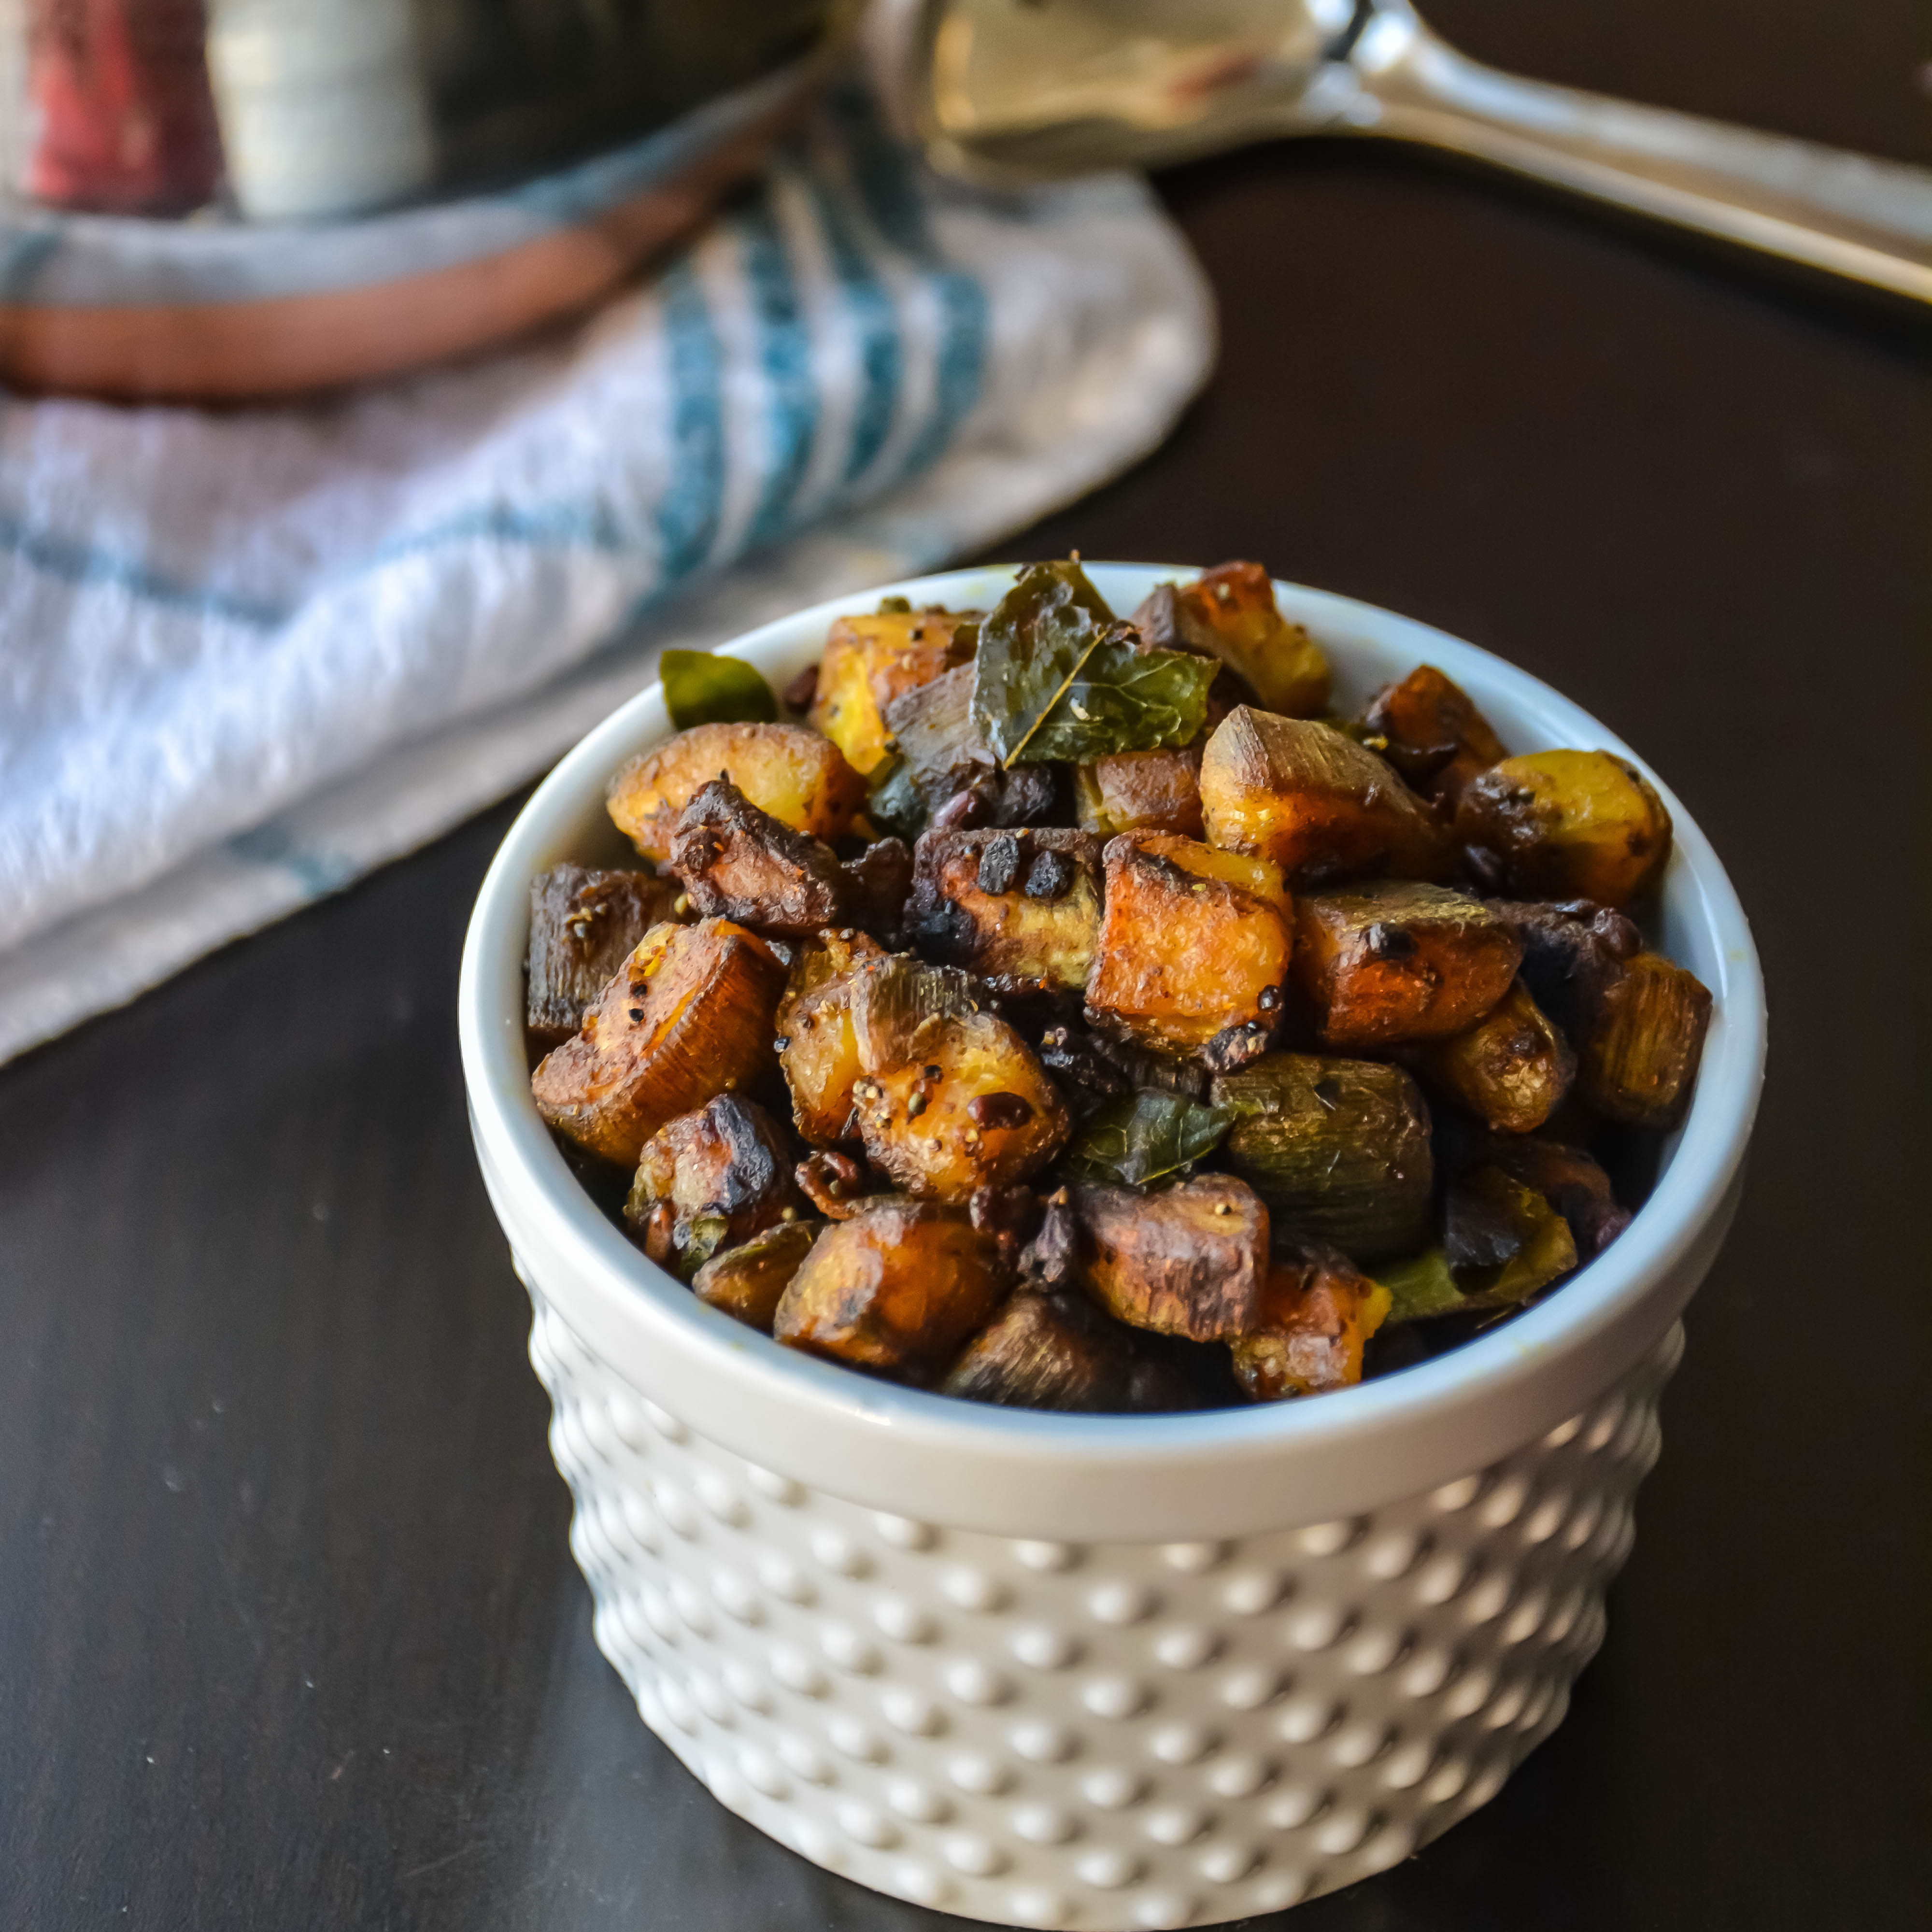
Extremely easy vegan eggplant recipe!
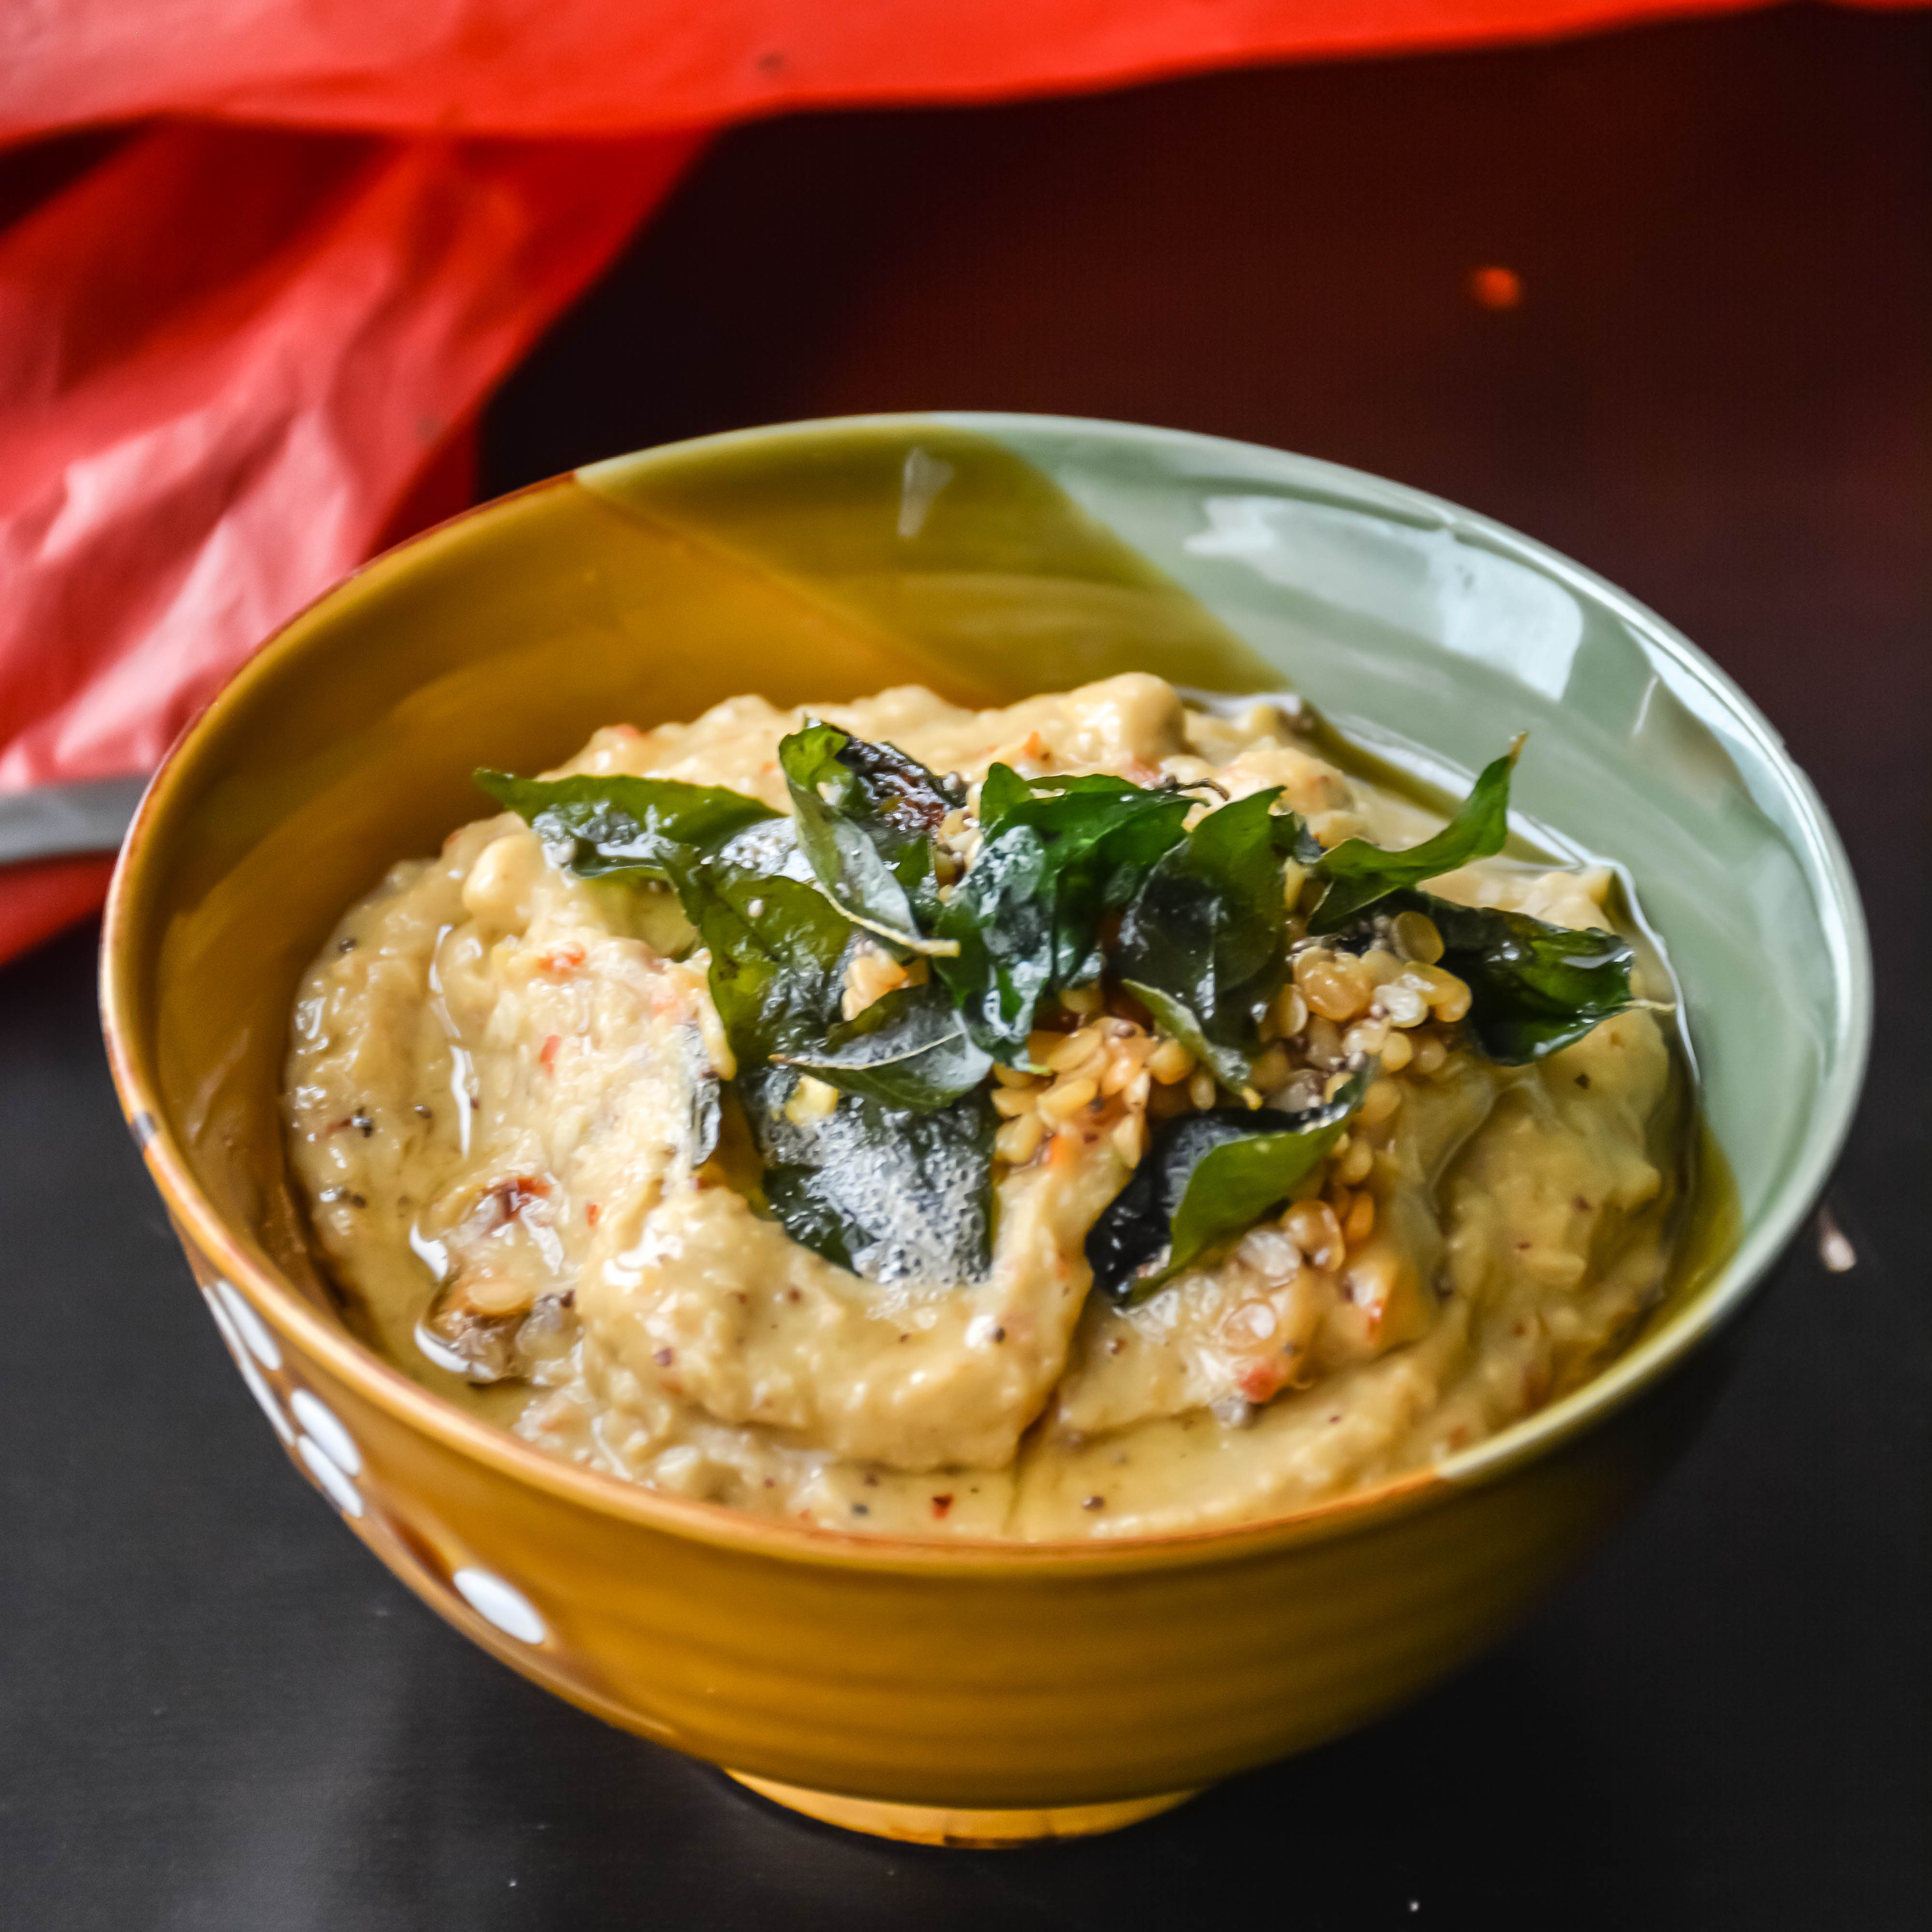
It is perfect for rice or roti. I love this recipe because you don’t have to chop anything much other than eggplant. And it is very quick to make this. I made this on a weekend where I wanted to make something quick. Usually on weekends I would have all patience to cook big lunch, but that weekend I wanted to make something quick and tasty for my spinach dal. I tried this and it turned out so roasted and beautiful. Anybody would love to make quick lunch or dinner, if they are given an option. So, these days I am trying to make a lot of quick recipes. This recipe is good only for the smell tender eggplants. You can surely use the big eggplant, but I am not sure how it will turn out. This recipe taste good for the small eggplants because of the cutting style and the roasting style.
Brinjal is one of the low calorie vegtable when it comes with antioxidants, magnesium but it takes a lot of oil. So add as much of oil you want and do not add more, so make it with the same amount of oil and roast it. I never used to eat the brinjal when I was a kid, now I just love them. I have few more eggplant recipes if you would like to have a look – Masala Stuffed Baby Eggplants/Ennai Kathirikkai,Roasted eggplant mozzarella pasta and Honey garlic EGgplant.
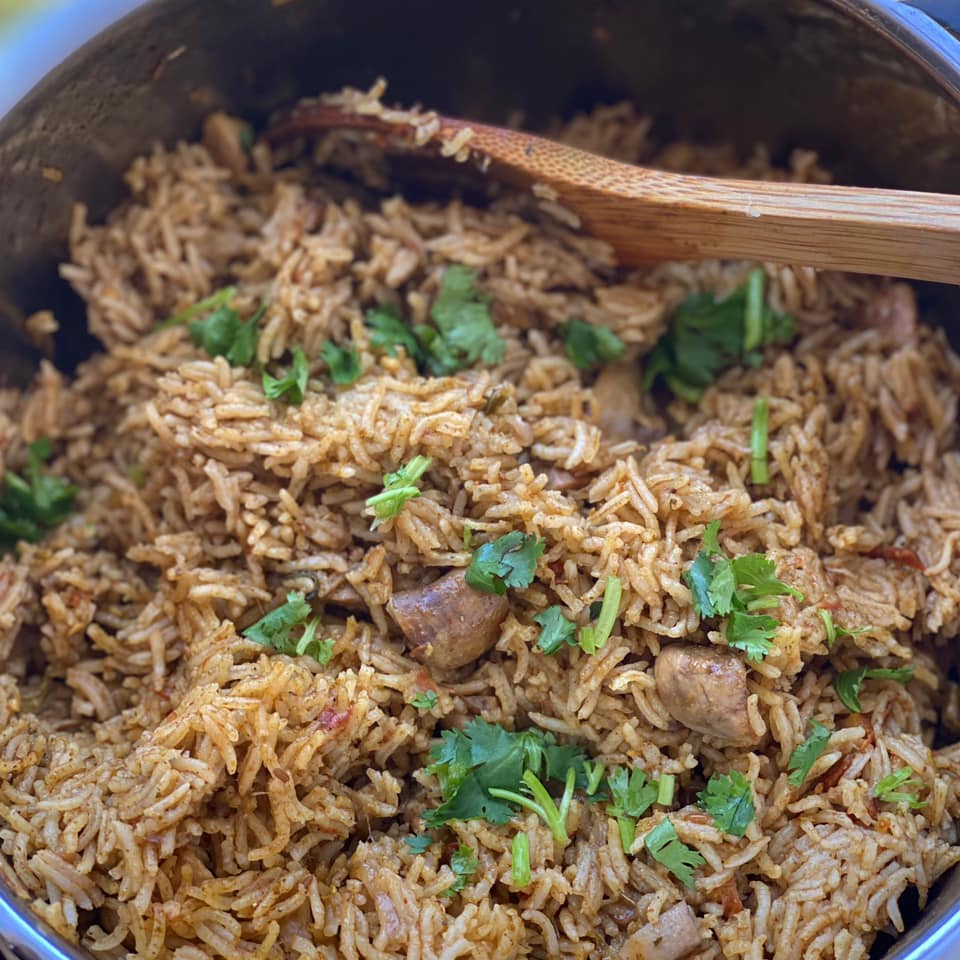
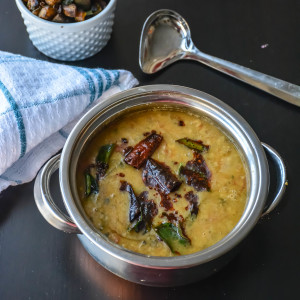
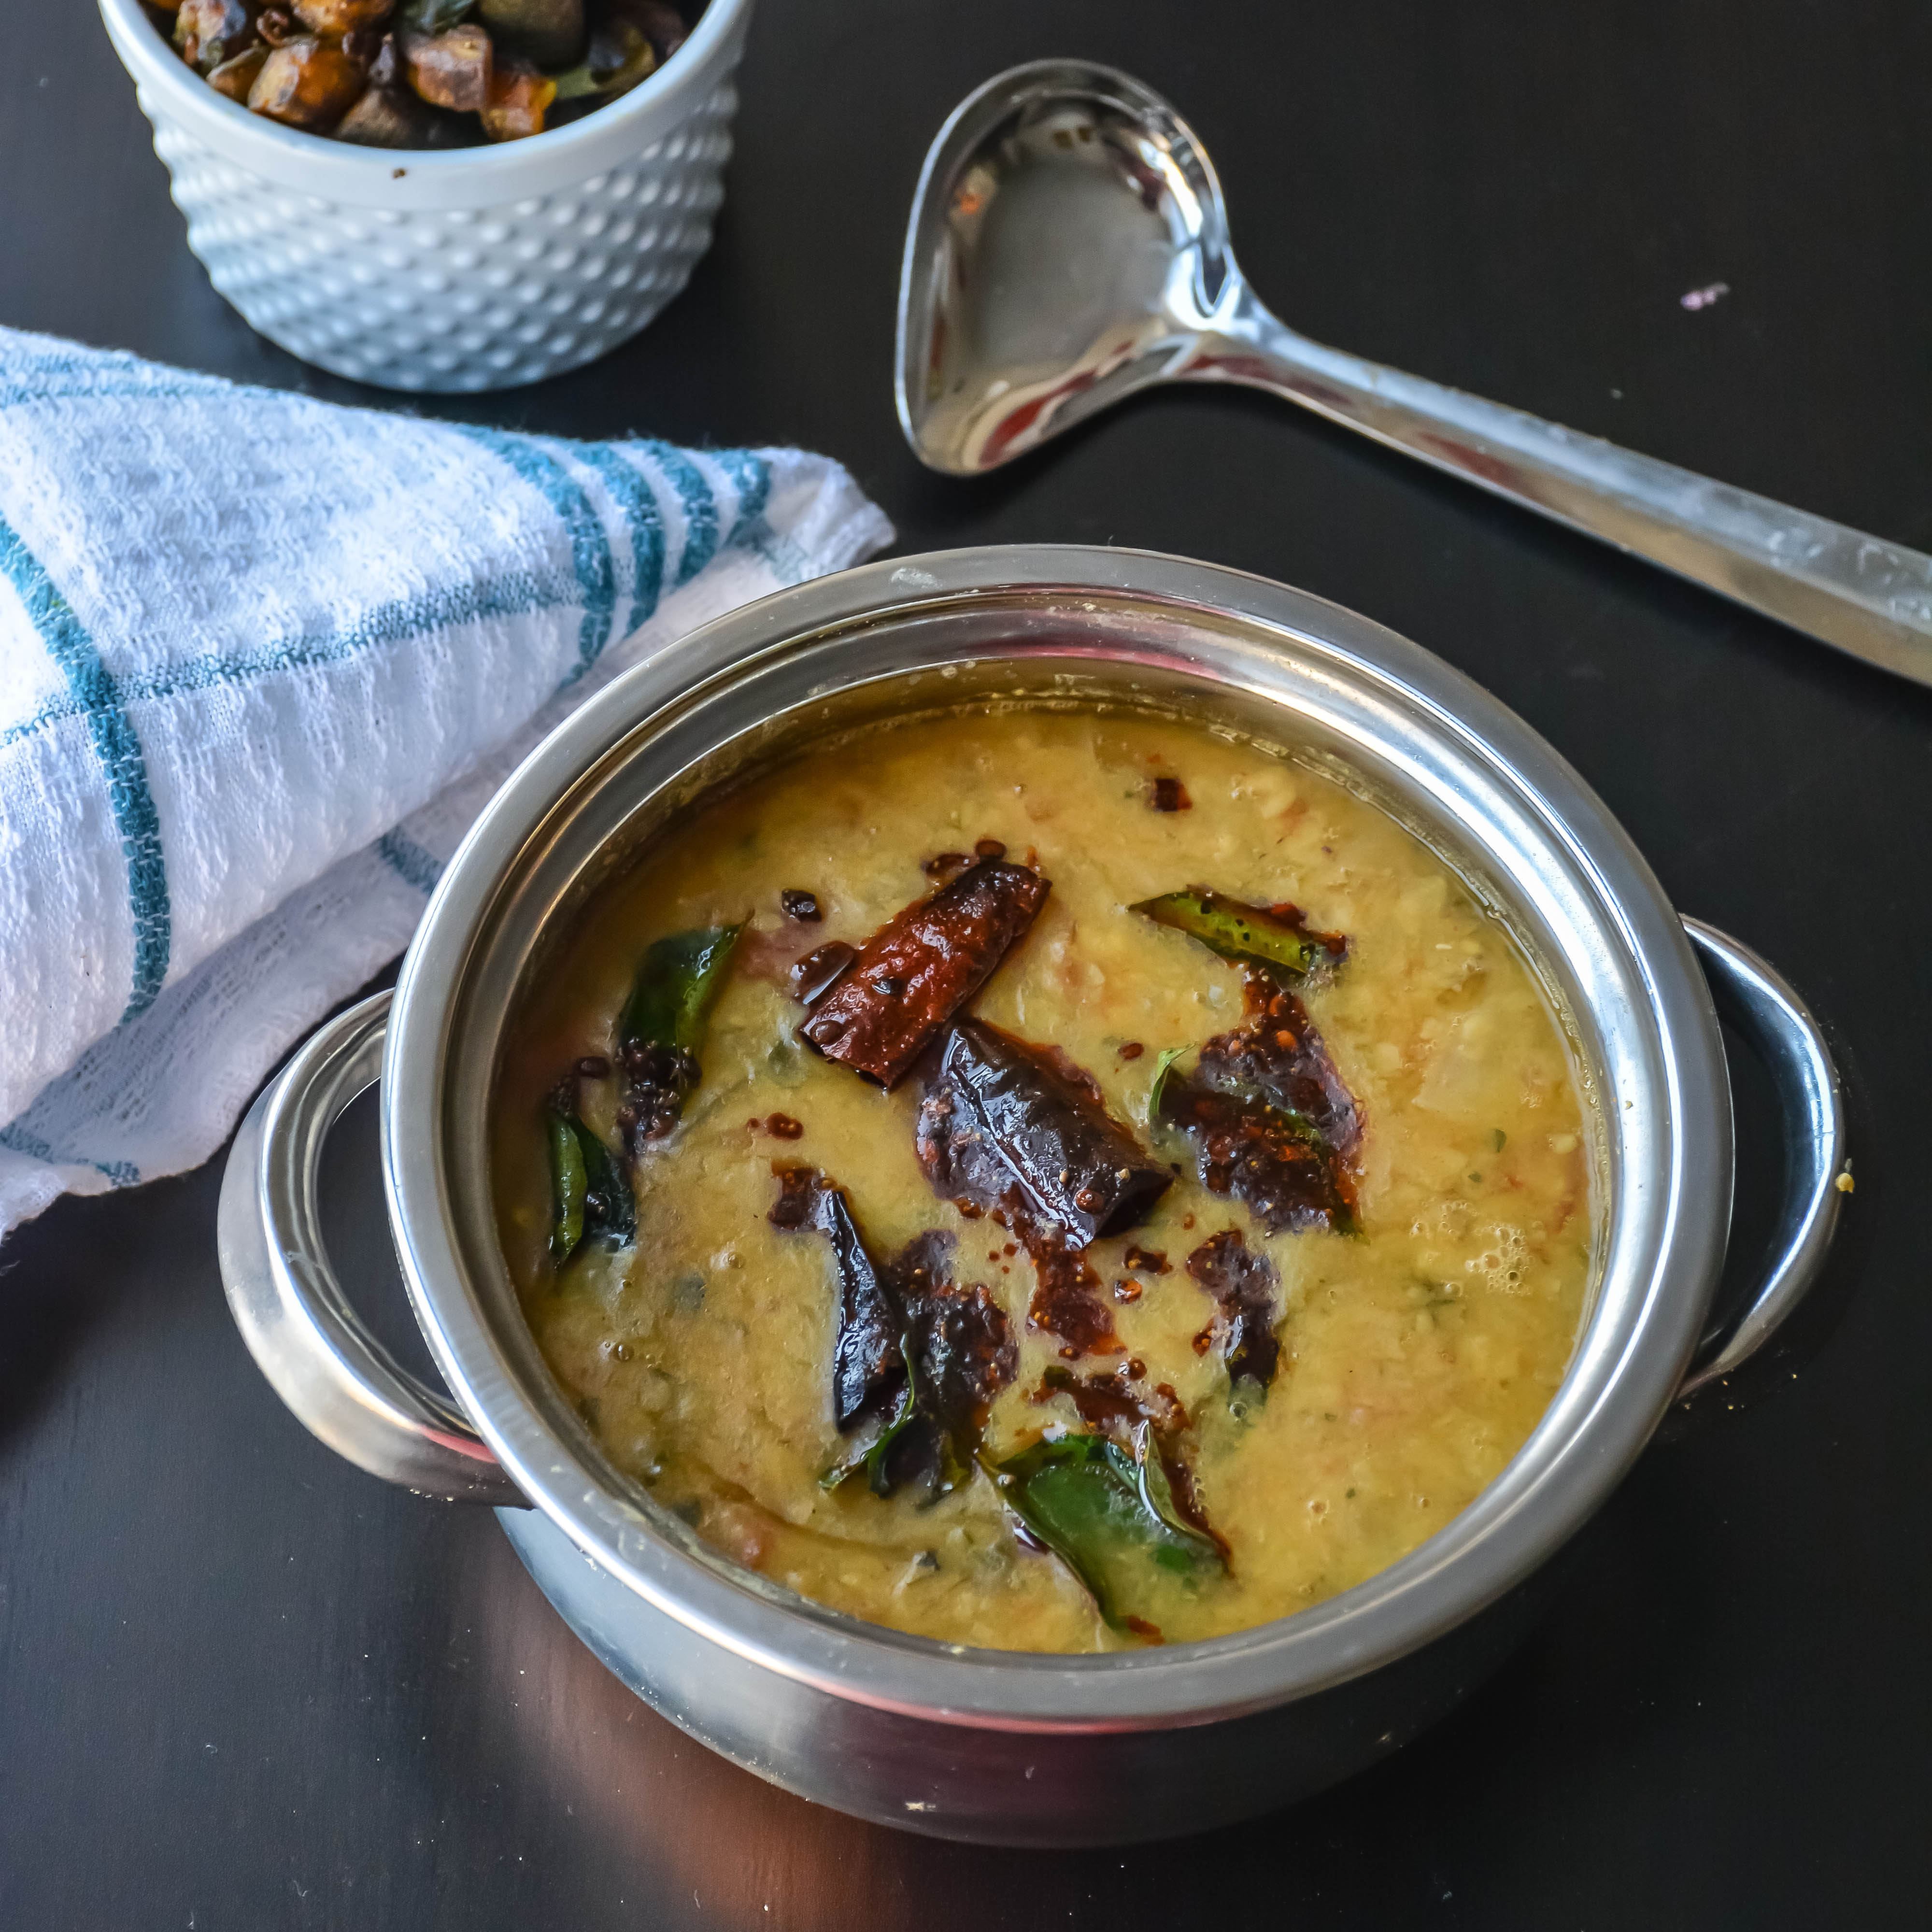
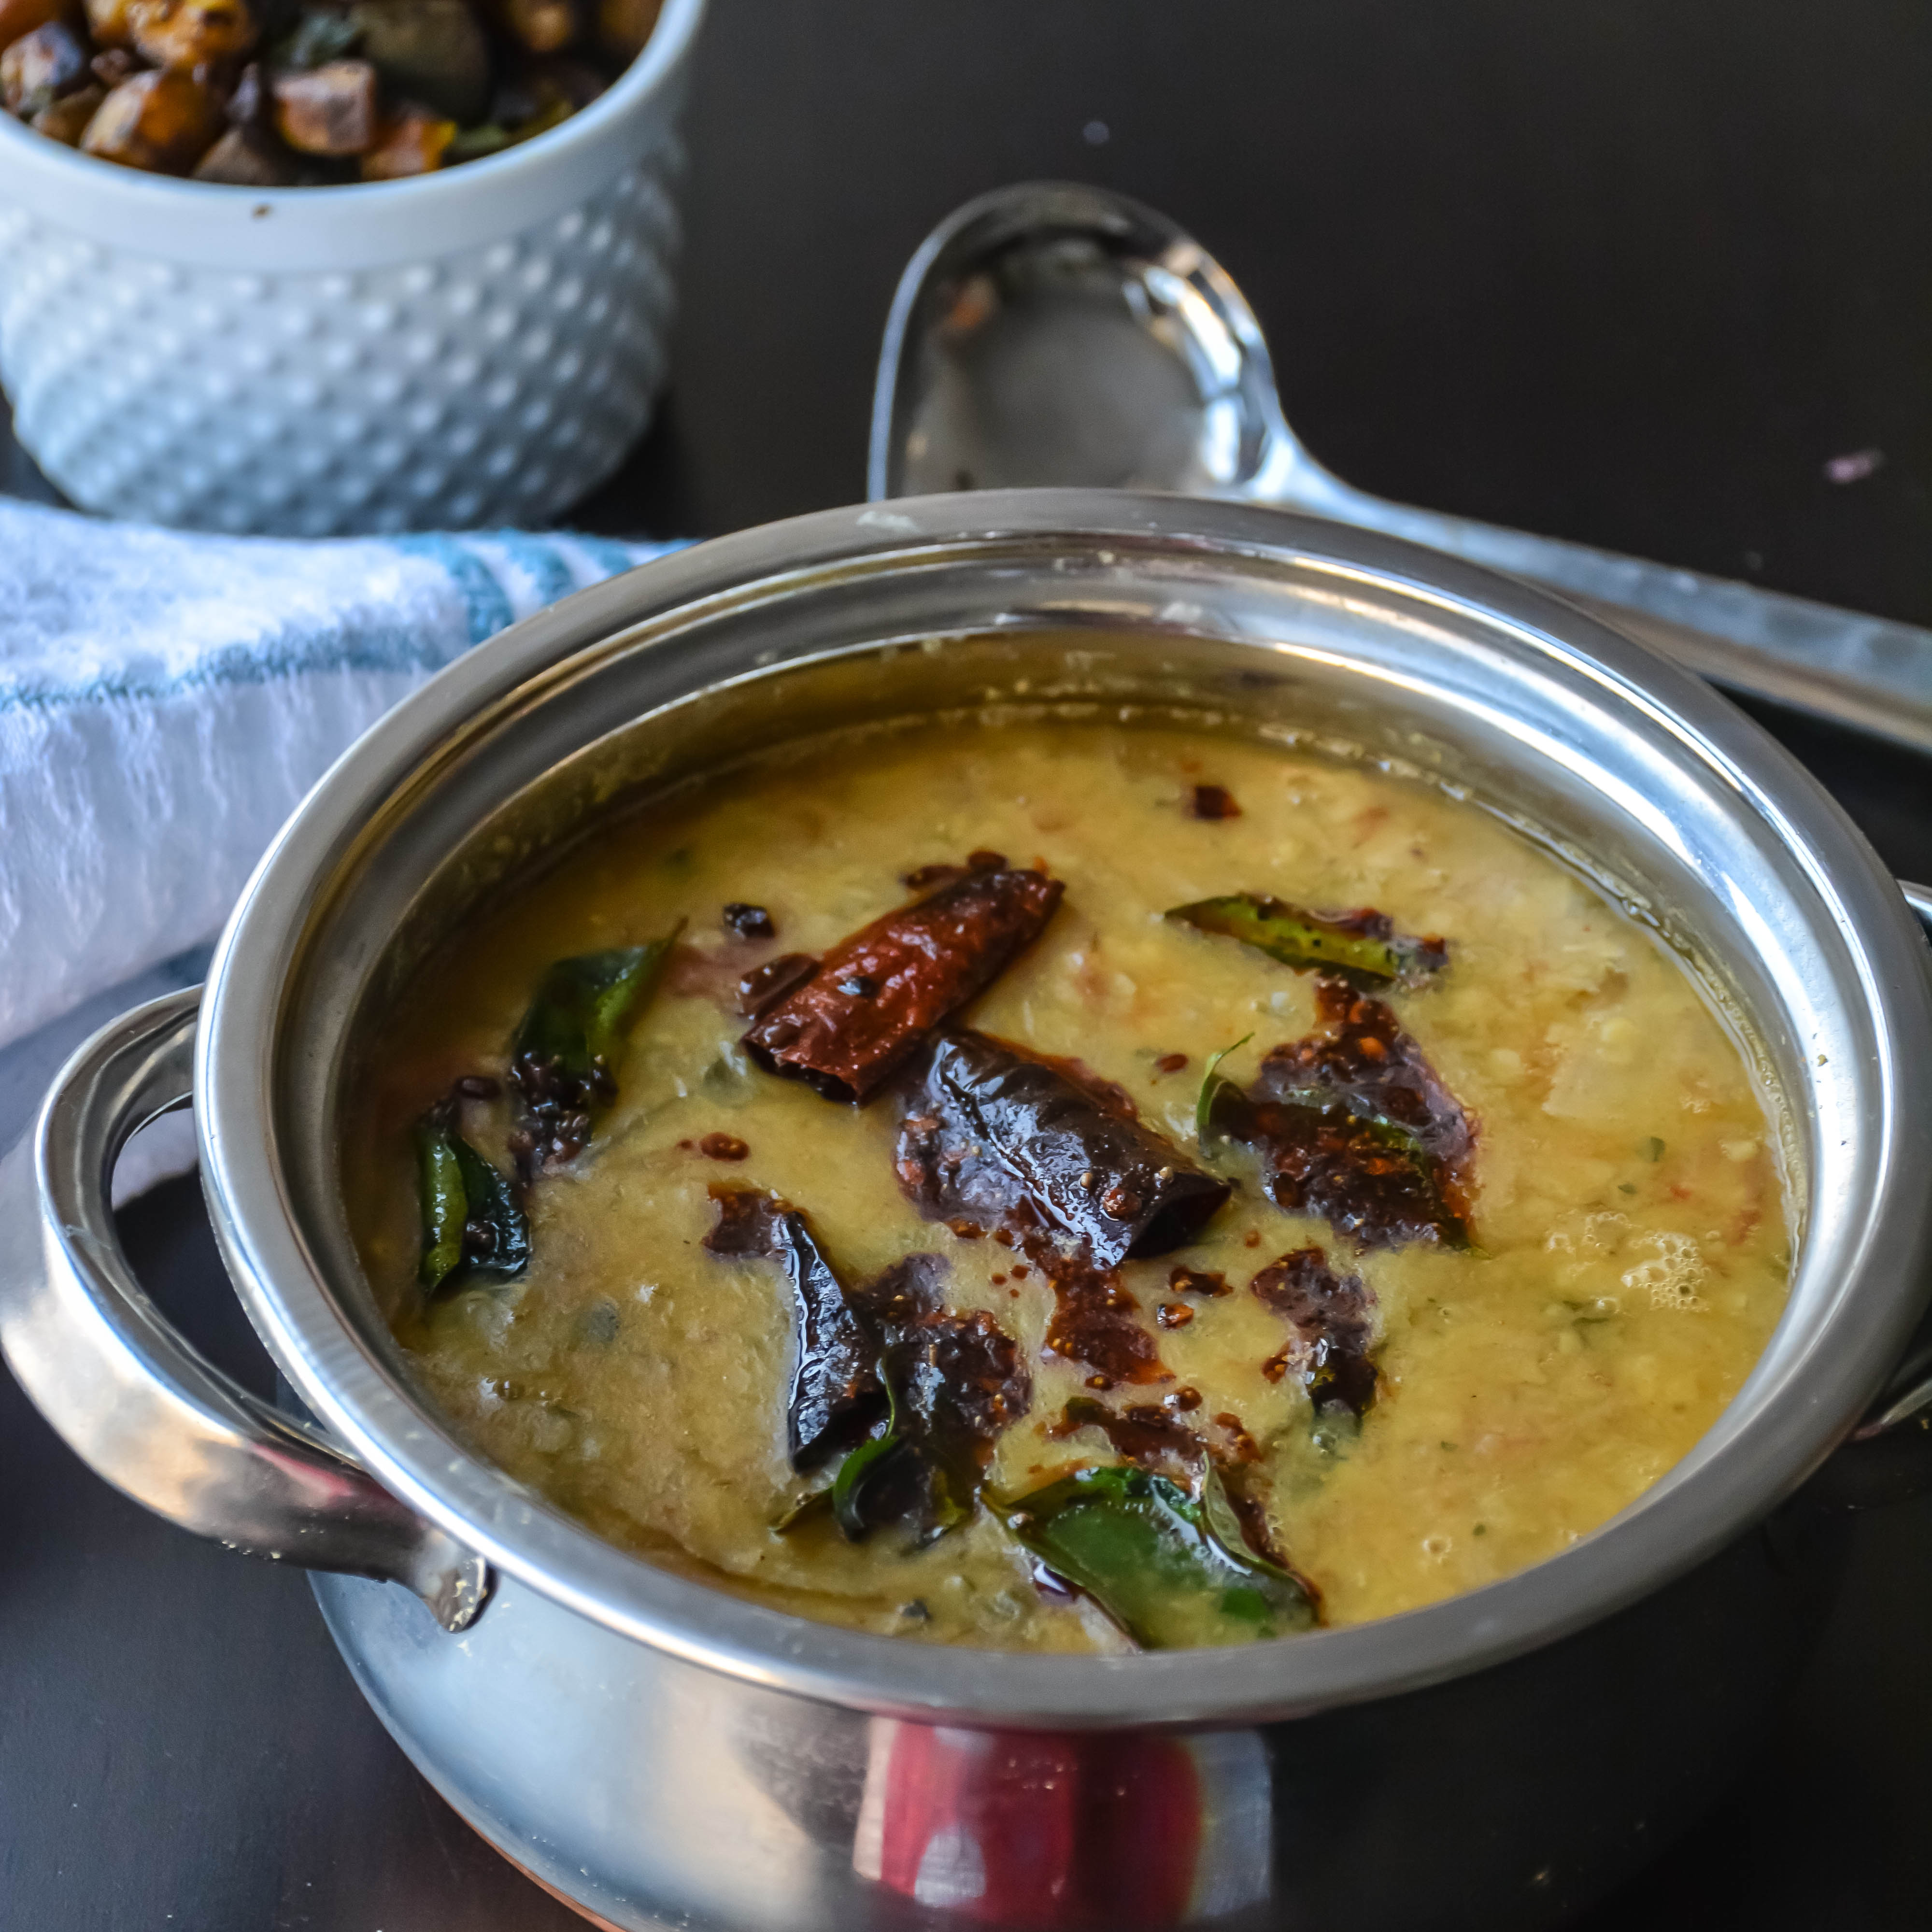
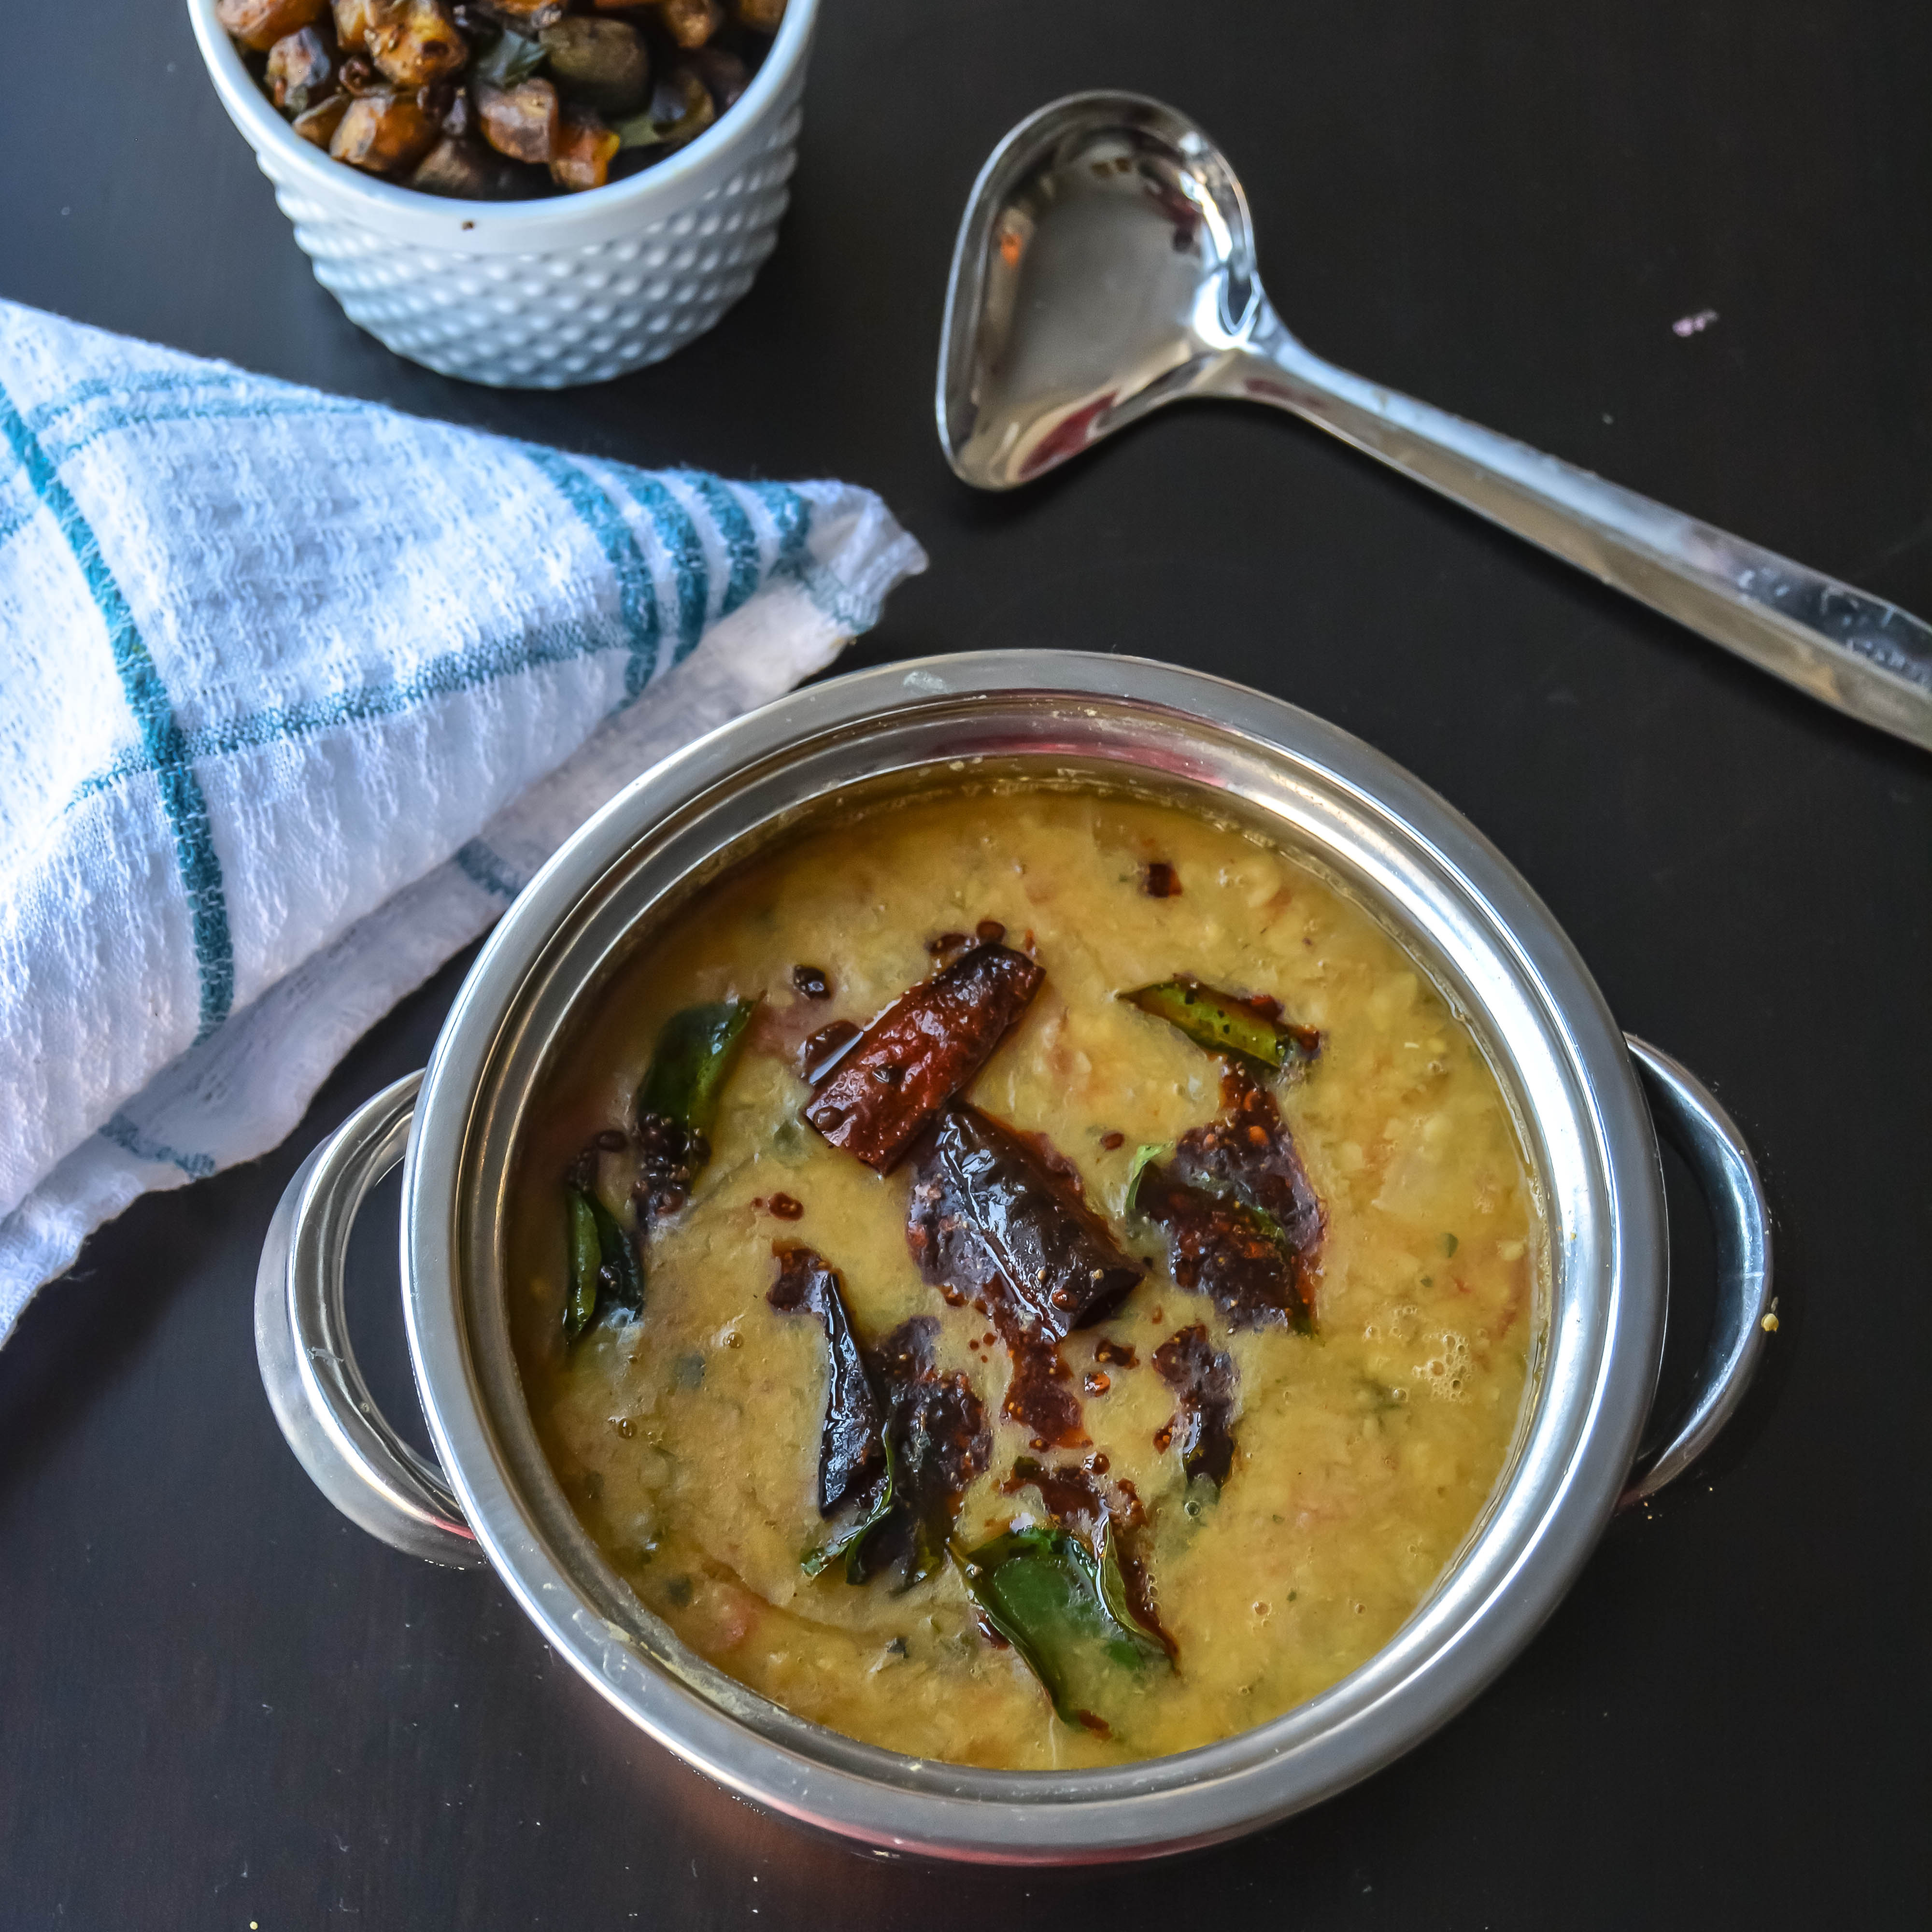
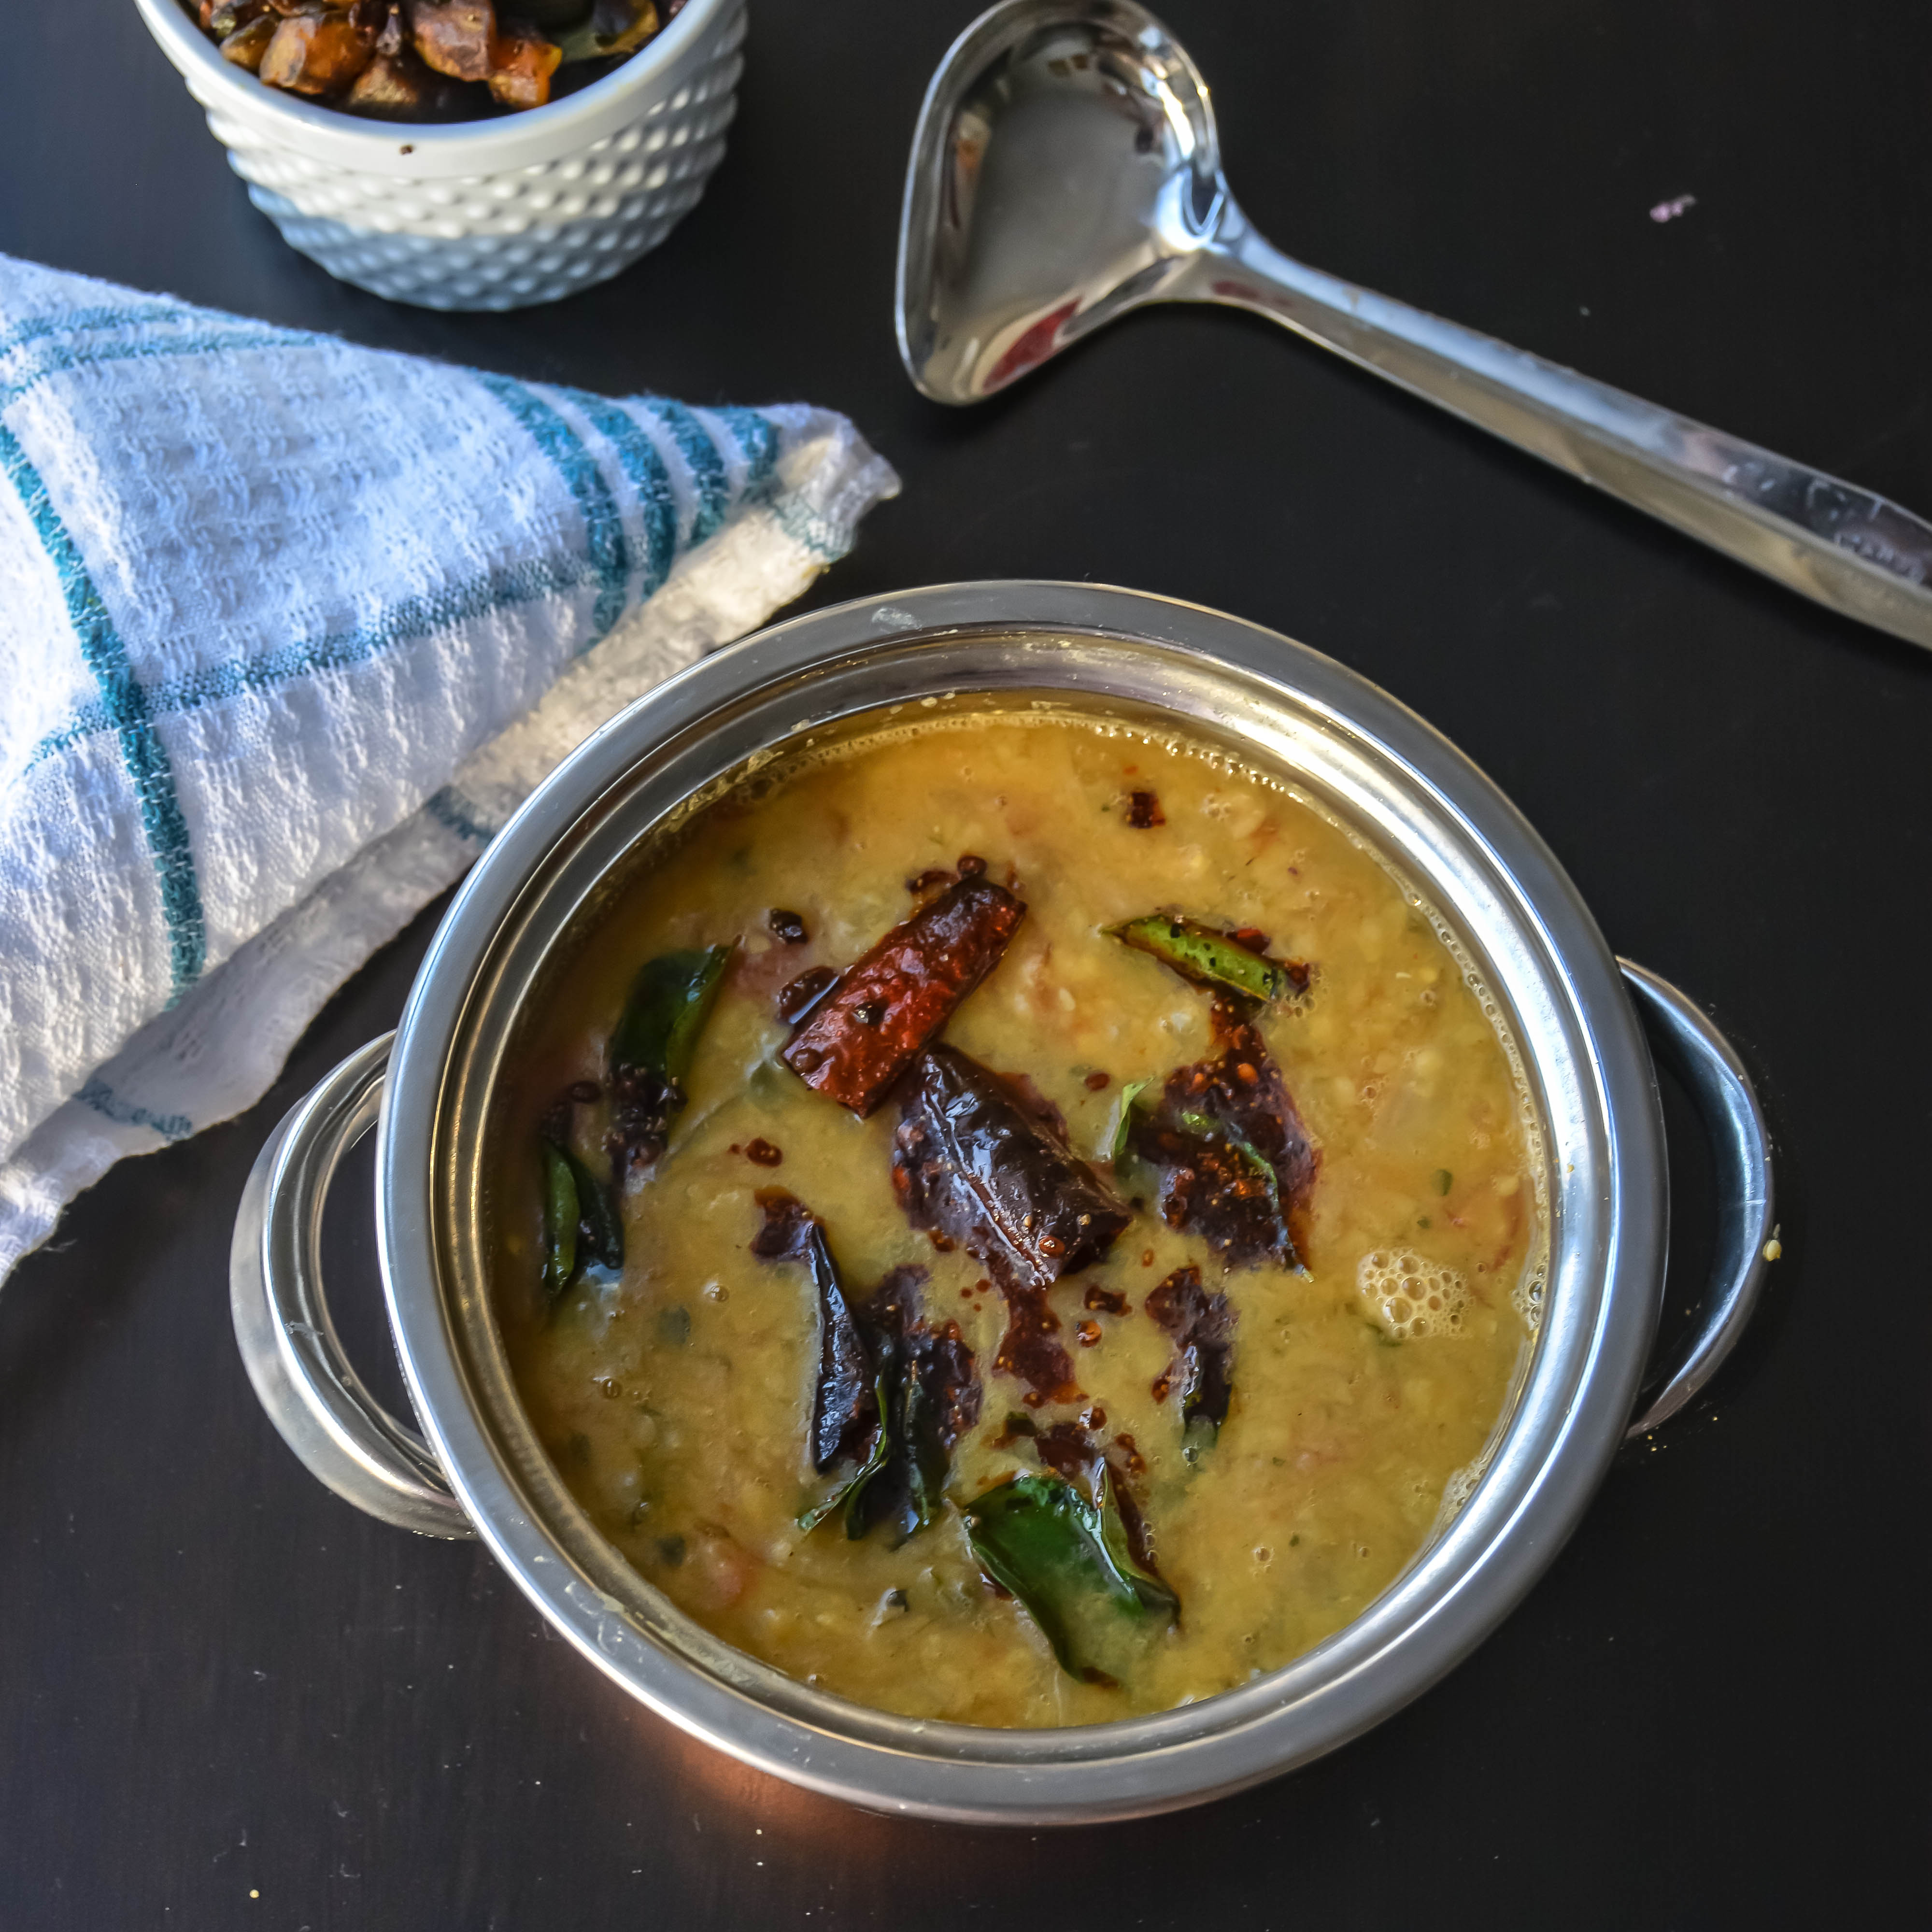
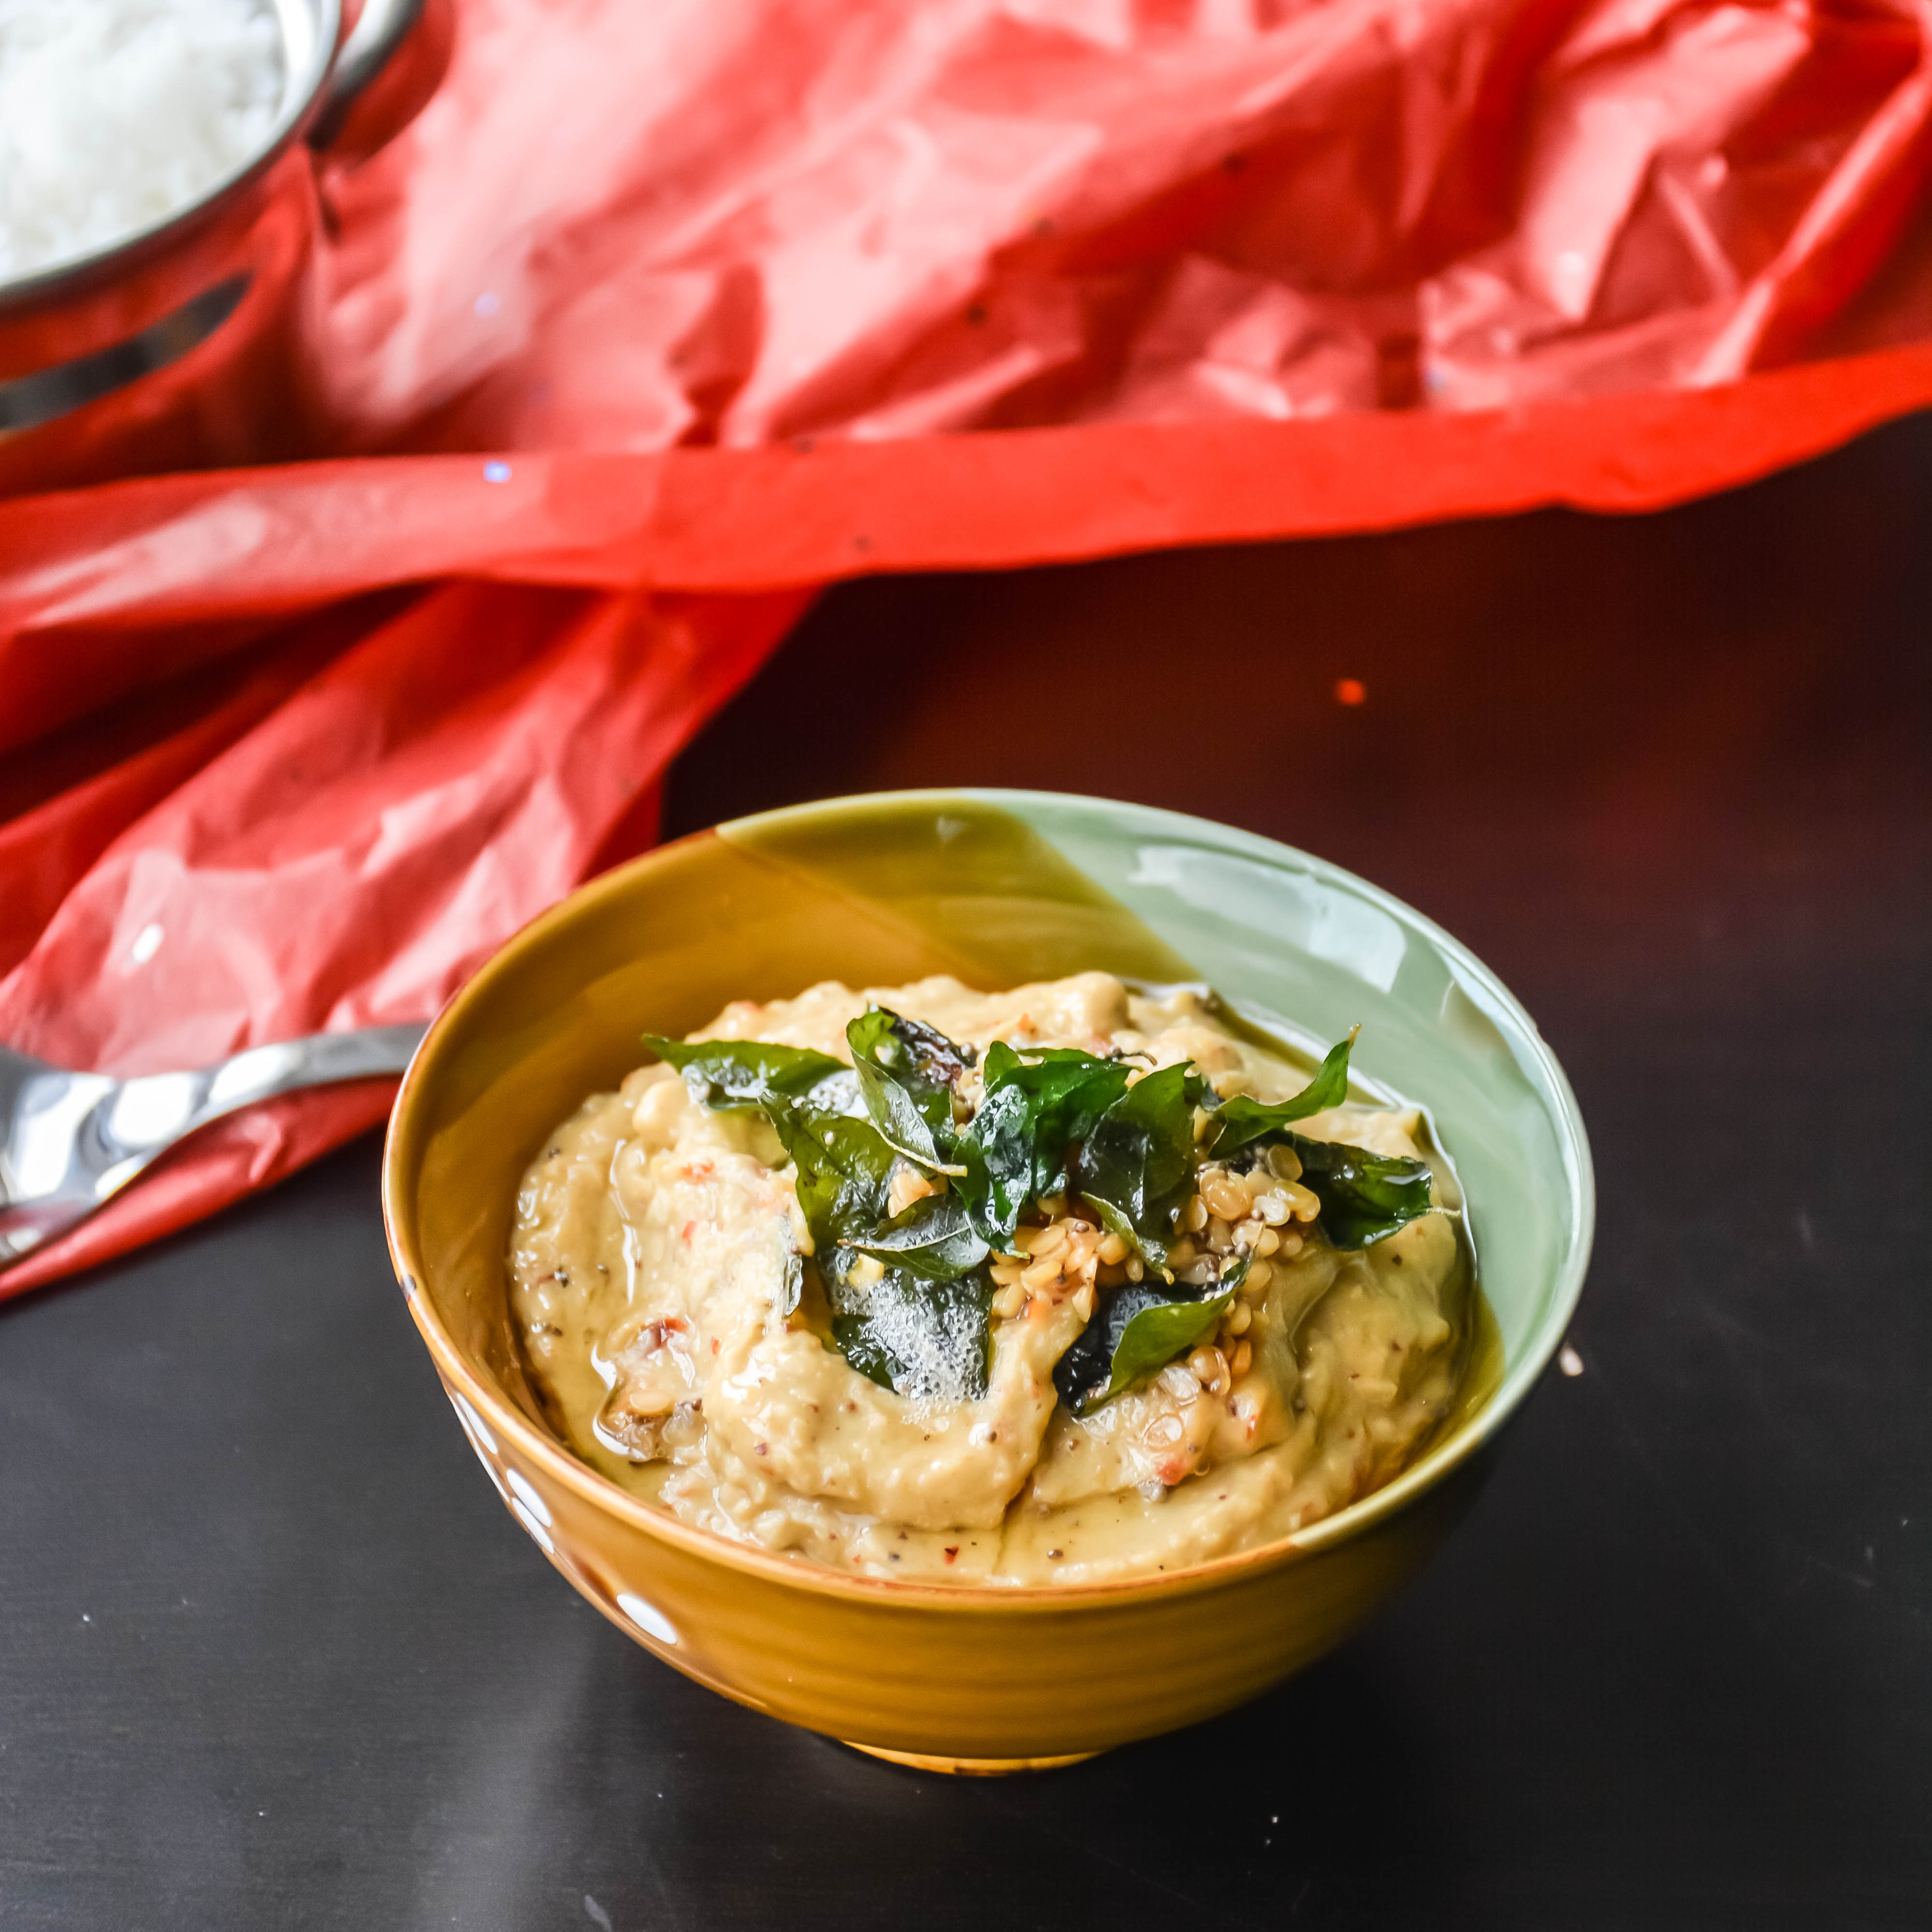
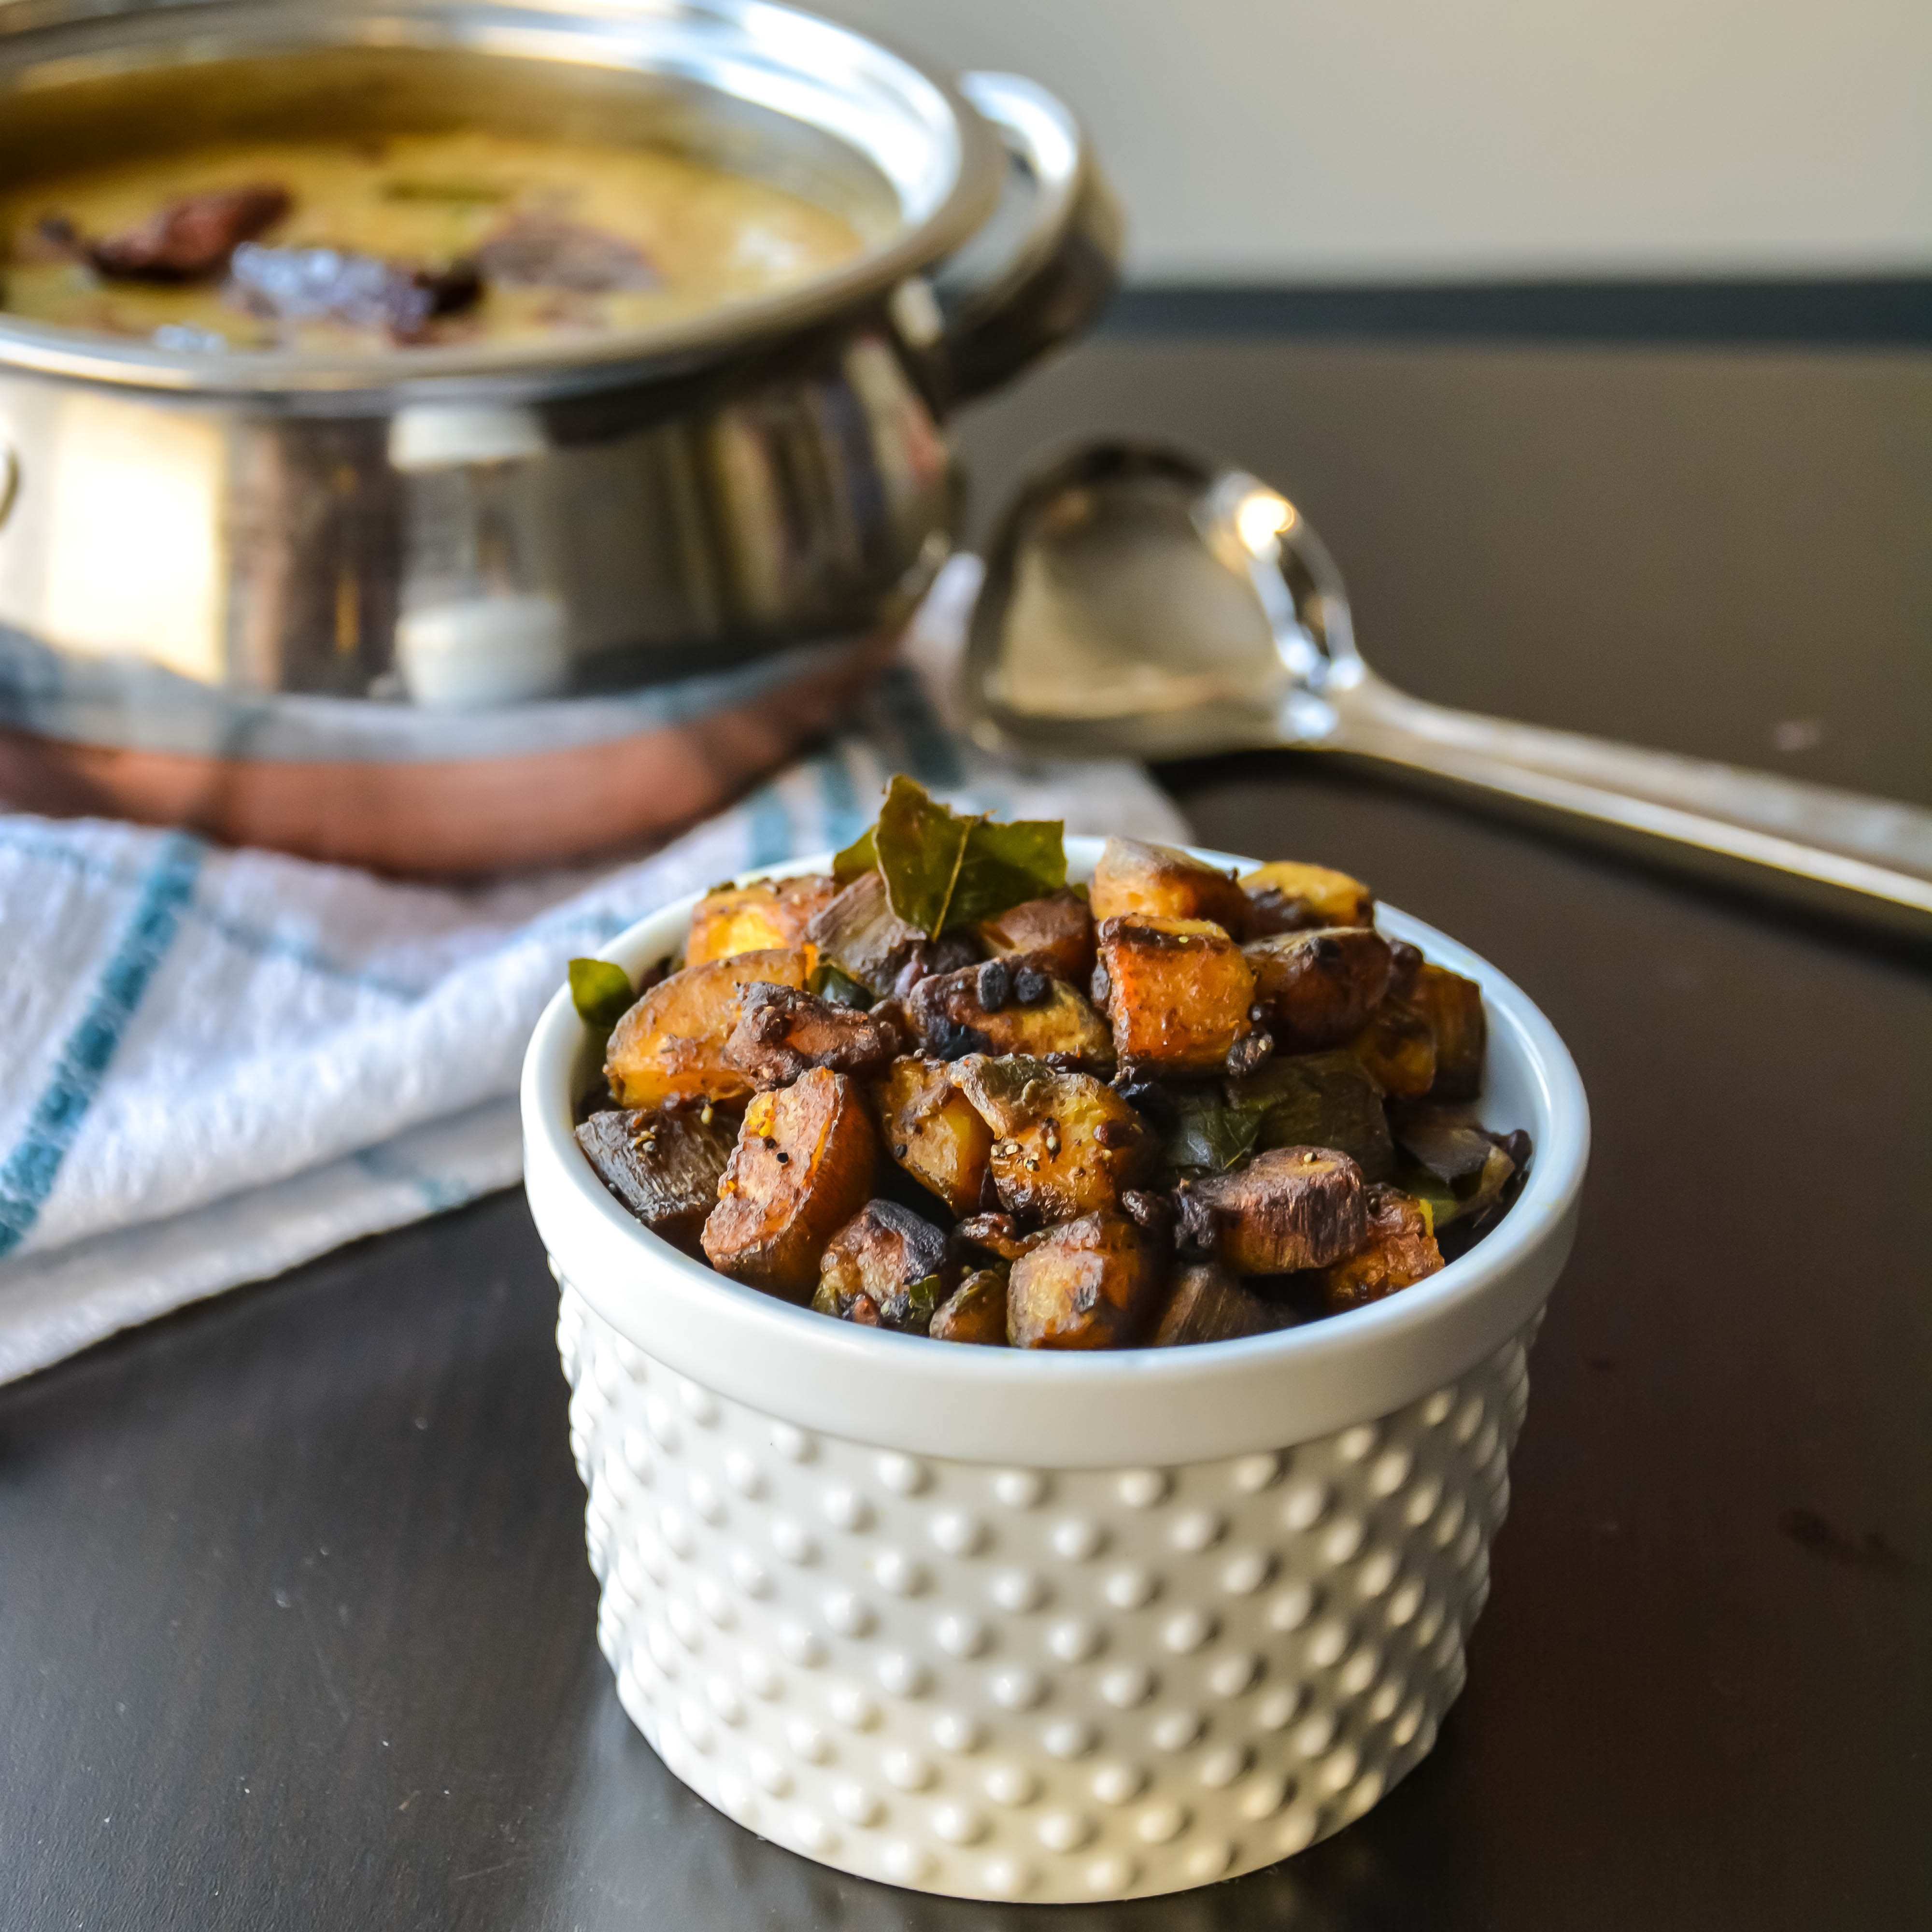
This roast is perfect for rice and tomato rasam/Buttermilk rasam/dal/sambar !
- • Small Eggplant/ Kathirikkai – 12
- • Mustard seeds – ¼ tsp
- • Urad dal /black gram – 2 tsp
- • Curry leaves – 1 sprig
- • Turmeric powder – ½ tsp
- • Salt – 1 tbsp
- • Oil – 2 tbsp
- •
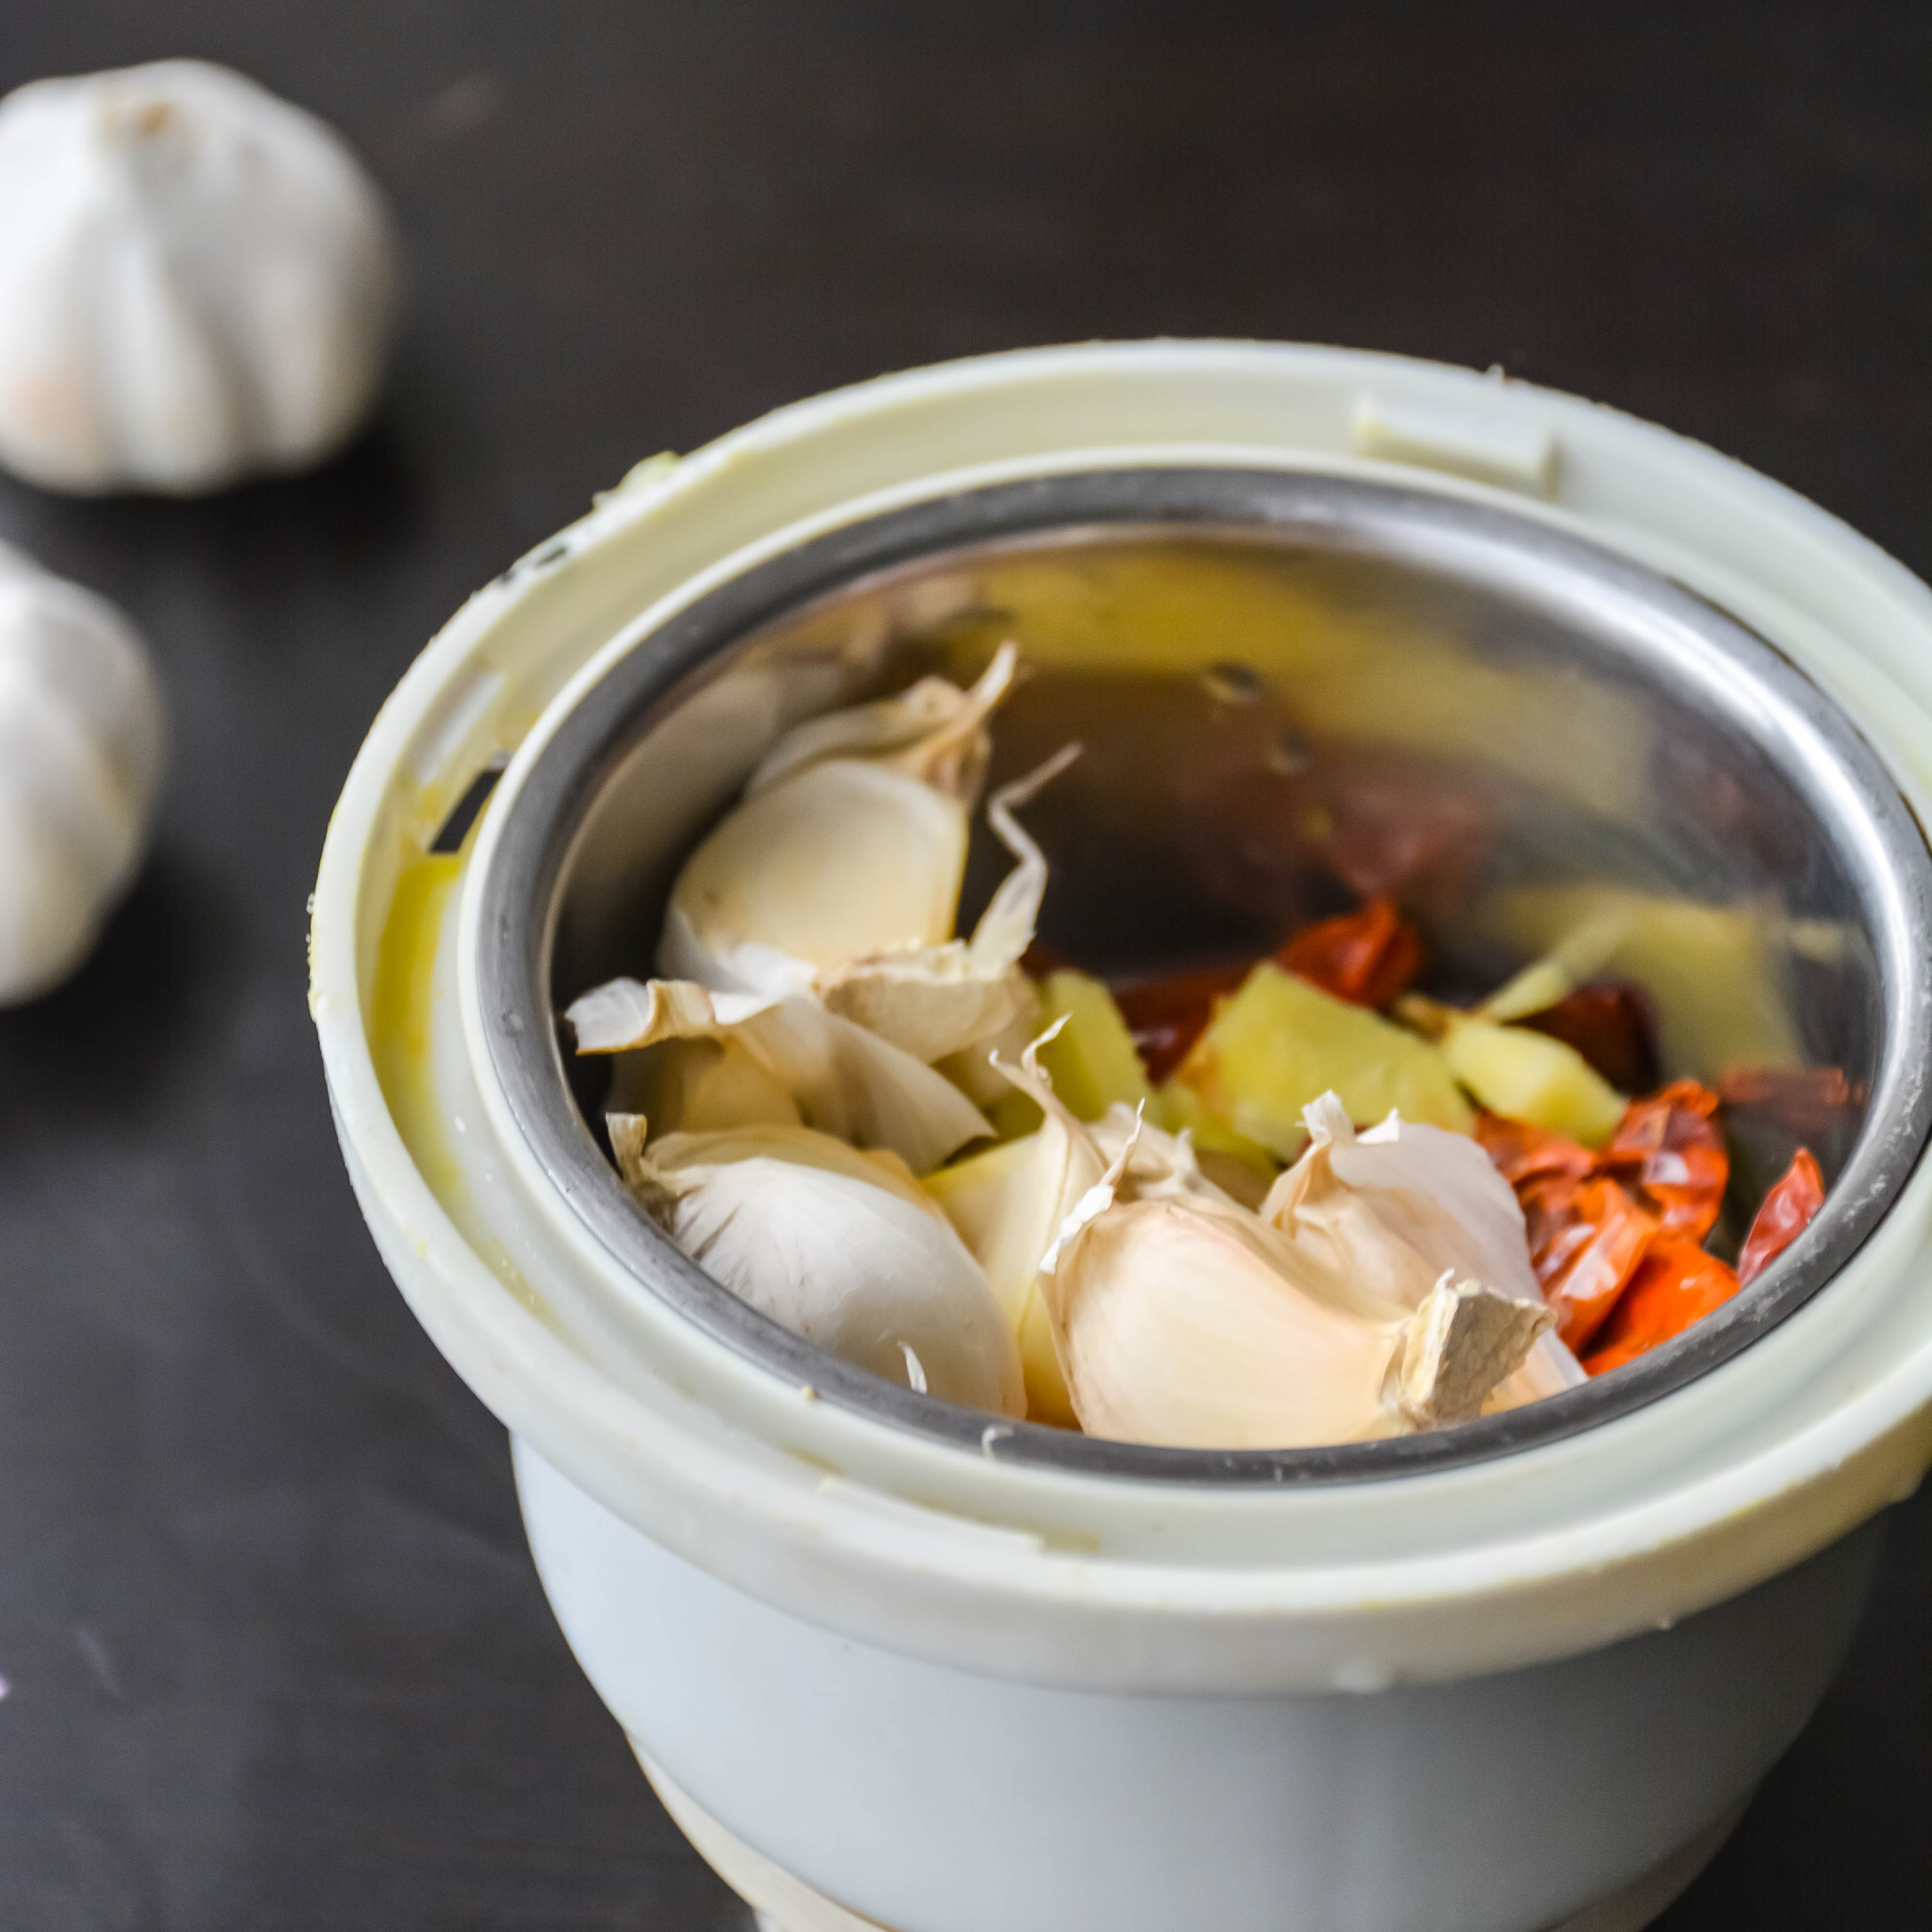
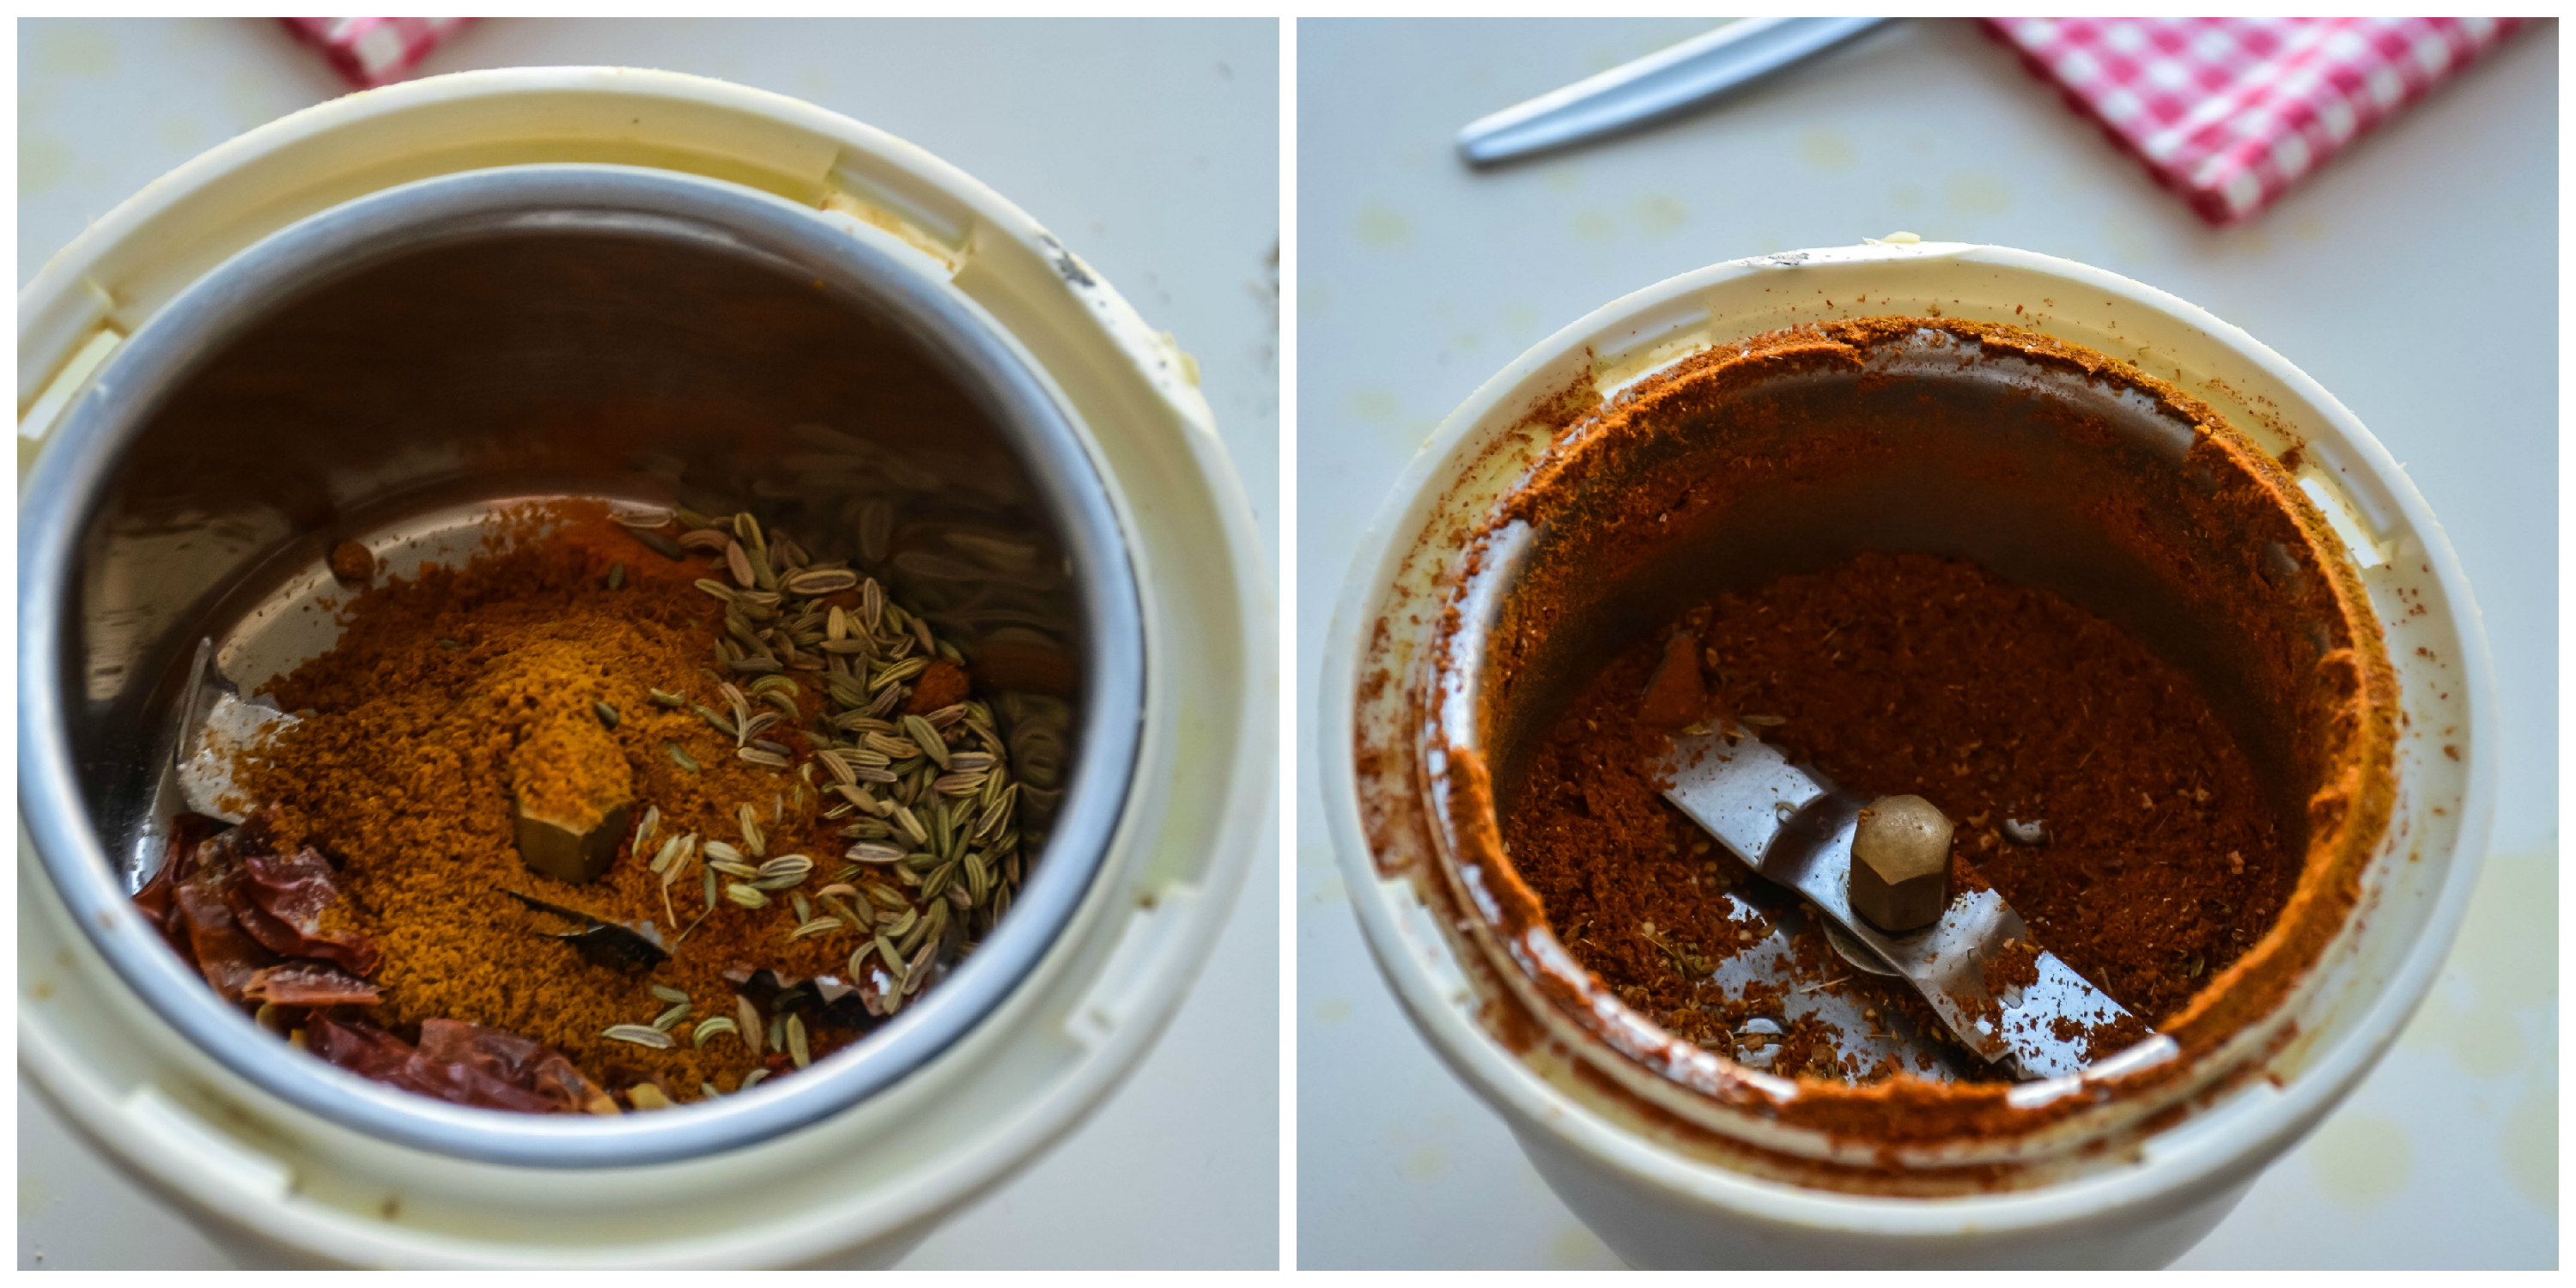
[To grind:] - • Red chilly – 3
- • Cumin seeds – 1 tsp
- • Garlic – 4
- • Fennel seeds – 2 tsp
- • Chilli powder – 2 tsp
- • Sambar powder – 1 tsp
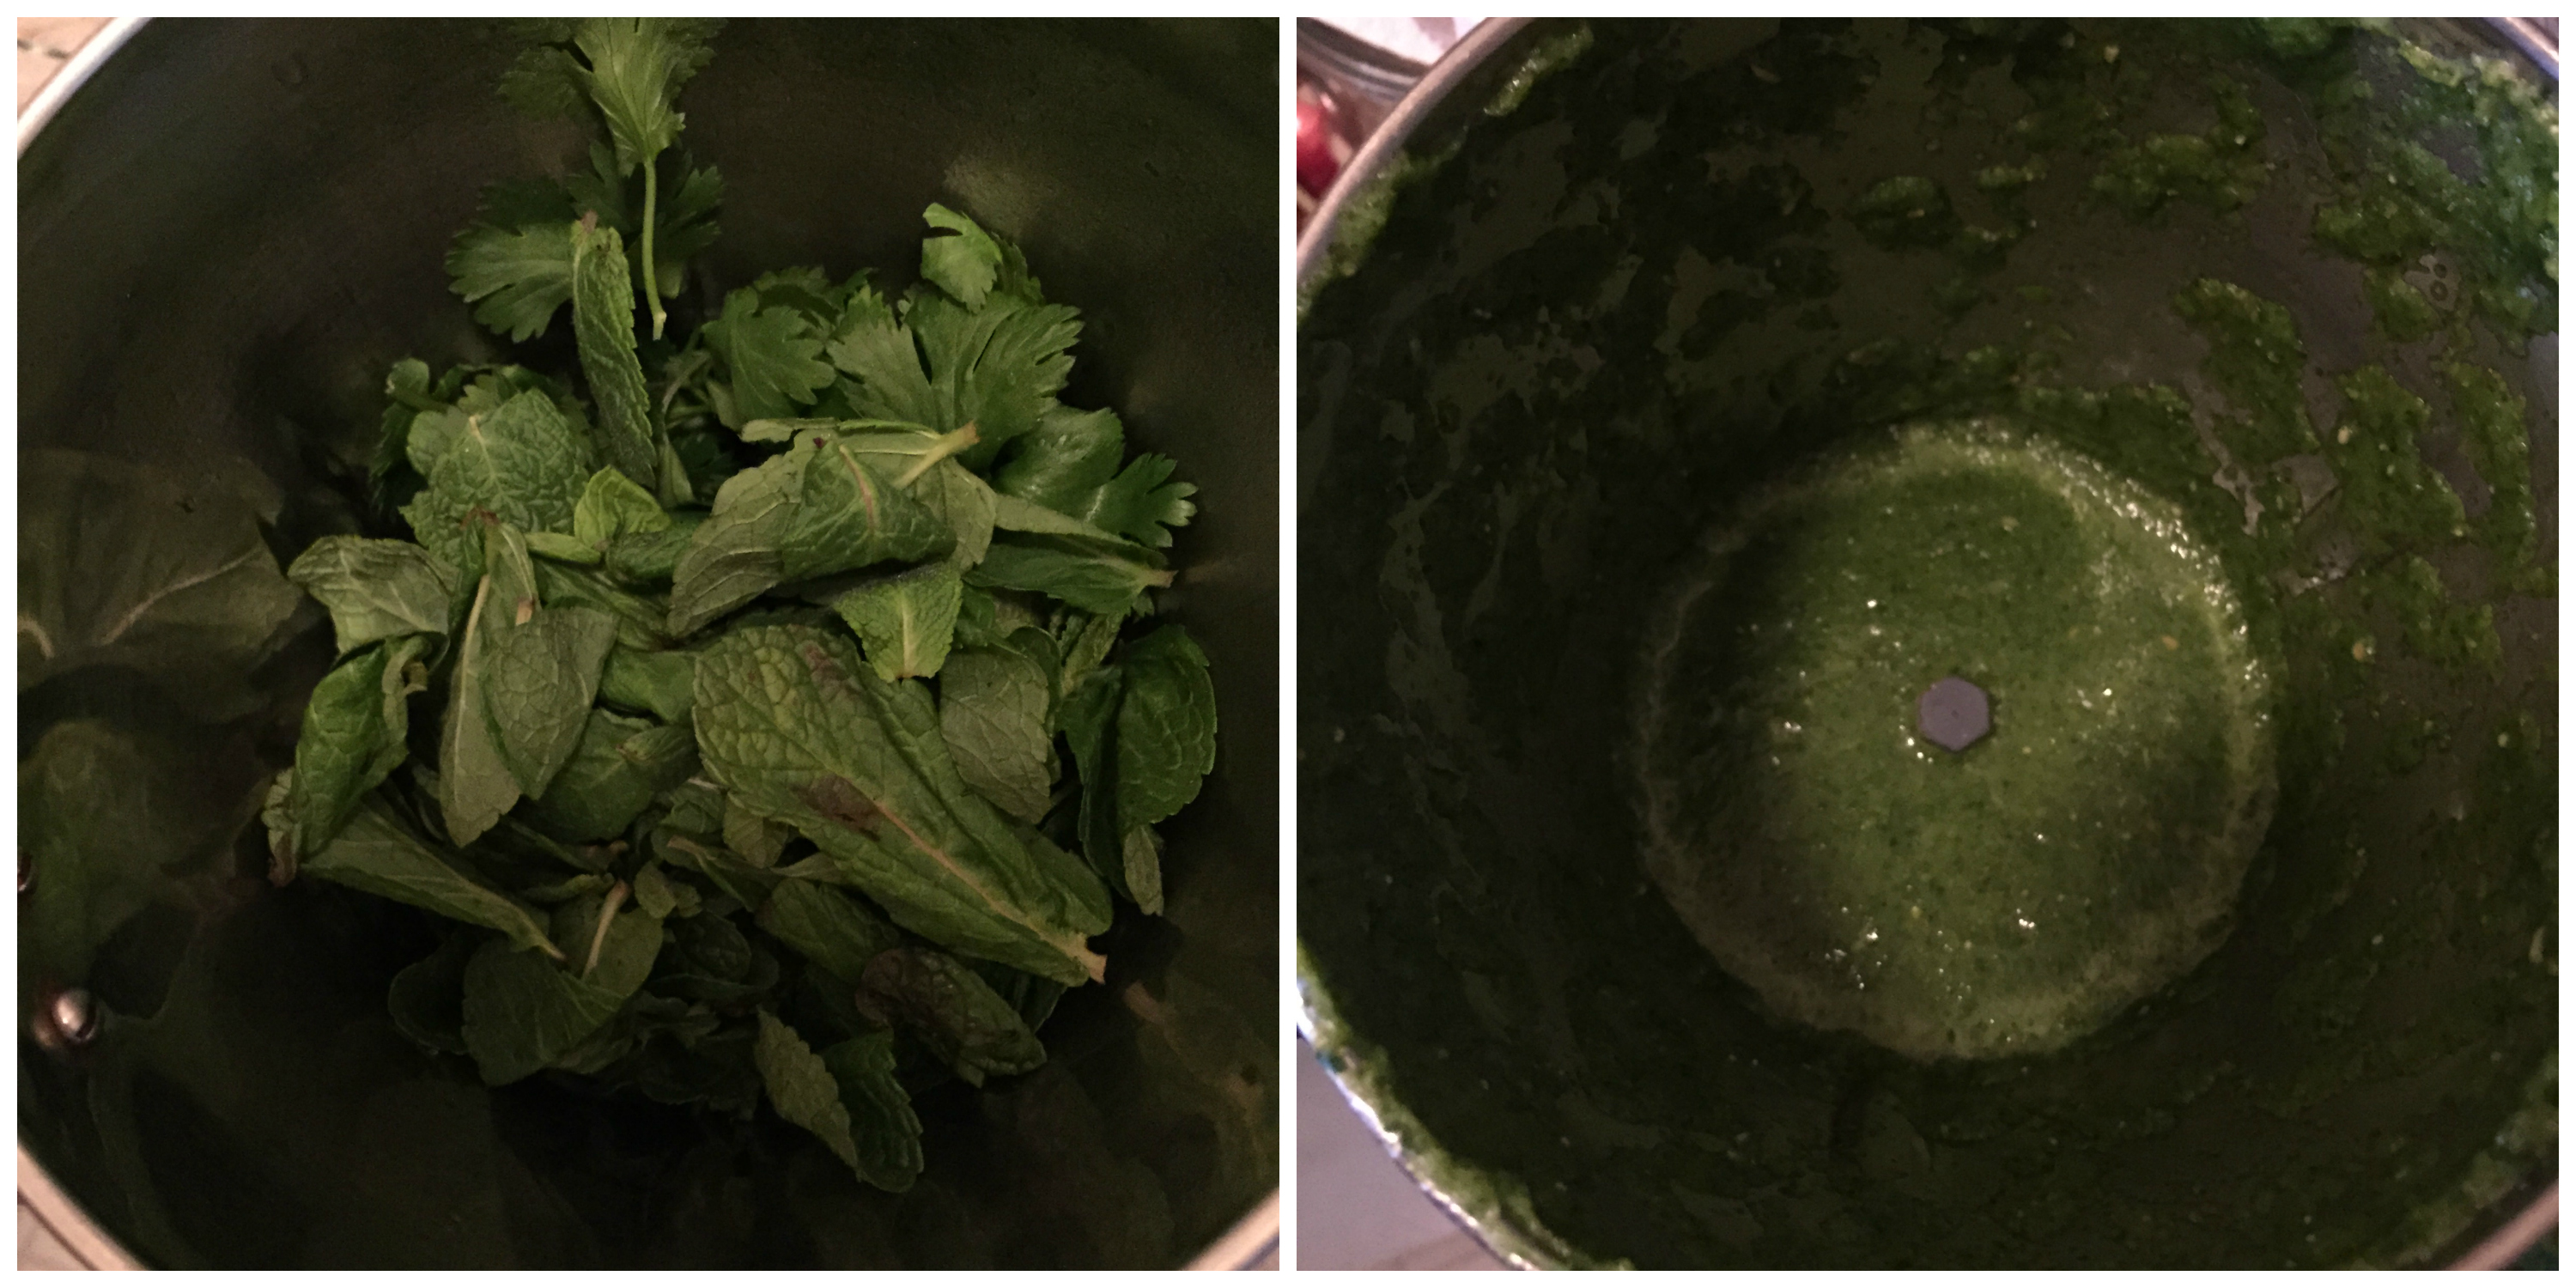
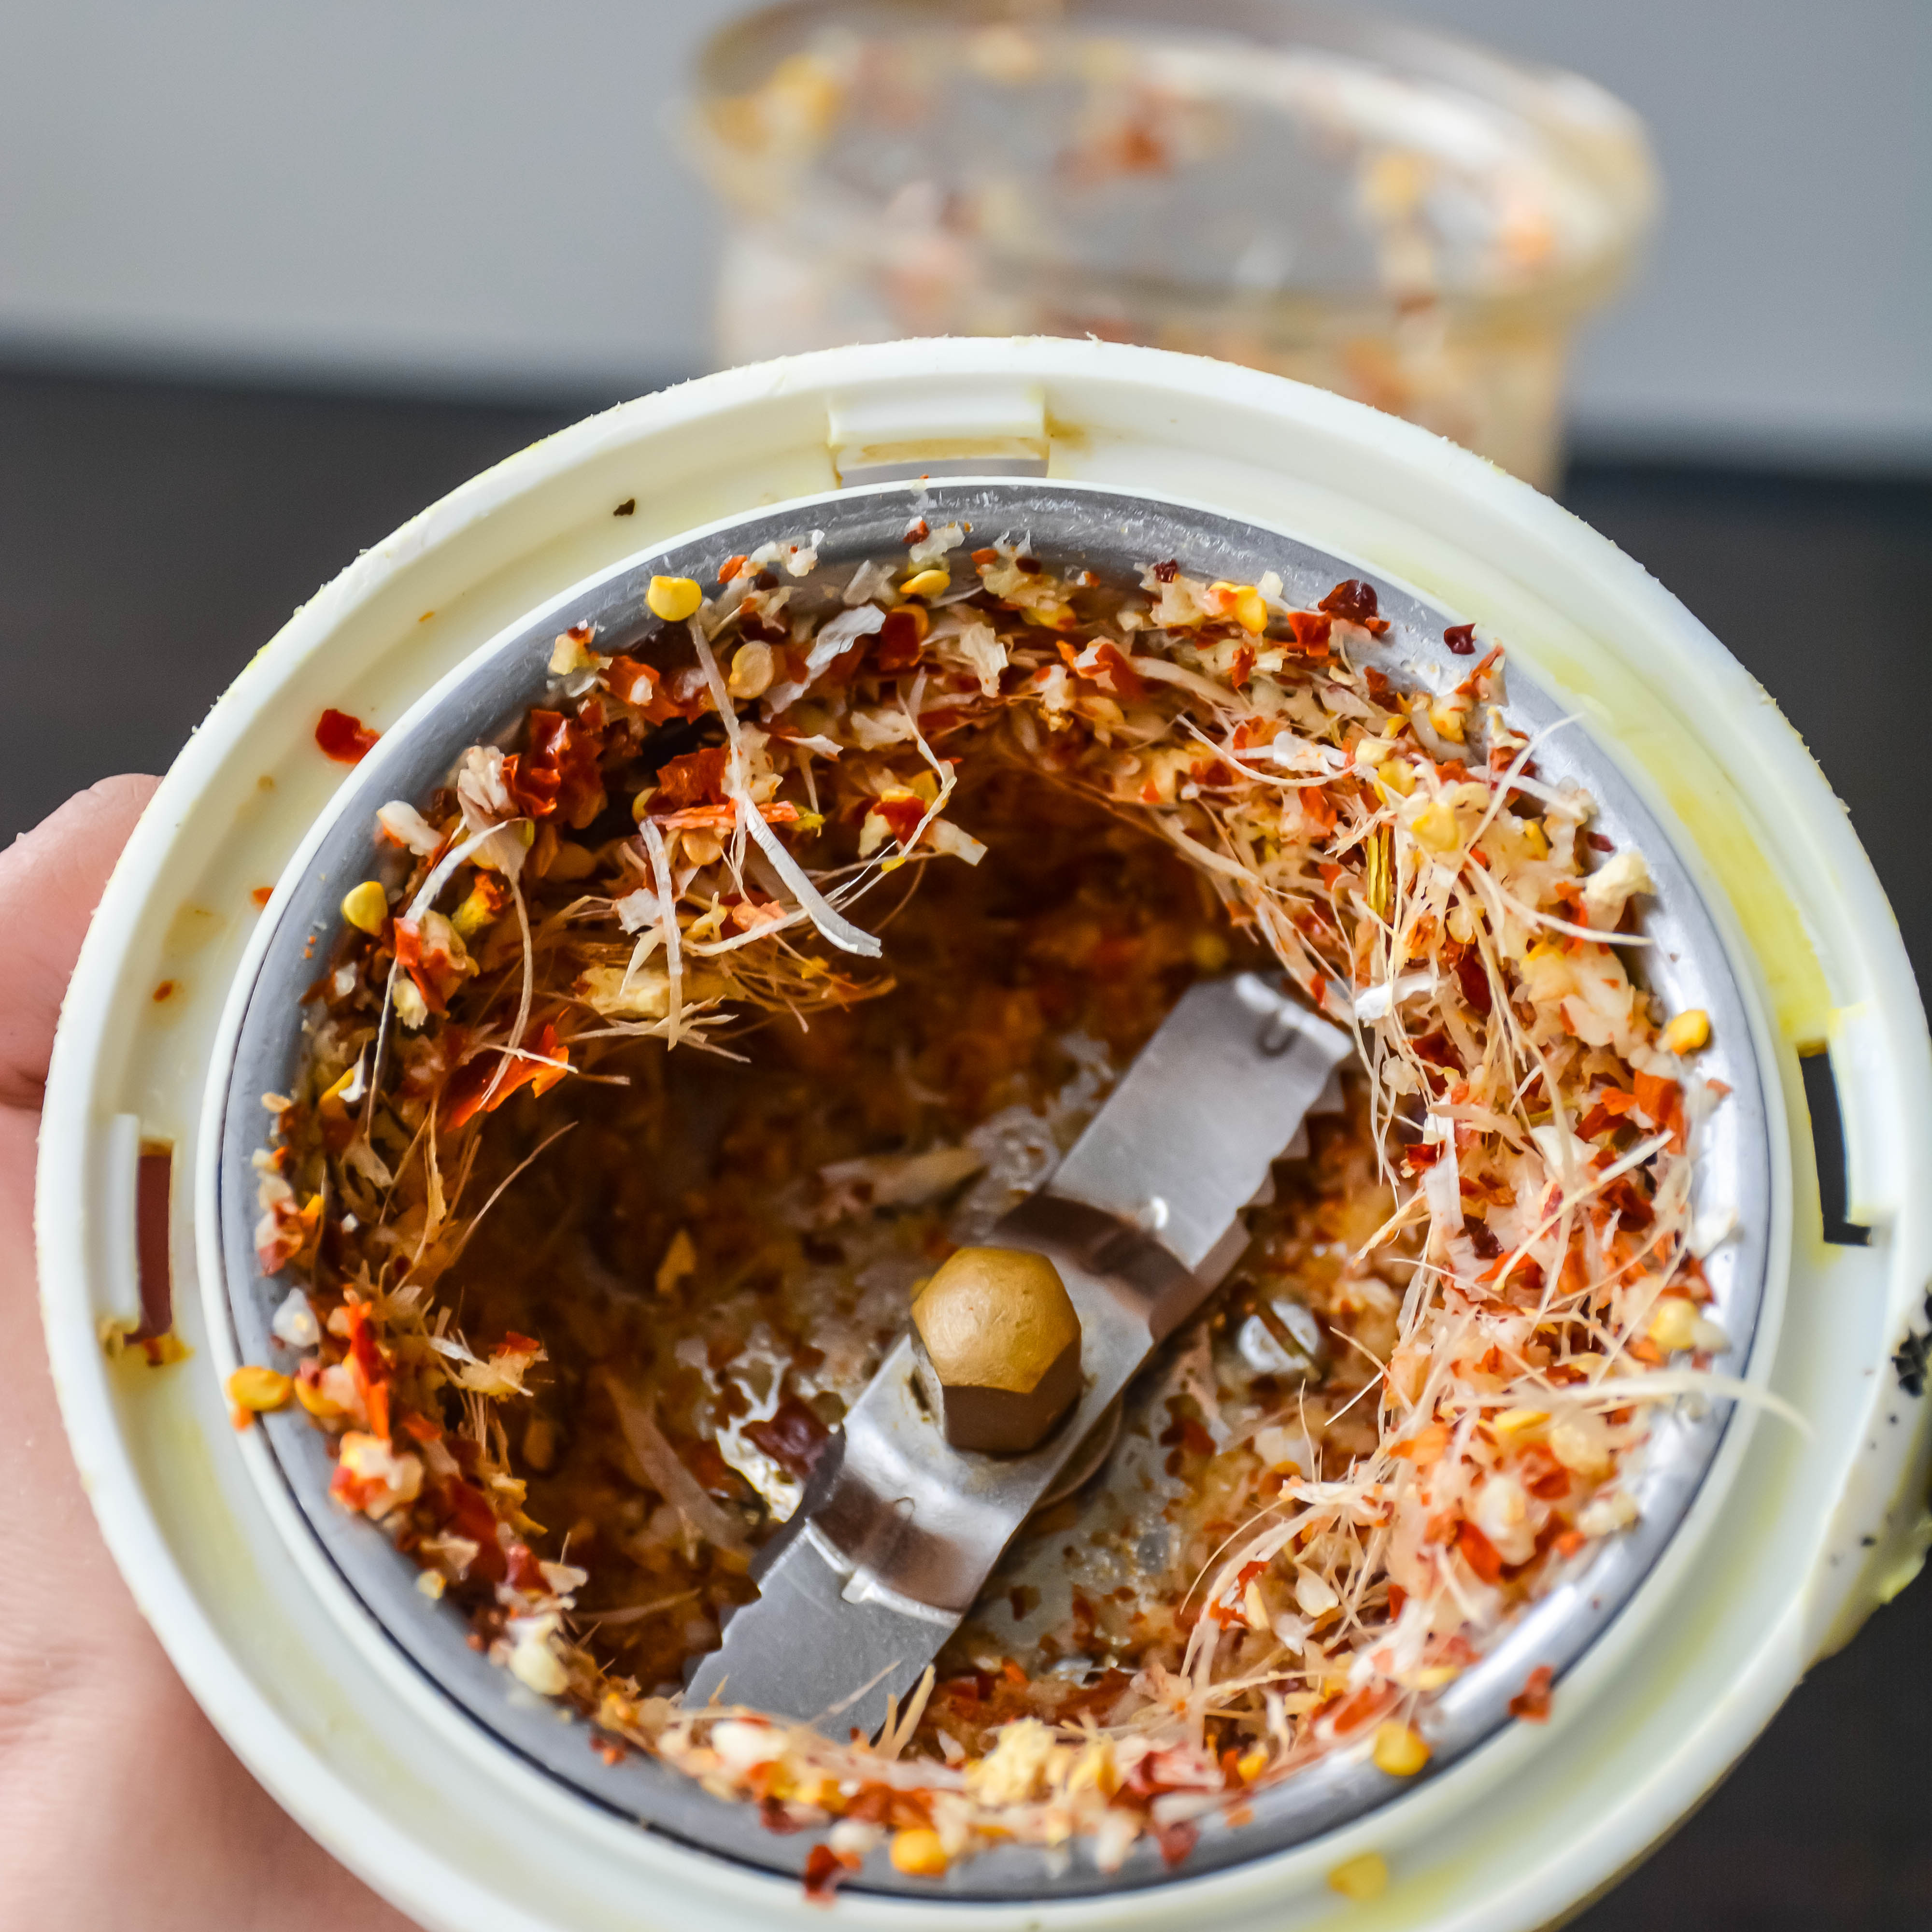
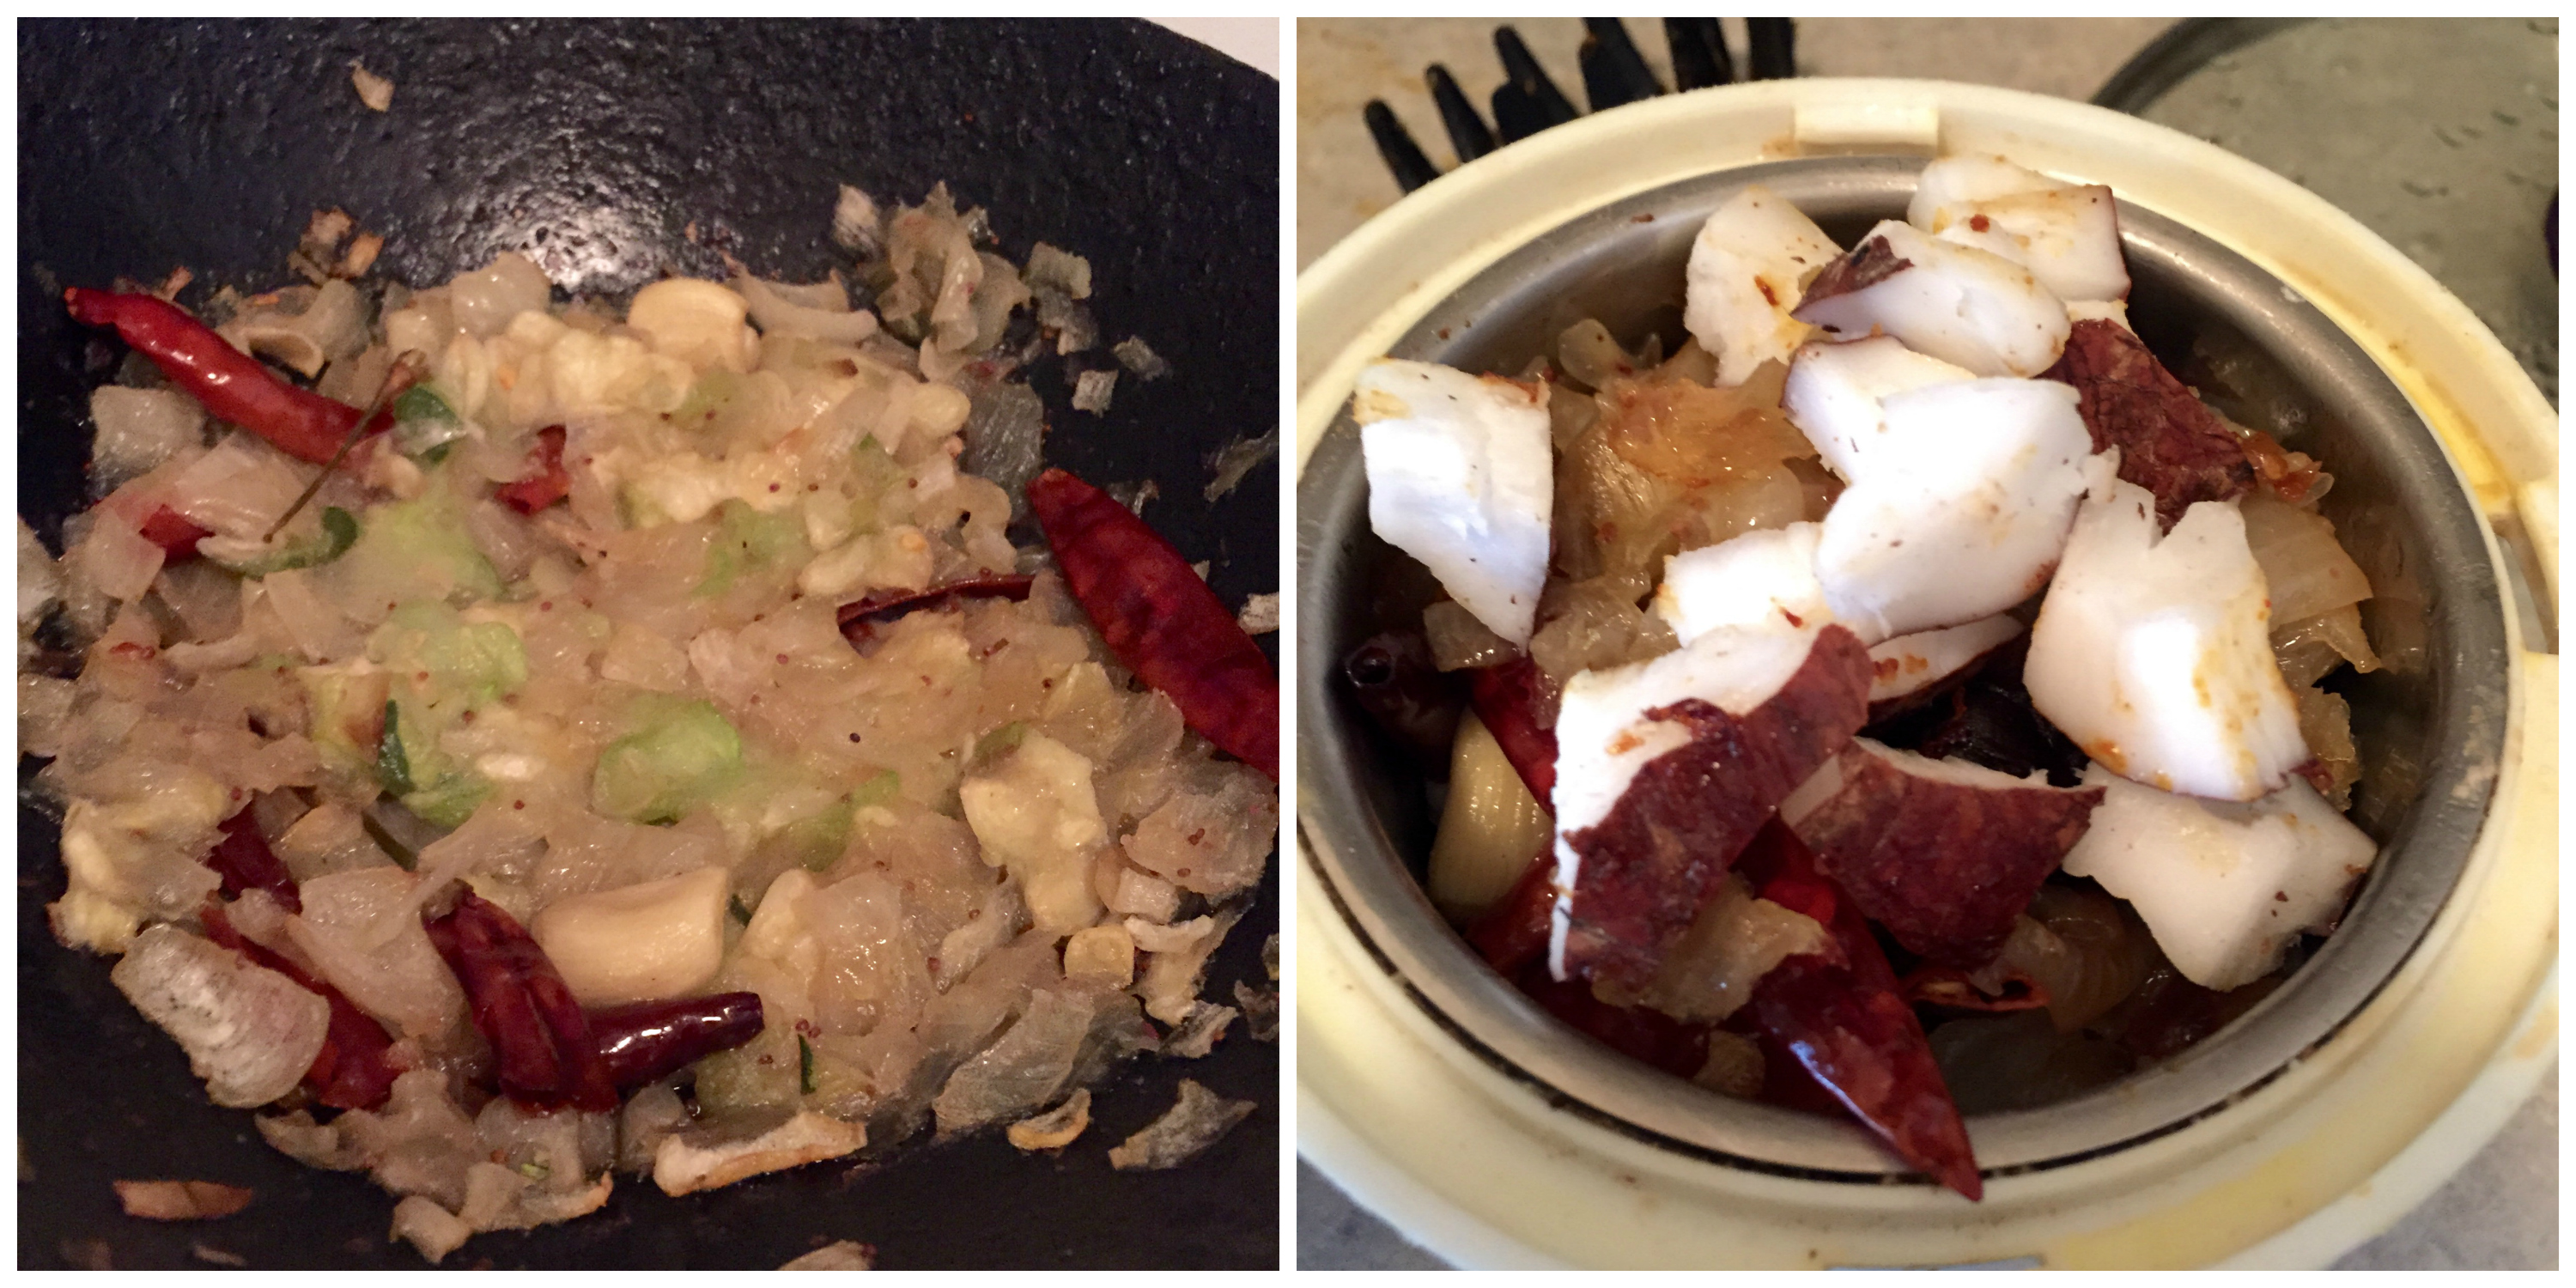
- Blend the ingredients under “to grind” smoothly.
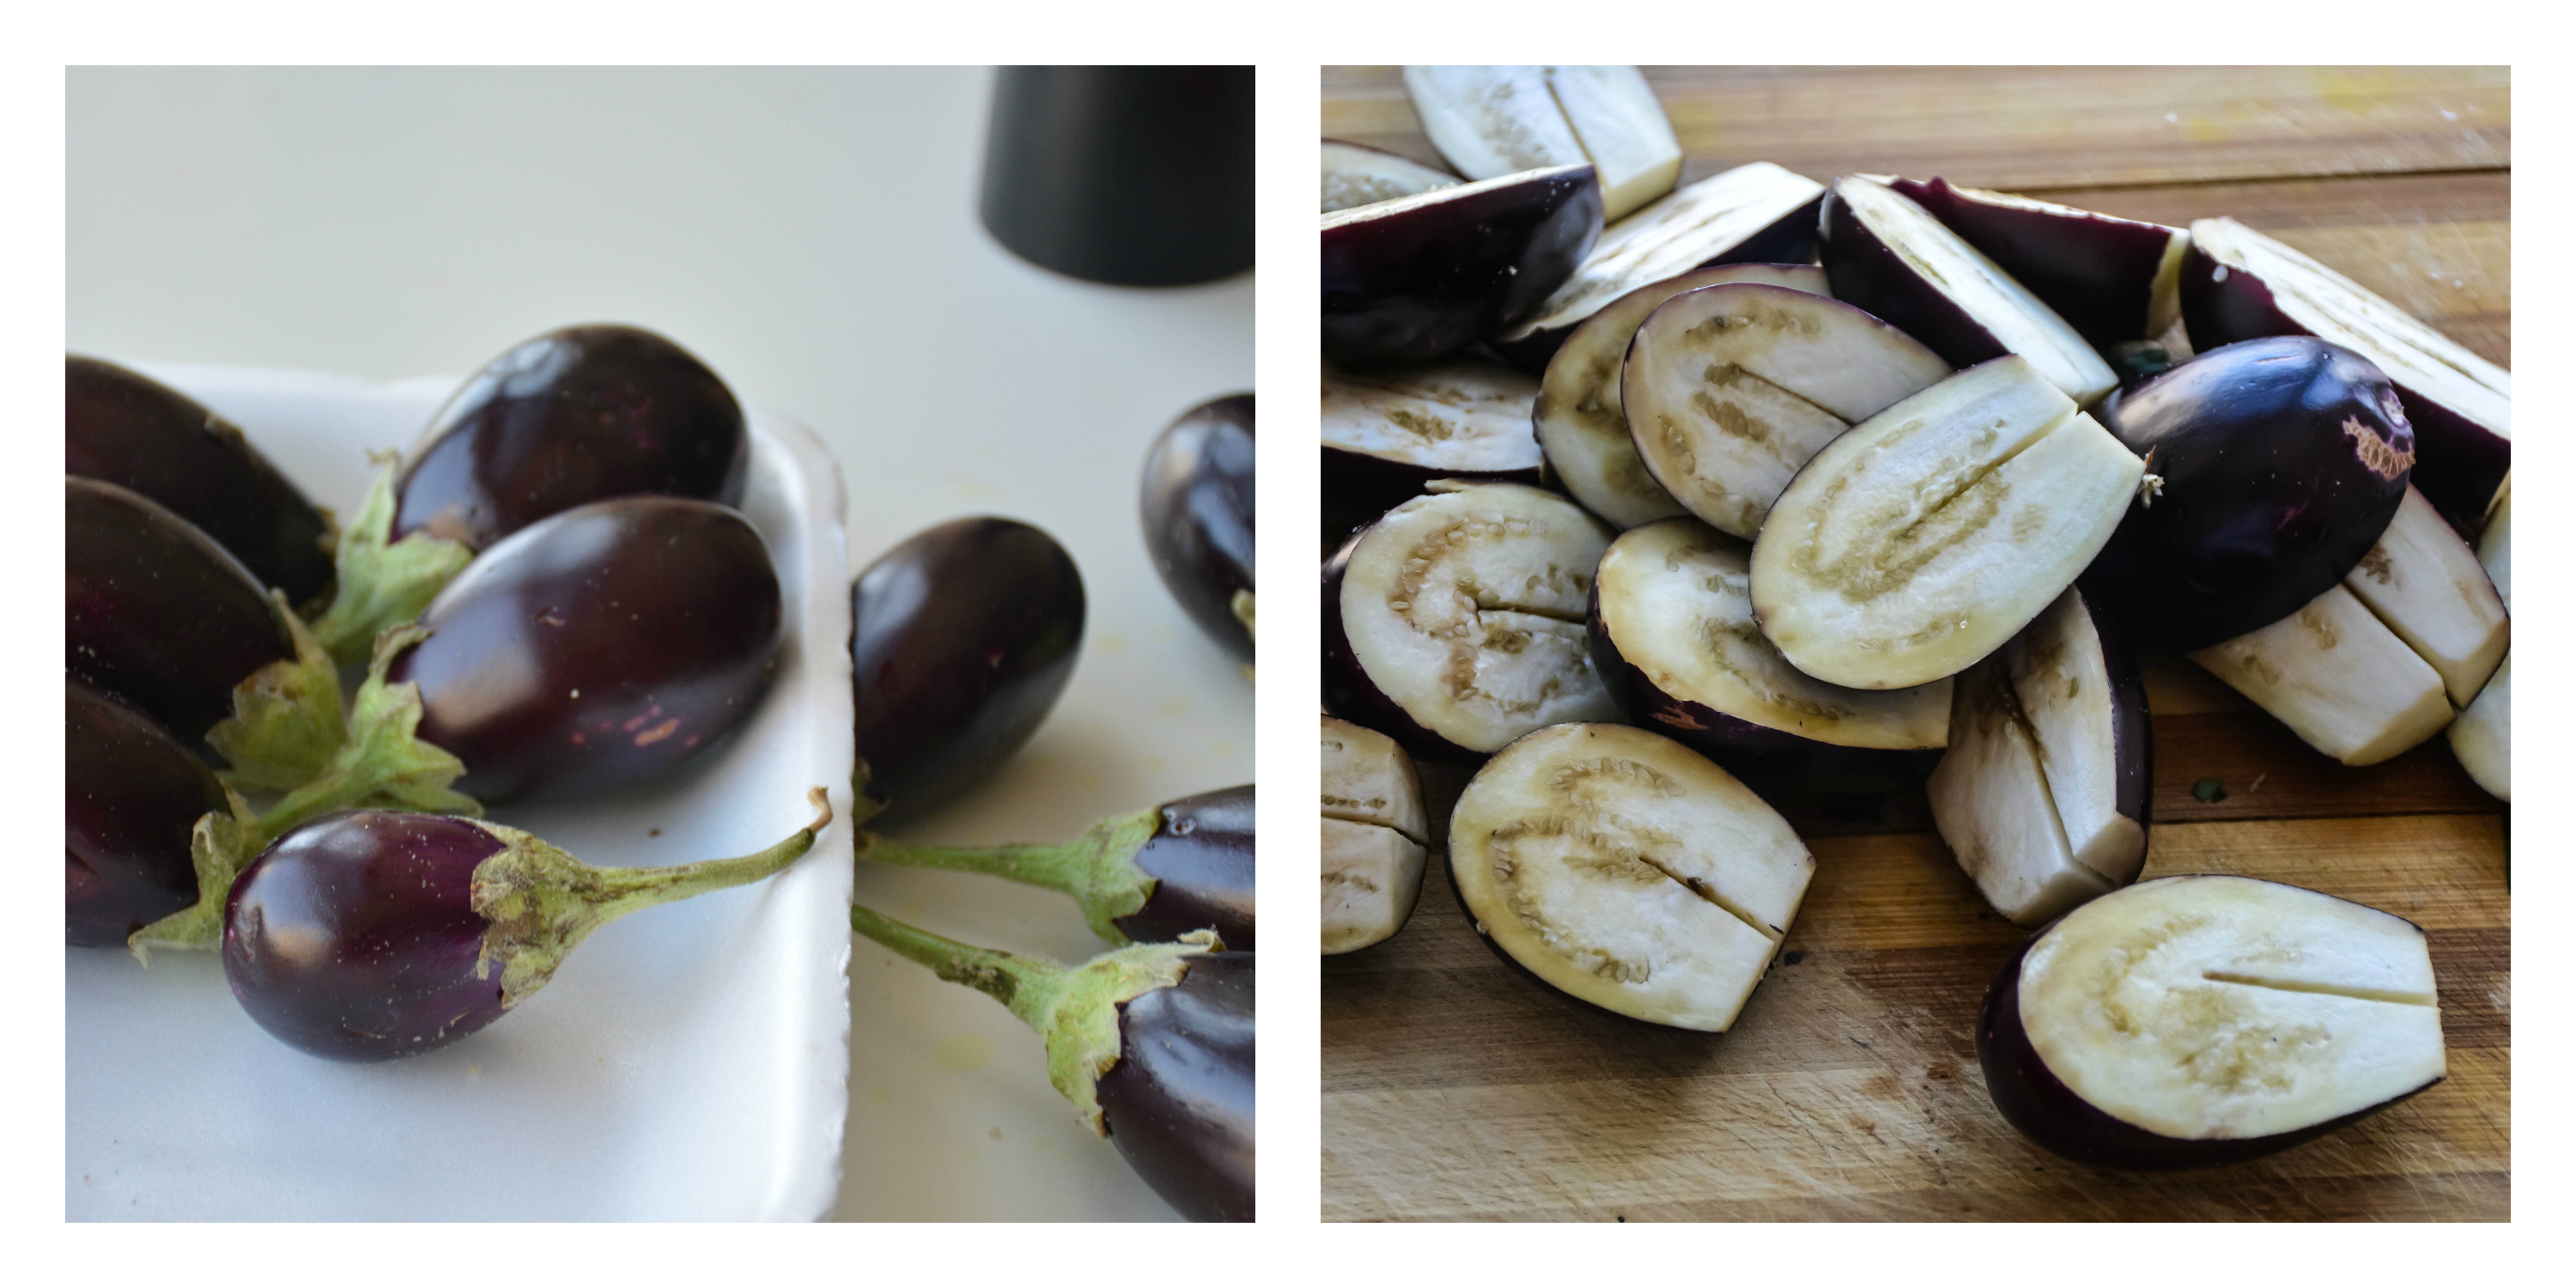
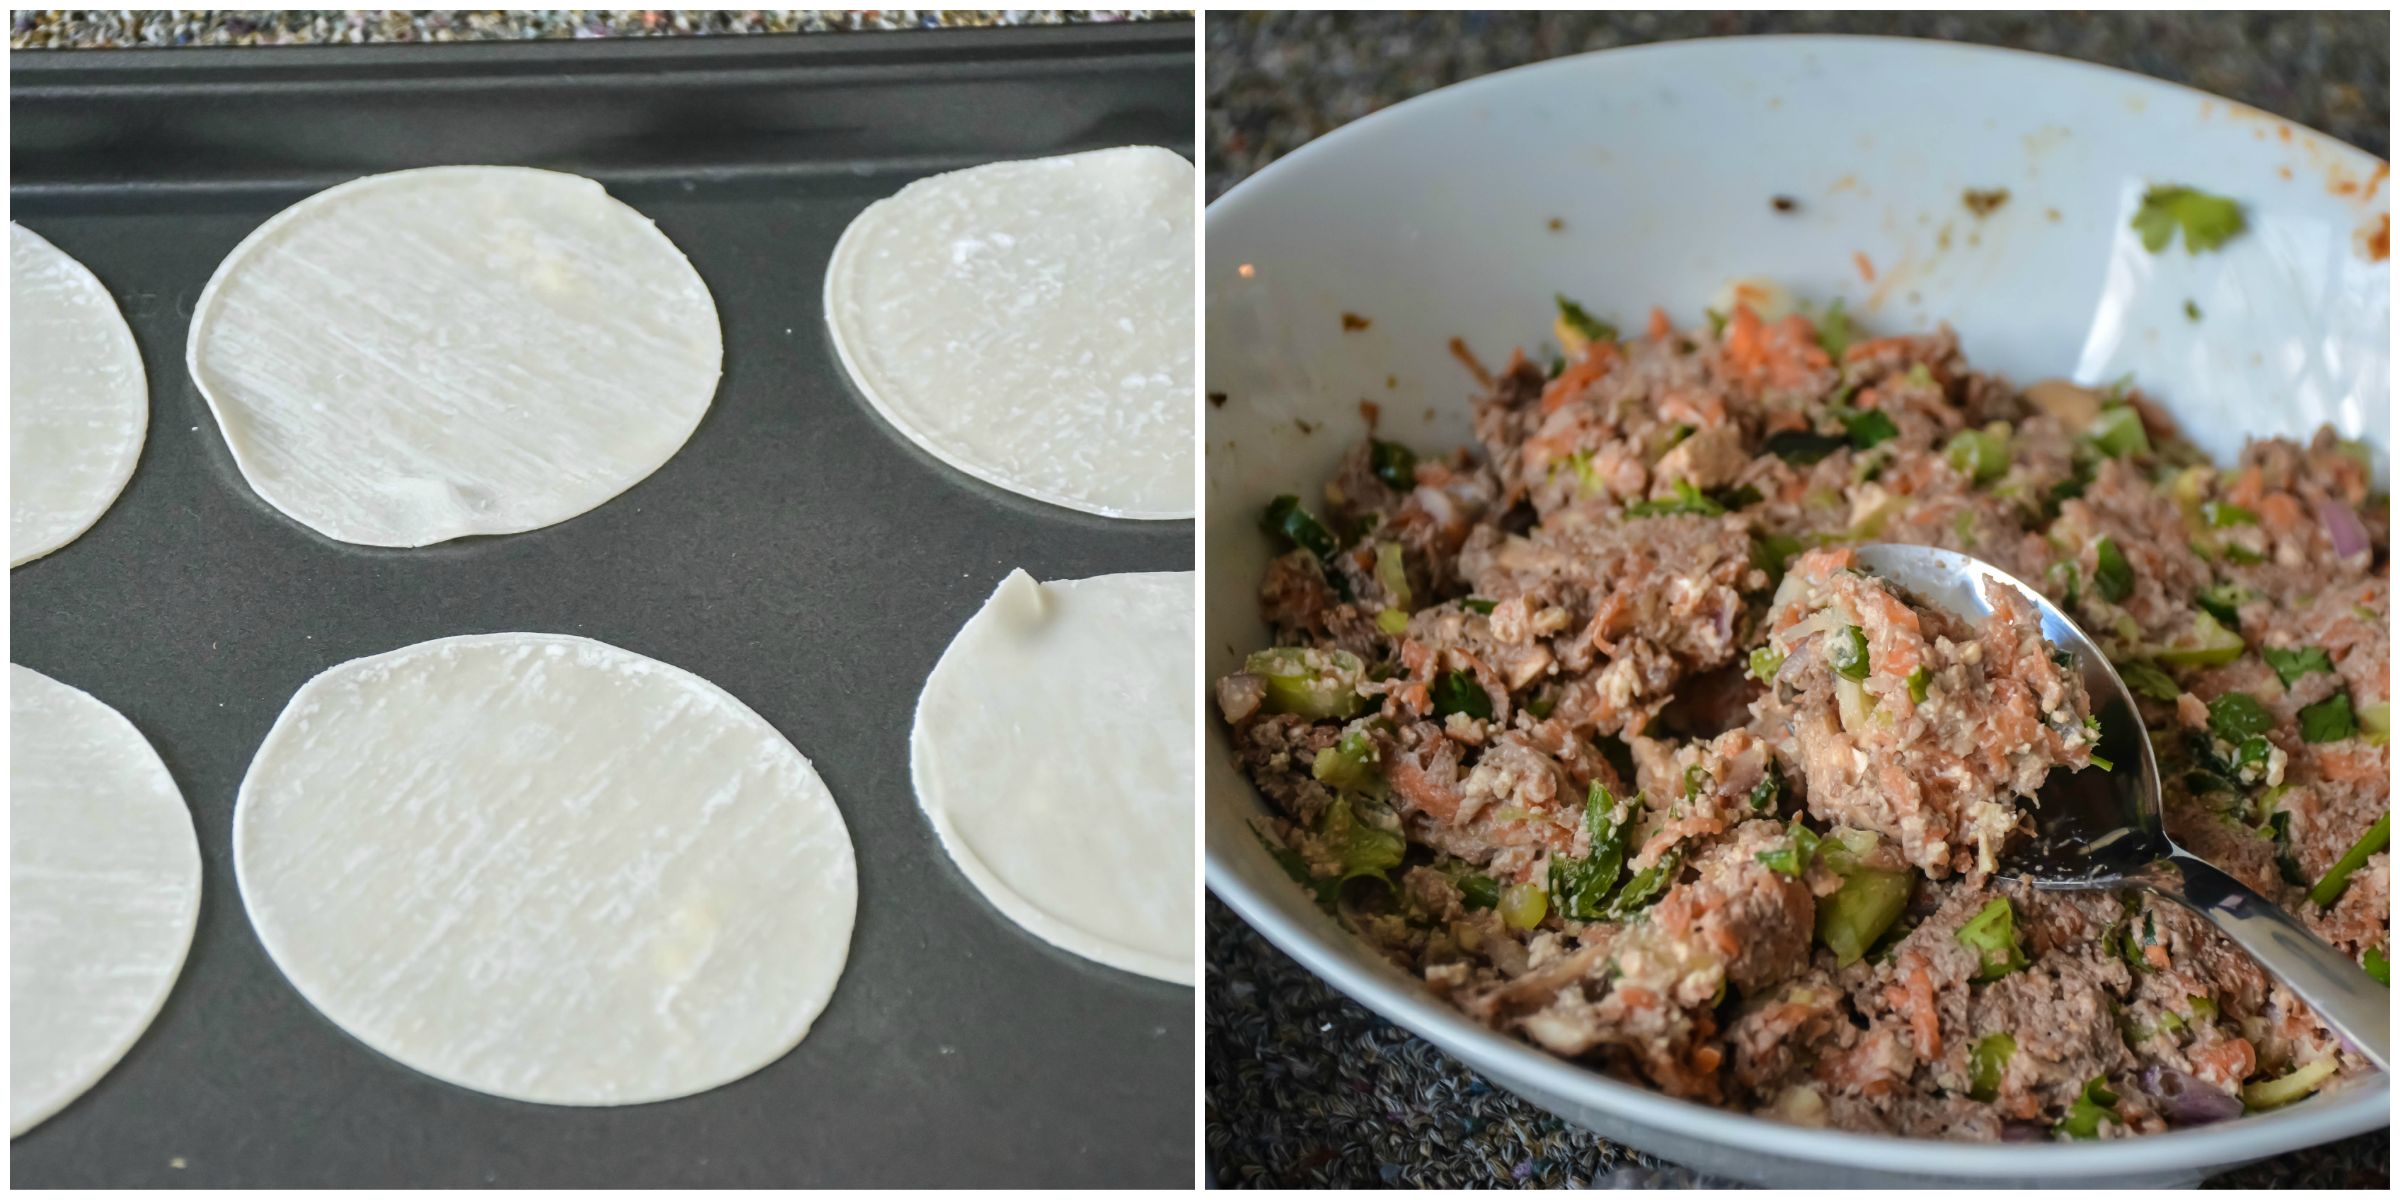
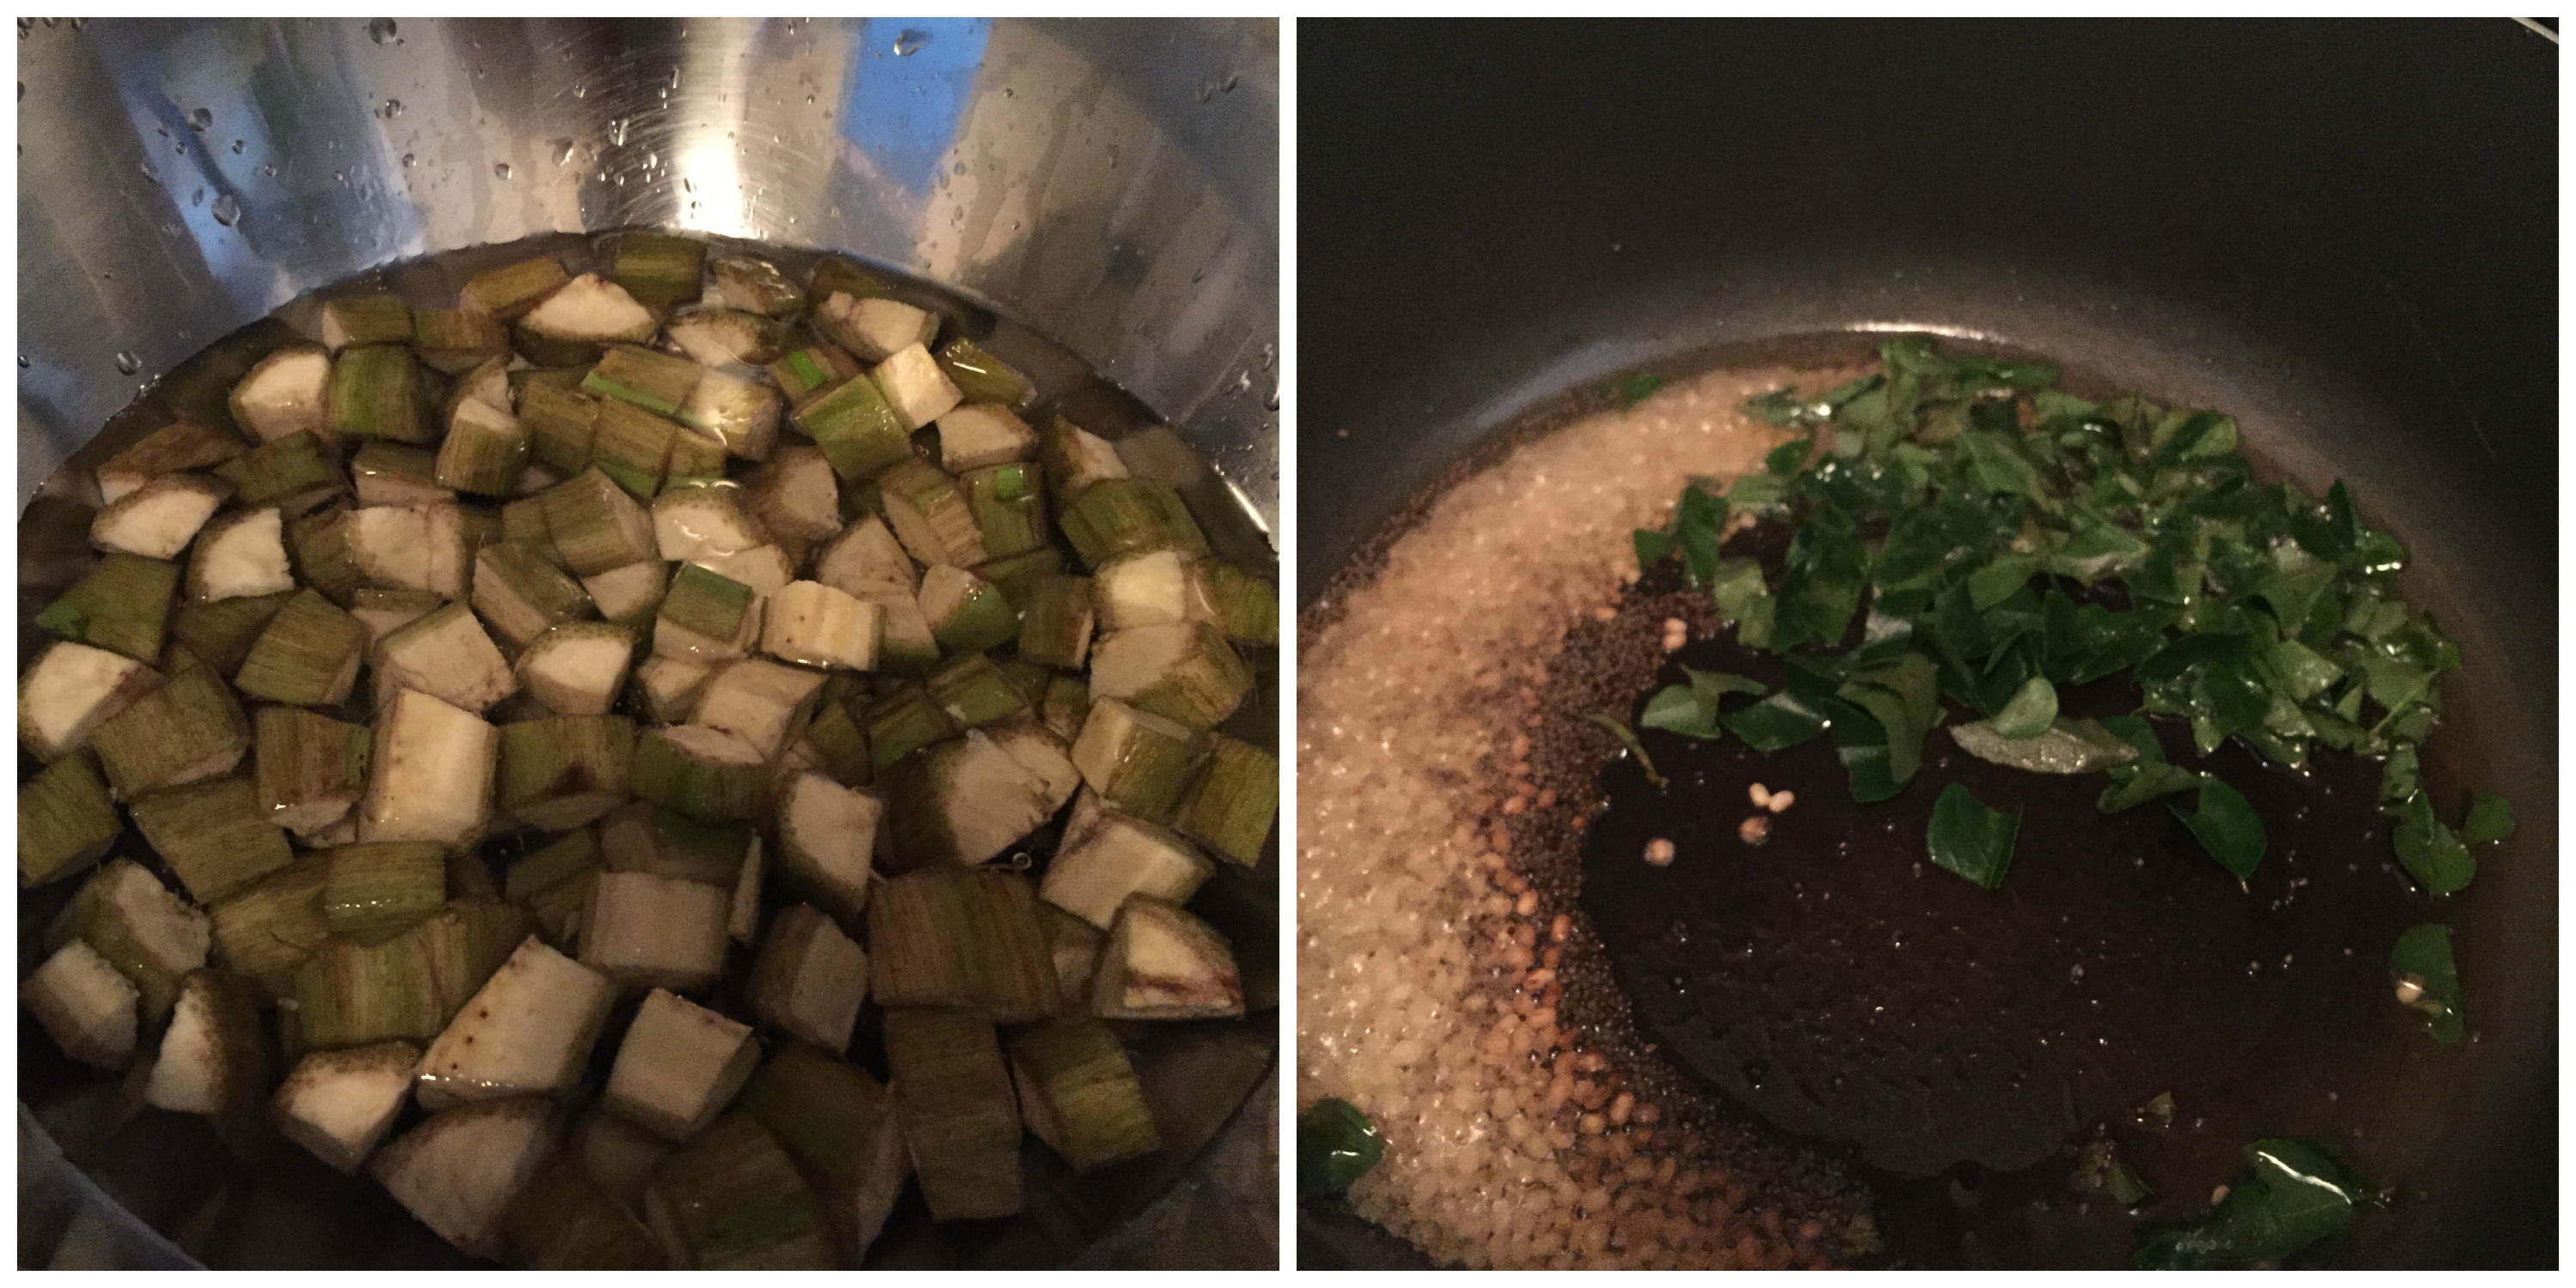
- Remove the ends of the eggplant and cut into half lengthwise. Put a slit in the middle of the eggplant and soak them in water till you cook. Slitting helps in masalas to get in.
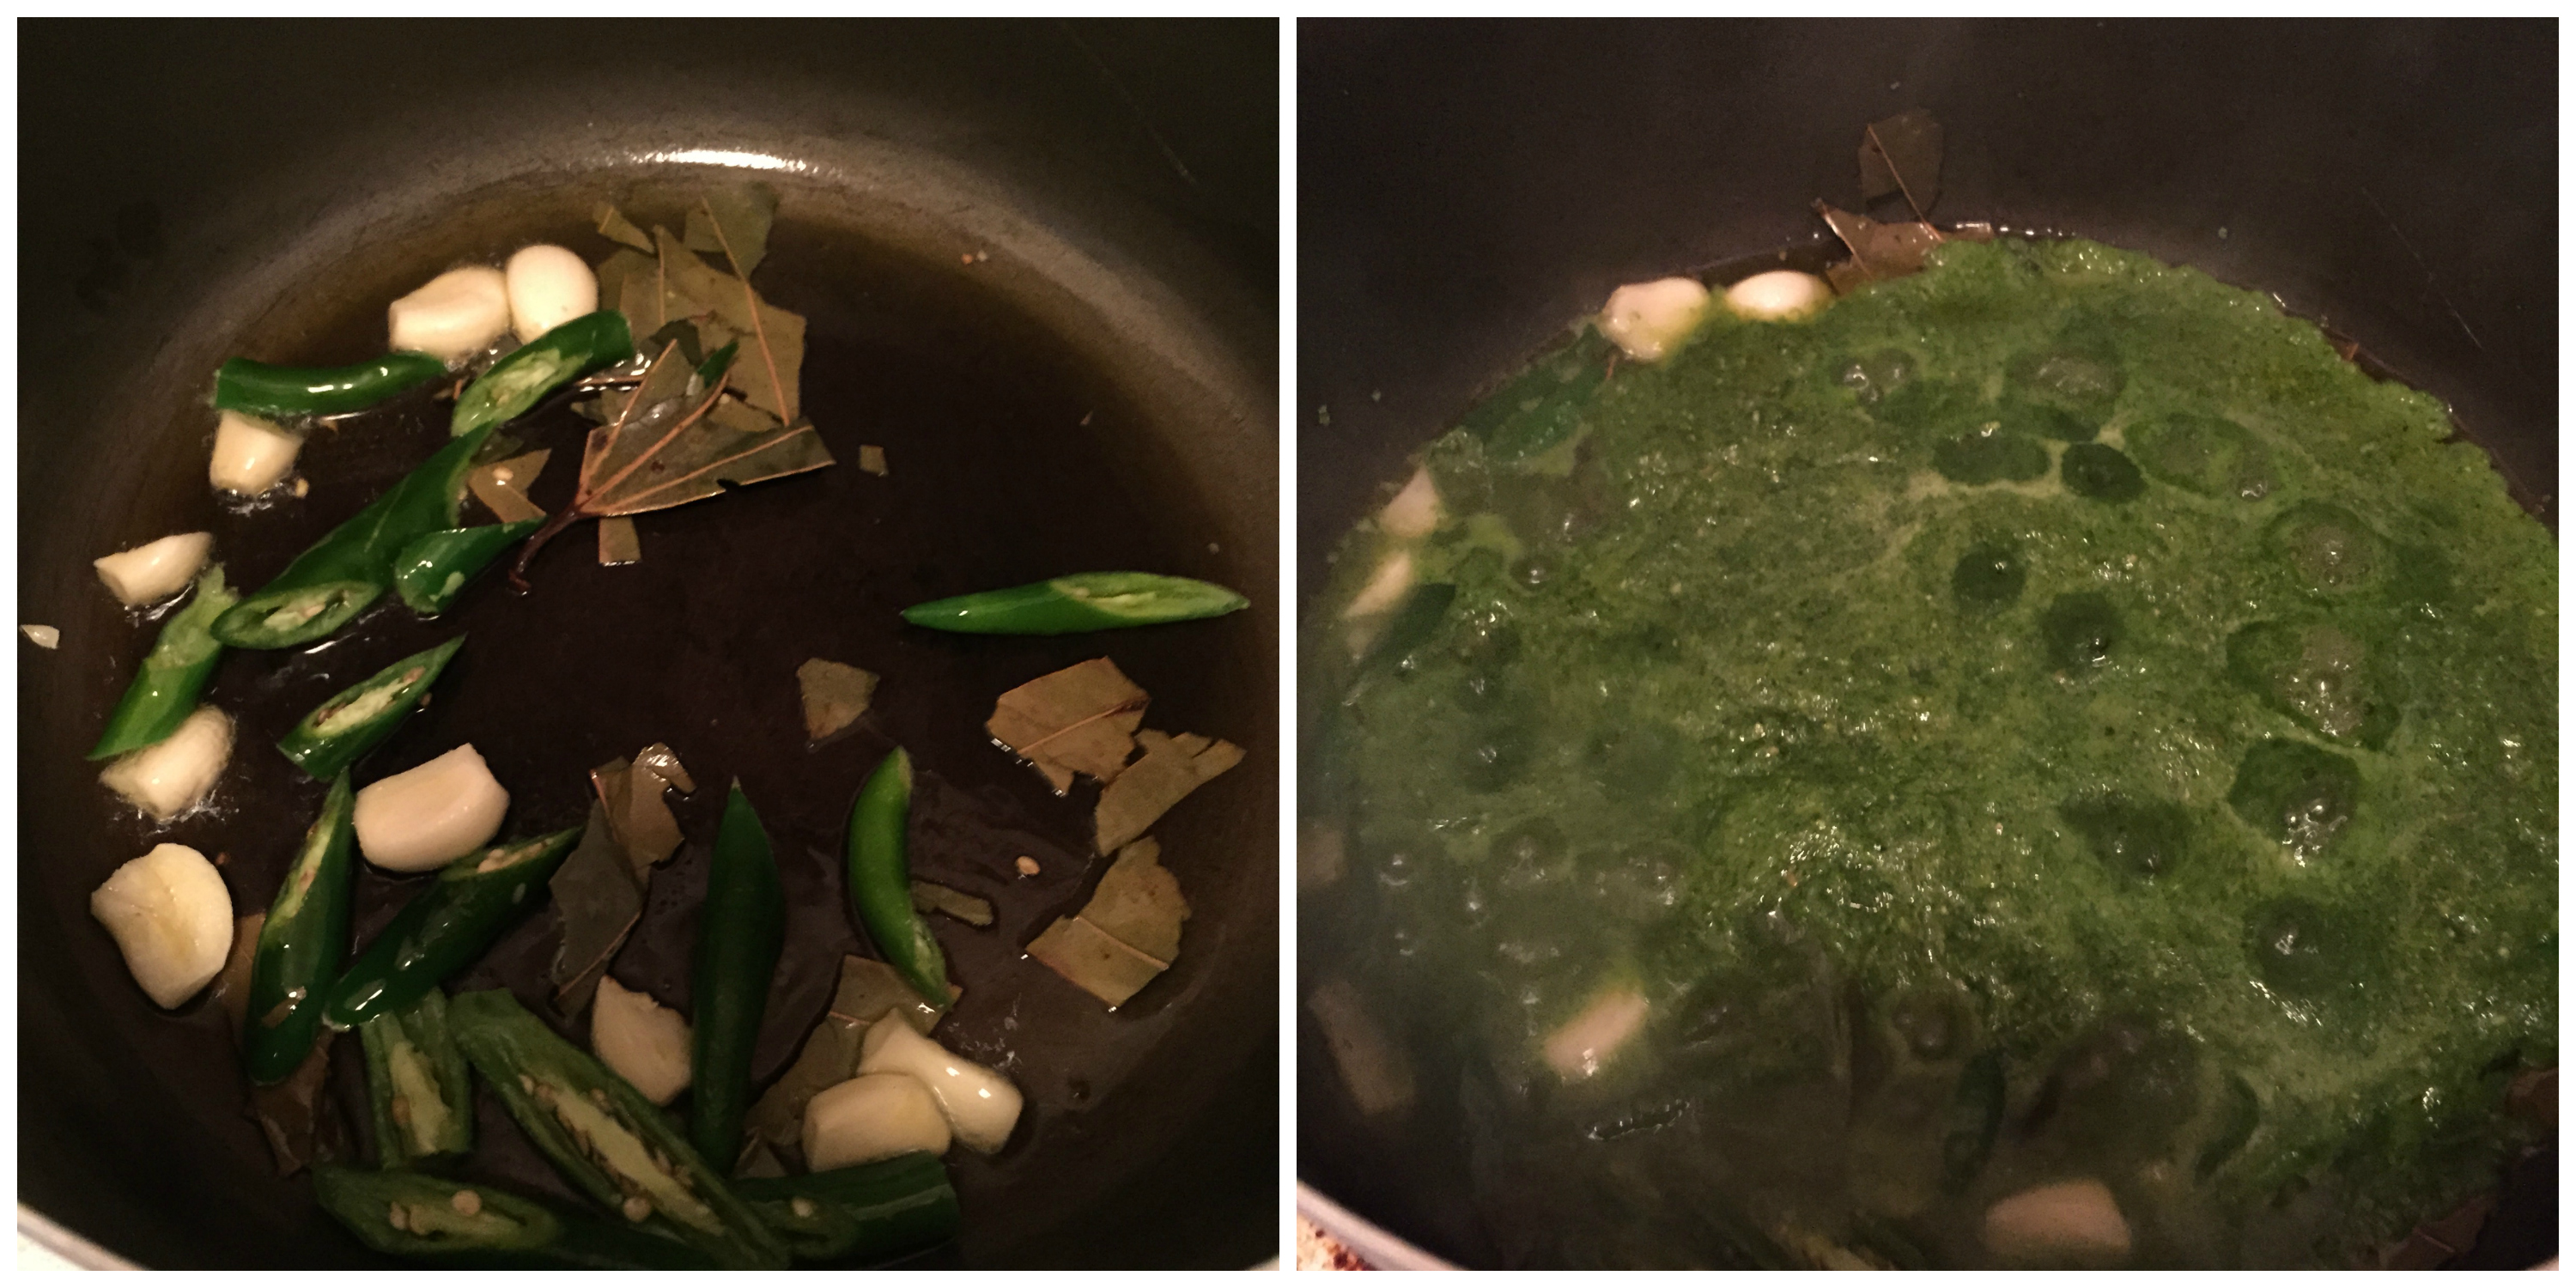
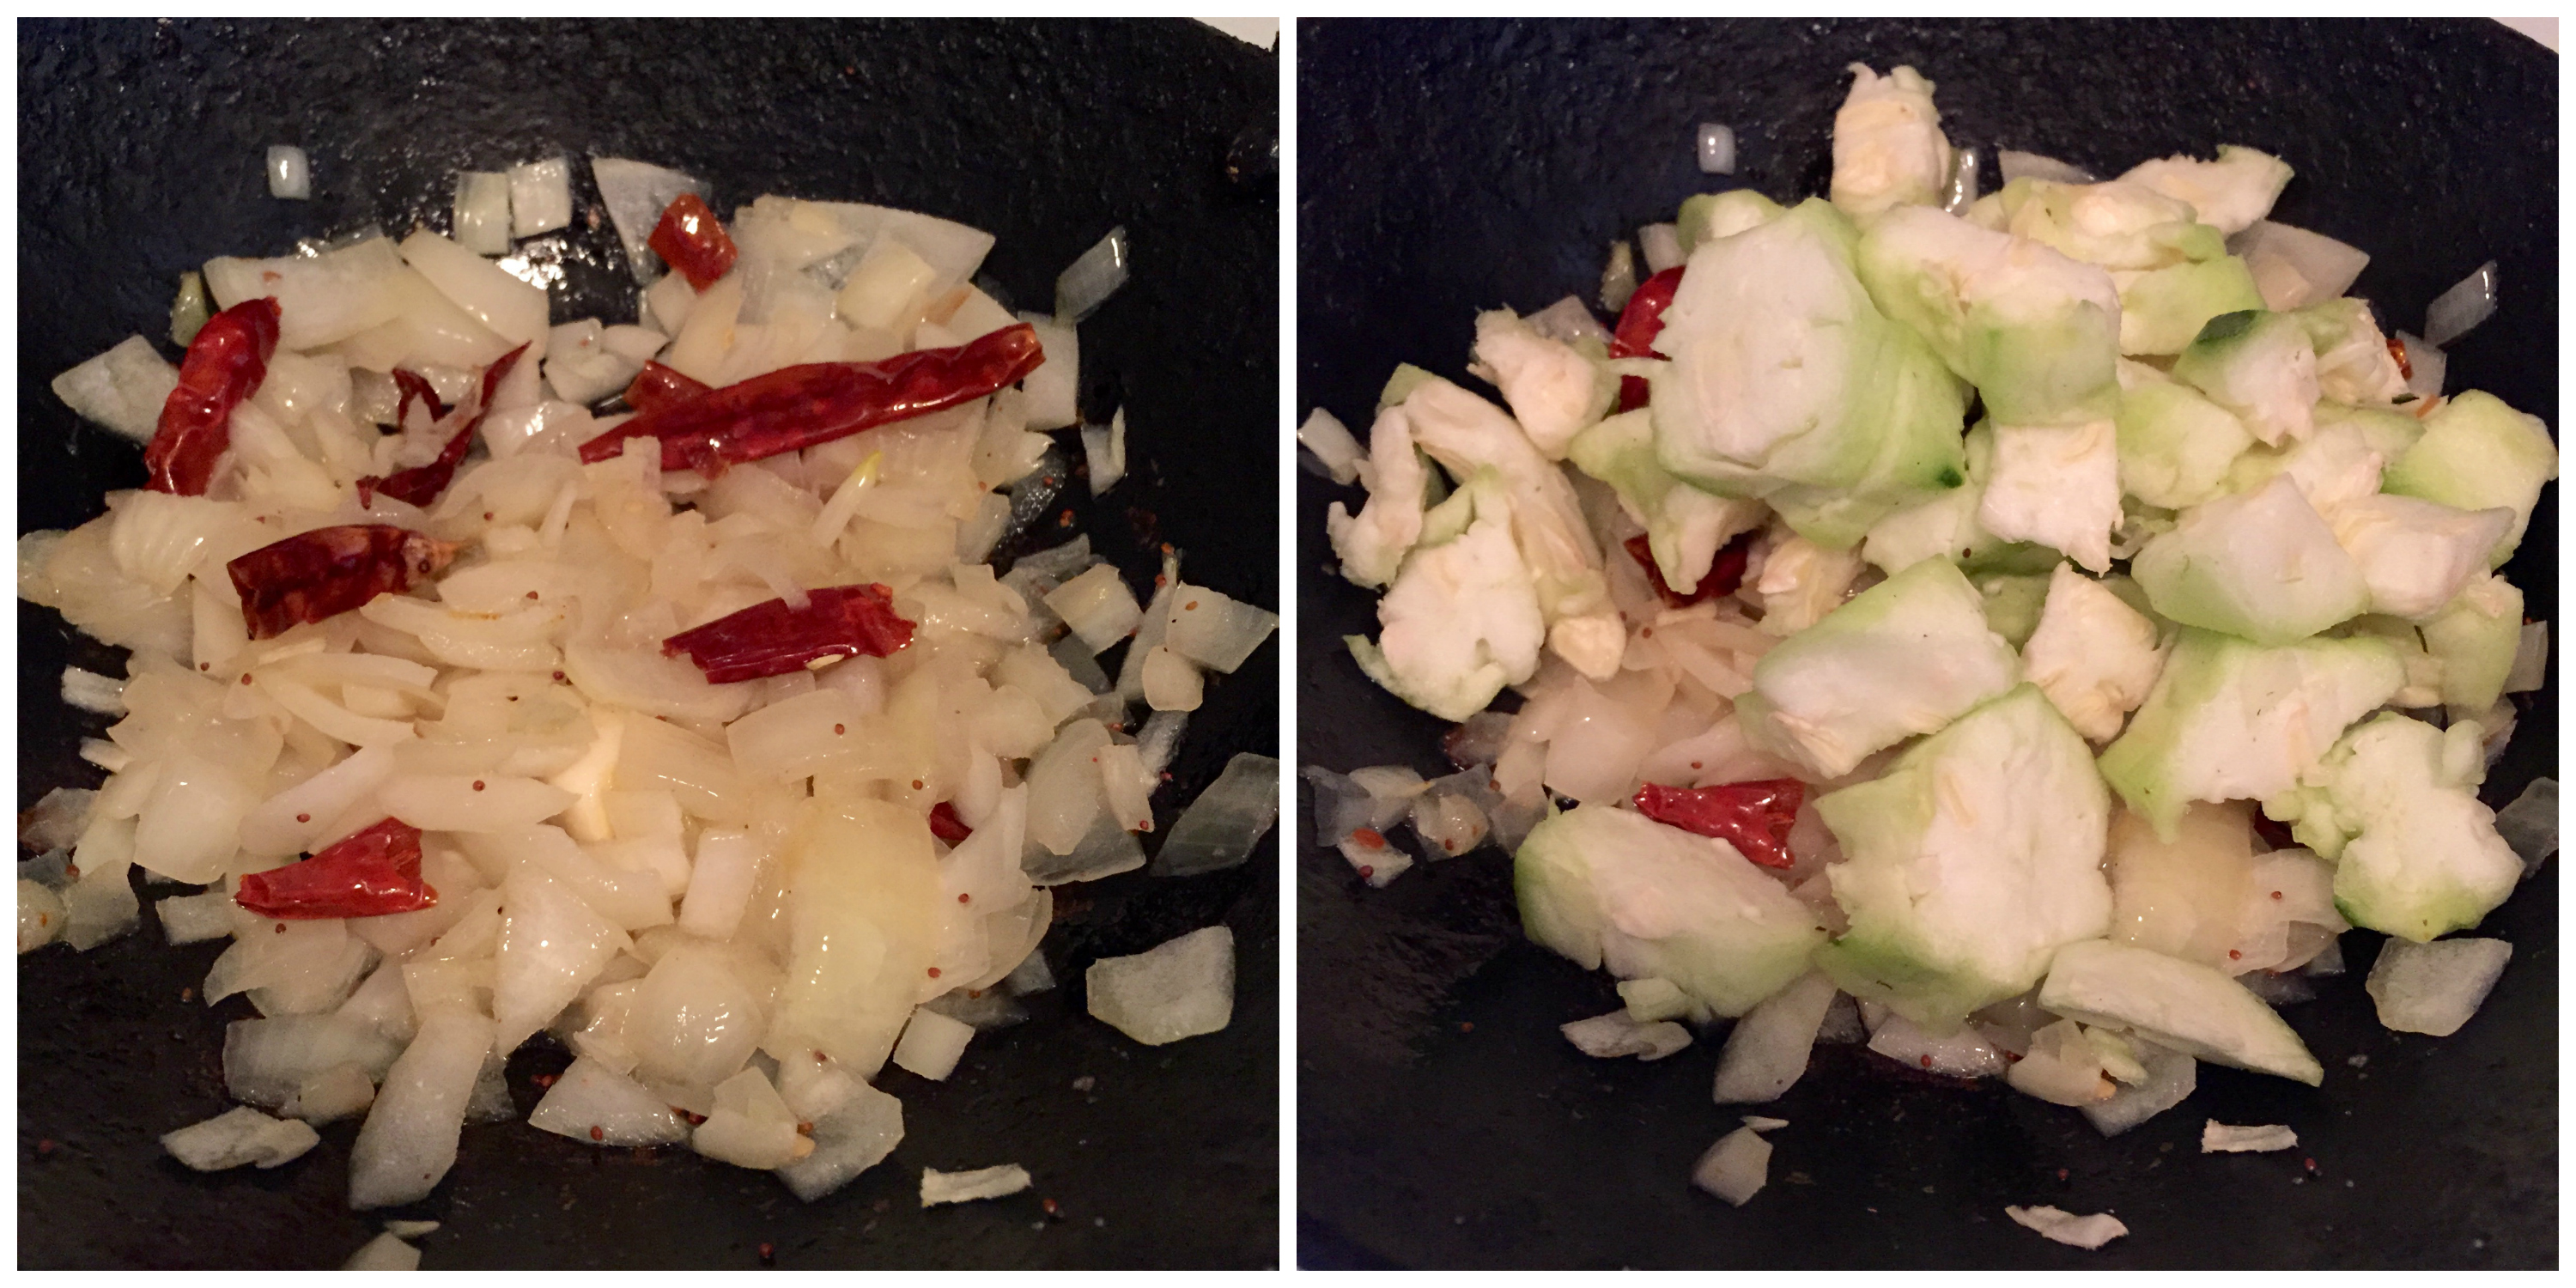
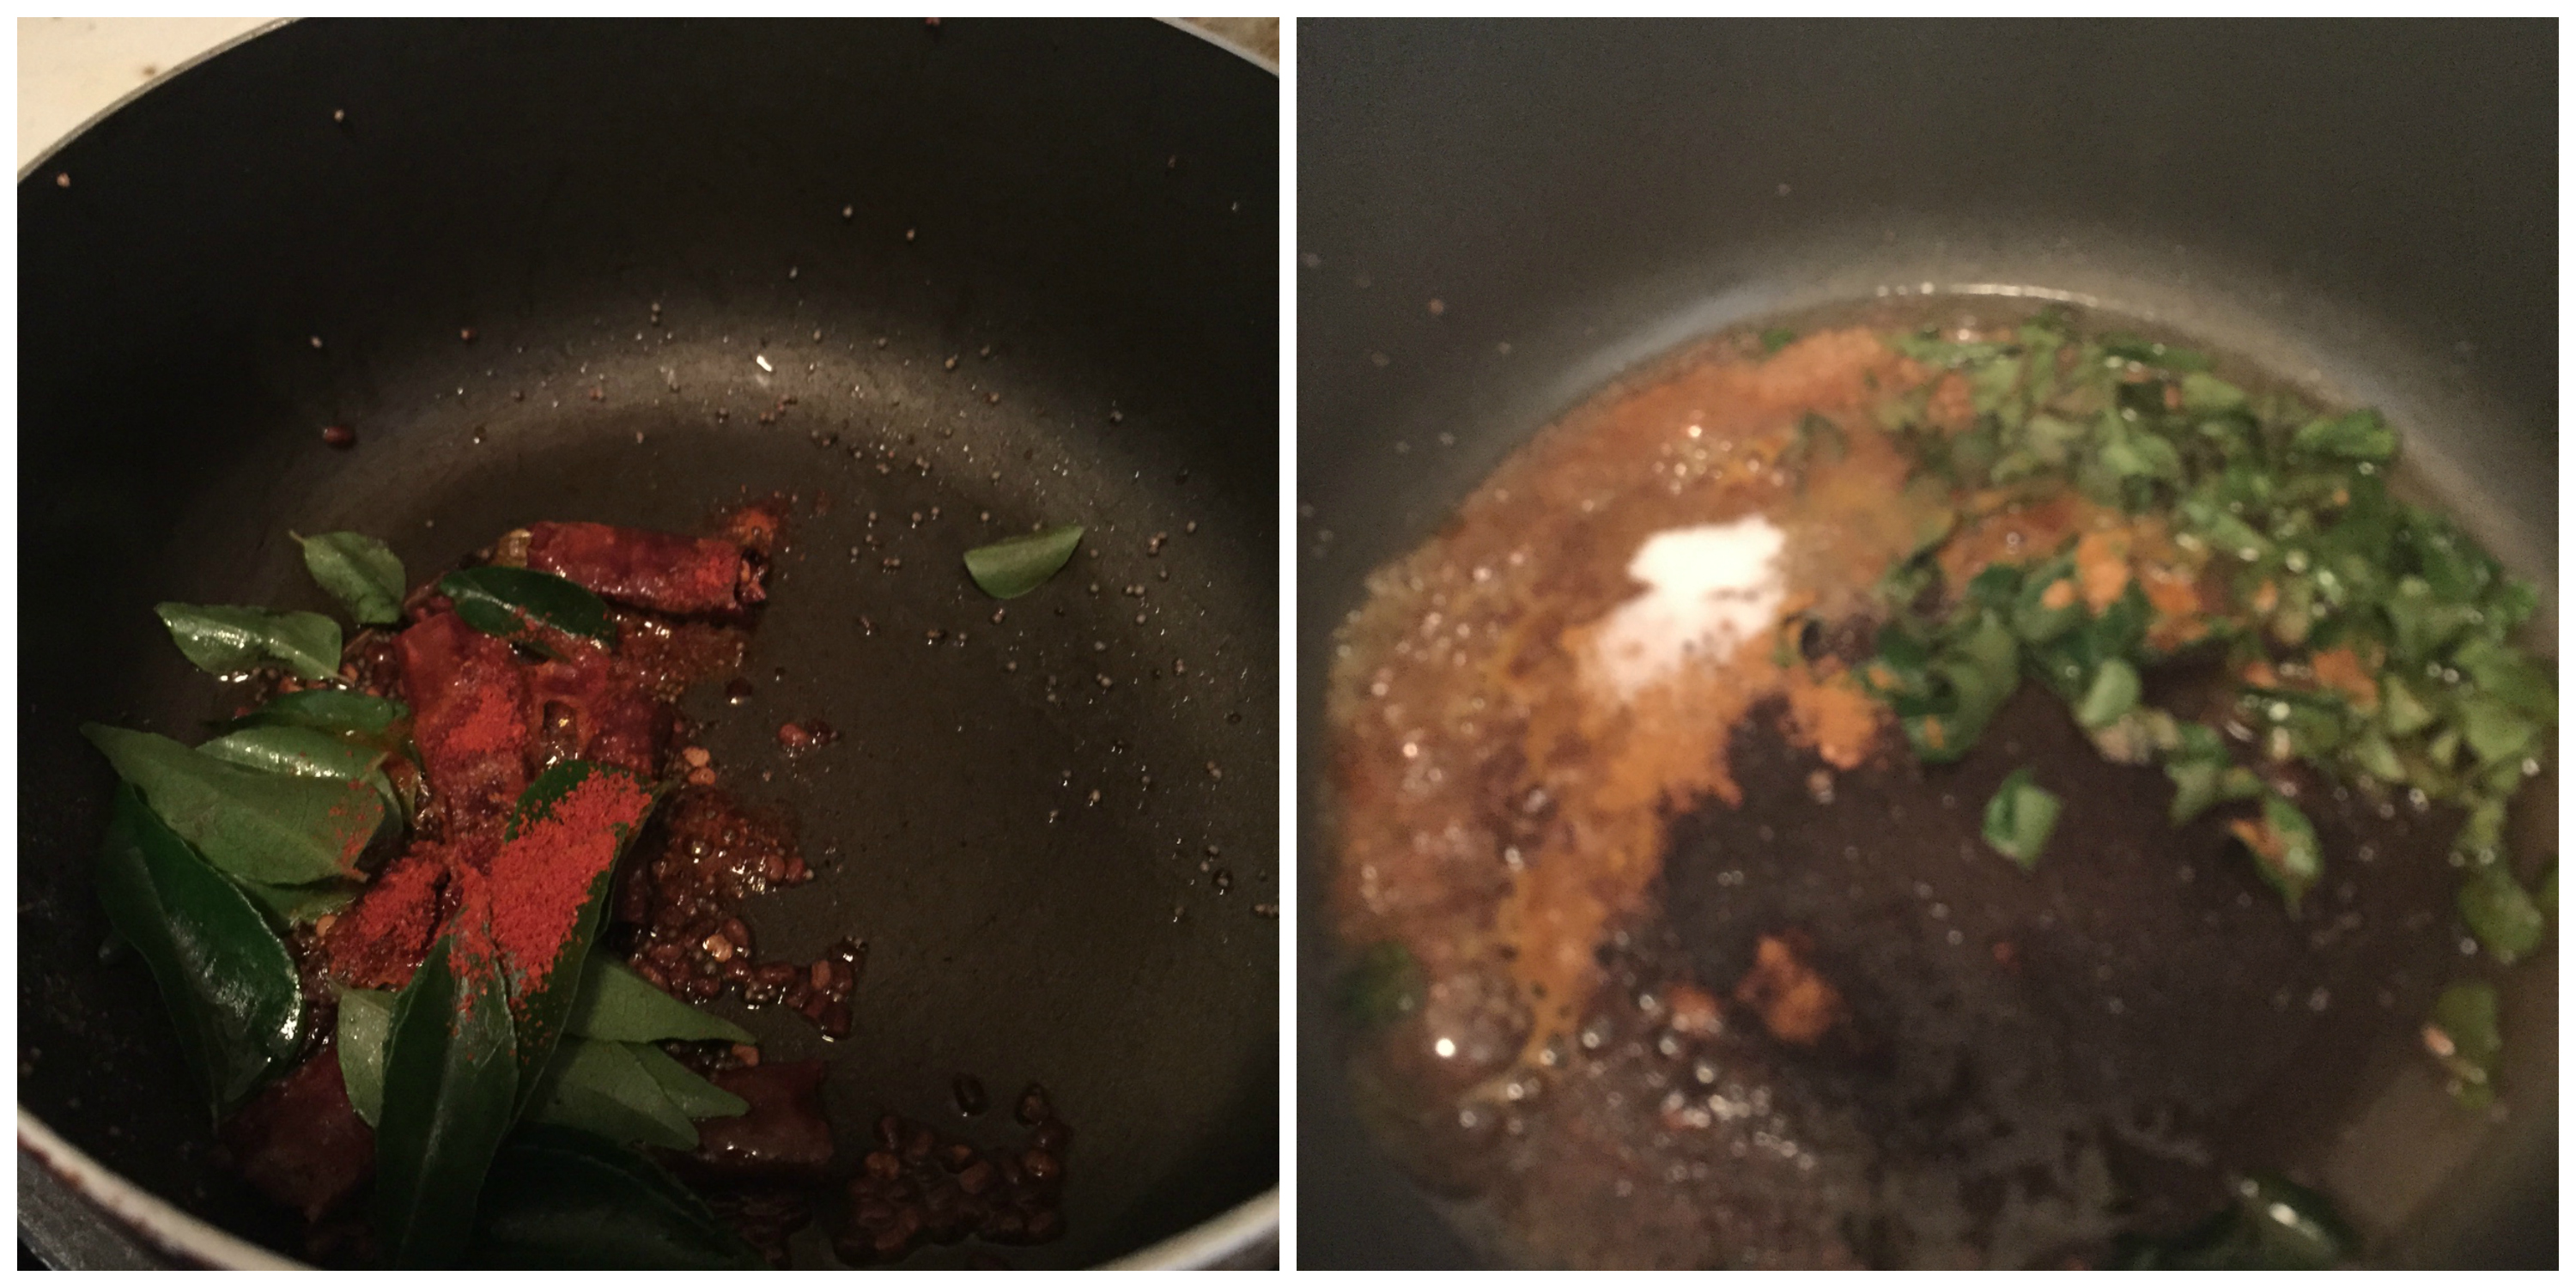
- Heat a wide pan with oil and add mustard seeds. When it crackle, add the urad dal and when it gets lightly golden brown, add the curry leaves.
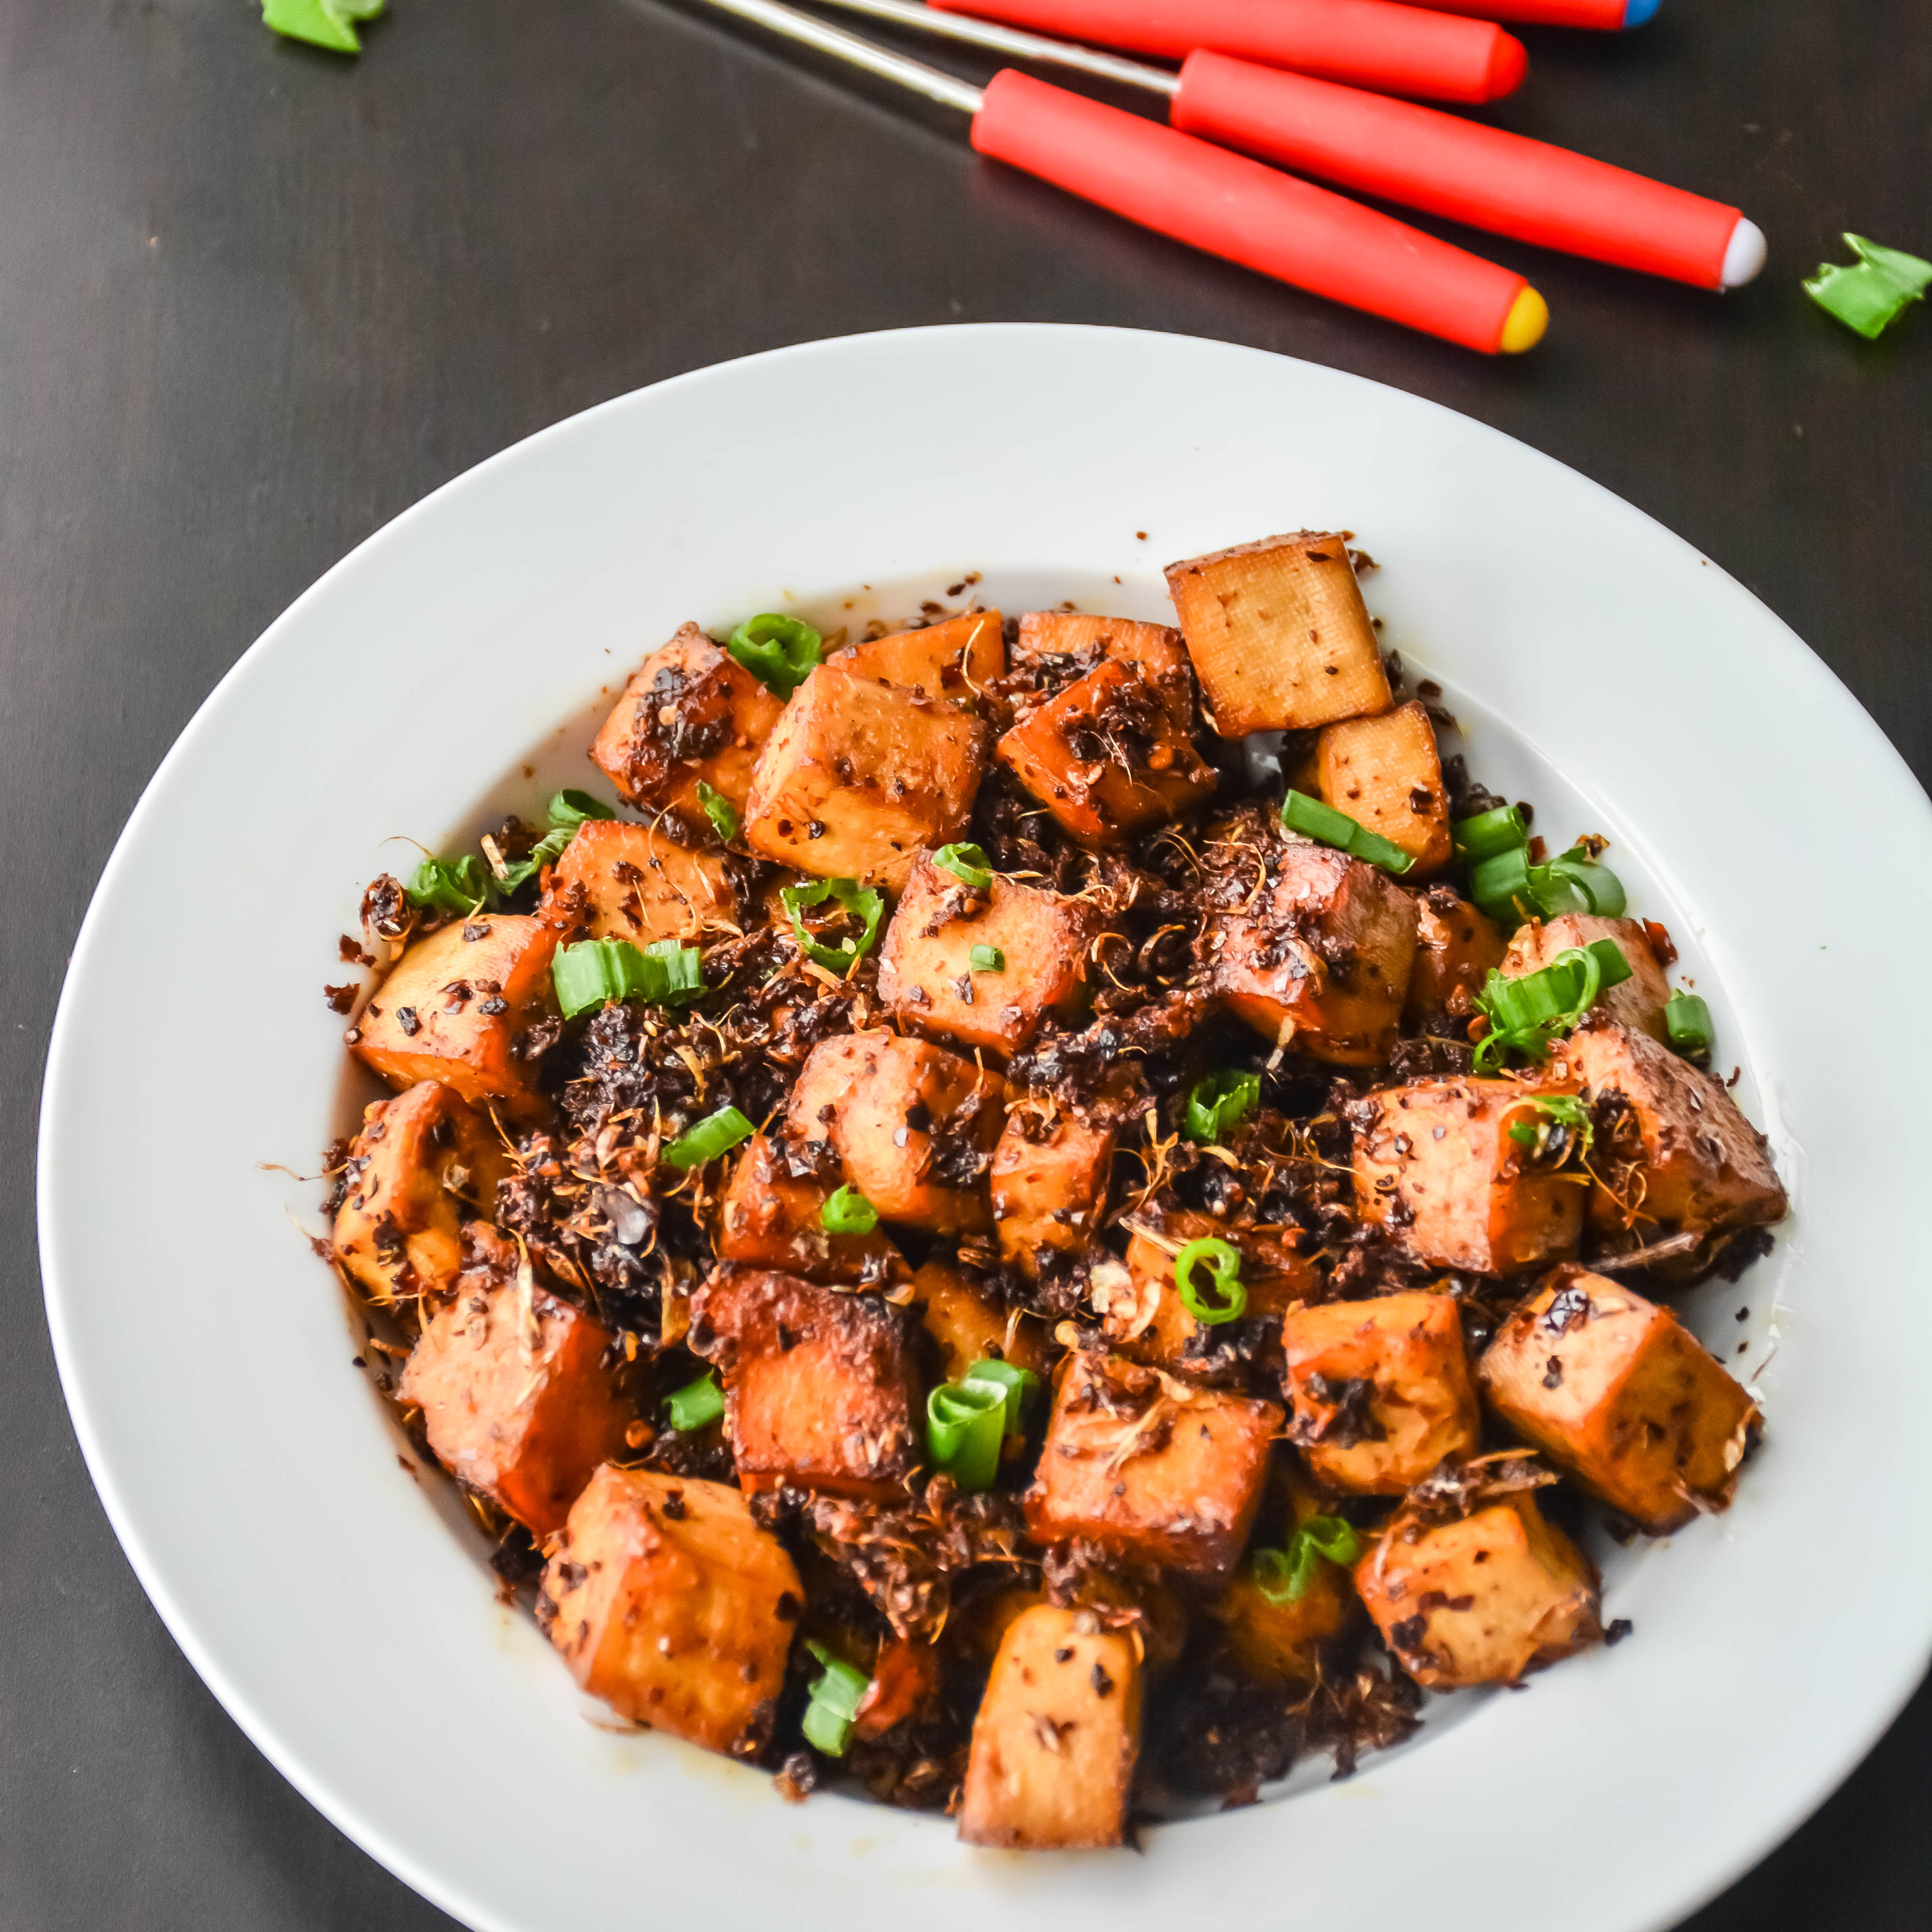
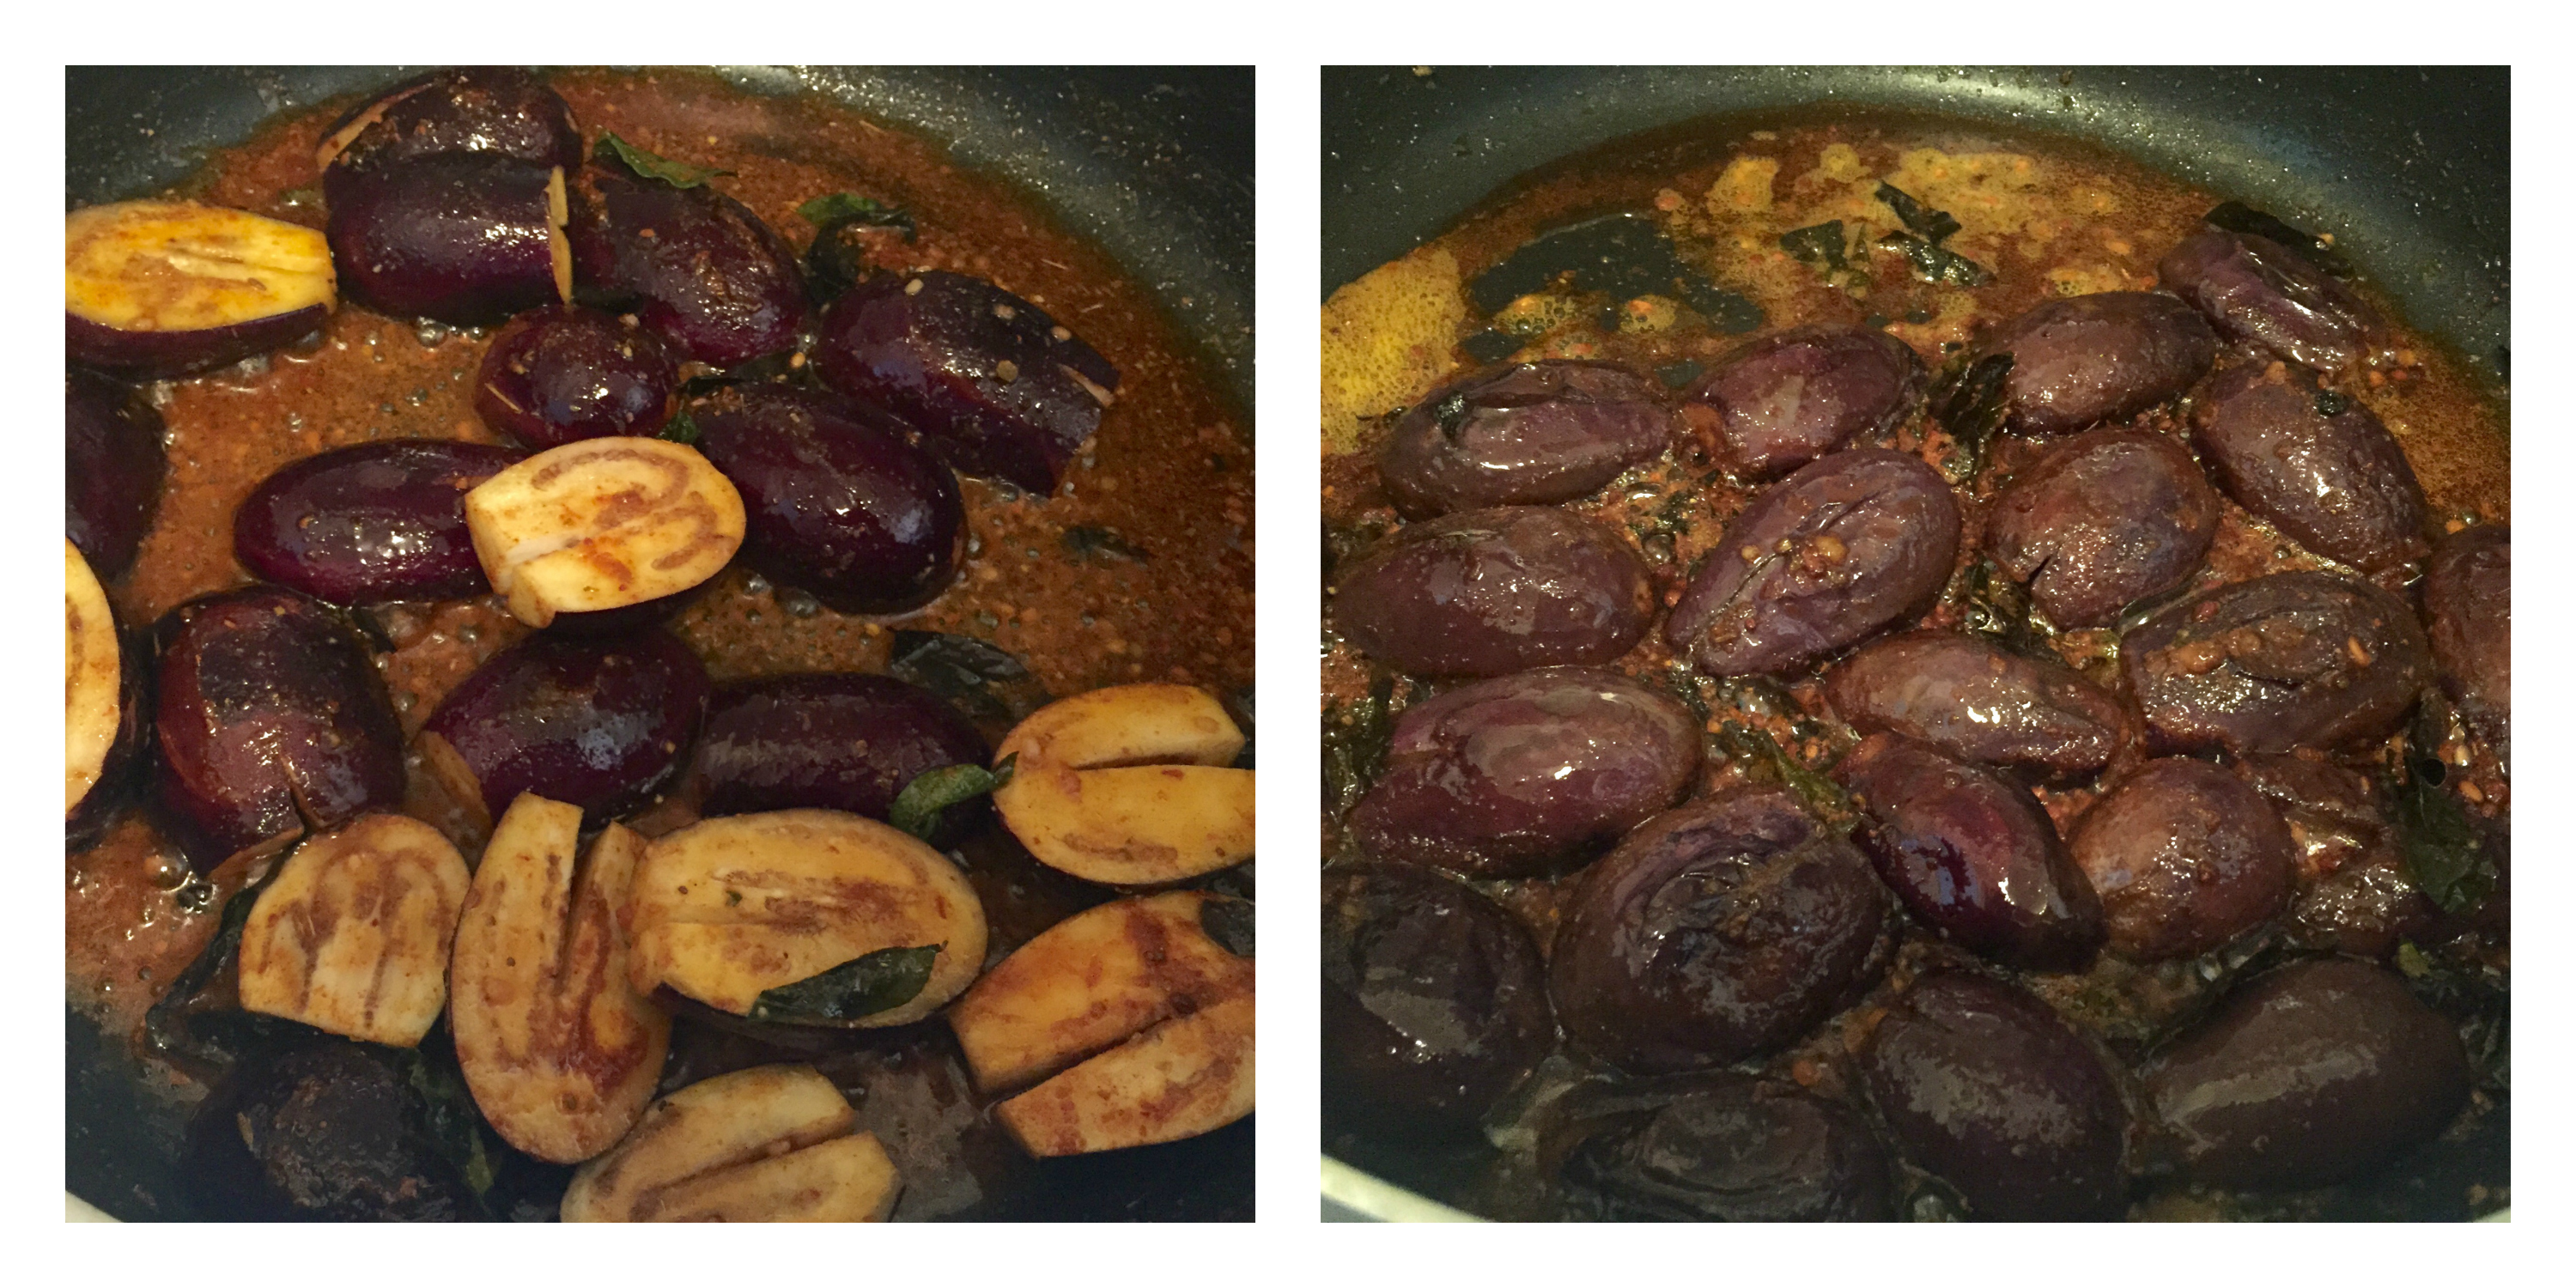
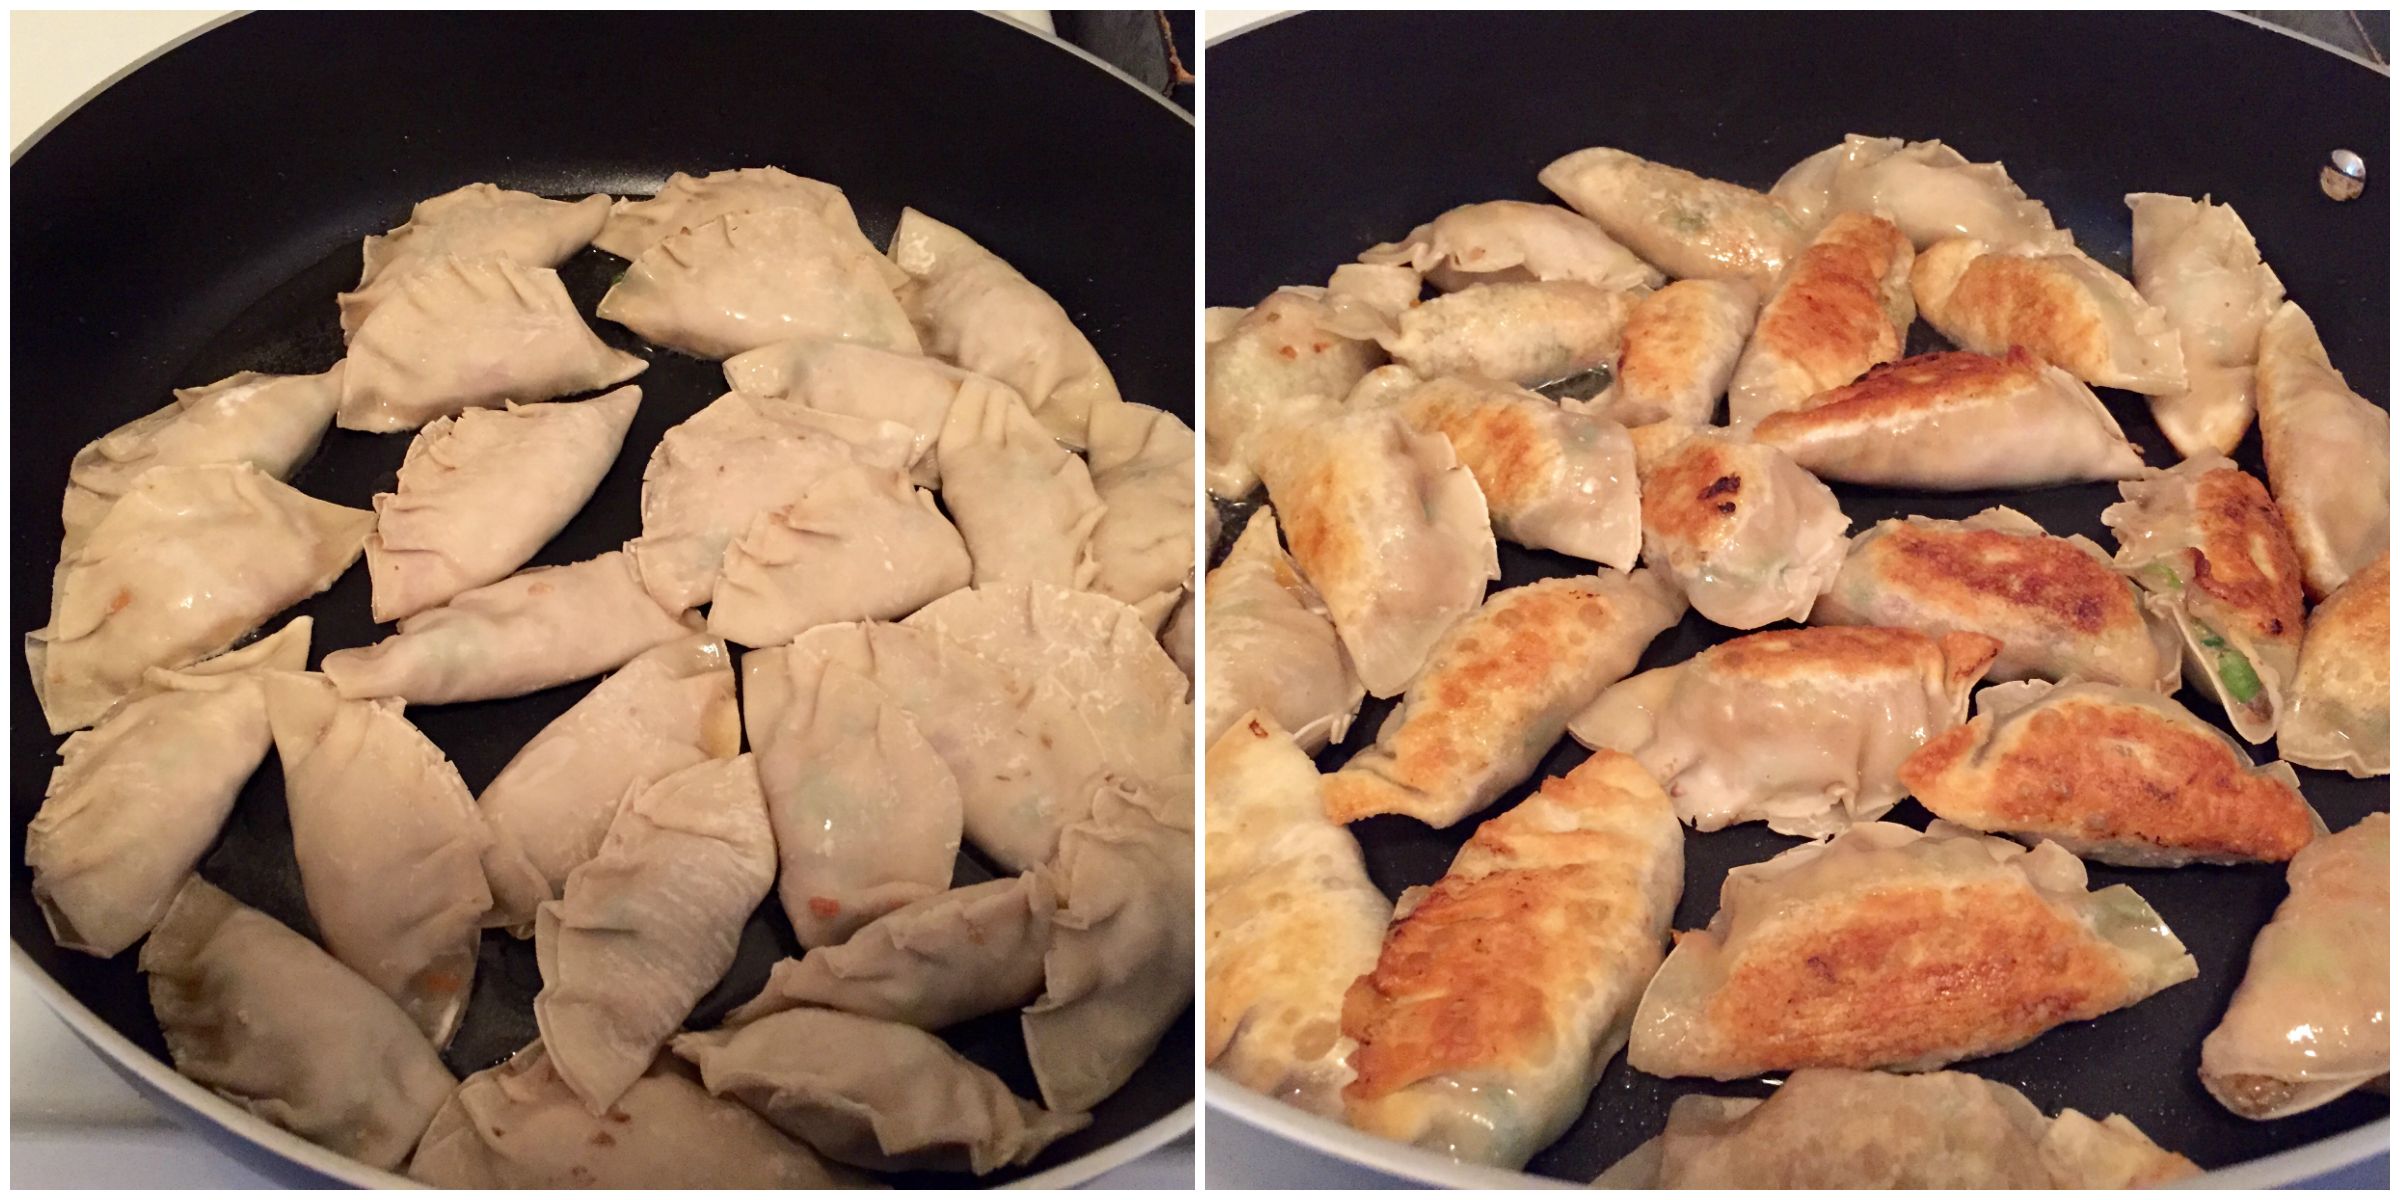
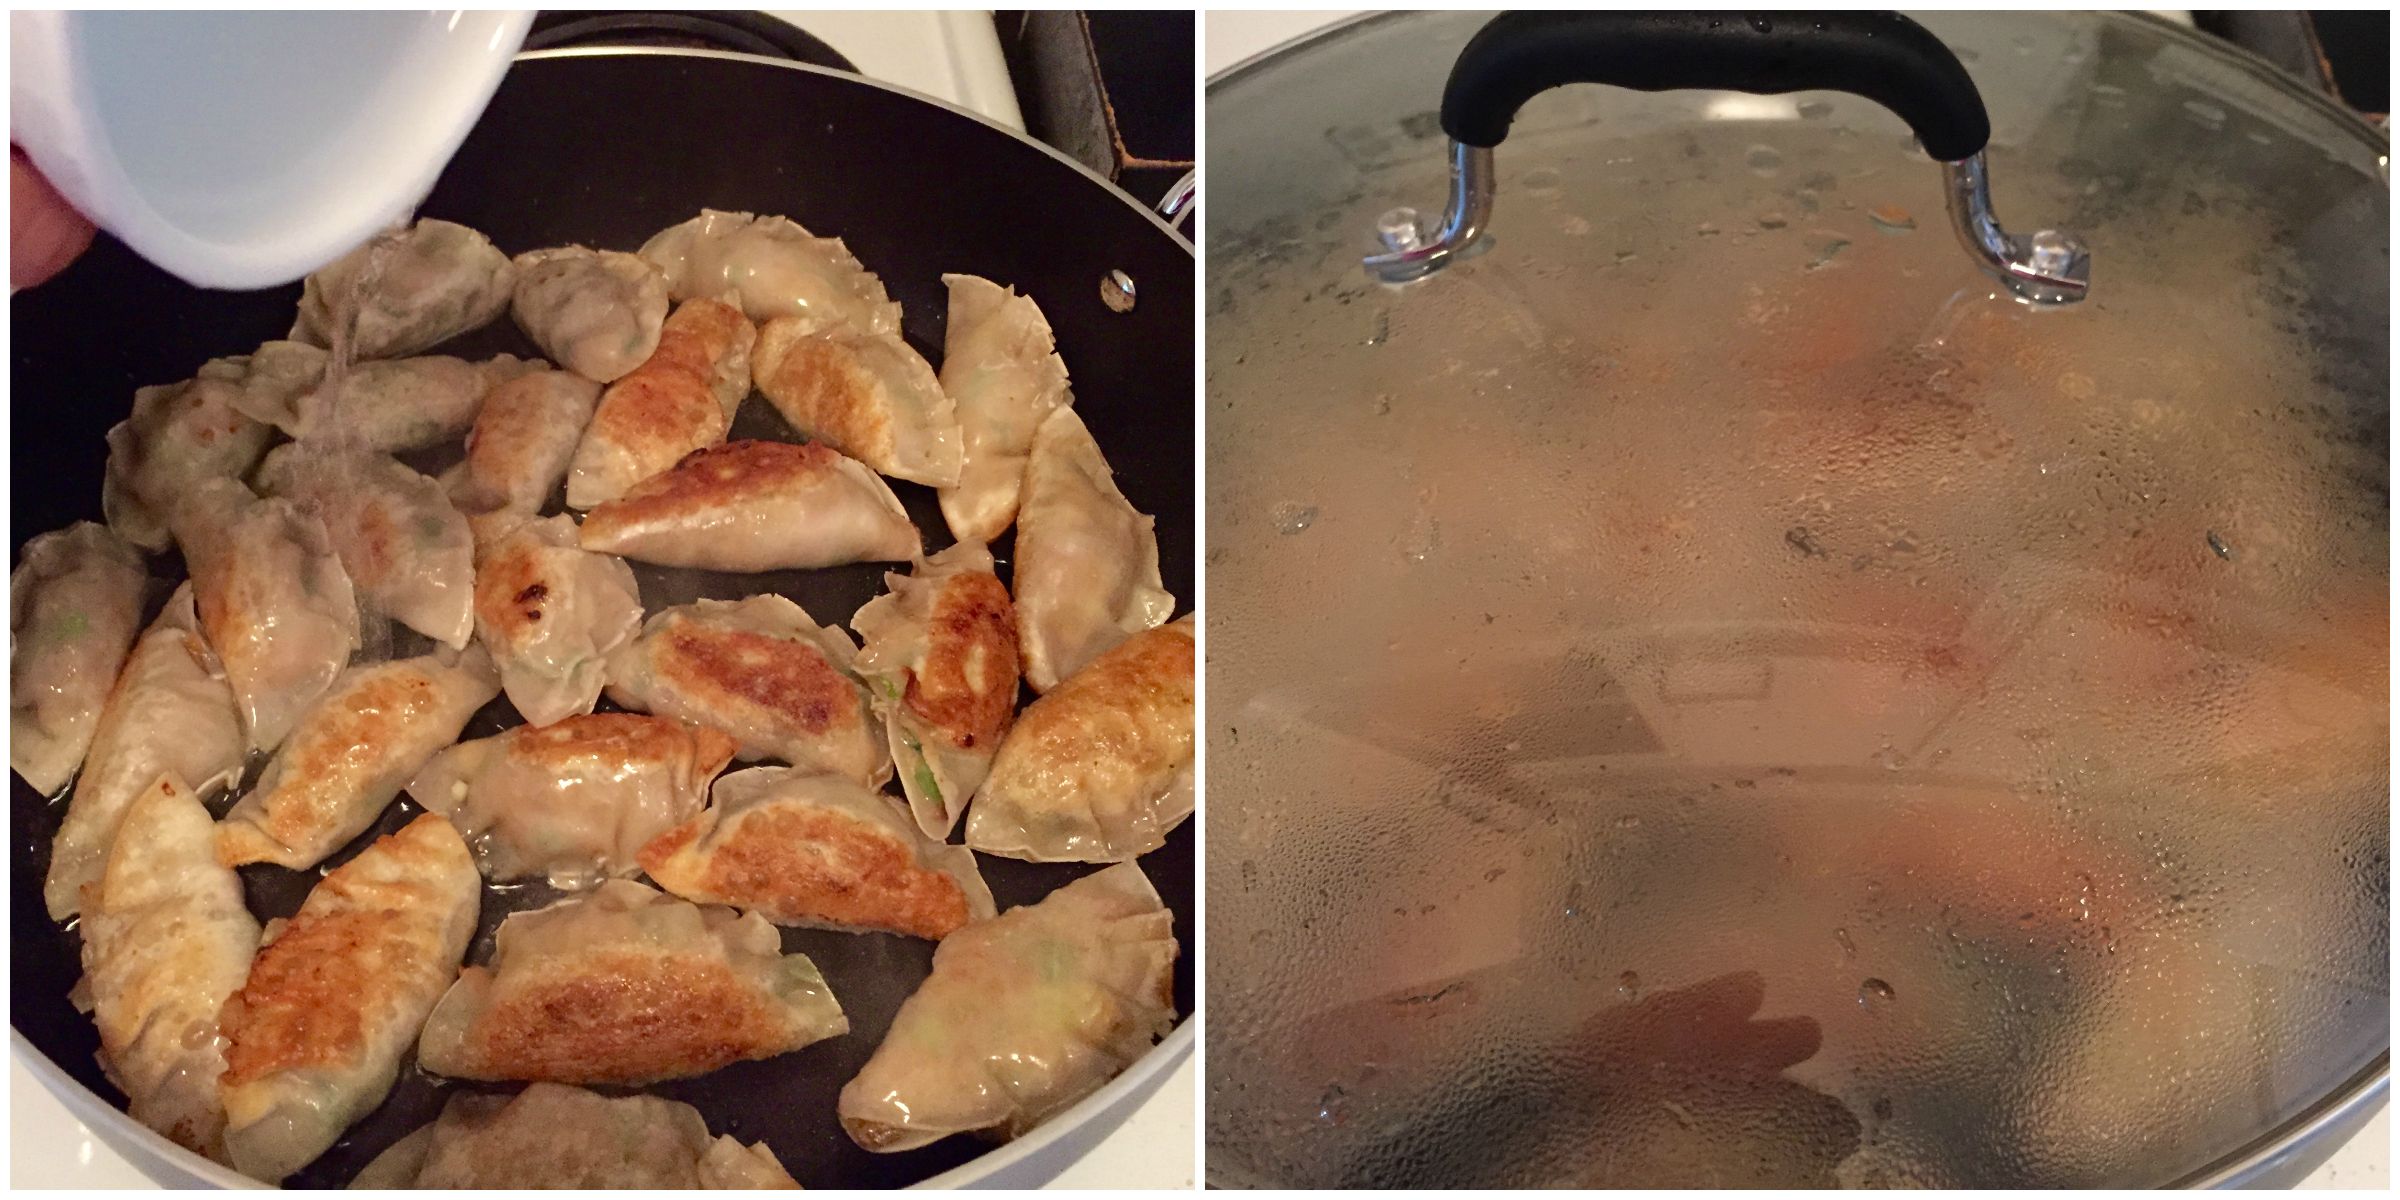
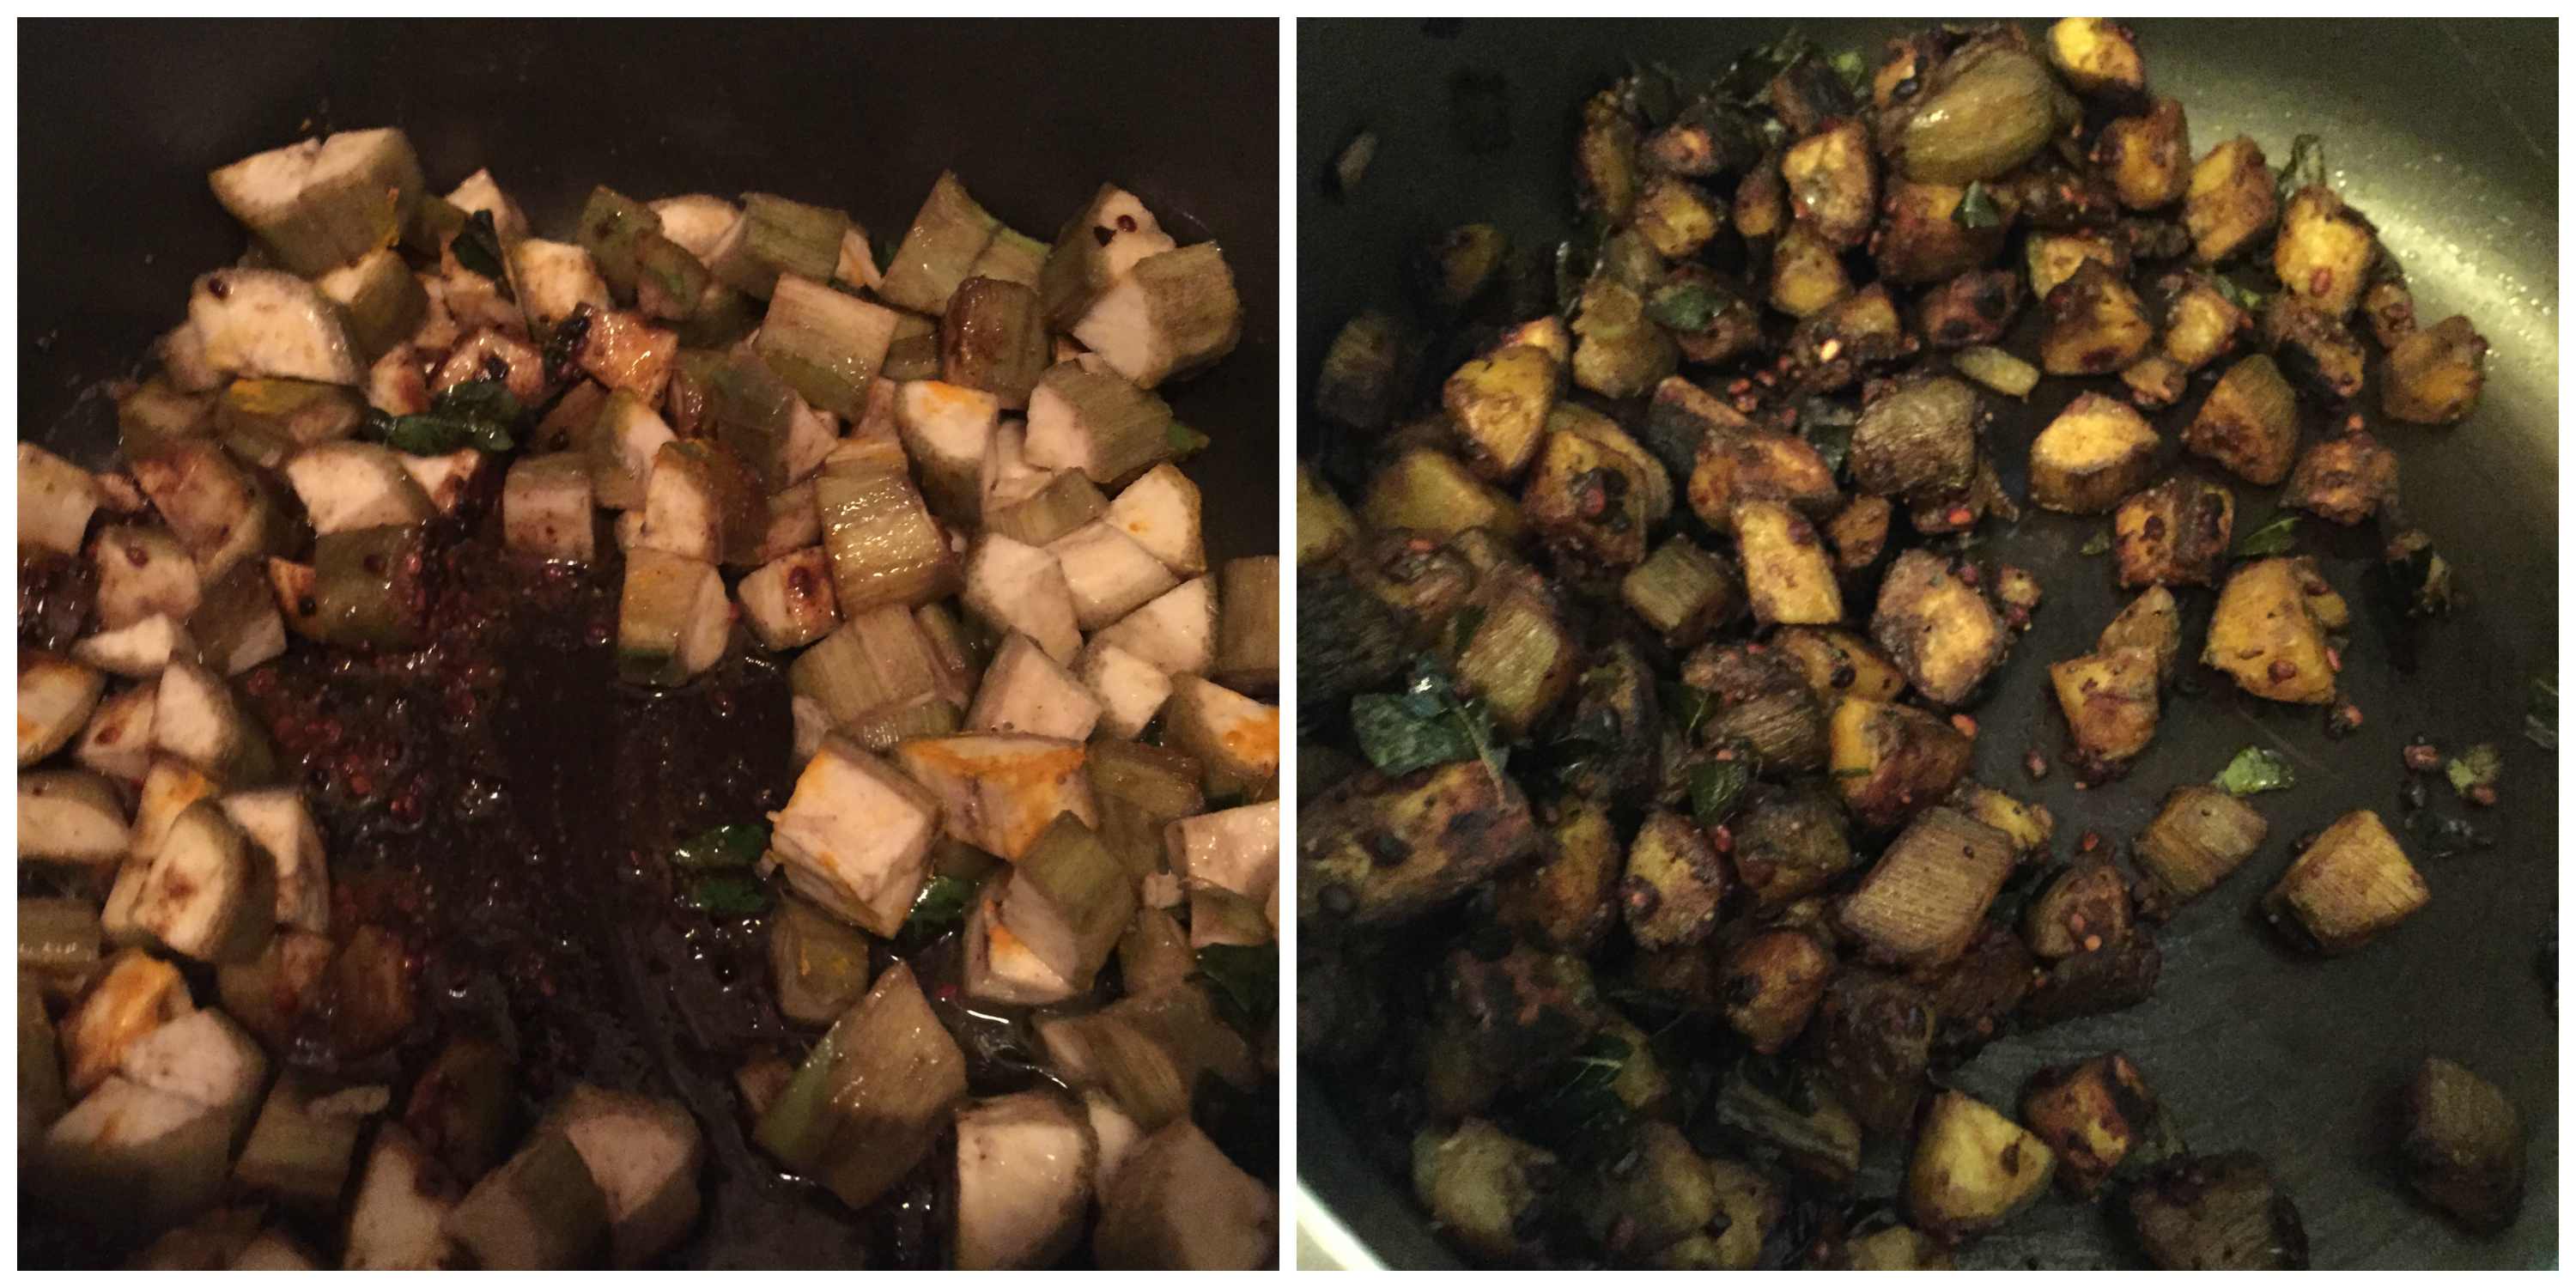
- Now add the eggplants to it. Add the ground paste,turmeric powder,salt and add 2 tbsp of water. Mix it well and cover it for 7-8 minutes.

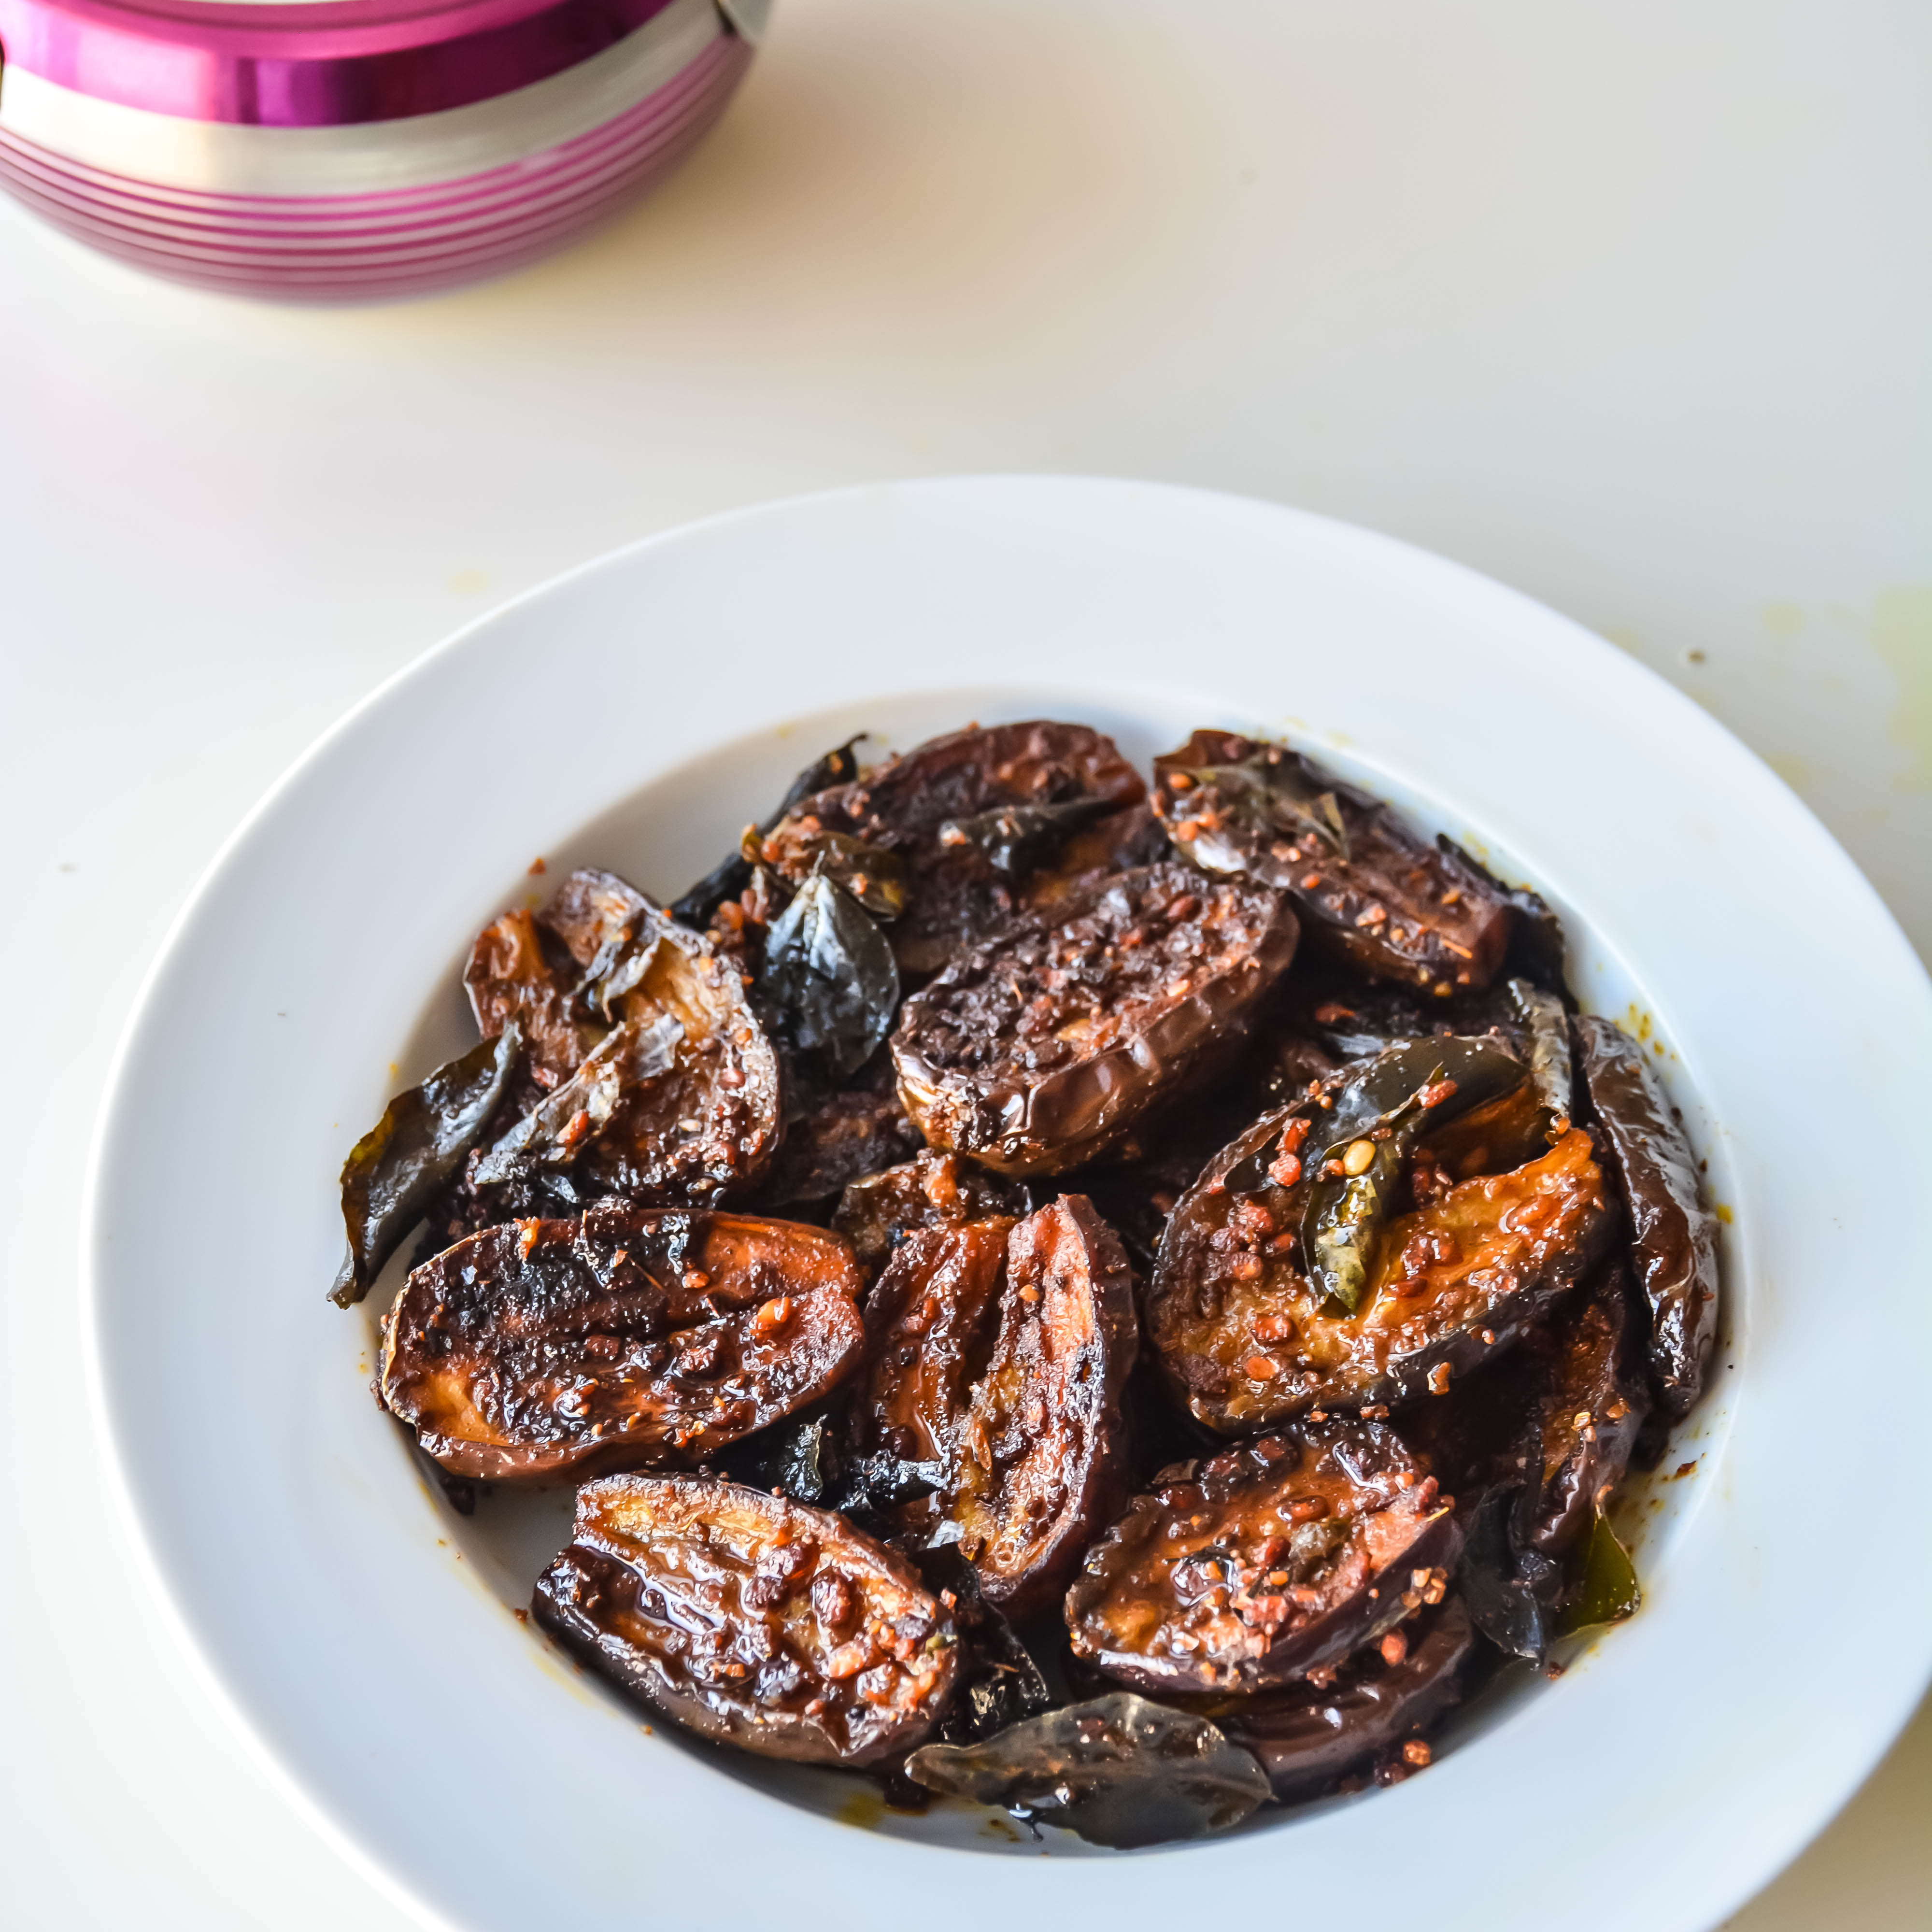
- After 7-8 minutes, open the pan, the water would have evaporated and now turn the brinjal the other side and cook it uncovered in medium heat till both sides get evenly roasted.
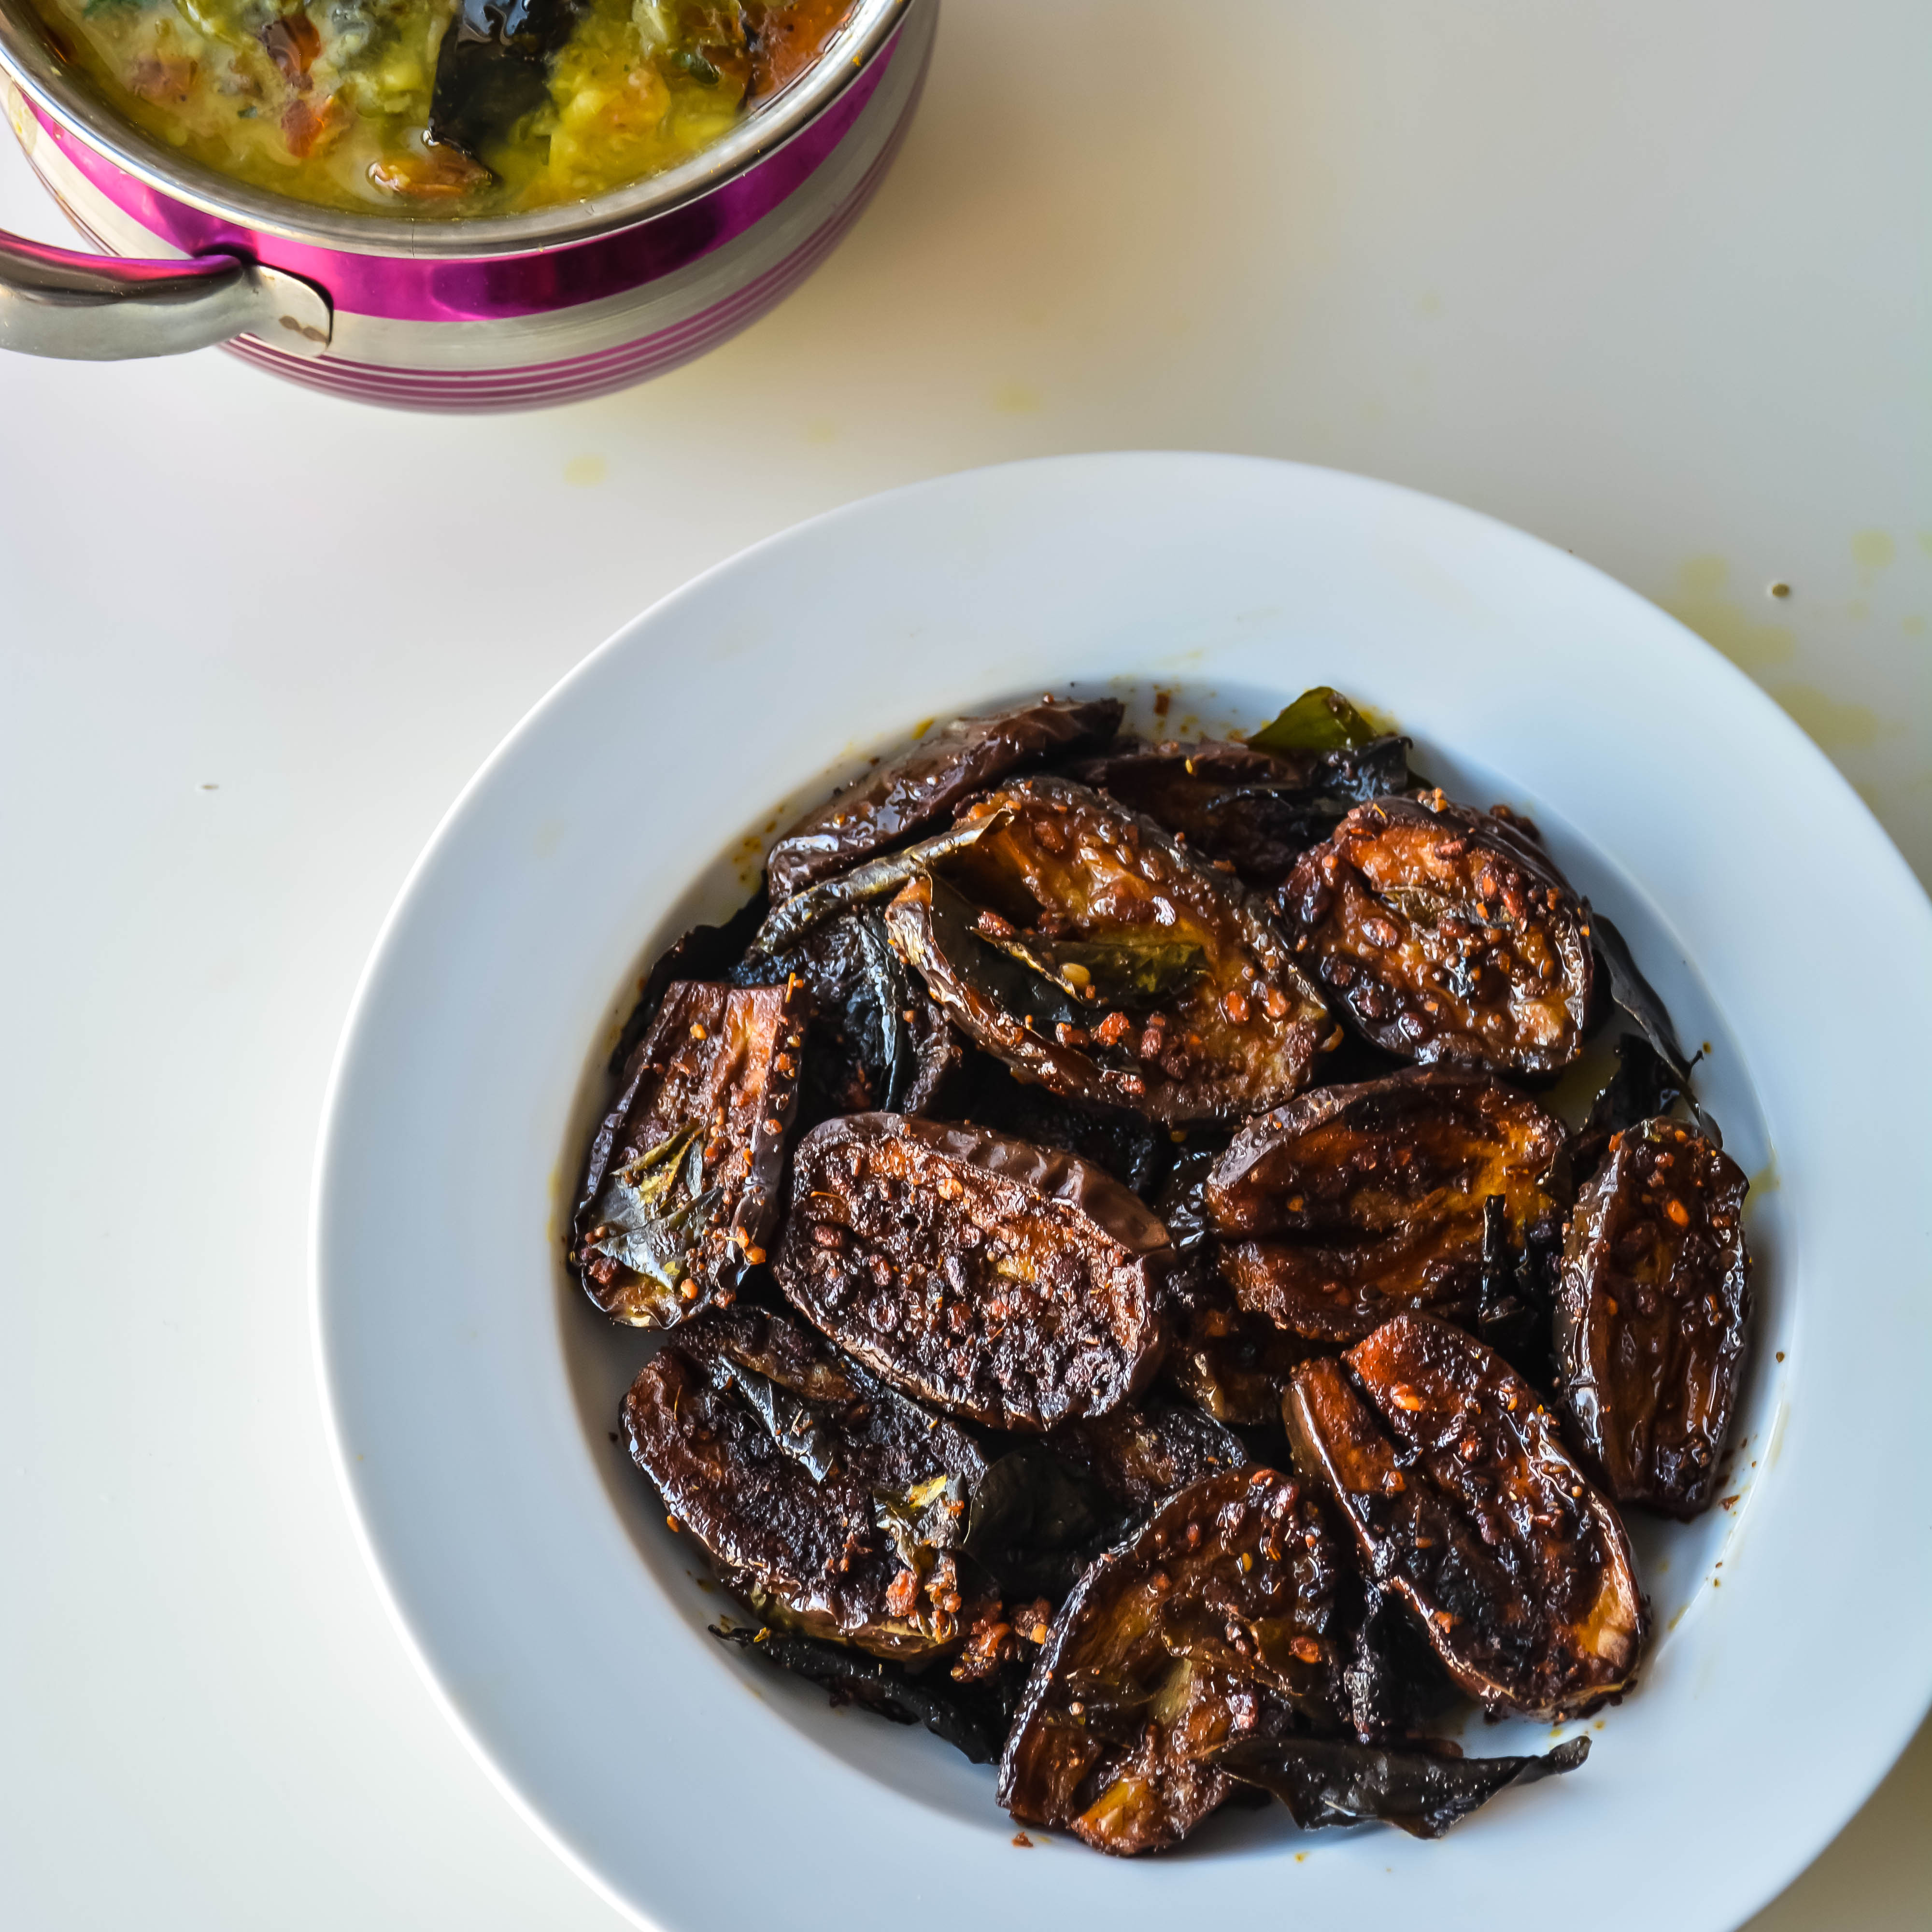
- Switch it off and serve with some hot rice and dal.
2. Reduce the amount of spicyness if you want by avoiding the chilli/sambar powder.
Taste great with rice and tomato rasam/Buttermilk rasam/dal/sambar !


 delicious! Orange zest is fresh to have as soon as you grate them. I was thinking as I was making it that it would be really sweet but trust me it was perfect!


 It is always that comments and love