
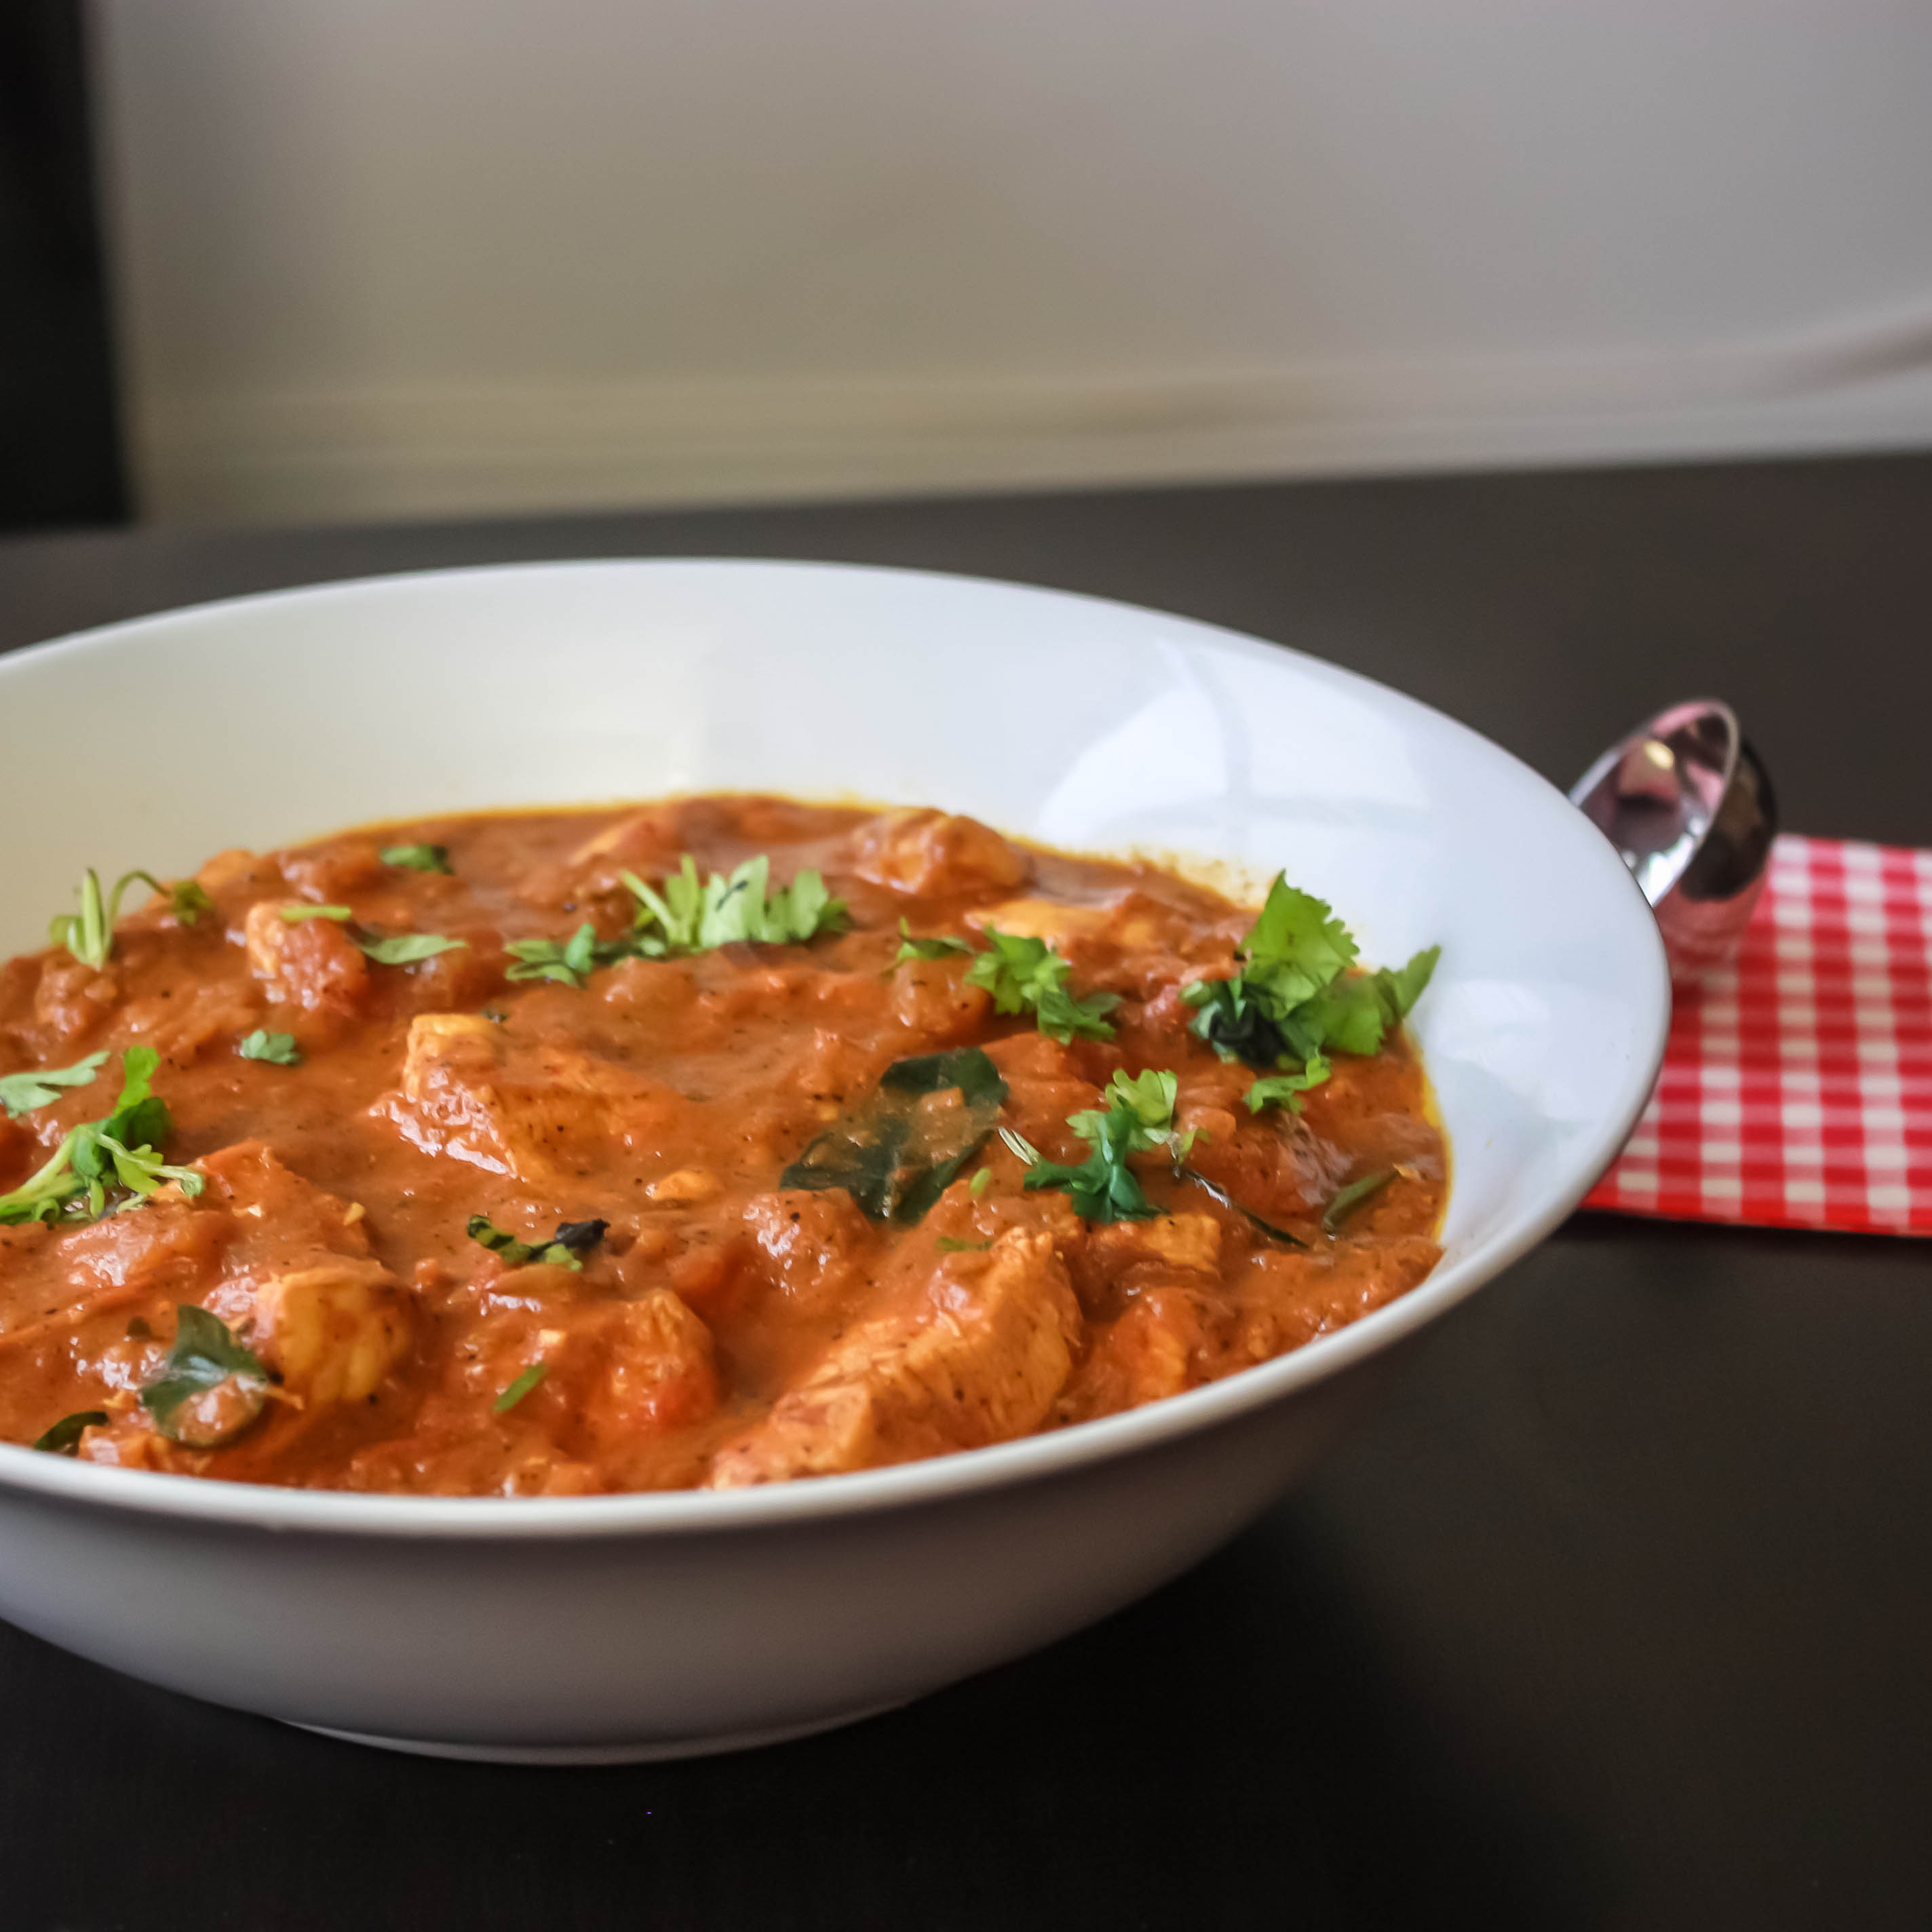
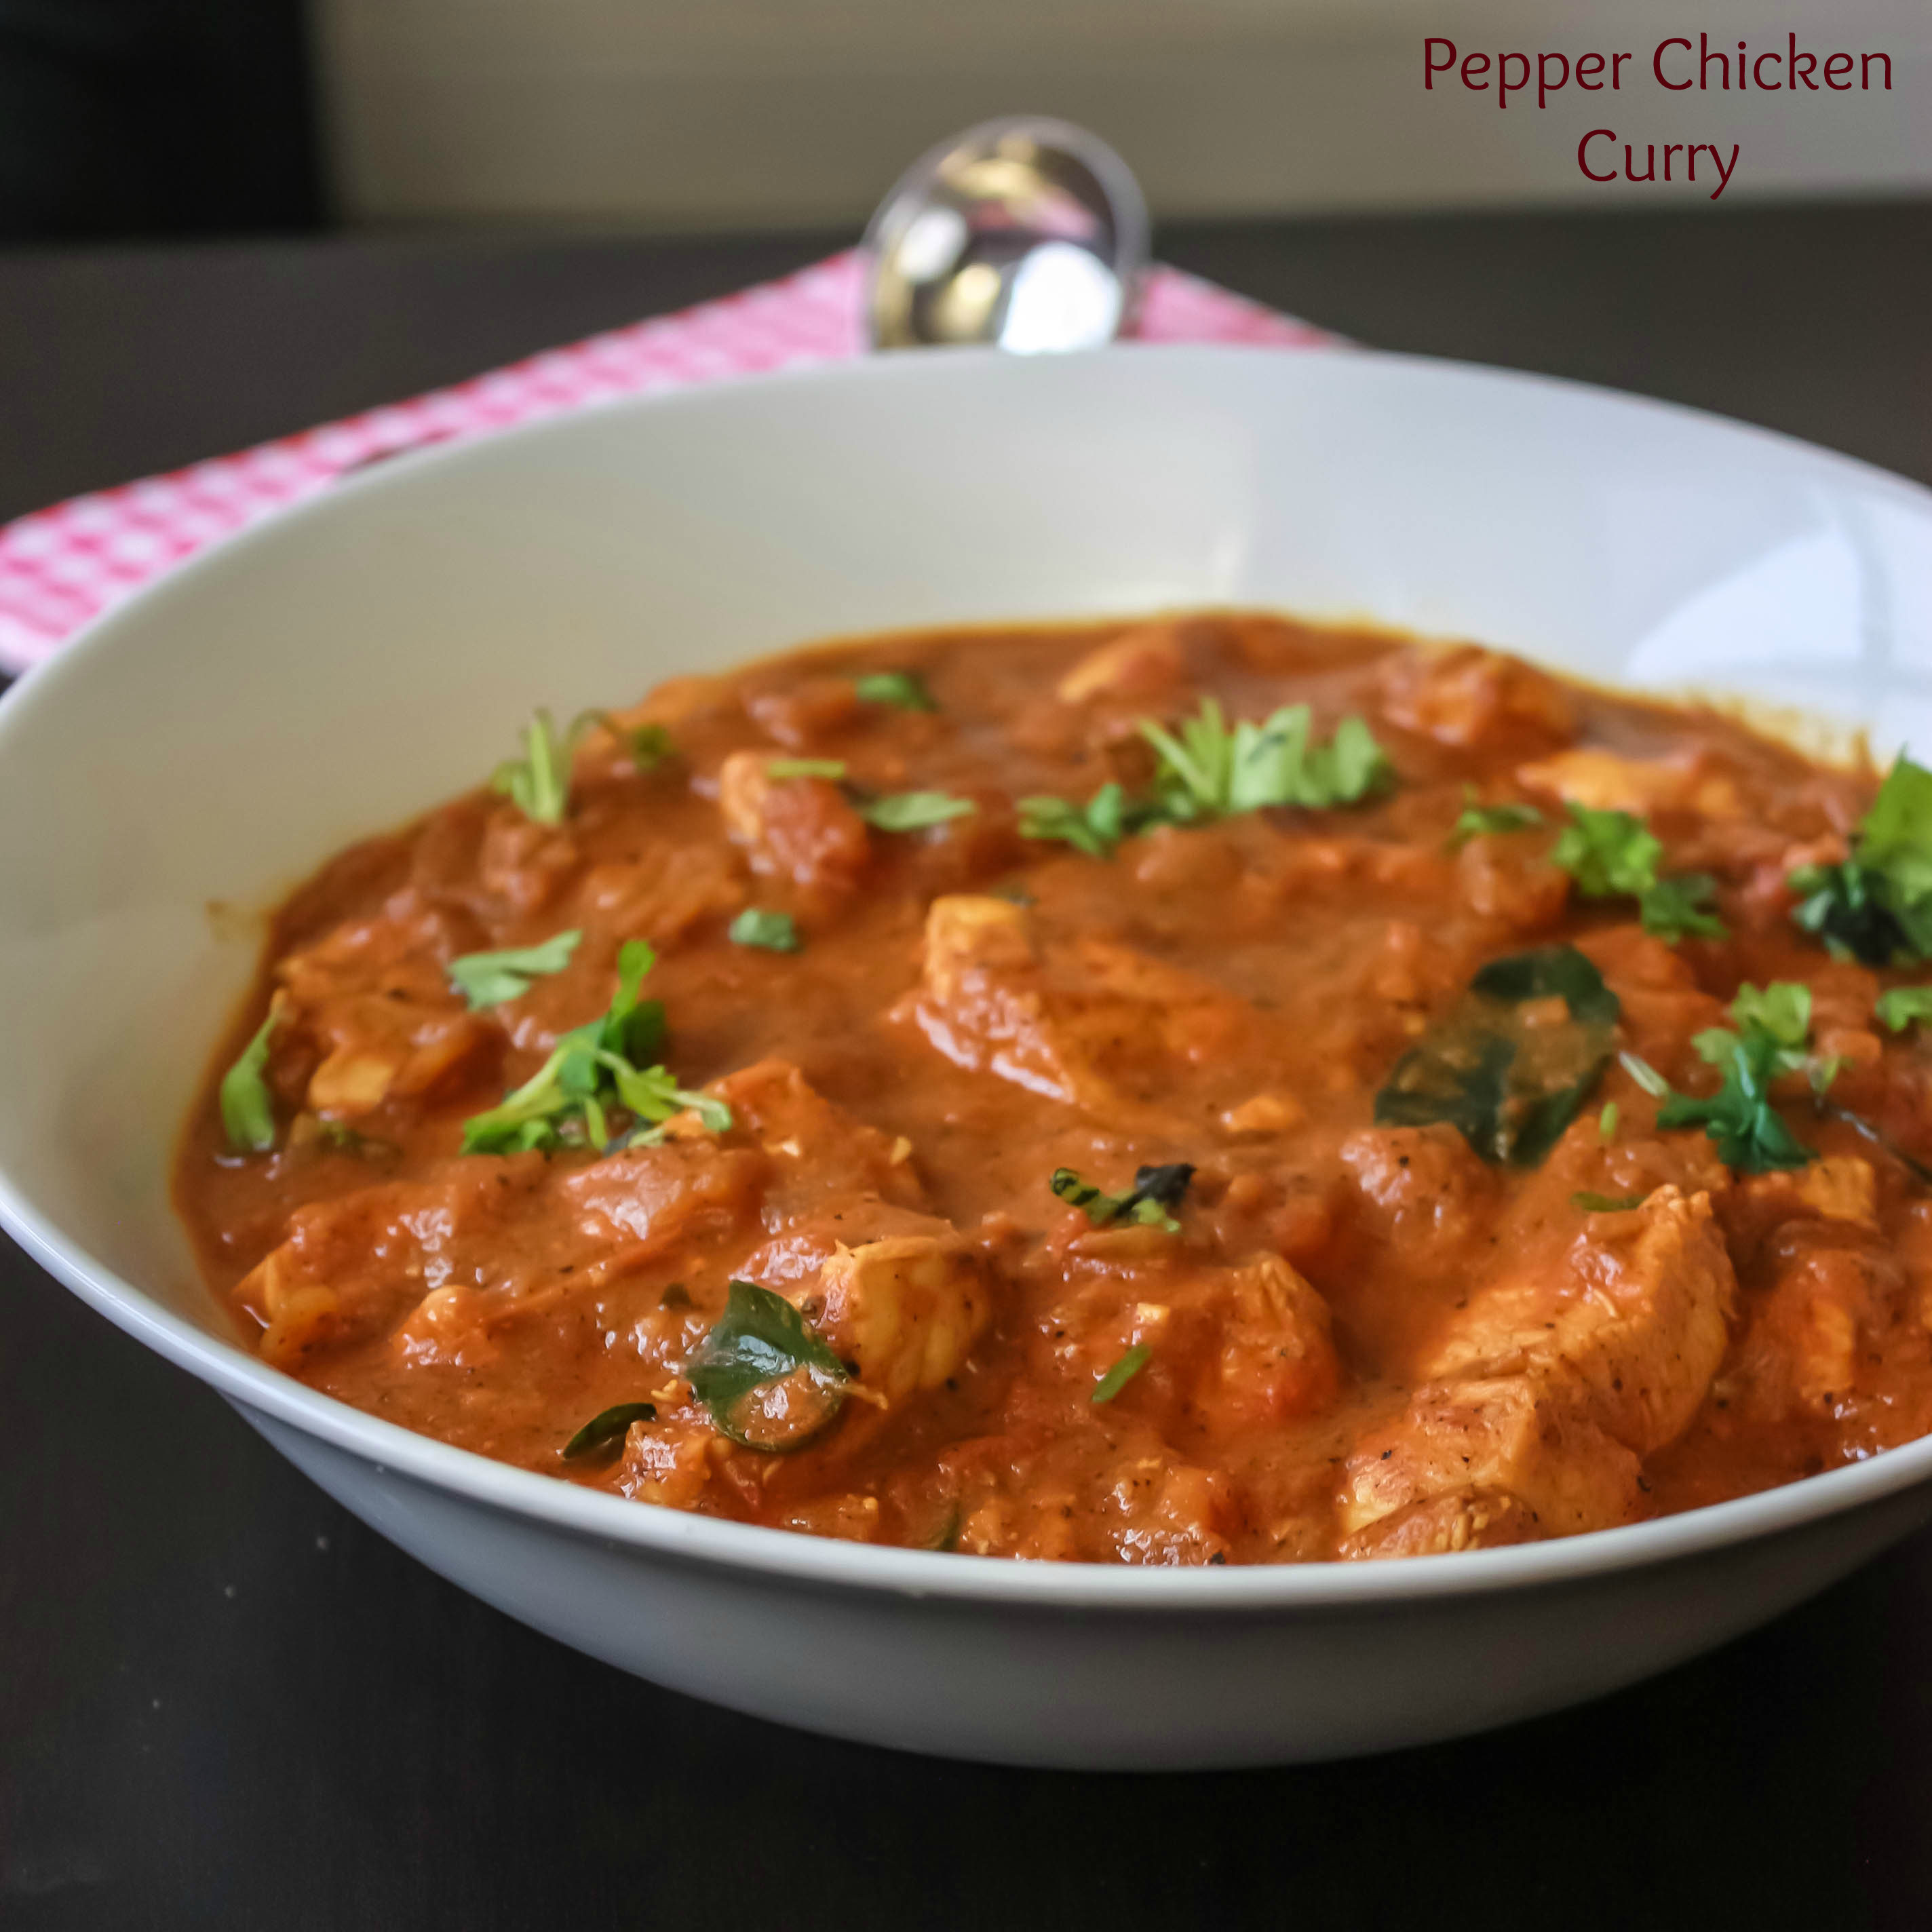
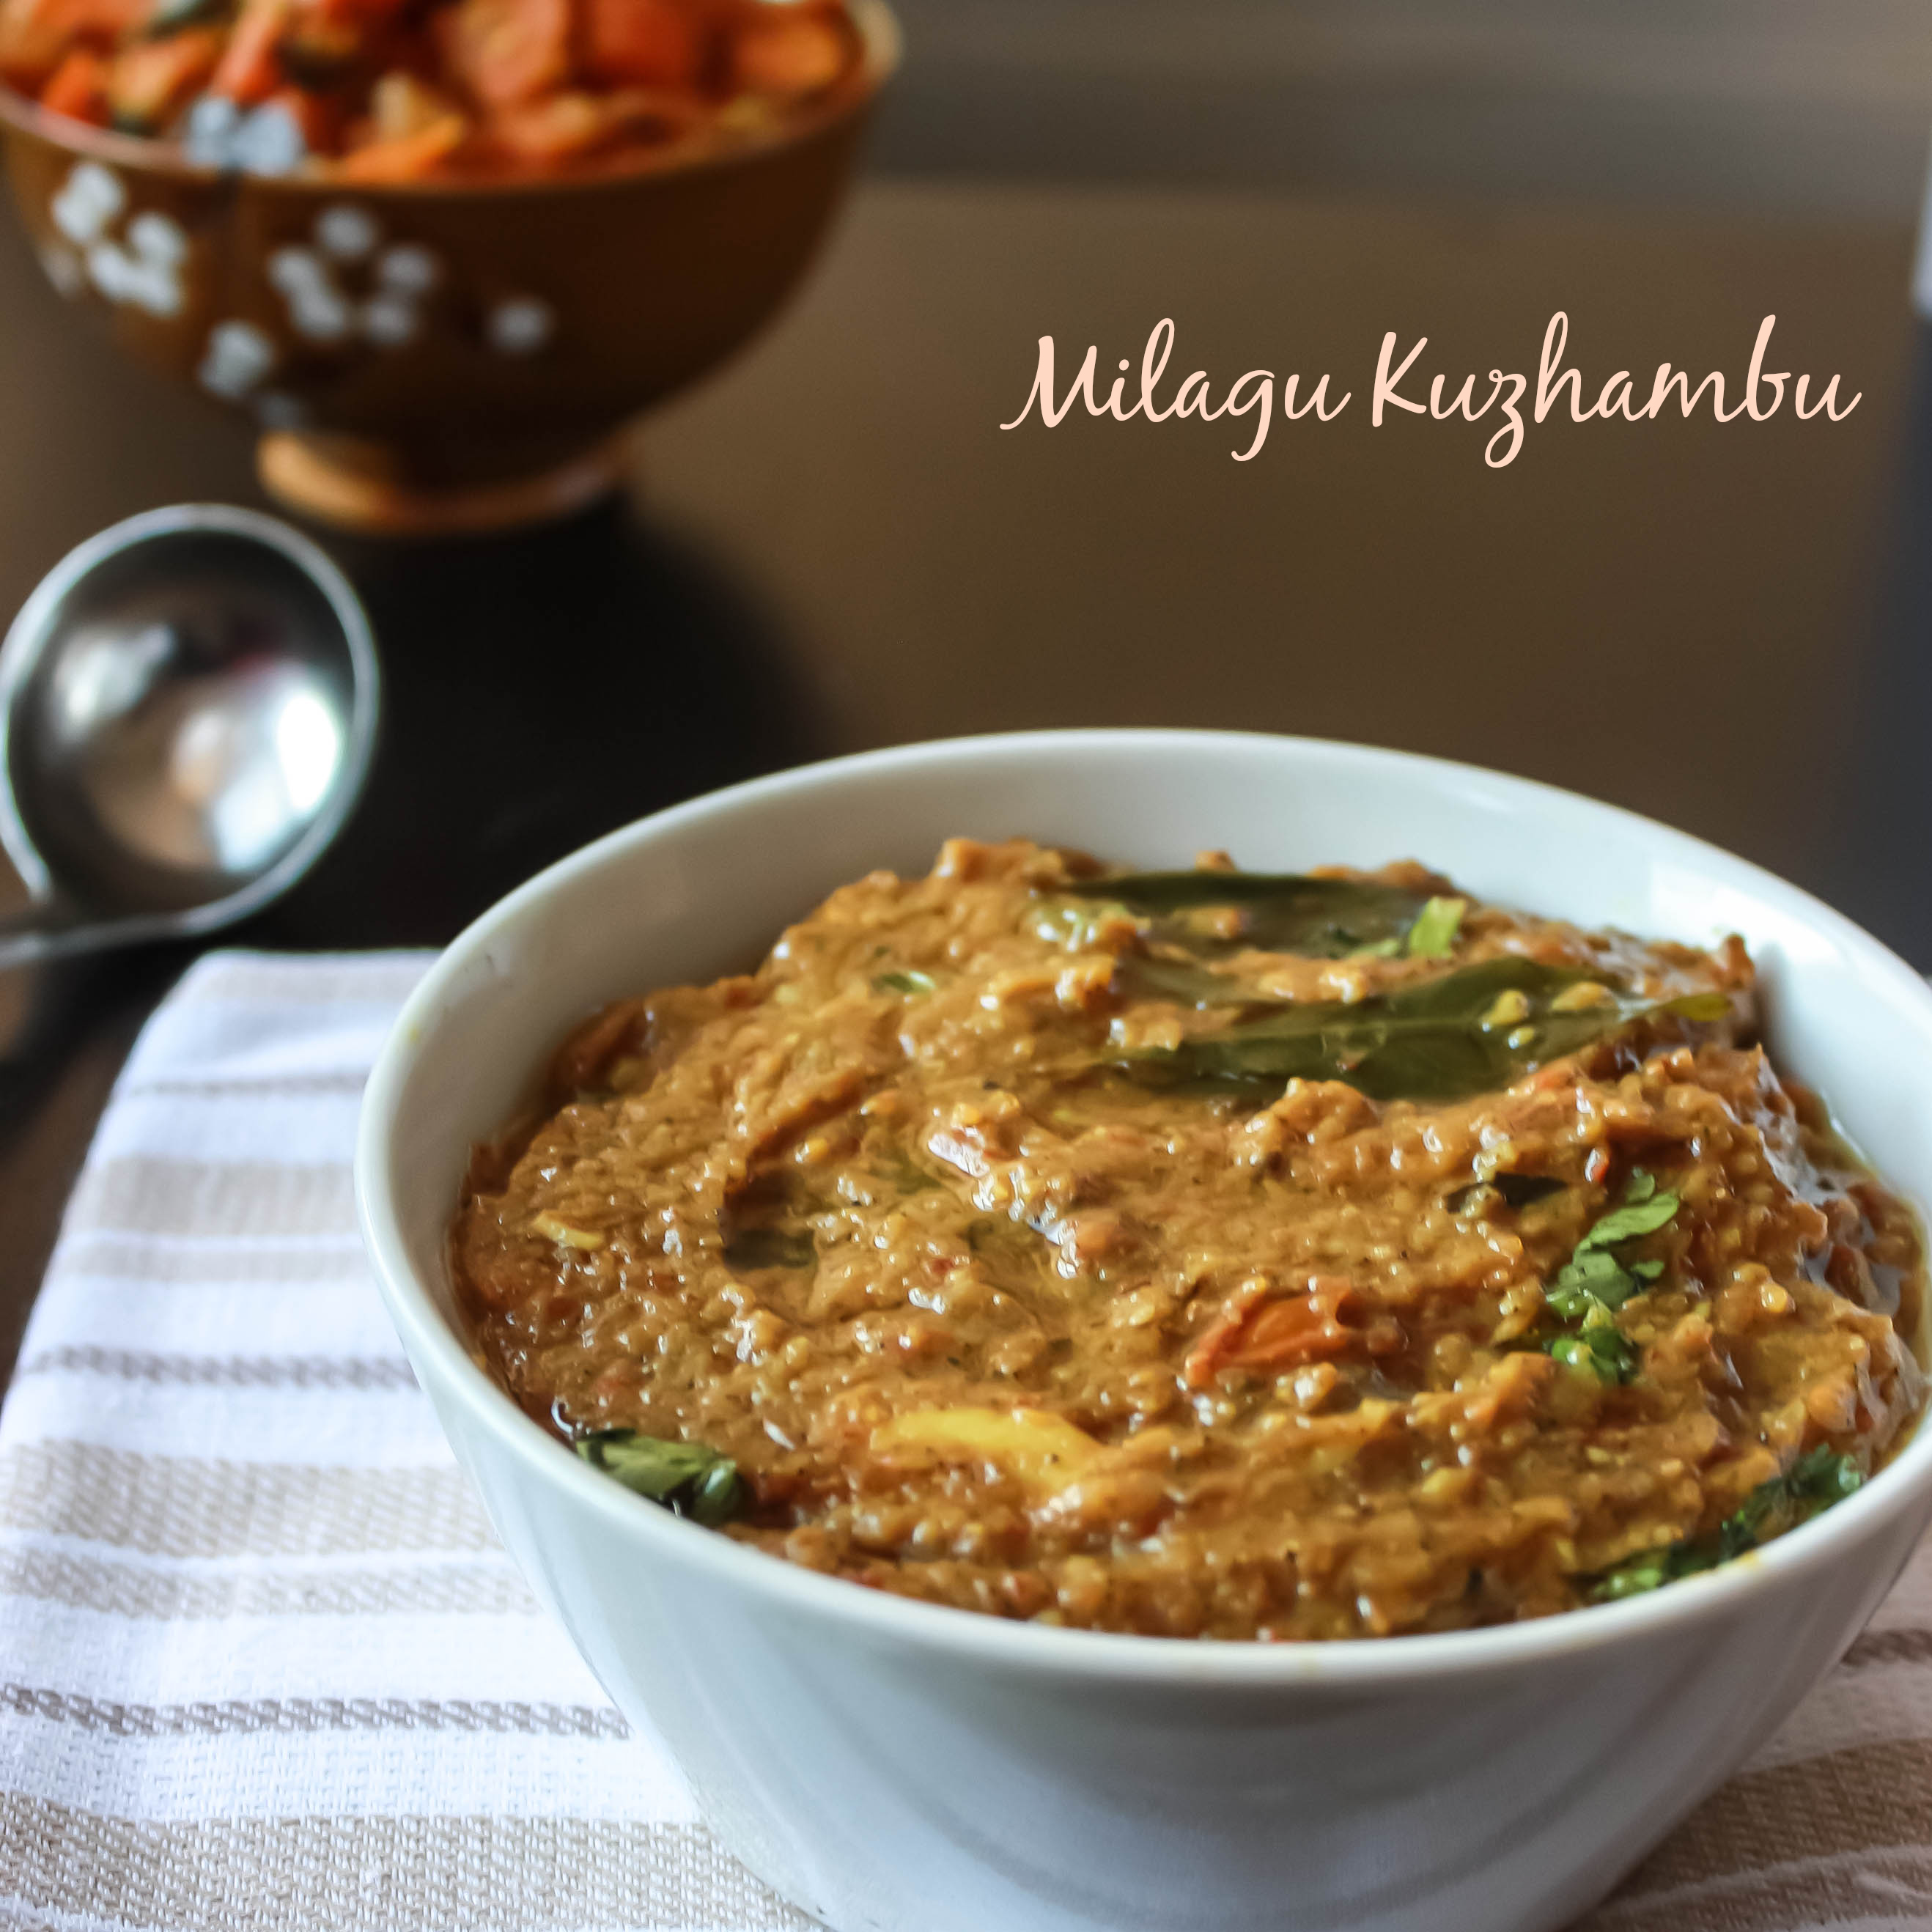
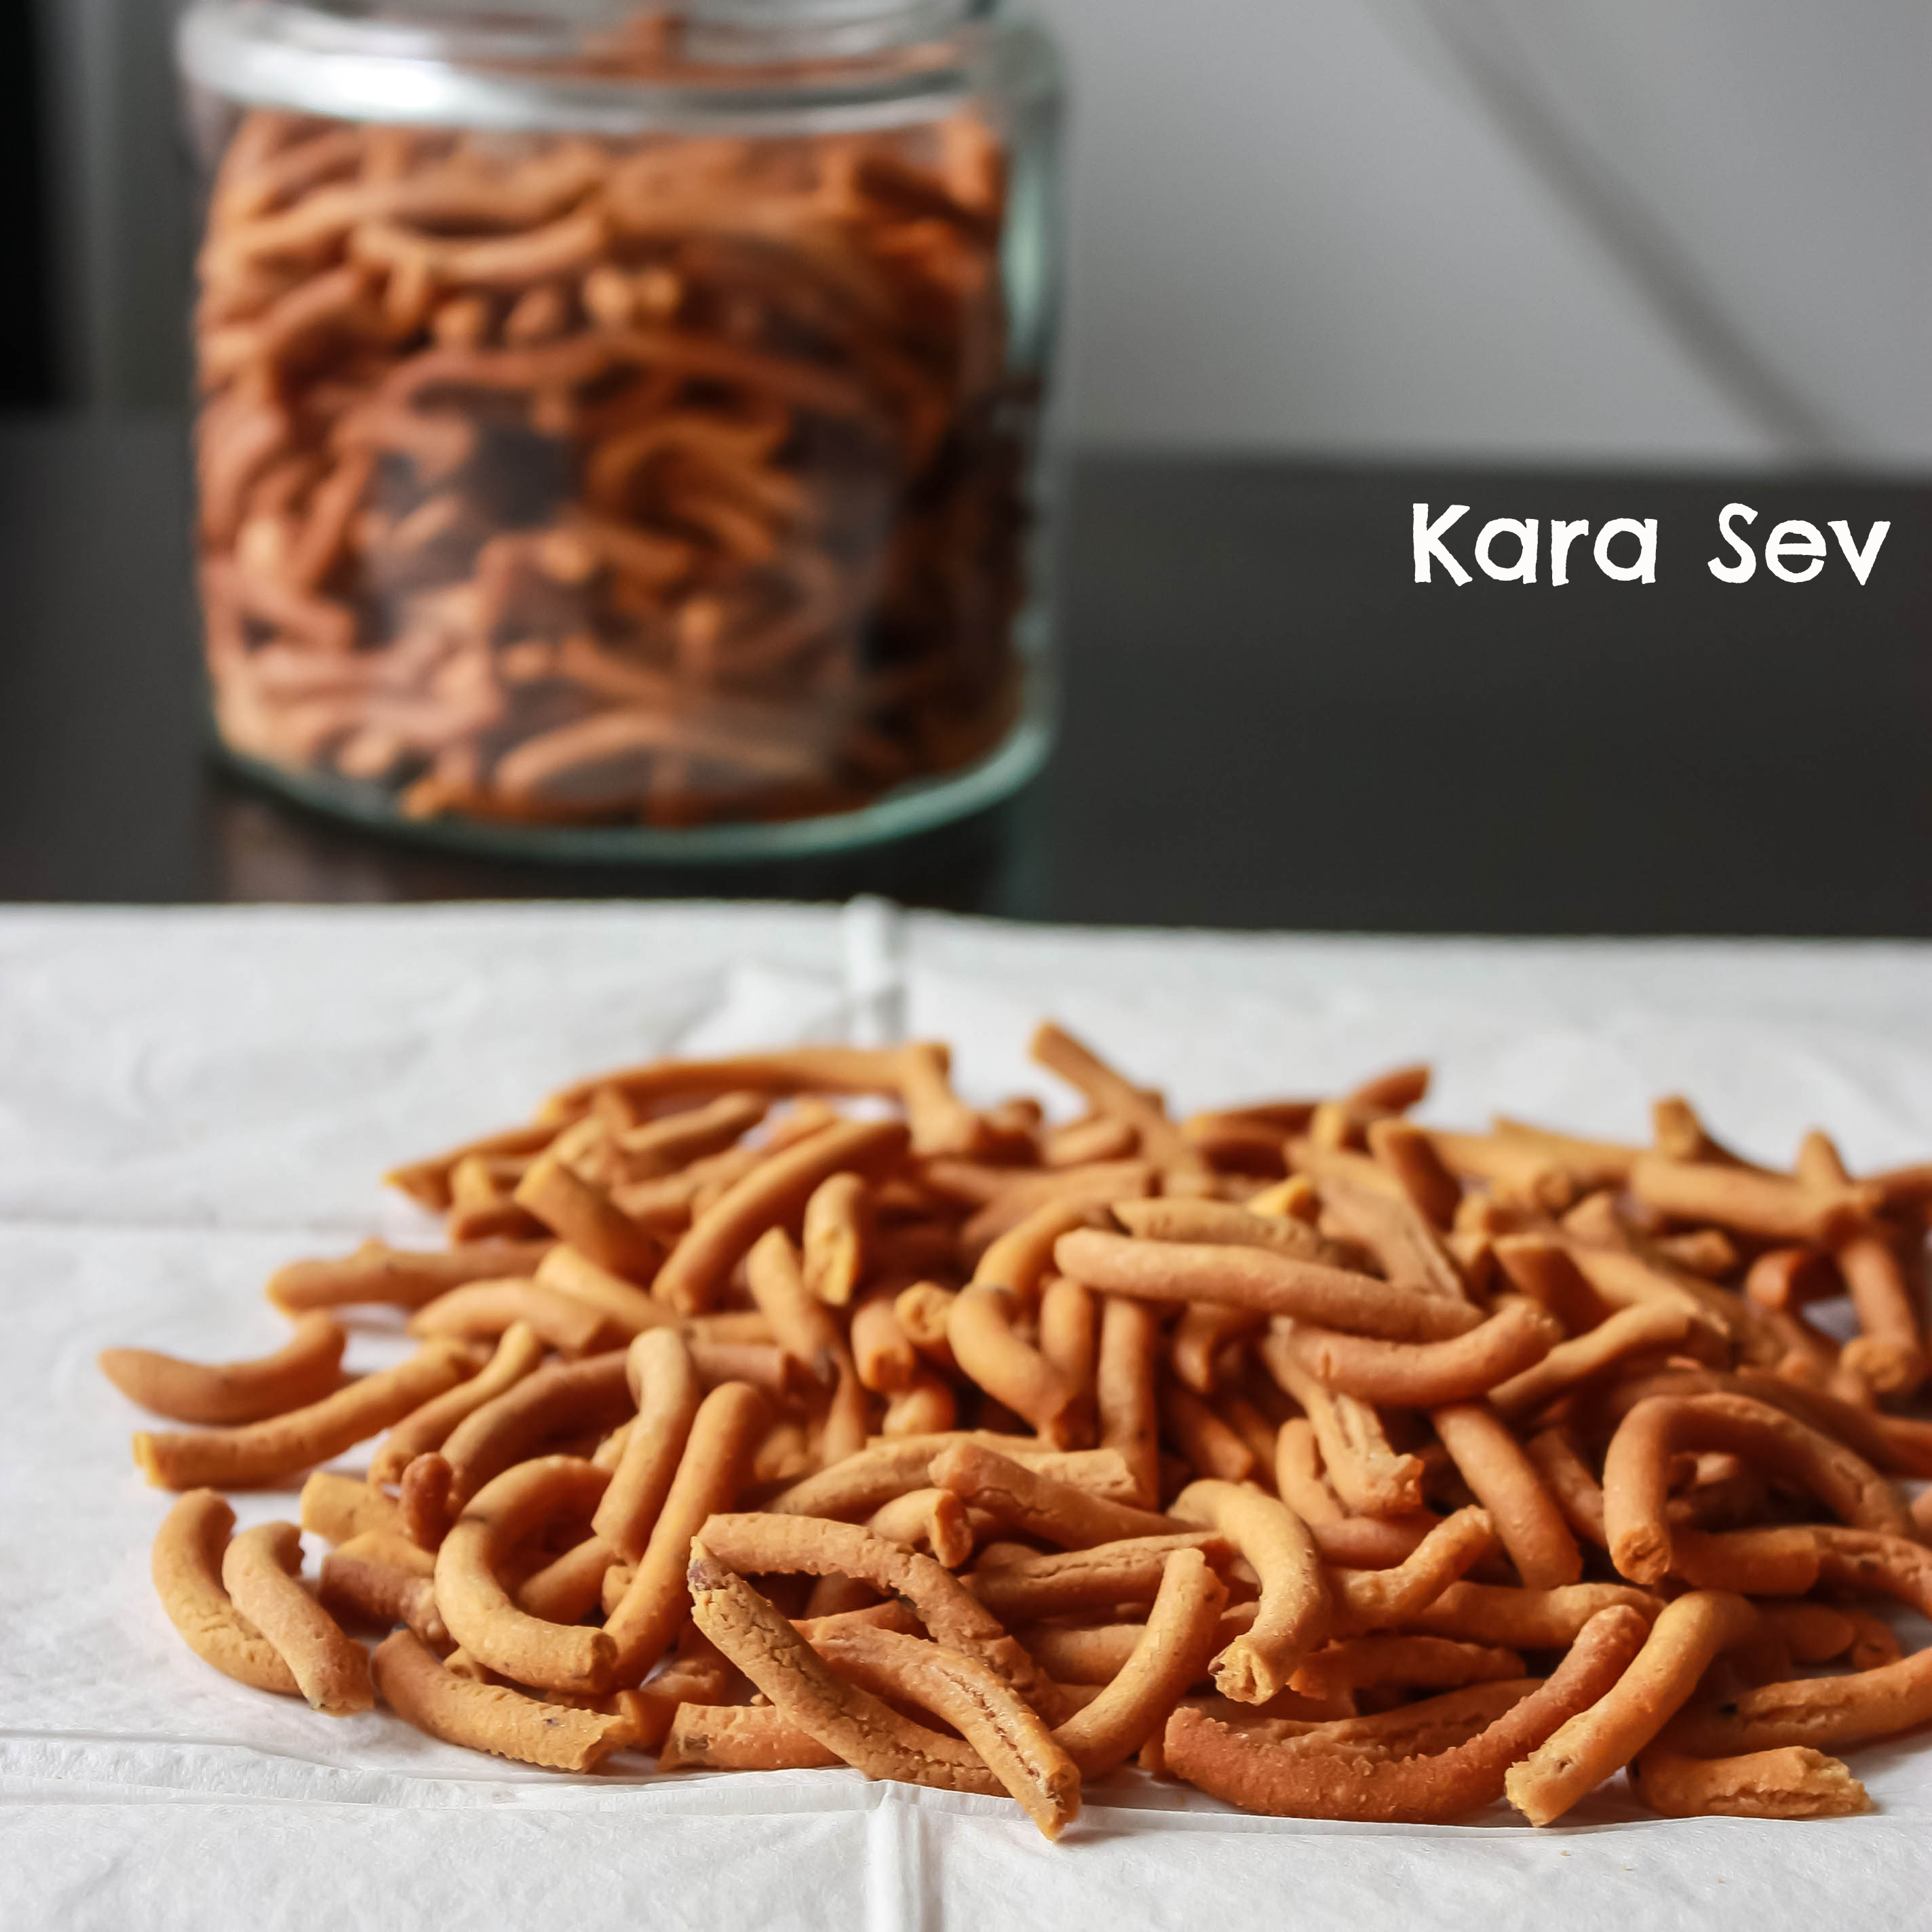
 Made with freshly grounded whole black pepper and Fennel seeds with a hand full of curry leaves.
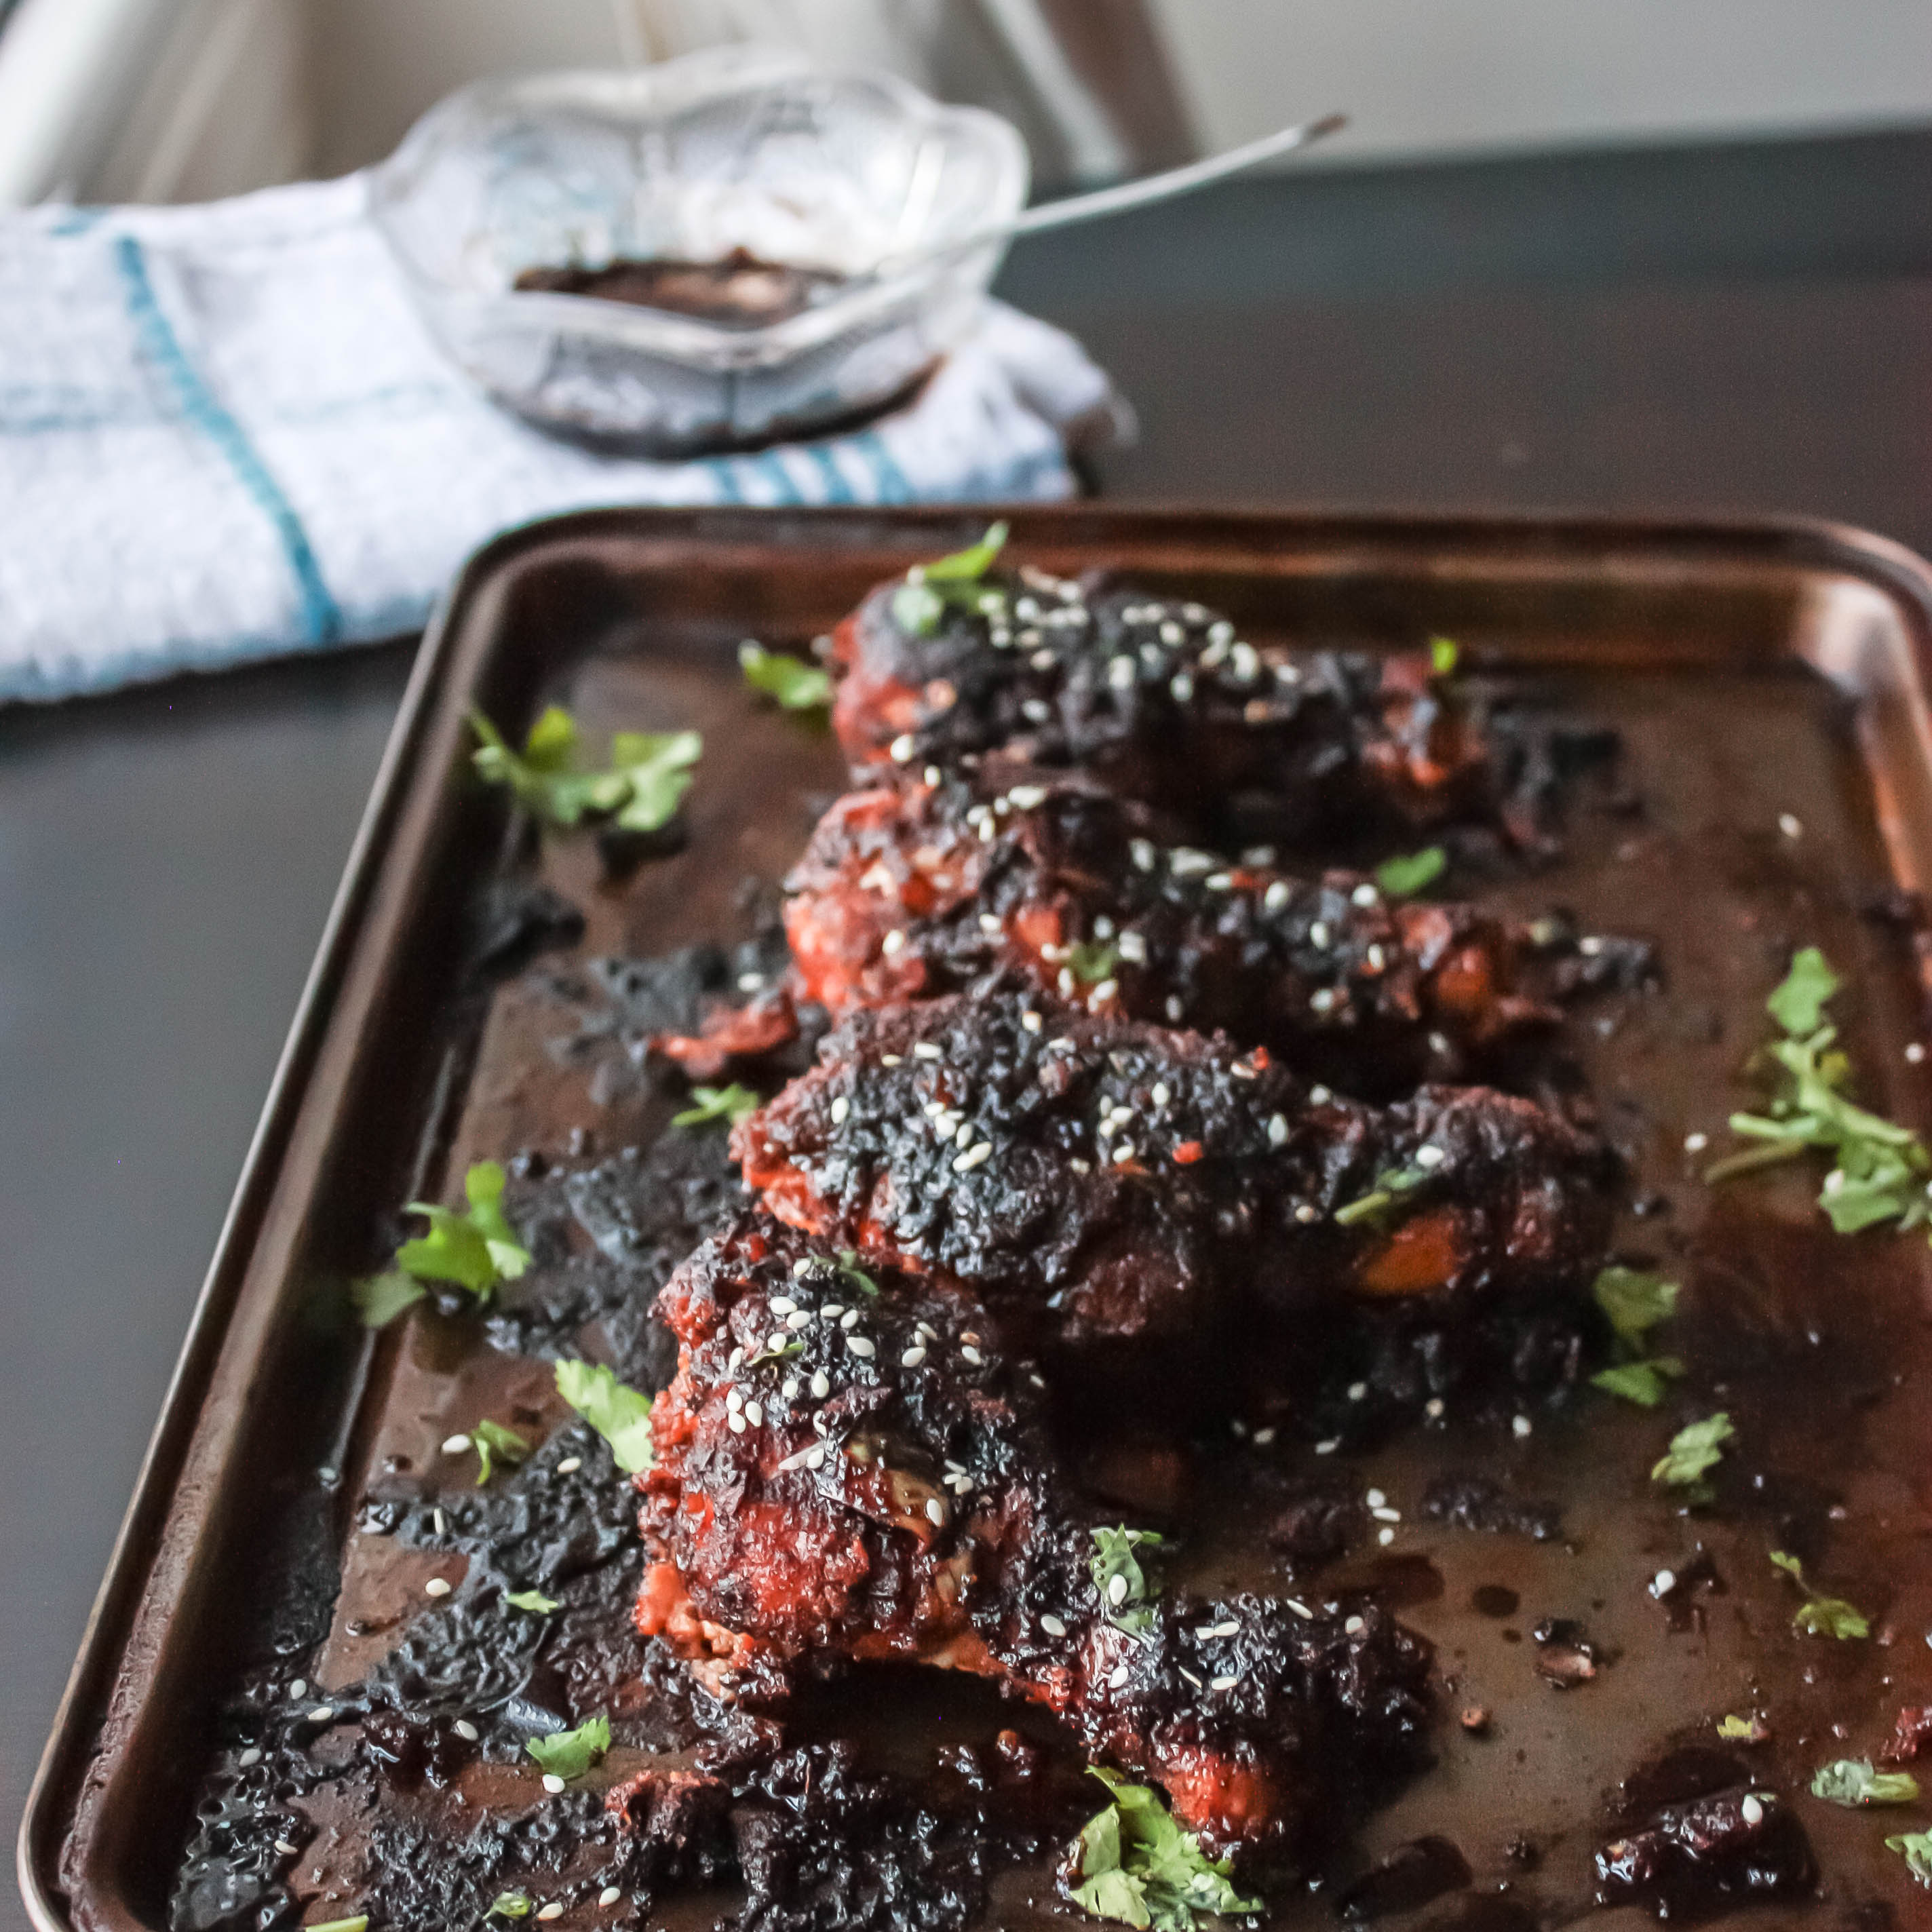
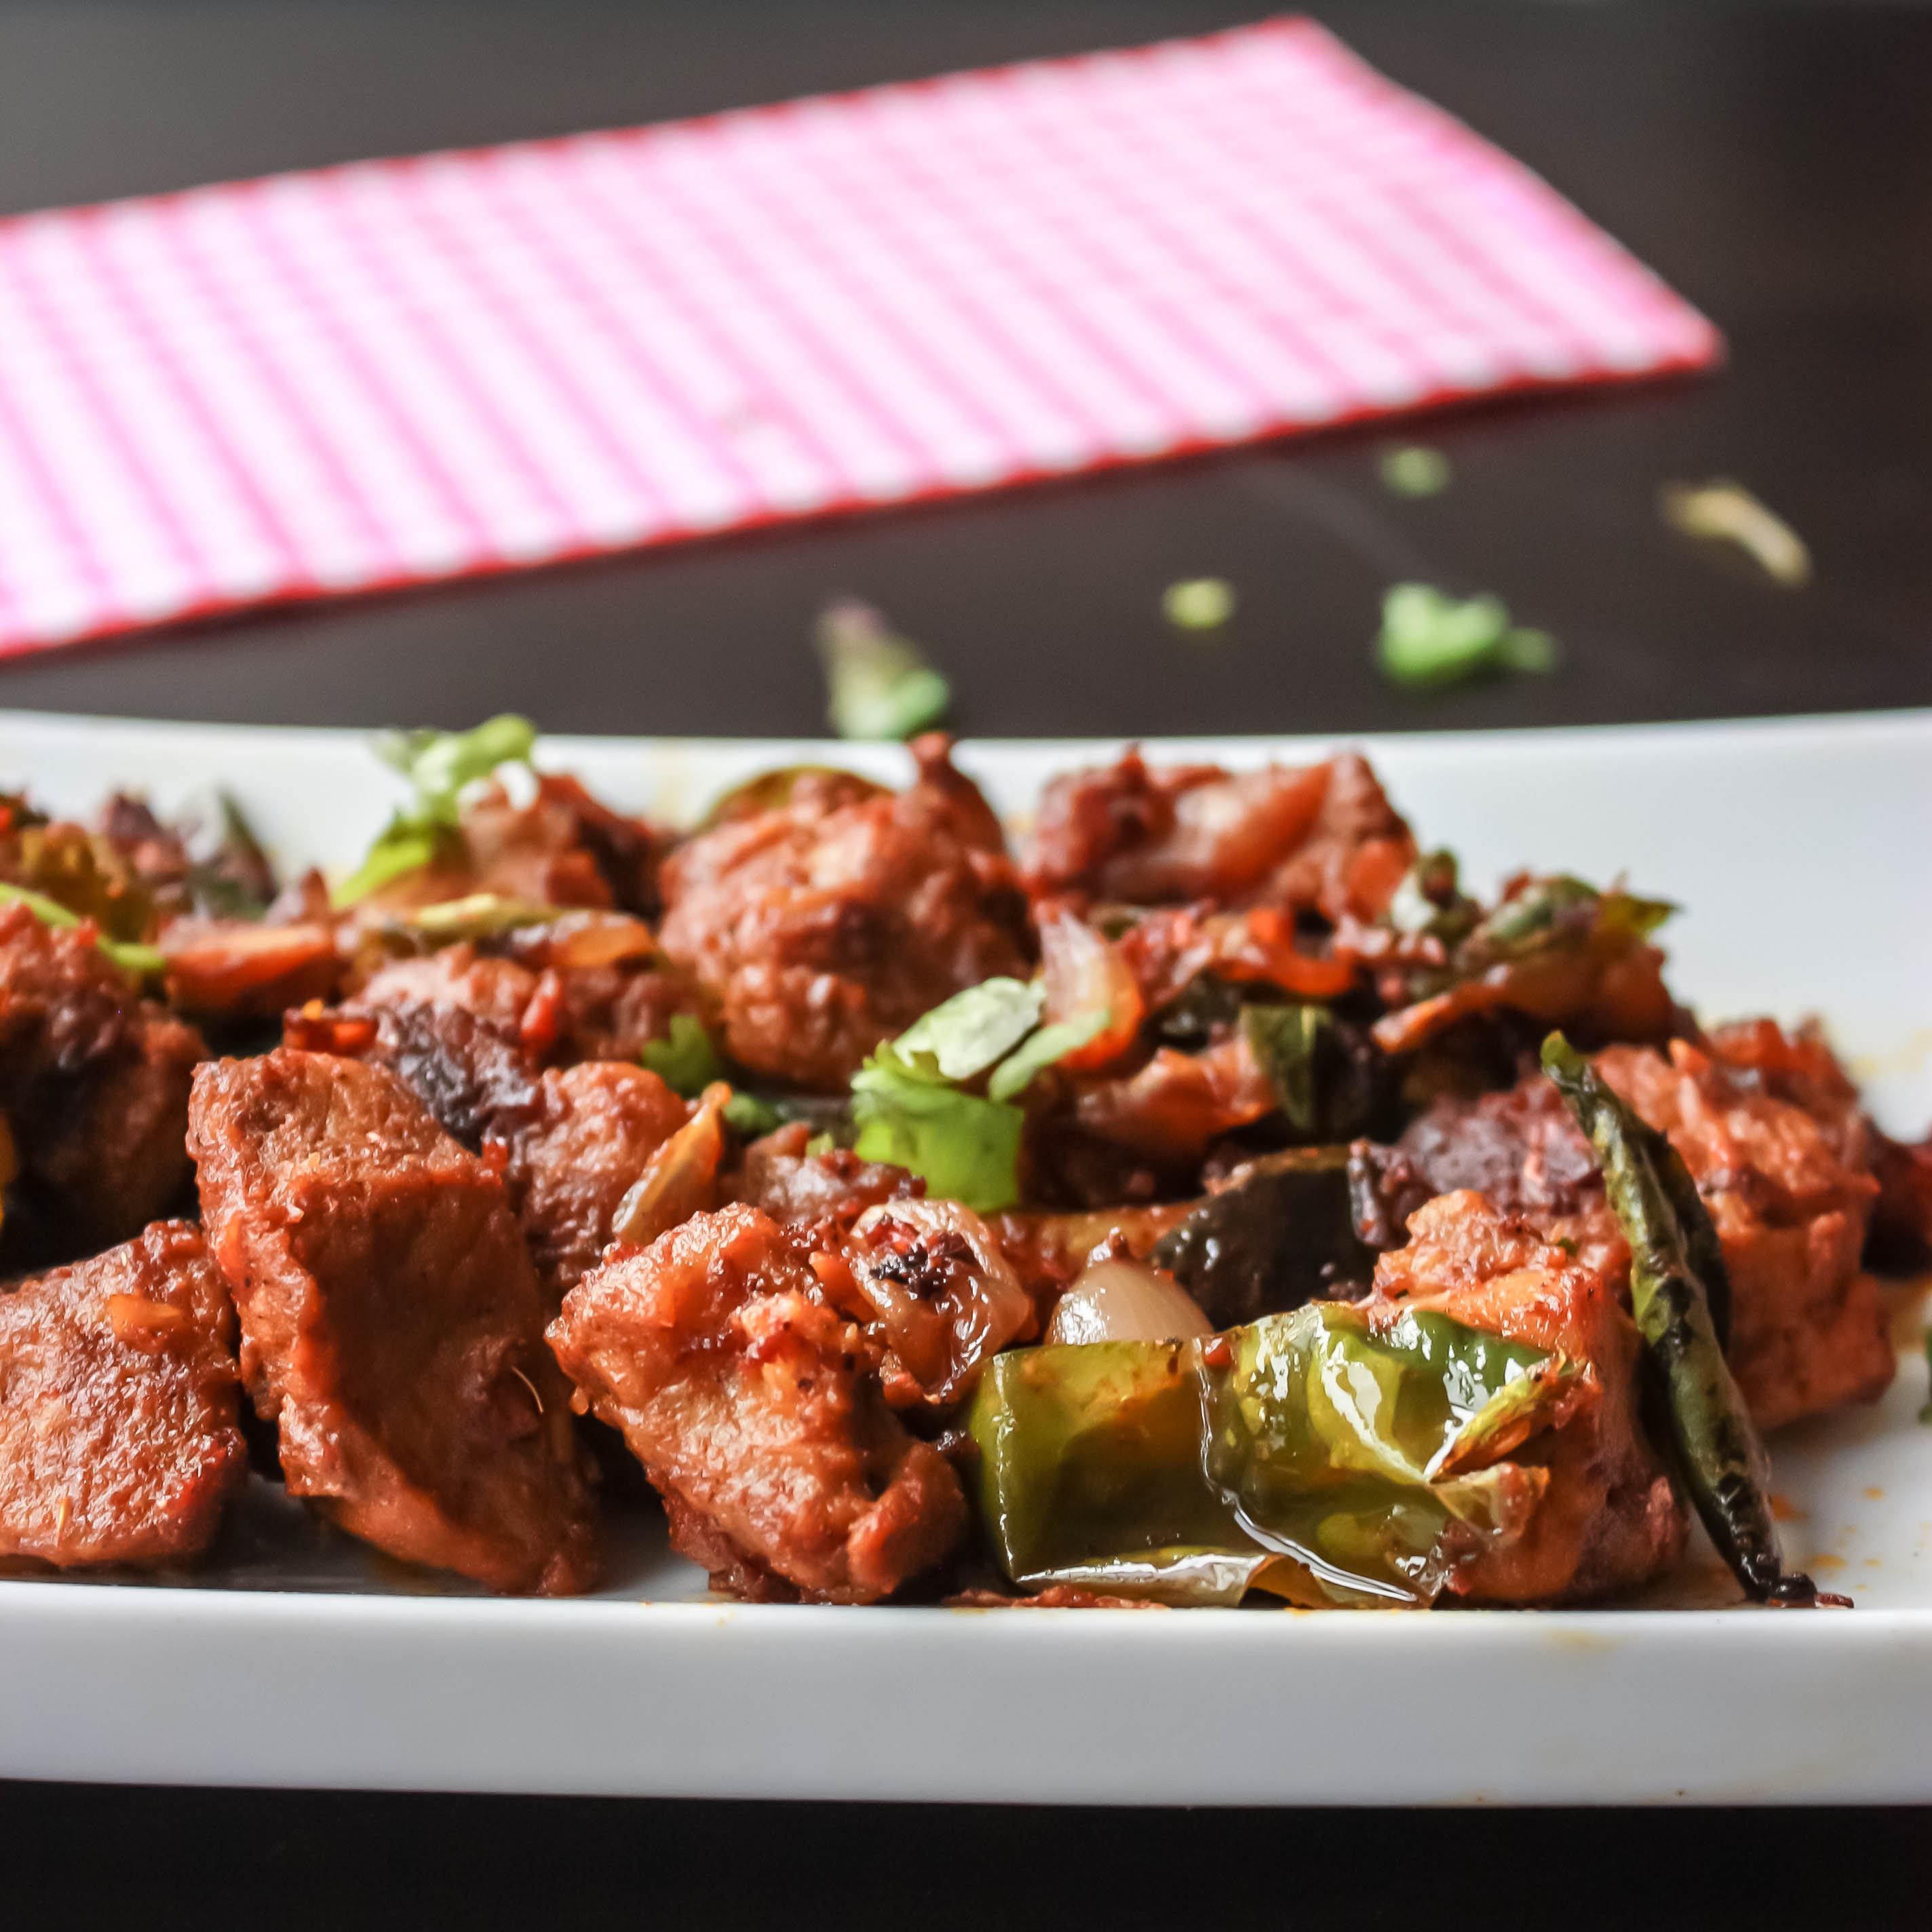
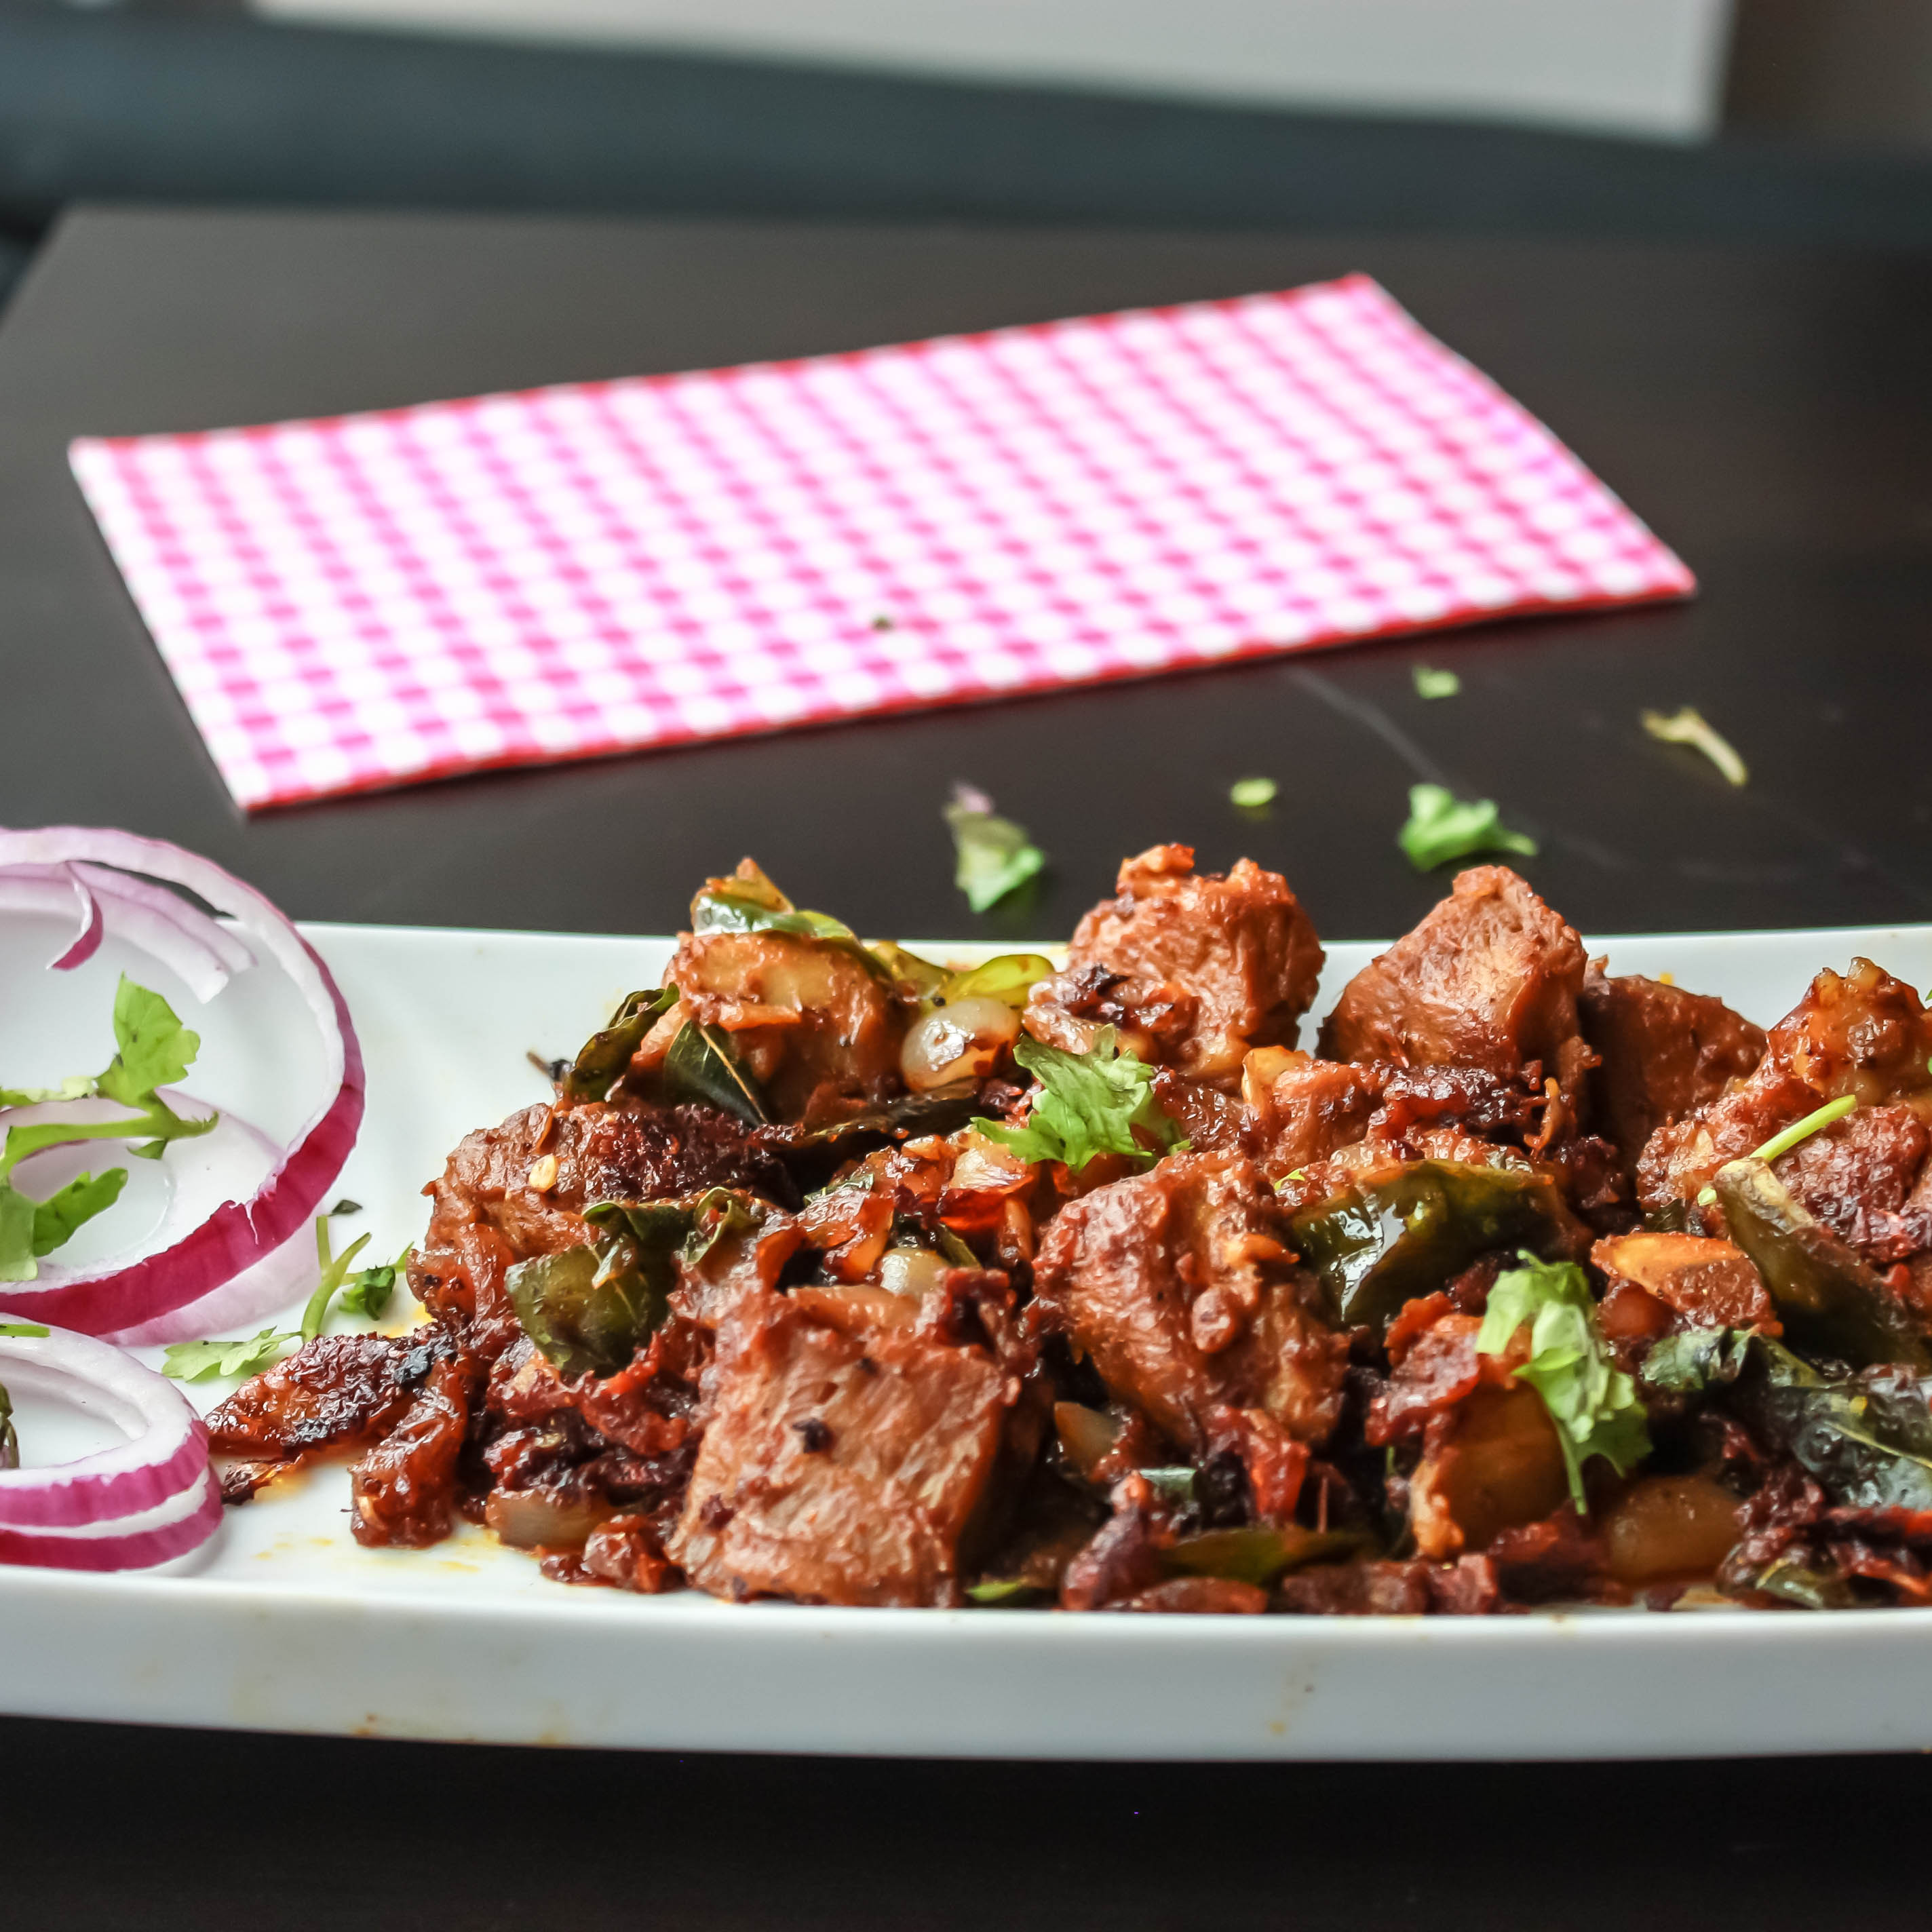
This is a famous south Indian recipe. I made this pepper chicken curry with mutton roast on one fine evening just like that. My whole house smelled with flavors. You can use chicken with bone or boneless too. It’s always good when the meat dishes are spicy. You will start liking it that way if you start having it that way. But if you are making it for the first time, try to taste as you make to adjust to your spice level. I would say do not skip any ingredient in this, each of it adds unique taste to this. I usually don’t insist so because I usually advise to cook with whatever we have at our house. But pepper, fennel seeds and curry leaves are star ingredients in this. So, if you skip any one of it, it will make a great difference.
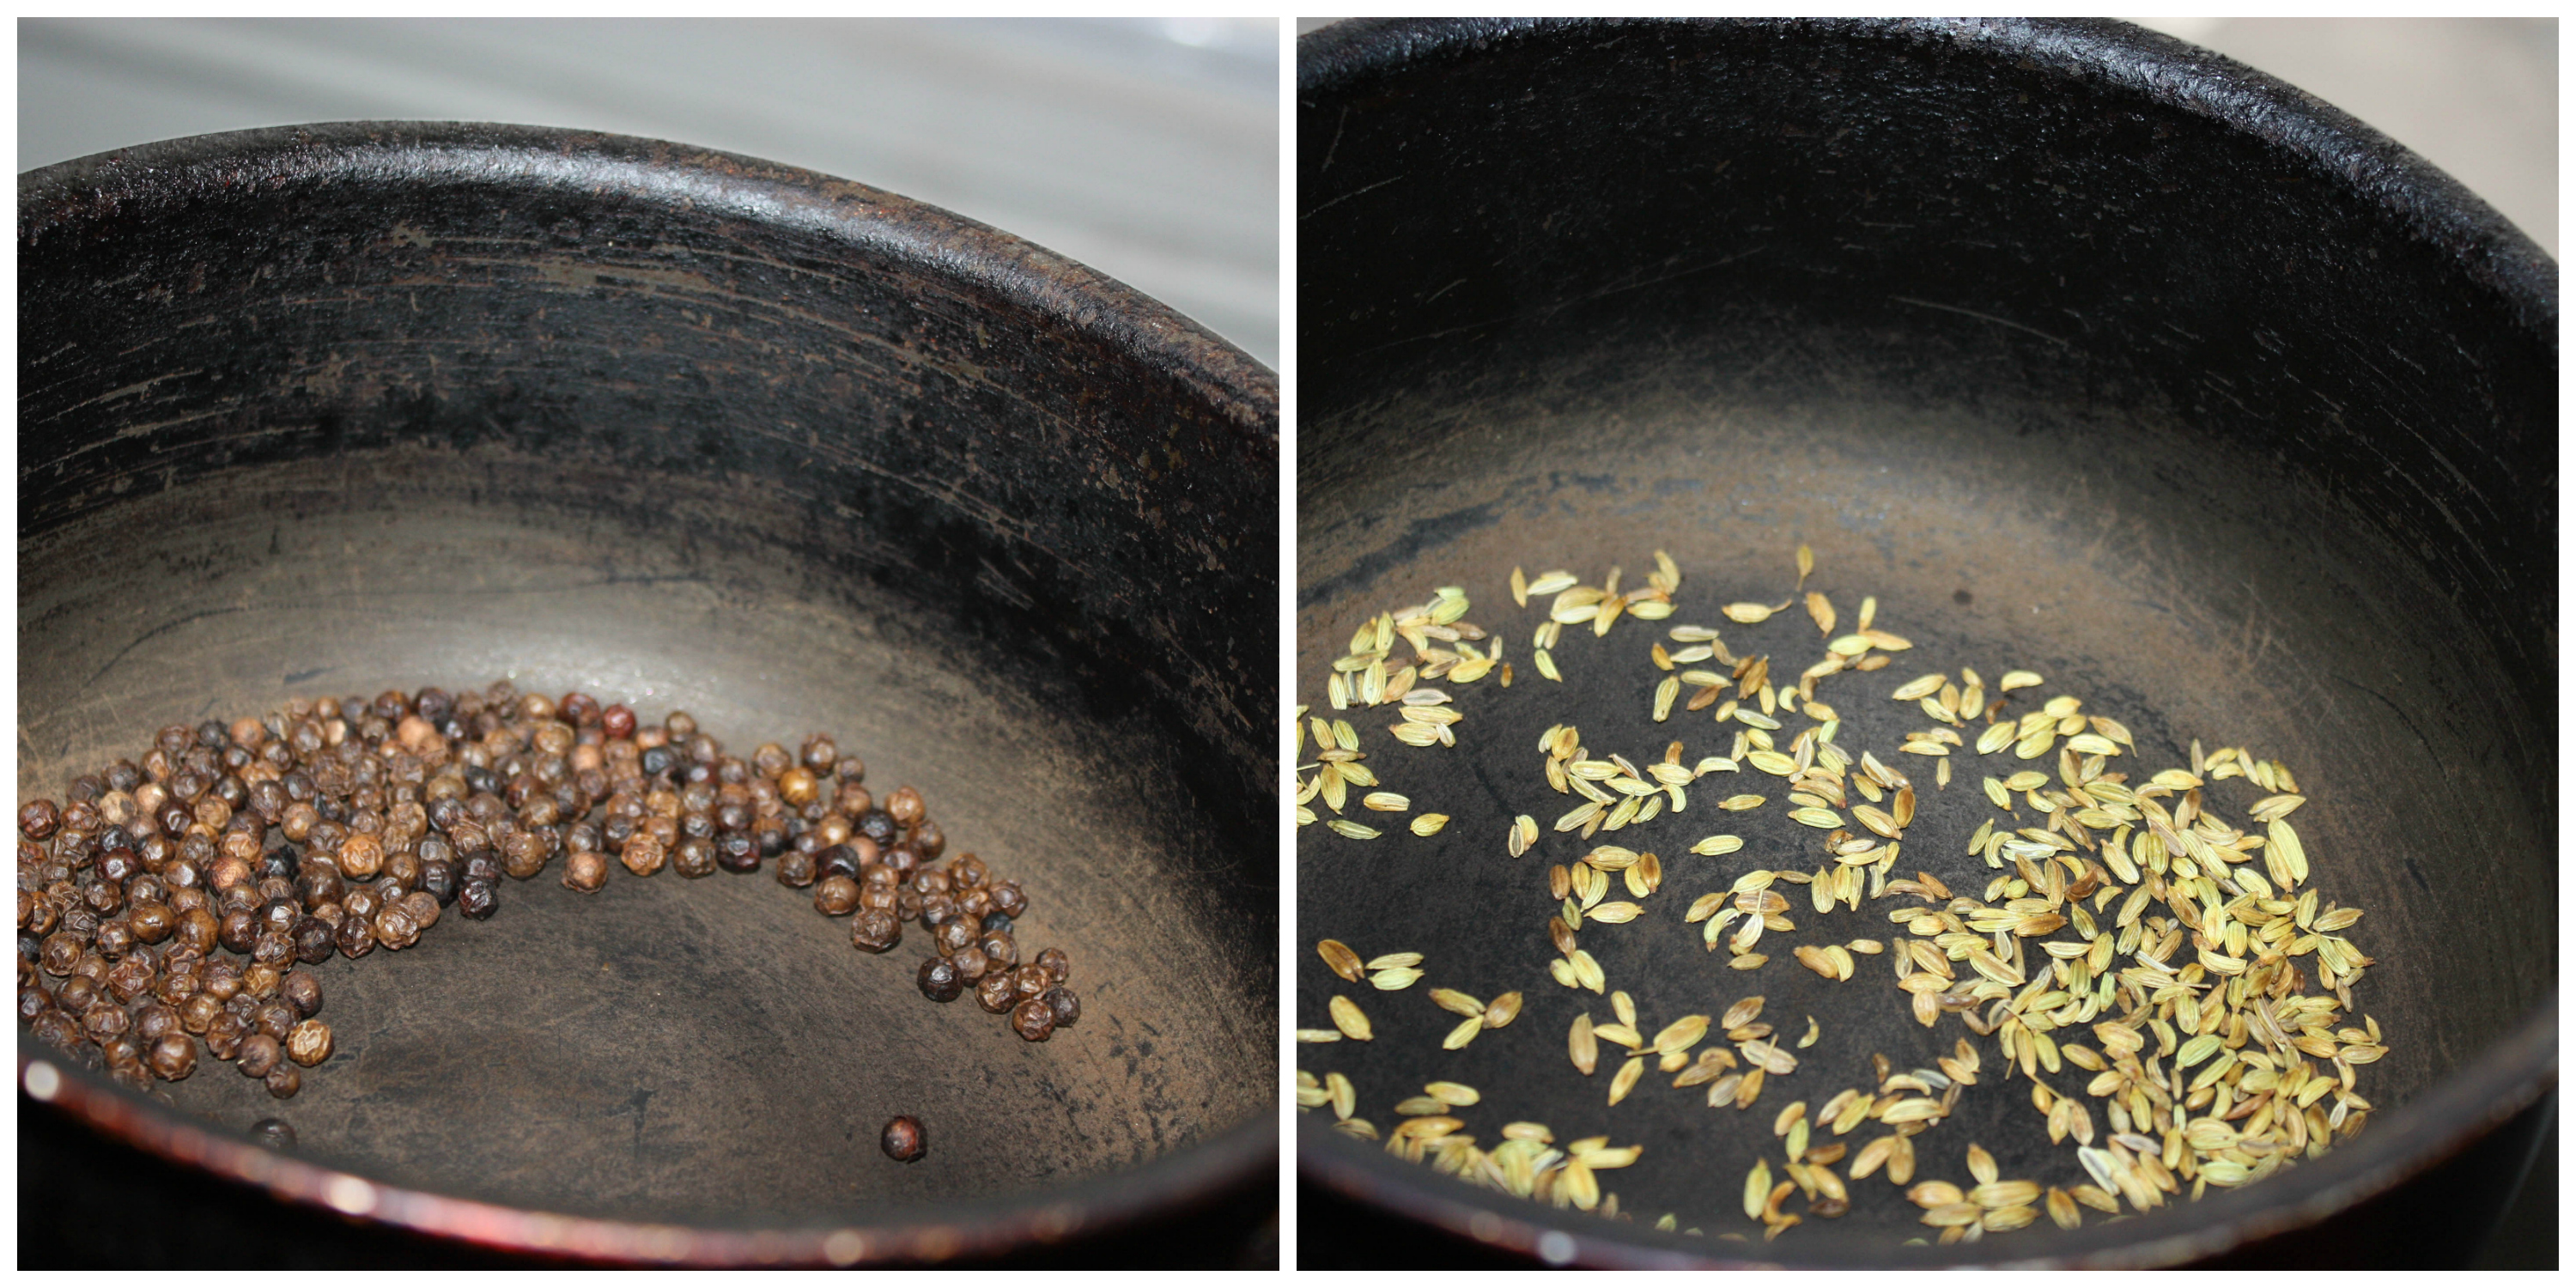
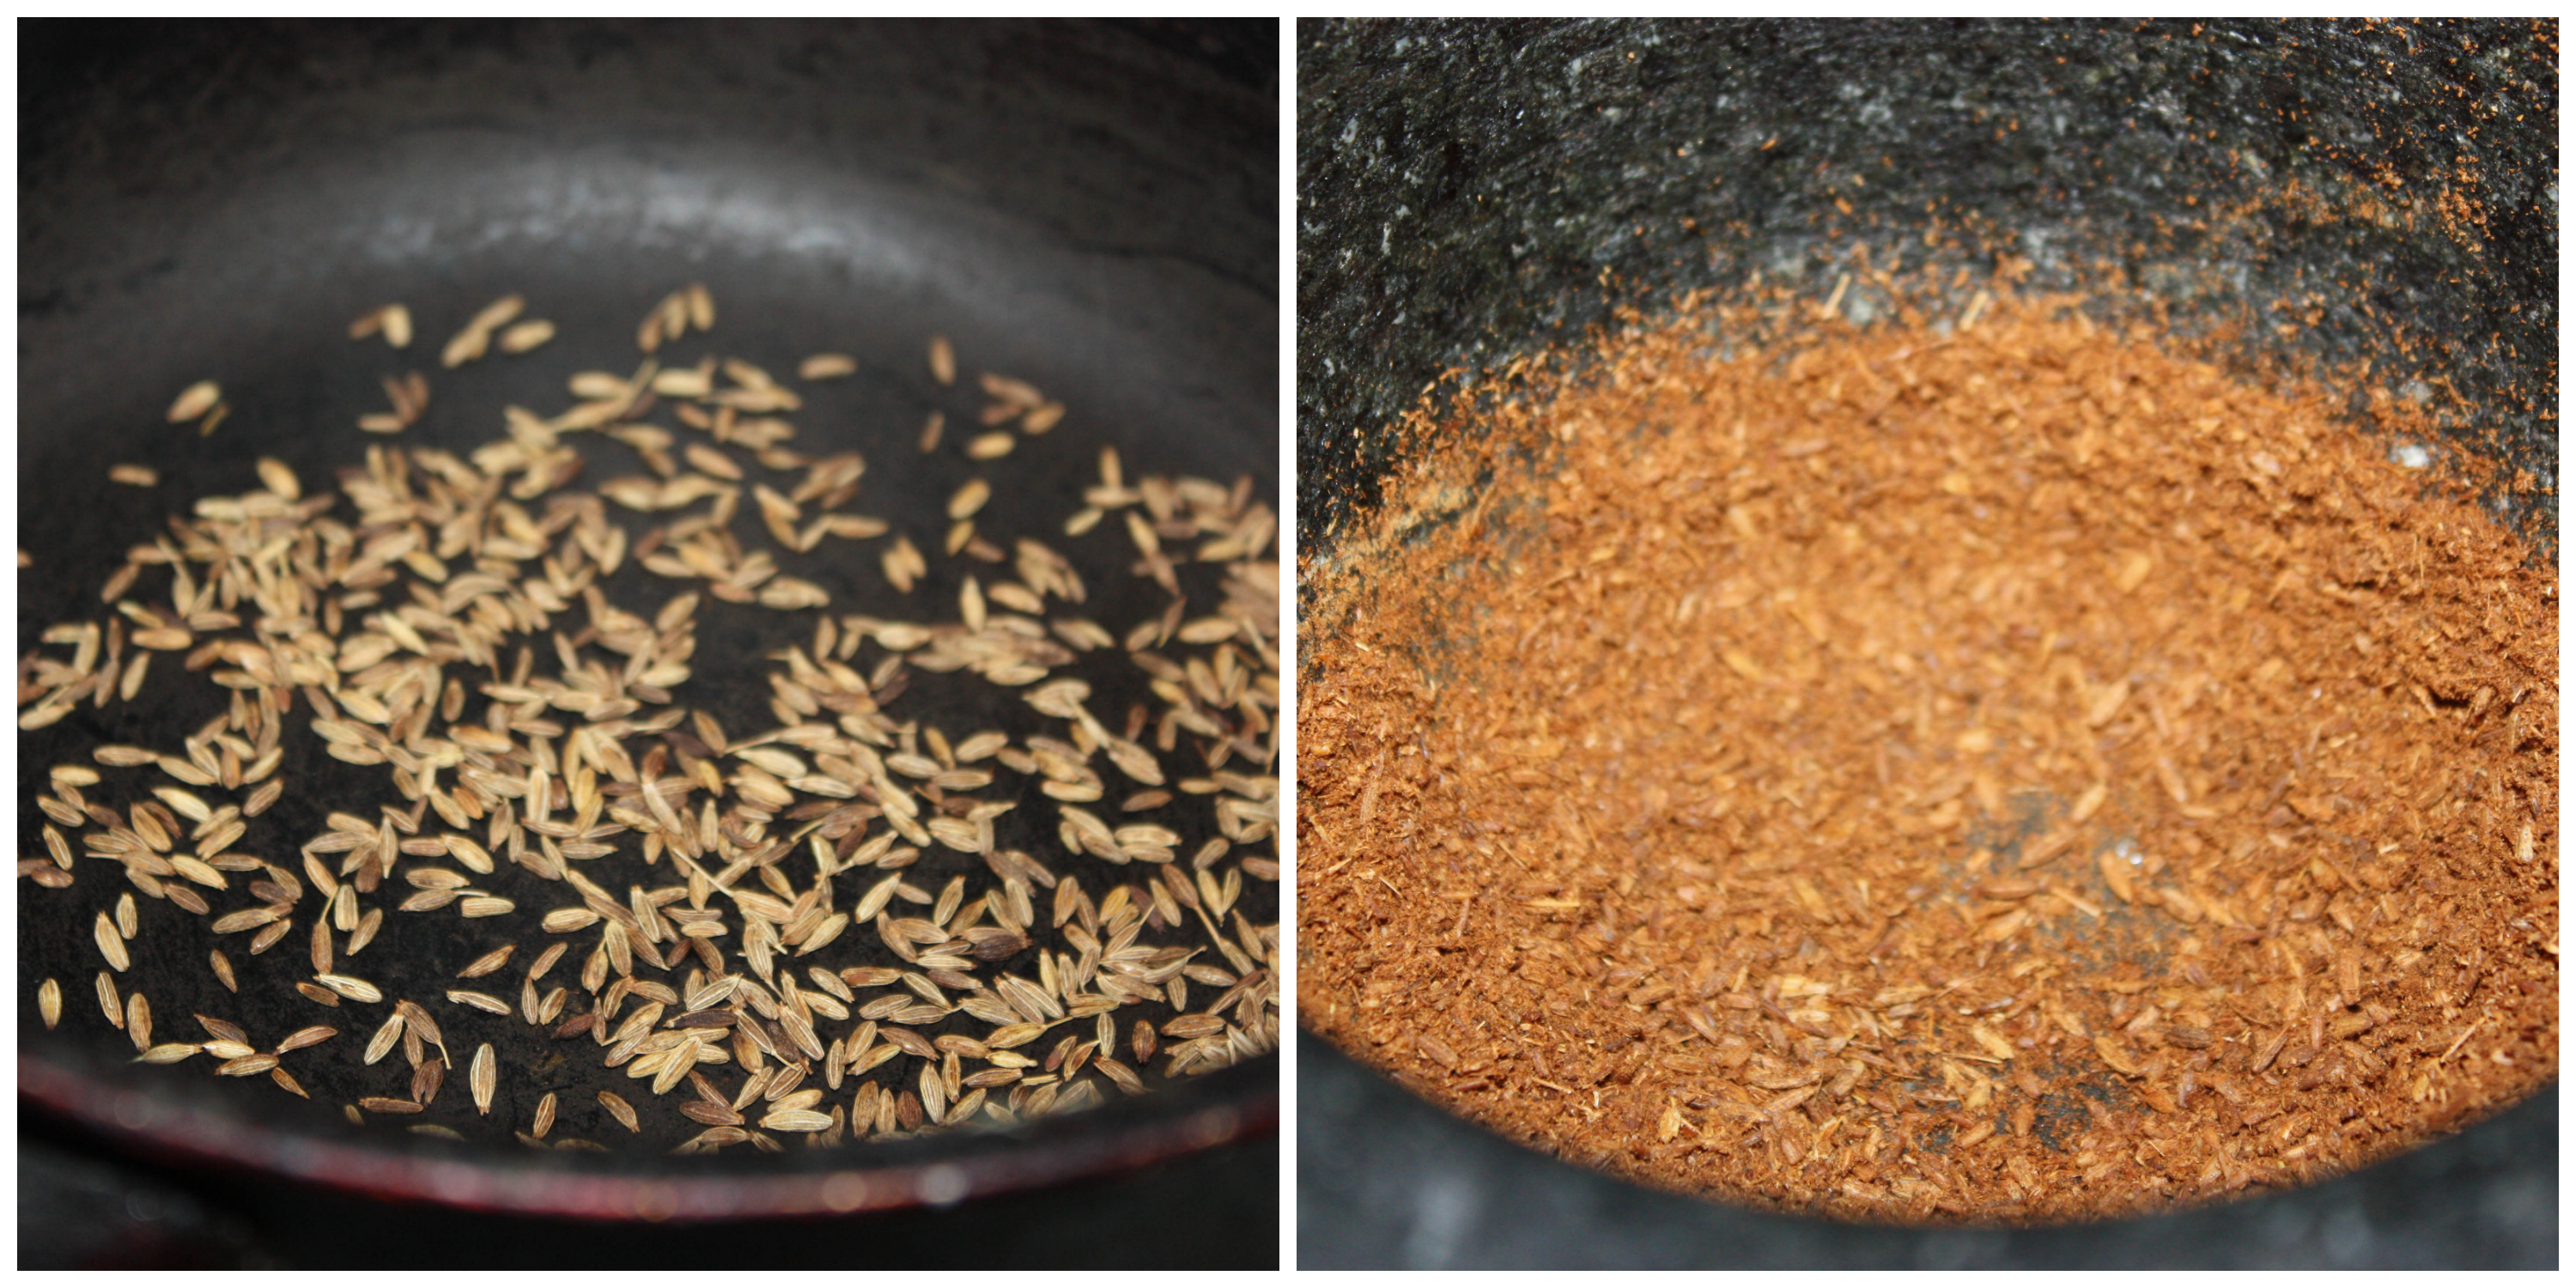
Pepper and chicken is a deadly combination. And also pepper helps to cure stomach related problems. Pepper should be dry roasted to remove moisture content. And also note that you don’t want to dry roast and store this powder. If you want good flavors, I am sure you want to! If so grind it fresh each time you make this recipe. This is a spicy curry. If you want it dry, leave it for another five to ten minutes to make it a roast.
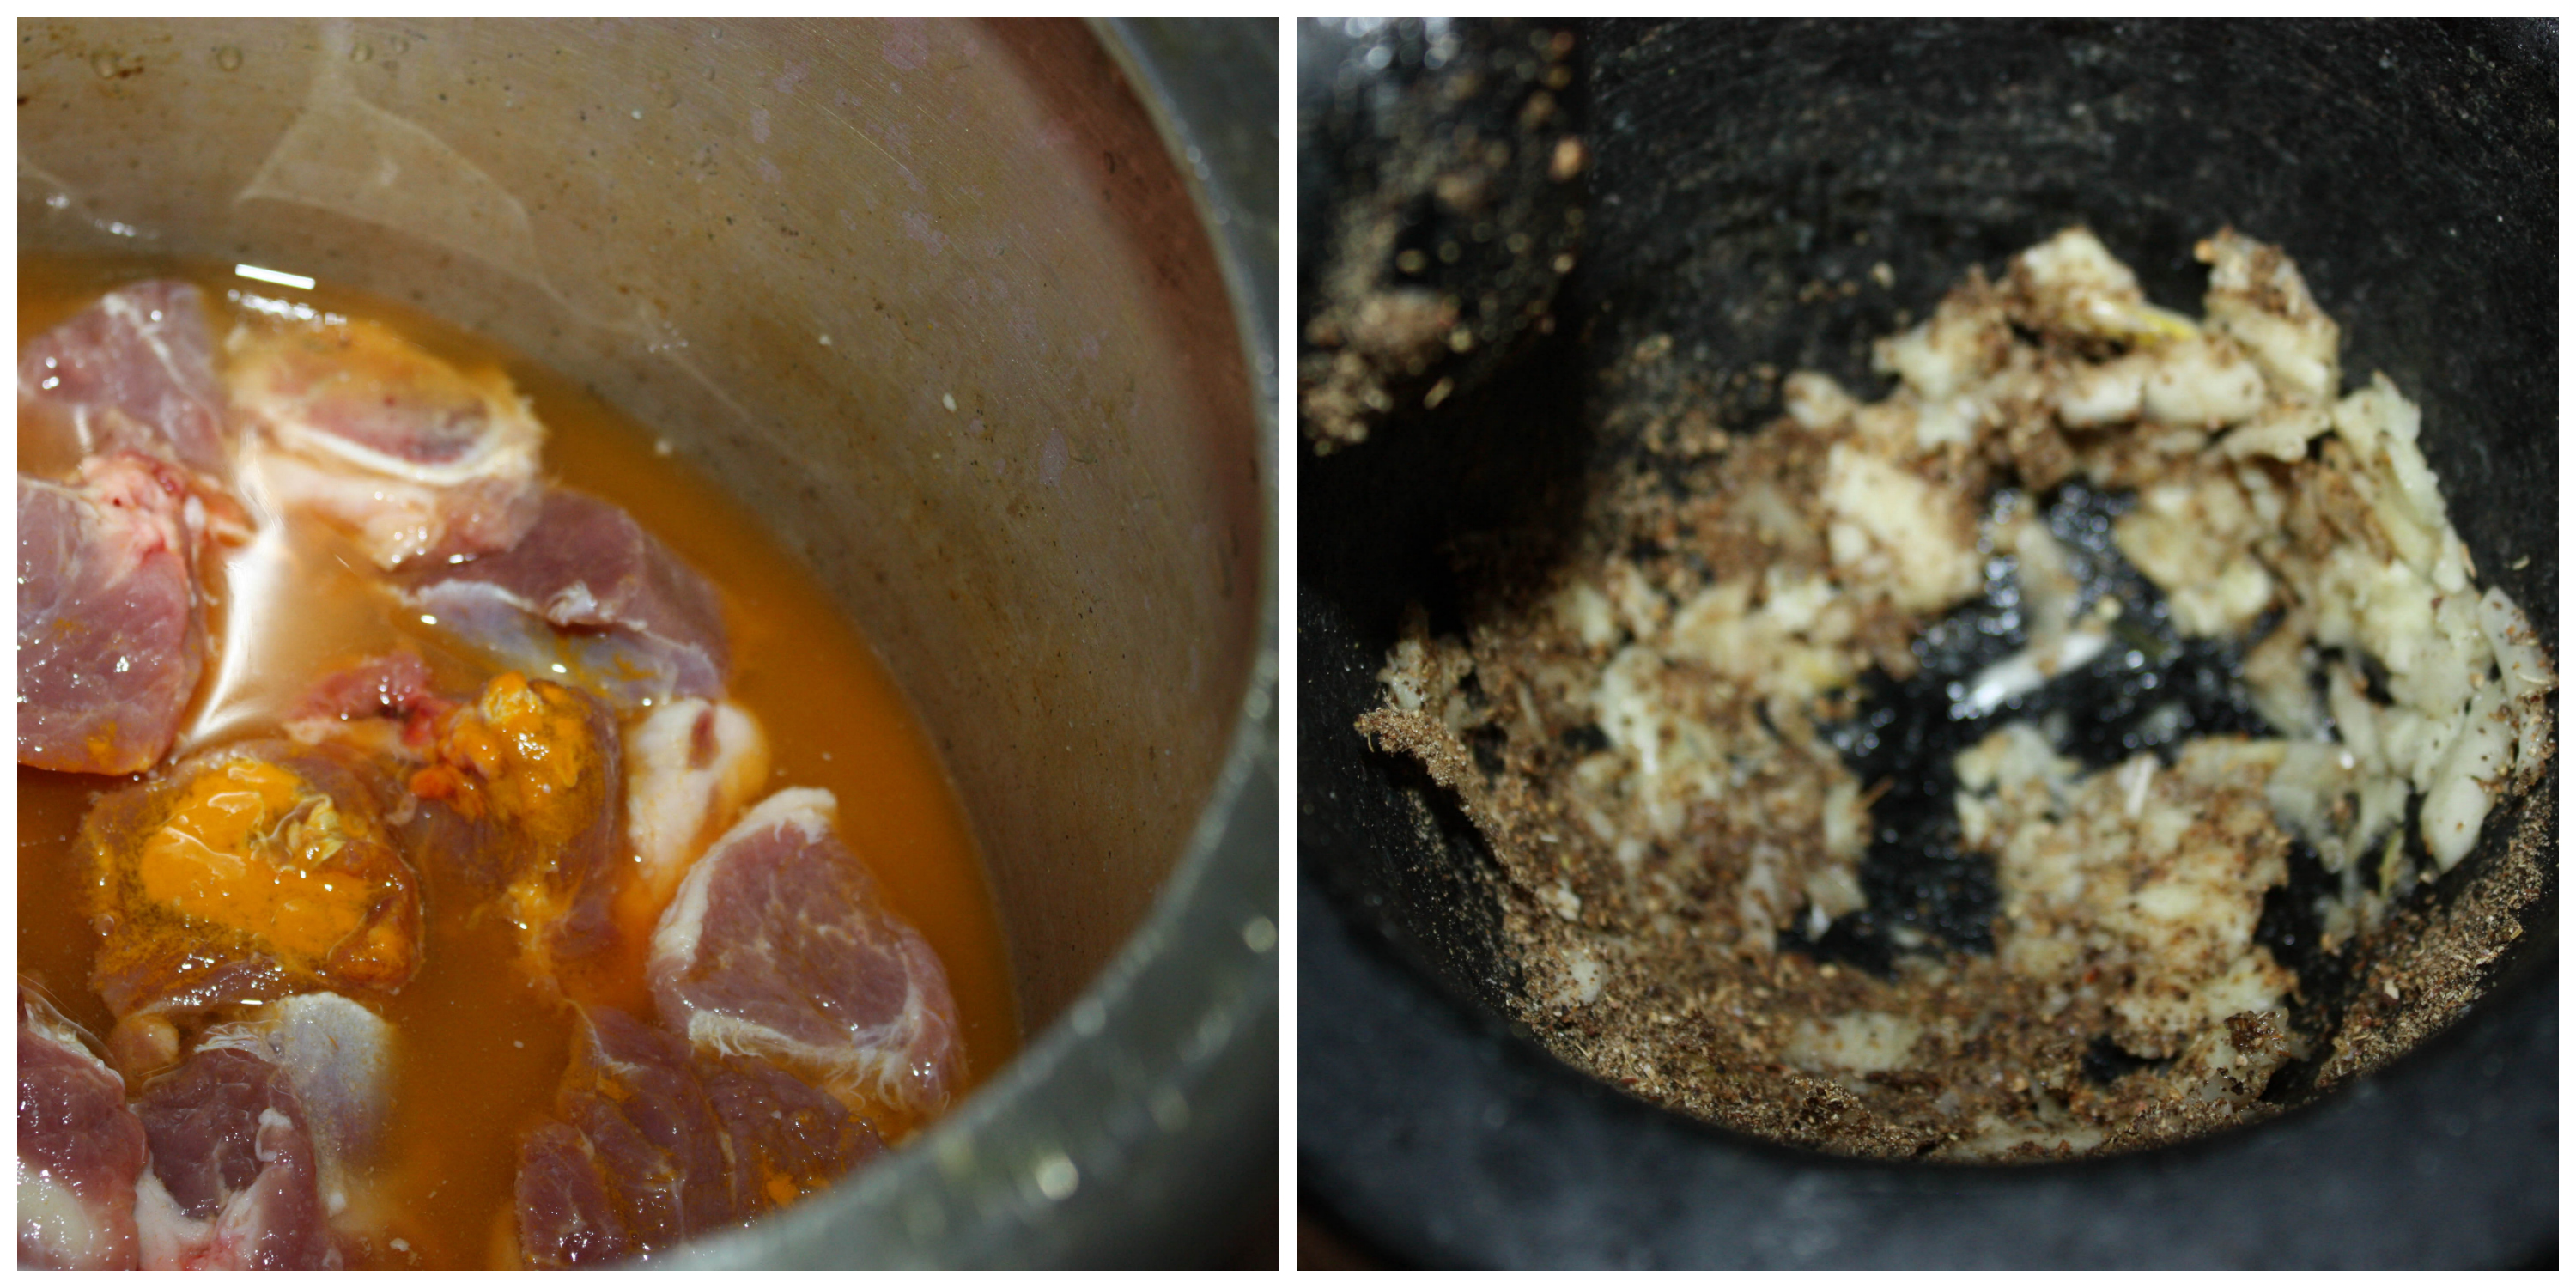
- Chicken - 400gm
- Cinnamon stick - ¼ inch piece
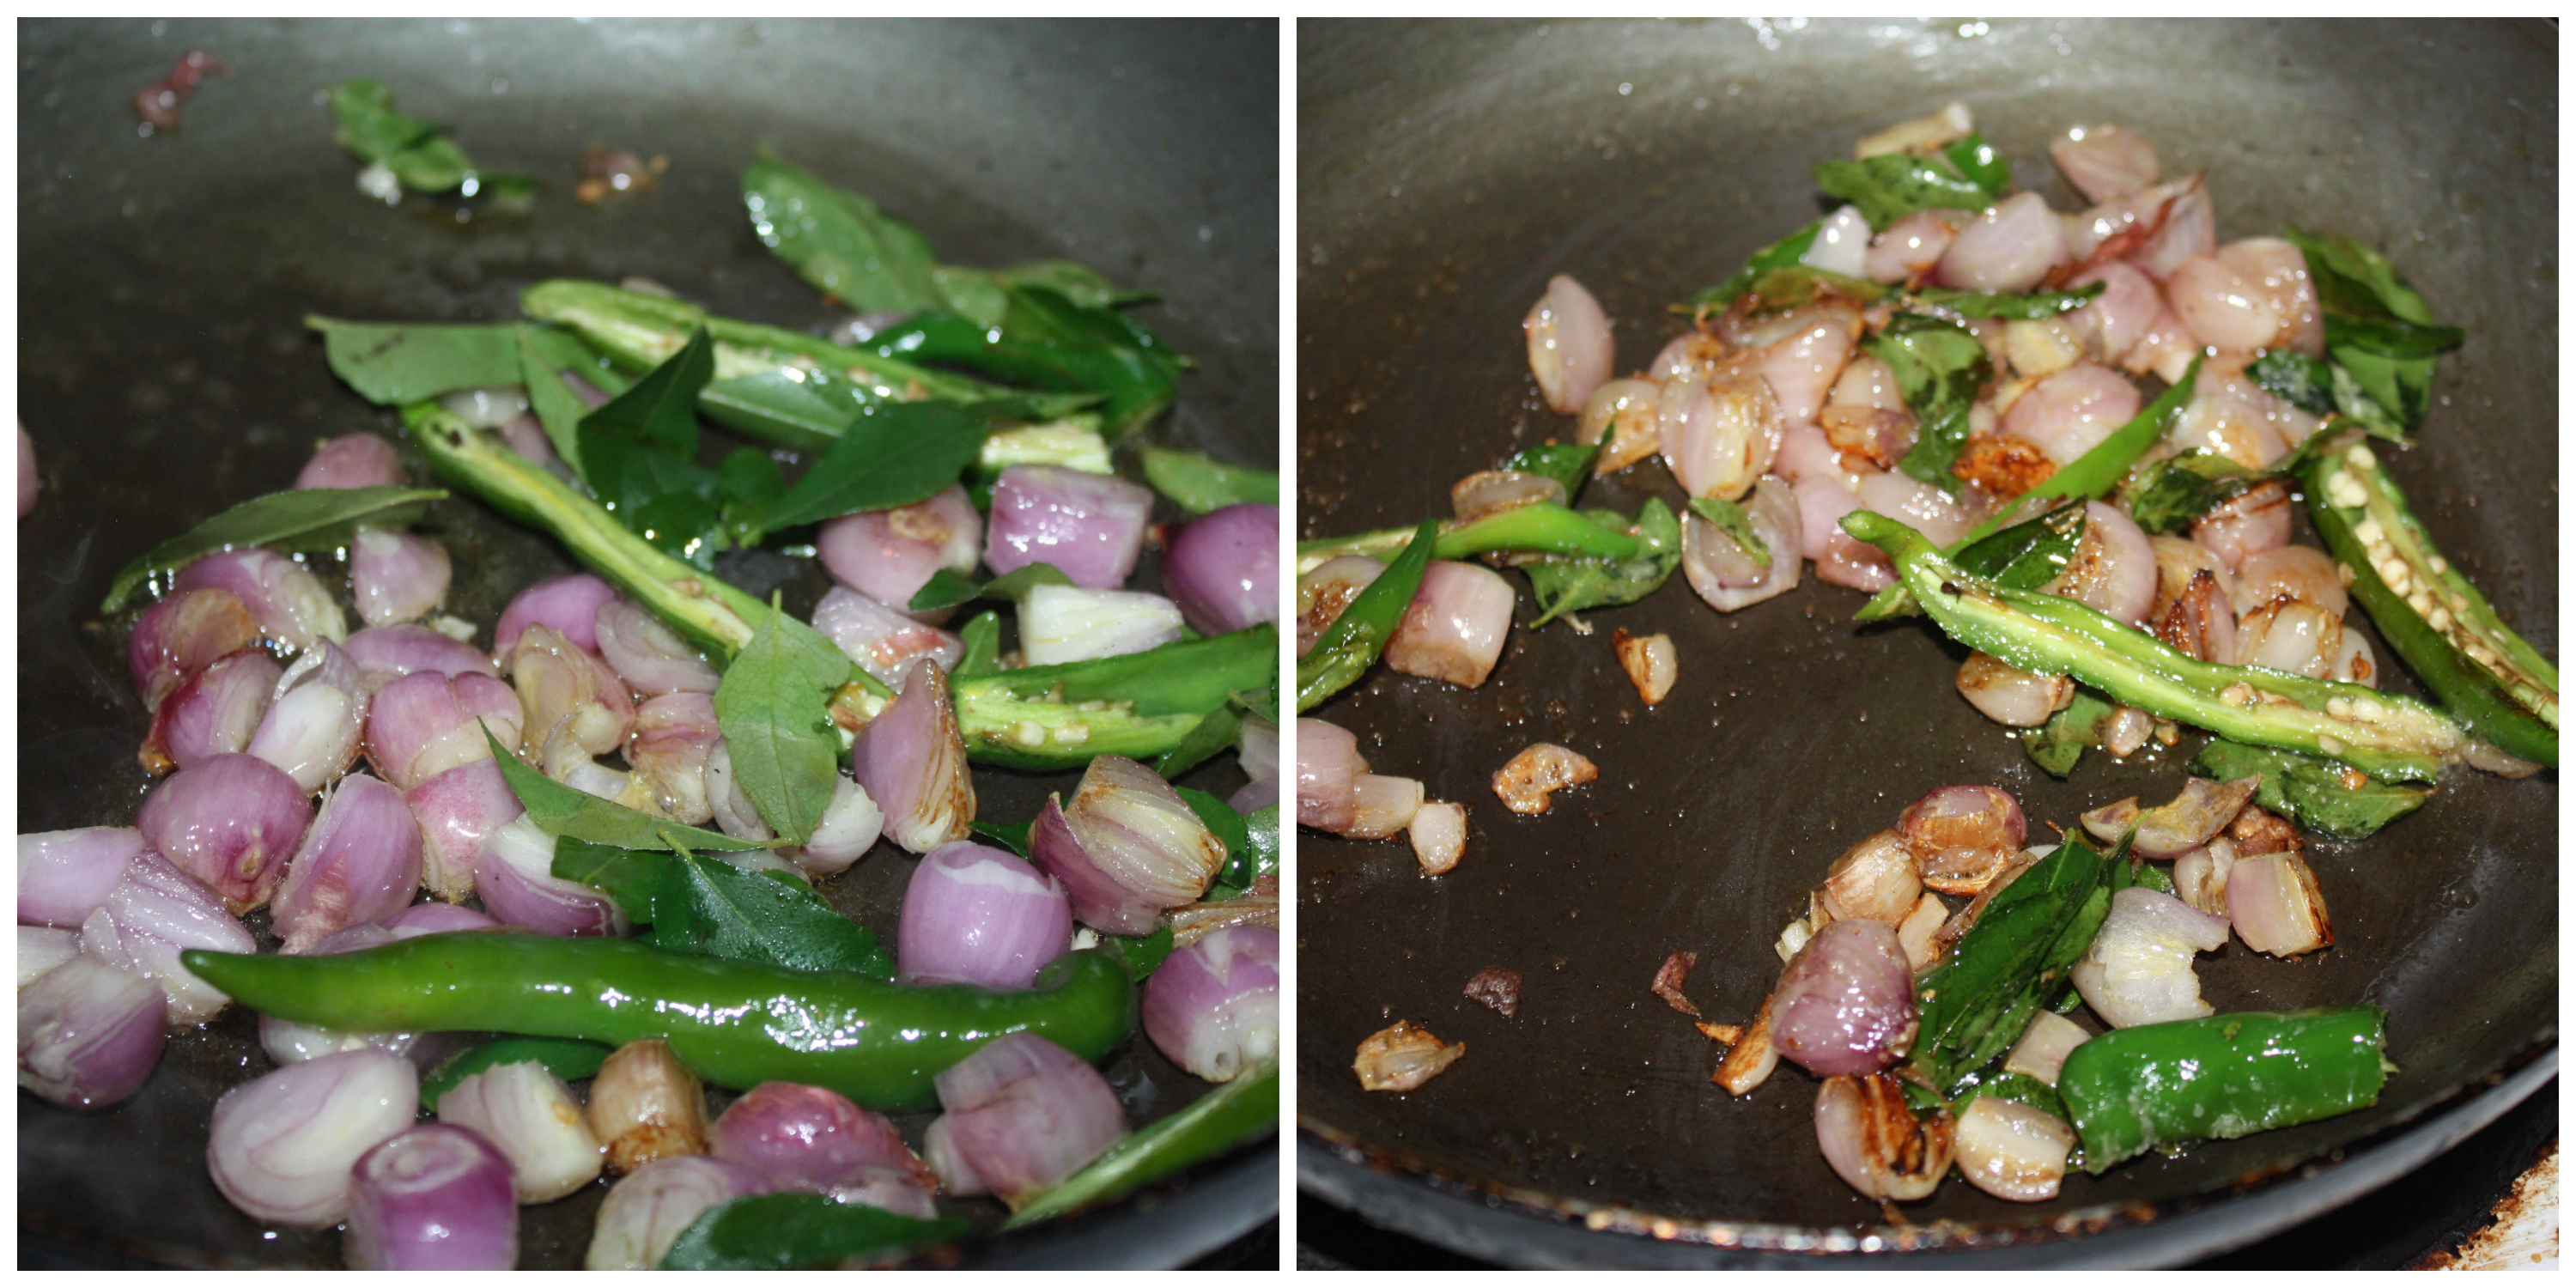
- Onion - 1 cup, 1 finely chopped
- Tomato - 1 cup, 1 finely chopped
- Ginger garlic paste - 2tbsp
- Turmeric powder - 2 tsp
- Chili powder - 1 tbsp
- Coriander powder - 1 tbsp
- Oil - 3 tbsp
- Salt - as needed
- Curry leaves – 10
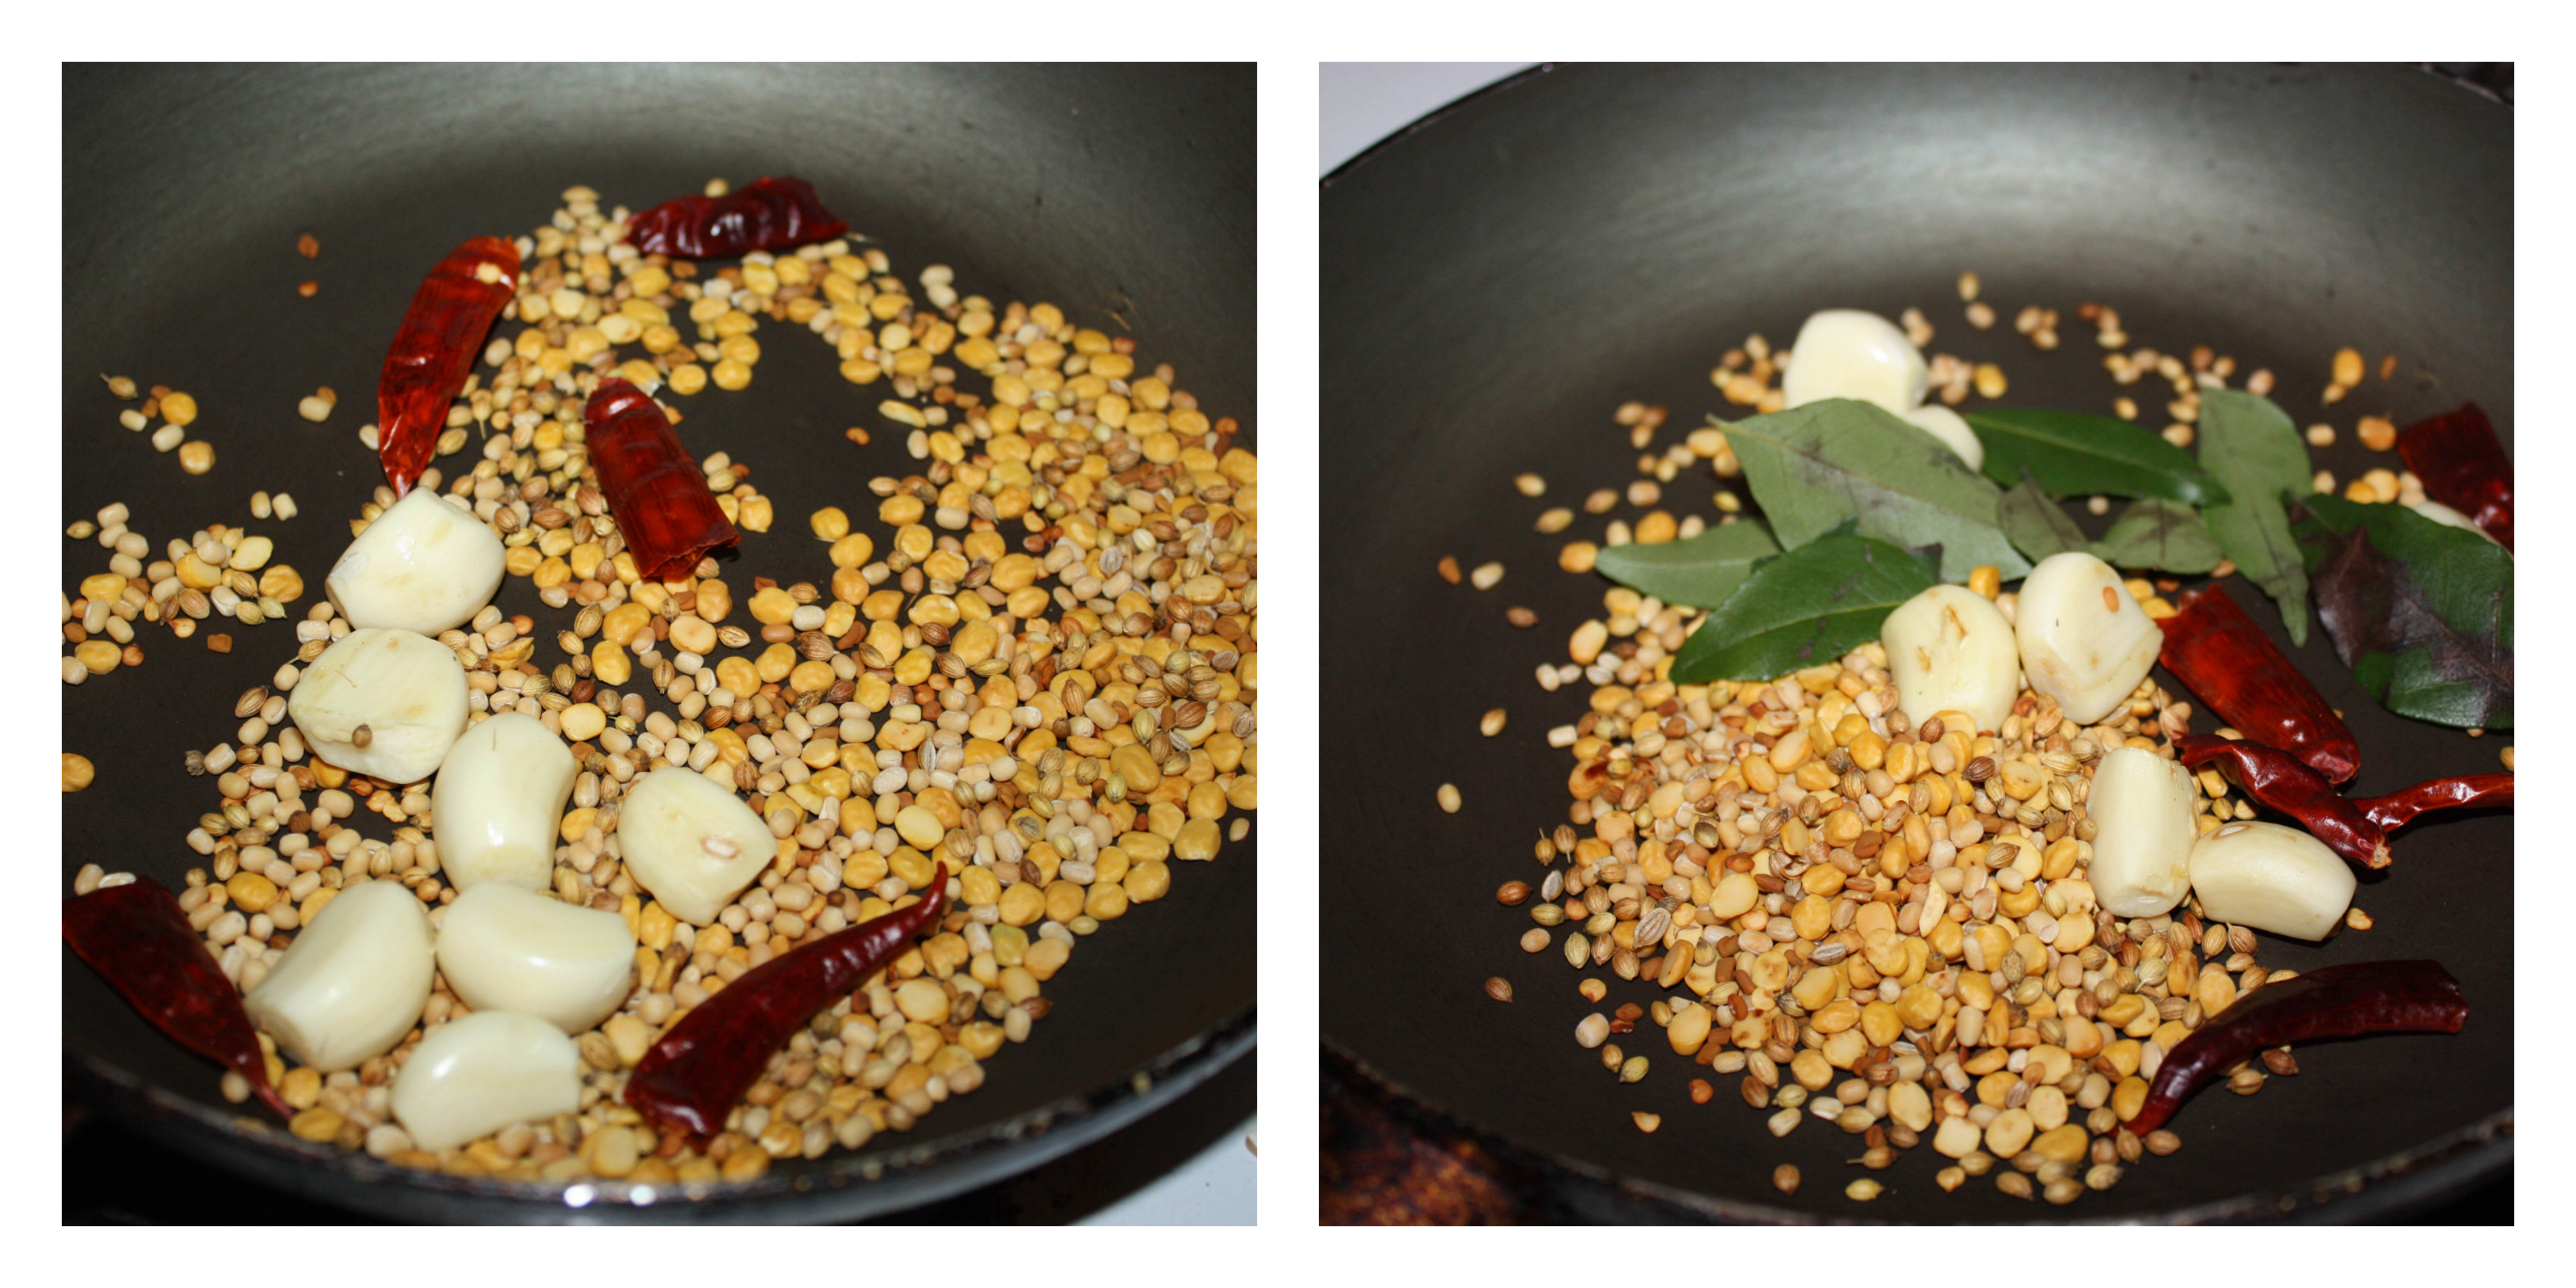
To Roast and grind: - Pepper - 1 tbsp
- Fennel seeds - 1 tbsp
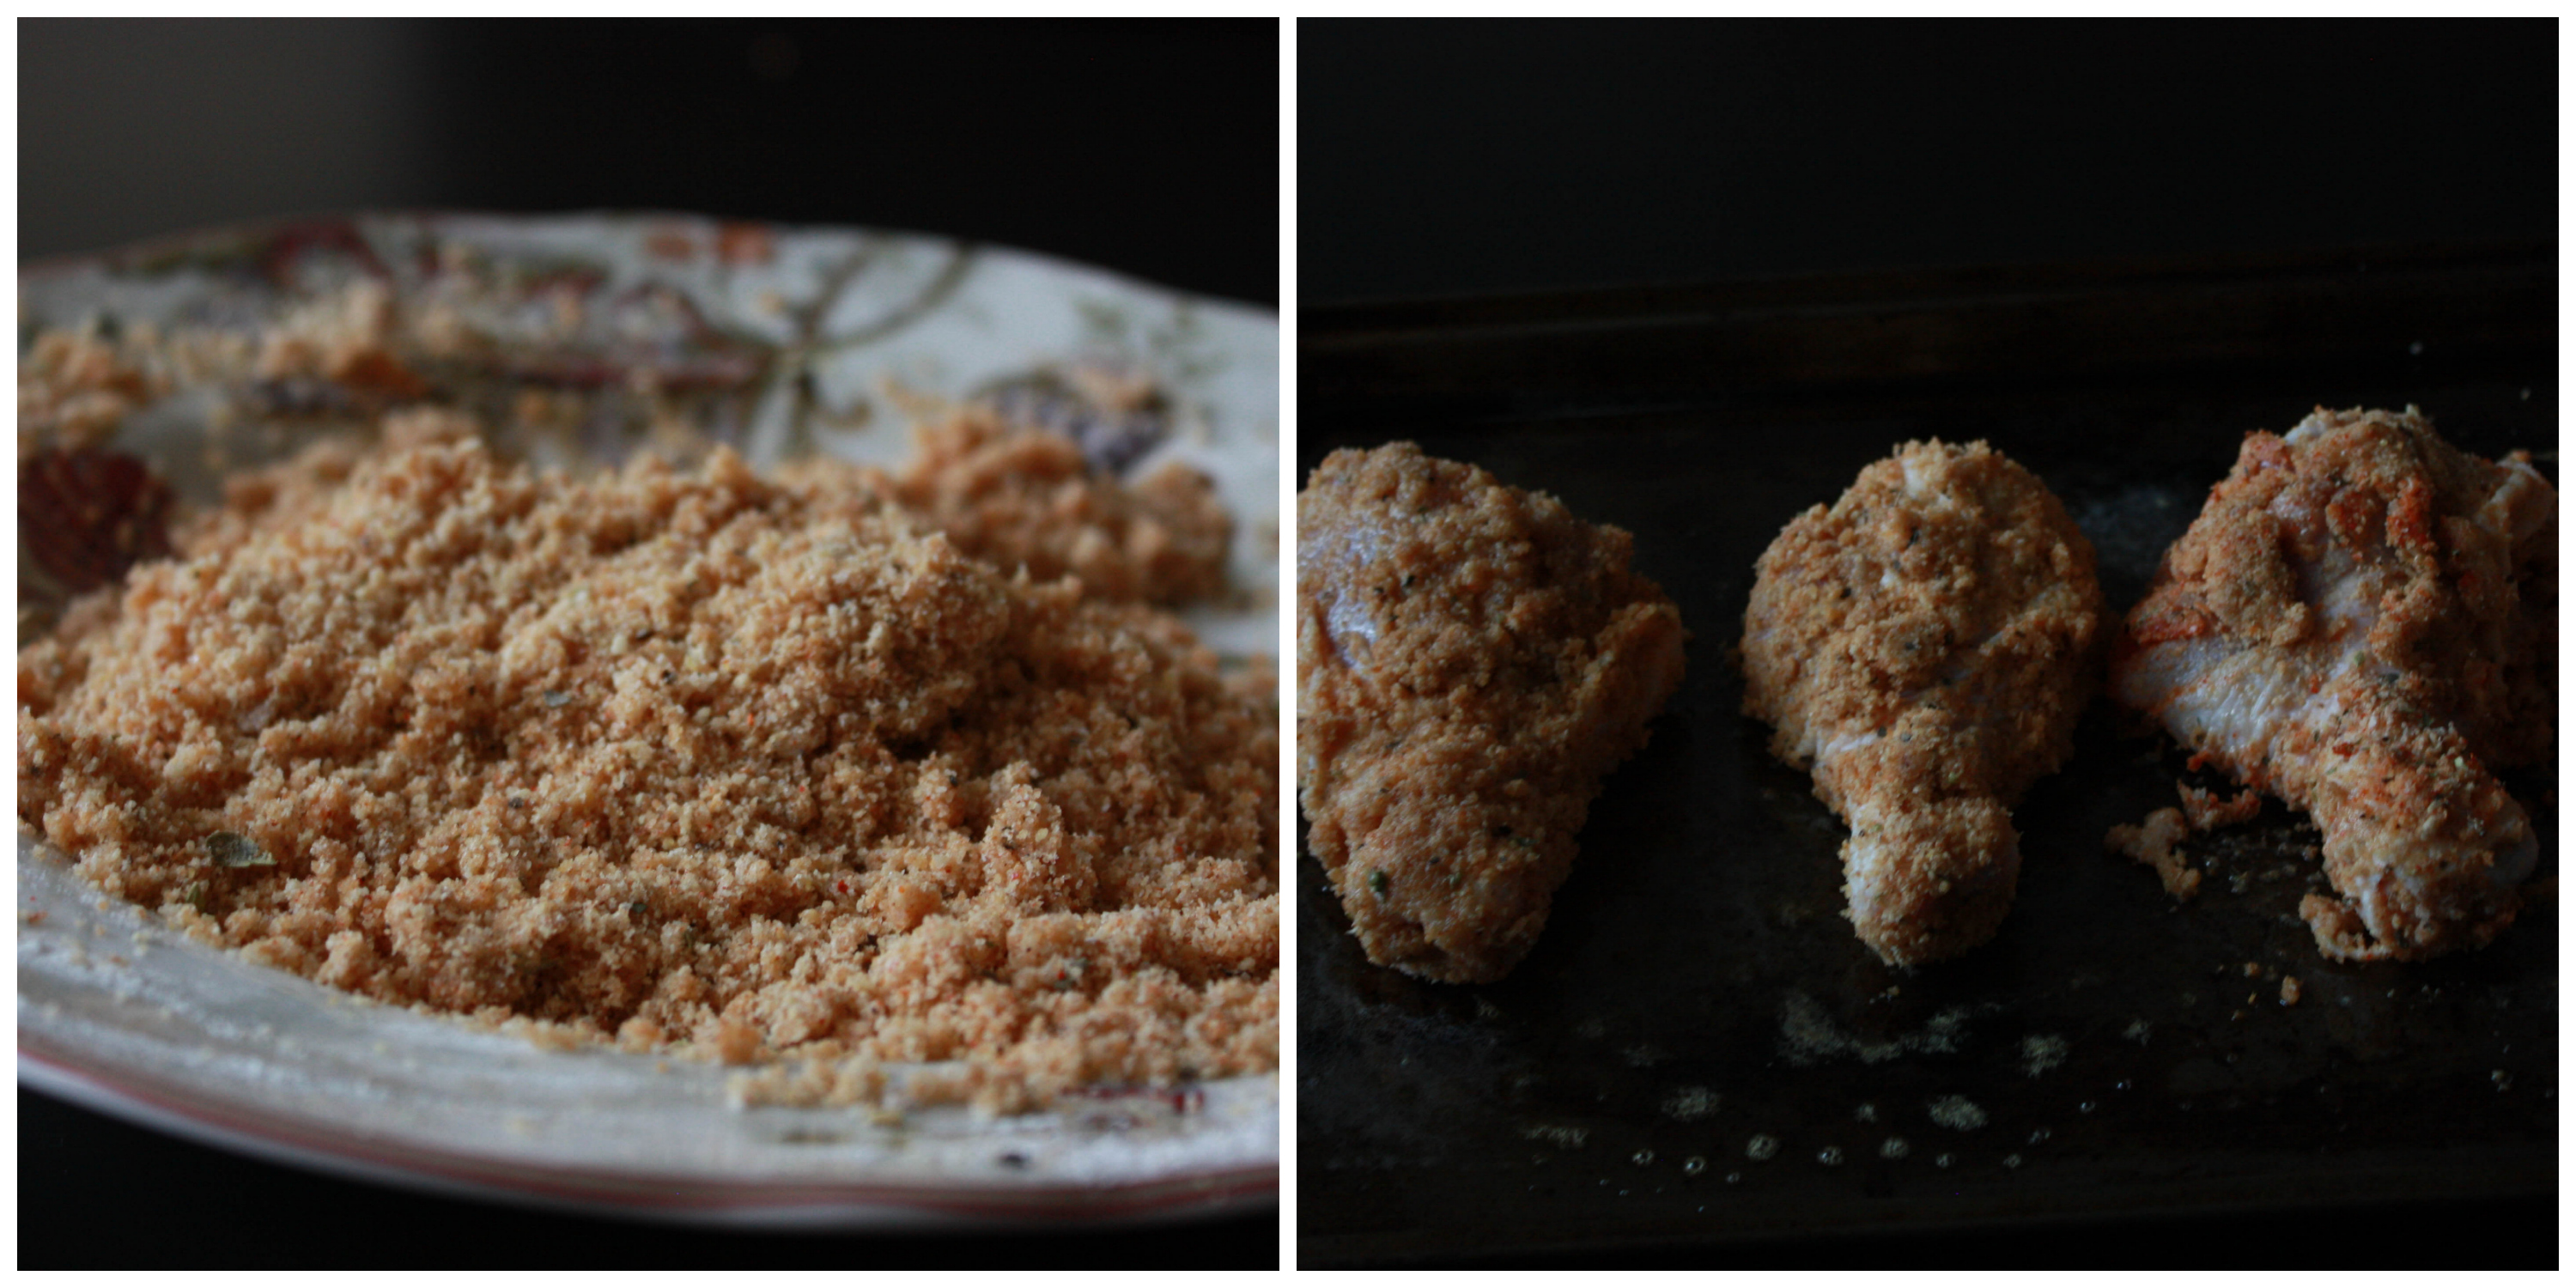
- Dry roast the ingredient under "to roast & grind" each one of it separately. i.e, Pepper separately and fennel seeds separately. Grind them together and keep it aside.
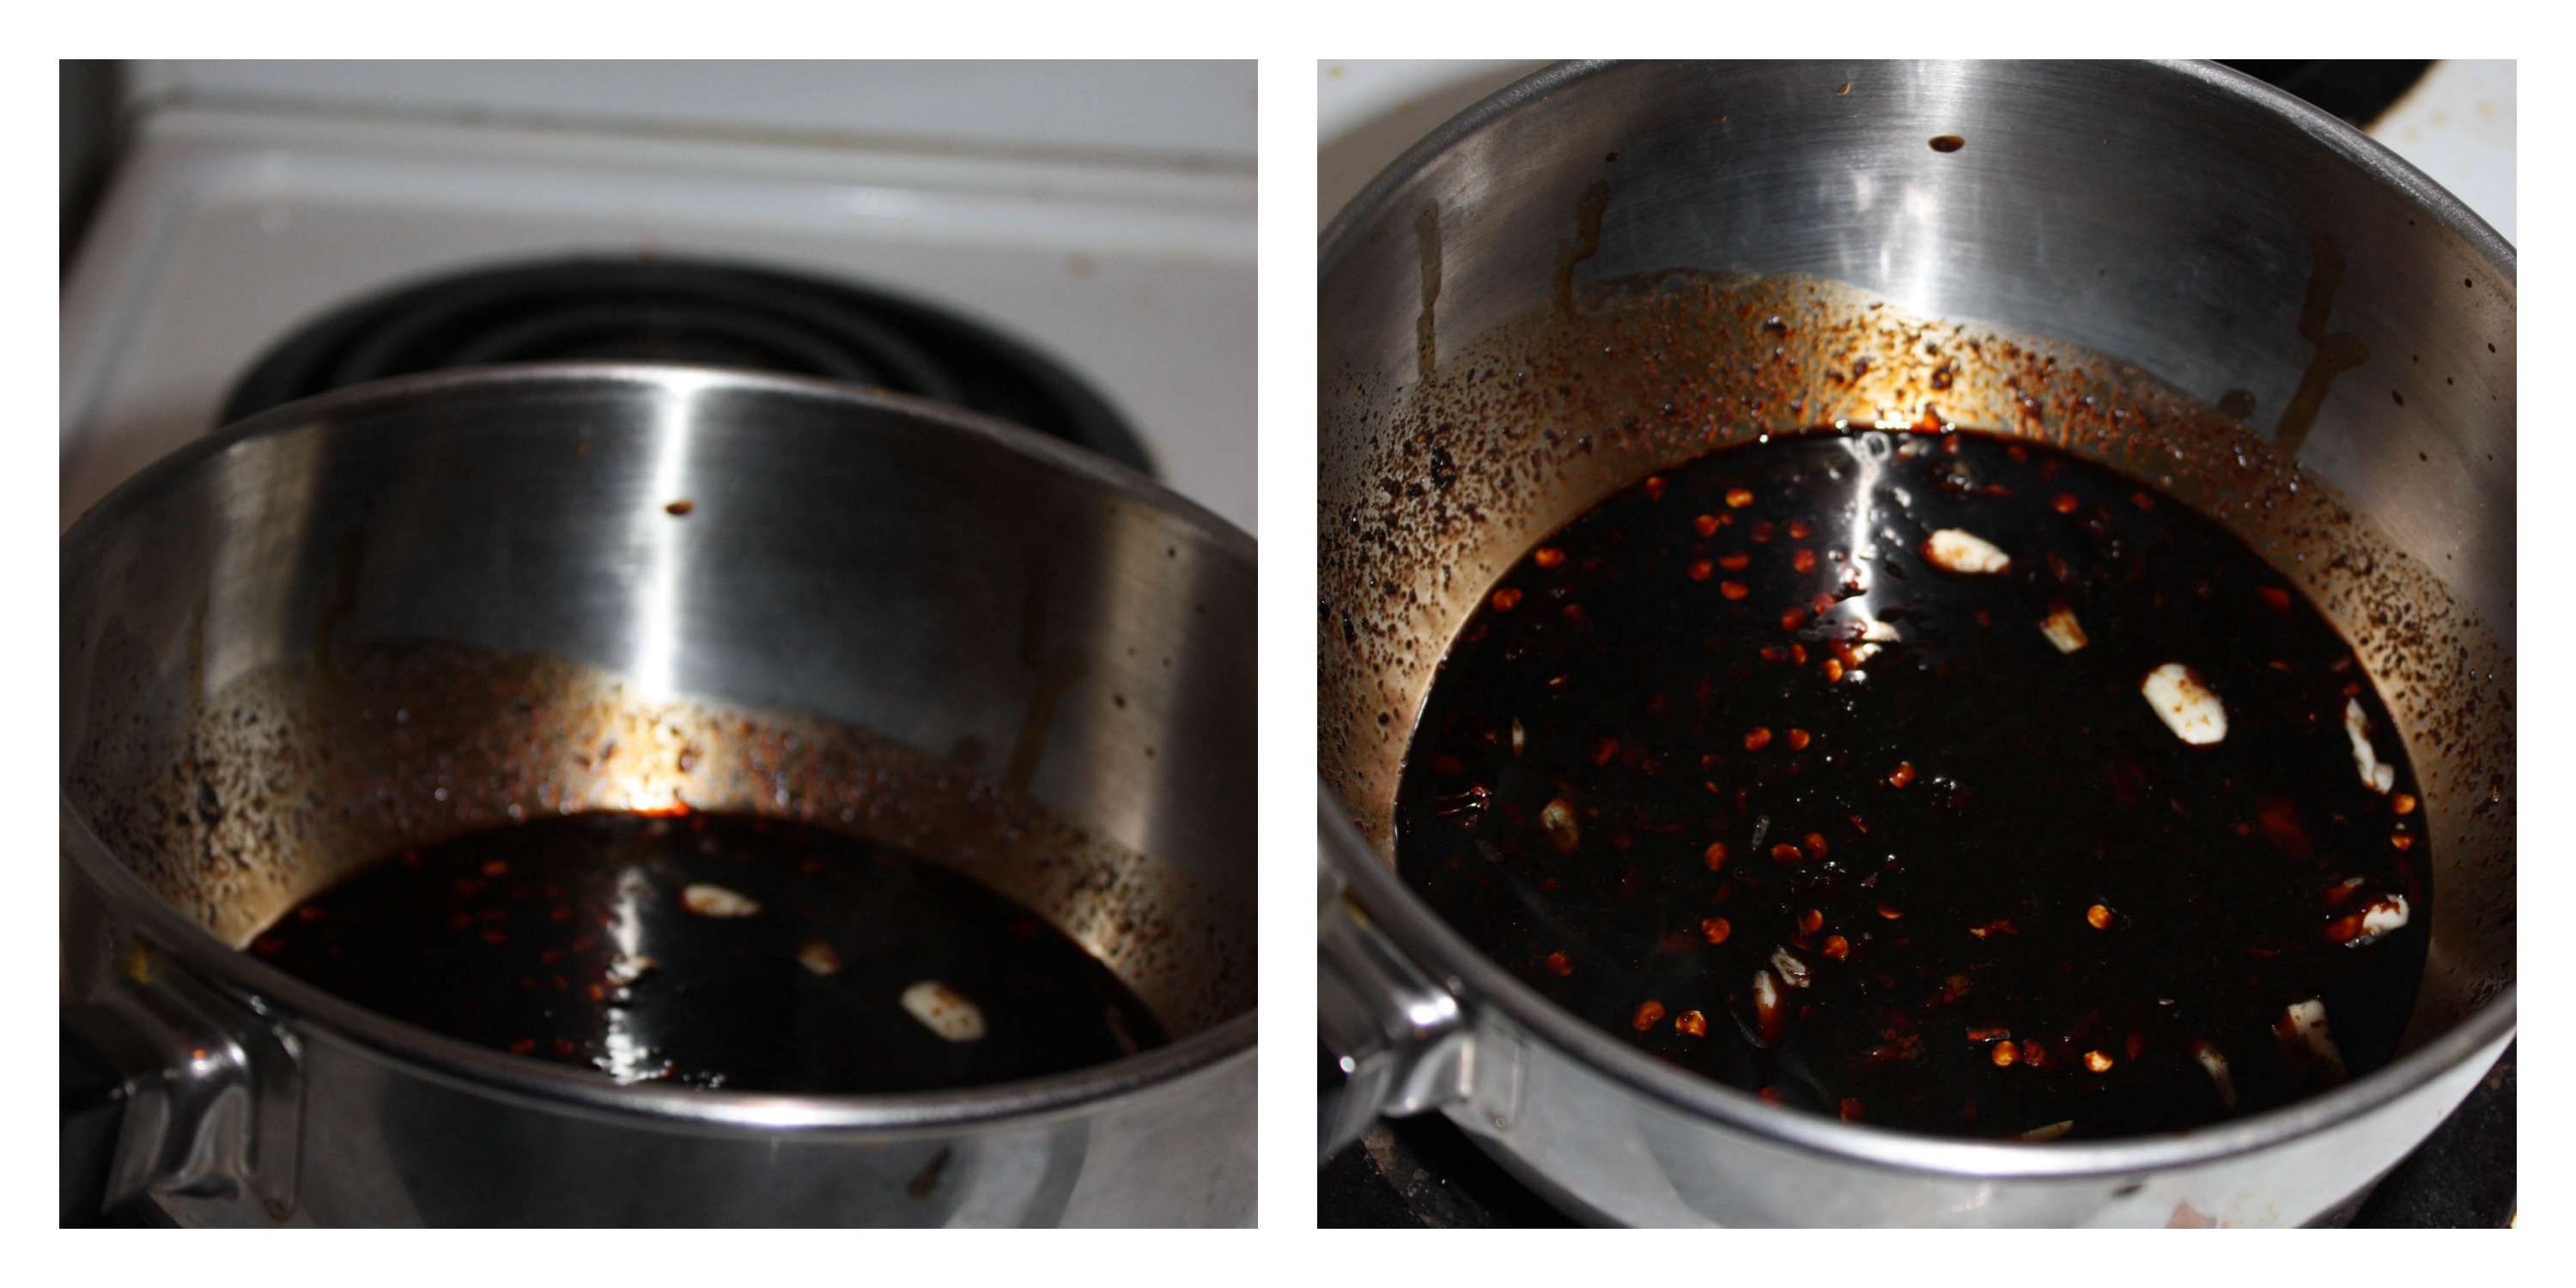
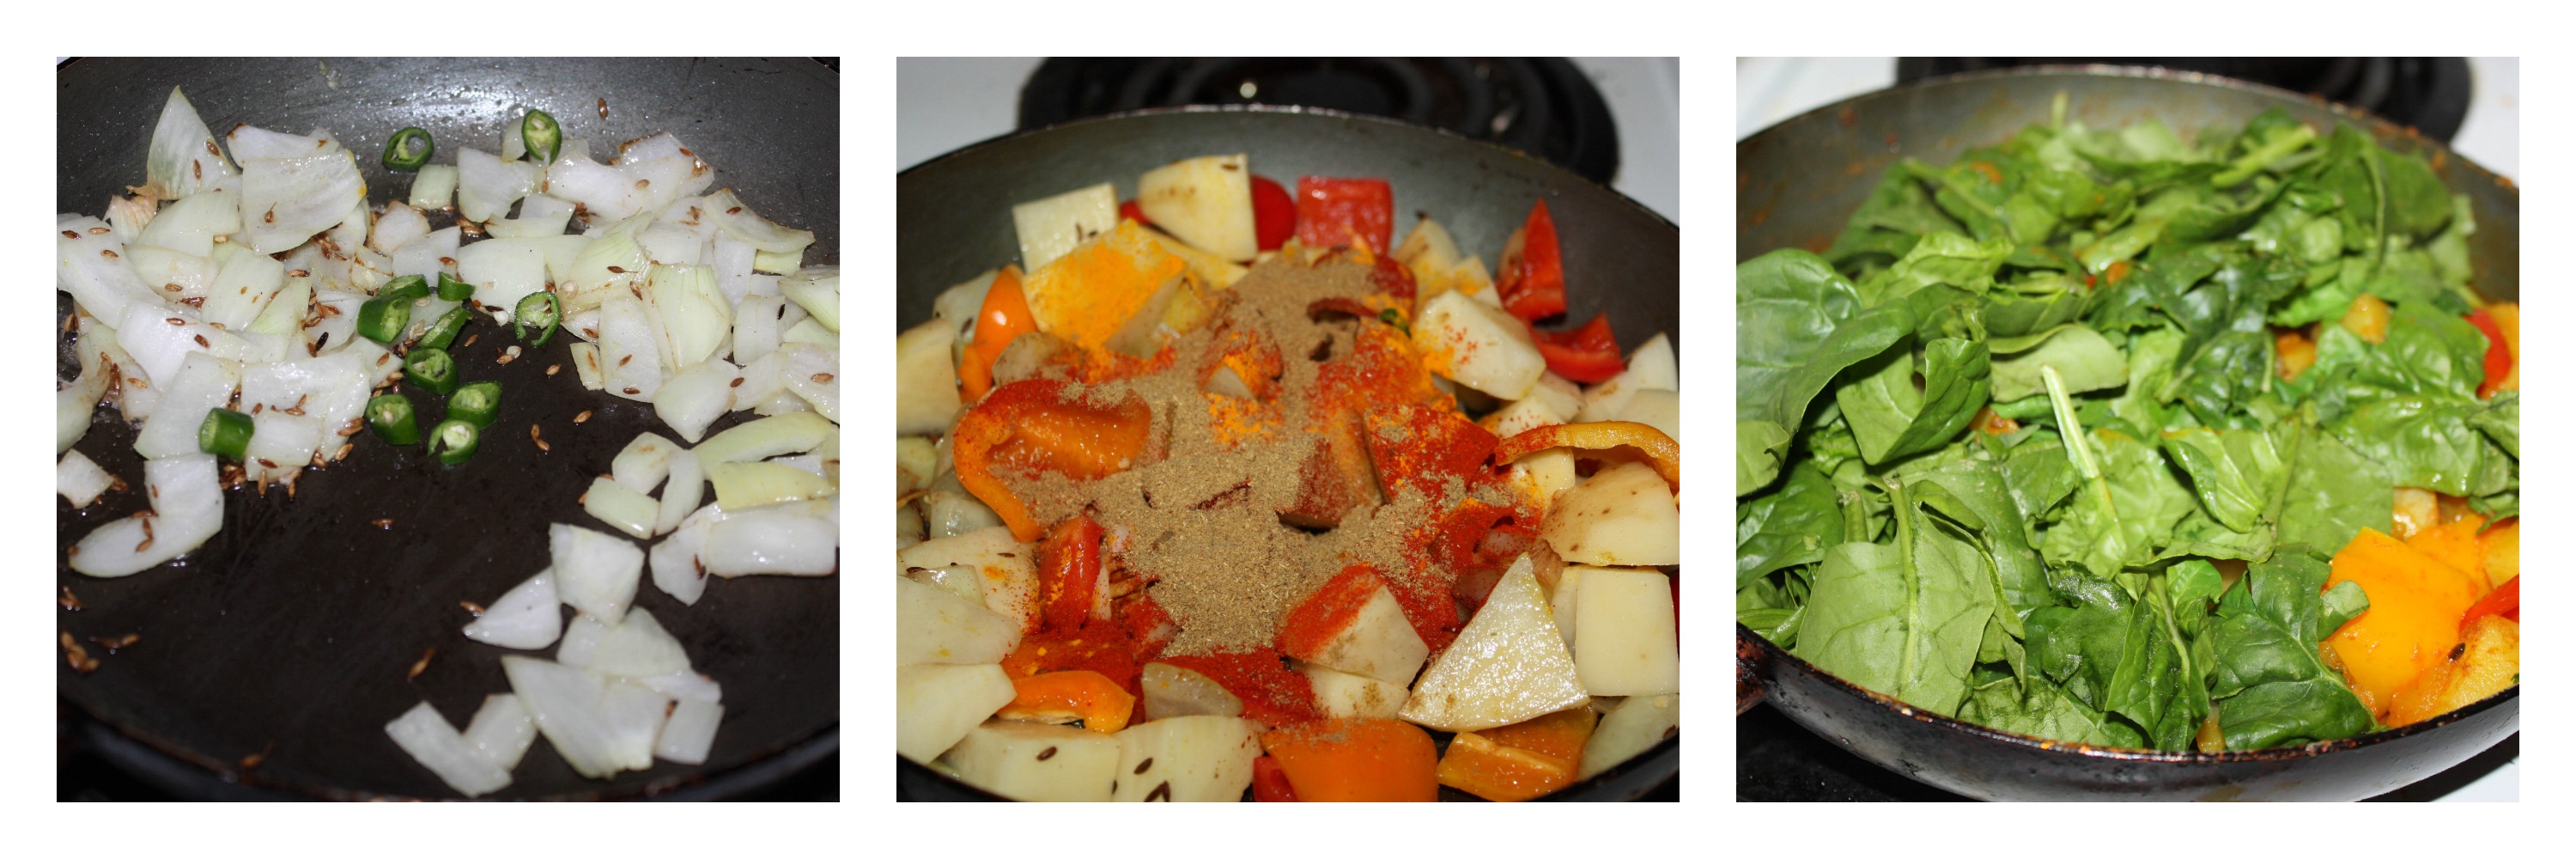
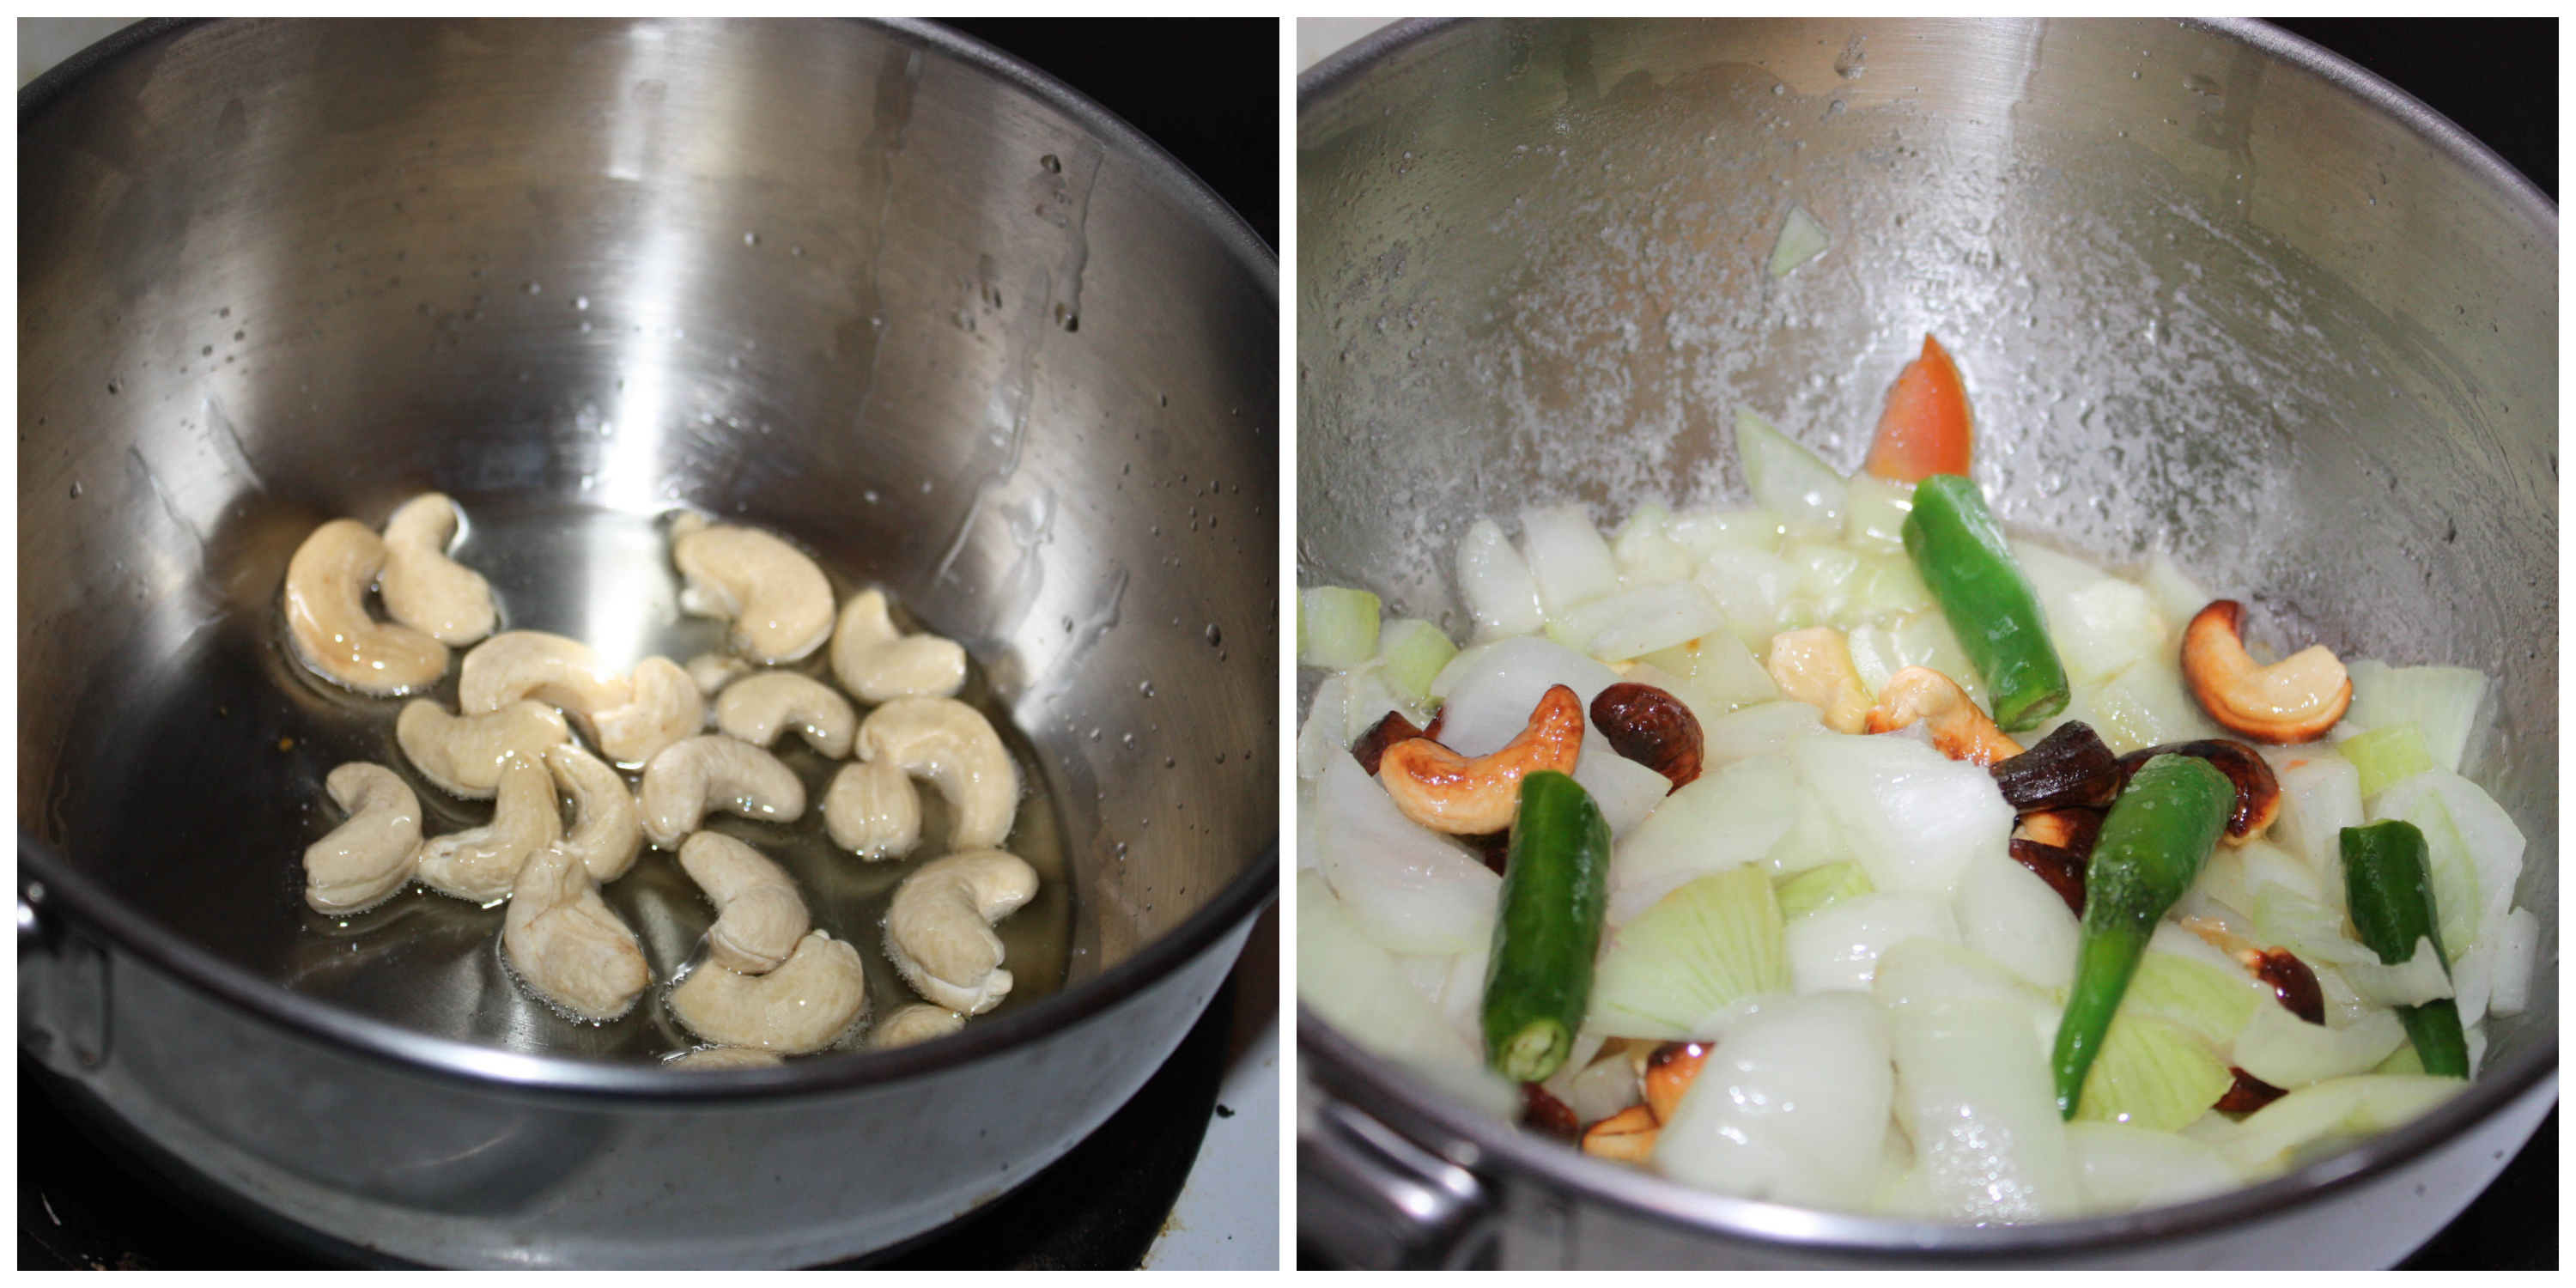
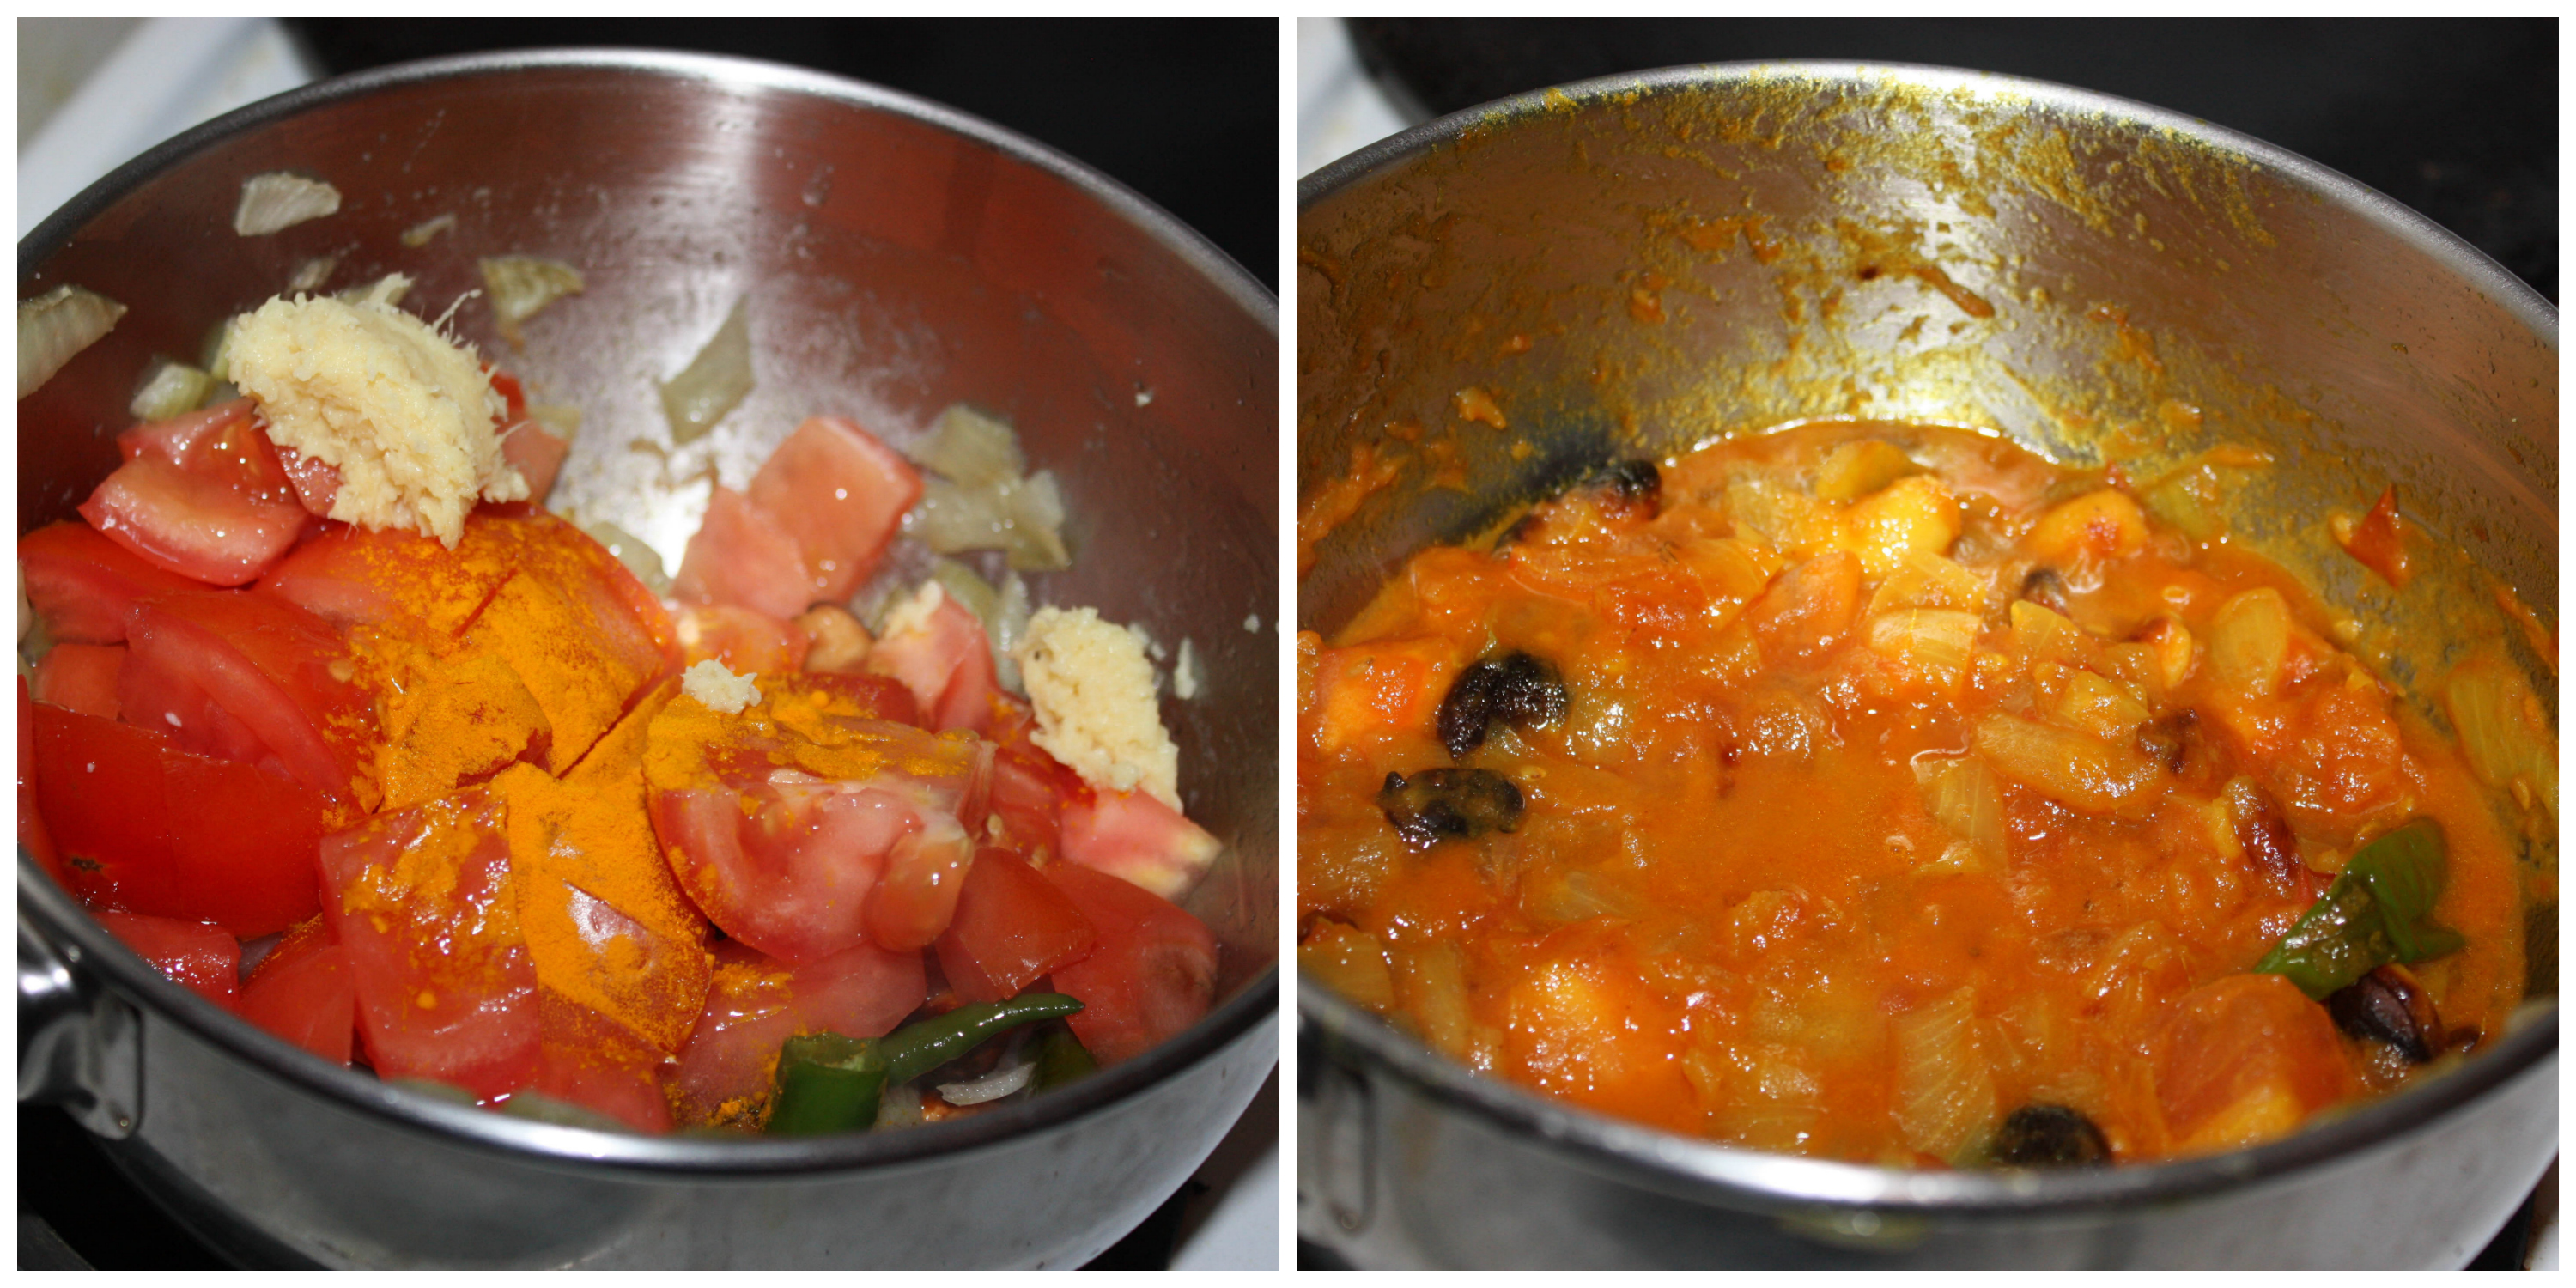
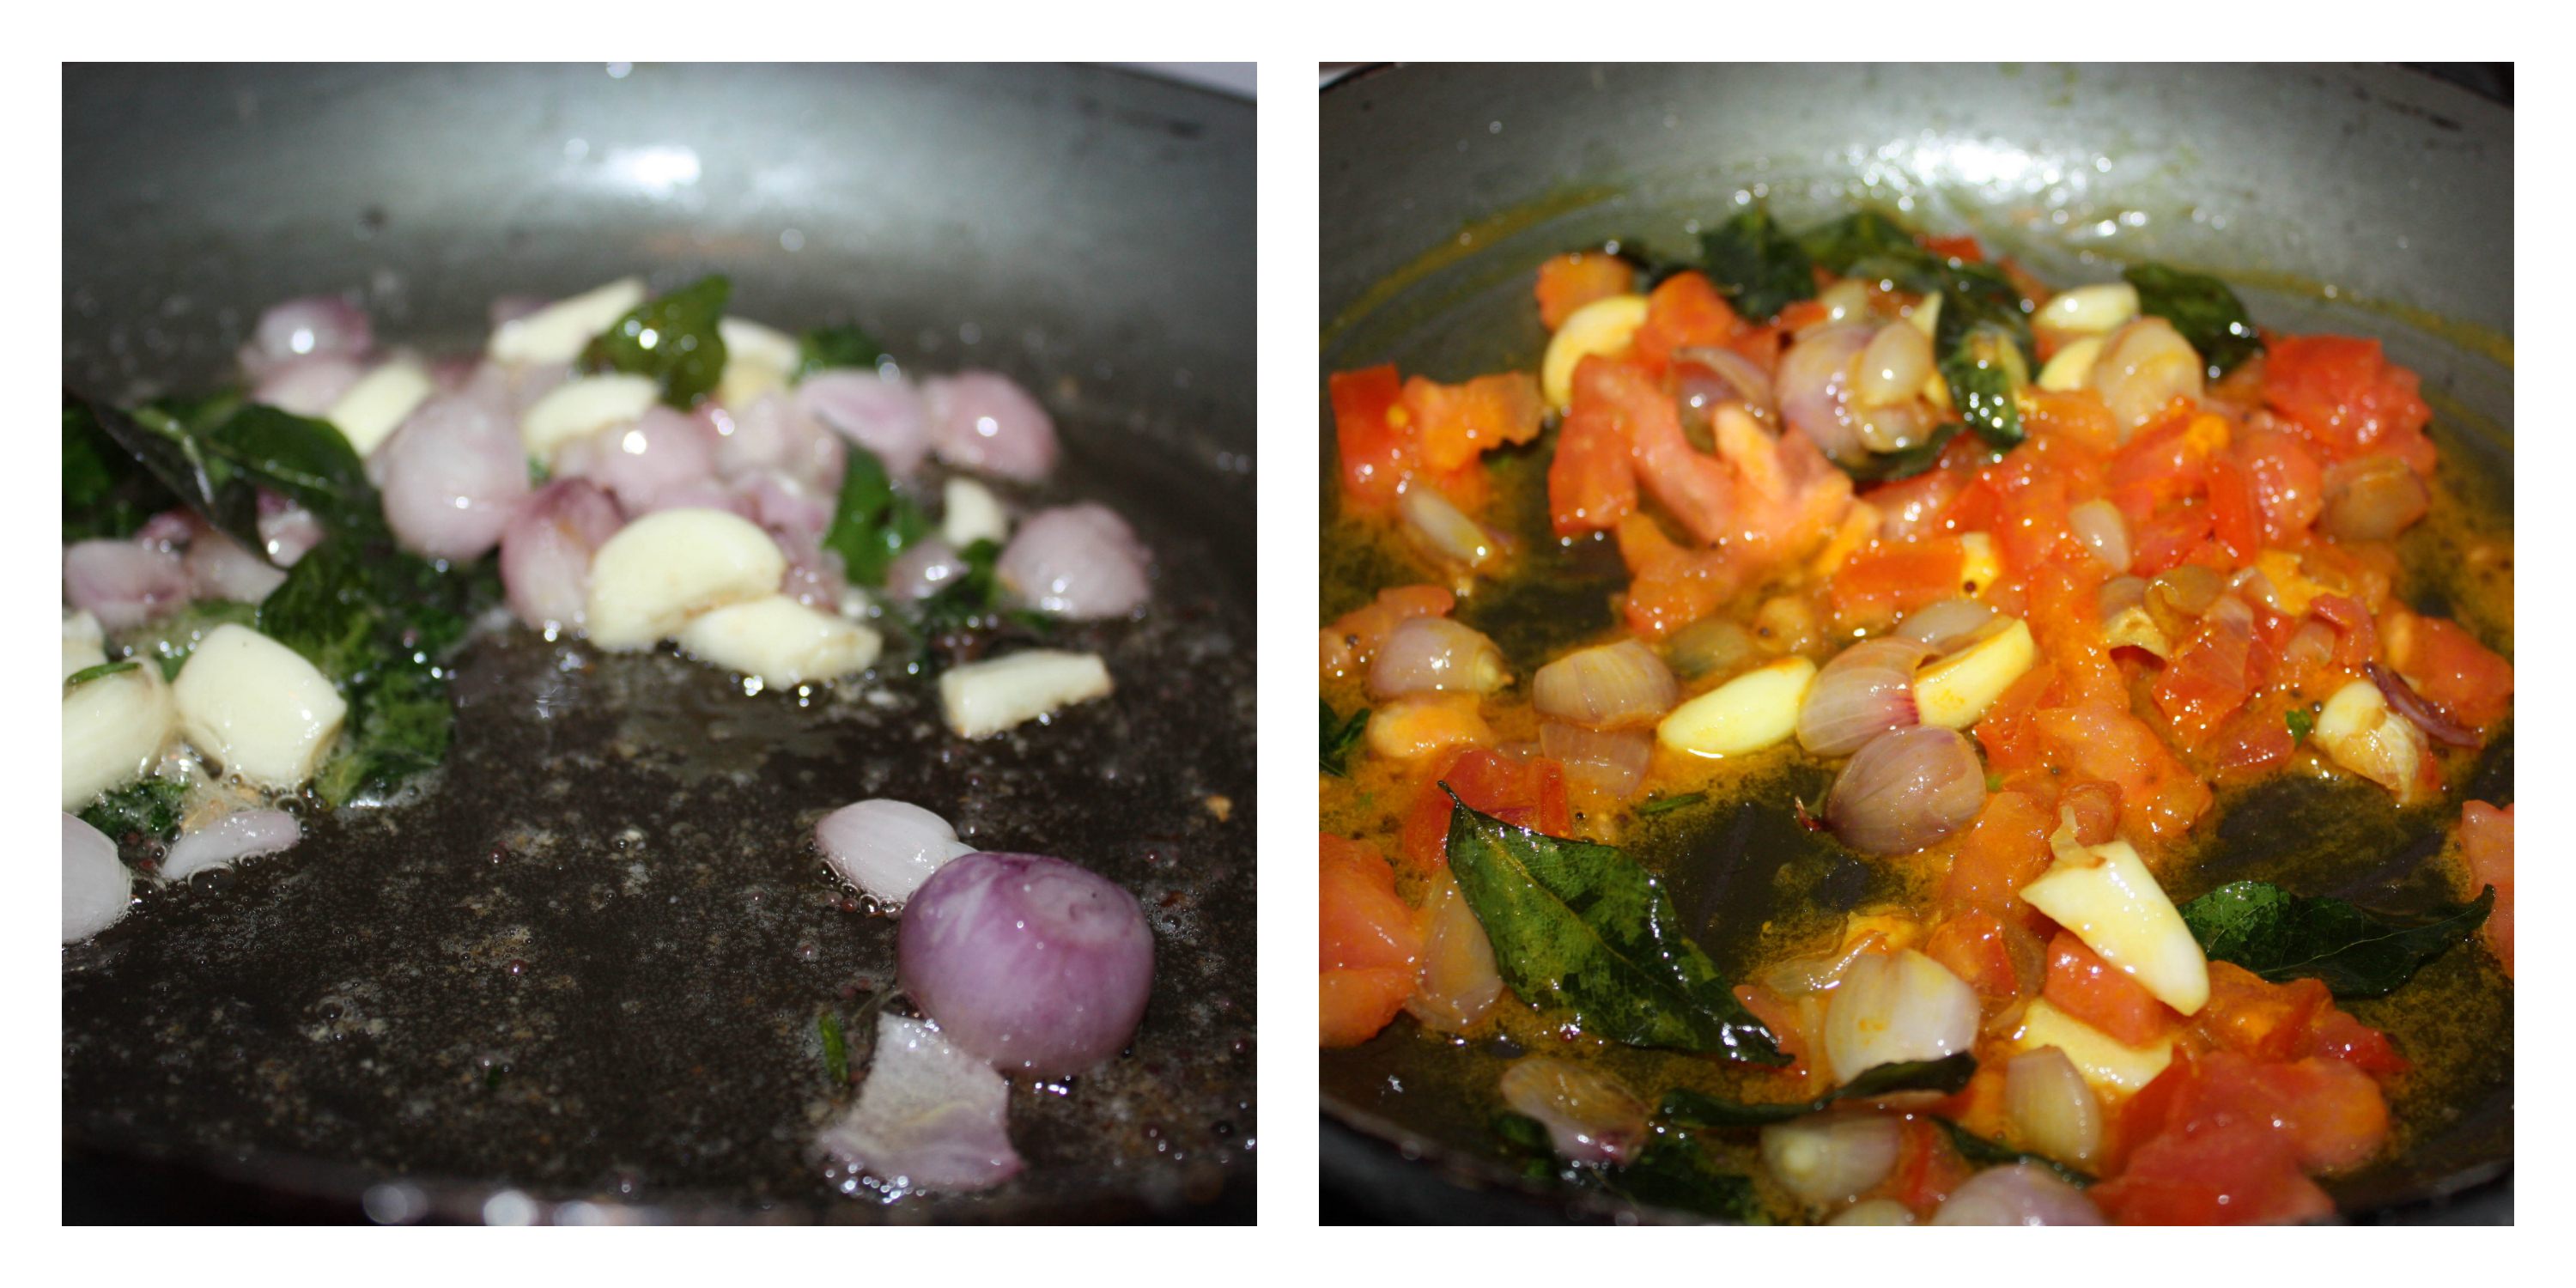
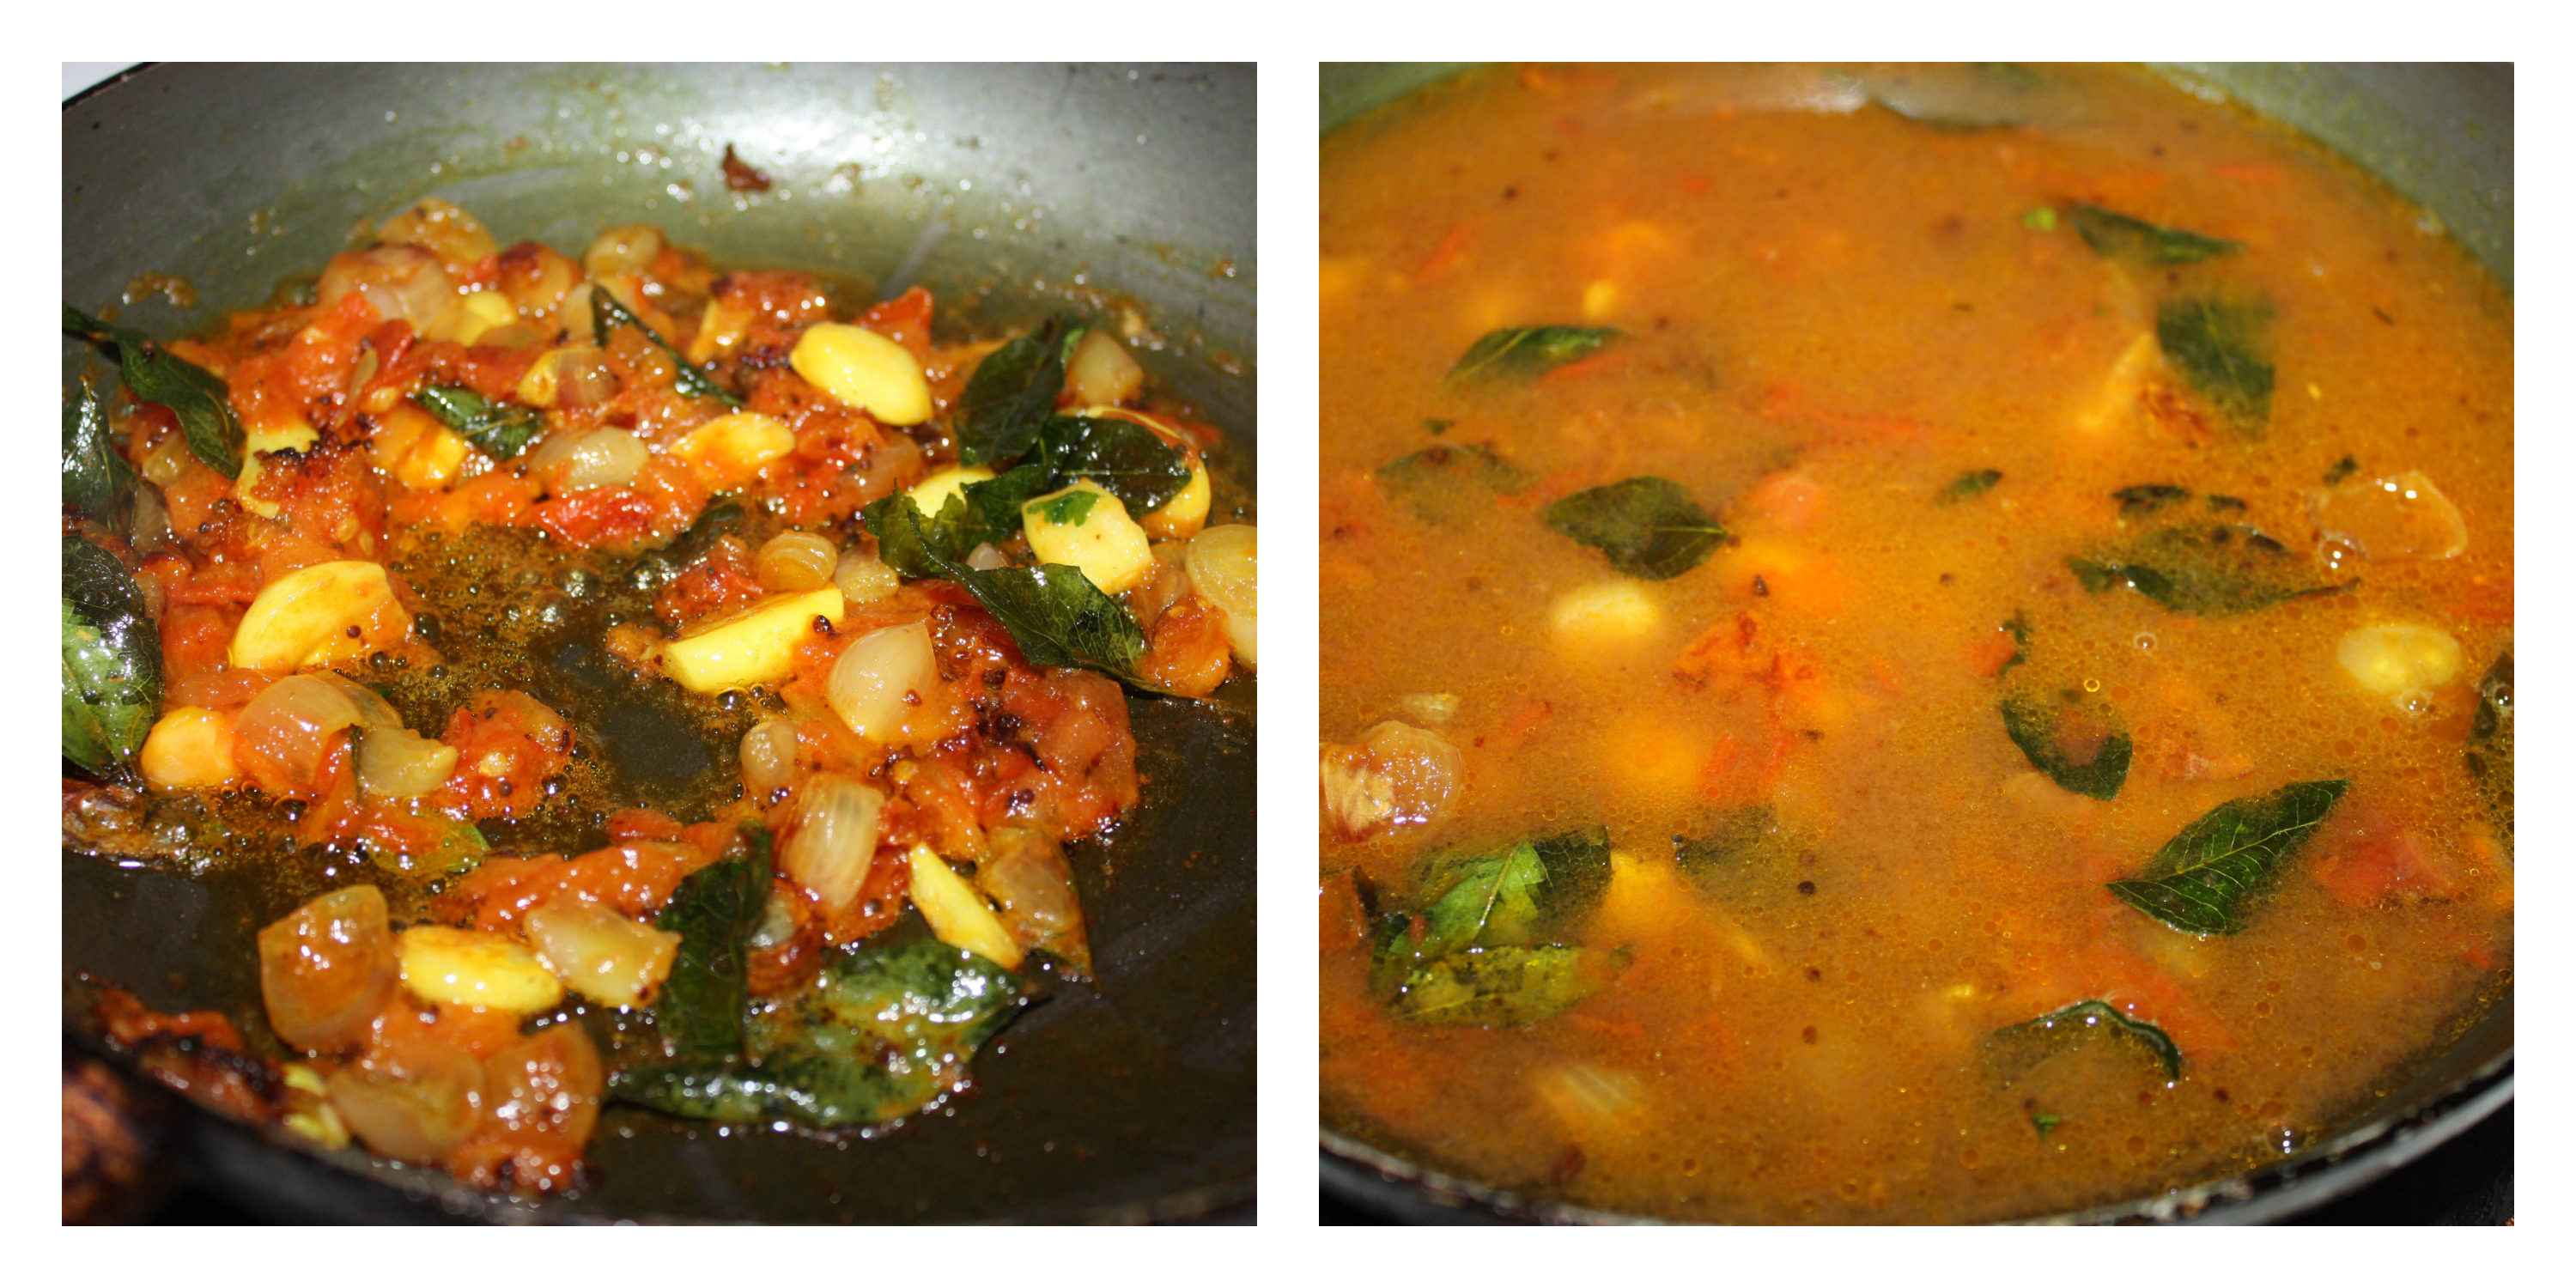
- In a pan, heat oil and add cinnamon stick and add onion and salt and sauté till golden brown. And then add ginger garlic paste and sauté for a minute.

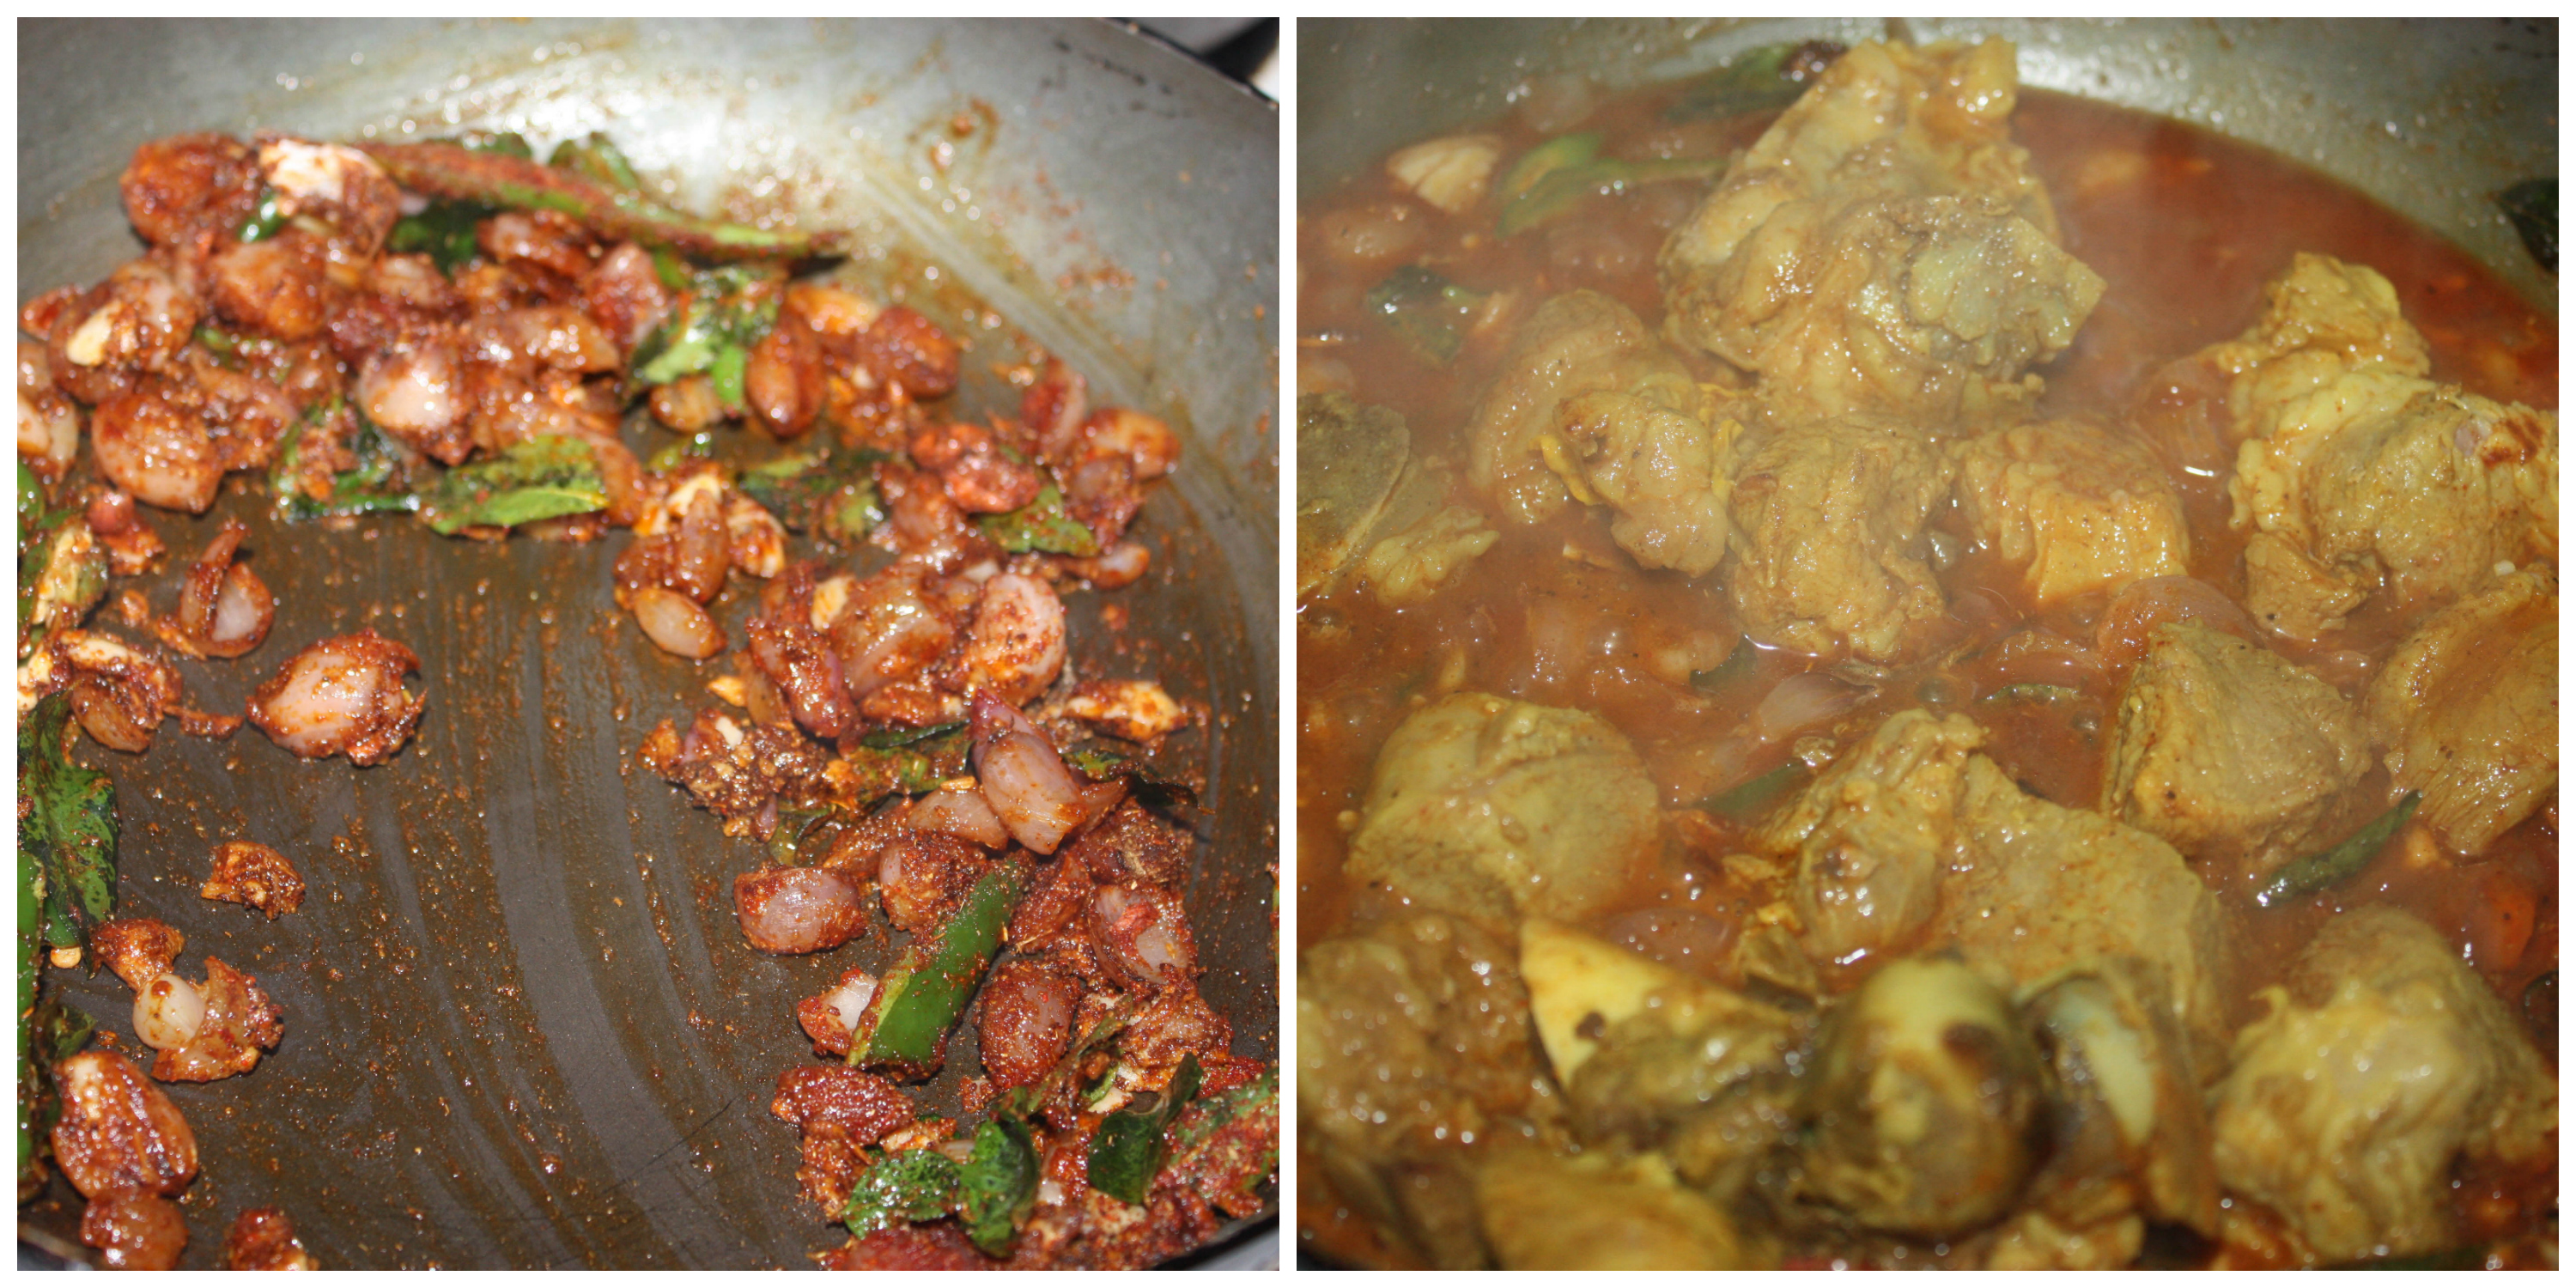
- Now add tomato and fry till its mushy and raw smell leaves. Add the turmeric, red chili powder, coriander powder and sauté well.
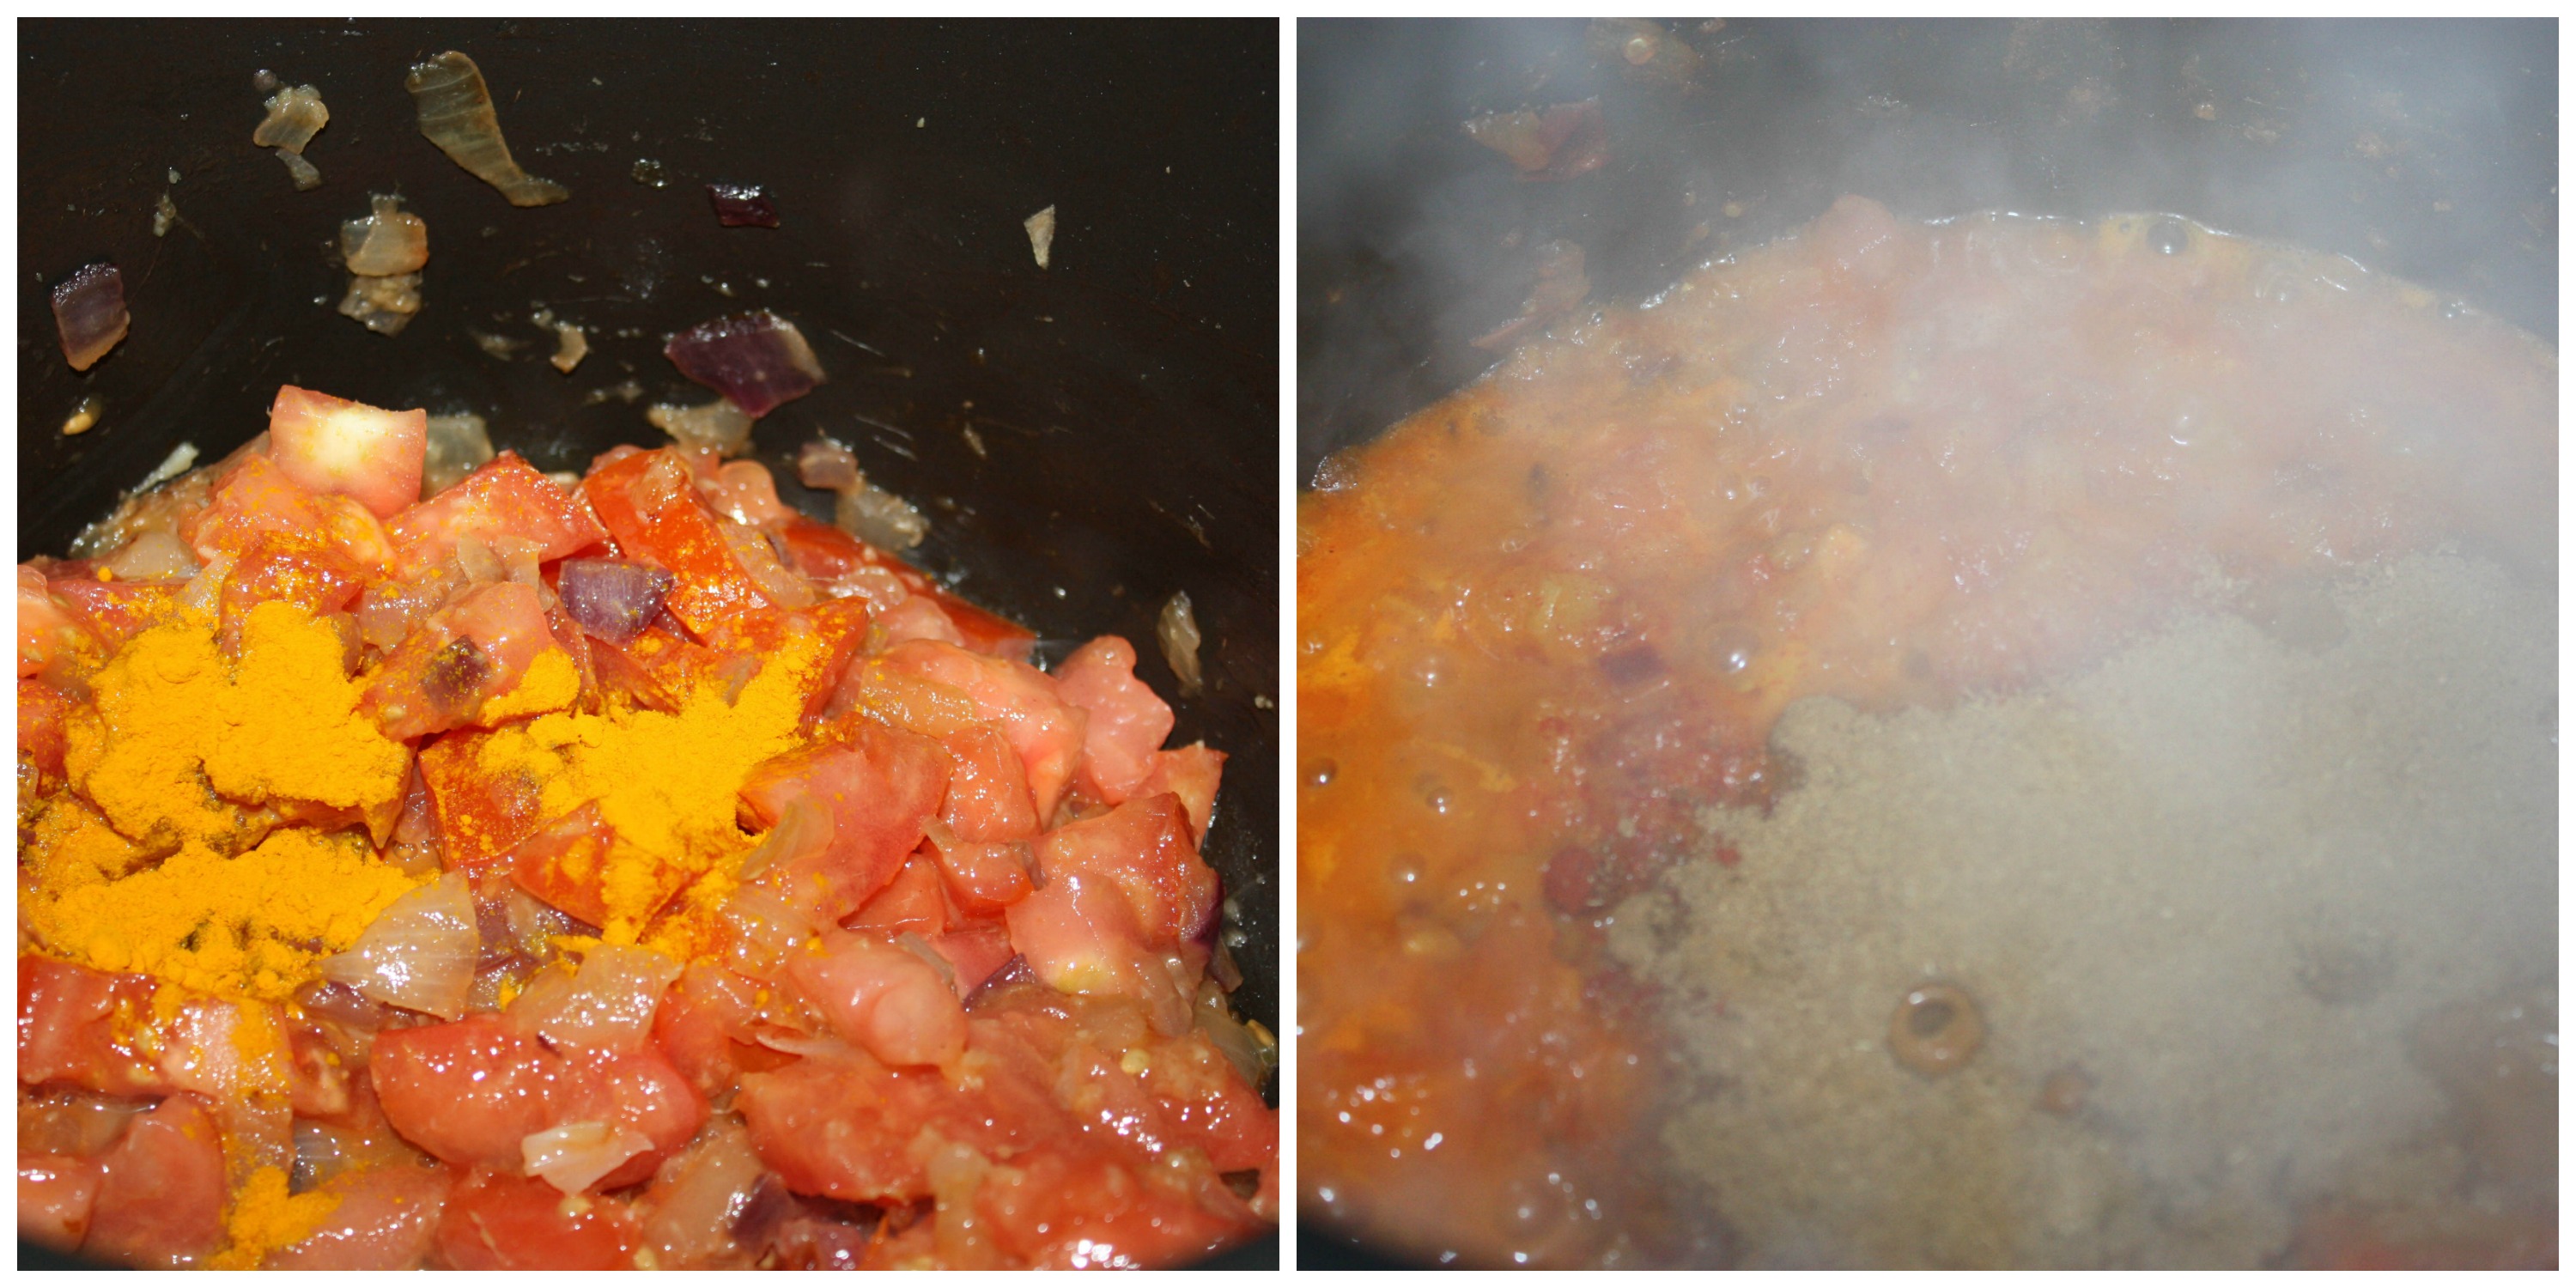
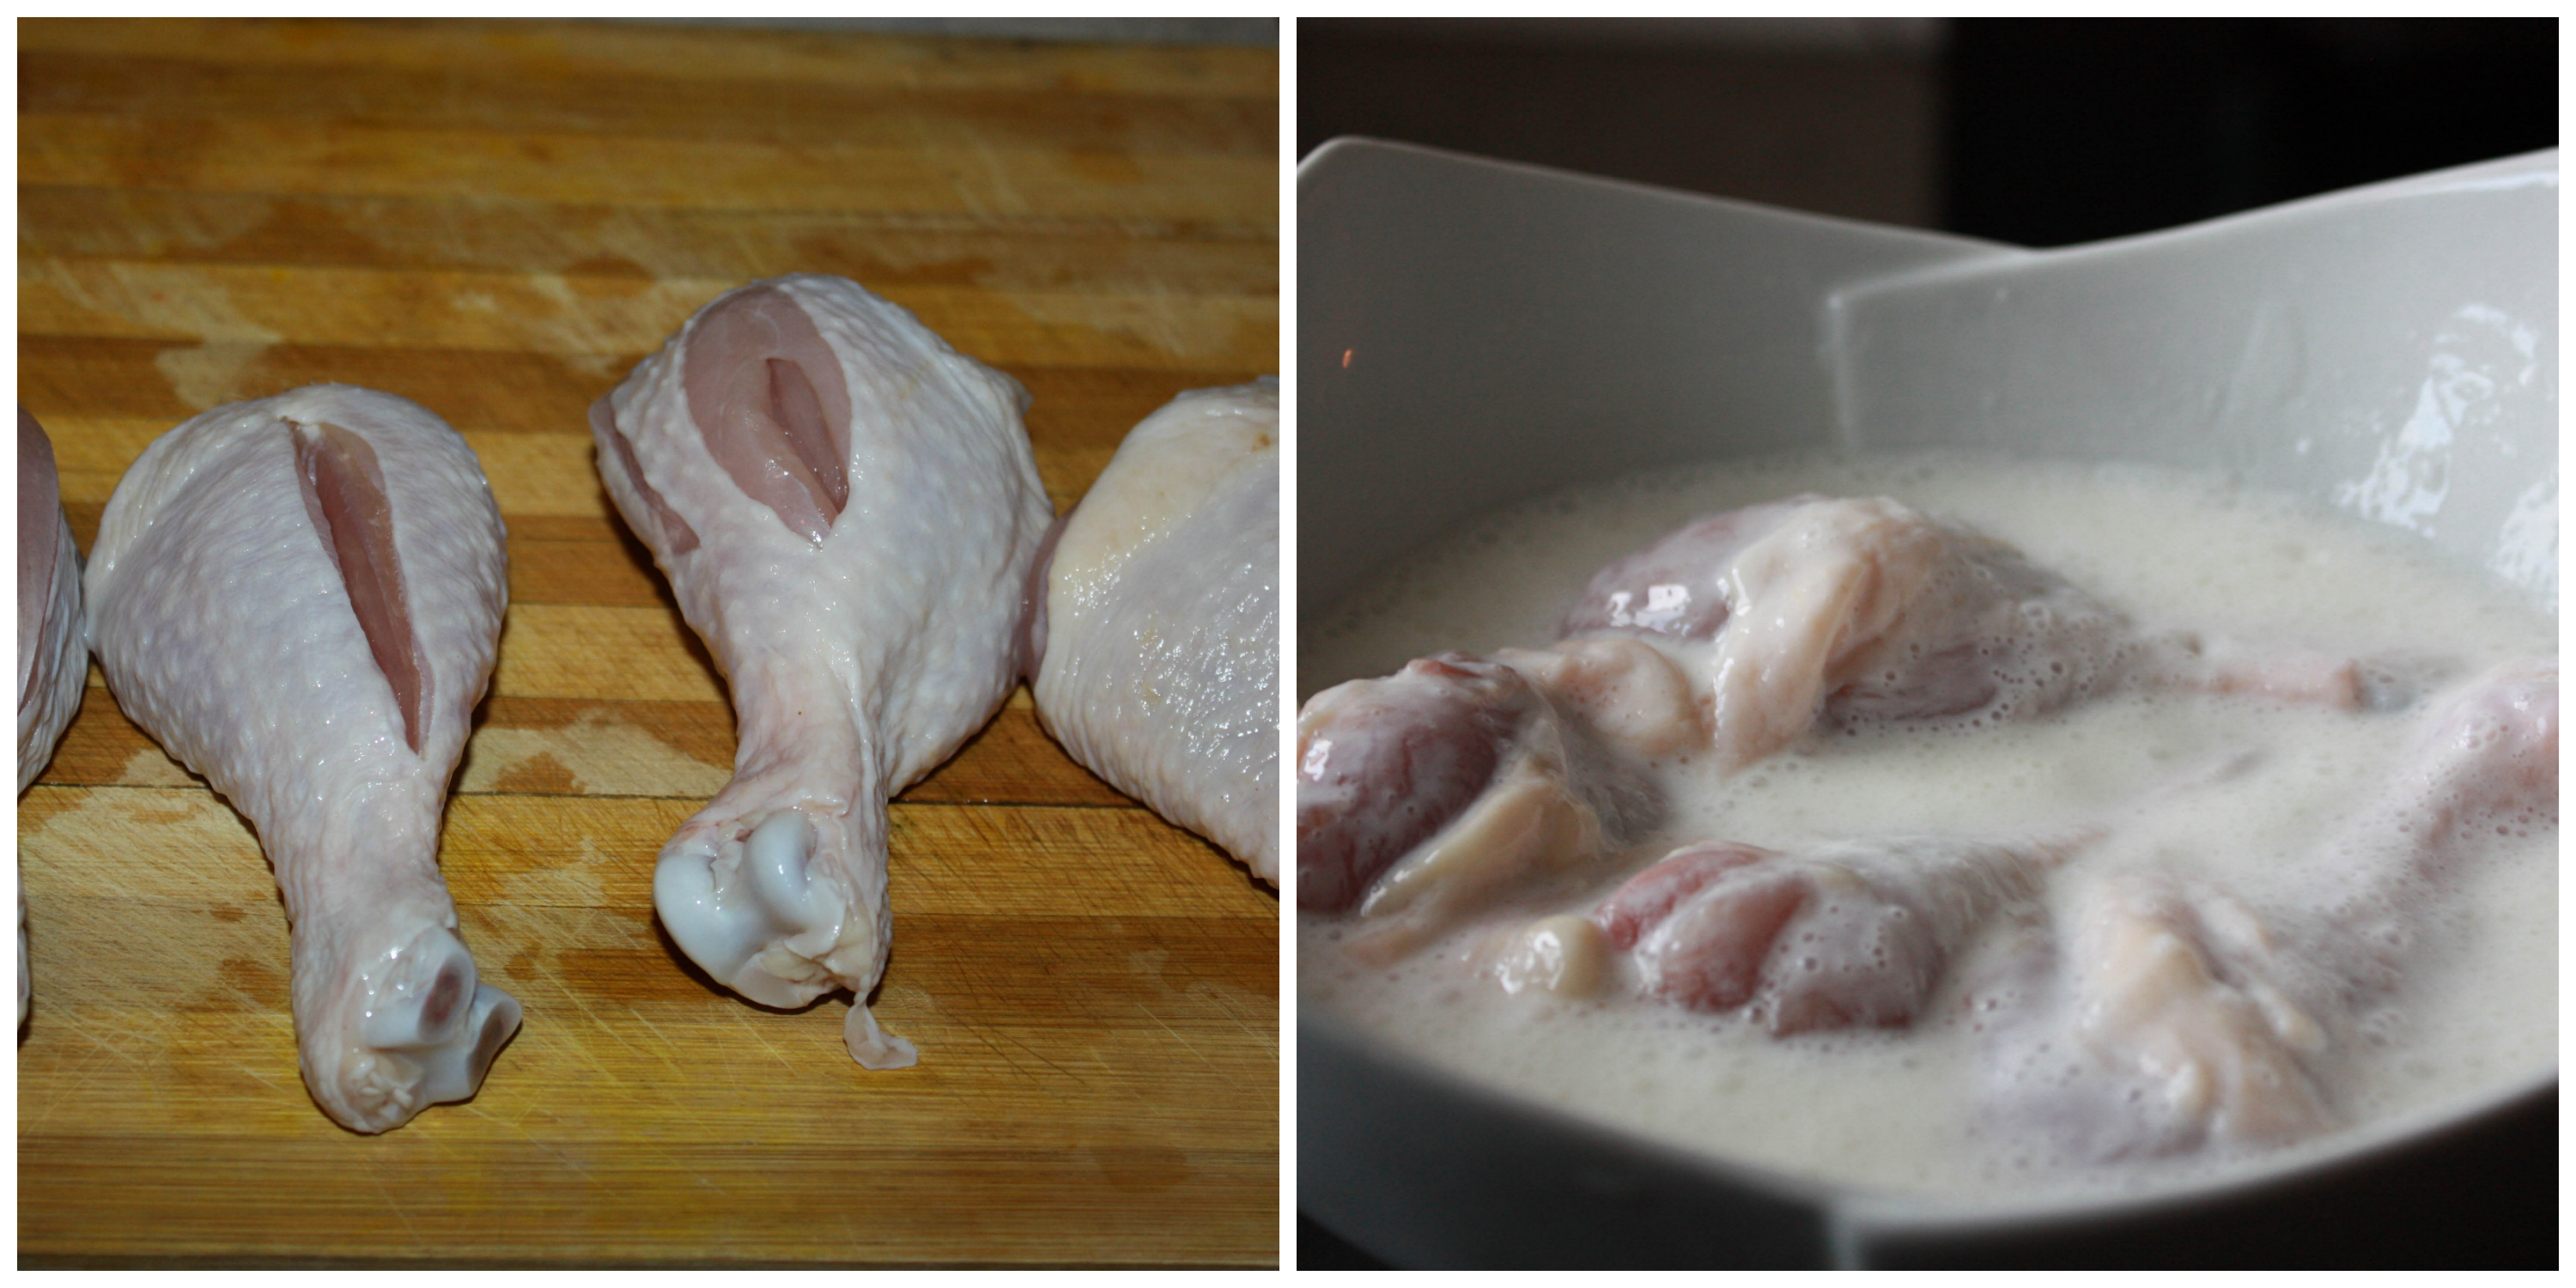
- Now add chicken and stir well till the chicken is well blended with the spices.
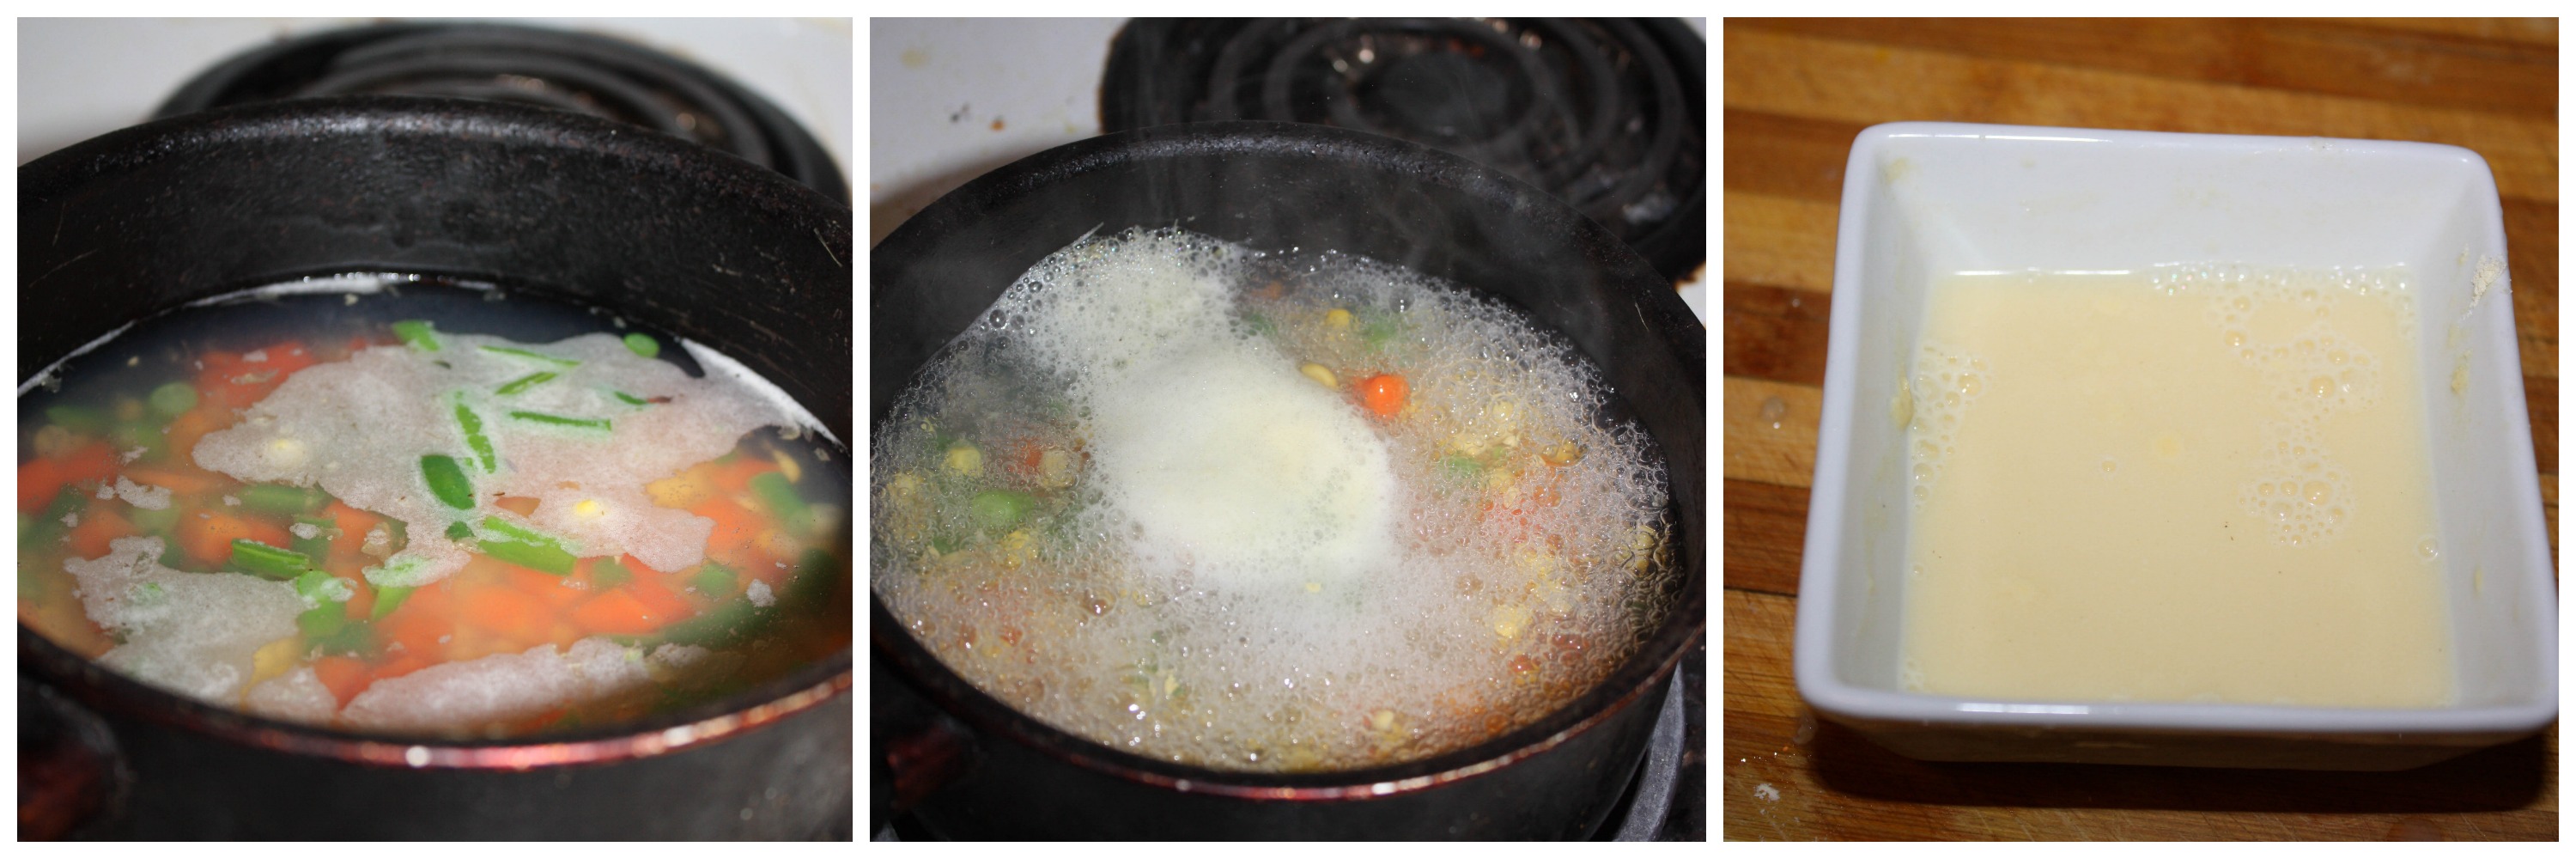
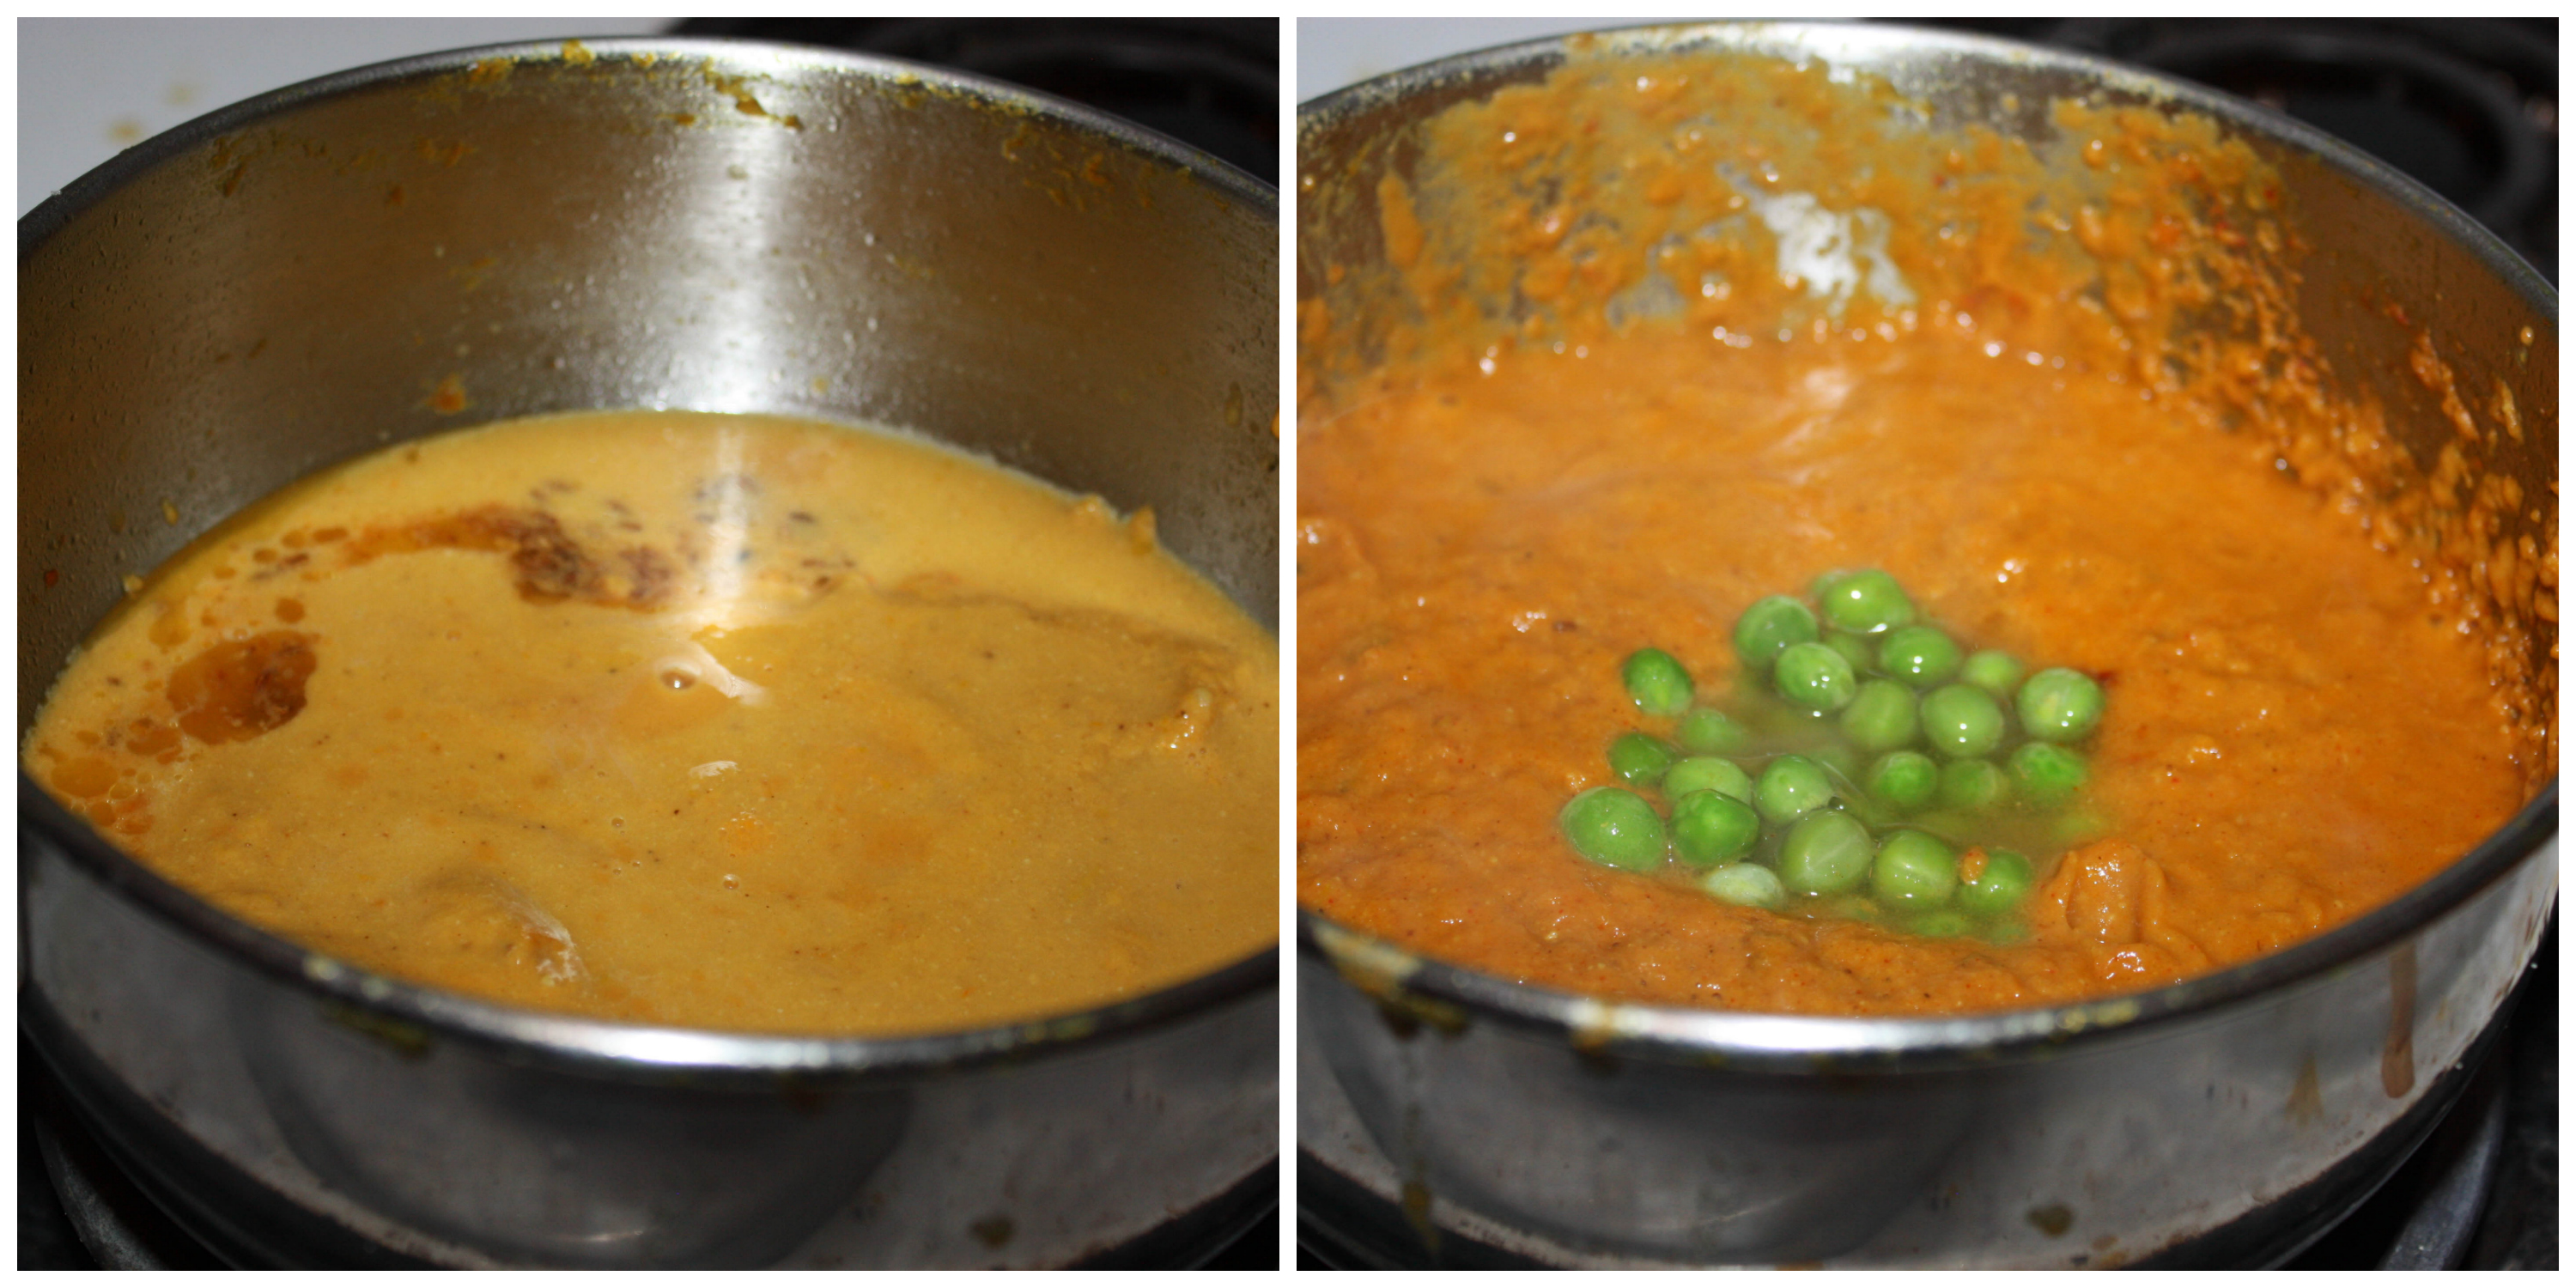
- Now add water till immersing level say 1 cup along with salt and close the lid. It will take around ten minutes for it to cook well. Don’t add more water, it may make it rubbery. And Chicken will ooze some water already.
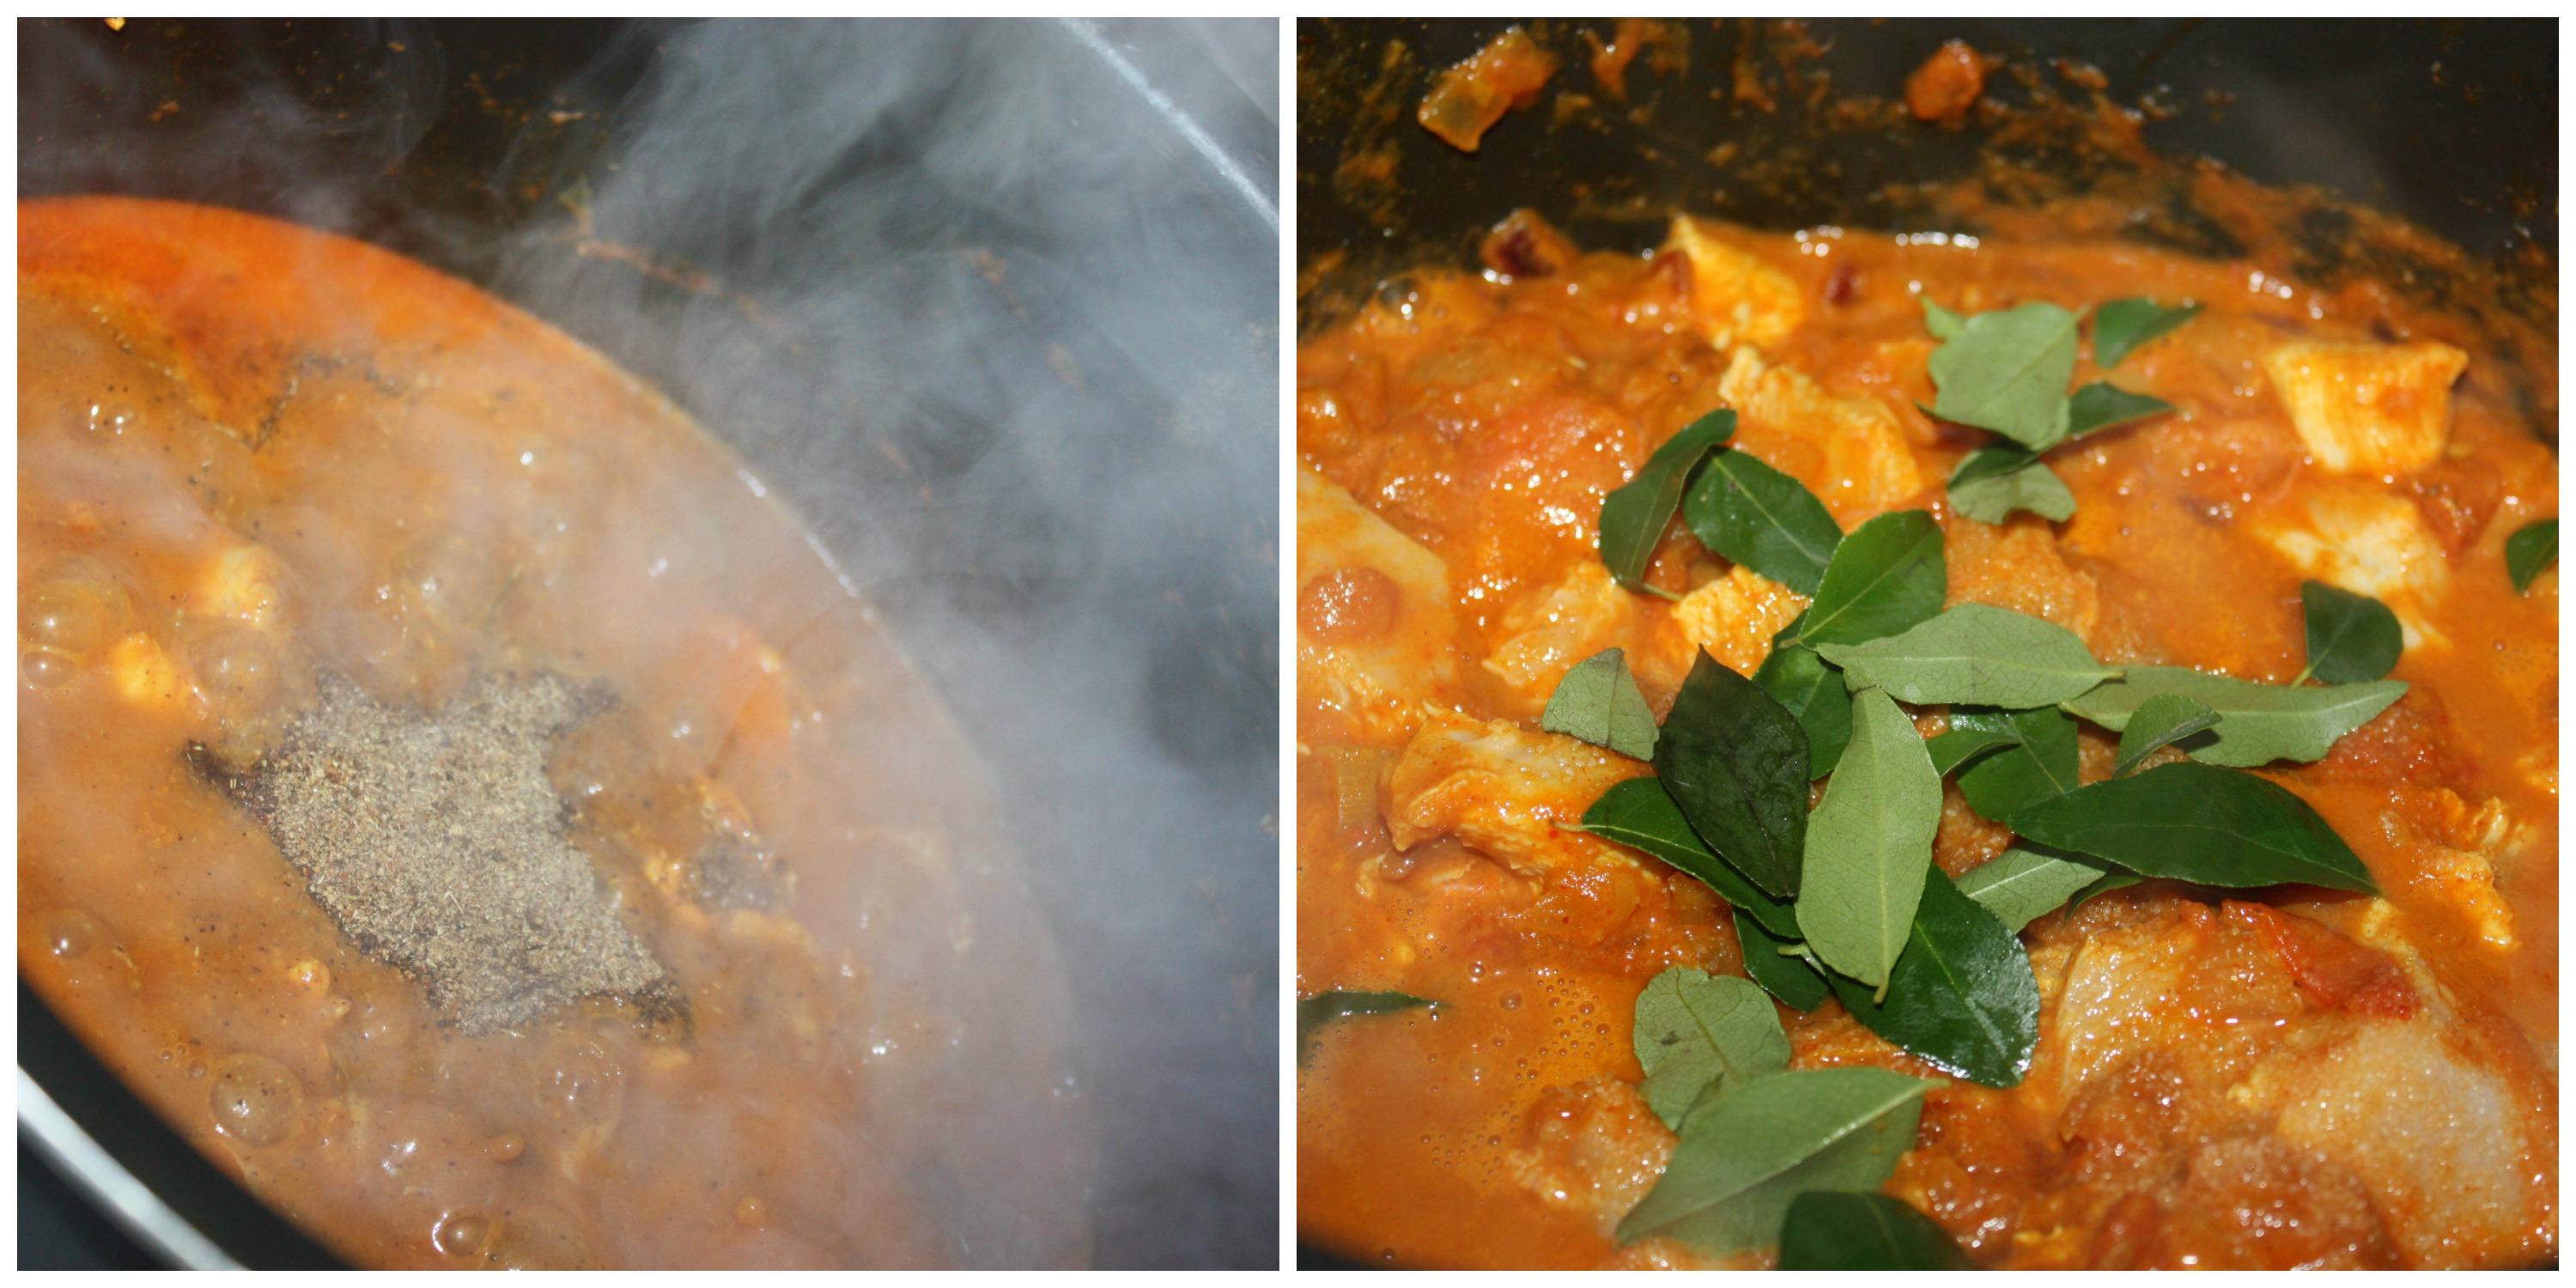
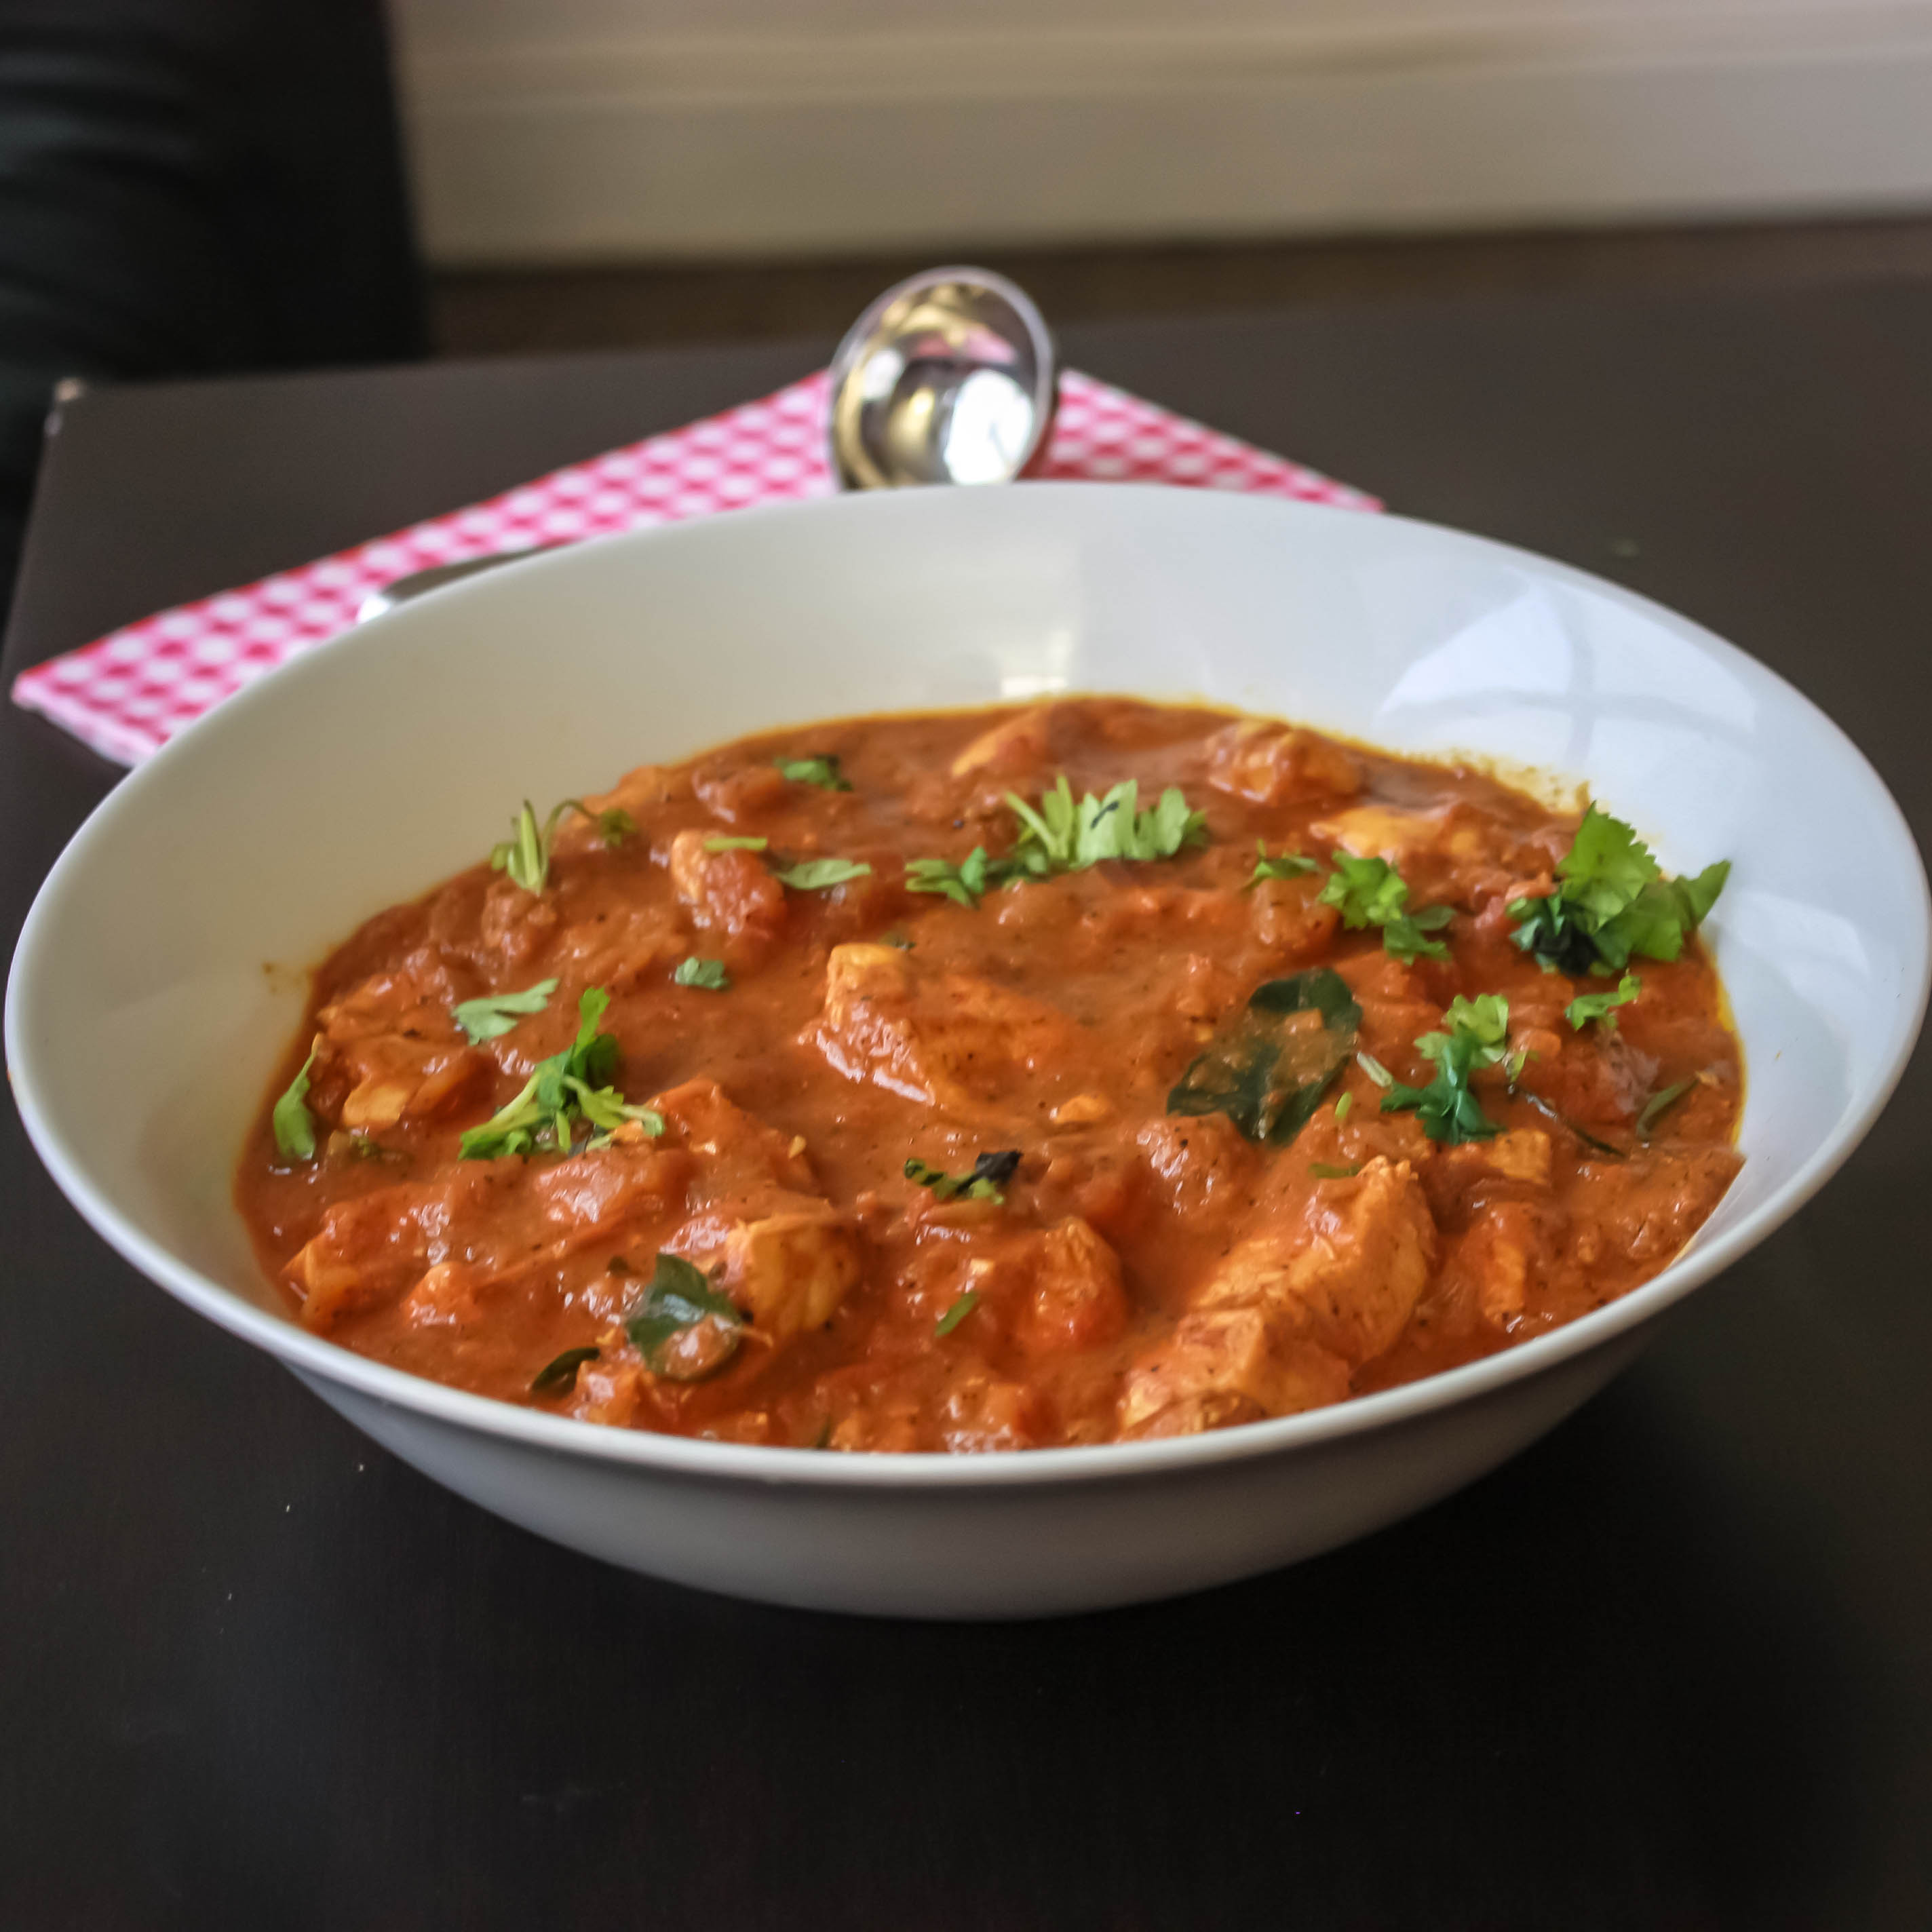
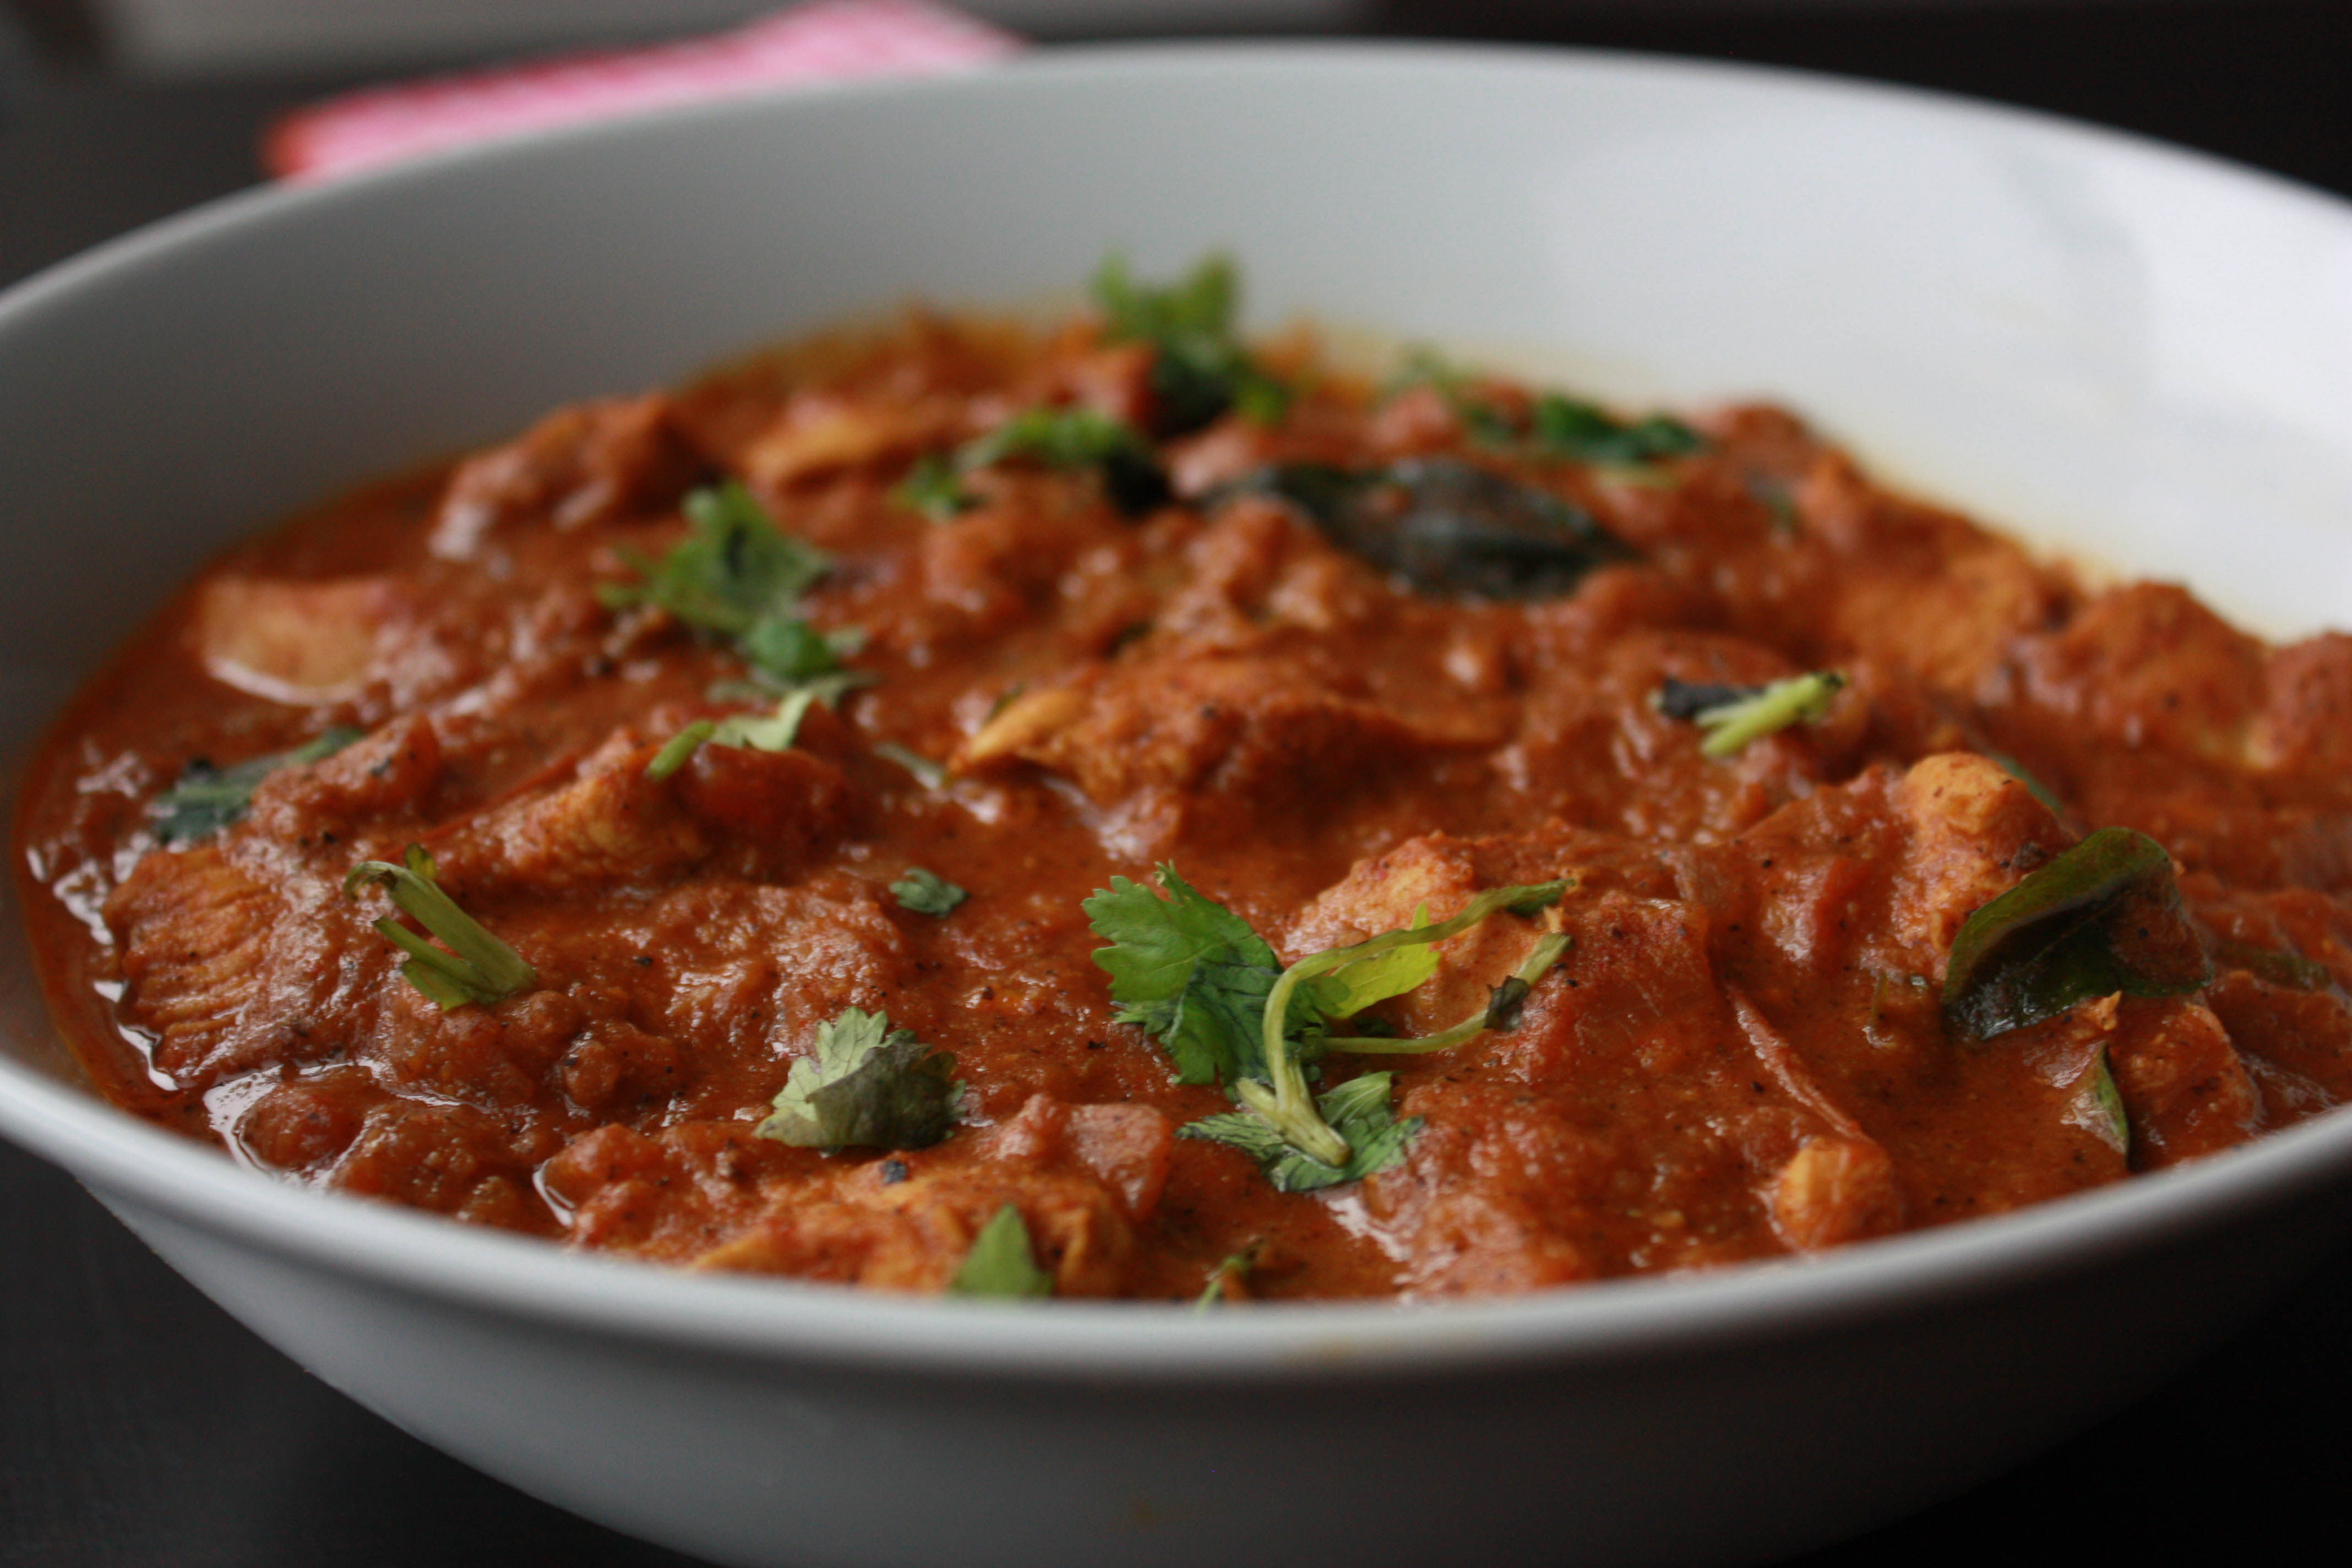
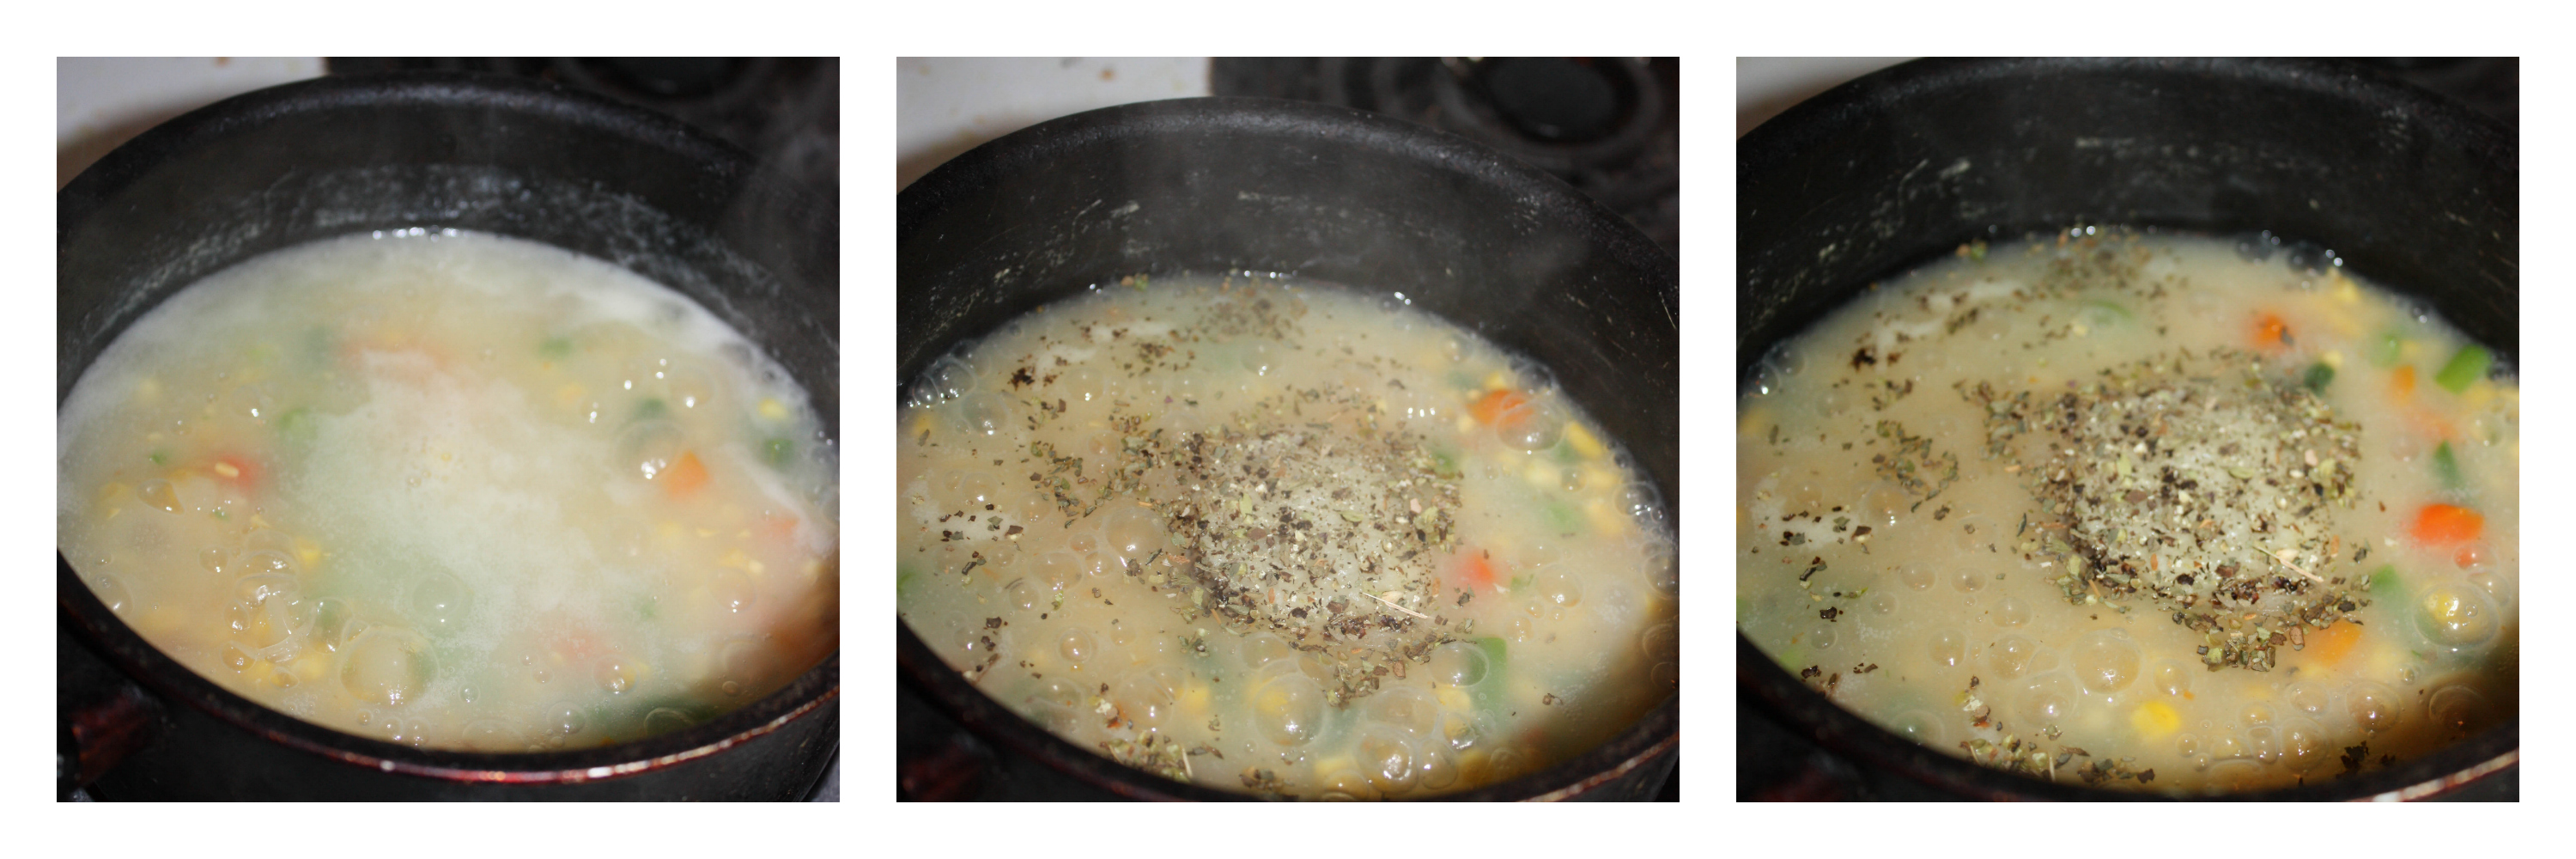
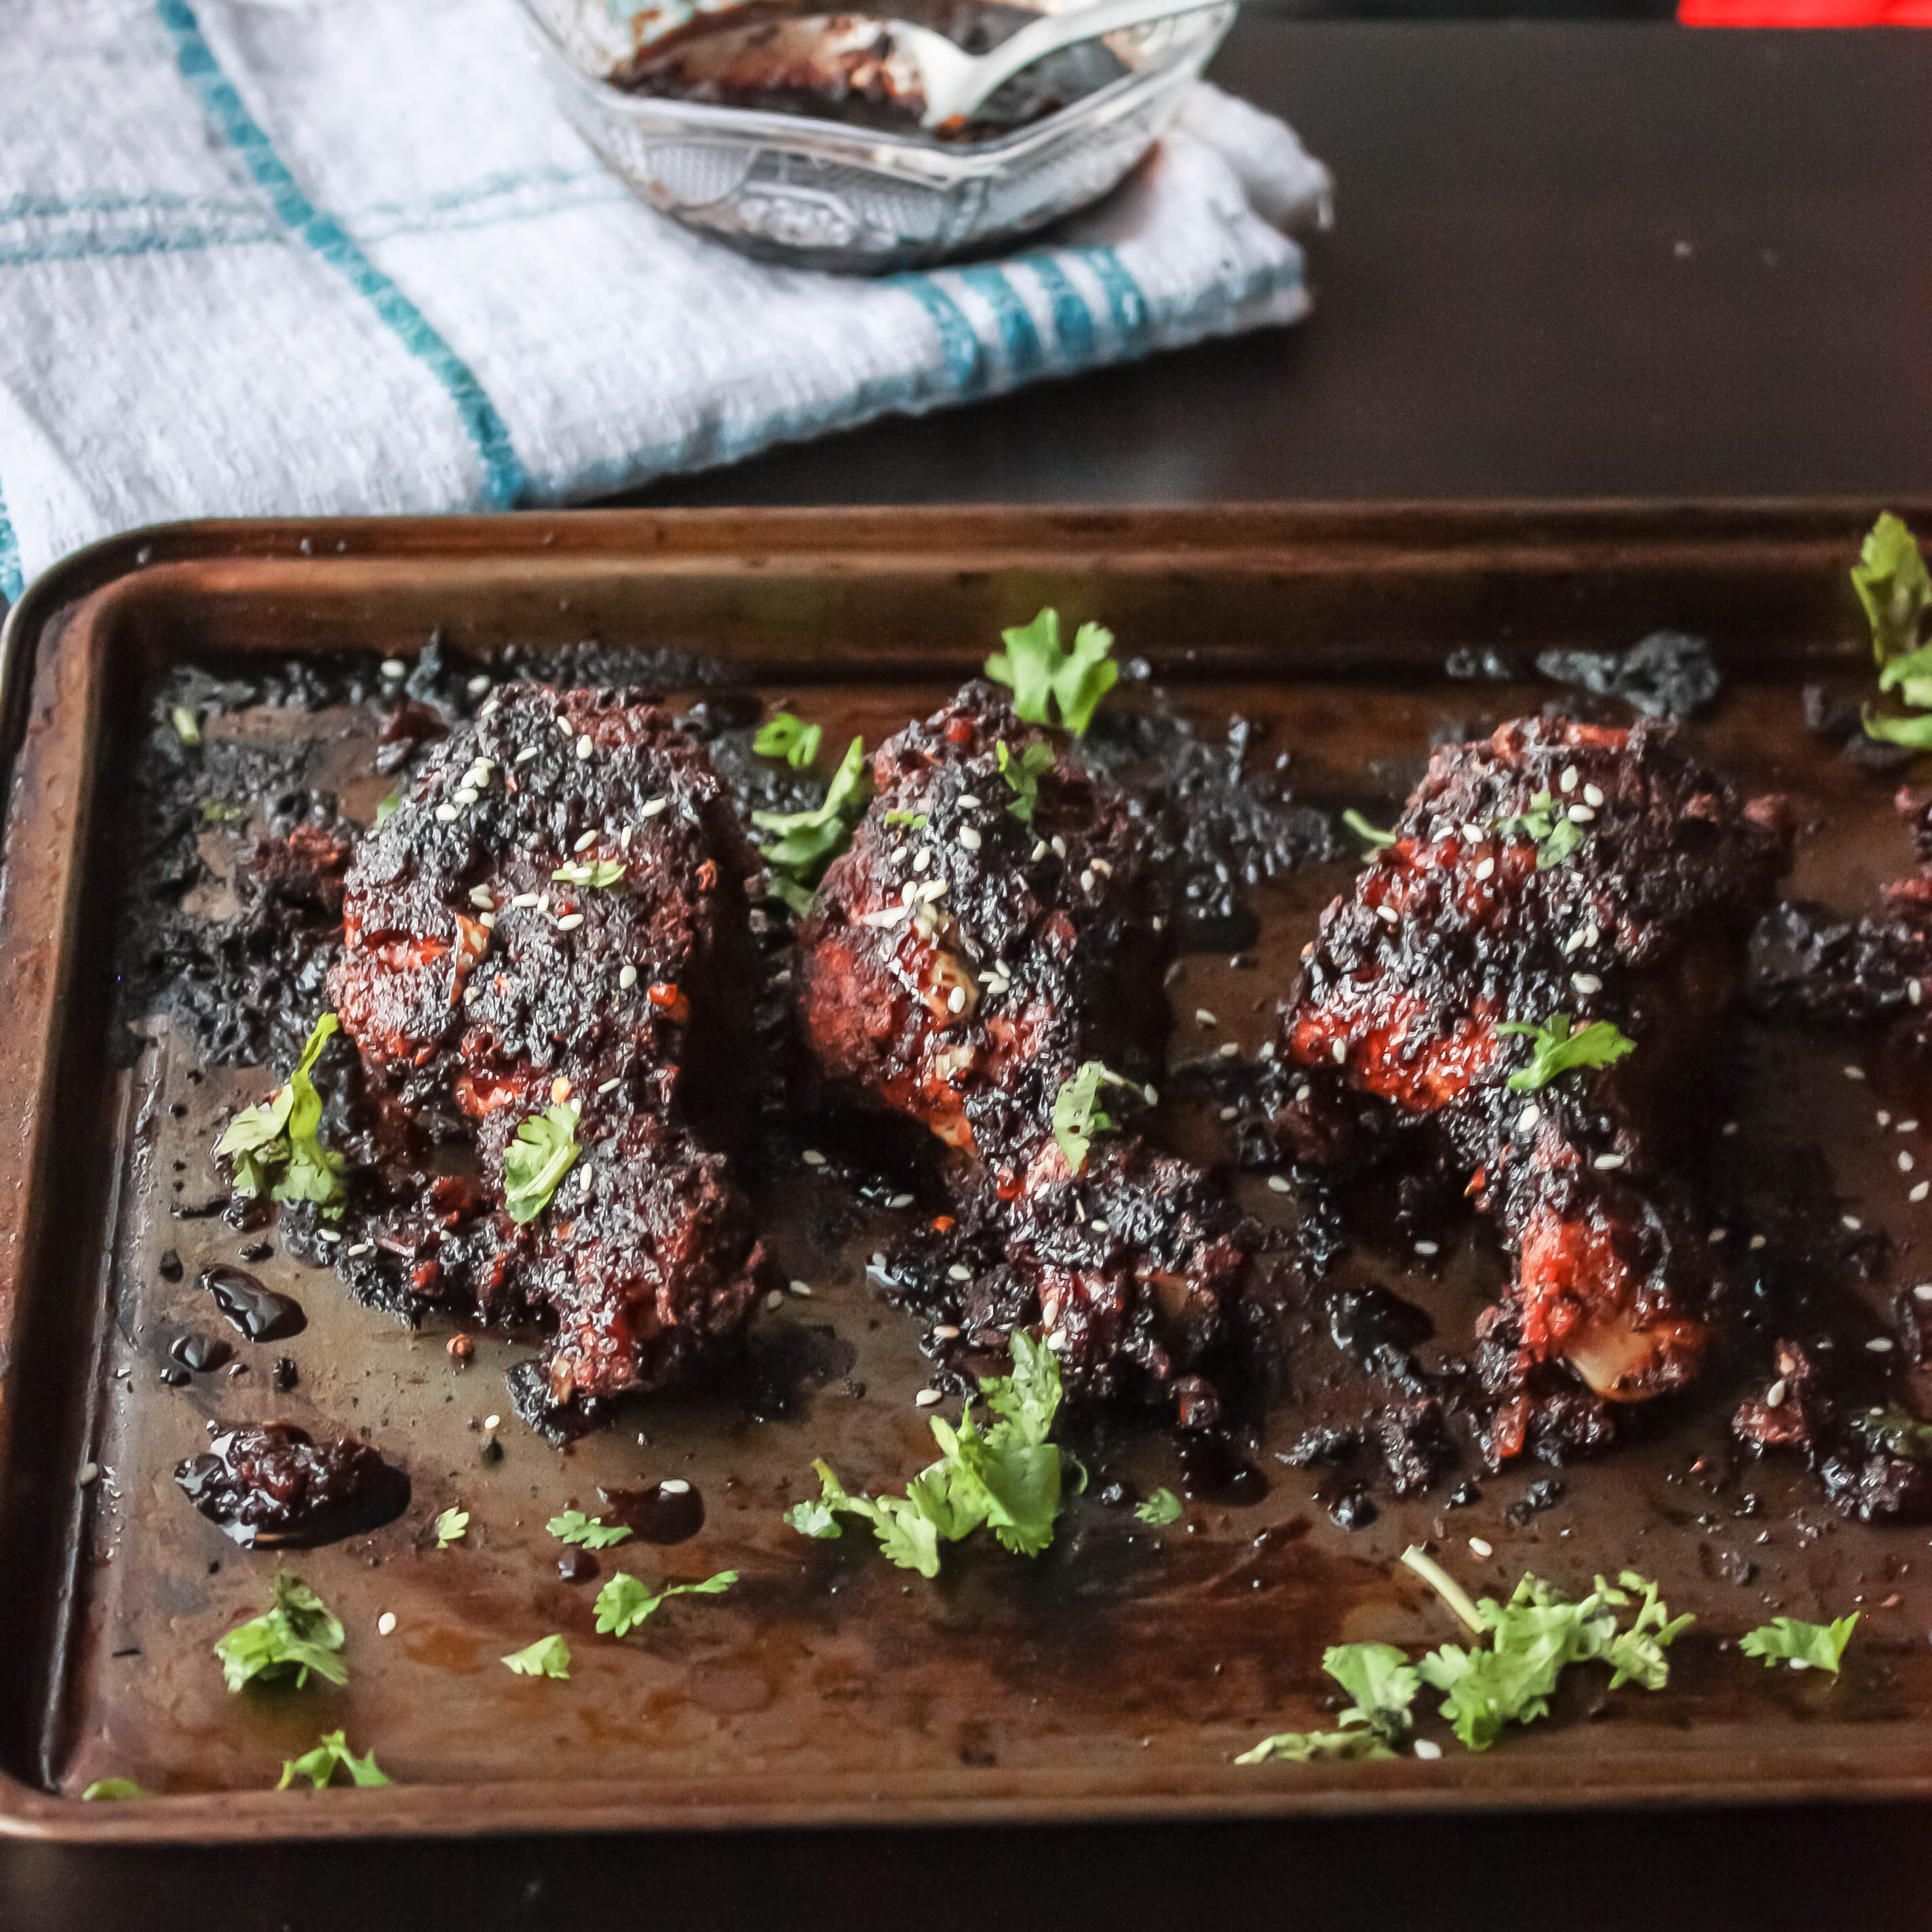
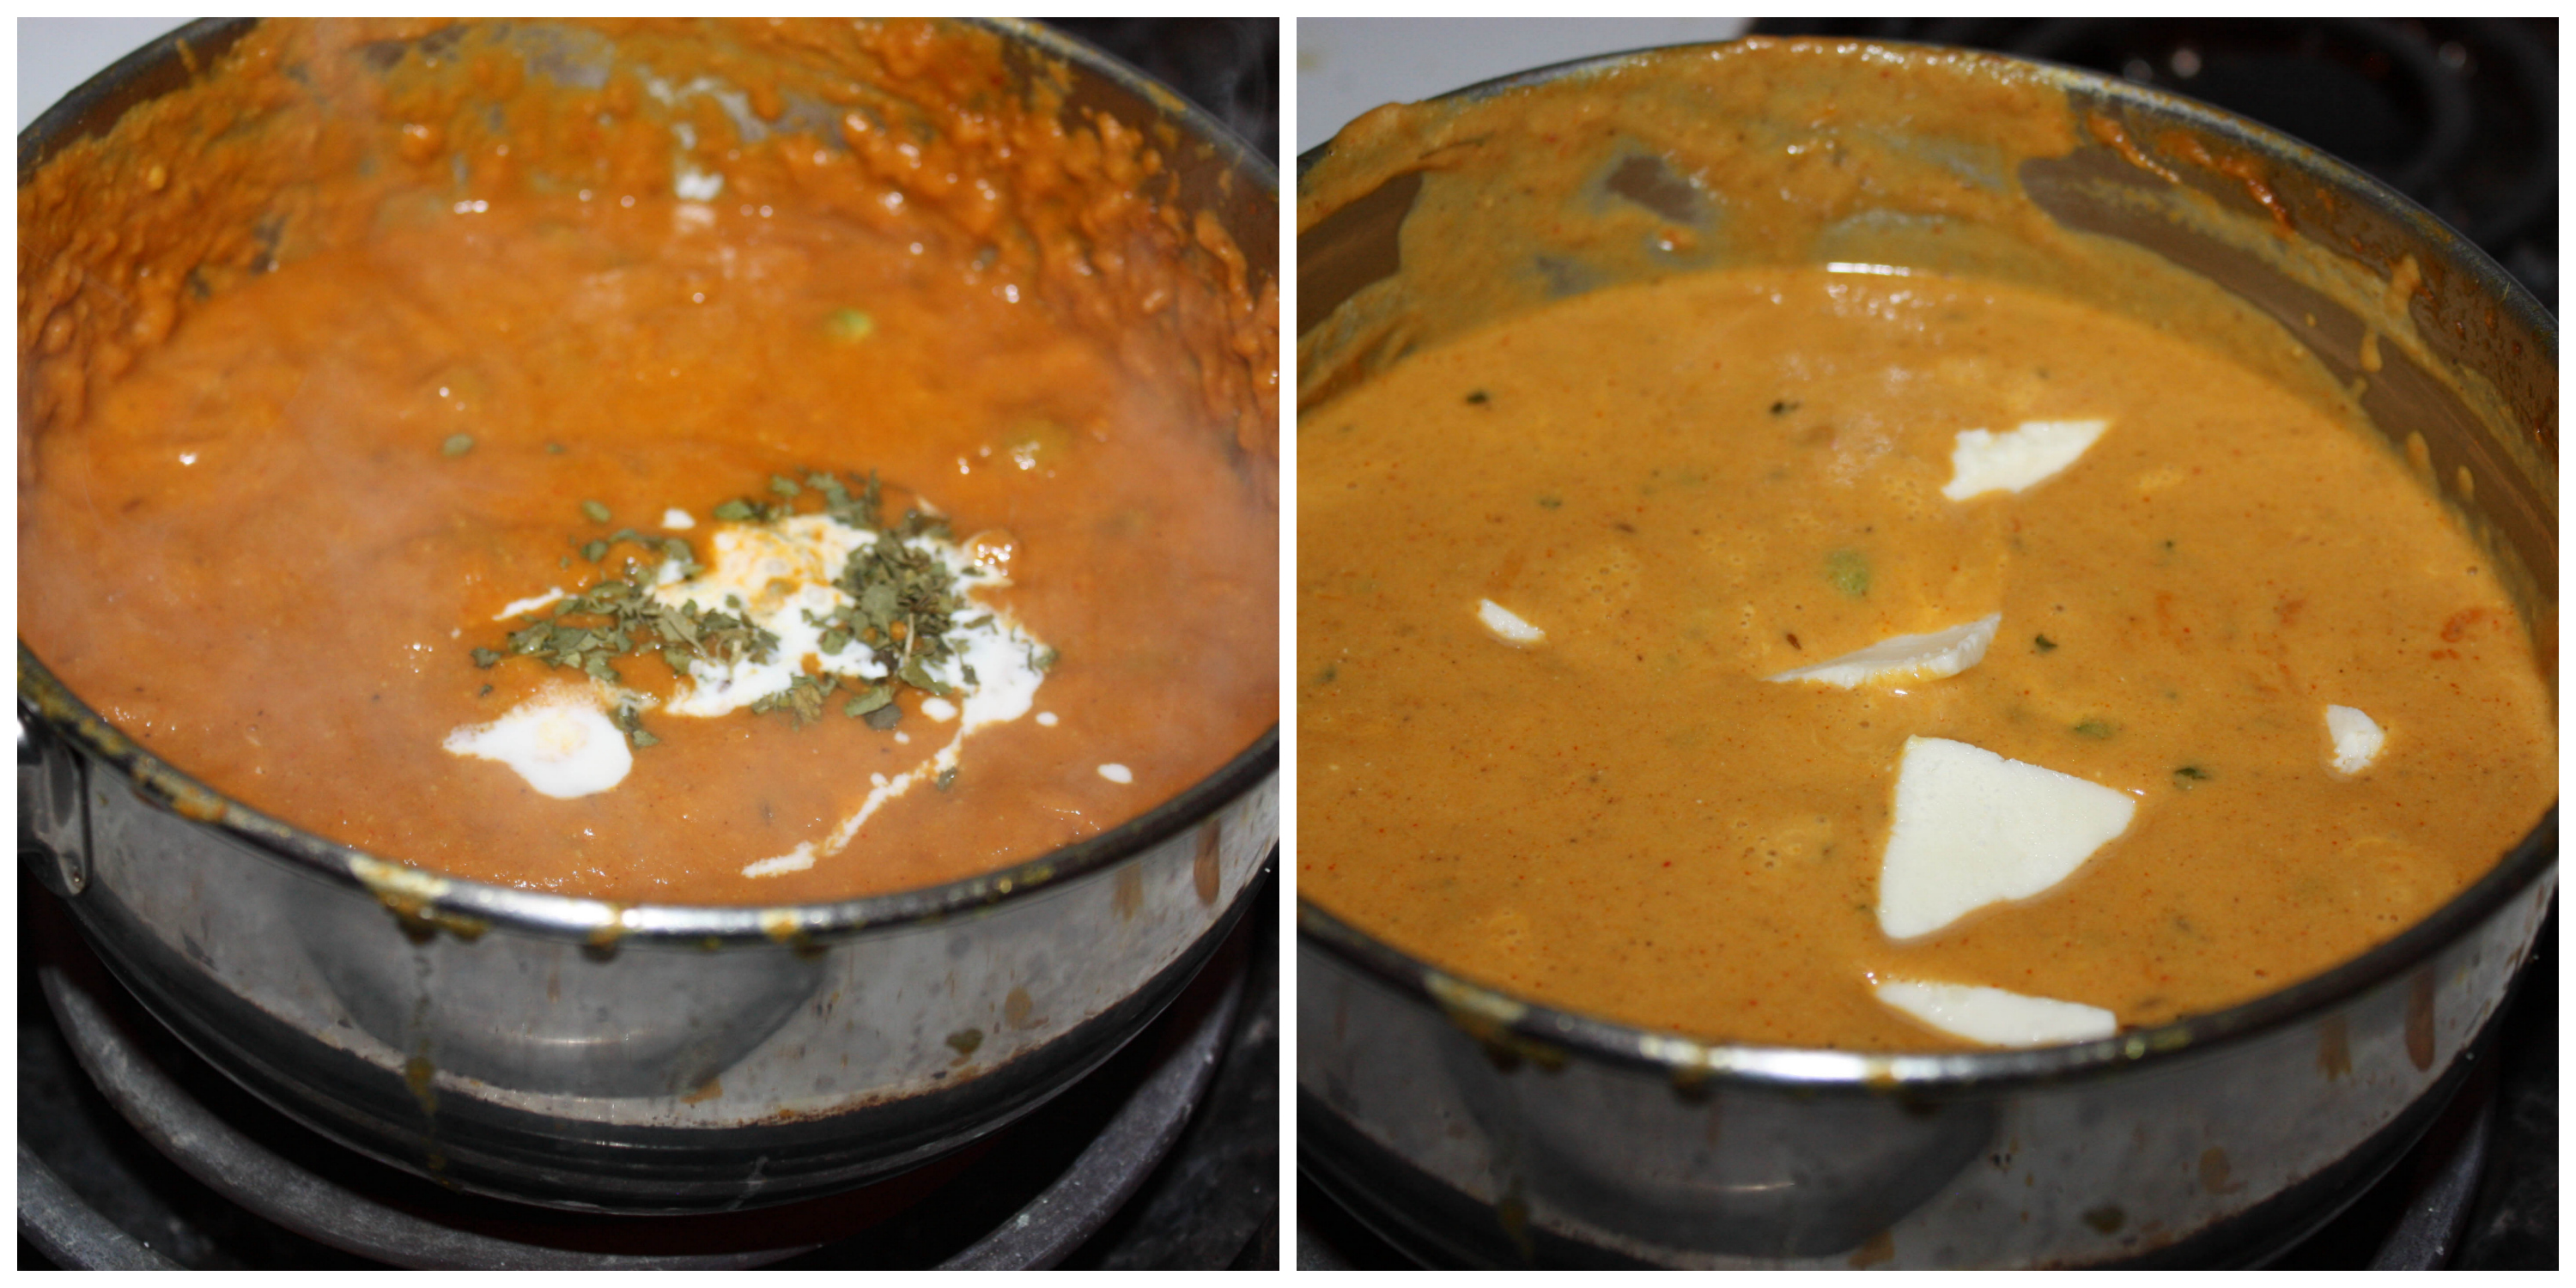
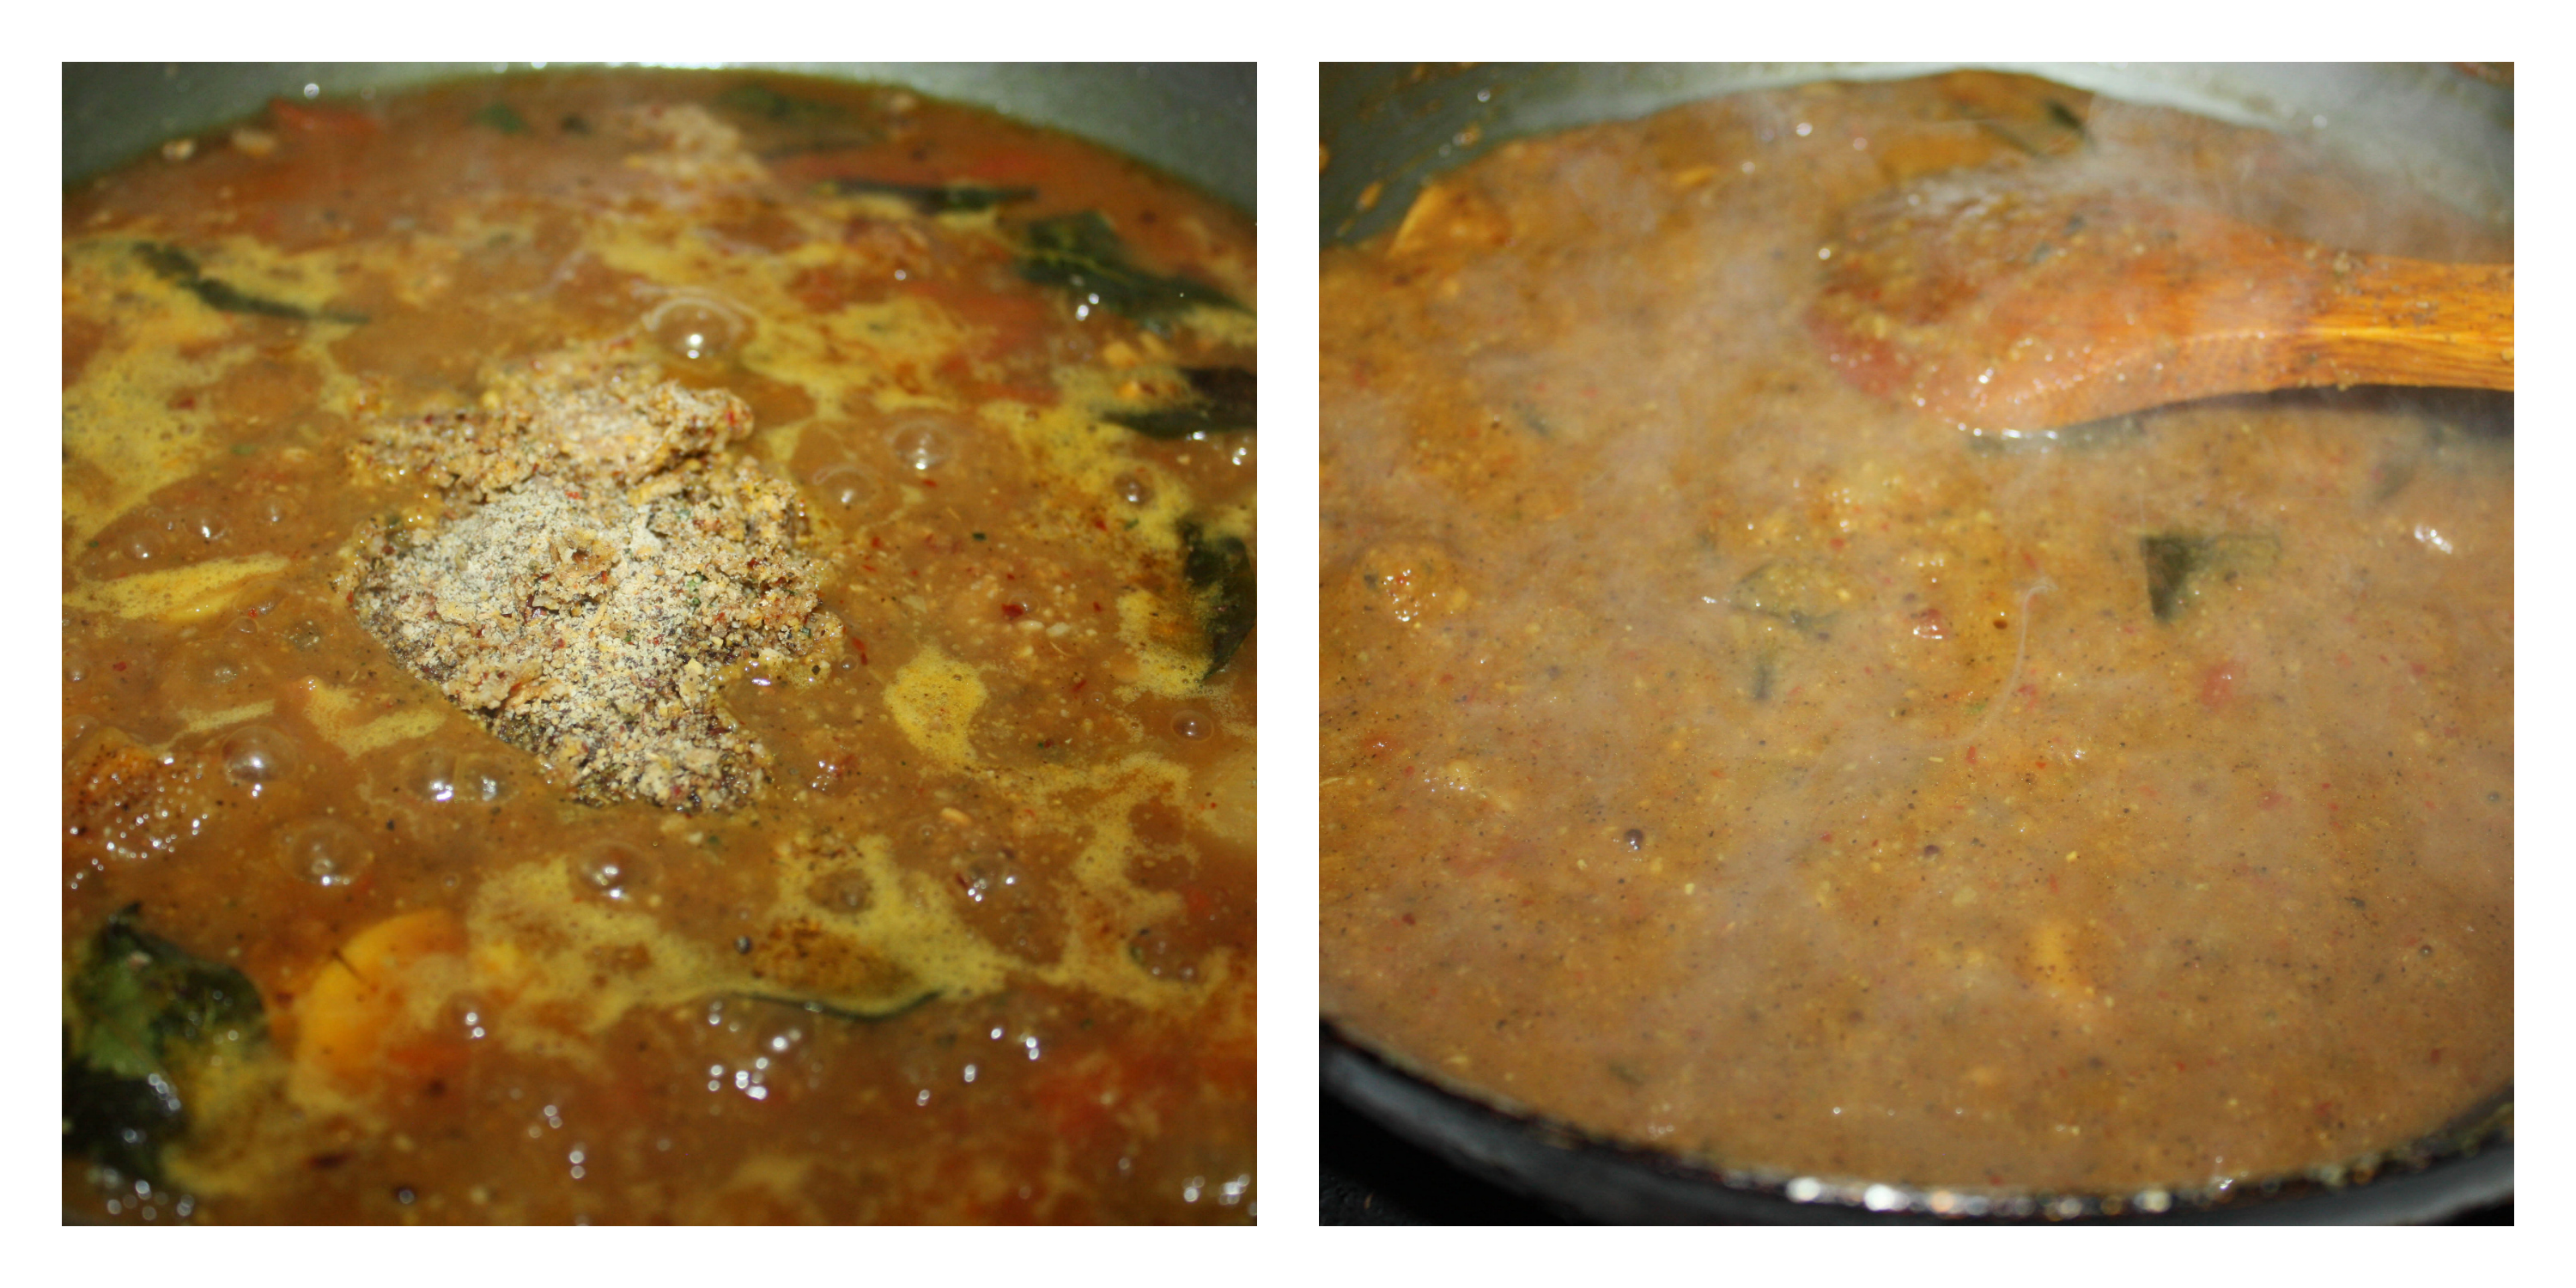
- Now add the powdered pepper fennel powder and saute for two minutes. Add curry leaves, taste and adjust salt and spice level. (Check spice level as you add it, your spice level may differ)
- Add chopped coriander leaves and switch it off.
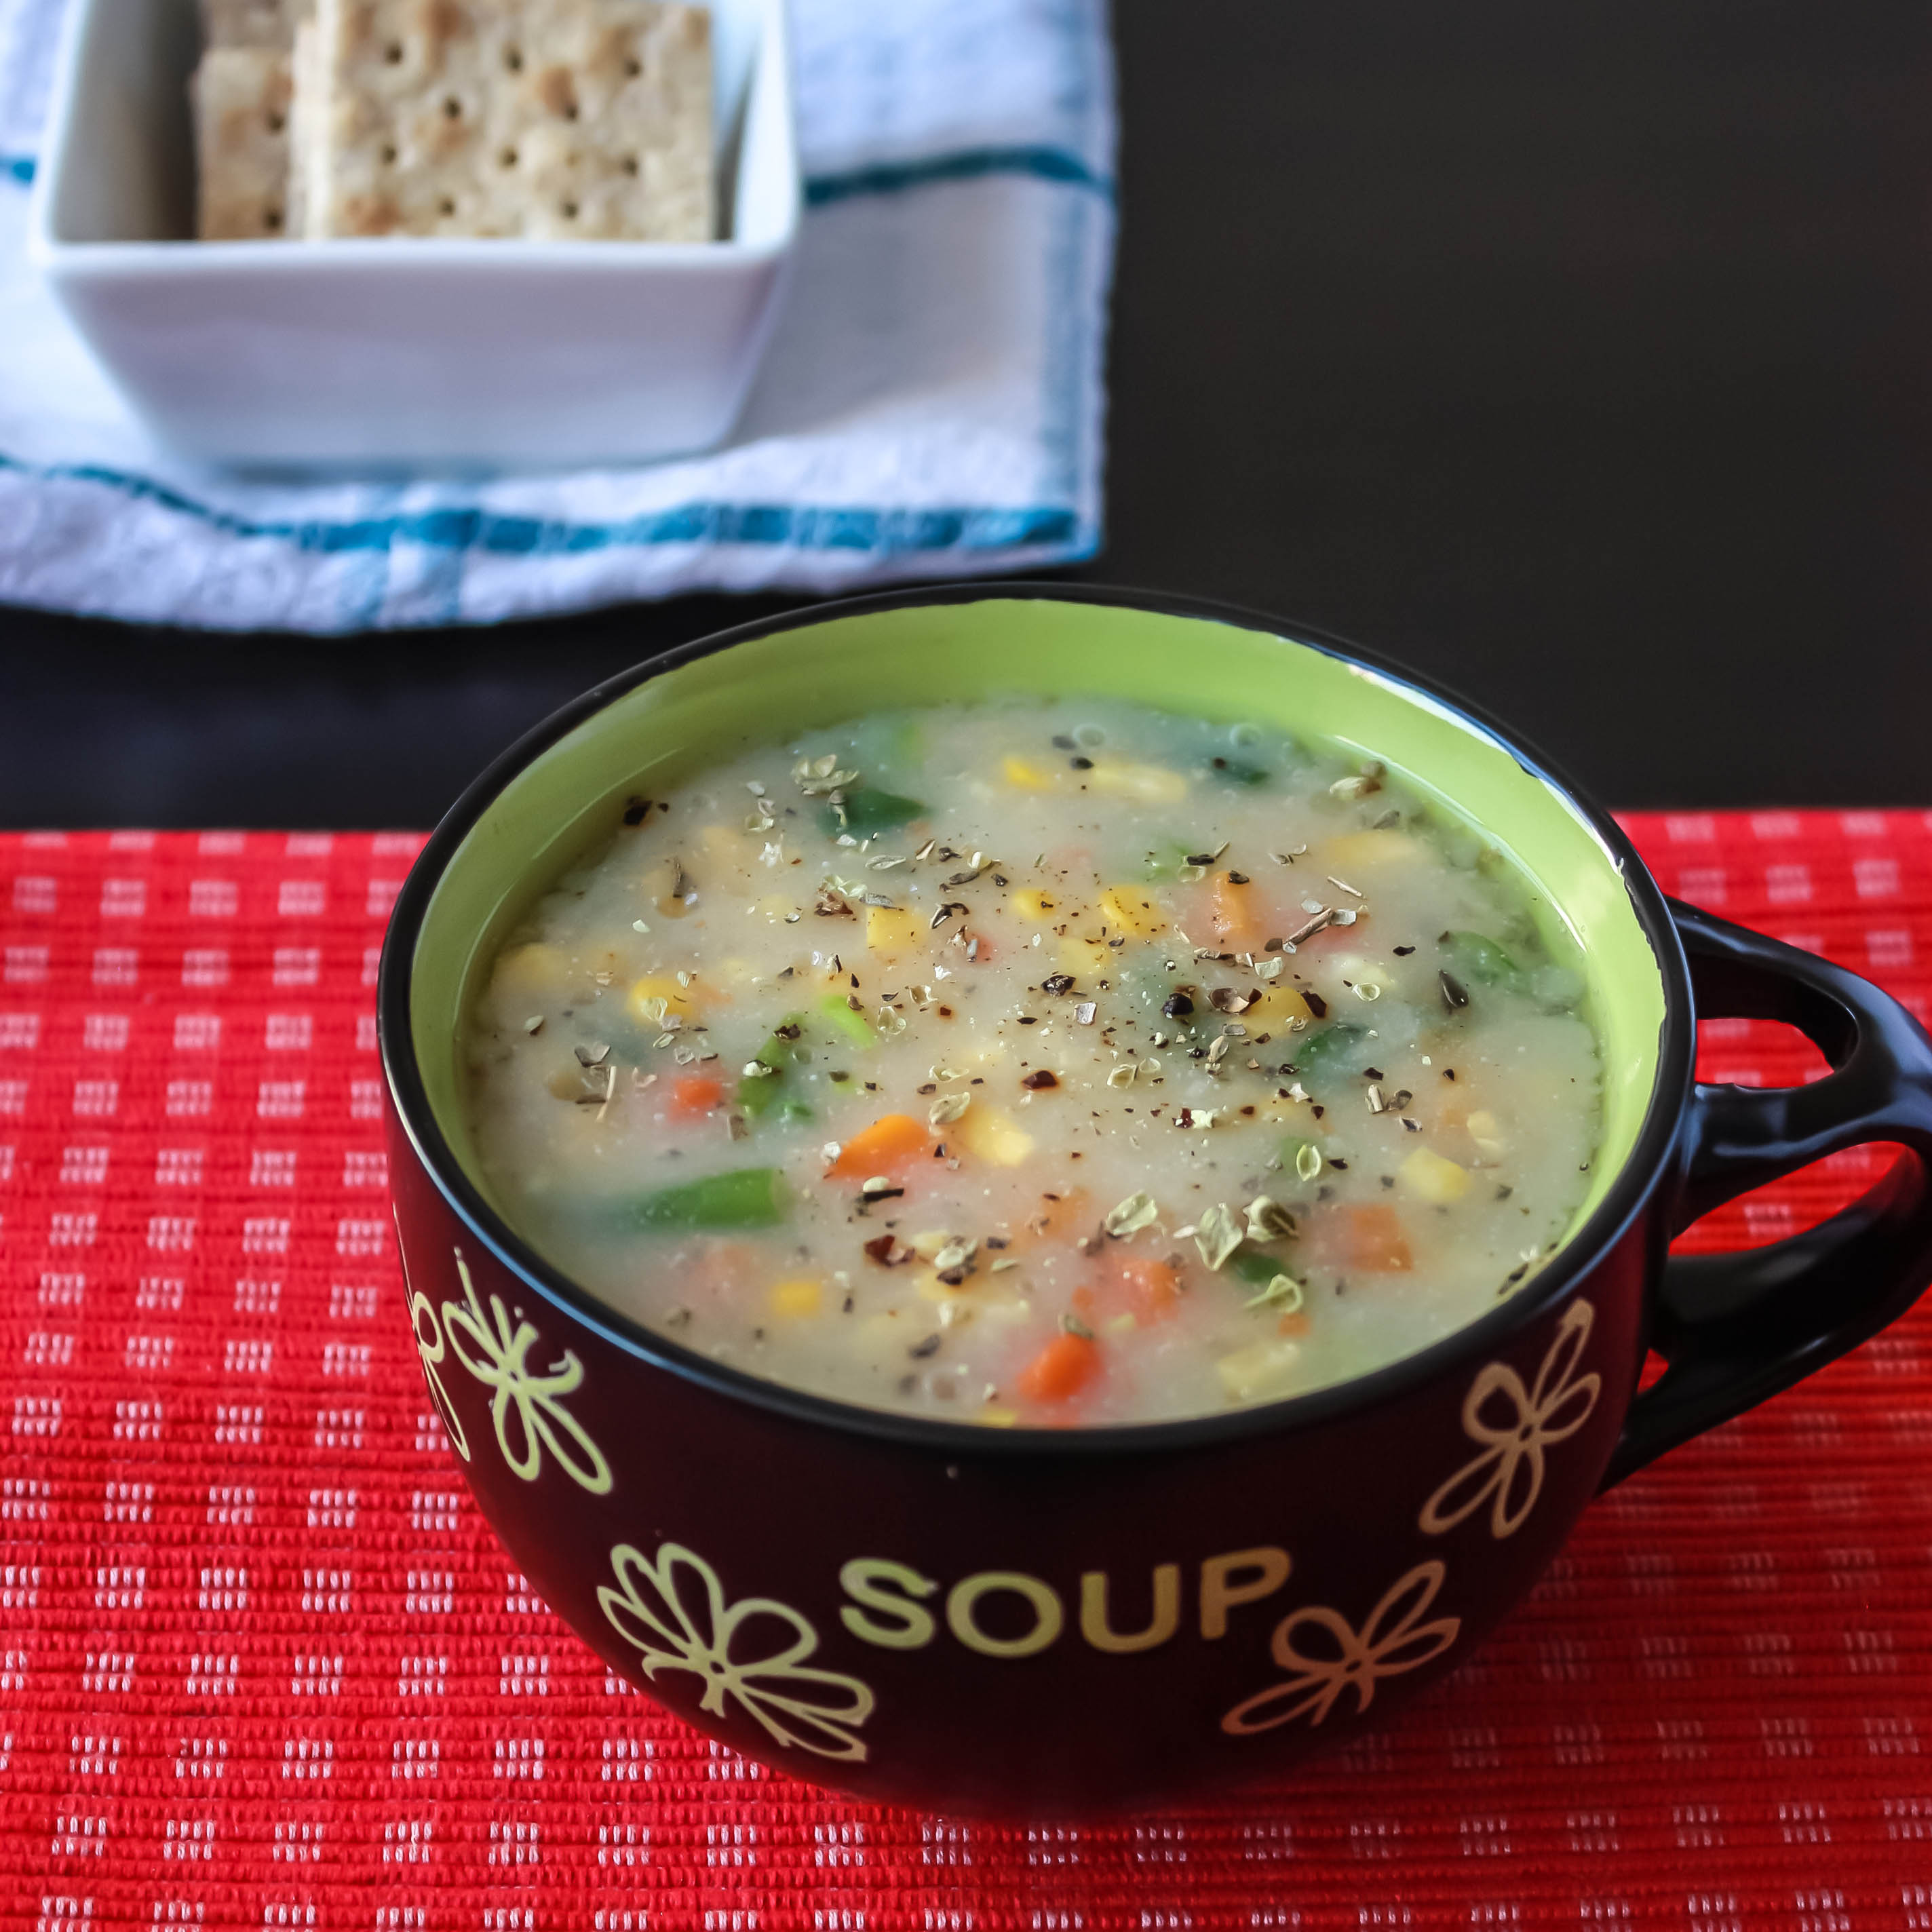
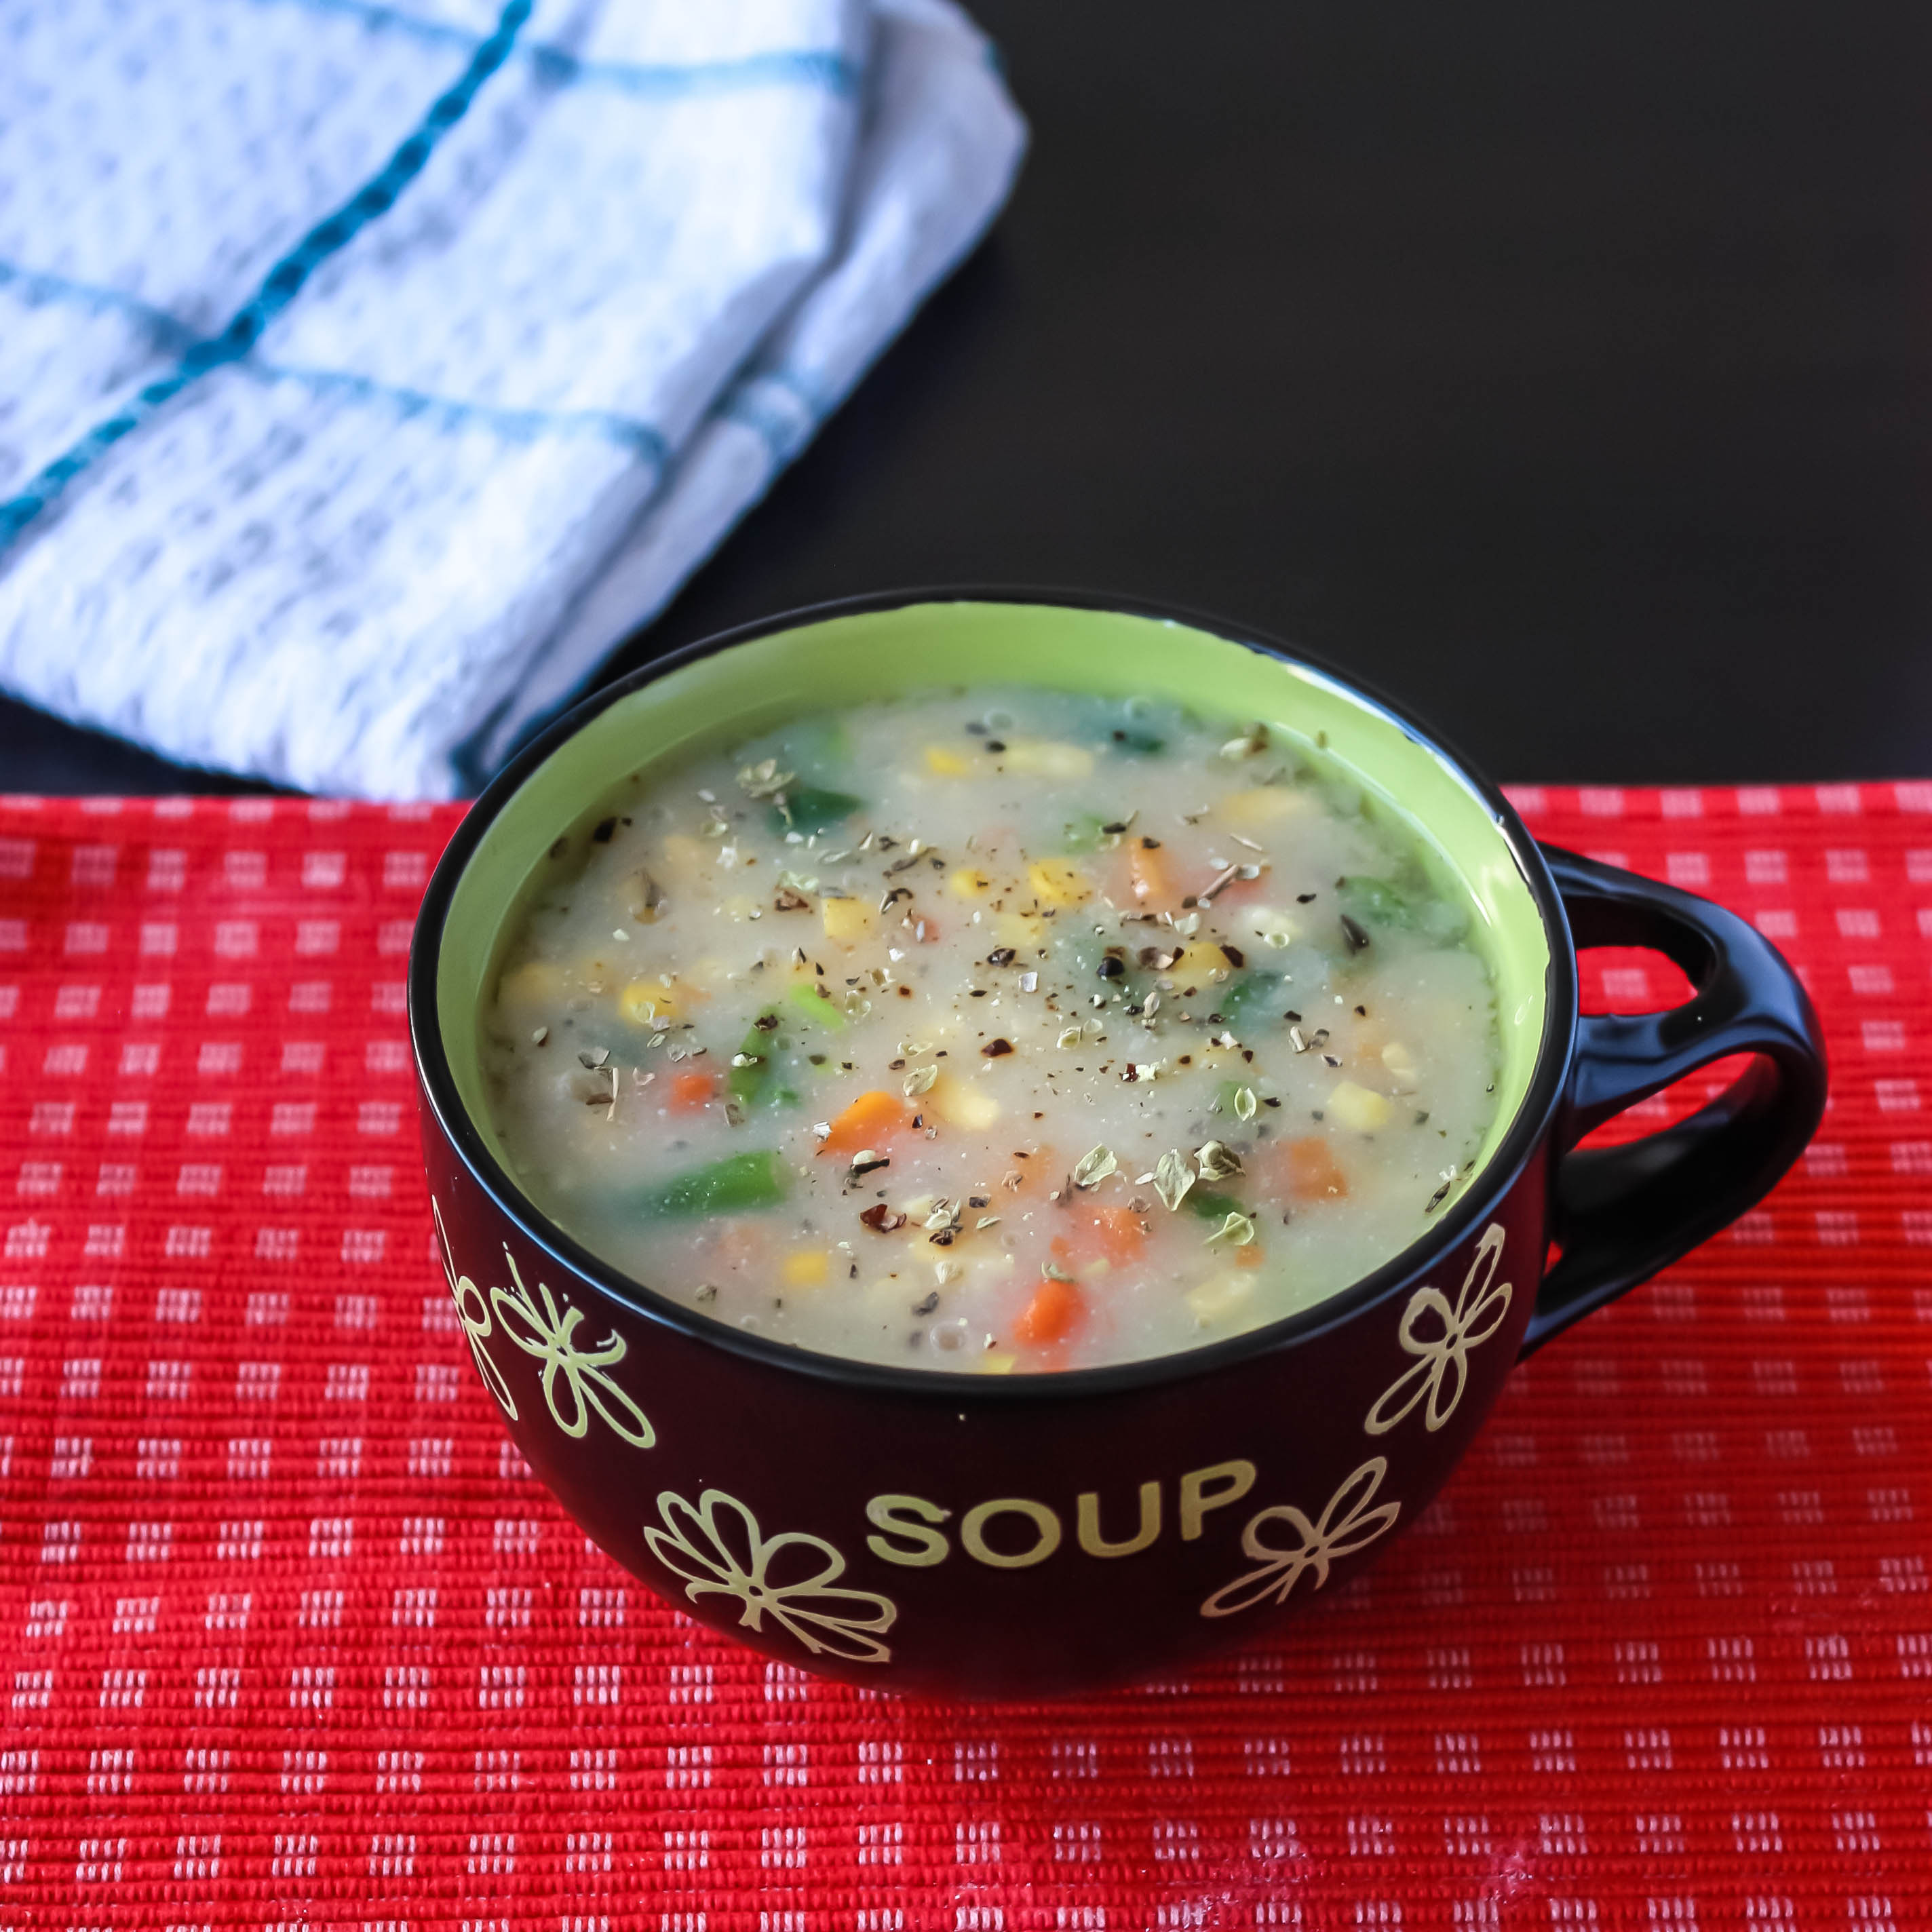
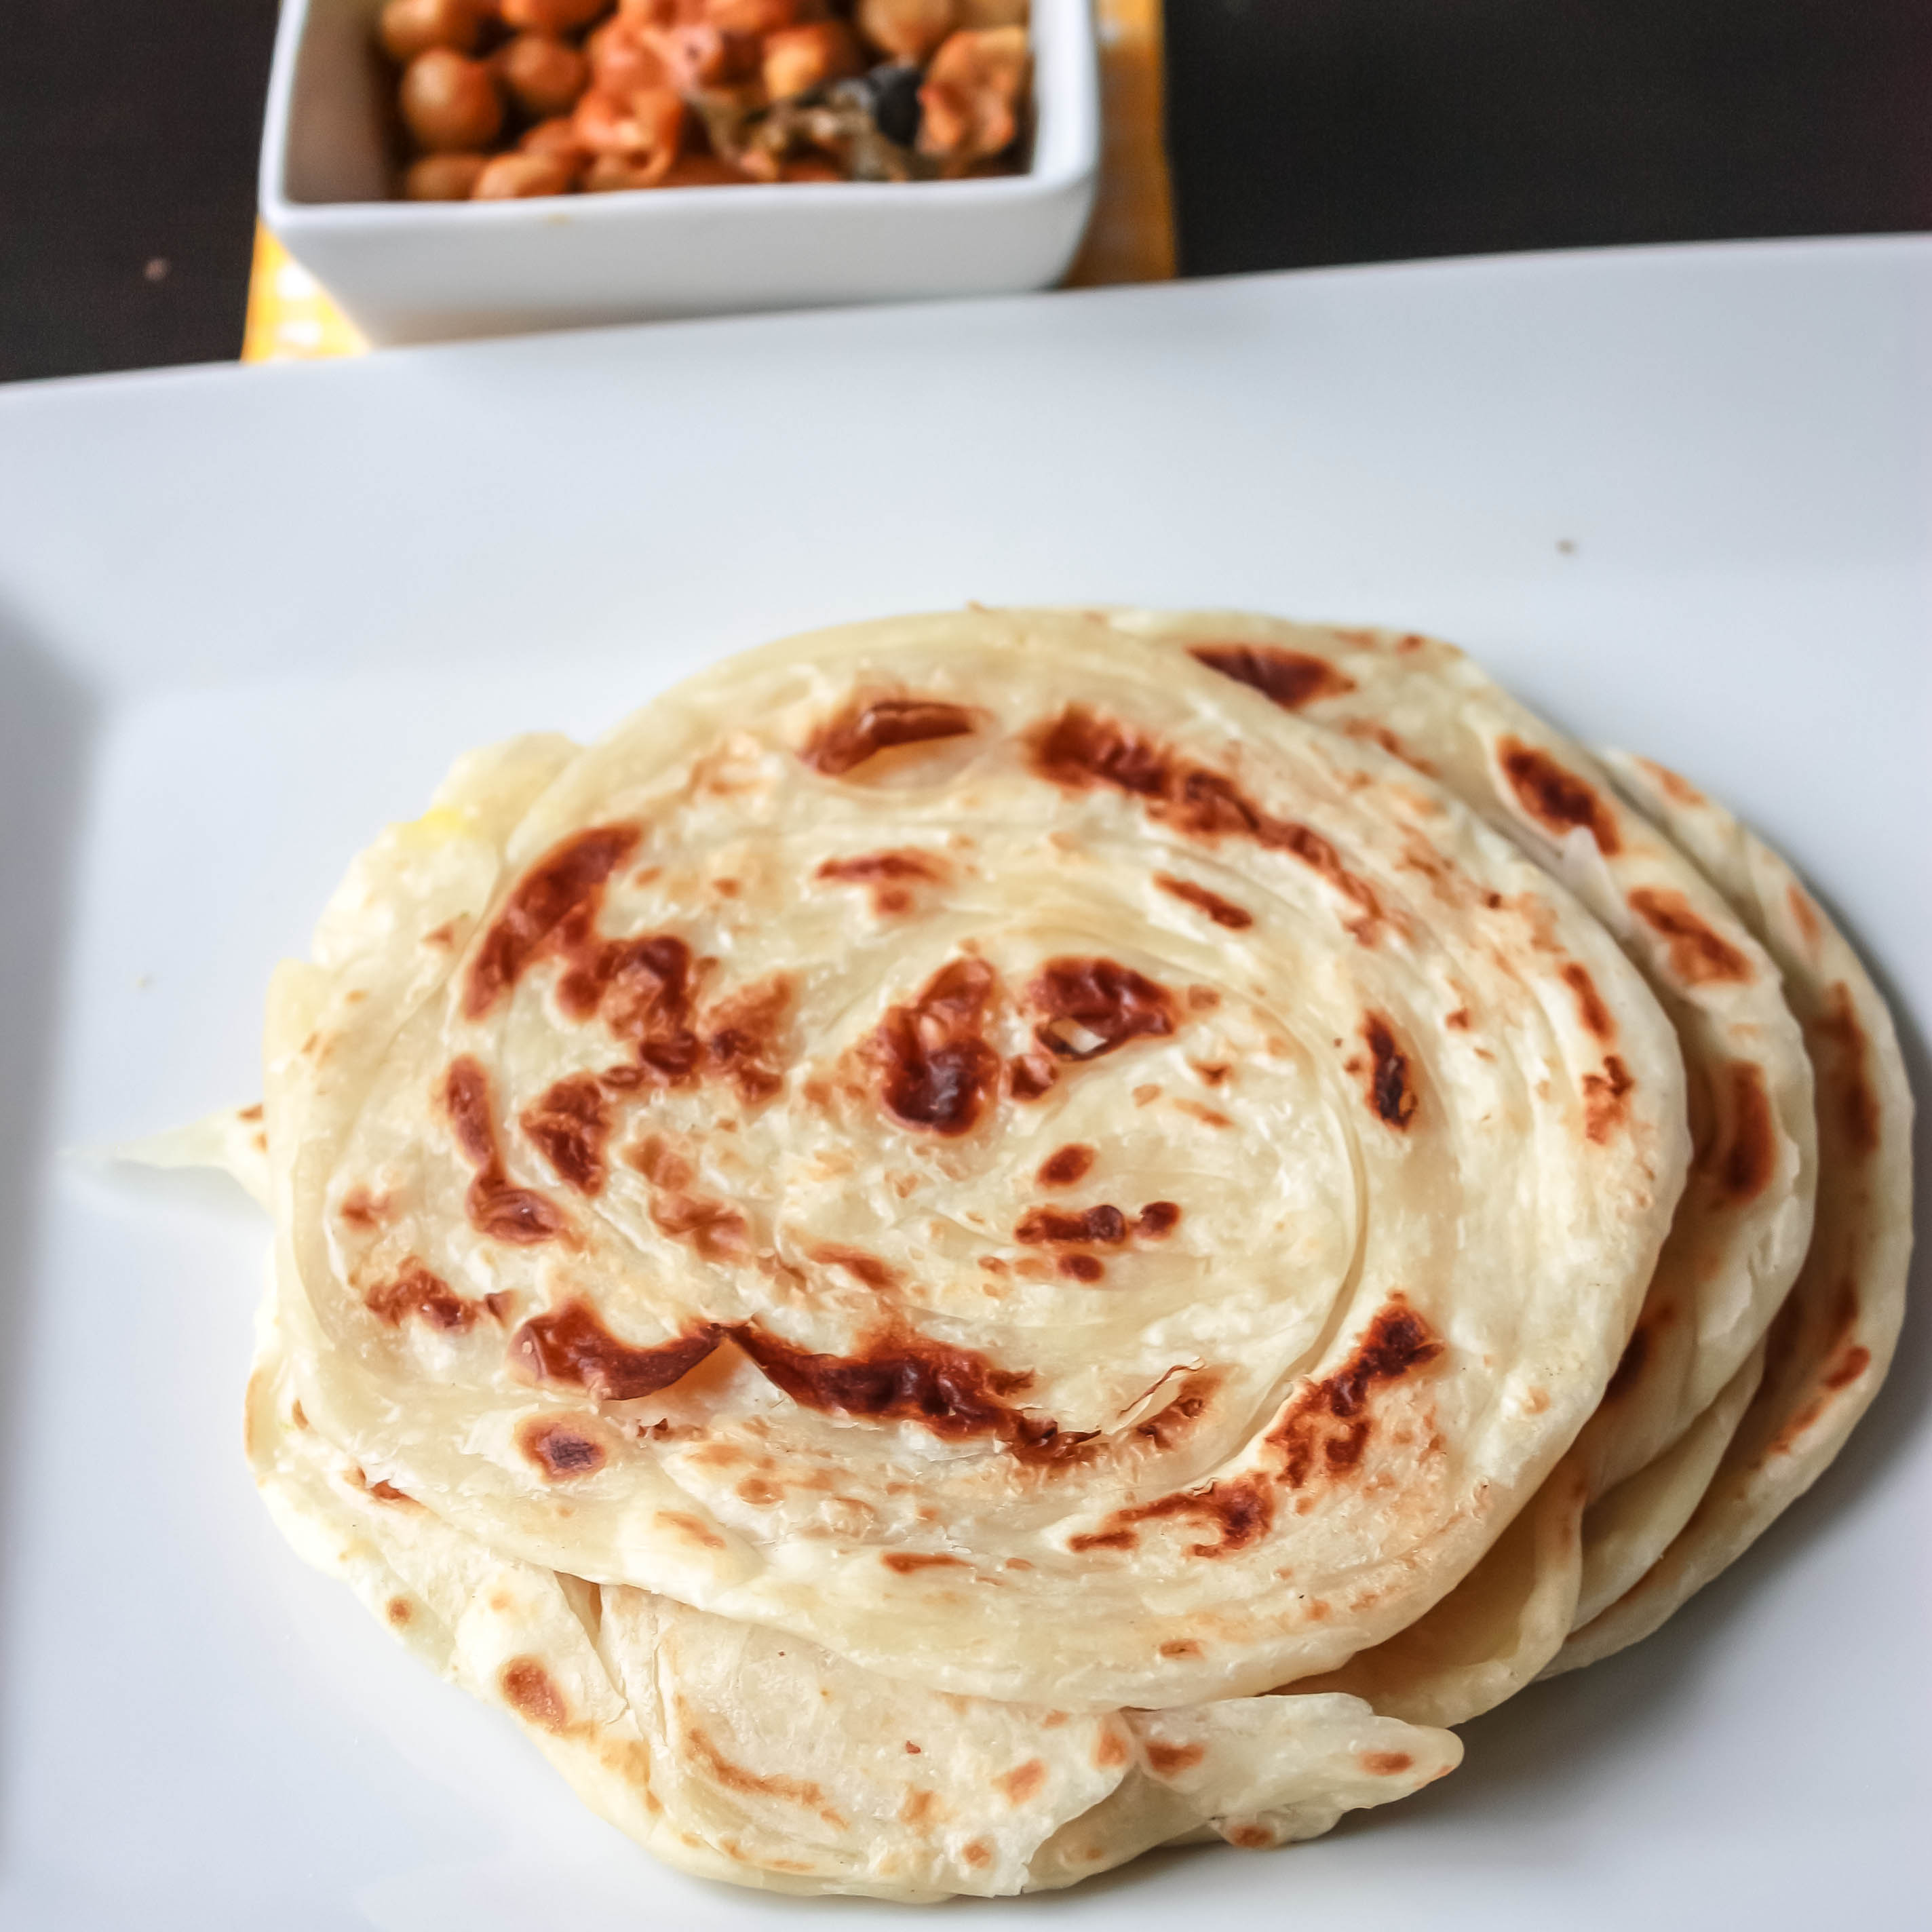
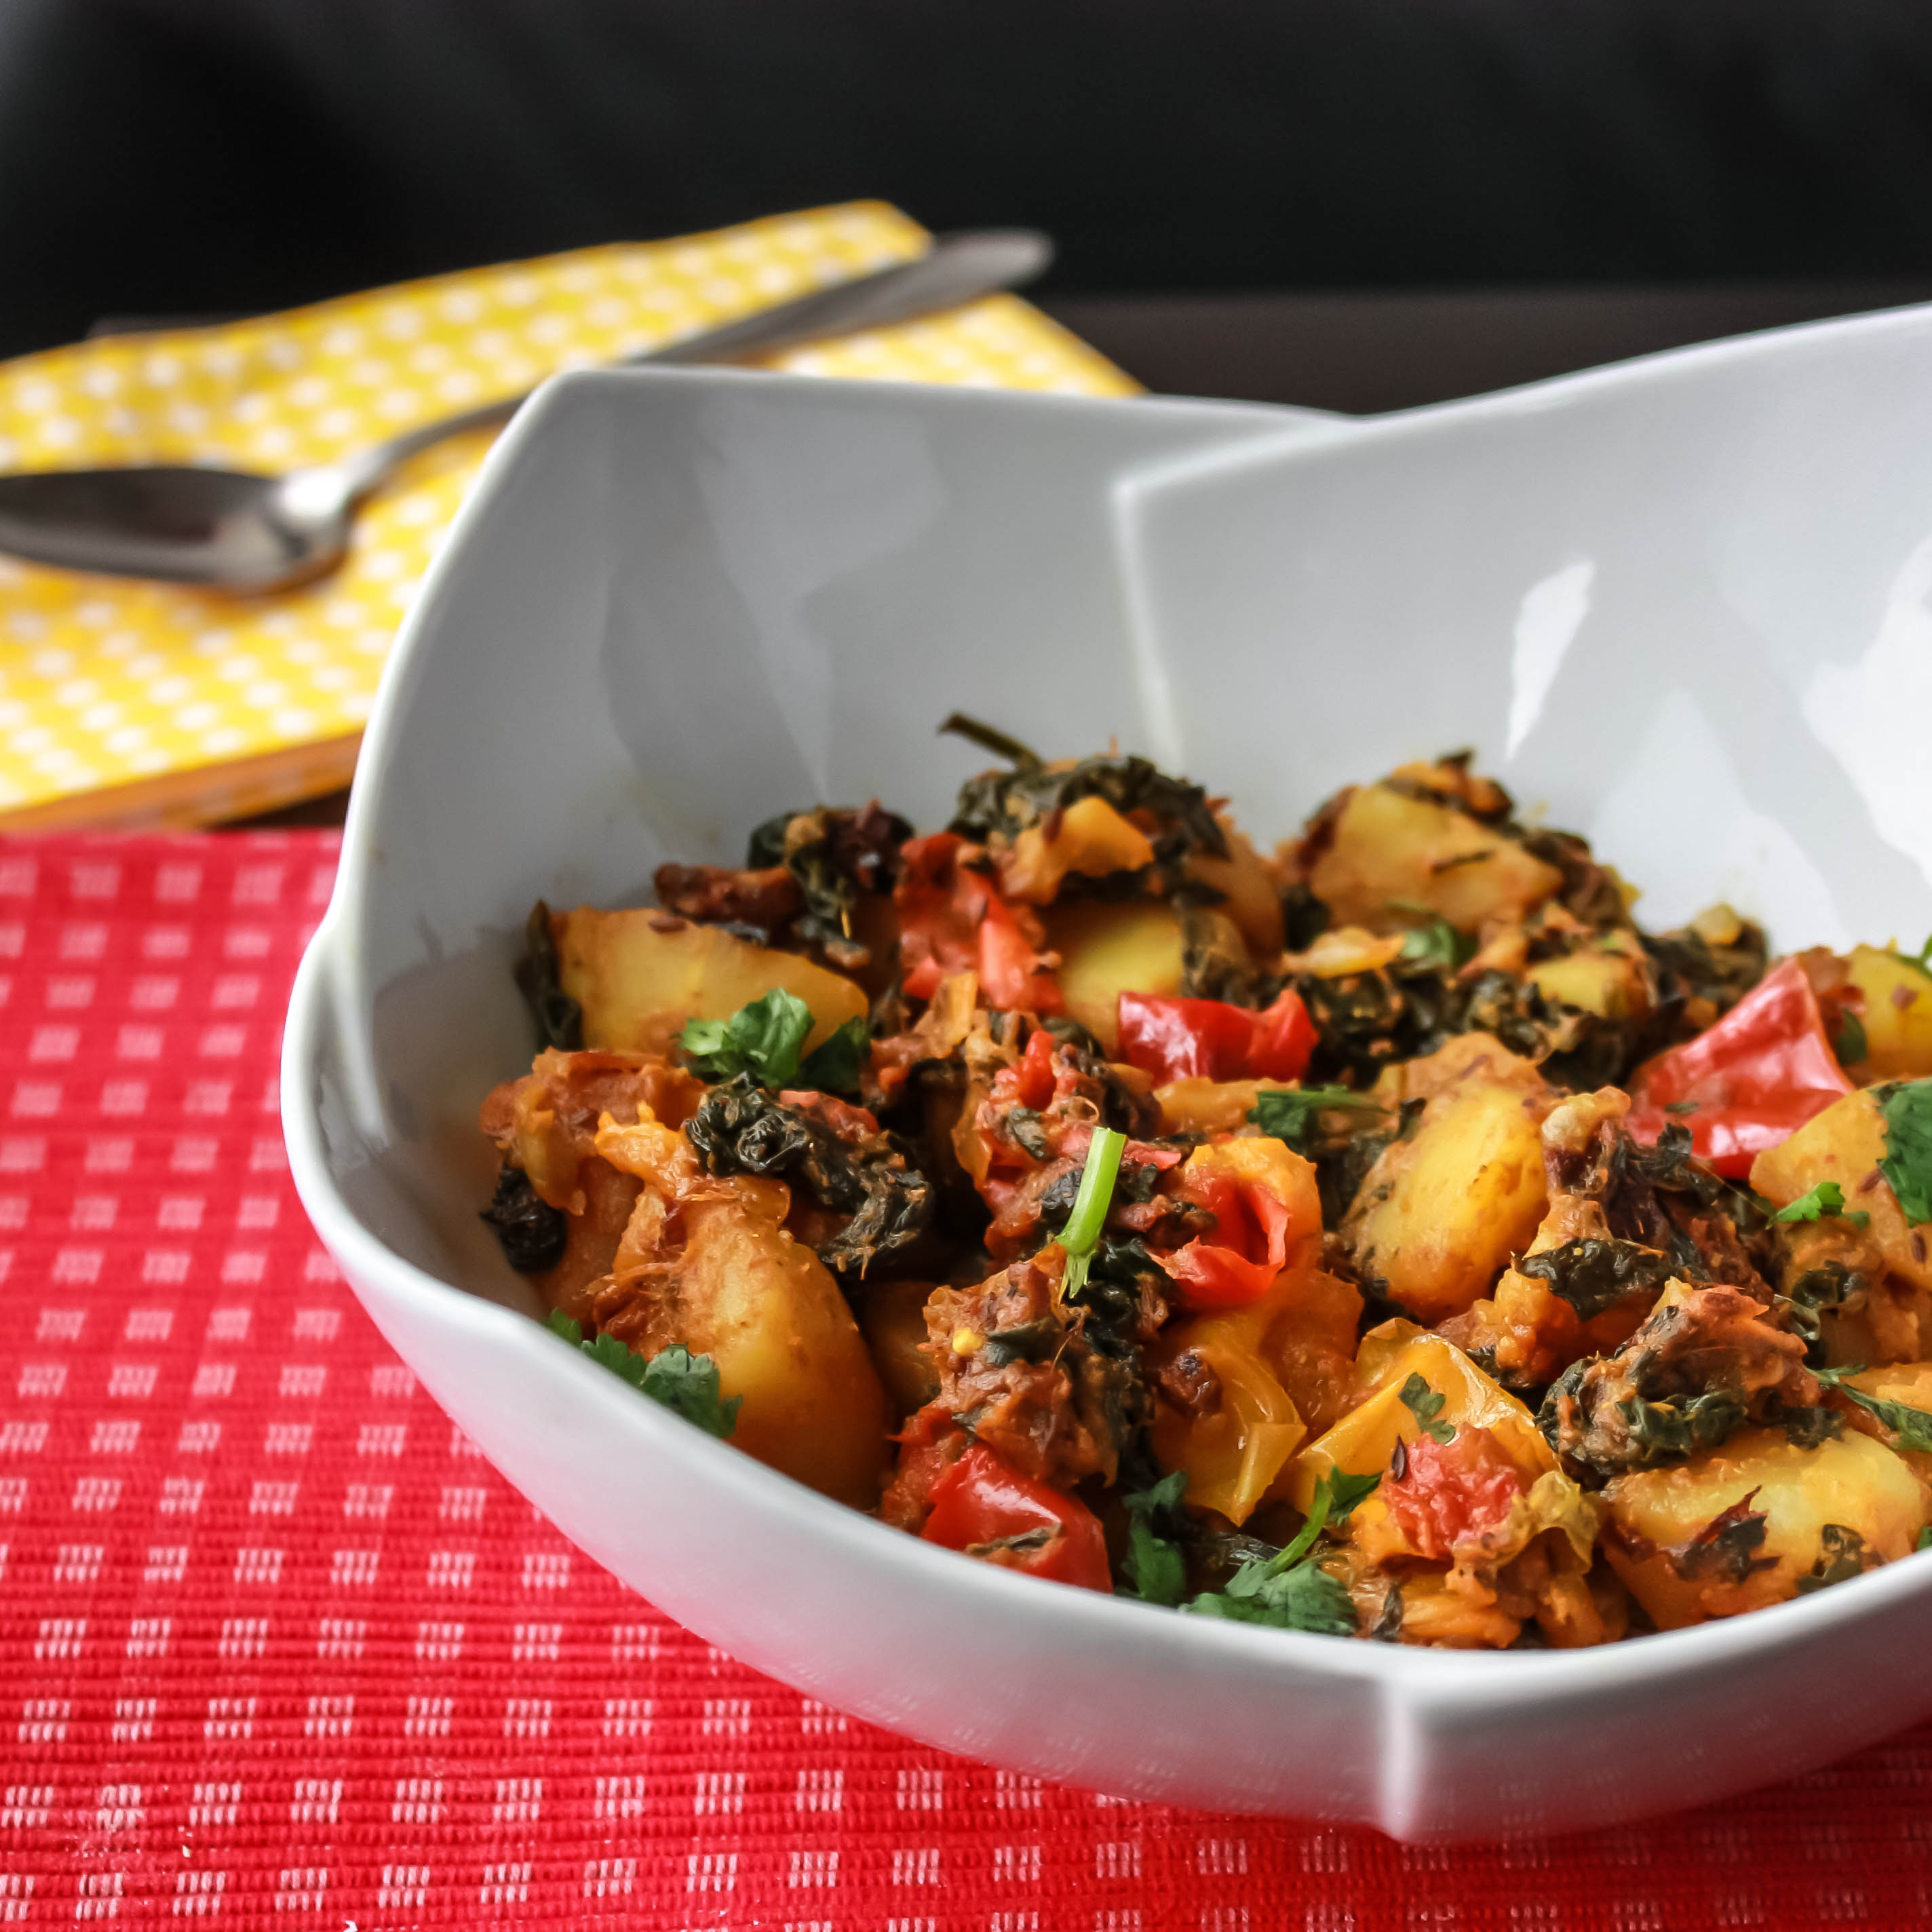
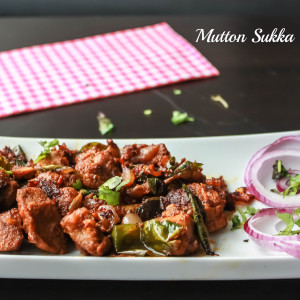
Serve it with some rice and lamb roast.
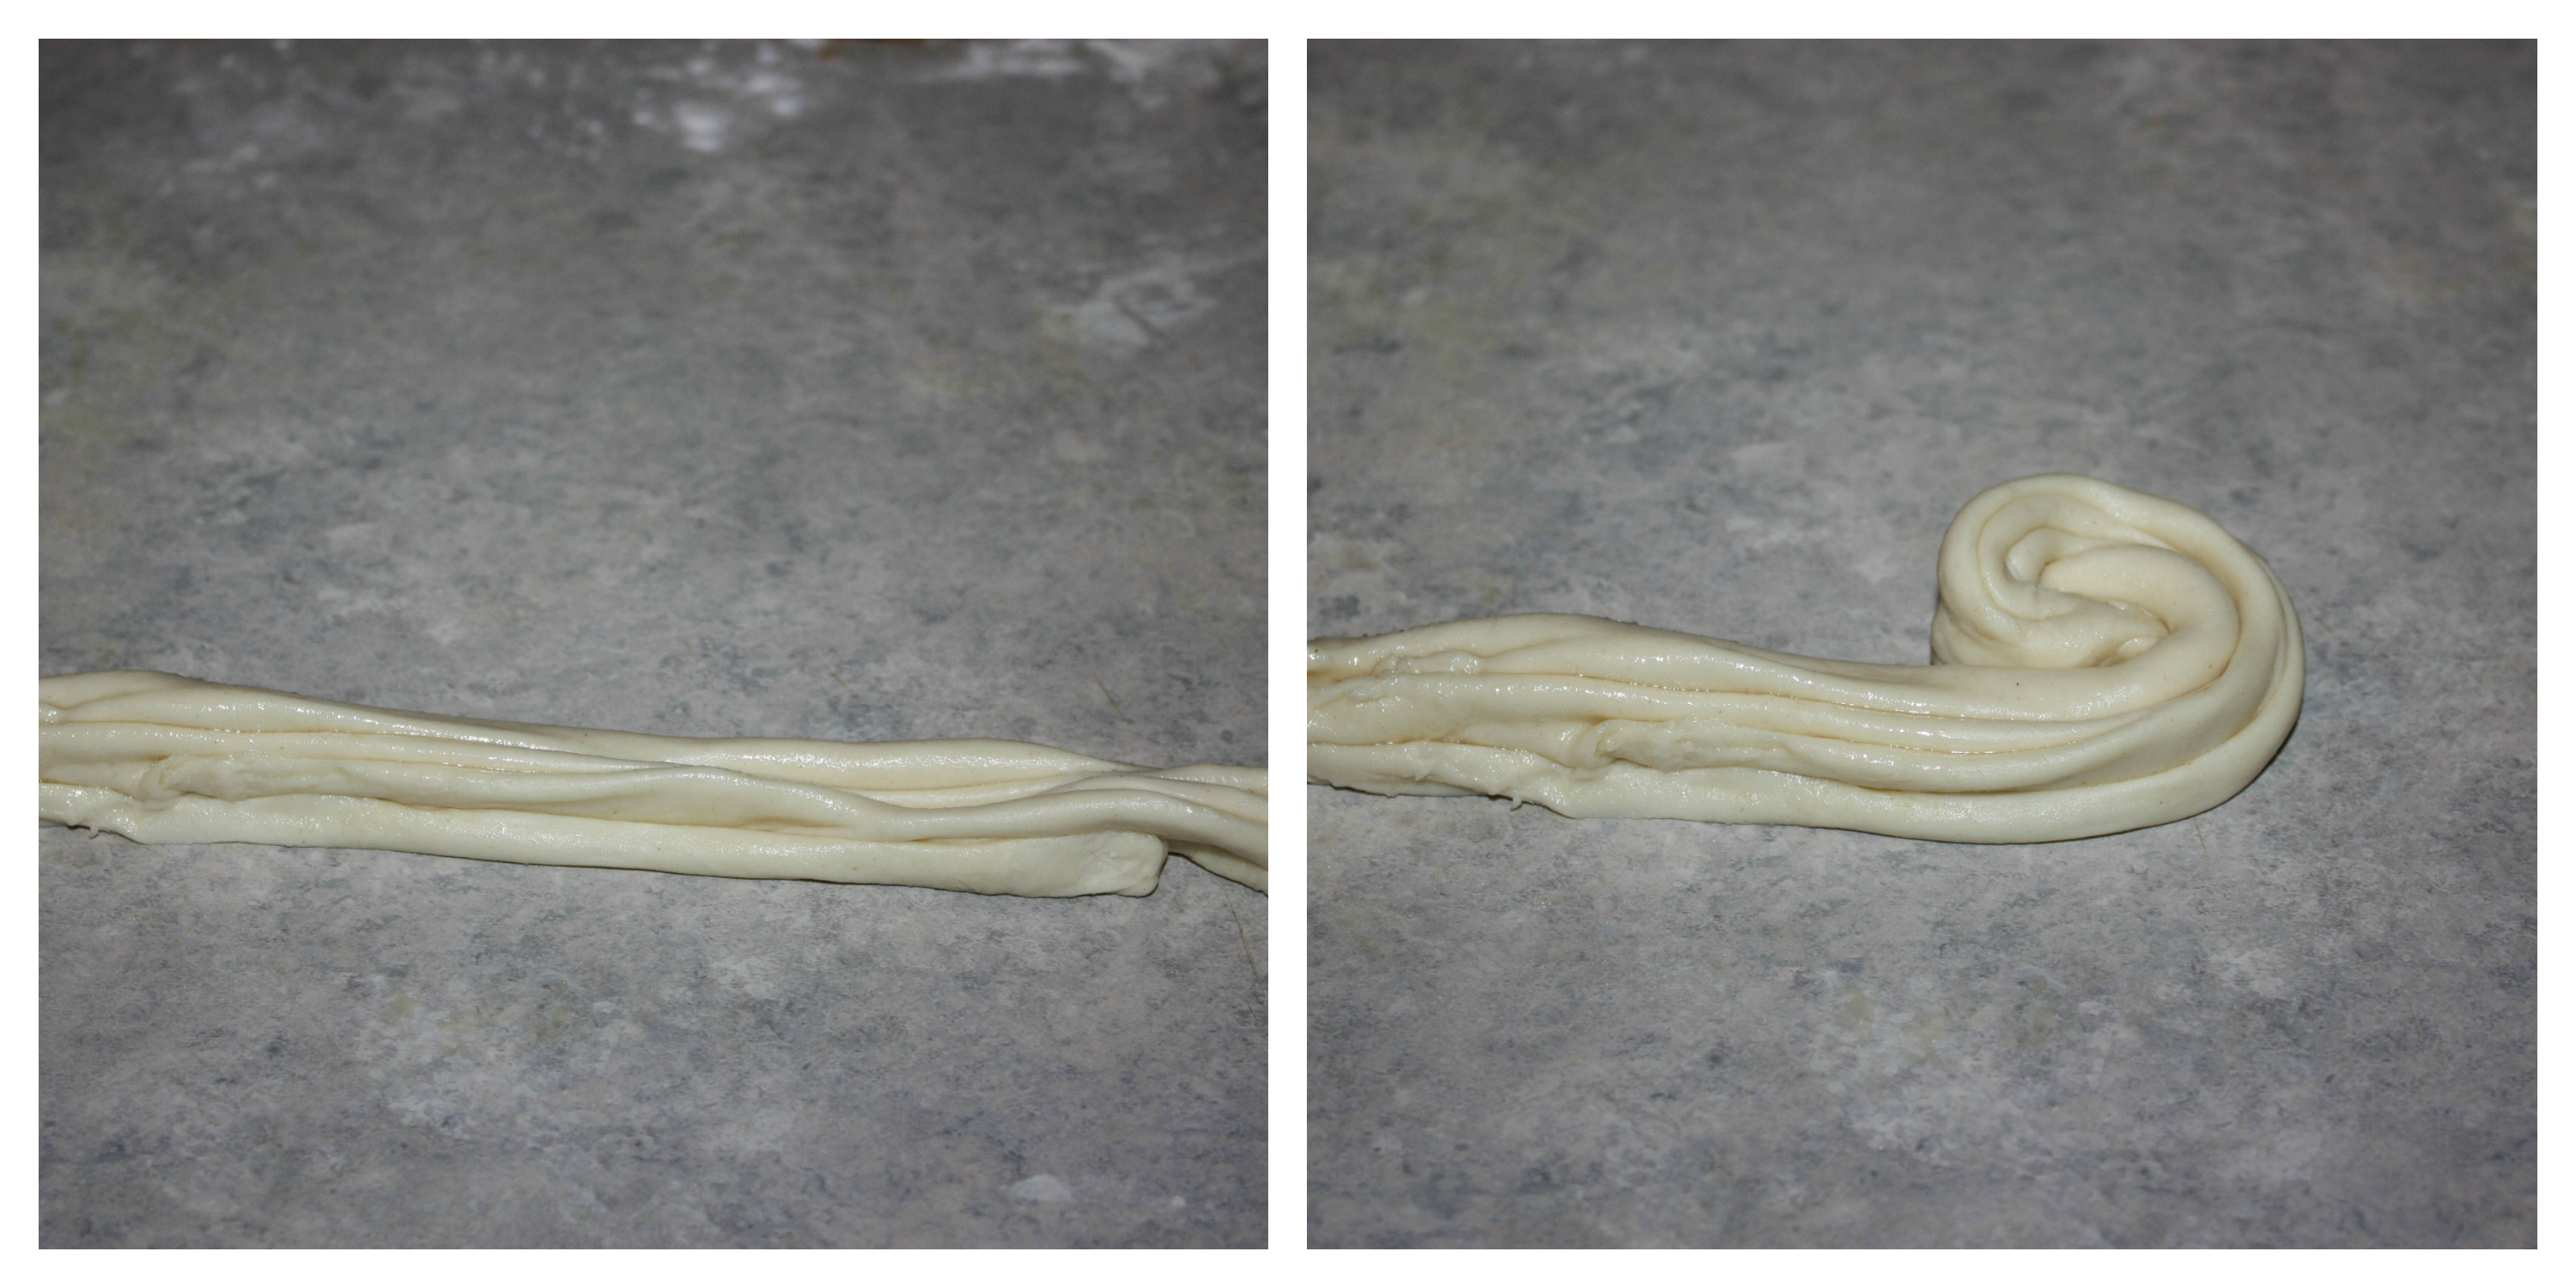
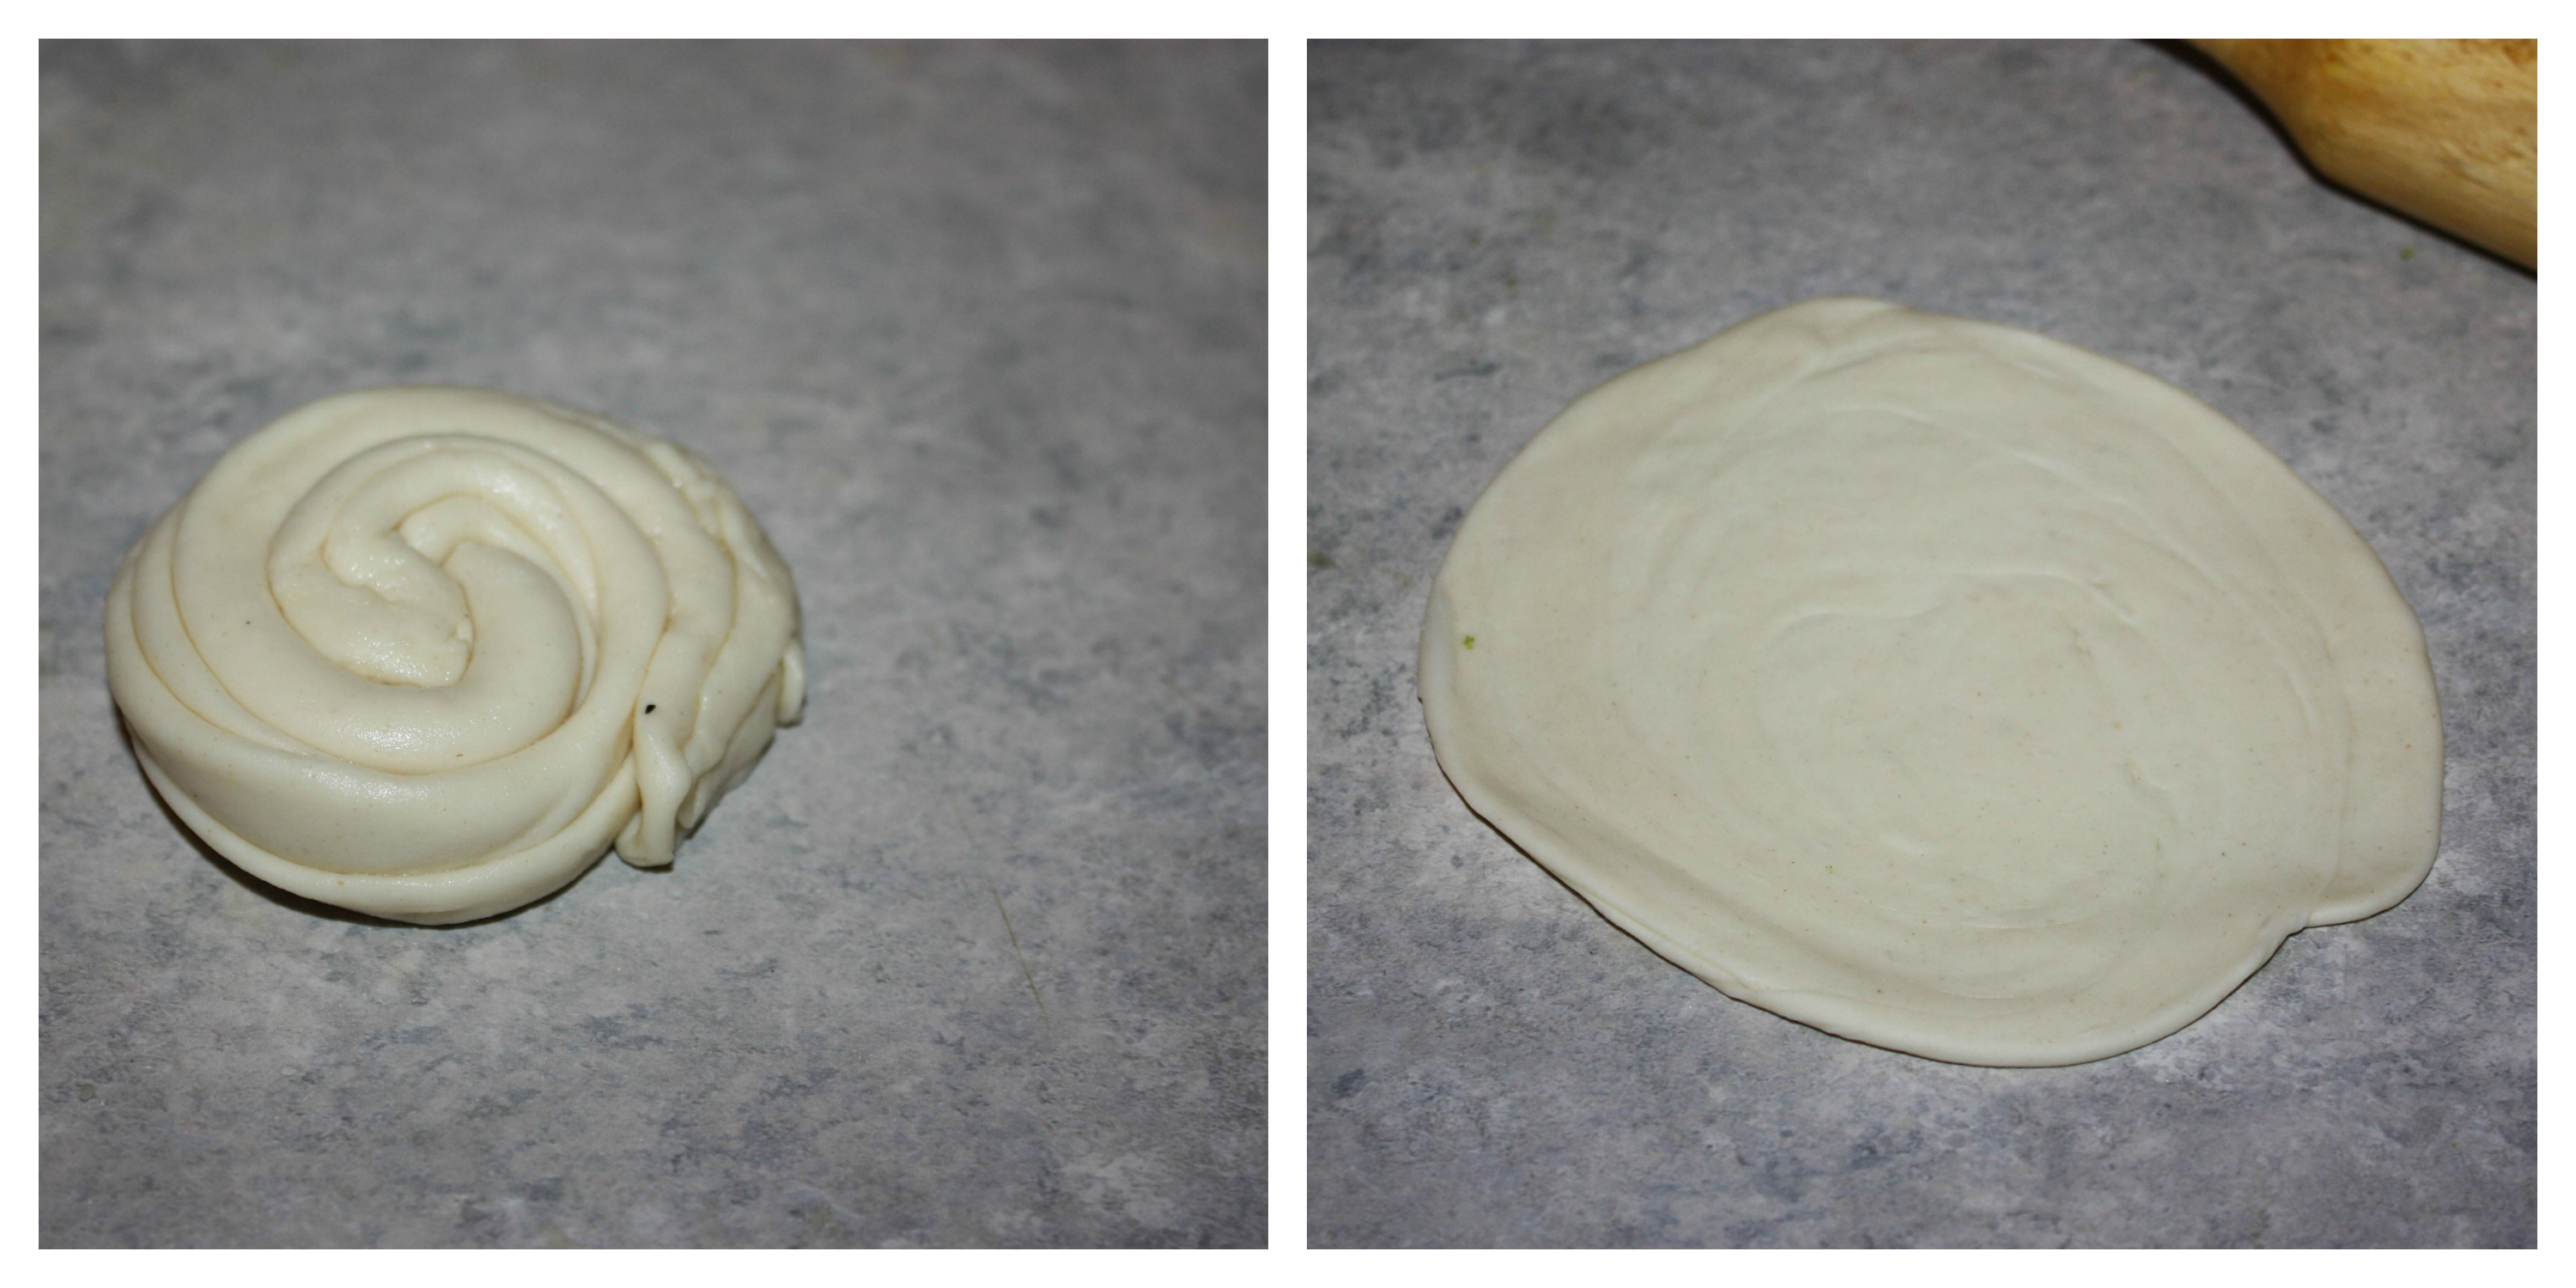
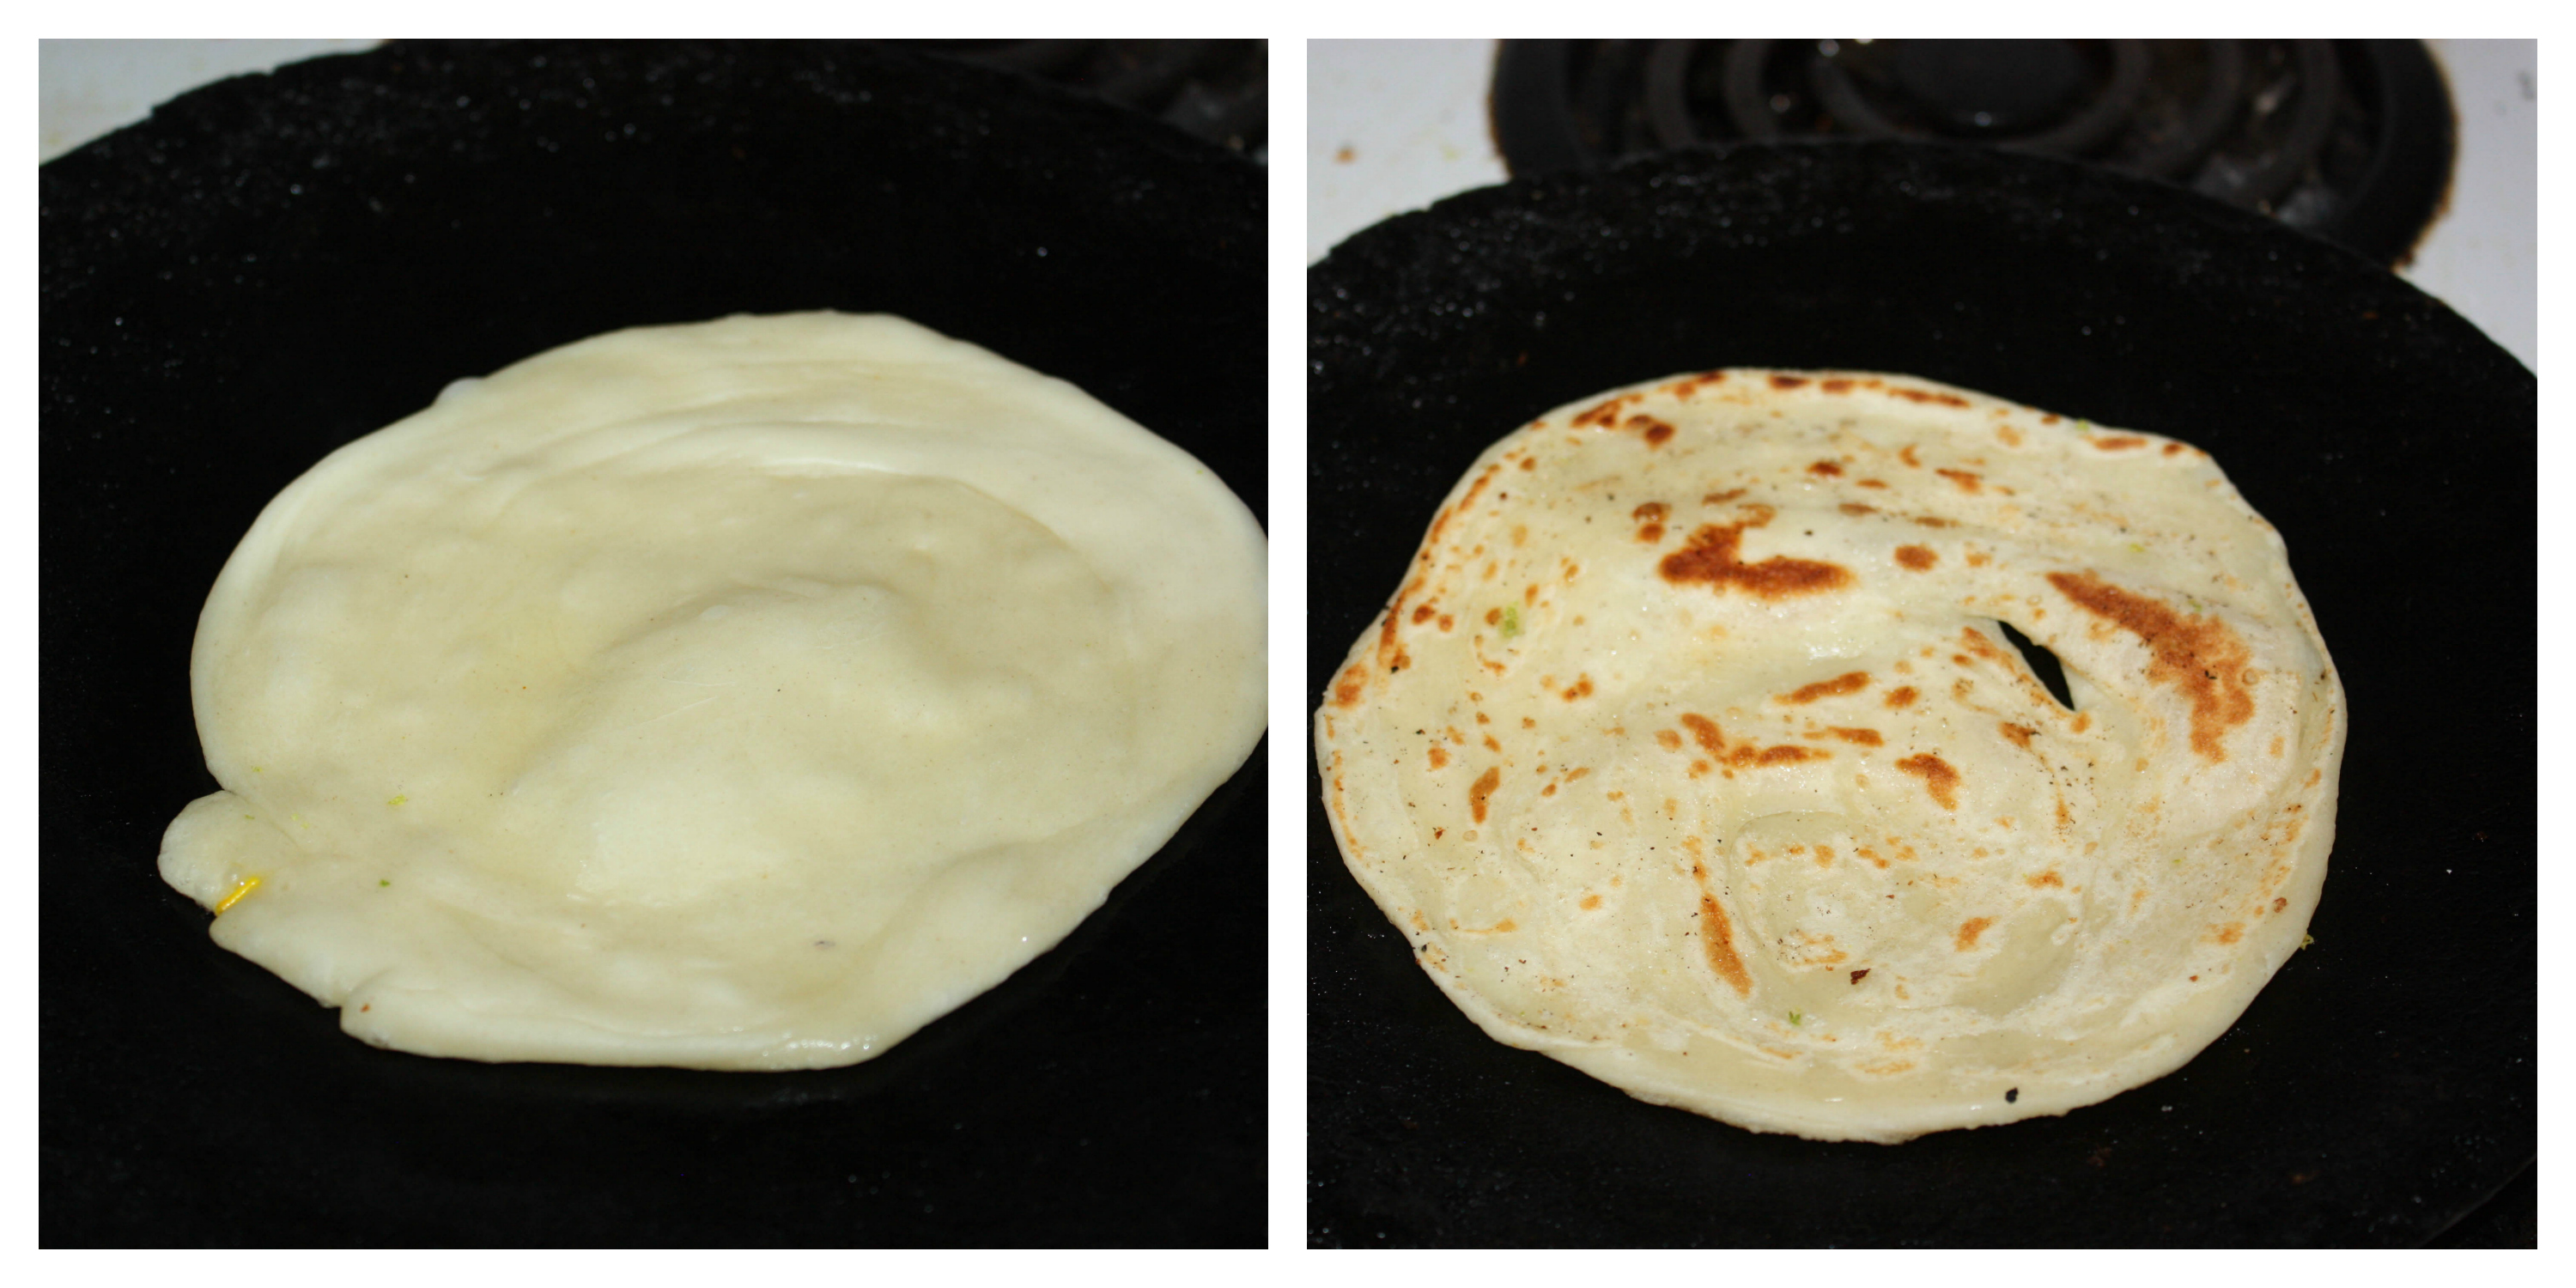
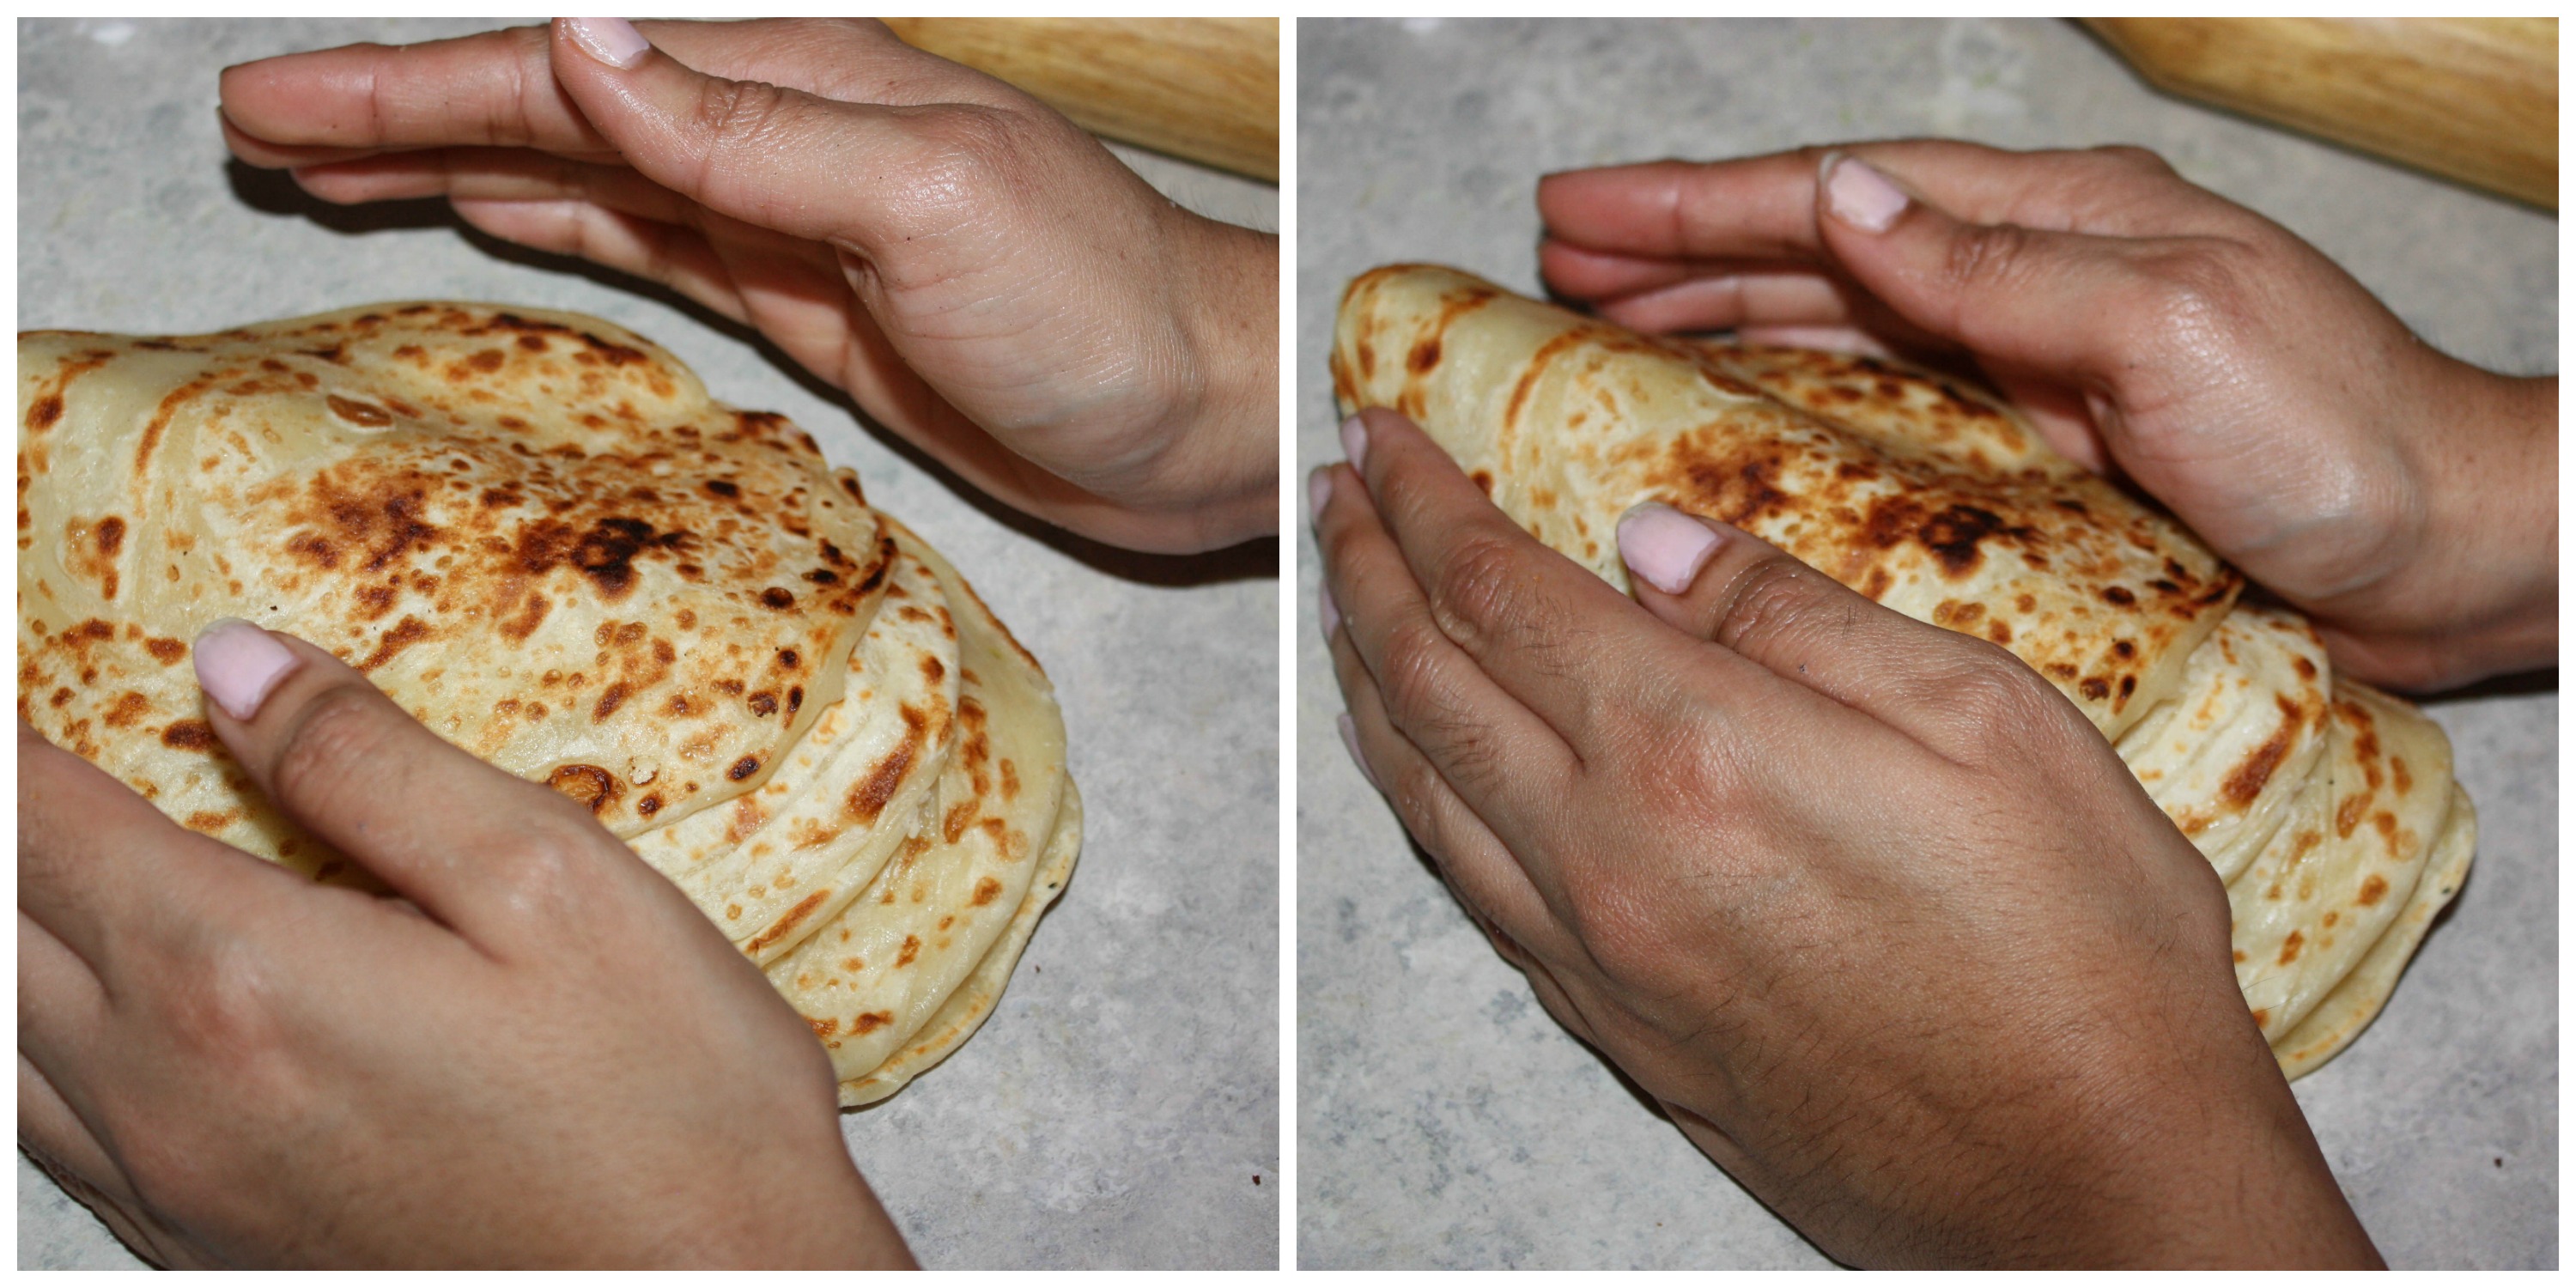
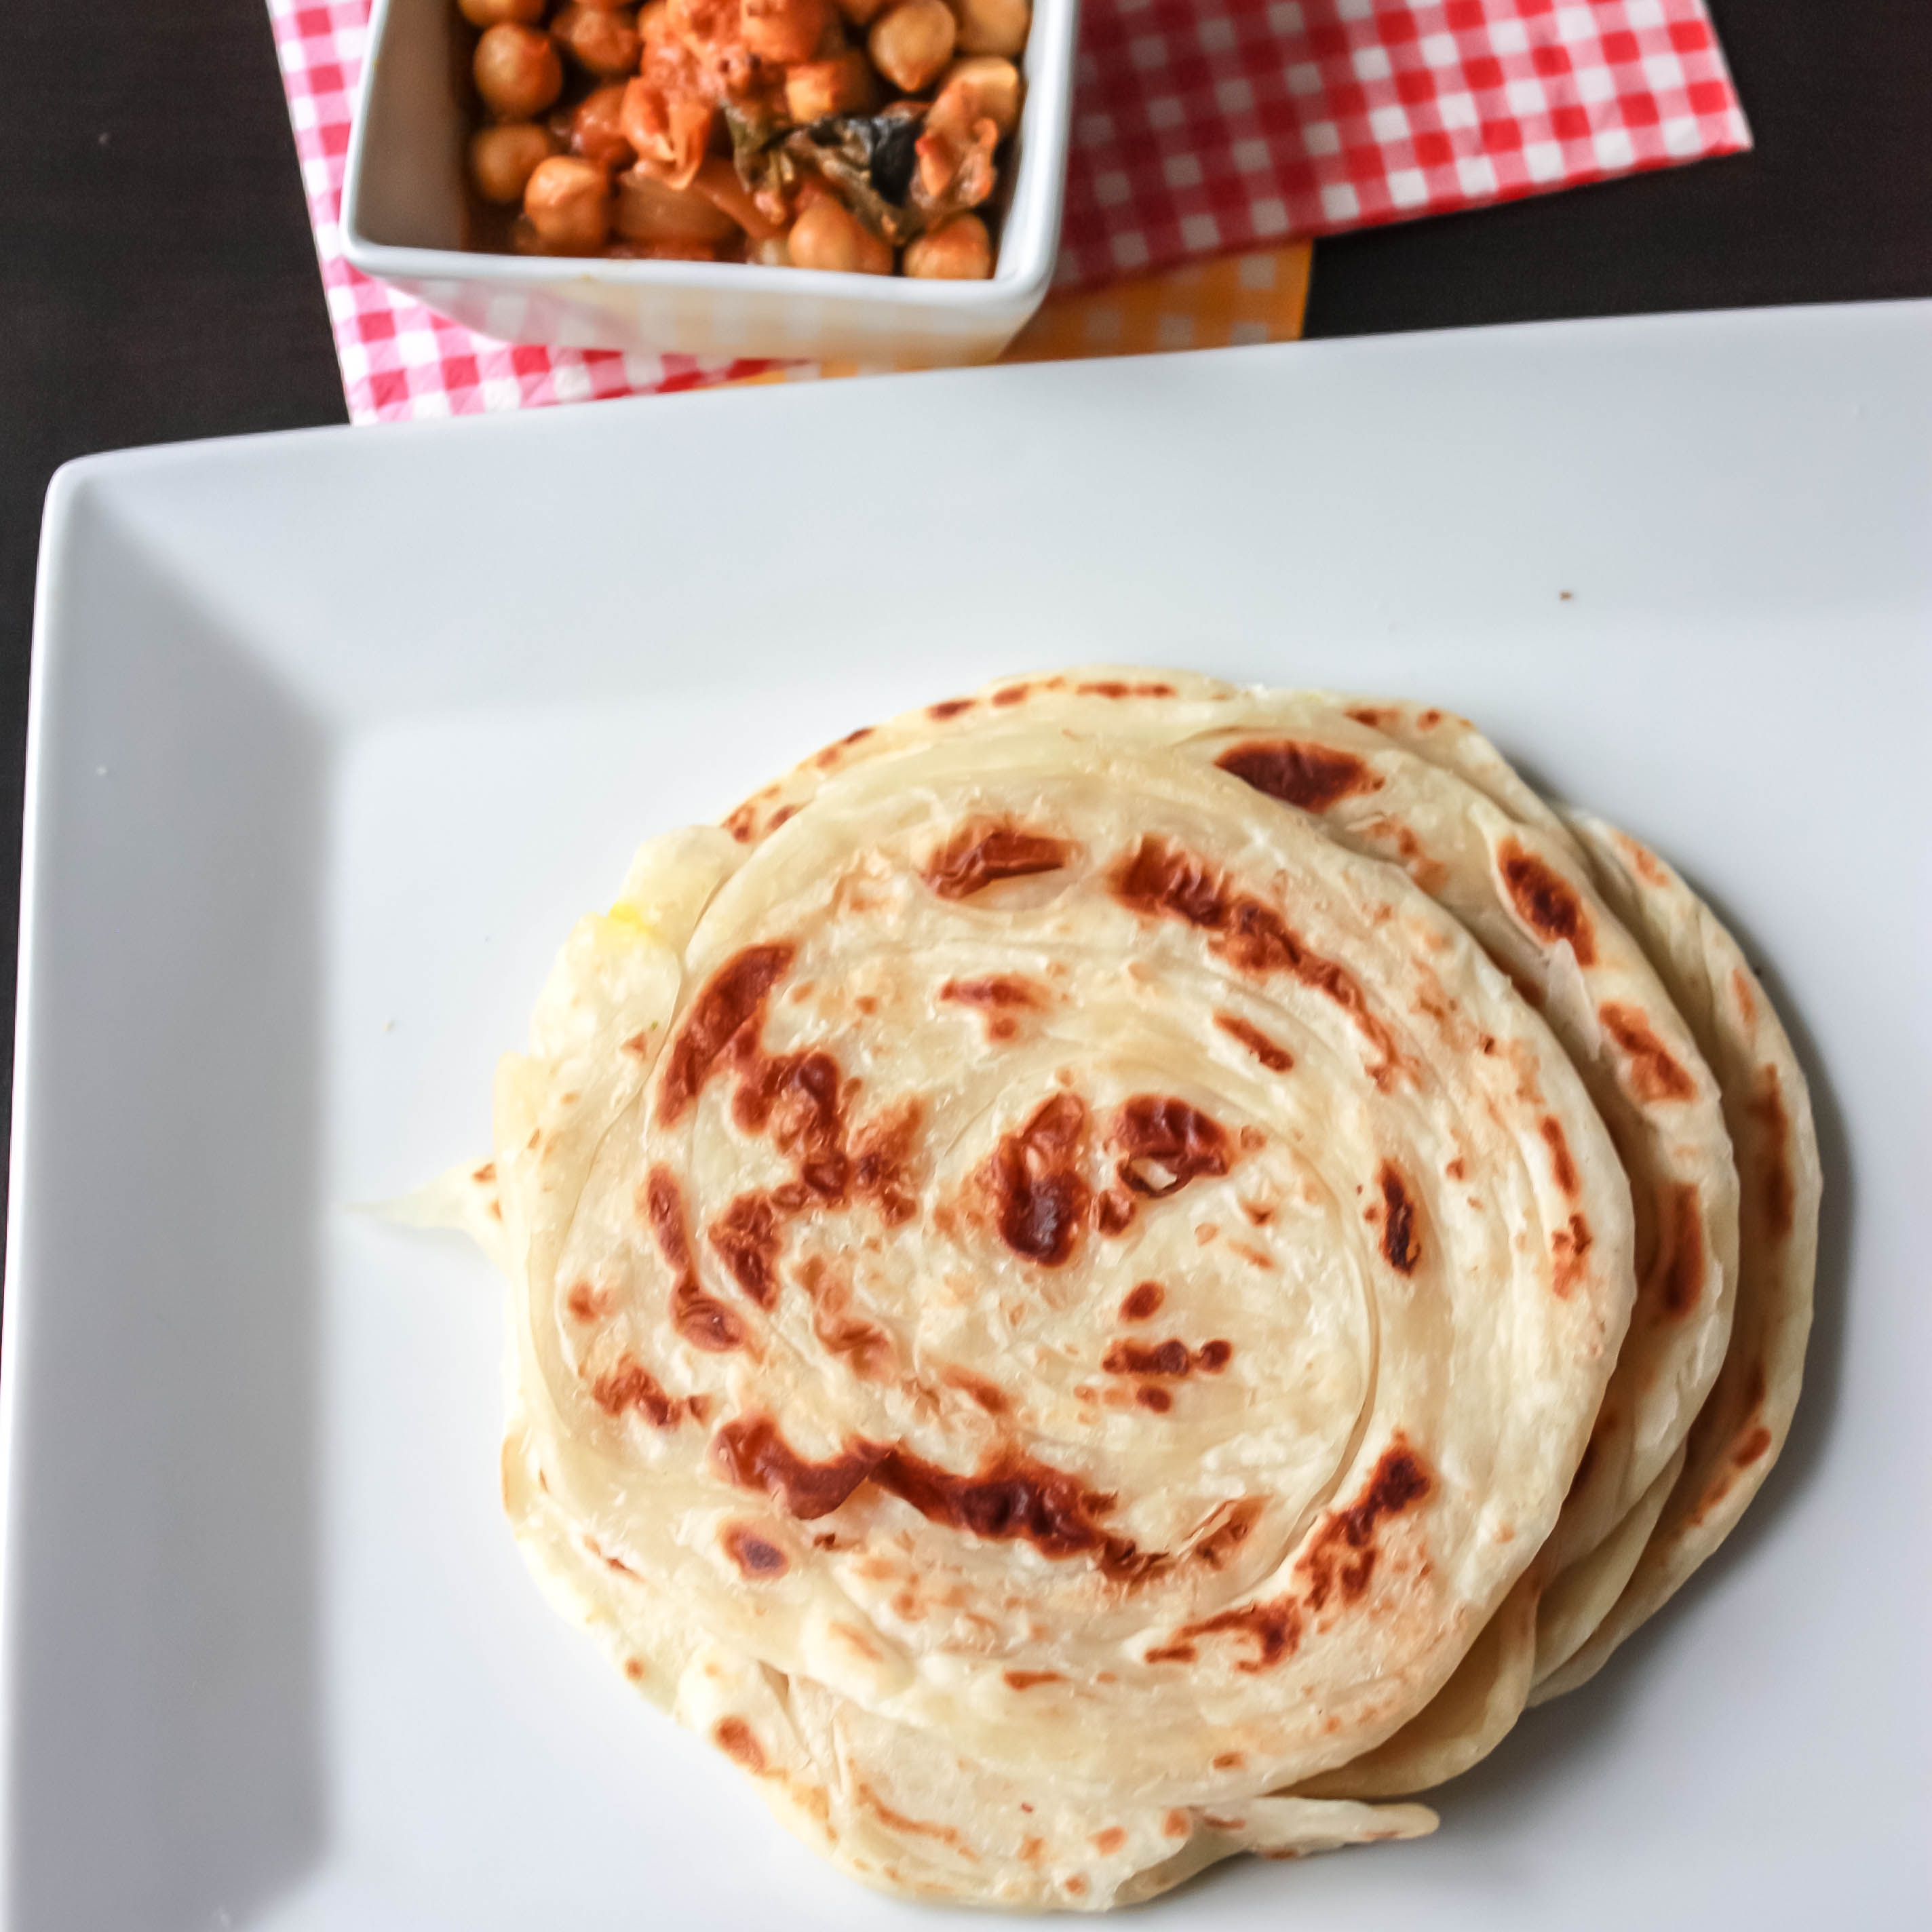
Or Serve it with roti or parotta.


 . May be I will still like it.. May be not 😀
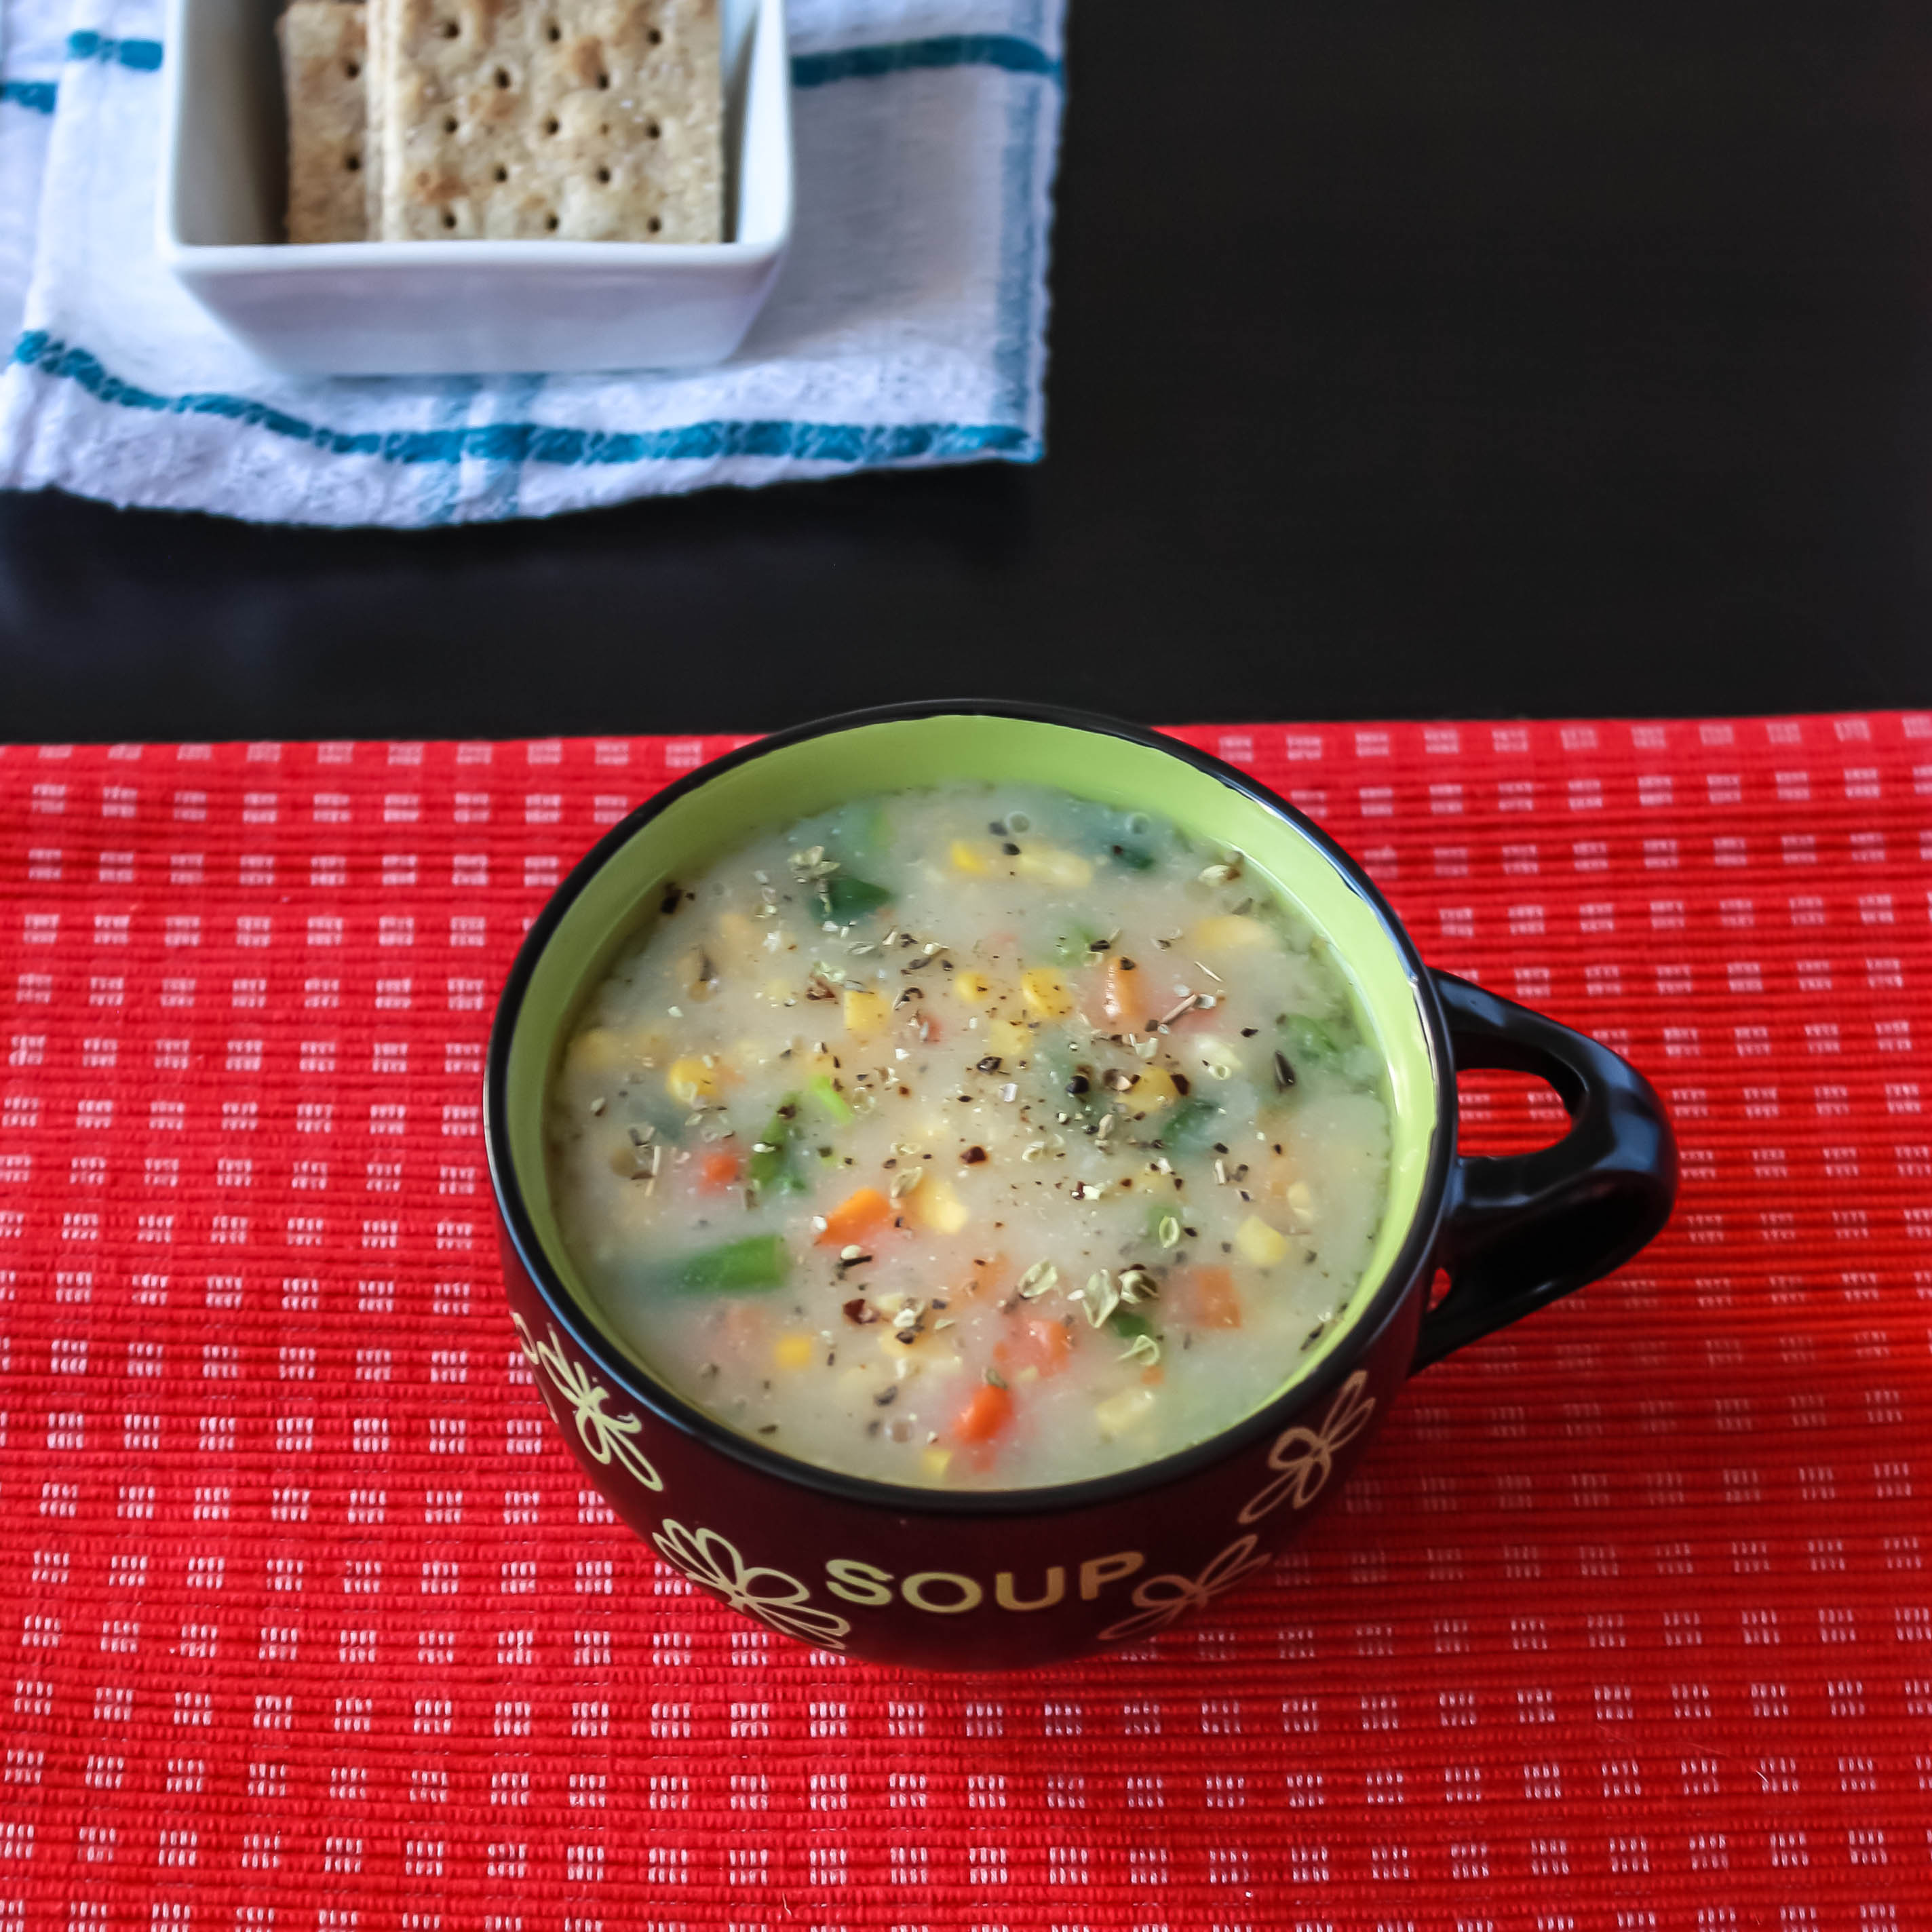
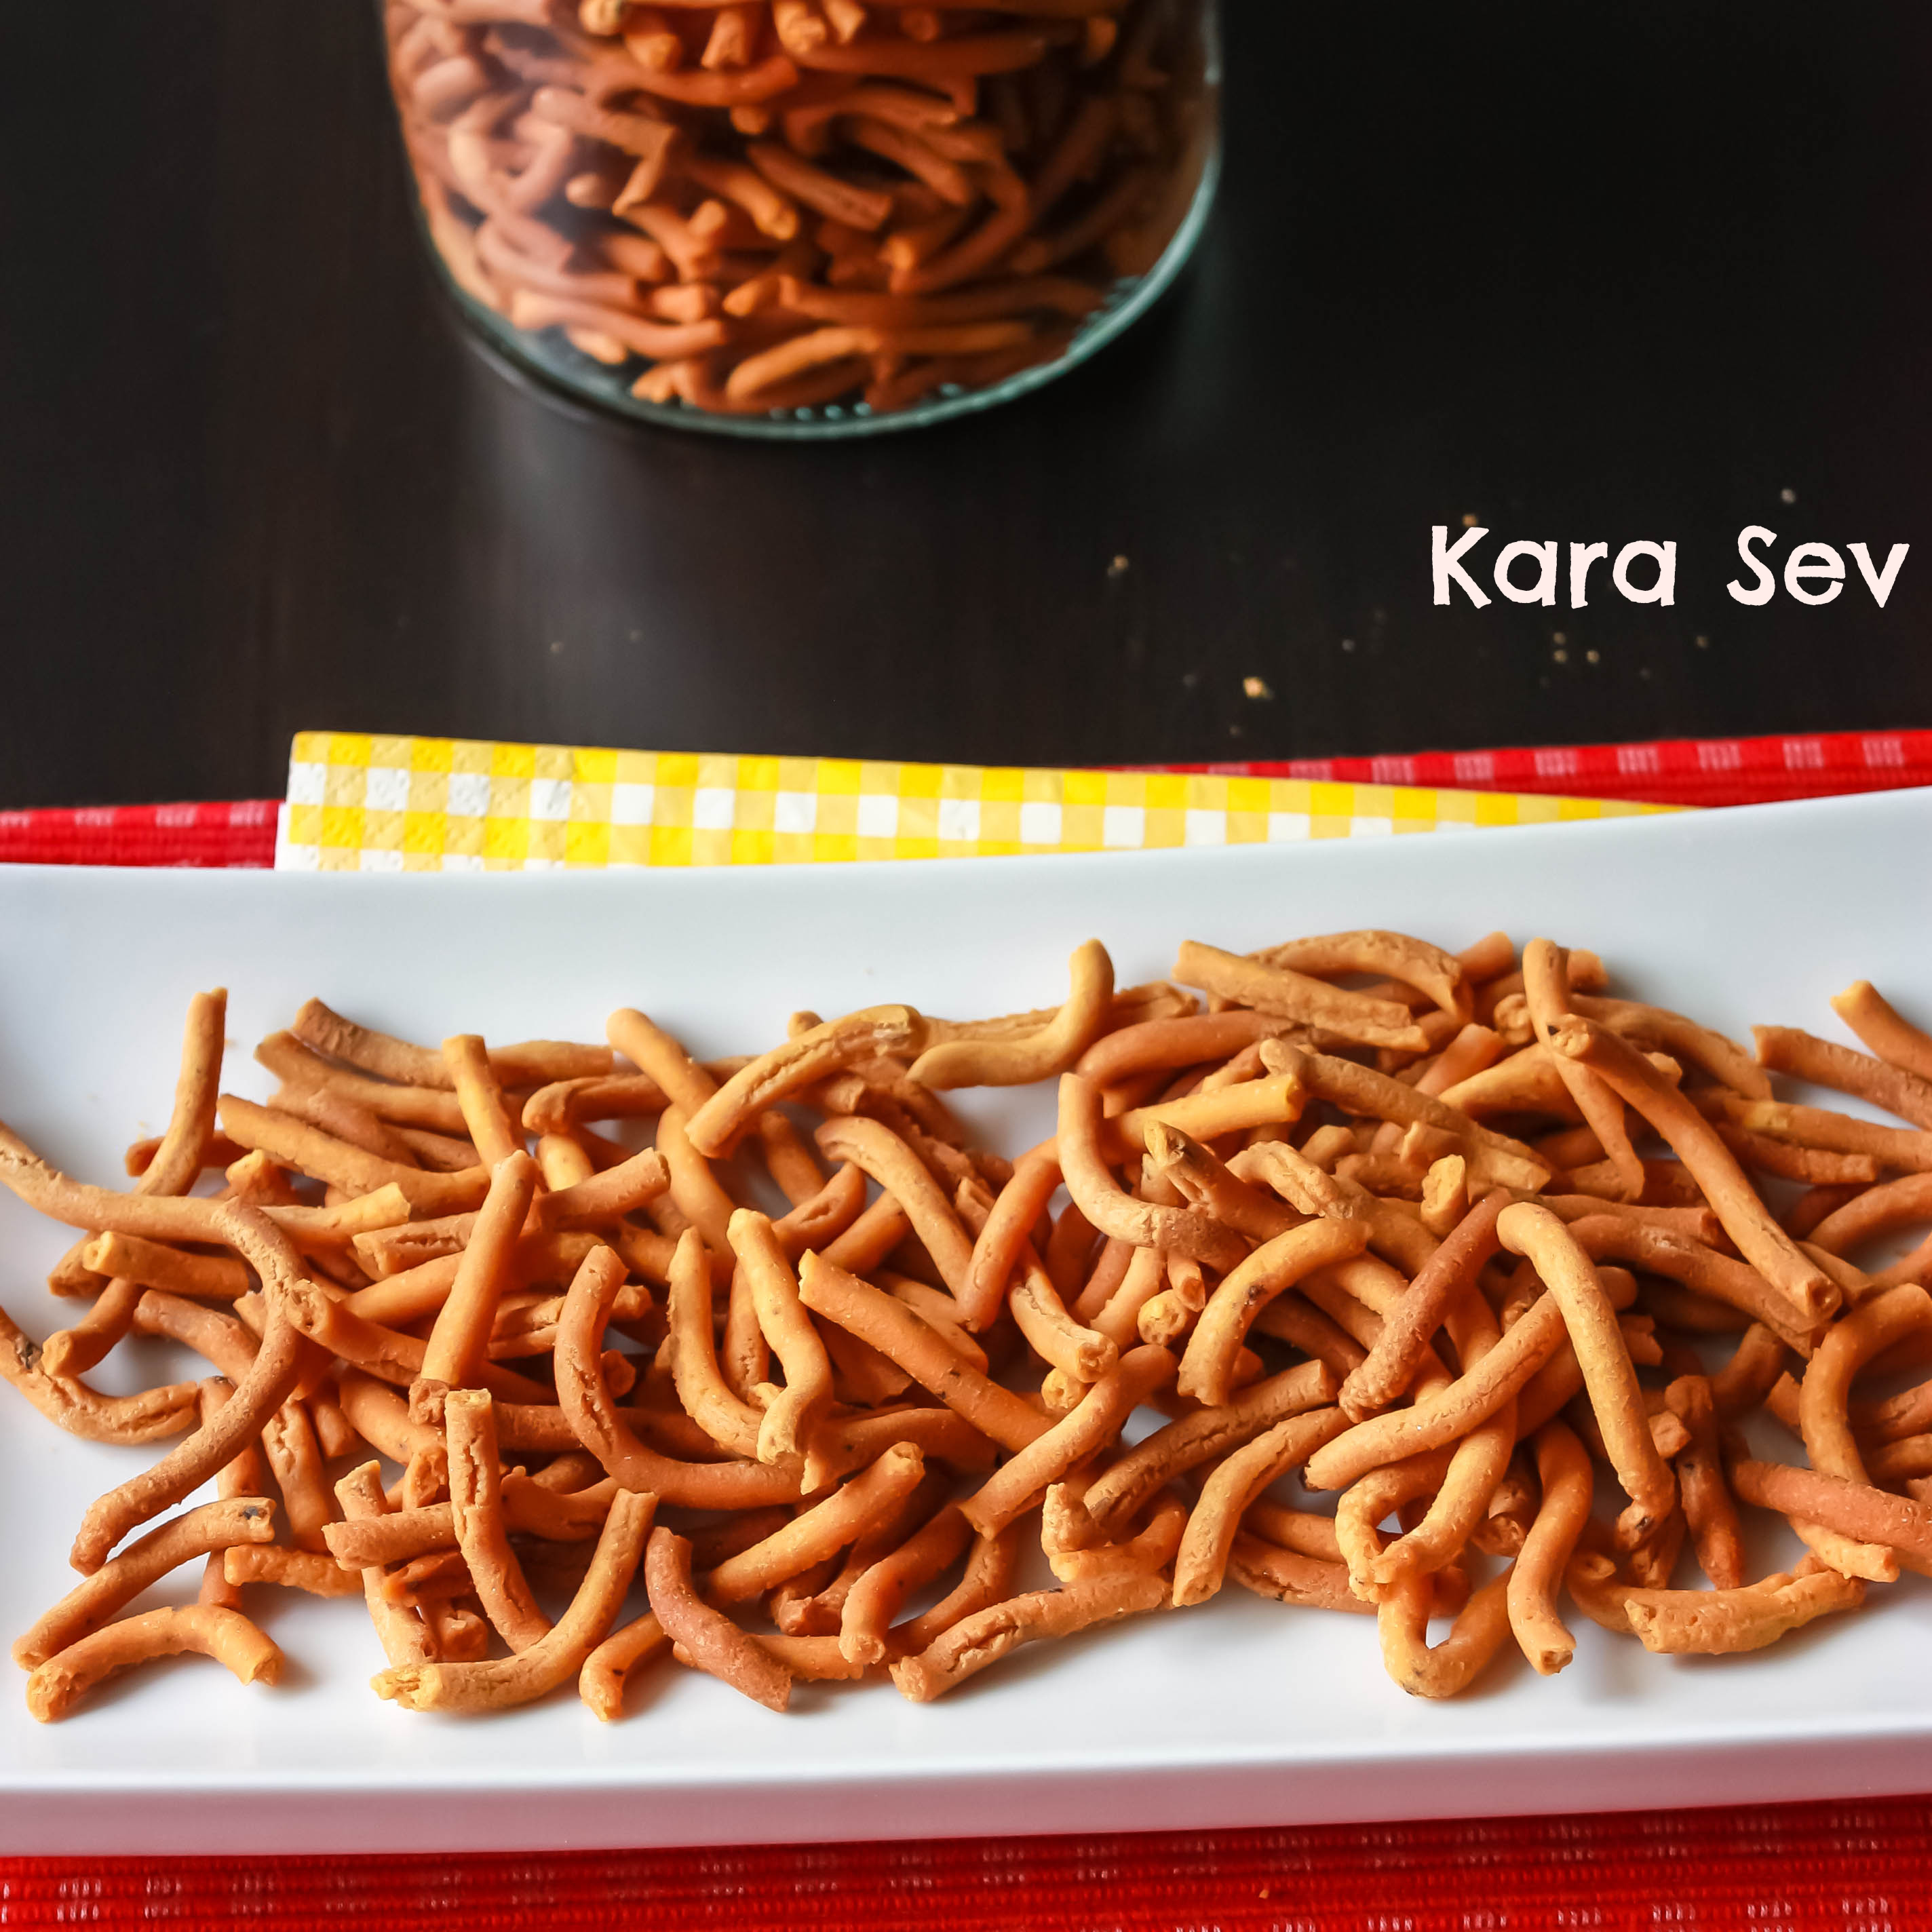
 , it is not! It tastes lots better than the frozen ones. 🙂


 ]
]

