• Home
  • Page Layouts
  • Page Templates
  • Theme Colors
    • Lifestyle Pro Blue
    • Lifestyle Pro Green
    • Lifestyle Pro Mustard
    • Lifestyle Pro Purple
    • Lifestyle Pro Red
    • Lifestyle Pro Teal

Relish The Bite

Taste of happiness

  • HOME
  • ABOUT
  • RECIPE INDEX
    • SNACKS & APPETIZERS
    • BREAKFAST
    • BAKED RECIPES
    • LUNCH & DINNER
      • RICE/BIRYANI VARIETIES
      • SIDES
        • DRY CURRY/STIR-FRY
        • SOUTH INDIAN CURRY/KUZHAMBU
        • NORTH INDIAN CURRY/DAL
        • RAITA/DIPS/CHUTNEY
        • Soups/Salads
      • PASTA PIZZA & TACOS
      • BREAD
      • CHINESE ASIAN INSPIRED
    • NON-VEG RECIPES
    • DESSERTS
    • BEVERAGES
  • SNACKS
  • BREAKFAST
  • NON-VEG RECIPES
  • RICE/BIRYANI VARIETIES
  • LAMB
  • SOUTH INDIAN CURRY/KUZHAMBU
  • VEGAN
  • NORTH INDIAN CURRY/DAL
  • DRY CURRY/STIR-FRY
  • PASTA & TACOS
  • CHINESE ASIAN INSPIRED
  • BAKED RECIPES
  • COLLECTIONS
  • BREAD
  • BEVERAGES
  • DESSERTS
  • FESTIVAL RECIPES
    • SNACKS & APPETIZERS
    • SWEETS/DESSERTS
  • RESOURCES
    • HOW TO START A BLOG
    • TITBITS
    • PRESS
  • CONTACT
You are here: Home / Archives for snacks

Chicken 65 – Restaurant Style

January 26, 2018 by Suki 11 Comments

Chicken65-4

Chicken65-4

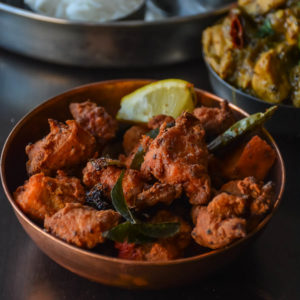
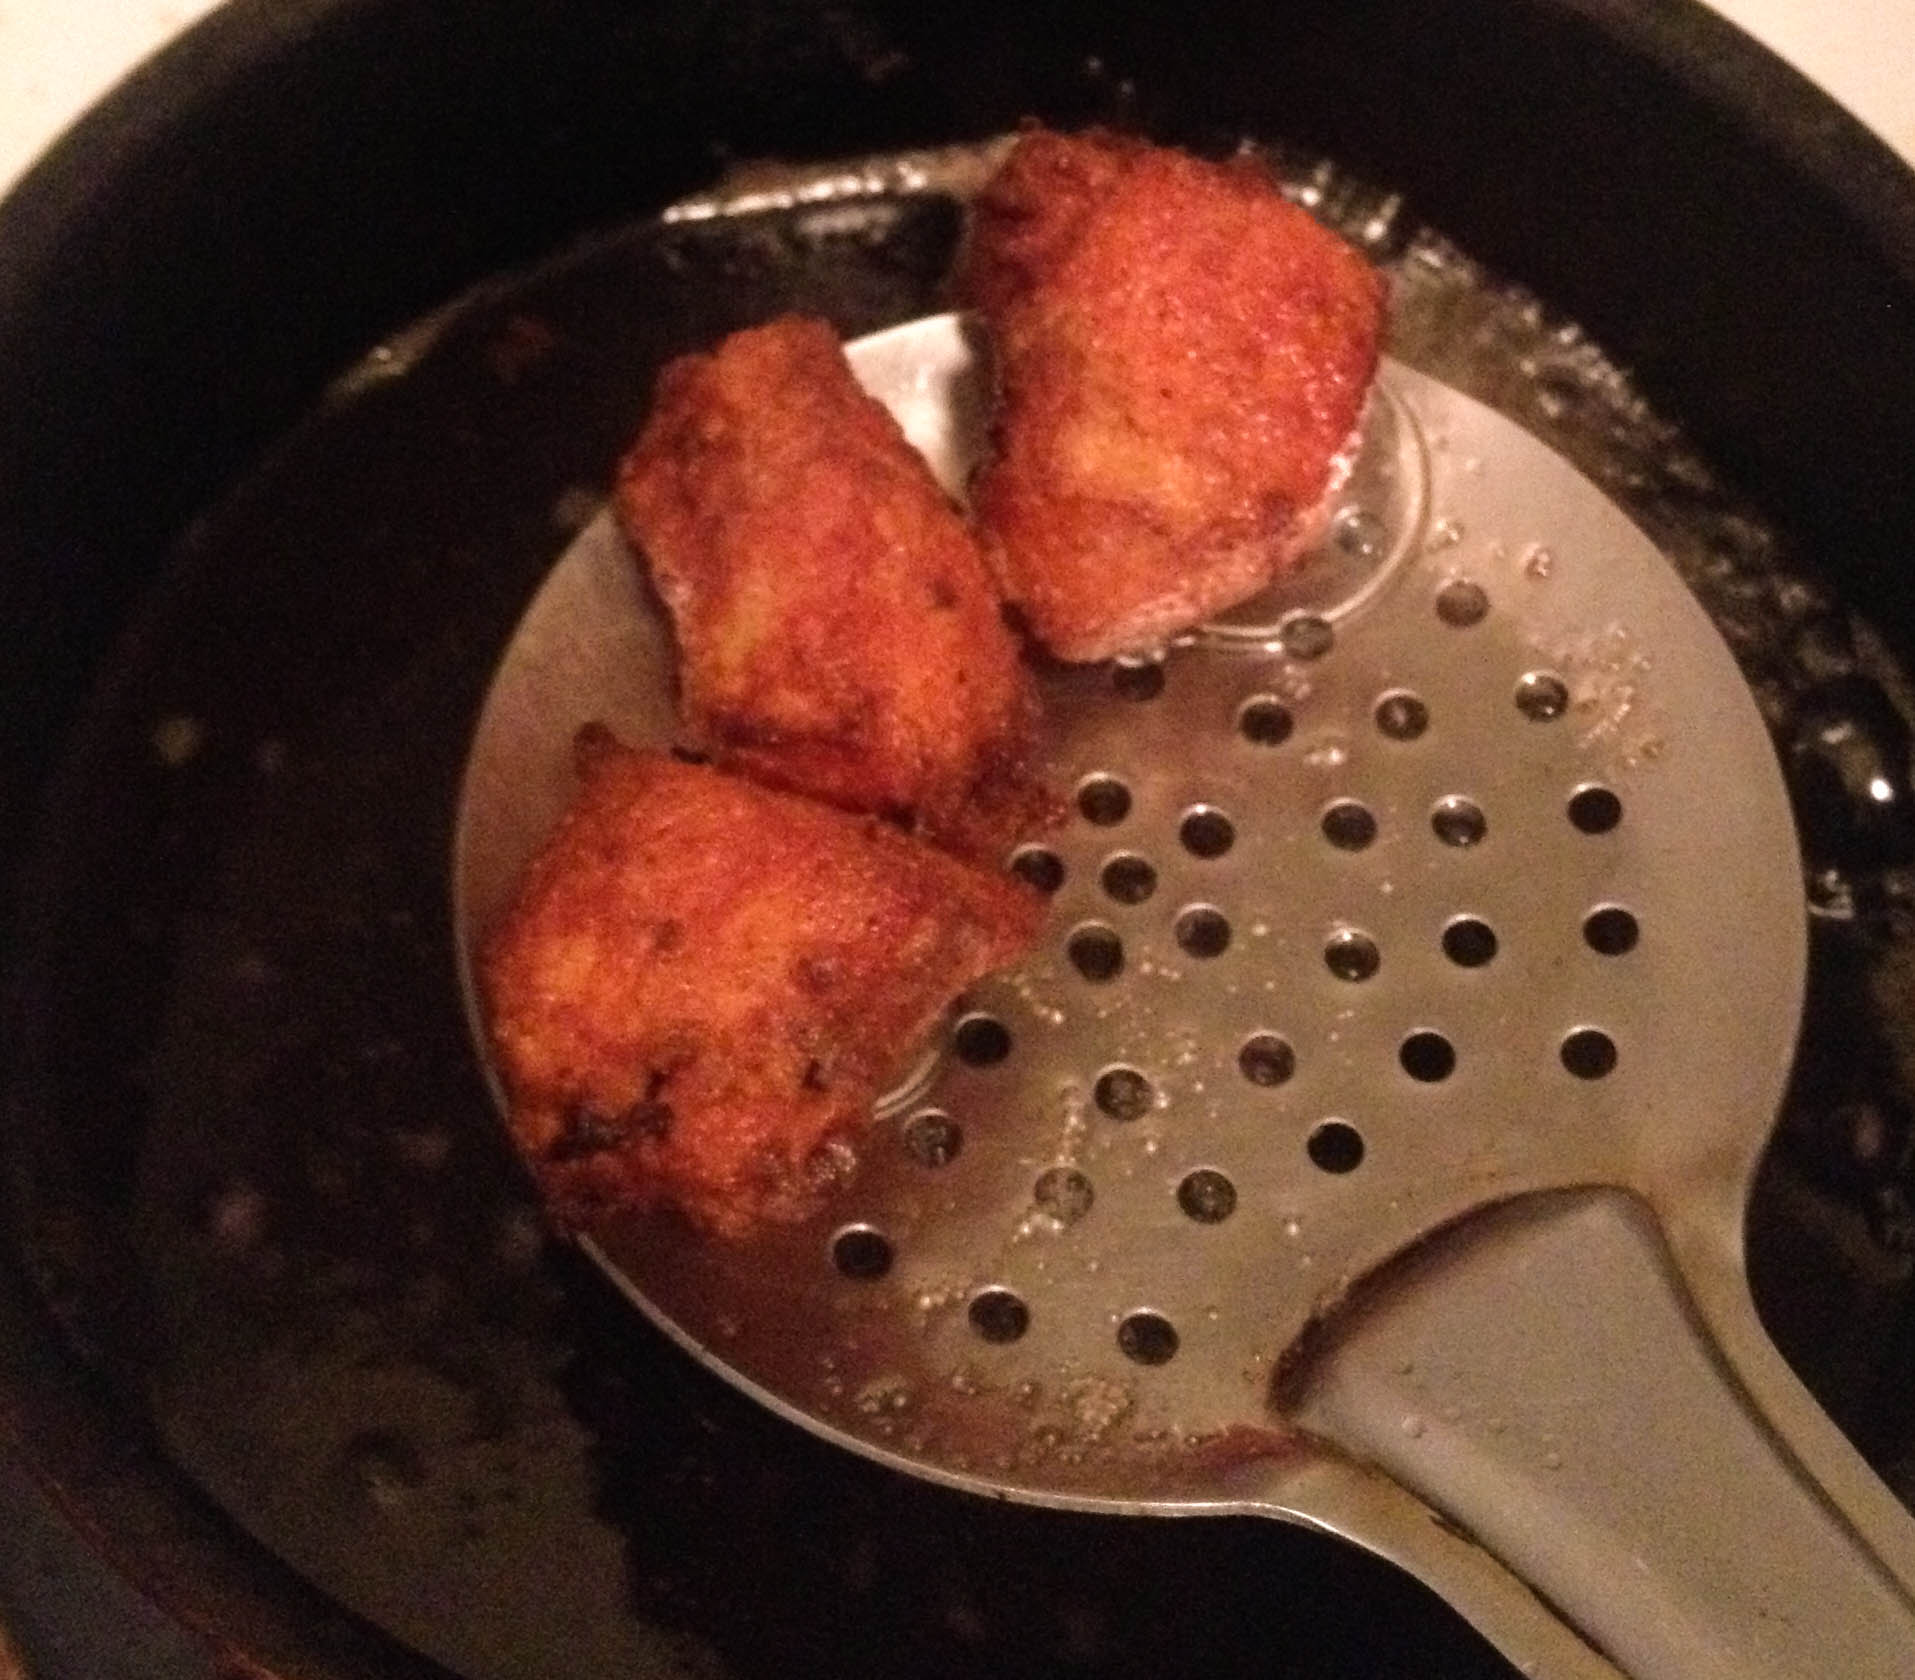
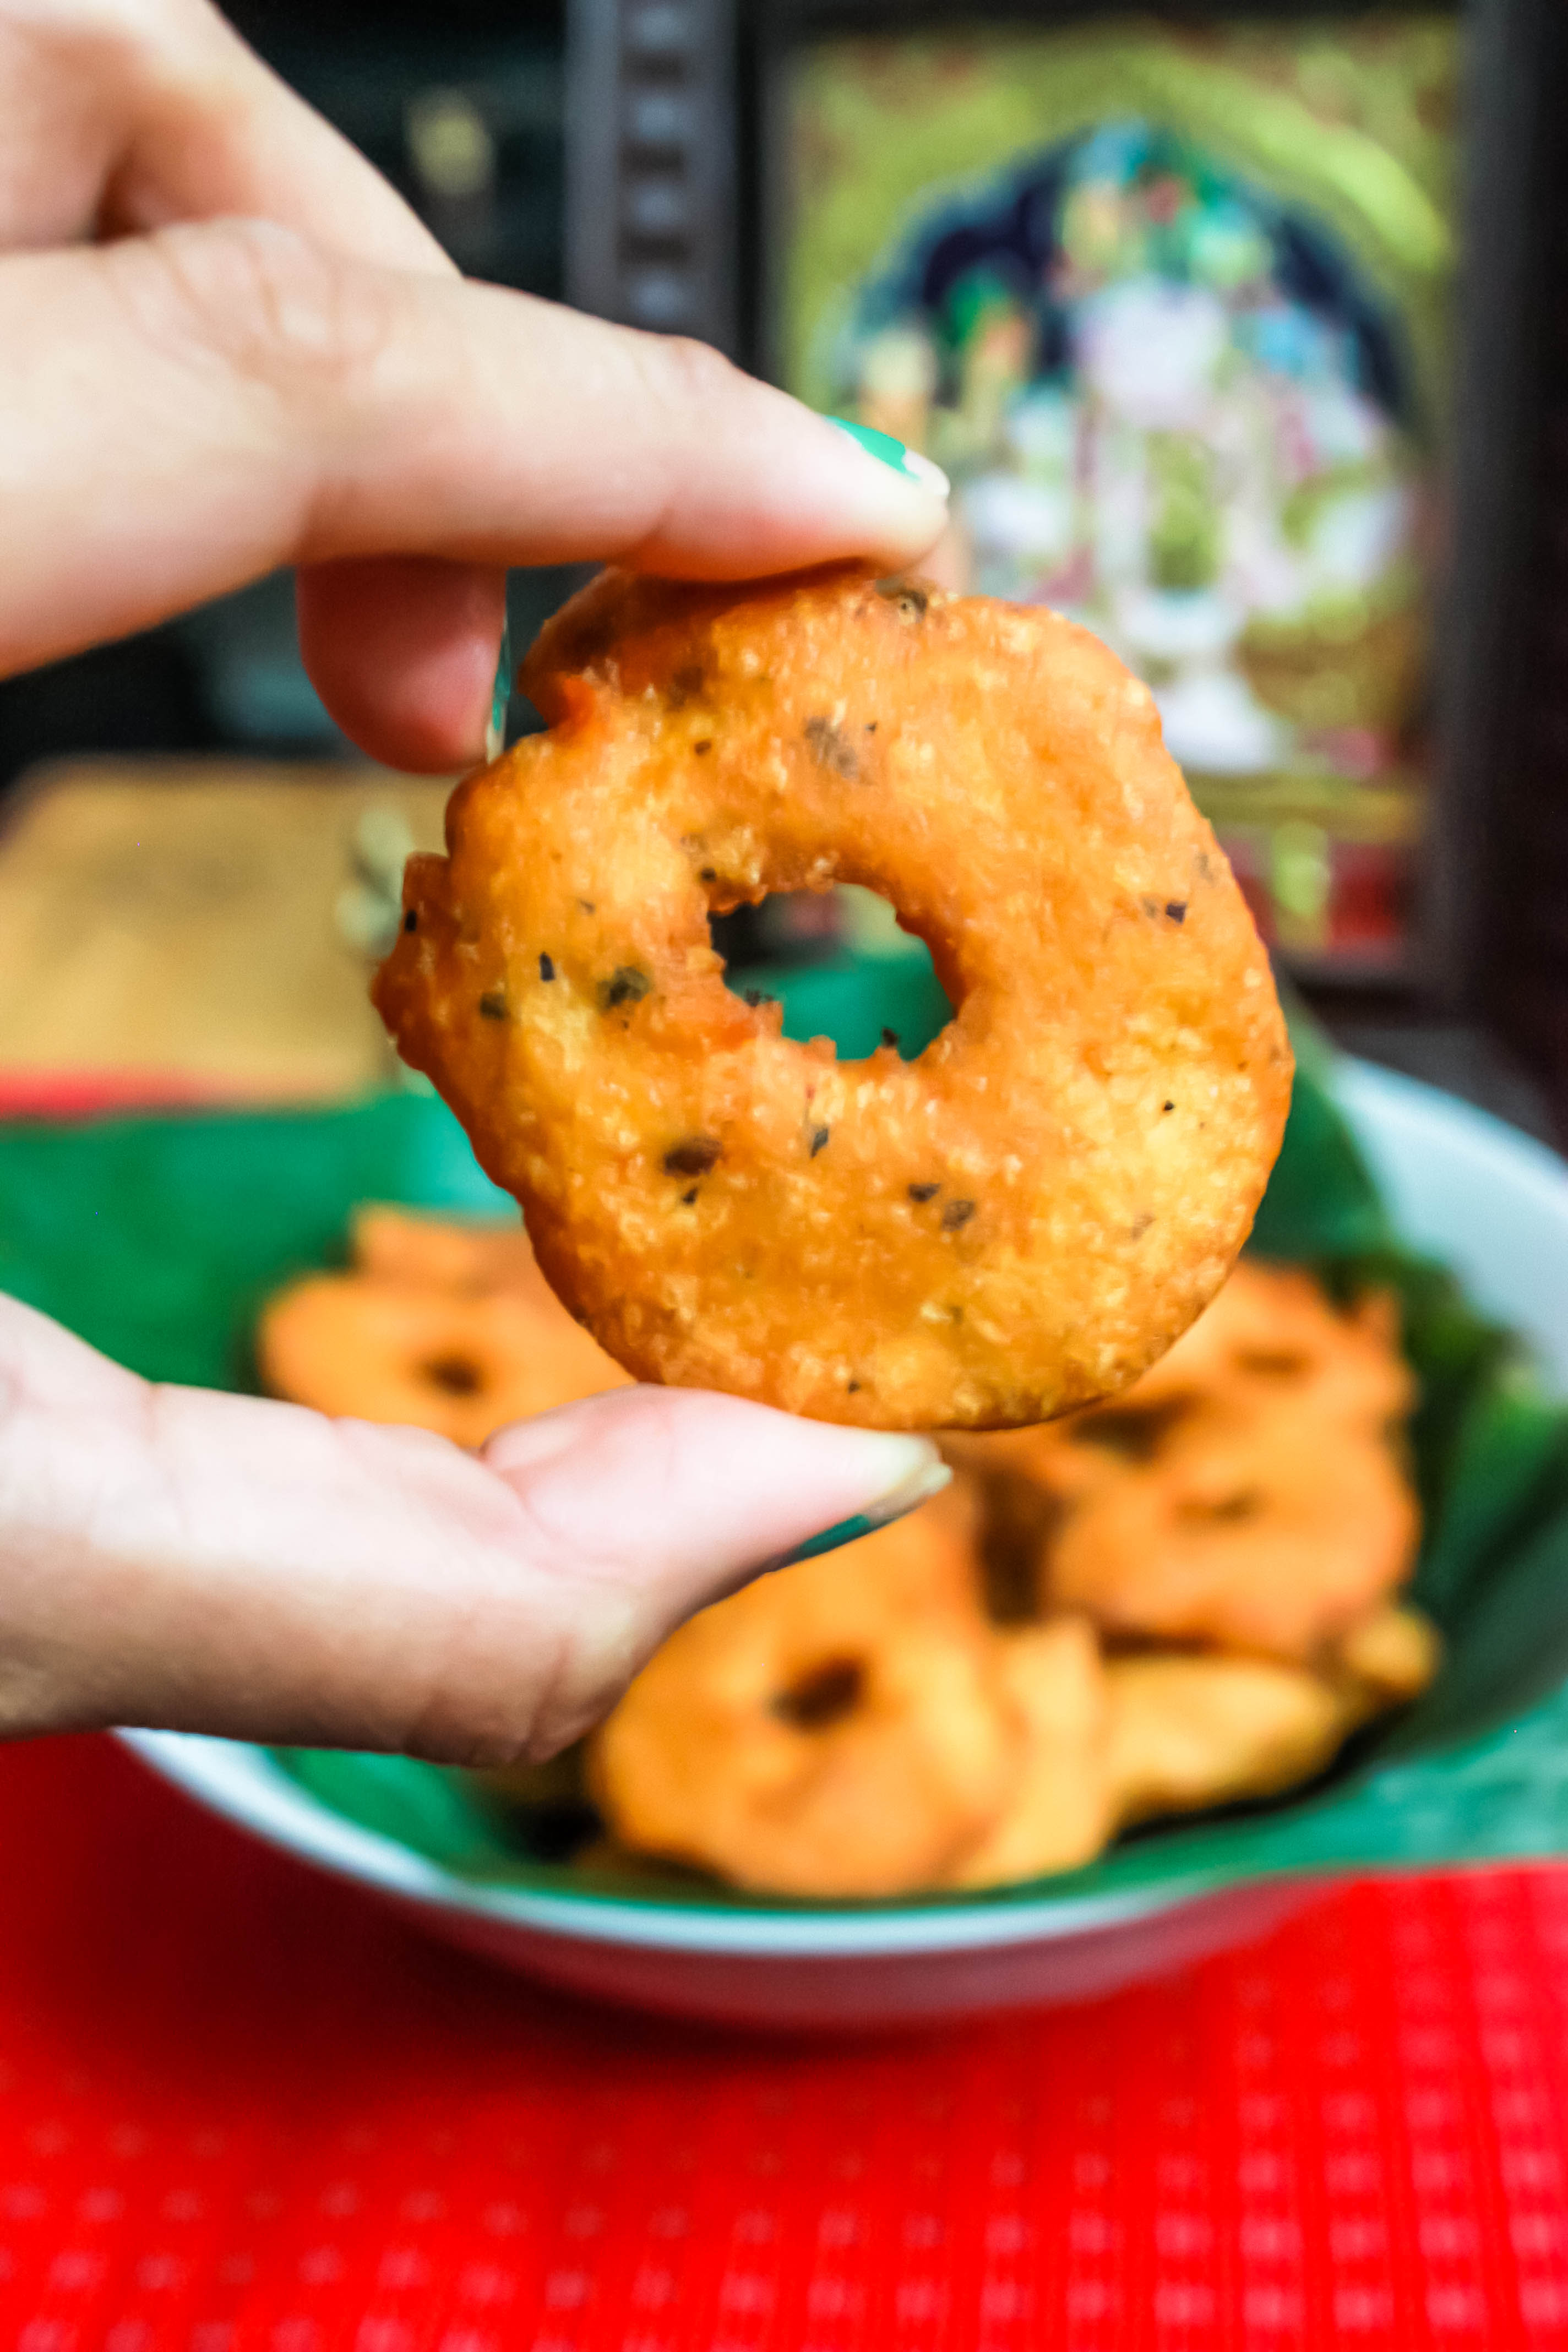
The famous deep-fried, south Indian appetizer 🙂 crispy outside and juicy inside!

Small pieces of chicken are marinated and then deep-fried till crisp.  This is one of the best things that you can do with chicken   I am sure there will be no one saying a no to this chicken recipe. This taste exactly like a restaurant one, I am sure you would love this recipe.

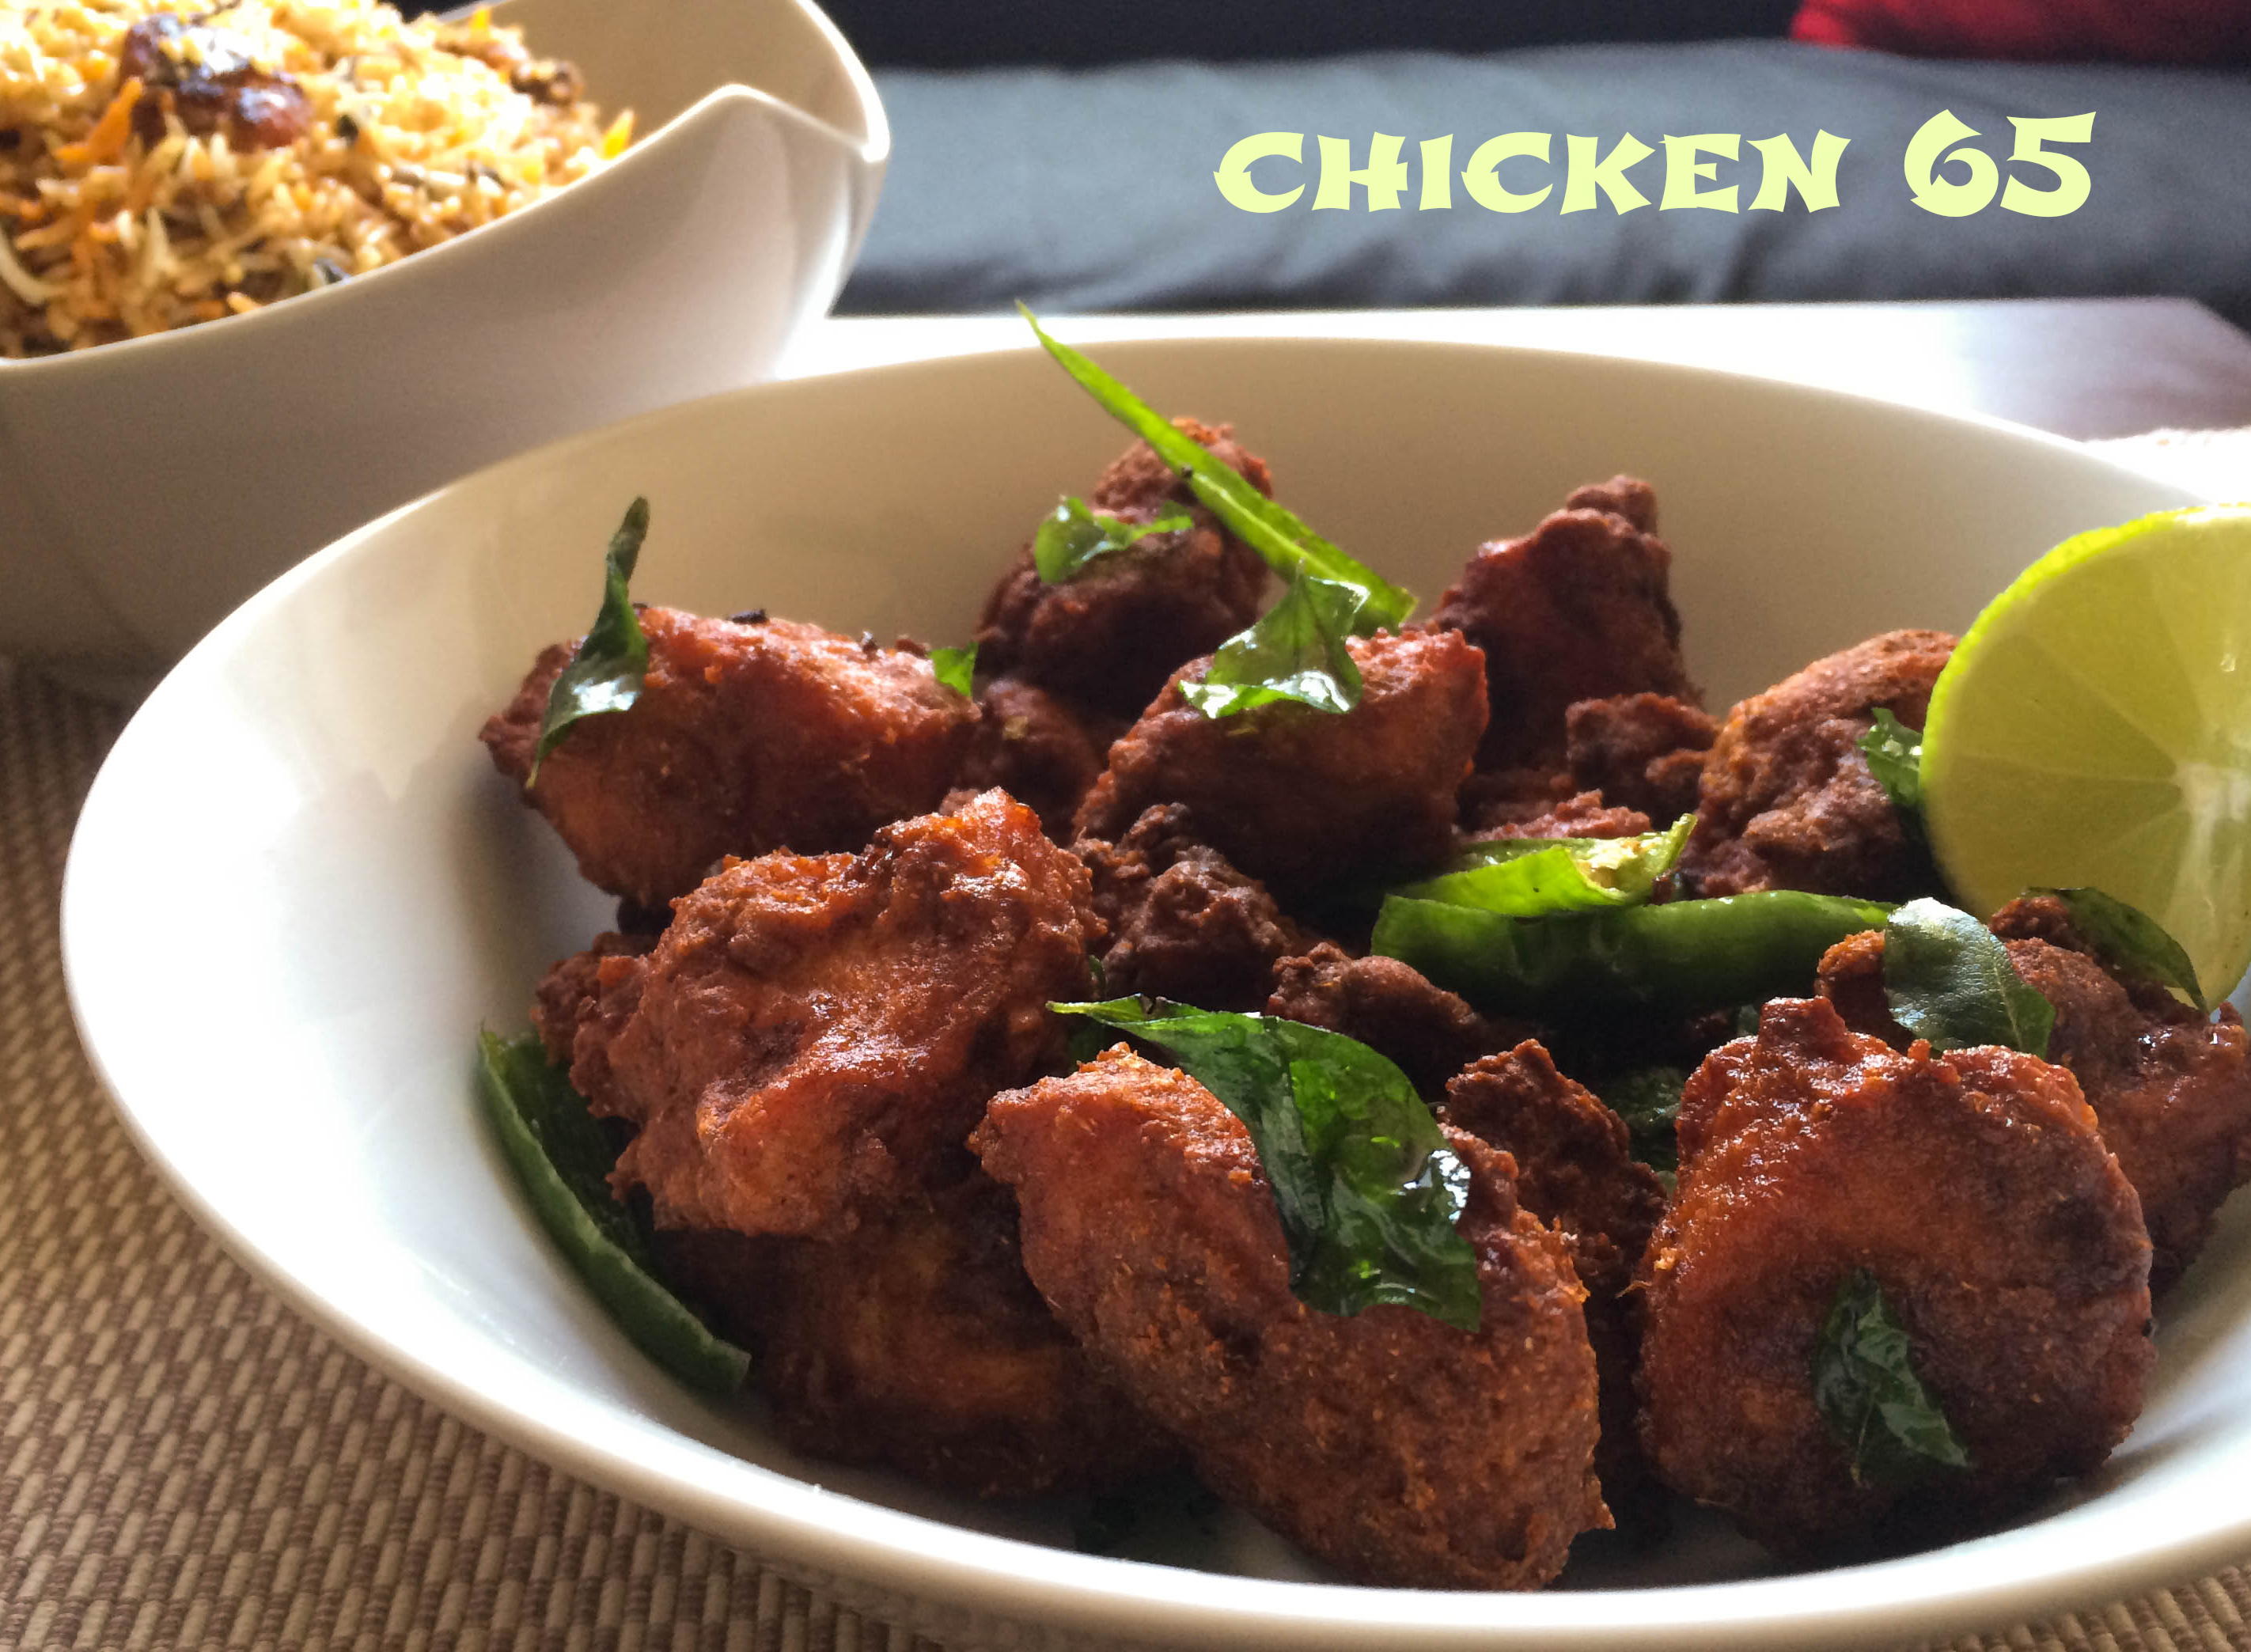
This is a recipe that I am updating the picture 🙂 from August 13, 2014! Omg! Time flies :D. It’s an old classic recipe I always use. I made this a week back with pepper chicken and biryani for my sweets. I bought a chicken breast used half for pepper chicken and used other half for chicken 65. Perfect for a single person J happy meal. I did not like my old picture 😉 much. Just trying to improve :). I had another recipe scheduled for this week 🙂 just inserted this into the schedule ;). I was so eager to post this.

Chicken 65 – I used to wonder where did this name come from and read some stories about this. There are many different stories for how the name came about but the most acceptable/logical theory seems to me is that it was introduced in 1965 by the famous Buhari hotel restaurant in Chennai. Many sources claim that “this dish originated in a military canteen in Chennai and as most of the soldiers, officers were from various parts of the country, to avoid language problems, they actually used a unique numbering system in the menu card/board and this particular dish was the 65th item on that menu. So it became chicken 65. But I used to wonder what happened to Dosa 16, lamb 36, omlette 01, why dint this dish survive. And I read one hilarious one, the chicken was cut on the 65th day! Hehe! Funny!

My other chicken favourite recipes:  Spicy chicken roast, pepper chicken curry, sweet and spicy garlic chicken drumsticks, spicy chicken egg fry noodles

This taste great as an appetizer. Also taste great with lamb biryani, shrimp biryani, chicken biryani.


5.0 from 2 reviews
Print
Chicken 65
Author: Suganya Hariharan
Recipe type: Appetizer
Cuisine: Indian
 
Ingredients

  • For the Marinade:
  • Chicken – (try to use thigh meat) but I used two chicken breast.
  • Chillis – slit into slices
  • Turmeric powder – Just a pinch
  • Cumin powder – 1 tbsp
  • Chilli powder – 1 1⁄2 tbsp
  • Coriander powder – 1 tbs
  • Red colour – just a pinch
  • Ginger garlic paste – 1 tsp (I always blend fresh garlic and ginger)
  • Chilli garlic paste – 1 tbsp
  • Salt – 2 tblsp
  • Ajinomoto – 1 Tsp
  • Pepper powder – 1 Tsp
  • Corn flour – 3 tbsp
  • Egg – 1

  • Other ingredients:
  • Oil - for deep frying
  • Curry Leaves - few
  • Green Chilies - 2 halved
  • Lemon - ½ wedge just to season
Instructions
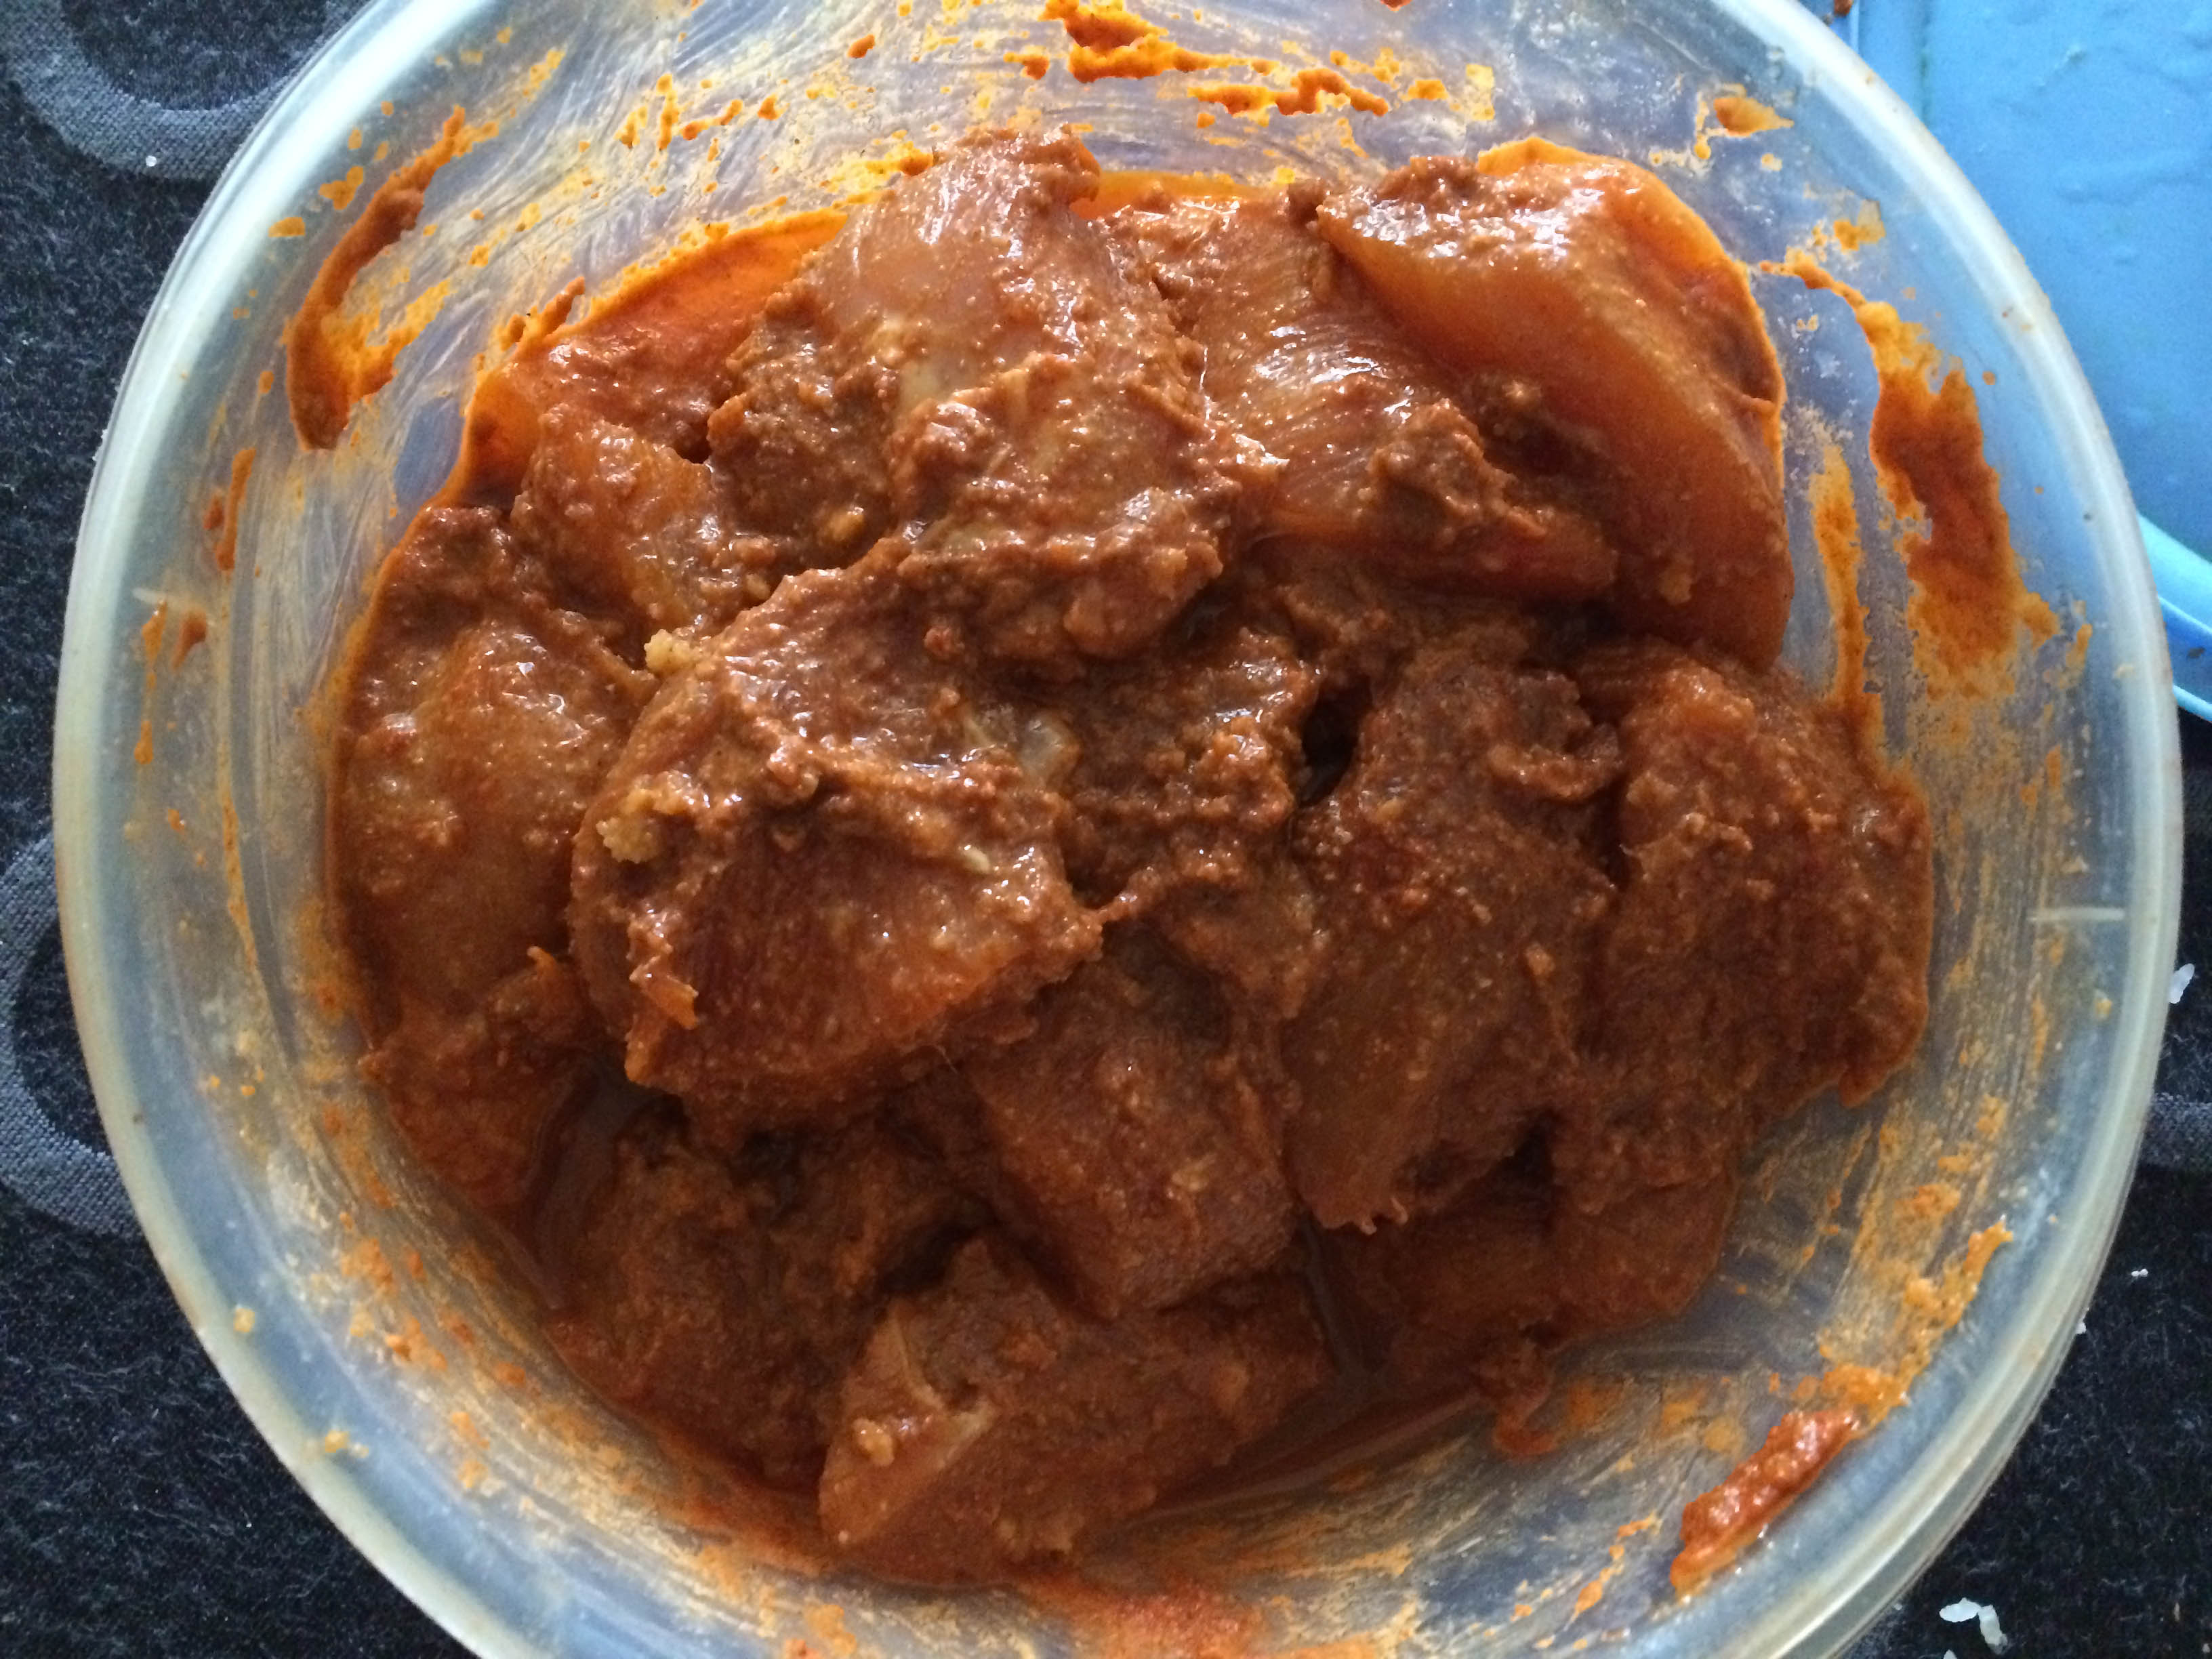
  1. Take a mixing bowl and mix all the ingredients under the “marinade” section. I usually rest it overnight. Allow it to rest at least for two-three hours.
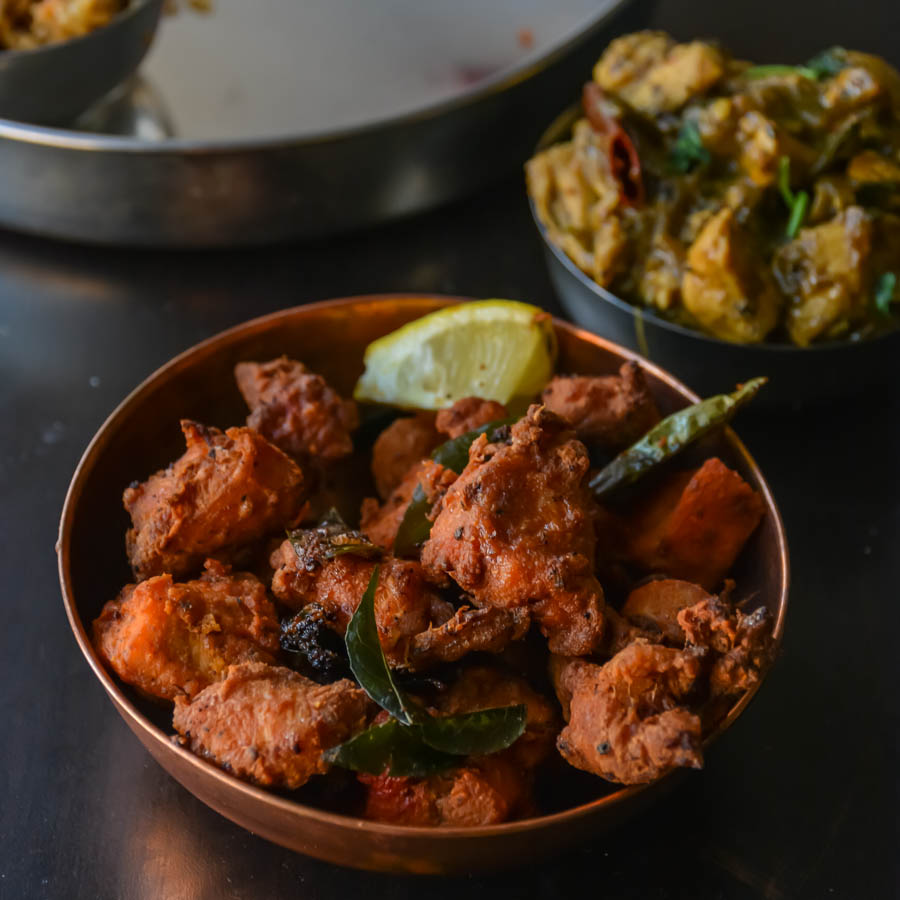
  2. Heat the oil to deep fry the chicken in medium flame. When oil becomes hot, add the chicken in batches and deep fry them till it becomes crispy and turns brown. Remove extra oil using by placing them on a kitchen tissue.
  3. In the same oil, just fry the slit green chillies and curry leaves. Place it on the top of the chicken, squeeze lemon to garnish.
Notes
1.When frying chicken,Egg makes a nice coating and seals the edges. Juices won't escape making the chicken tender.

2.The more resting time the softer the chicken 65 will be.

3.You can also temper with cumin seeds, chopped garlic,. Fry for 30 sec.

4.I used chicken breast because I did not get chicken thigh that day, try to use chicken thigh. It's juicier.

5.If you want to avoid red colour, you can use Kashmiri chilli paste and do with no colour. It tastes the same with no difference.

6.You can also onion to garnish.
Wordpress Recipe Plugin by EasyRecipe
3.2.1311

Filed Under: NON-VEG RECIPES, SNACKS & APPETIZERS Tagged With: appetizer, buhari style chicken 65, chicken, chicken 65 recipes, chicken fry 65 tikak recipes, chicken recipes, Indian, Indian chicken fry recipes, kids favorite chicken recipes, Non-vegetarian, restaurant style chicken 65, side dish, SIDES, snacks, starter

Uppu Seedai/ Crunchy Lentil Nuggets

August 18, 2014 by Suki 4 Comments

UppuSeedai_relishthebite

UppuSeedai_relishthebiteHello all hi
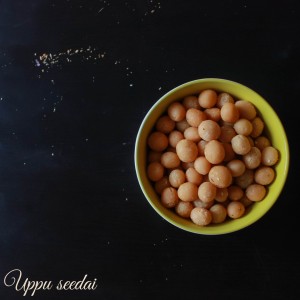
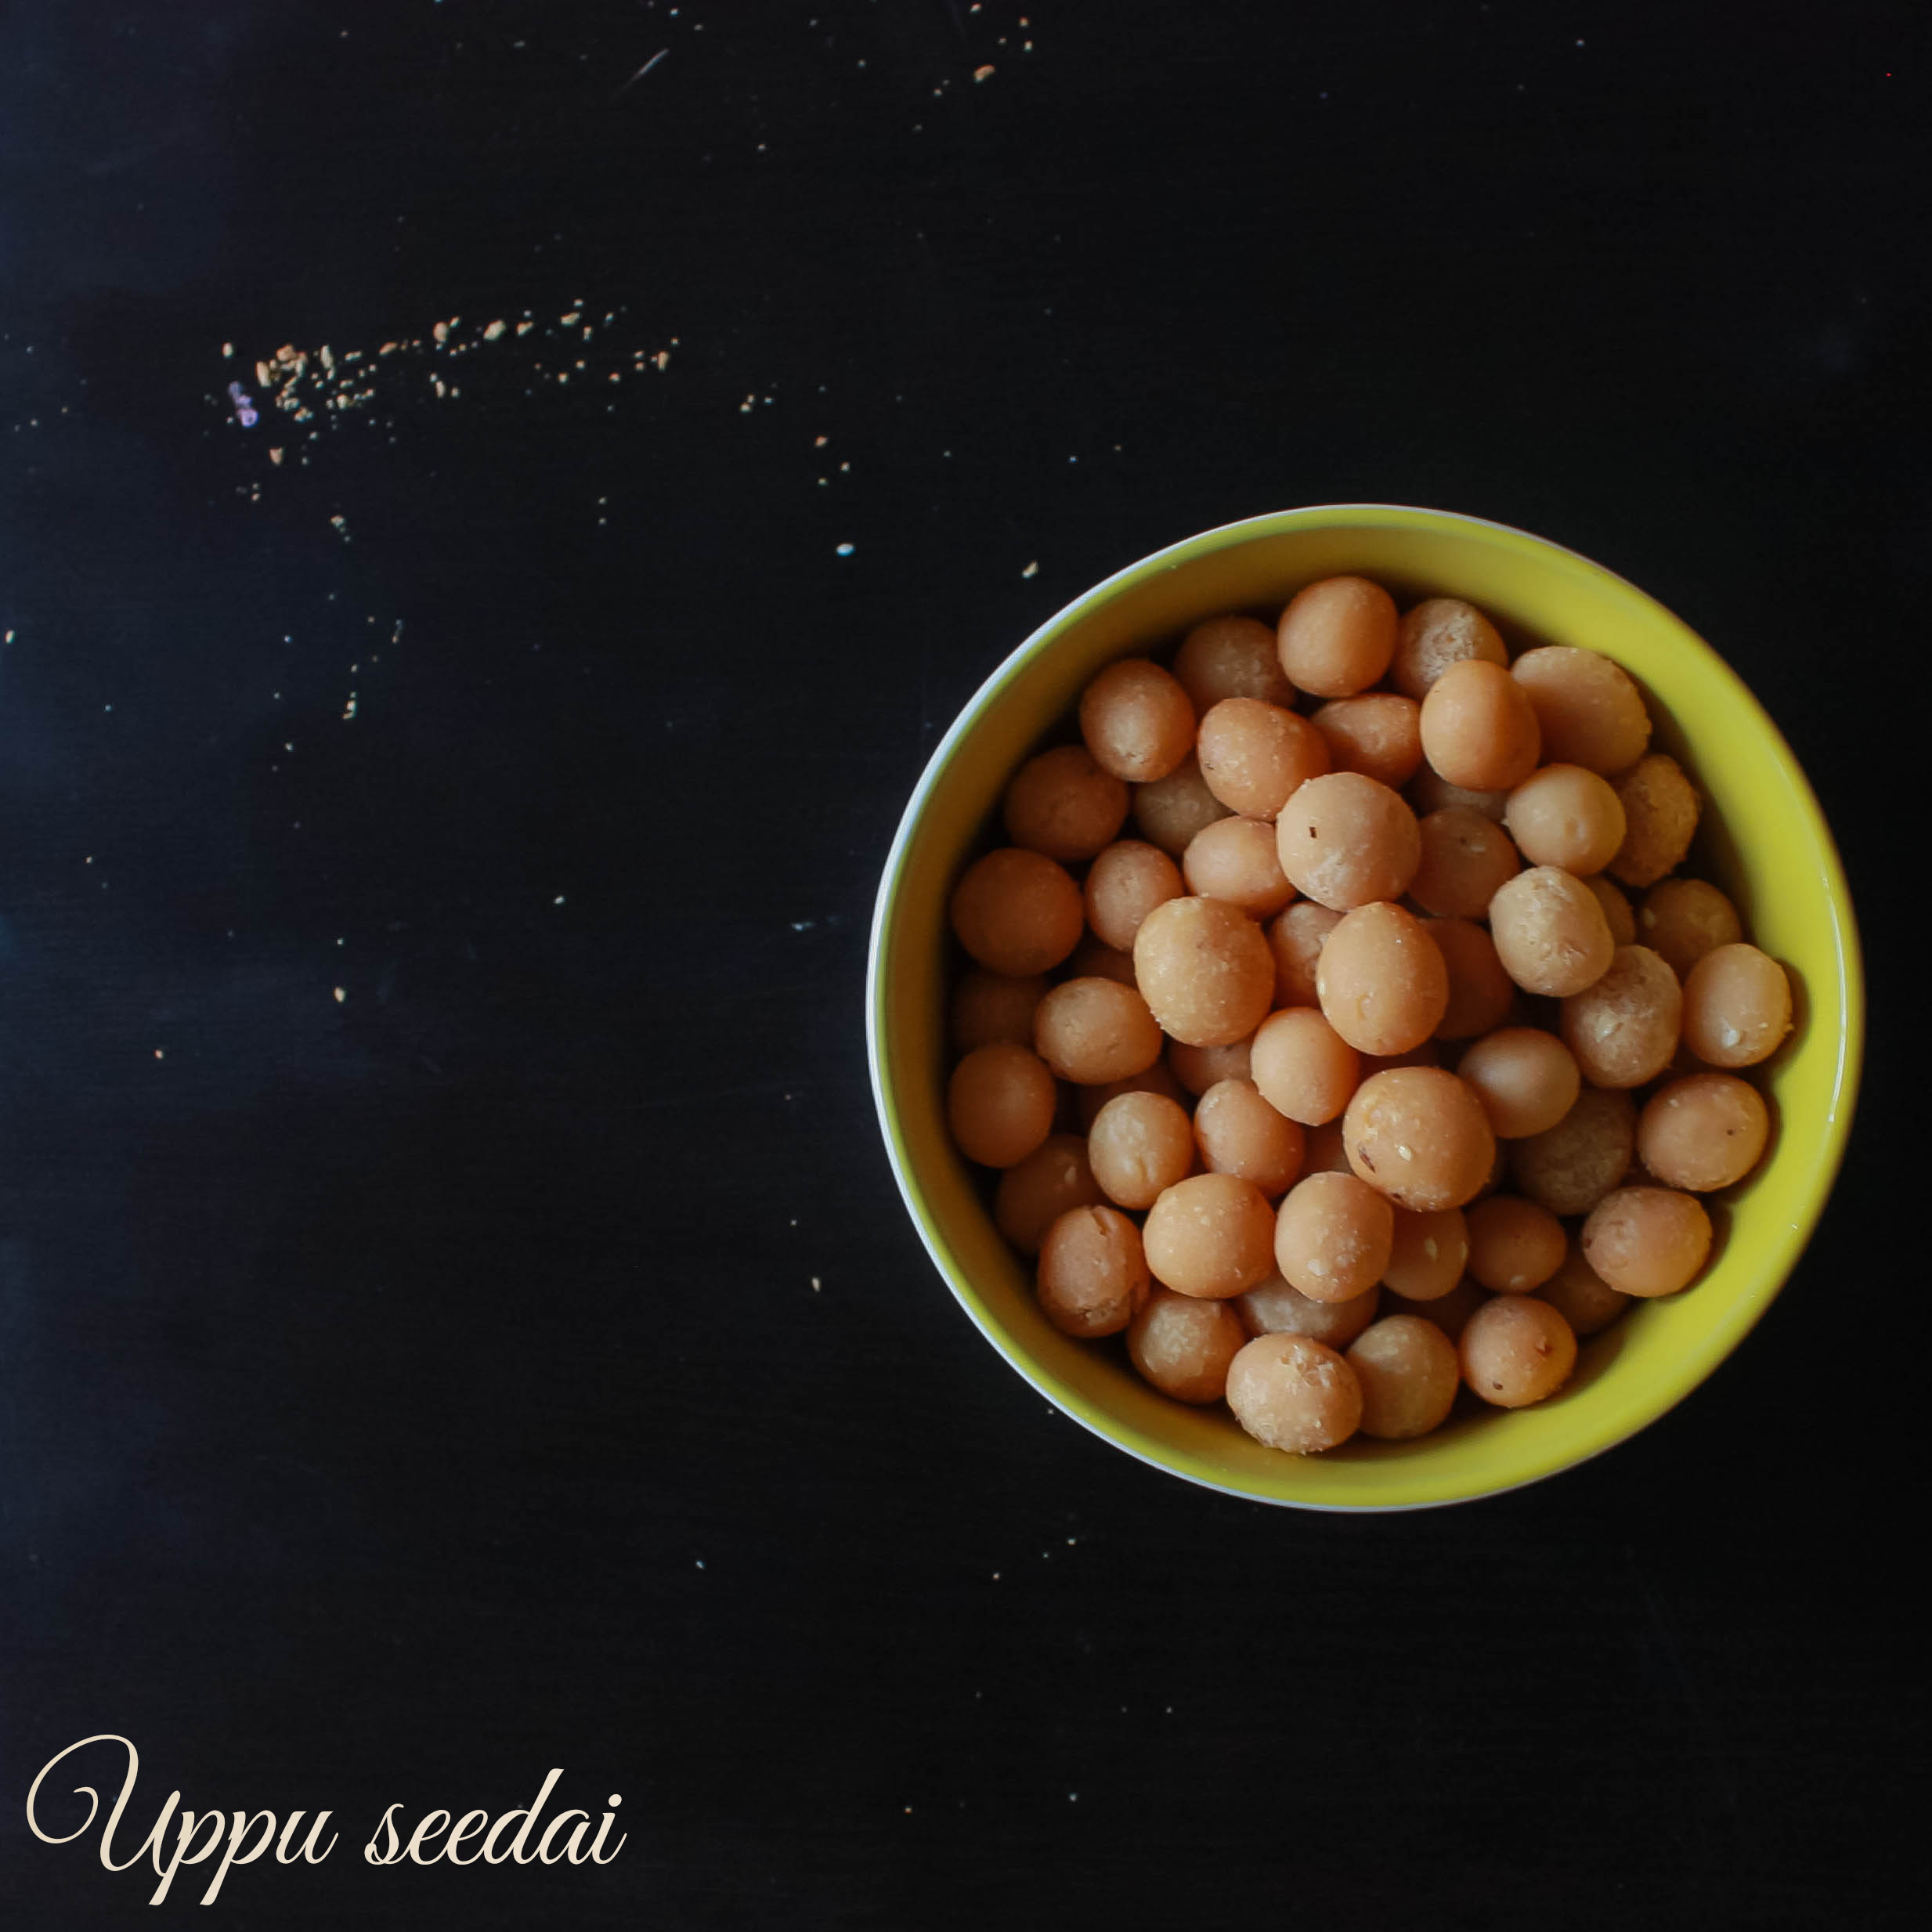
, It’s Janmashtami/ Krishna Jayanthi today. It’s the birthday of the Lord Krishna. I posted a recipe for “pepper vadai/ milagu vadai” yesterday for this occasion. But the main savory we do for this festival is the “Uppu seedai/sweet seedai”. I am going to uncover the “uppu seedai” recipe today here. I like savory more than sweet after coming to Canada. Wherever I go here, I see ample of sweet based dishes and get very few savory ones. So my choice was this and I did aval payasam as a sweet which was very easy to make. It took me very few minutes. Will post it sometime soon.

I was wondering why this recipe is being the main savory for this god. There should be a reason. Let me know if somebody gets to know it.notsure

Uppuseedai_Relishthebite

I always wanted to make seedai, but my mom used to warn me that it would burst easily. So I was staying away from it always. This time, may be I thought I was old enough to try it. When I told my mom today about making this recipe, my mom was watching me in facetime when I was doing it, and she was waiting for me till i shout “success!” after taking the first batch from the stove. She is so protective whatever age I am in. “MOM’s” are always the best. heart
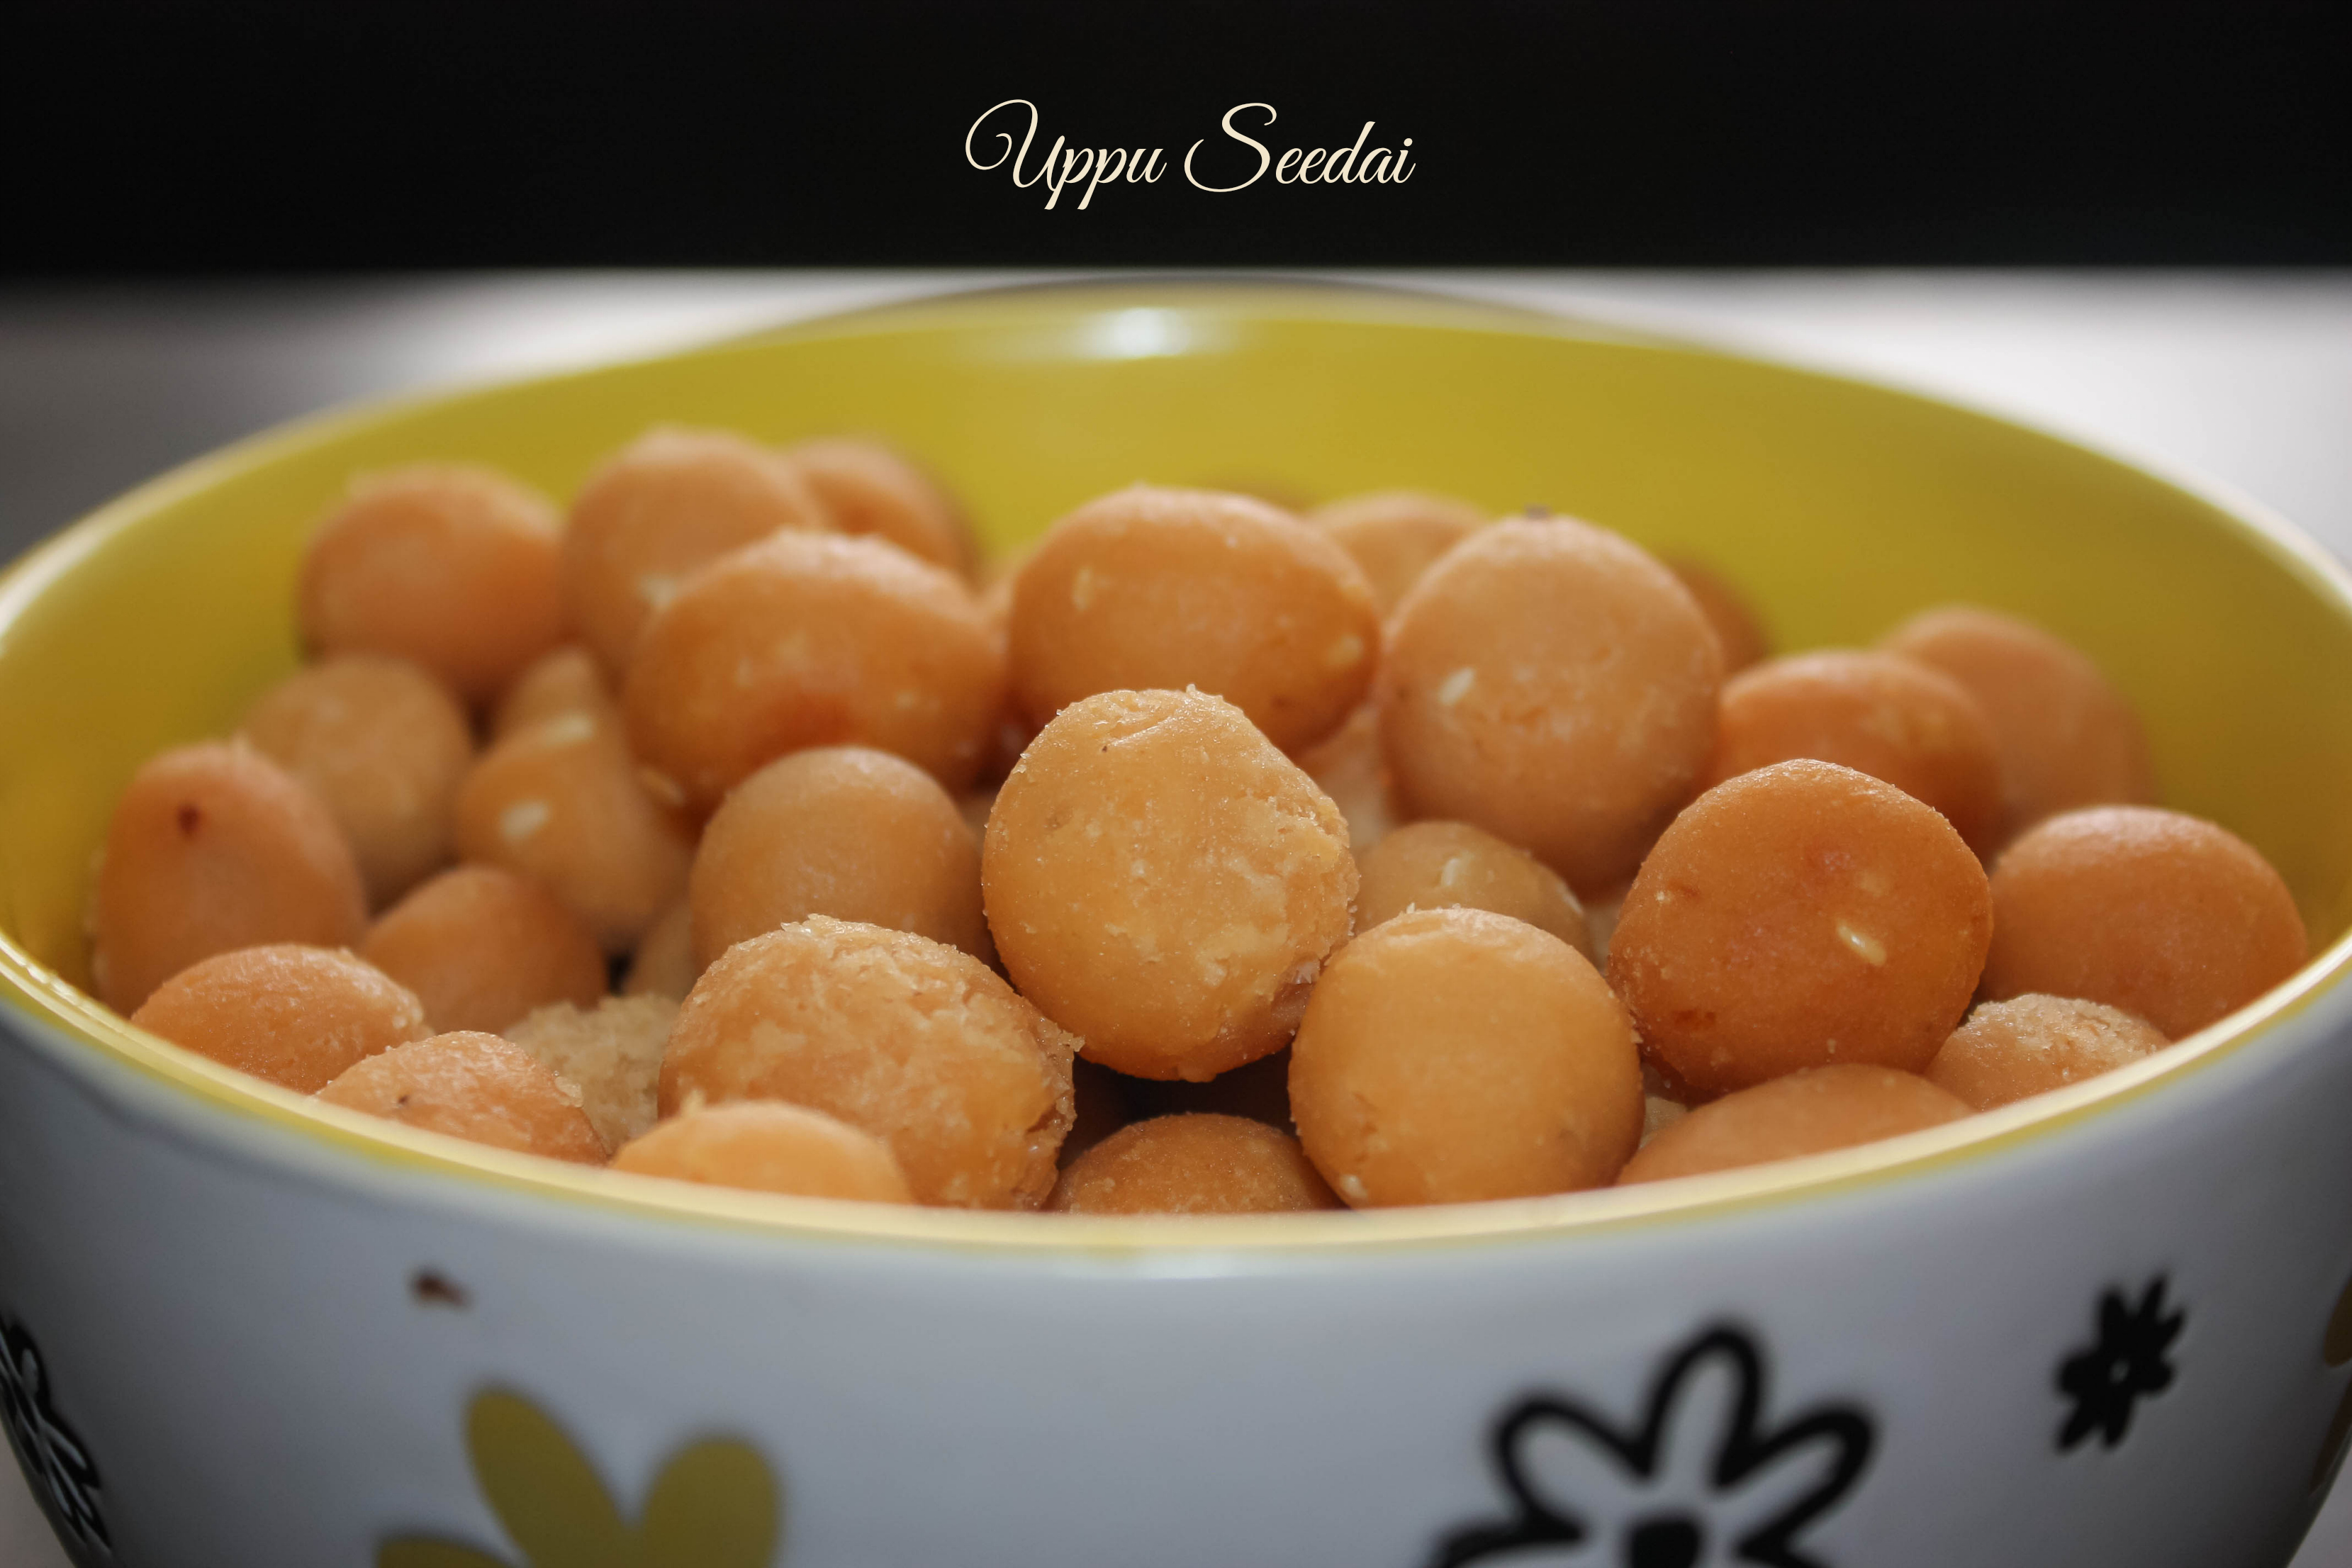
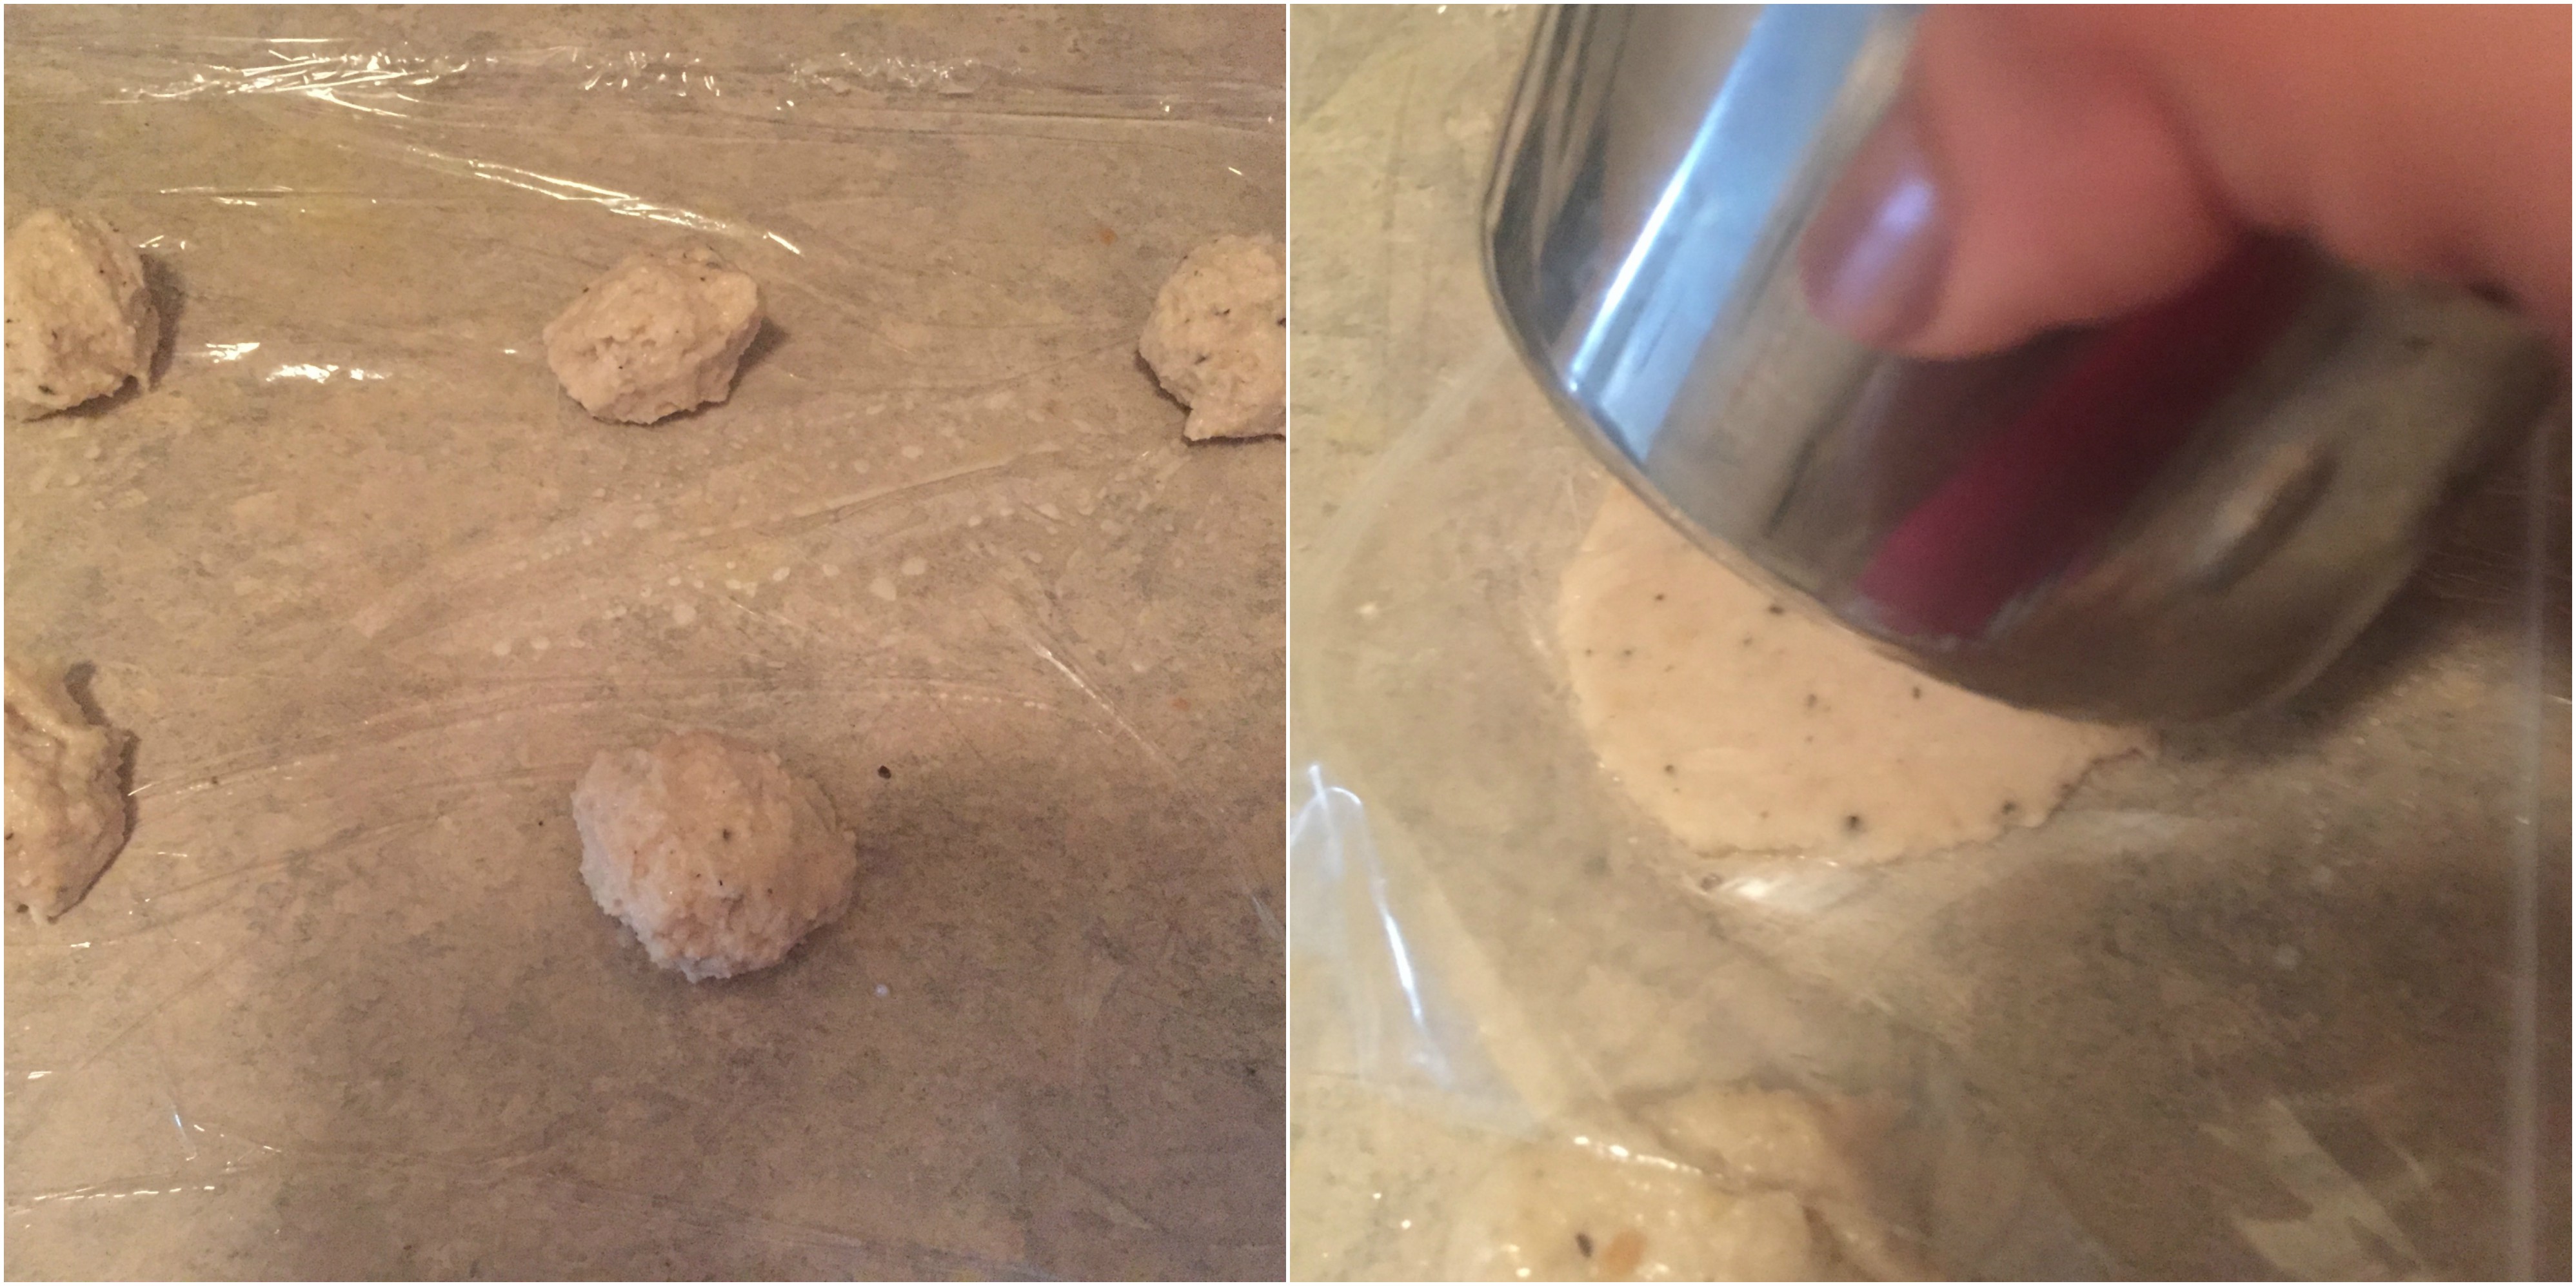
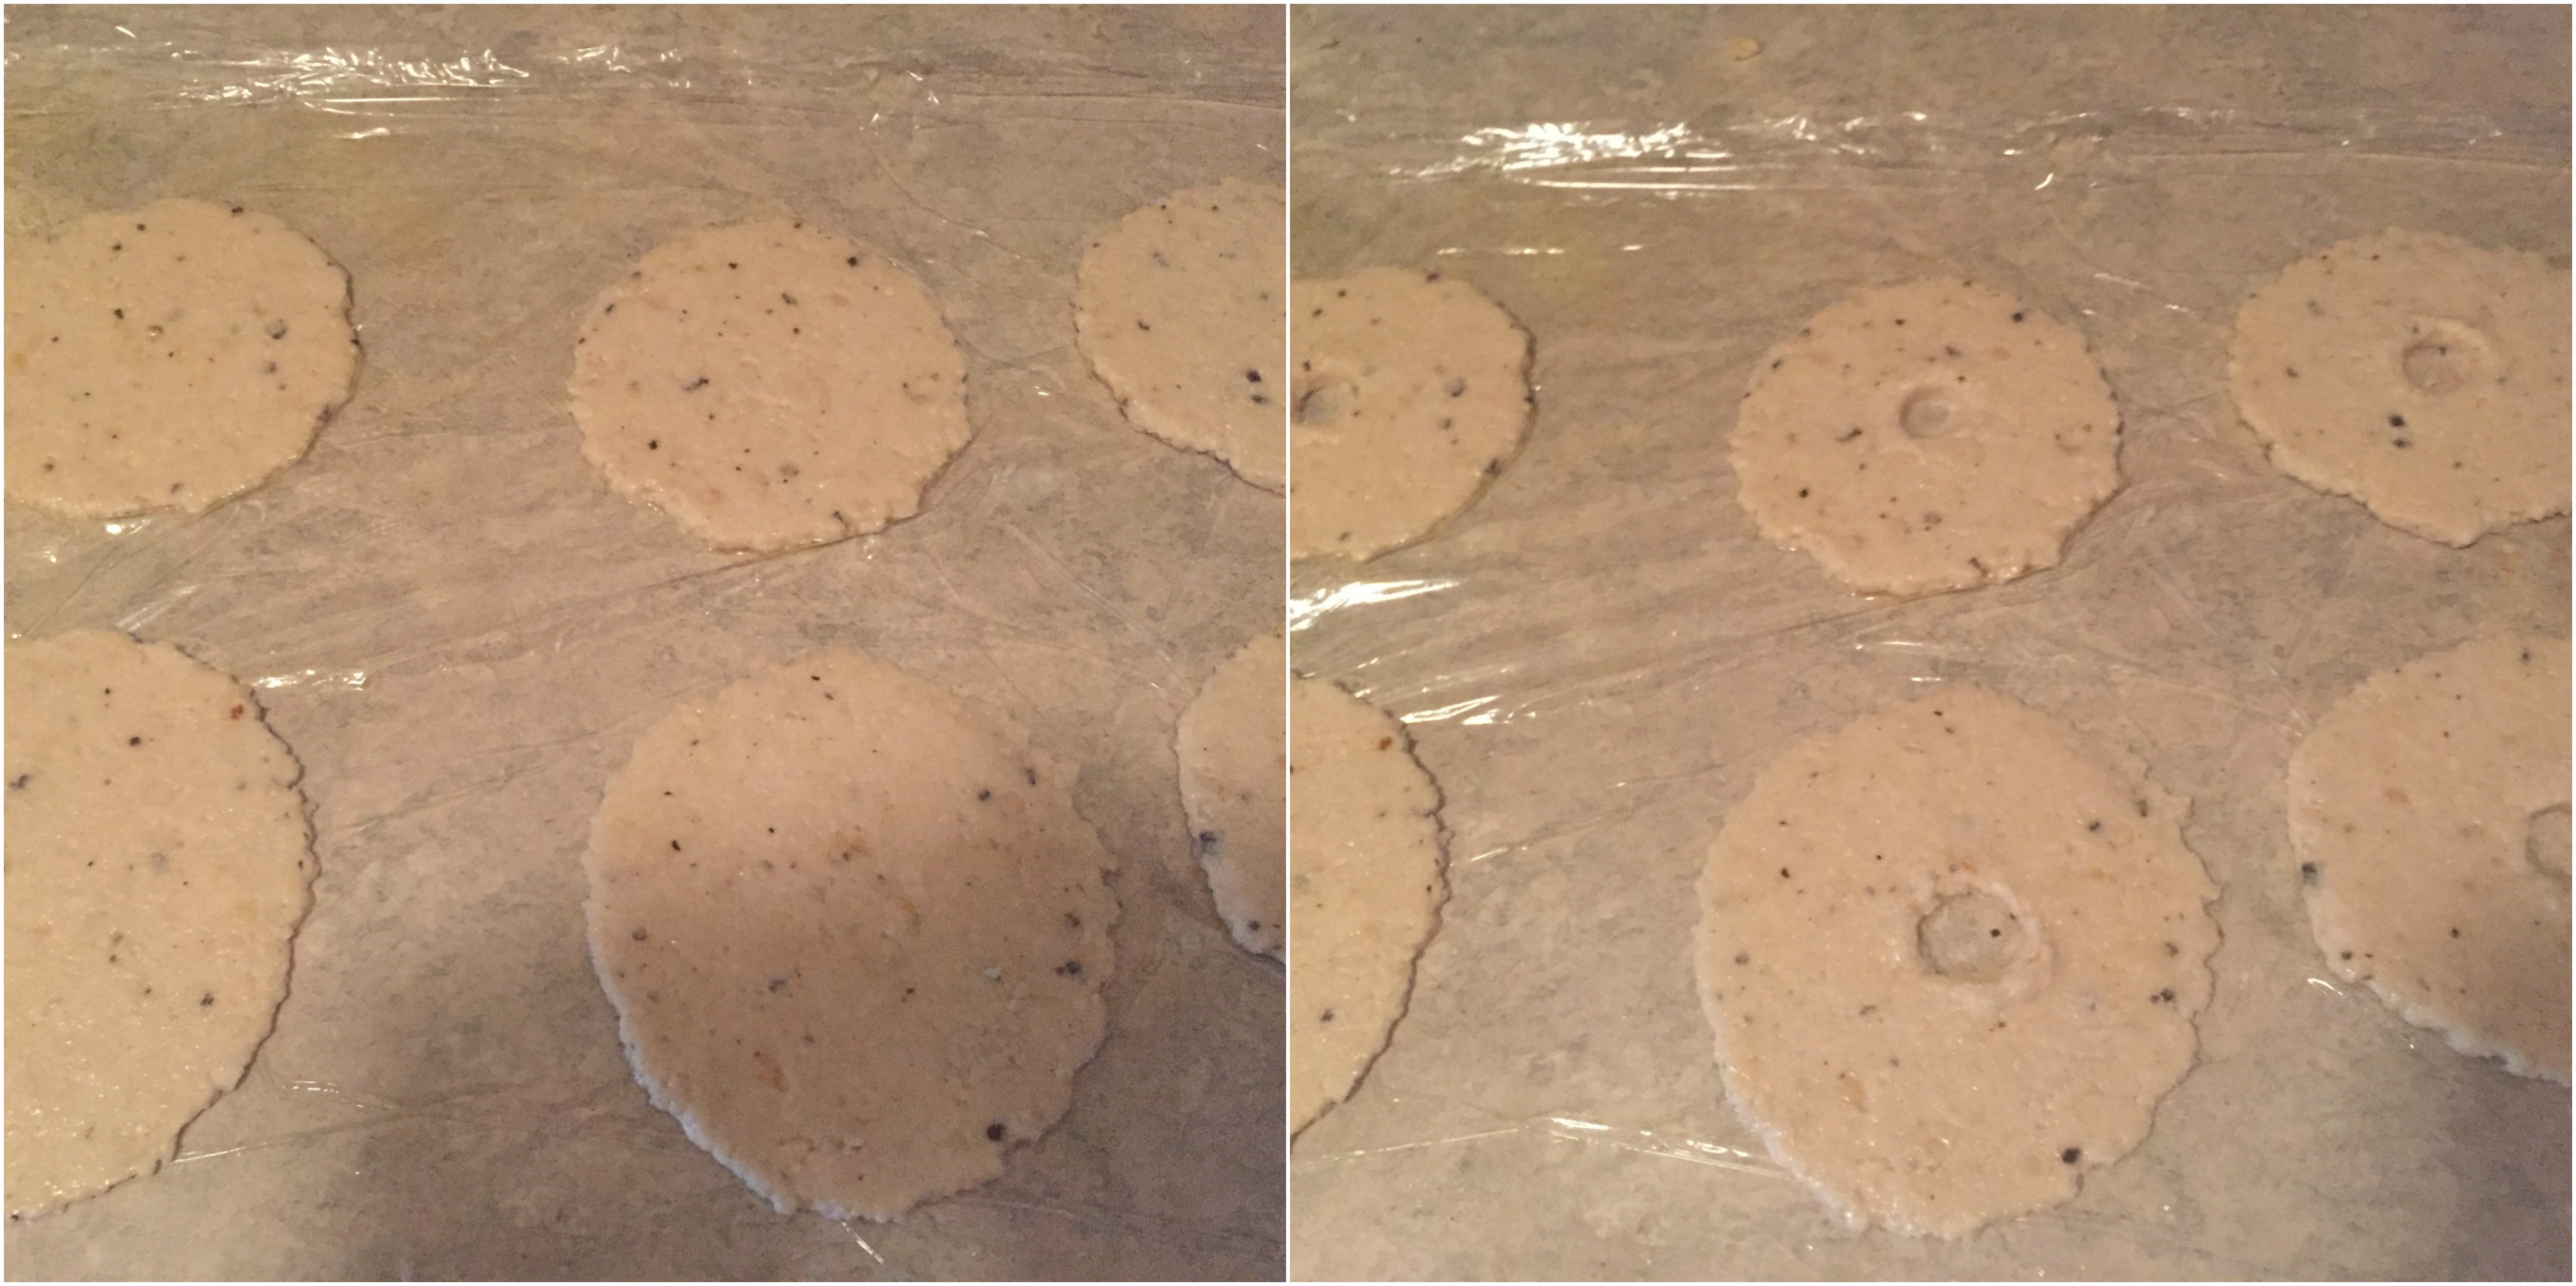
I have seen my dad and close one’s throw this “Seedai” on the air and catch them with their mouth to make it more interesting. When I put the first batch in the oil, I stayed away from the kitchen just to make sure that it does not burst and was peeping into the kitchen peek
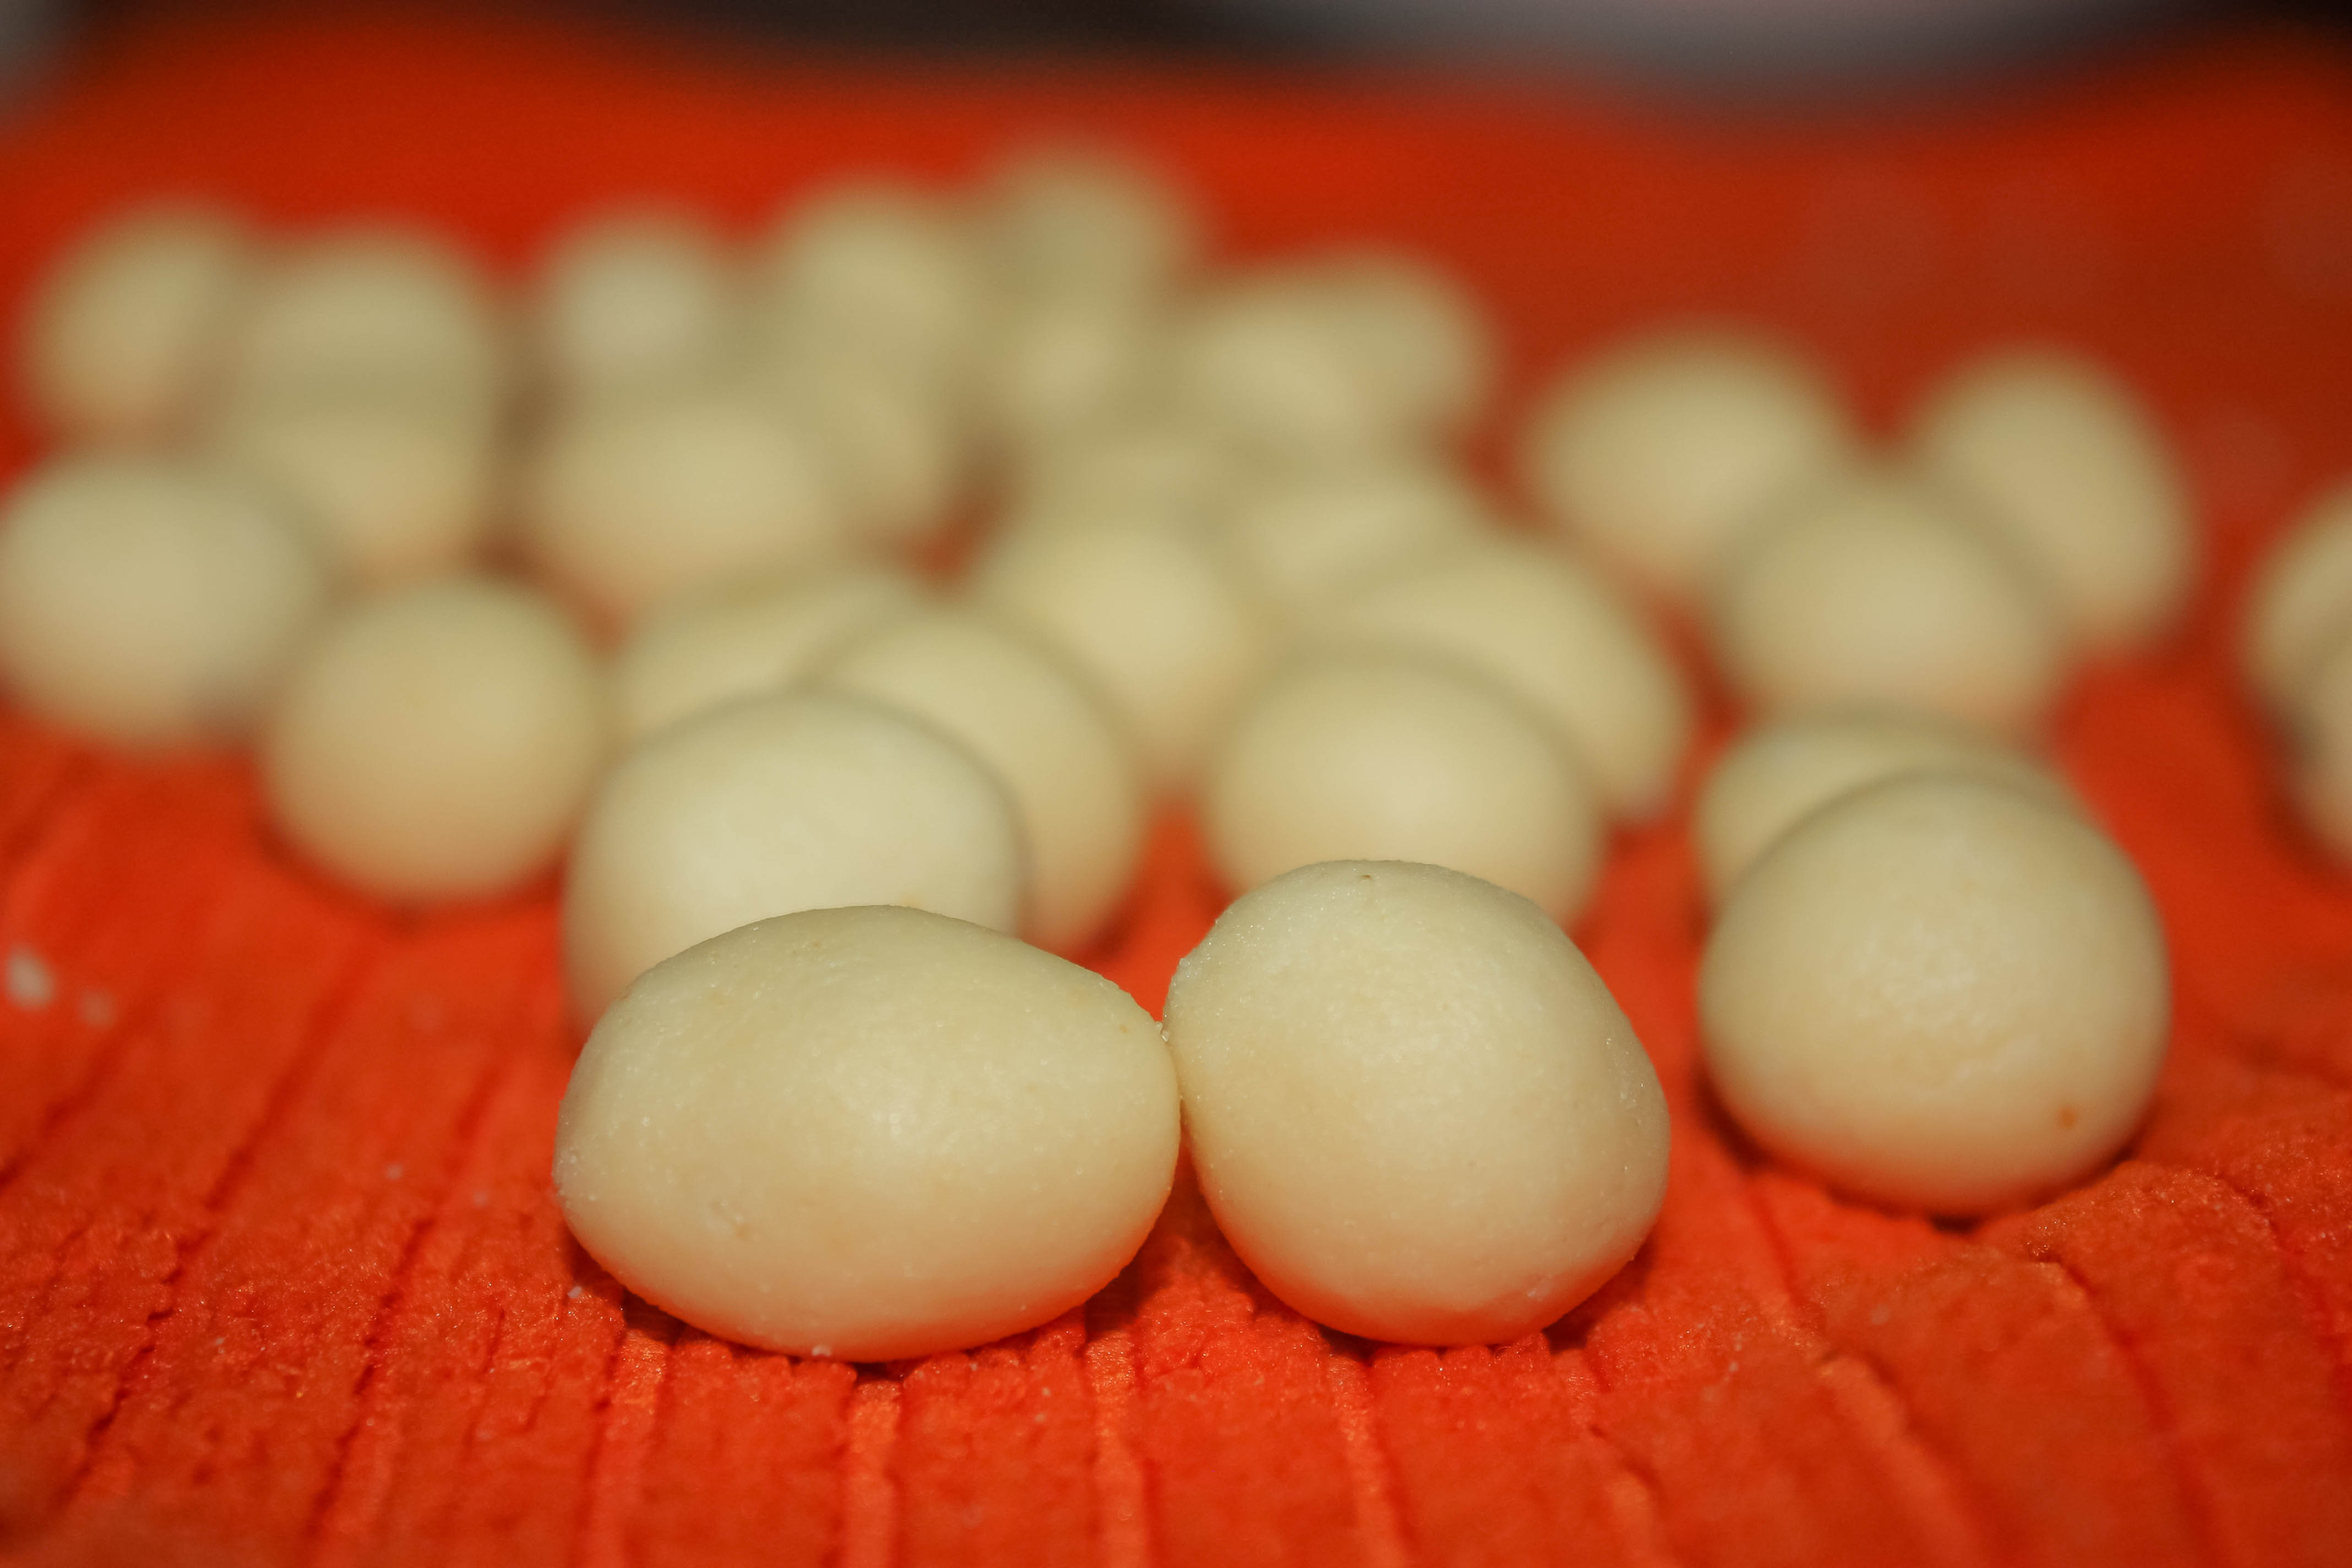
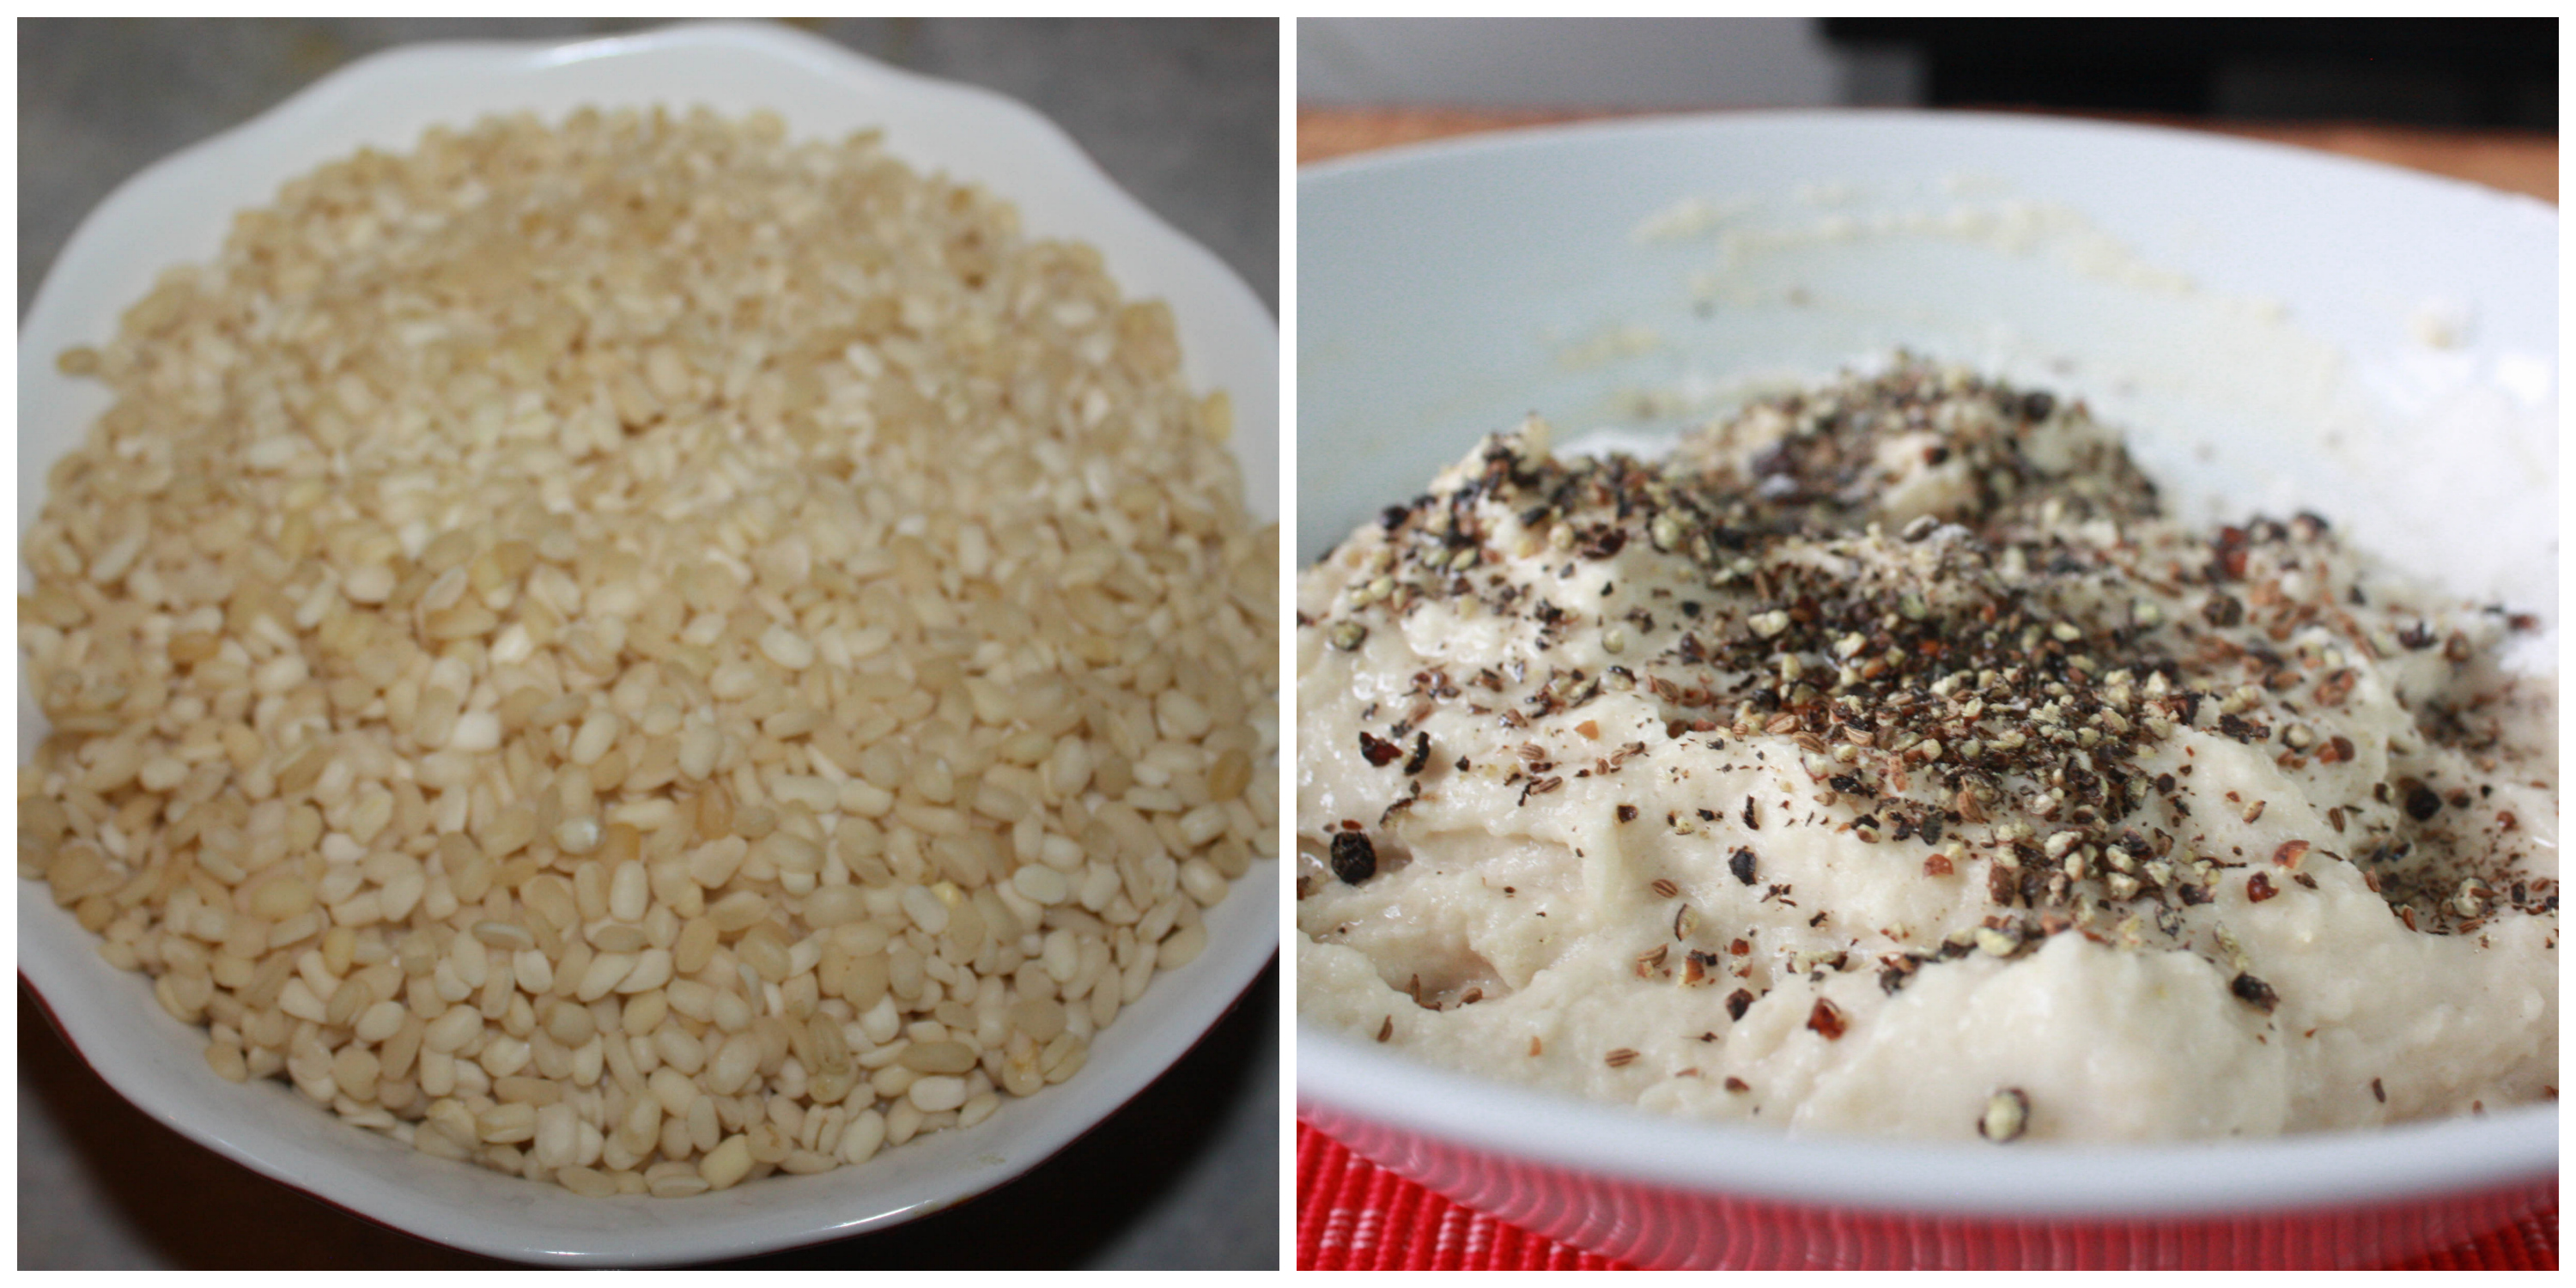
. But it came out so good :). I was so happy! I am not trying to scare you by saying all this, but be careful when you do this. May be in older days they used to have lot of stones in the rice which made it burst. These days its loads better and also if you sieve it well, it should be very fine 🙂
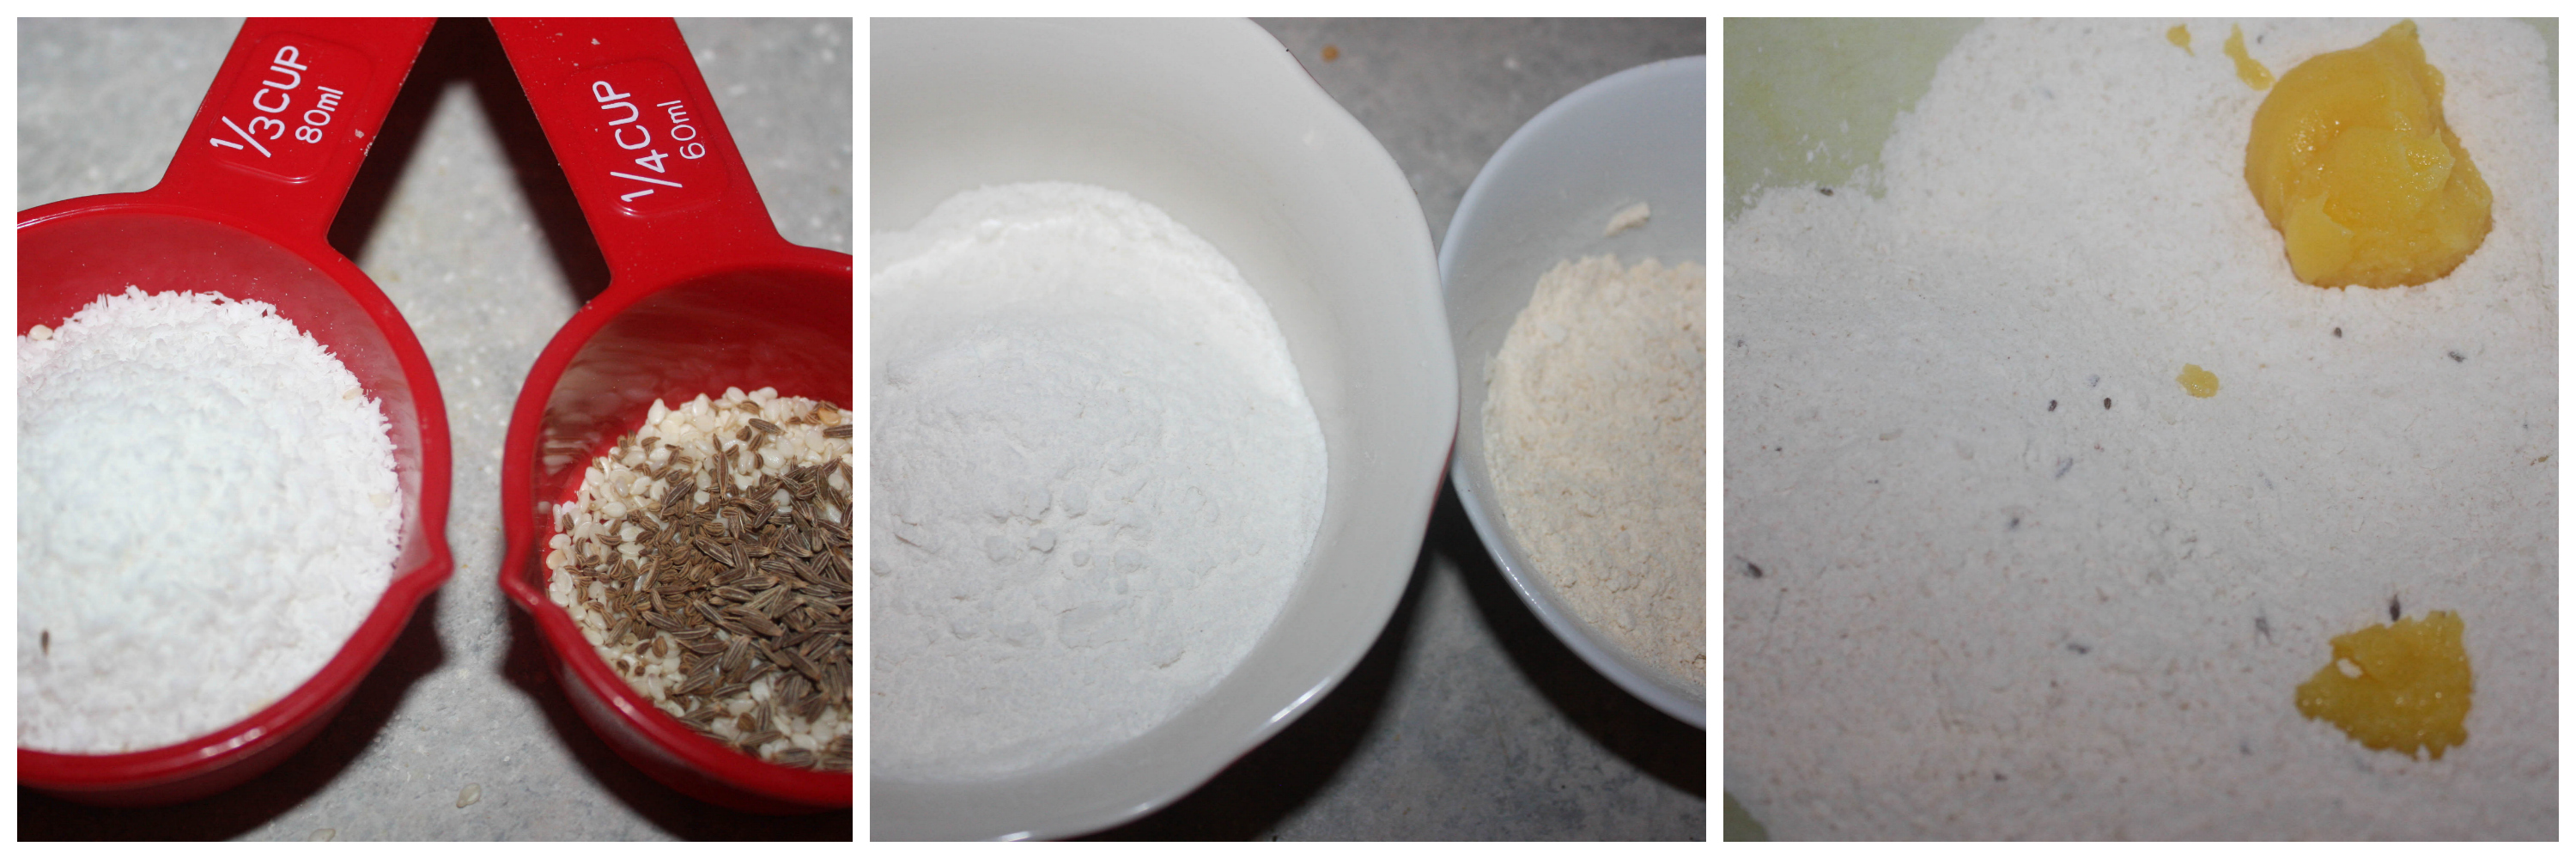
The correct way to do this recipe is to soak one cup of raw rice in water for two hours, dry them completely by placing on a cloth/paper and grind them. I used the ready-made rice flour instead. It was equally good. I have no complaints. 🙂 Let me know someone if you get to know the reason why we need to do the former method.

5.0 from 1 reviews
Print
UPPU SEEDAI / CRUNCHY LENTIL NUGGETS
Author: Suganya Hariharan
Recipe type: Appetizer
Cuisine: Indian
Prep time:  60 mins
Cook time:  30 mins
Total time:  1 hour 30 mins
Serves: 2 cups seedai
 
Ingredients
  • Rice flour – 1 cup
  • Urad dal – ¼ cup
  • Sesame seeds – 1tbsp
  • Ajwain – 1 tsp
  • Coconut Grated - 2 tbsp
  • Jeera/Cumin – 1tsp
  • Salt – as needed.( I used 1 tbsp)
  • Ghee – 1 tbsp
  • Oil – to fry.
Instructions
  1. Fry the urad dal for 2 – 3 mins.Grind the urad dal very finely. Mix rice flour and urad dal powder together, Seive them twice.
  2. Mix the ajwain, coconut,jeera,ghee and salt to the mixture.
  3. Add water little by little to form a soft dough but do not make it watery/sticky.
  4. Now comes the major step, hold a little dough part on your left hand on the fingers side like shown below. Take a tiny dough part, press them and release them by making anticlockwise directions on the right hand. And the first seedai dough is ready. It should not be hard or very soft. It should be in perfect texture.
  5. Make them all like the above step.
  6. Fry them in hot oil and take them out when its in golden color.
Notes
1. Be careful when you put them in oil, it might easily burst. So, sieve it properly to avoid stones.
2. When you make the balls, make sure its not very hard or very soft. It will either break or it will be too hard.
3. Use unsalted butter instead of ghee. Or if you using ghee adjust your salt accordingly as ghee would have salt.
4. If you think the dough is too hard, add little ghee and water. Very little.
5. Oil should be very hot, or else it will break.
6. Roast the urad dal just for few minutes, which should do the job.
7. Try to use whole urad dal for this recipe. I used the broken one’s, as I did not have the whole urad dal handy.
Wordpress Recipe Plugin by EasyRecipe
3.3.3077

Uppuseedai_Relishthebite

Filed Under: SNACKS & APPETIZERS, SNACKS & APPETIZERS FESTIVAL Tagged With: appetizer, crispy, crunchy, festival, fry, lentil, nuggets, snacks, vegeterian

Milagu Vadai/ Pepper fritters

August 17, 2014 by Suki 1 Comment

Milaguvadai-5

Milaguvadai-5

Crispy  and spicy crackers made with peppercorns and urad dal.

I made this again this week 🙂 the very first version I made before two years 😀 I totally had this guilt that it was not perfect so tried again and it came out crispy perfect. I found the reason for it, I soaked for an hour which did not make it crispy I believe and this time I soaked for just 15 minutes.

Today is Krishna Jayanthi 🙂 Happy Birthday, Lord Krishna. For people who do not know what is Krishna Jayanthi, it’s an annual celebration of the birth of the Hindu deity Krishna. Images of Krishna’s infancy are placed in swings and cradles in temples and homes. His devotees celebrate his birthday by today sweets and savory by his name. This pepper vadai/ milagu vadai is usually done for another god “Hanuman”. But it’s a good savory to do for all gods. These vadai’s are usually connected through a thread and garlanded to the Lord. The below picture was my older version. I totally felt it was not that crispy so made it again 🙂 This time it was crispy crispy perfect!

Milagu_vadai_Relishthebite

This is the first time for me to make these. And I guess it turned out good. They used to give this in temple. And I always loved them. But never felt like trying them at home. But today is the day for me to try this. Soak the urad dal only for one hour. It will not have that texture otherwise. I soaked more than that this time 😉 so make sure.

Milaguvadai-4

Print
Milagu Vadai/ Pepper Vadai
Author: Suganya Hariharan
Recipe type: Appetizer
Cuisine: Indian
Prep time:  60 mins
Cook time:  30 mins
Total time:  1 hour 30 mins
Serves: 6
 
Ingredients
  • Urad dal - 1 cup
  • Rice flour – 1 tbsp
  • Pepper corns – 2 tsp (grounded)
  • Ajwain - ½ tsp
  • salt – ½ tbsp
  • Oil – To fry
Instructions
  1. Wash and soak the urad dal for 15 minutes and not more than that.Drain it nicely. If there is water, it can spoil the whole procedure. Grind it in the blender without adding water. The mixture should be little coarse not a paste.
  2. Ground the pepper again roughly. Just a single pulse would do.
  3. Take a bowl, mix the ground urad dal, hing, rice flour,ajwain and broken pepper.
  4. Heat oil in a kadai/pan, add one tbsp of oil to the vadai mixture.
  5. Take a banana leaf/Ziploc cover grease with oil. Grease your hands with oil to tap them thinly using hand or flat shaped cup. Take small lemon sized balls and pat it to make it a circle and thin vadai. Flatten it as thin as you can.Mark a hole in the center.


  6. Remove the vadai from the banana leaf and put them in the hot oil.
  7. Cook the vadai on both sides and till its crispier brown color on both sides.
Notes
1. Try to use whole urad dal. As it gives a nice texture. If not, use the broken ones.
2. When you drain the mixture, drain them completely. If there is water, the vadai’s wont be formed perfectly.
3. If the vadai batter is sticky and with more water, add more rice flour. Continue doing still it is in the perfect consistency.
4. Adding 1 tbsp hot oil to the batter will make the vadai crispier.
5. If you want crispier vadai, after frying them, try to refry them again. It will give nice colour and more crispiness. But mine was fine with the first time.
6. If you don’t have banana leaf, use Ziploc or polythene cover.
7. Marking a hole in the center will cook the vadai faster.
8. Ensure that vadais are patted thin, or else it’s going to be hard.
Wordpress Recipe Plugin by EasyRecipe
3.5.3208

Milaguvadai-2

Filed Under: SNACKS & APPETIZERS, SNACKS & APPETIZERS FESTIVAL Tagged With: anjaneyar vada recipe, appetizer, festival, hanuman vada recipes, Indian fritters, INDIAN RECIPE, Indian snacks recipes, pepper, pepper fritters, pepper lentil fritters, PEPPER RECIPE, quick, savory, snacks, spicy, tasty, Vadai, VADAI RECIPE, yummy

  • Facebook
  • Google+
  • Instagram
  • Pinterest
  • Twitter

LOOKING FOR SOMETHING?

logo
Food Advertisements by
logo
Food Advertisements by

Categories

STAY CONNECTED

  • Facebook
  • Google+
  • Instagram
  • Pinterest
  • Twitter

SUBSCRIBE BY EMAIL

SEARCH RELISH THE BITE

logo
Food Advertisements by

Copyright © 2025 · Lifestyle Pro Theme on Genesis Framework · WordPress · Log in