
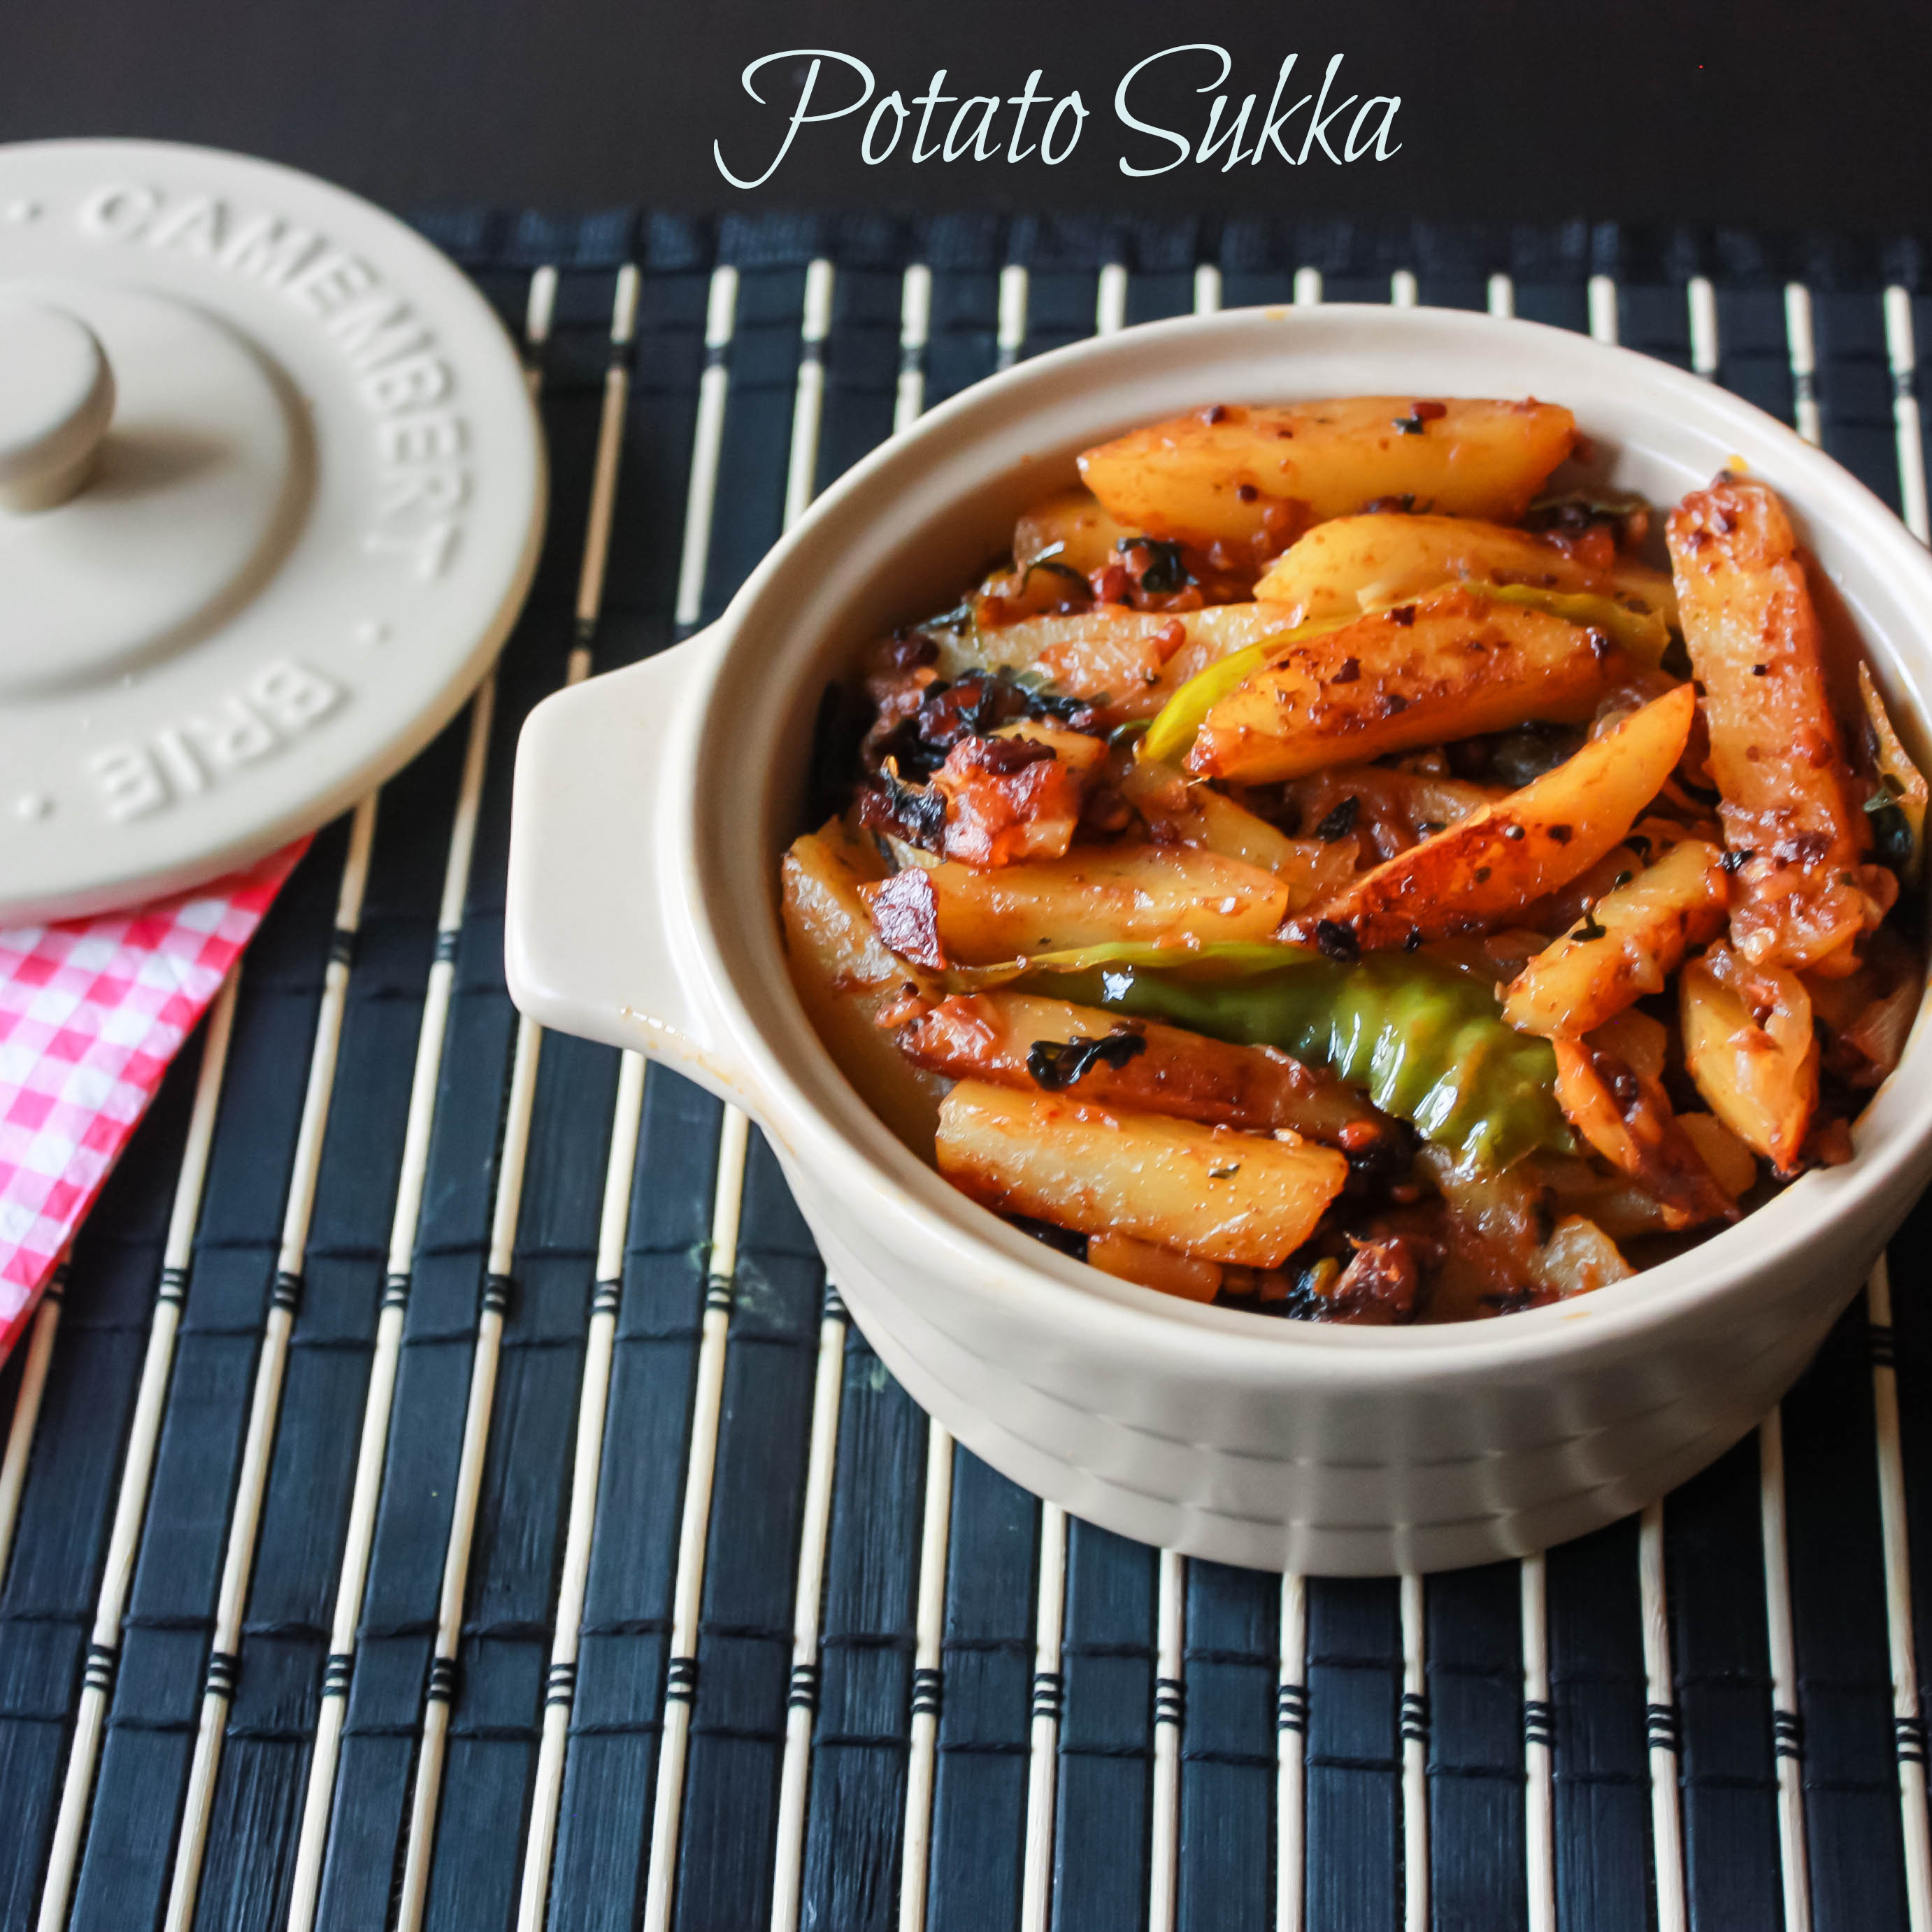
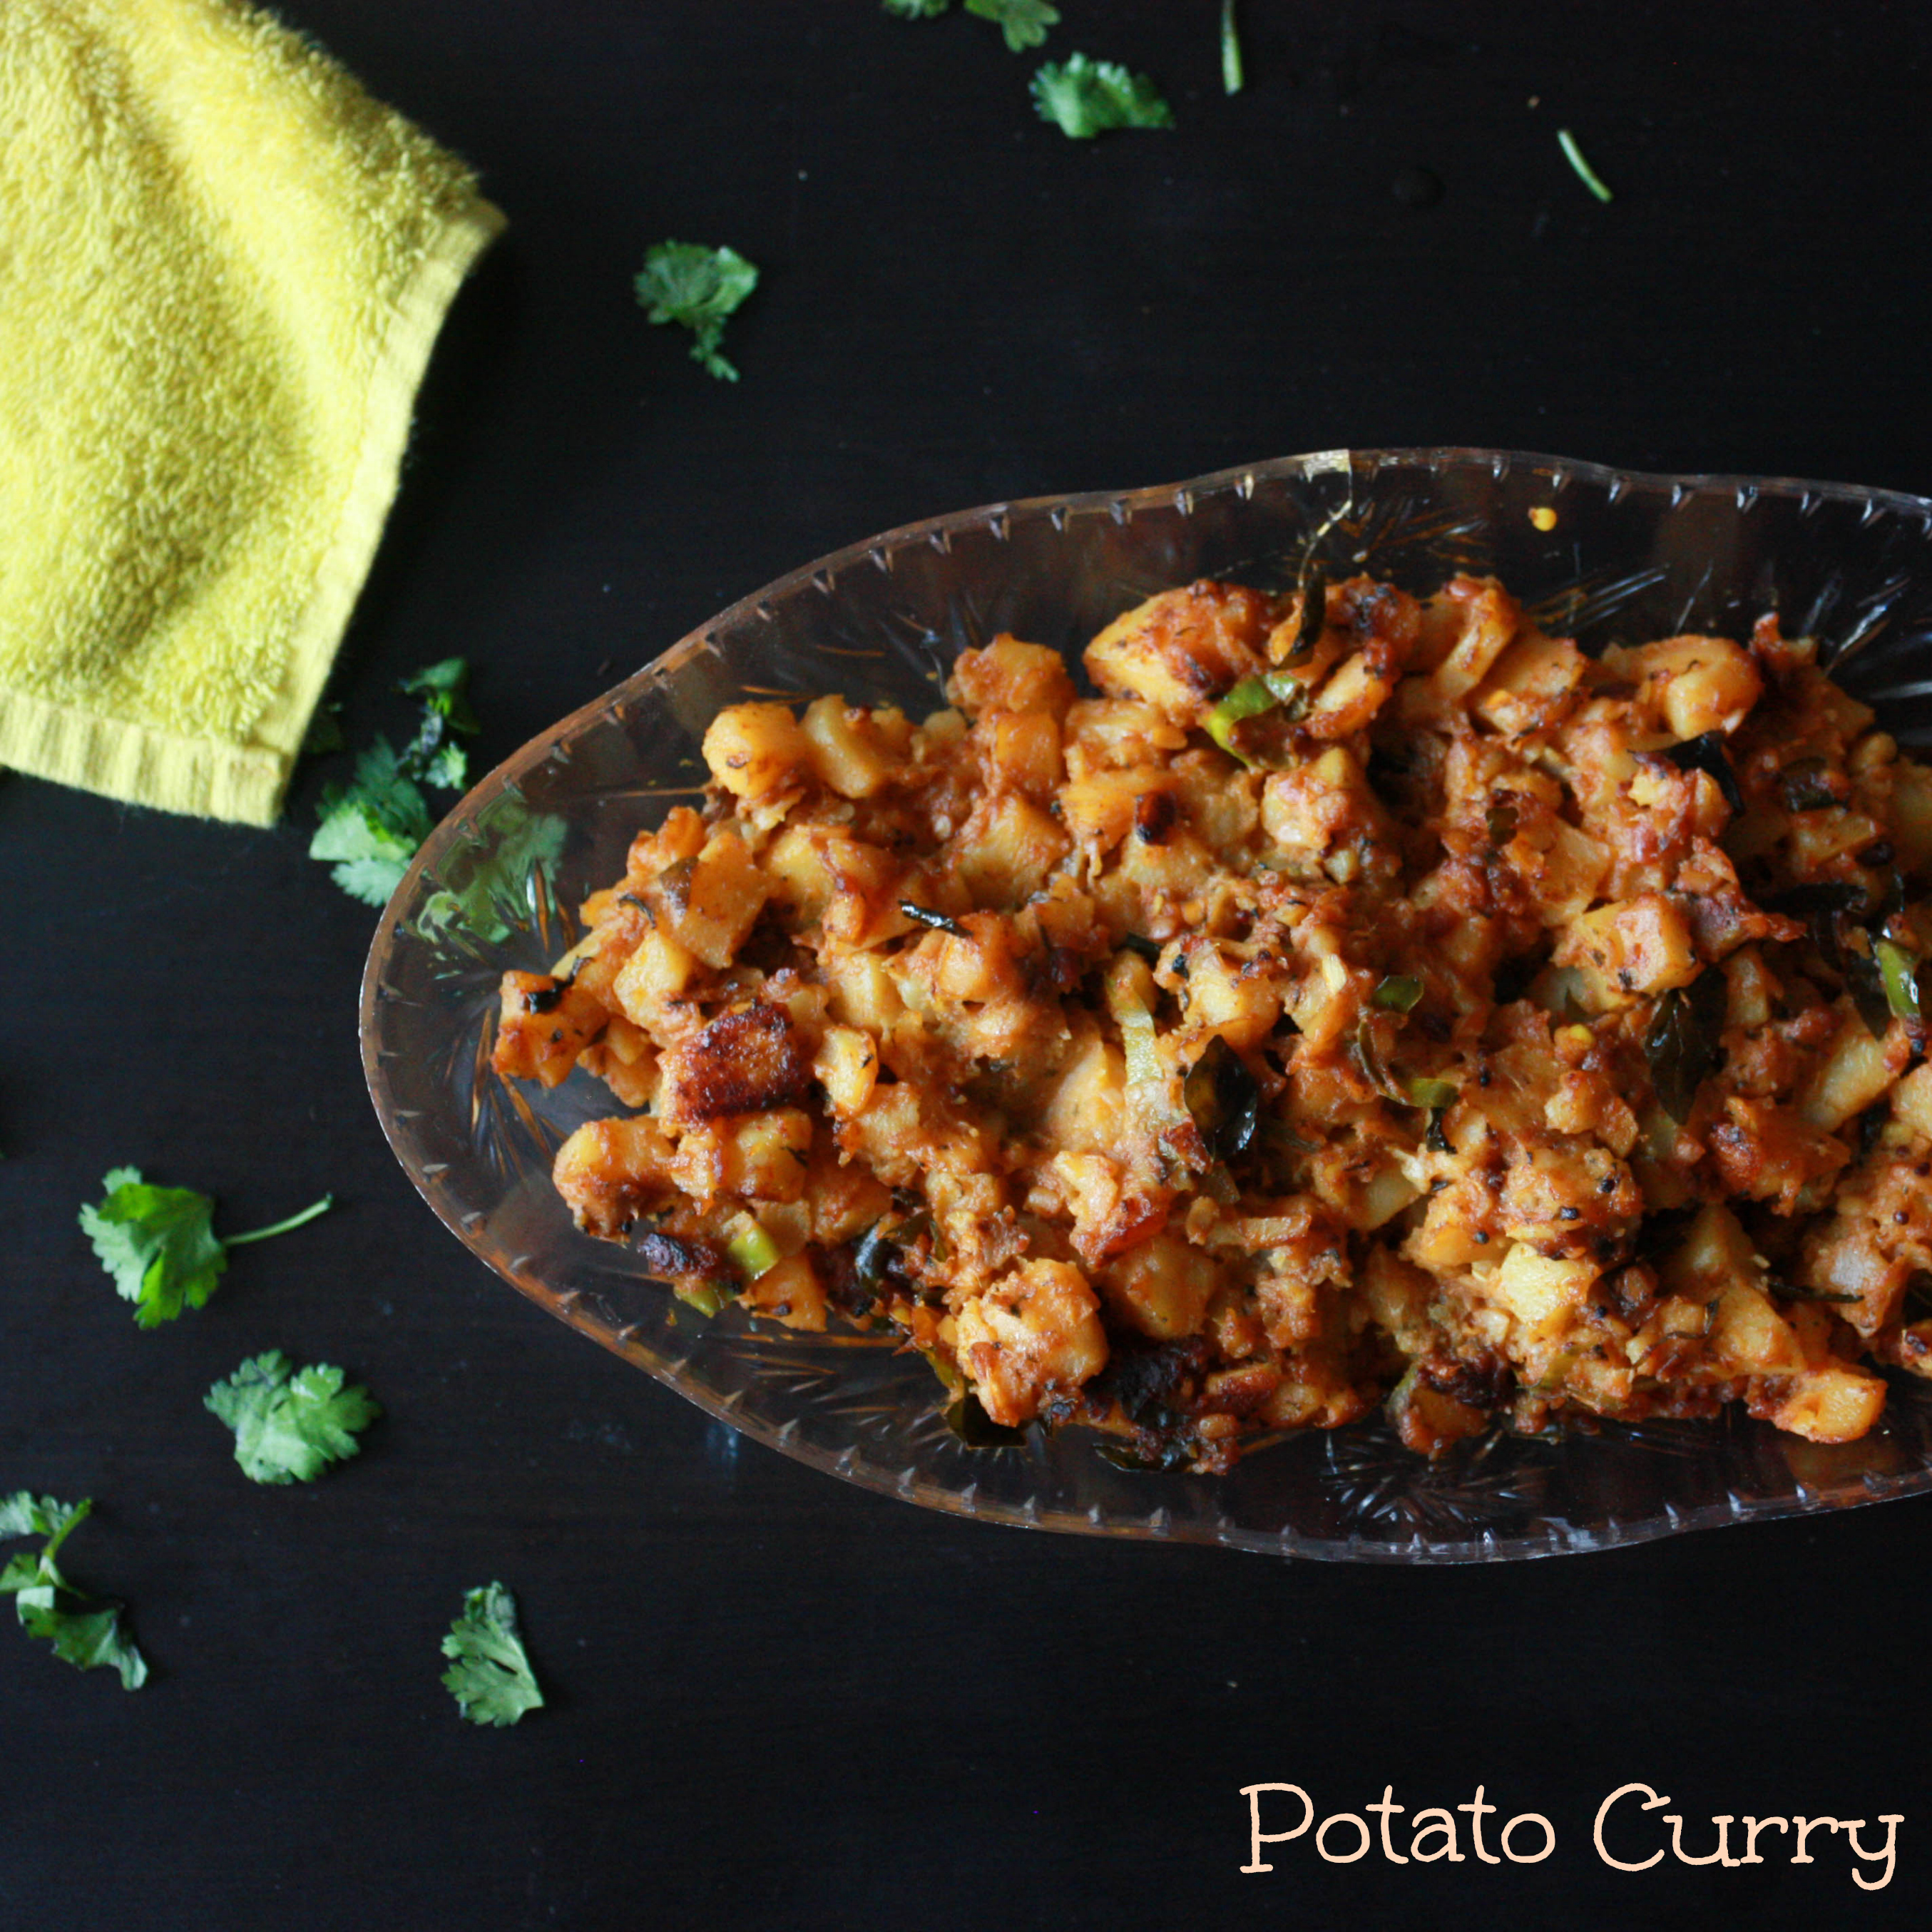
Potatoes are the easiest ones to cook and also one of the most favourite vegetables of all especially the kids. And it’s really hard to go wrong with recipes when we have potato as our ingredient. It will be tasty always. There are loads of ways to do potato roast. I usually have this potato sukka with roti or rasam. There are lots of dishes that we can do with potato. This one is my personal favourite. All the herbs and spices go well into the potato and makes it even more tastier. It is simple and tasty to eat having a lot of flavors going into our mouth 🙂 If you see, all the veggies i used are sliced and not chopped. Thats a secret of this dish 😉 i would say!
Potato Sukka
Author: Suganya Hariharan
Recipe type: Sides
Cuisine: Indian
Prep time:
Cook time:
Total time:
Serves: 4
Ingredients
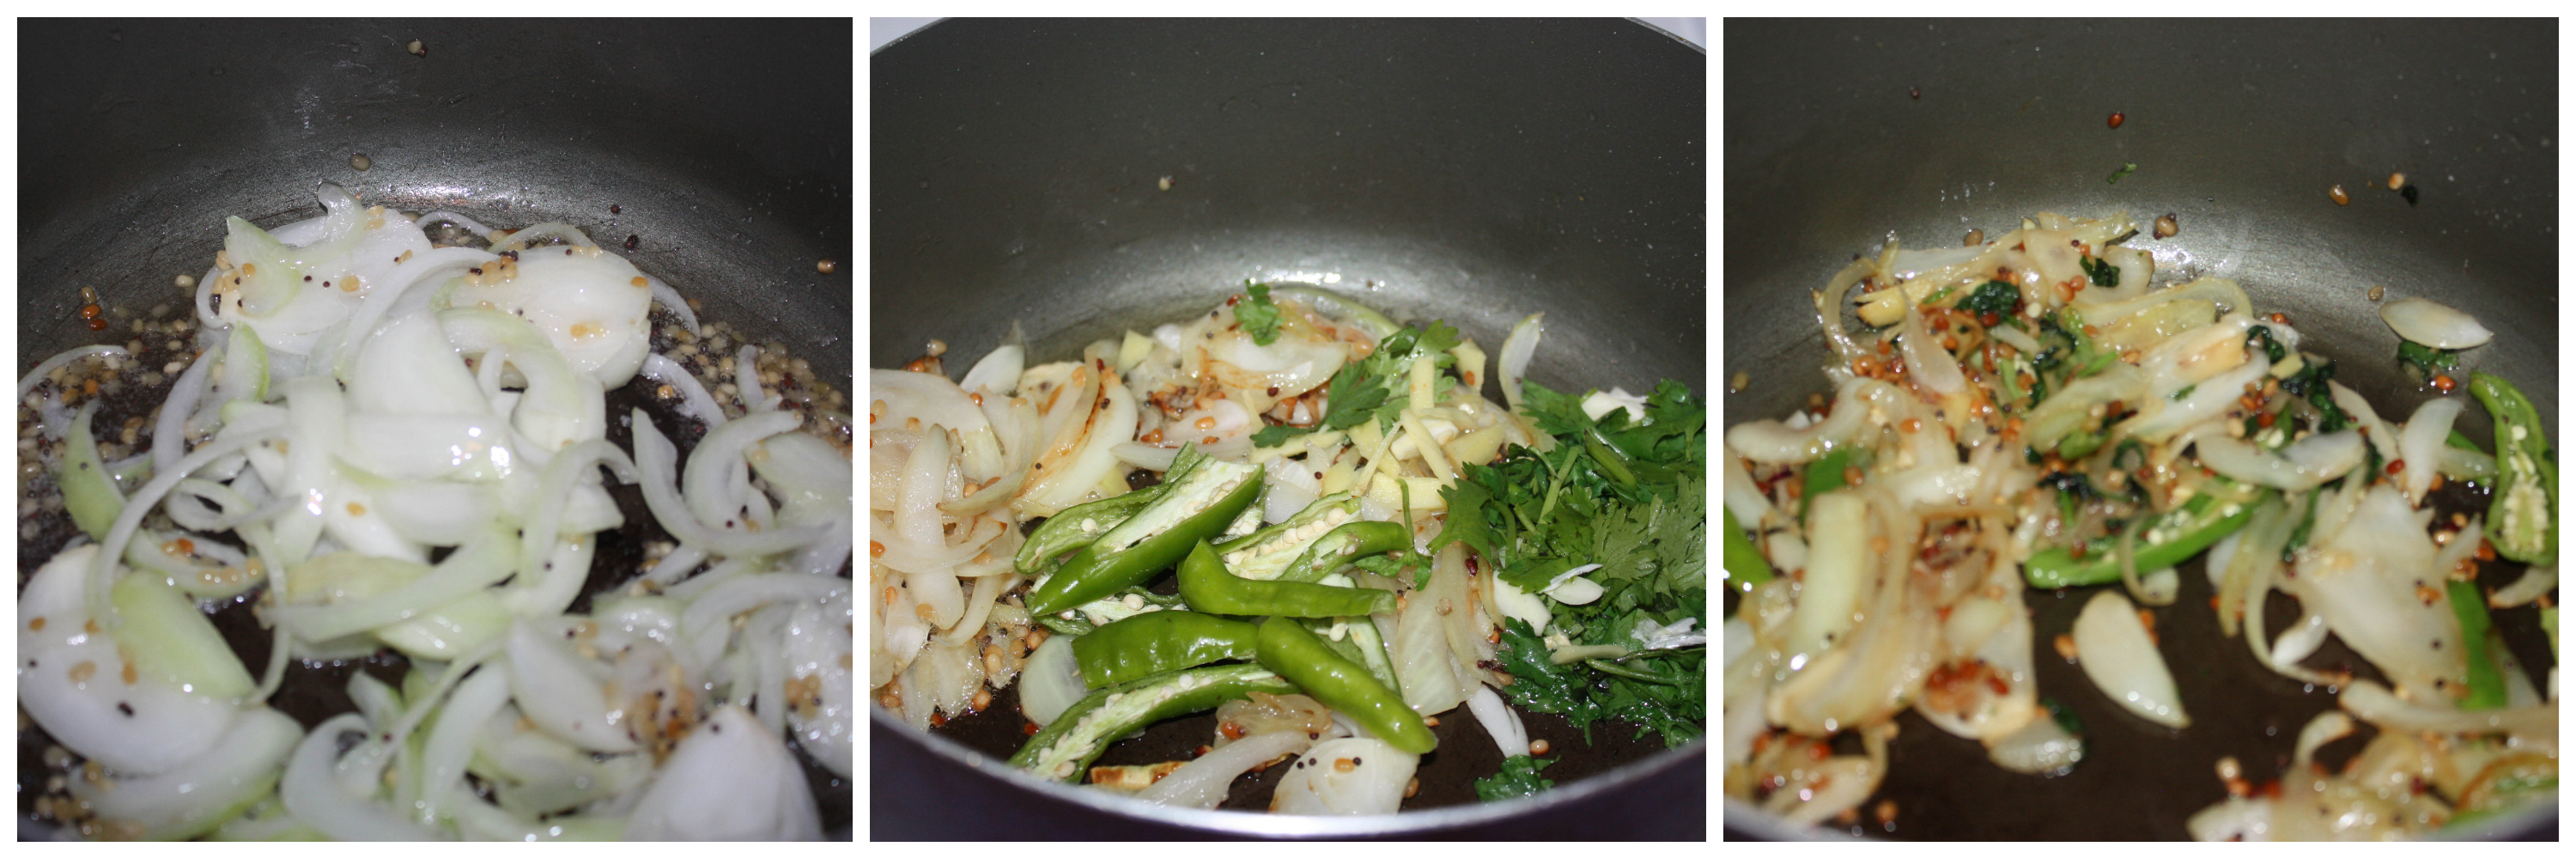
- Oil – 2 tbsp
- Mustard seeds – 1 tsp
- Urad dal – 1 tsp
- Cumin seeds – 1 tbsp
- Onions – 1 sliced
- Garlic pods – 6 sliced finely
- Ginger – 1 inch sliced finely
- Green chillies – 2 sliced finely
- Curry leaves – 8 sliced finely
- Coriander leaves – ½ cup chopped finely
- Turmeric Powder – ½ tsp
- Potatoes – 4 sliced
- chilli powder – 1 ½ tbsp
- salt
Instructions
- Heat some oil in a pan, add mustard seeds and urad dal and wait till it crackles.
- Add the cumin seeds,onions,garlic, ginger, green chillies, curry leaves, coriander leaves, salt and turmeric powder. Fry them till the onions get slightly brown.
- Add the potatoes and chilli powder. Pour ⅛ cup of water. Close the lid and boil them in medium flame.
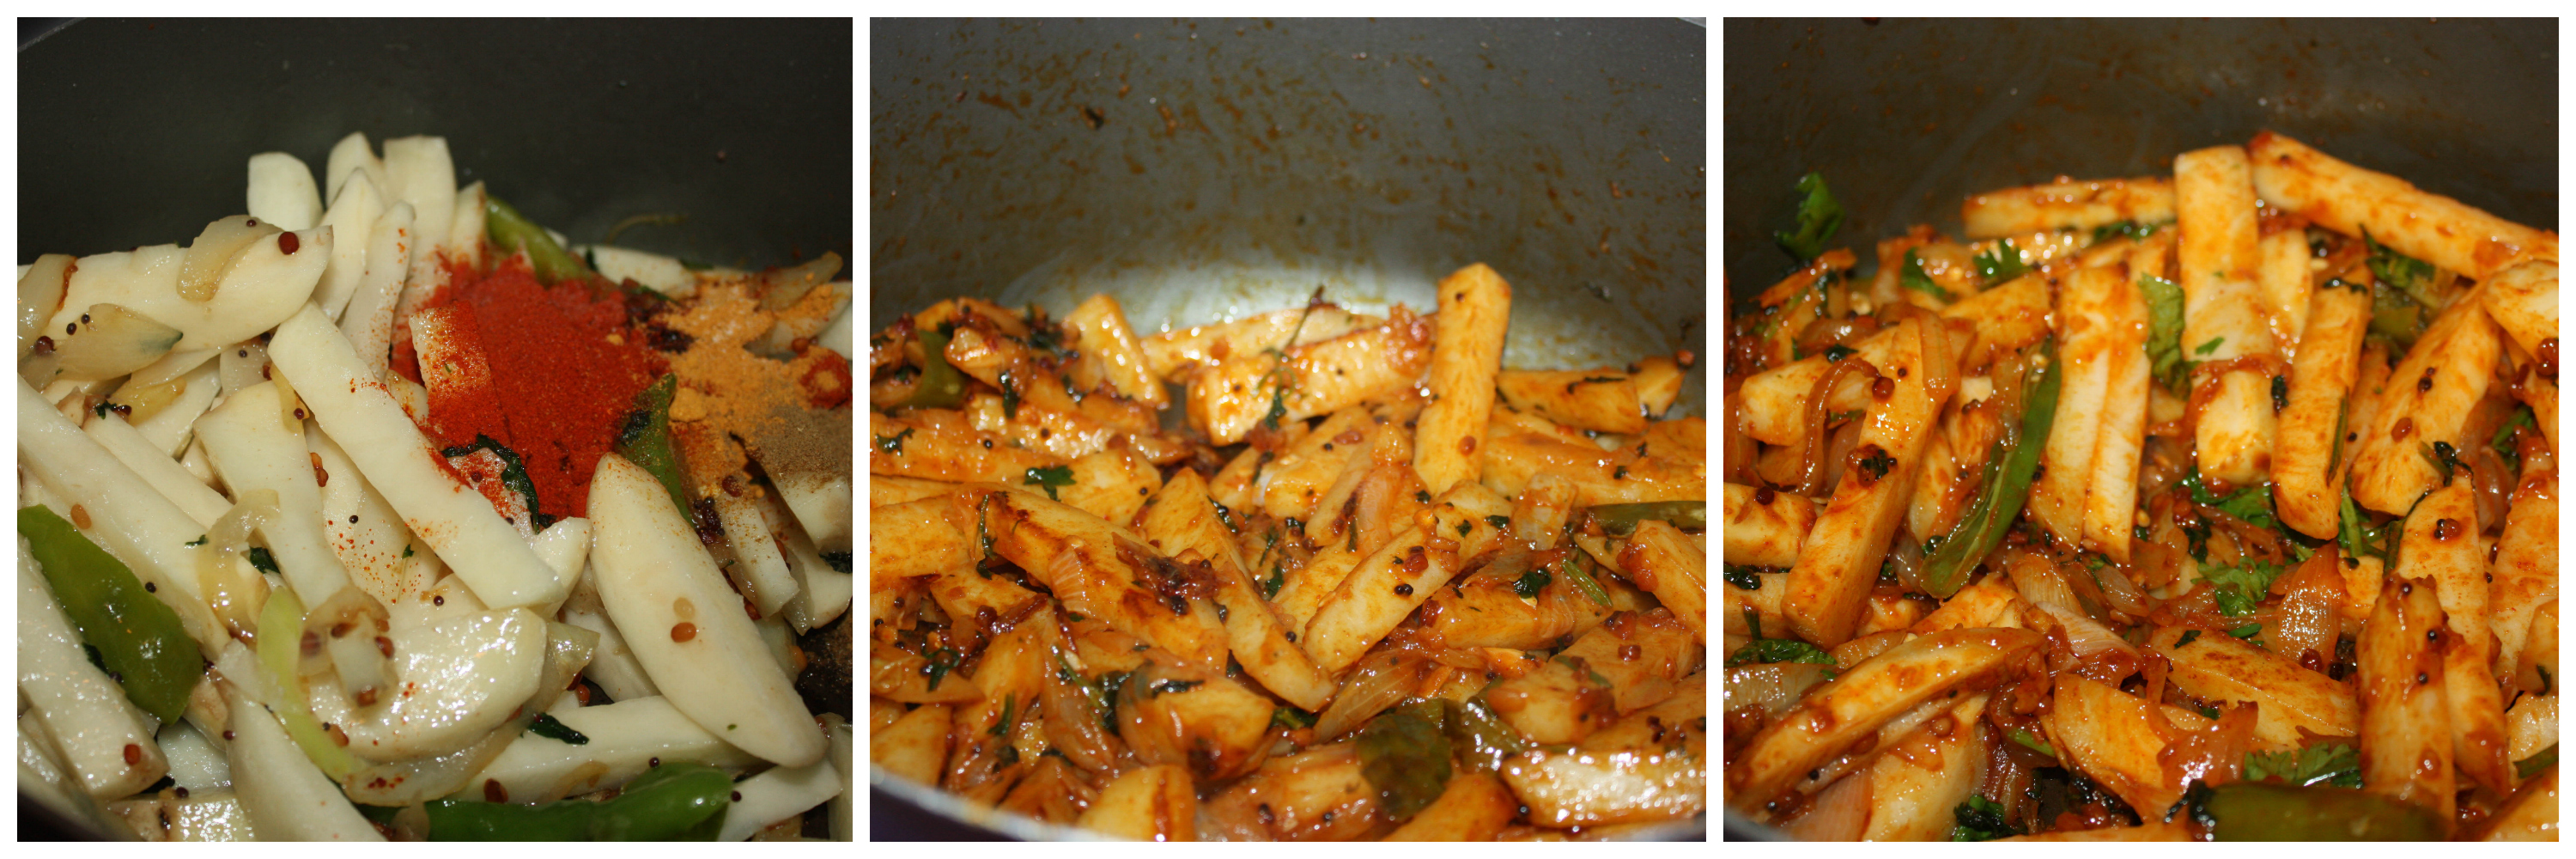
- Open it after ten minutes and mix them. Wait till the bottem parts of potatoes get little brown evenly. Mix them and switch it off.
Notes
1. Do not add more water. You don't want the potatoes to be mushy for this recipe.
2. Slice the vegetables at equal length , it will give great presentation to the whole dish.
2. Slice the vegetables at equal length , it will give great presentation to the whole dish.
It goes well with rotis,rice or with dal or rasam.

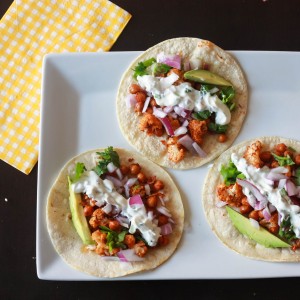
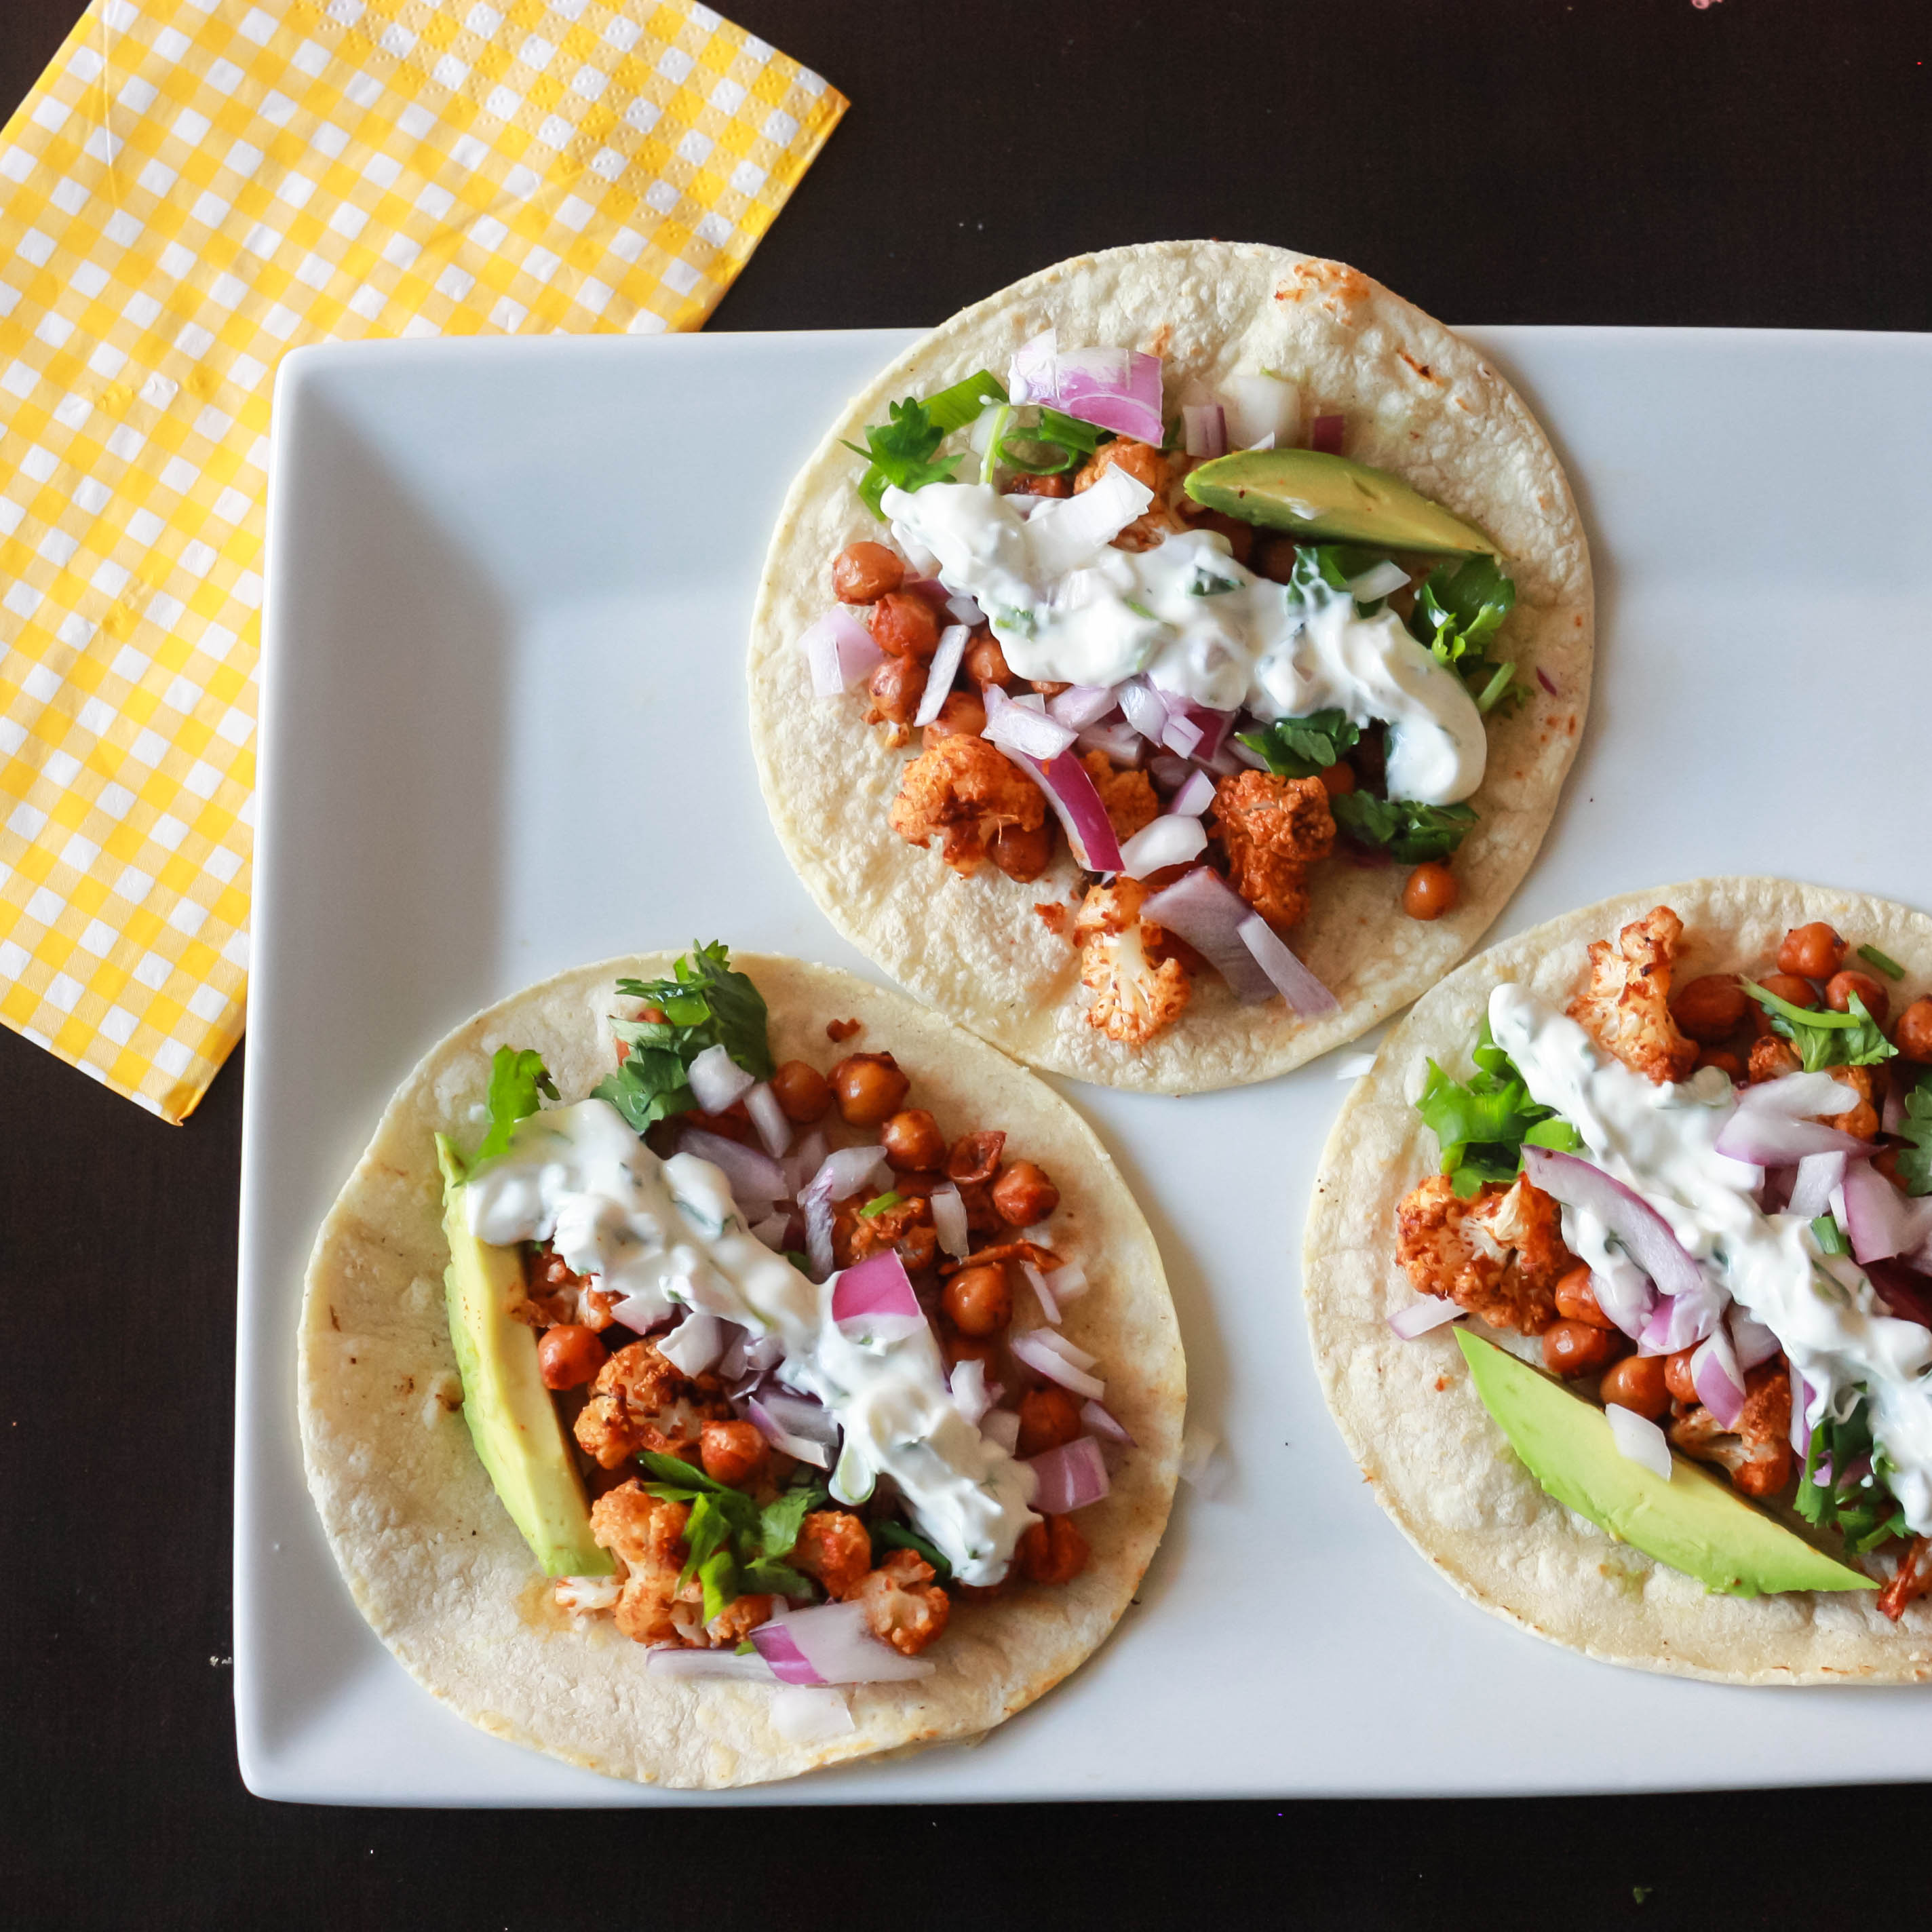
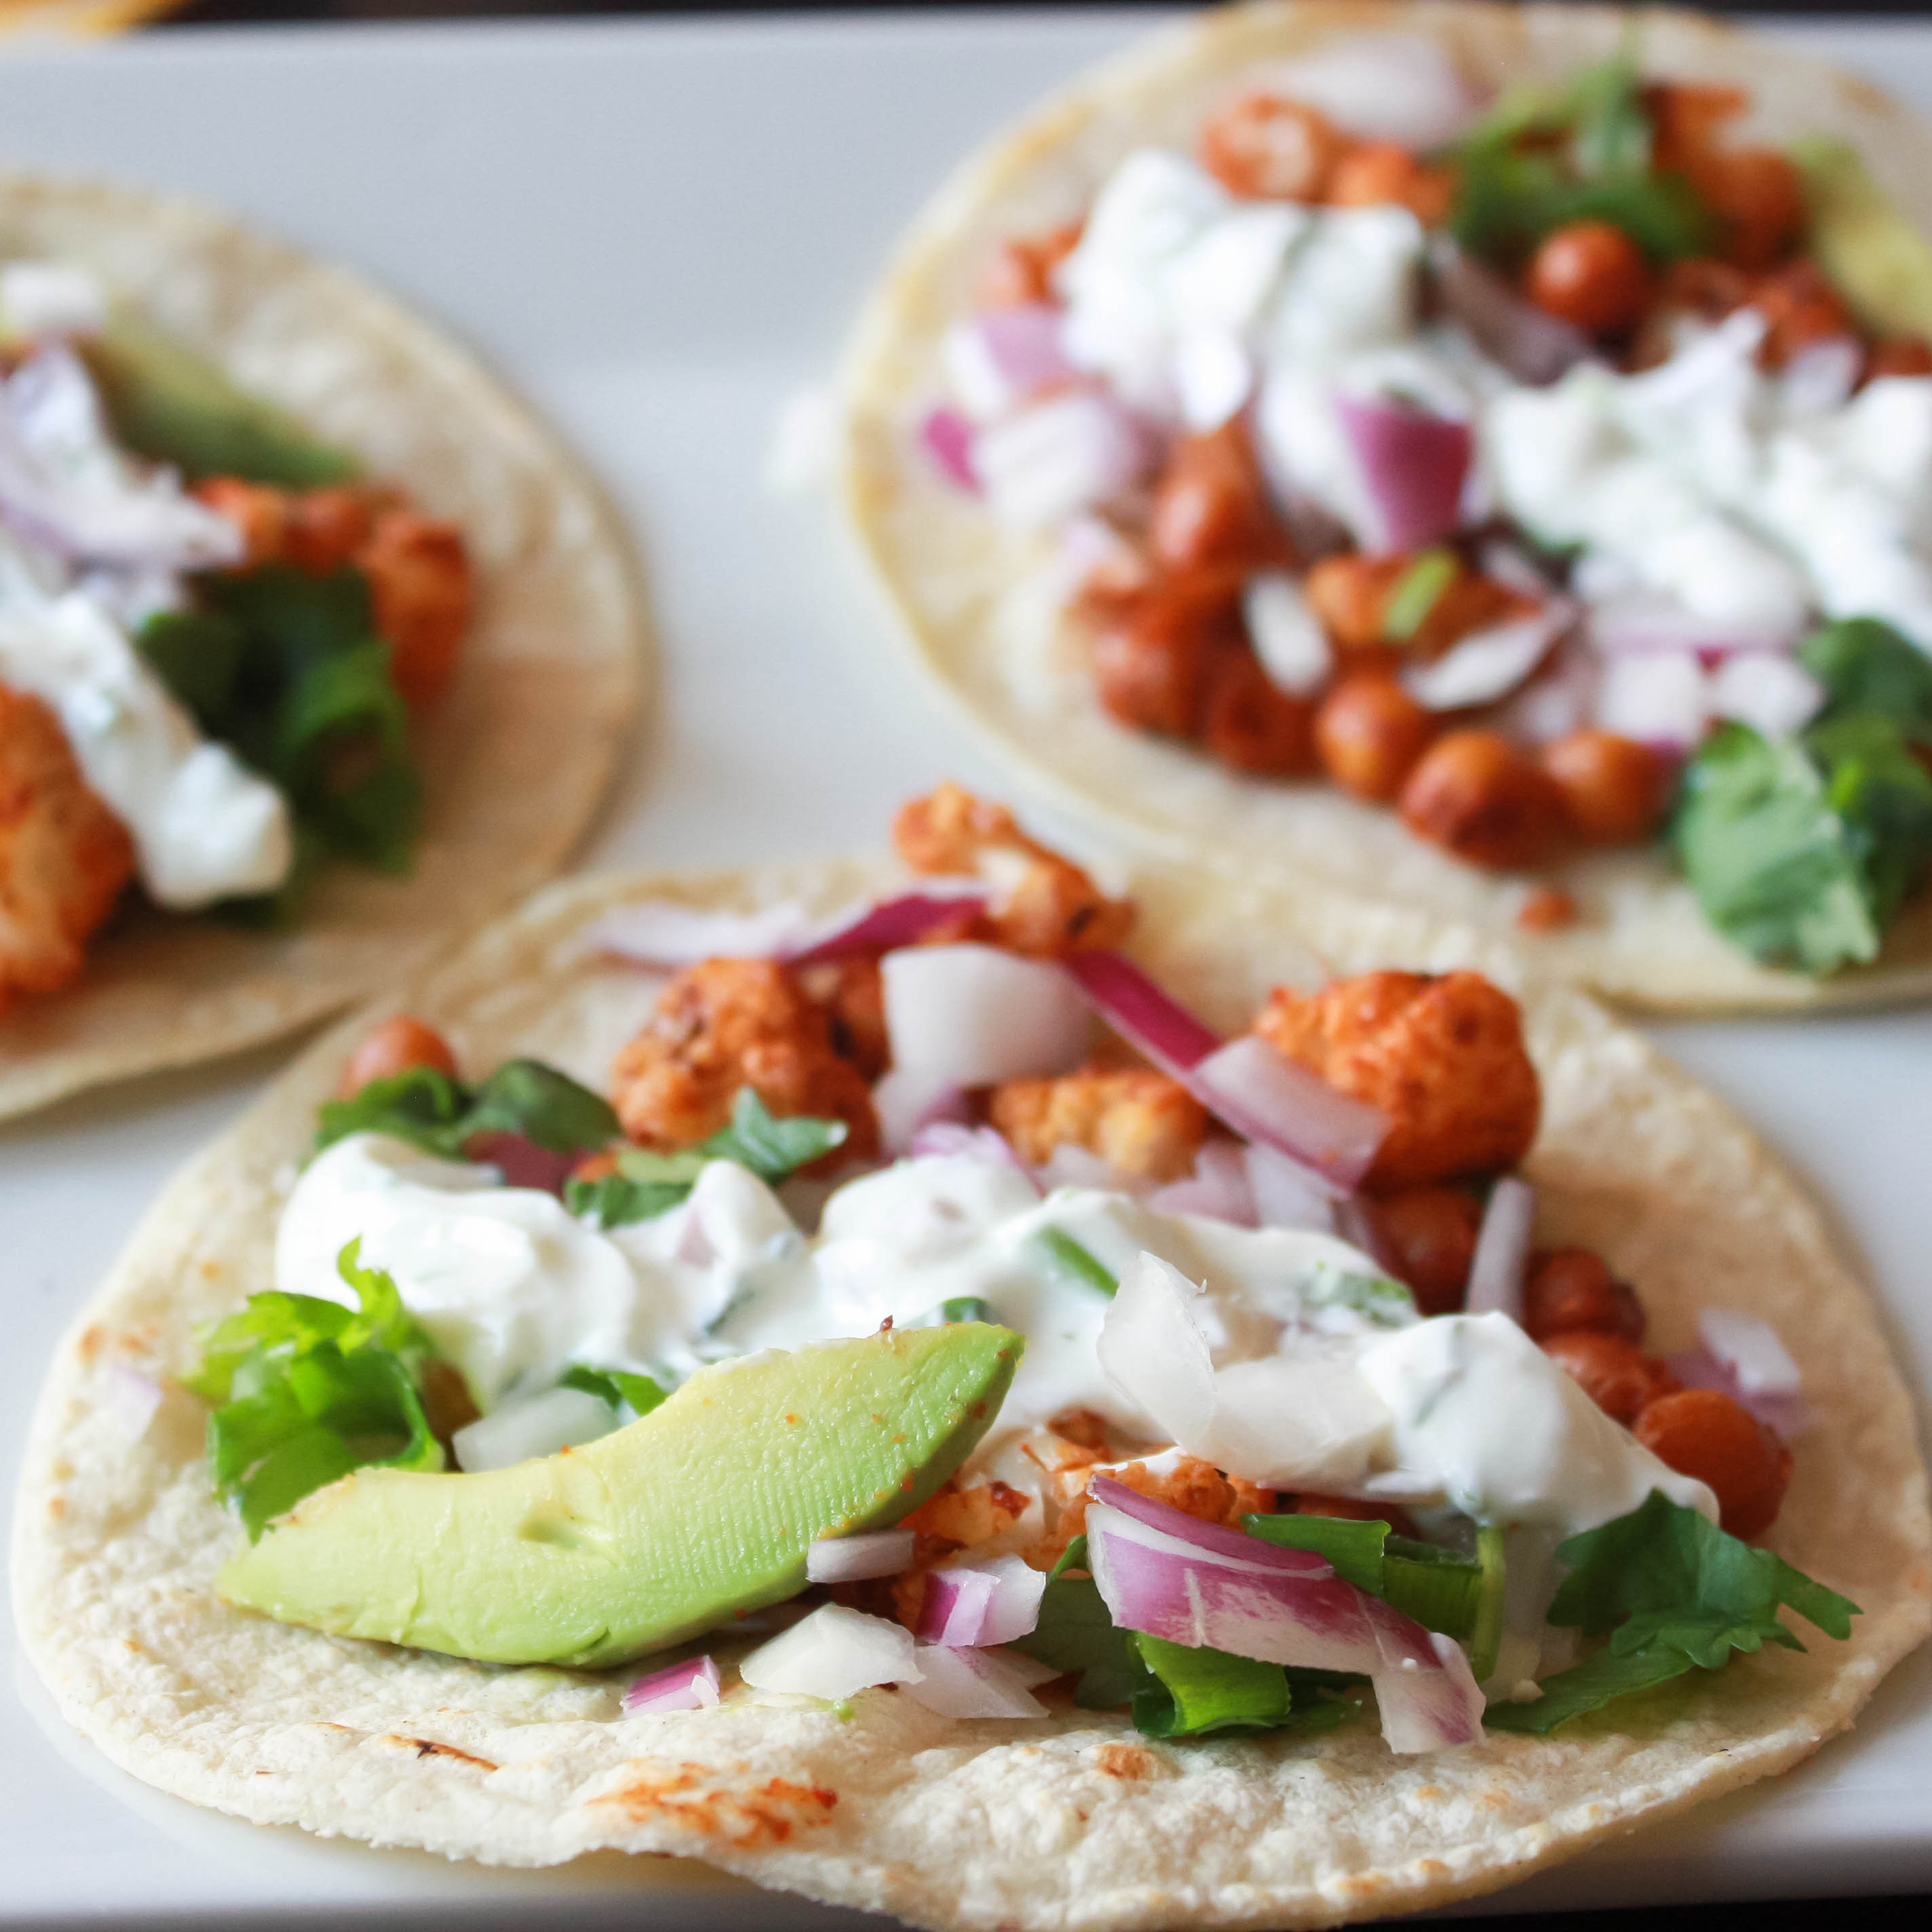
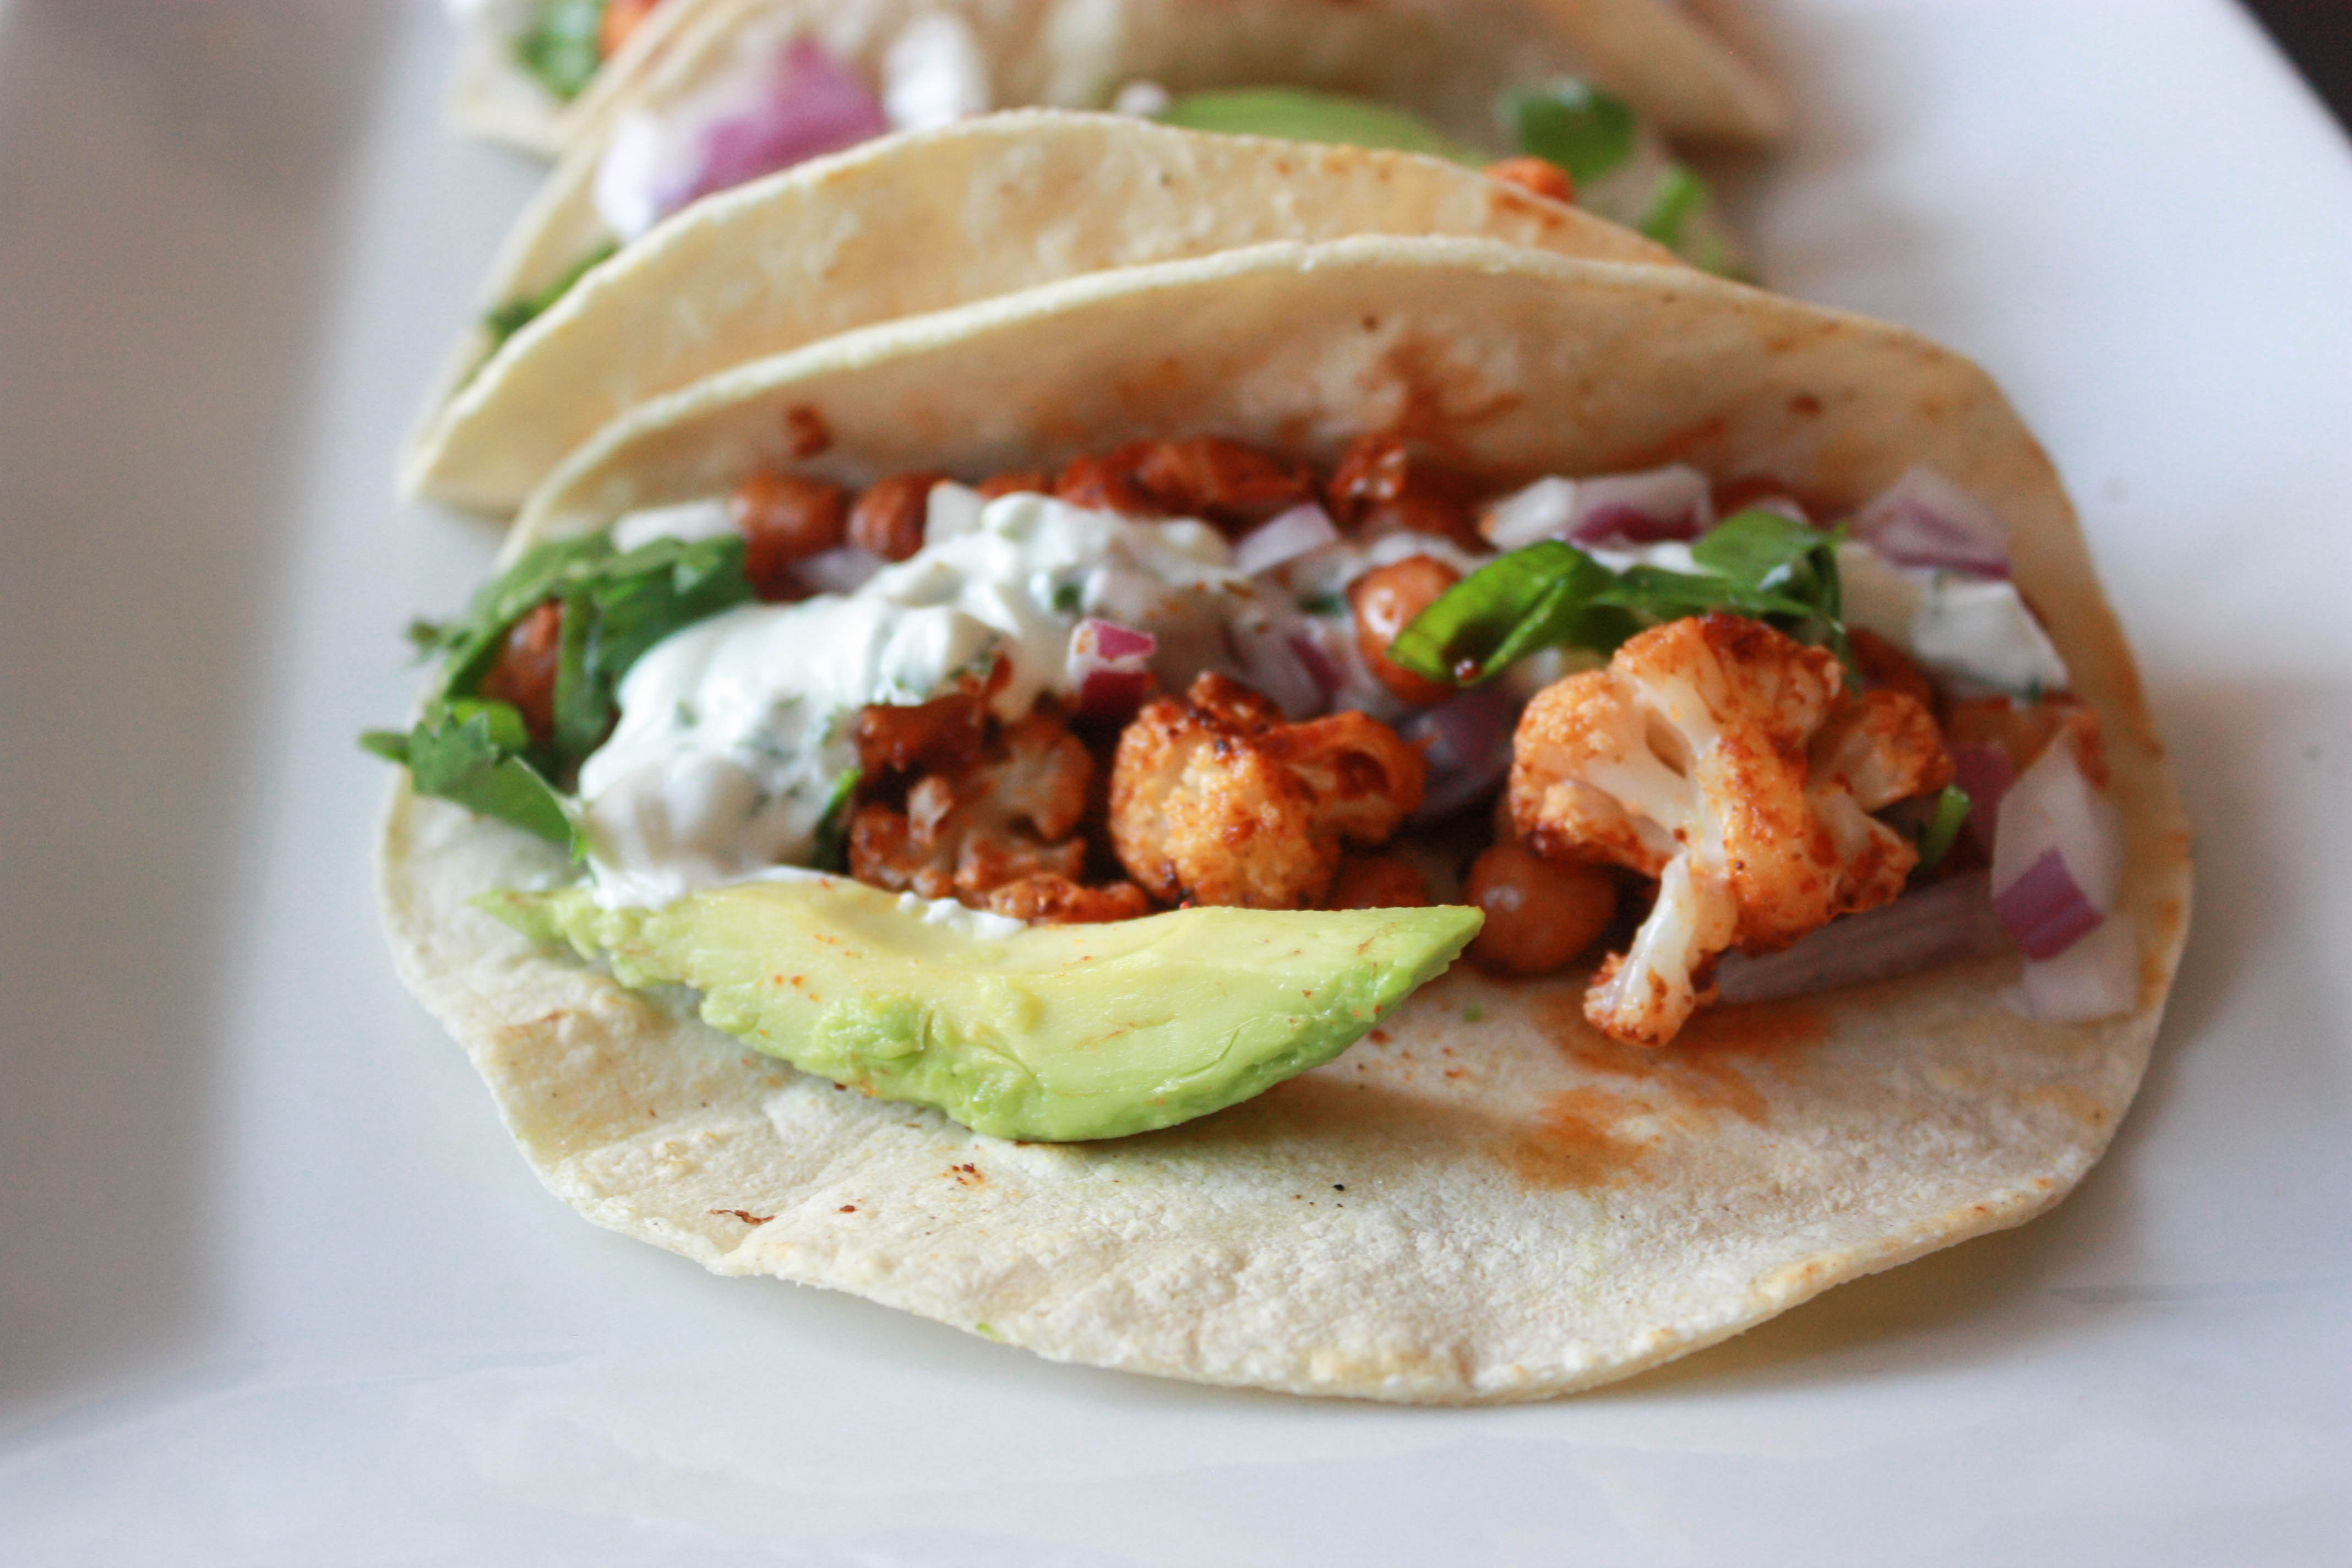
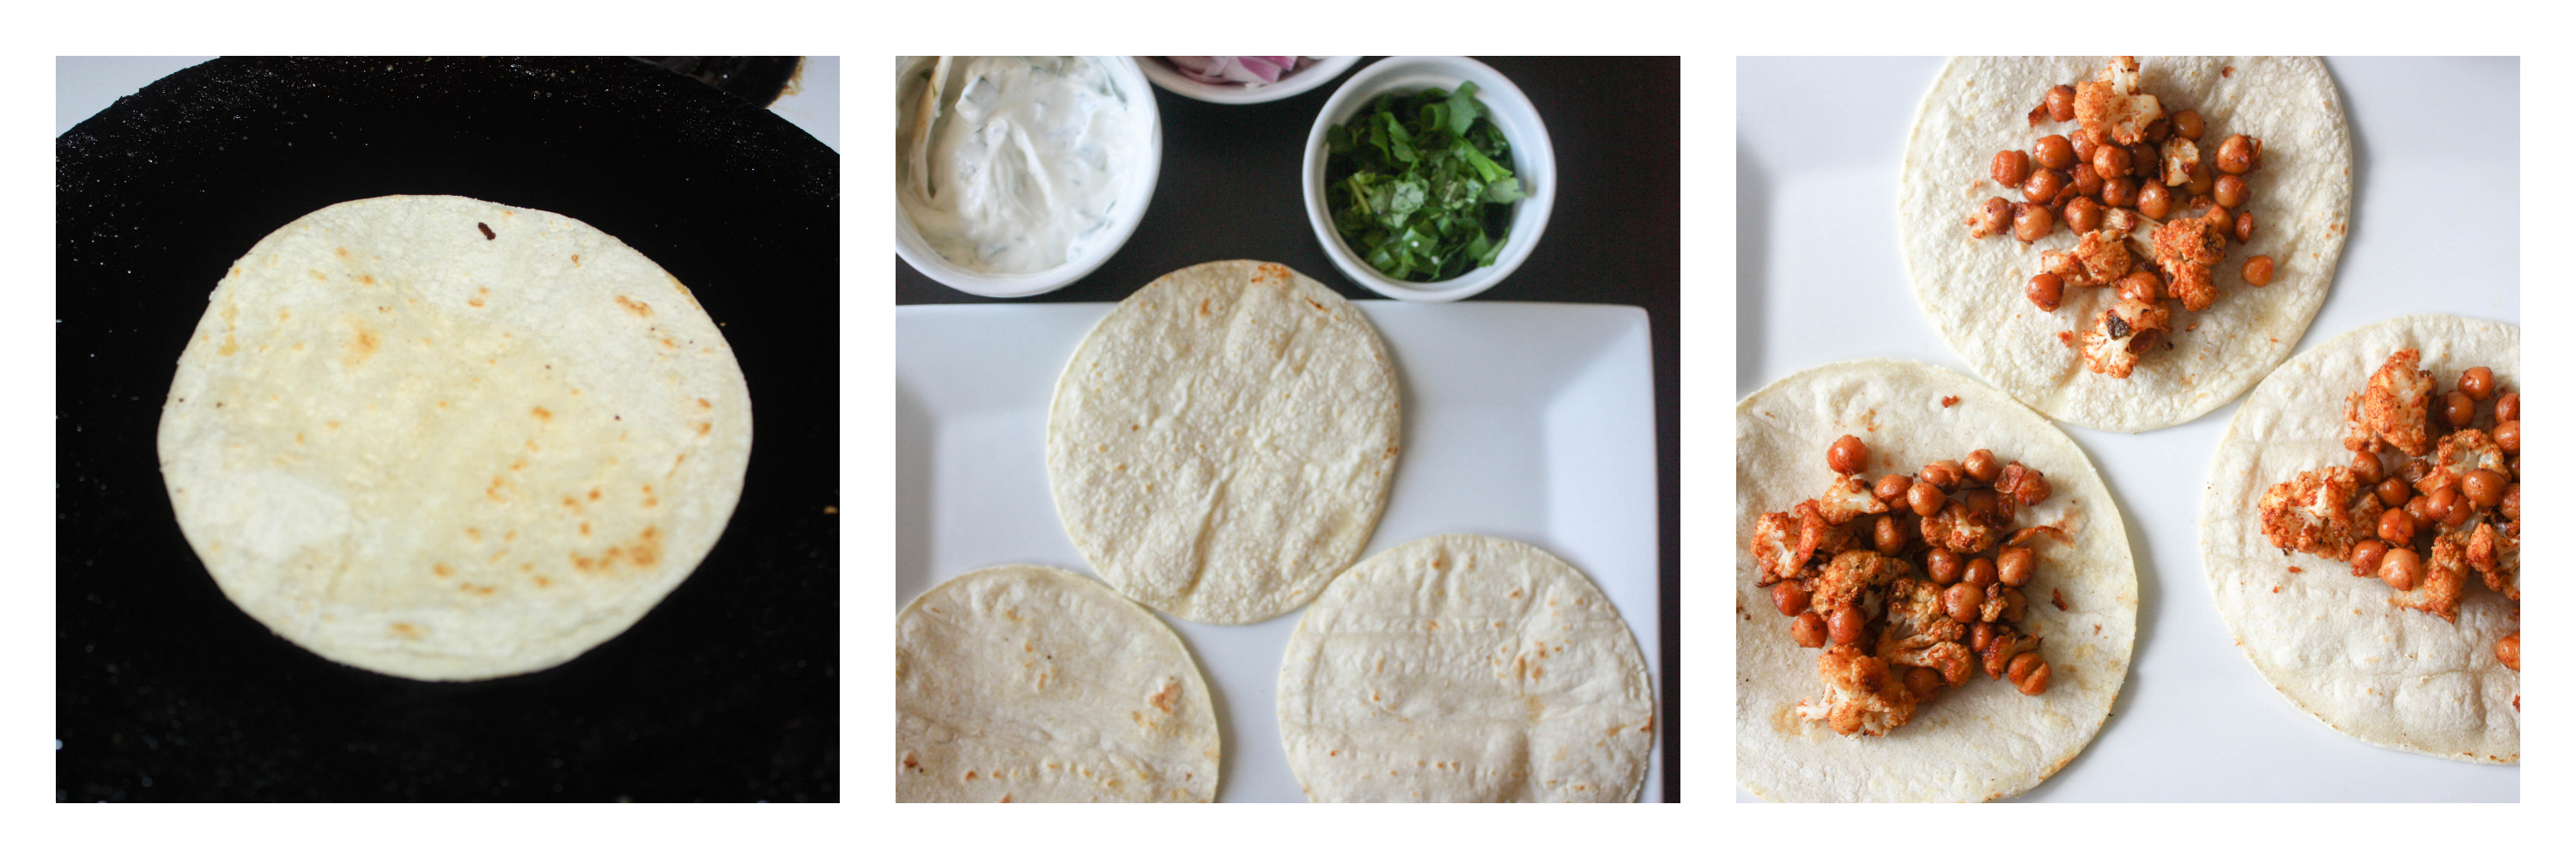
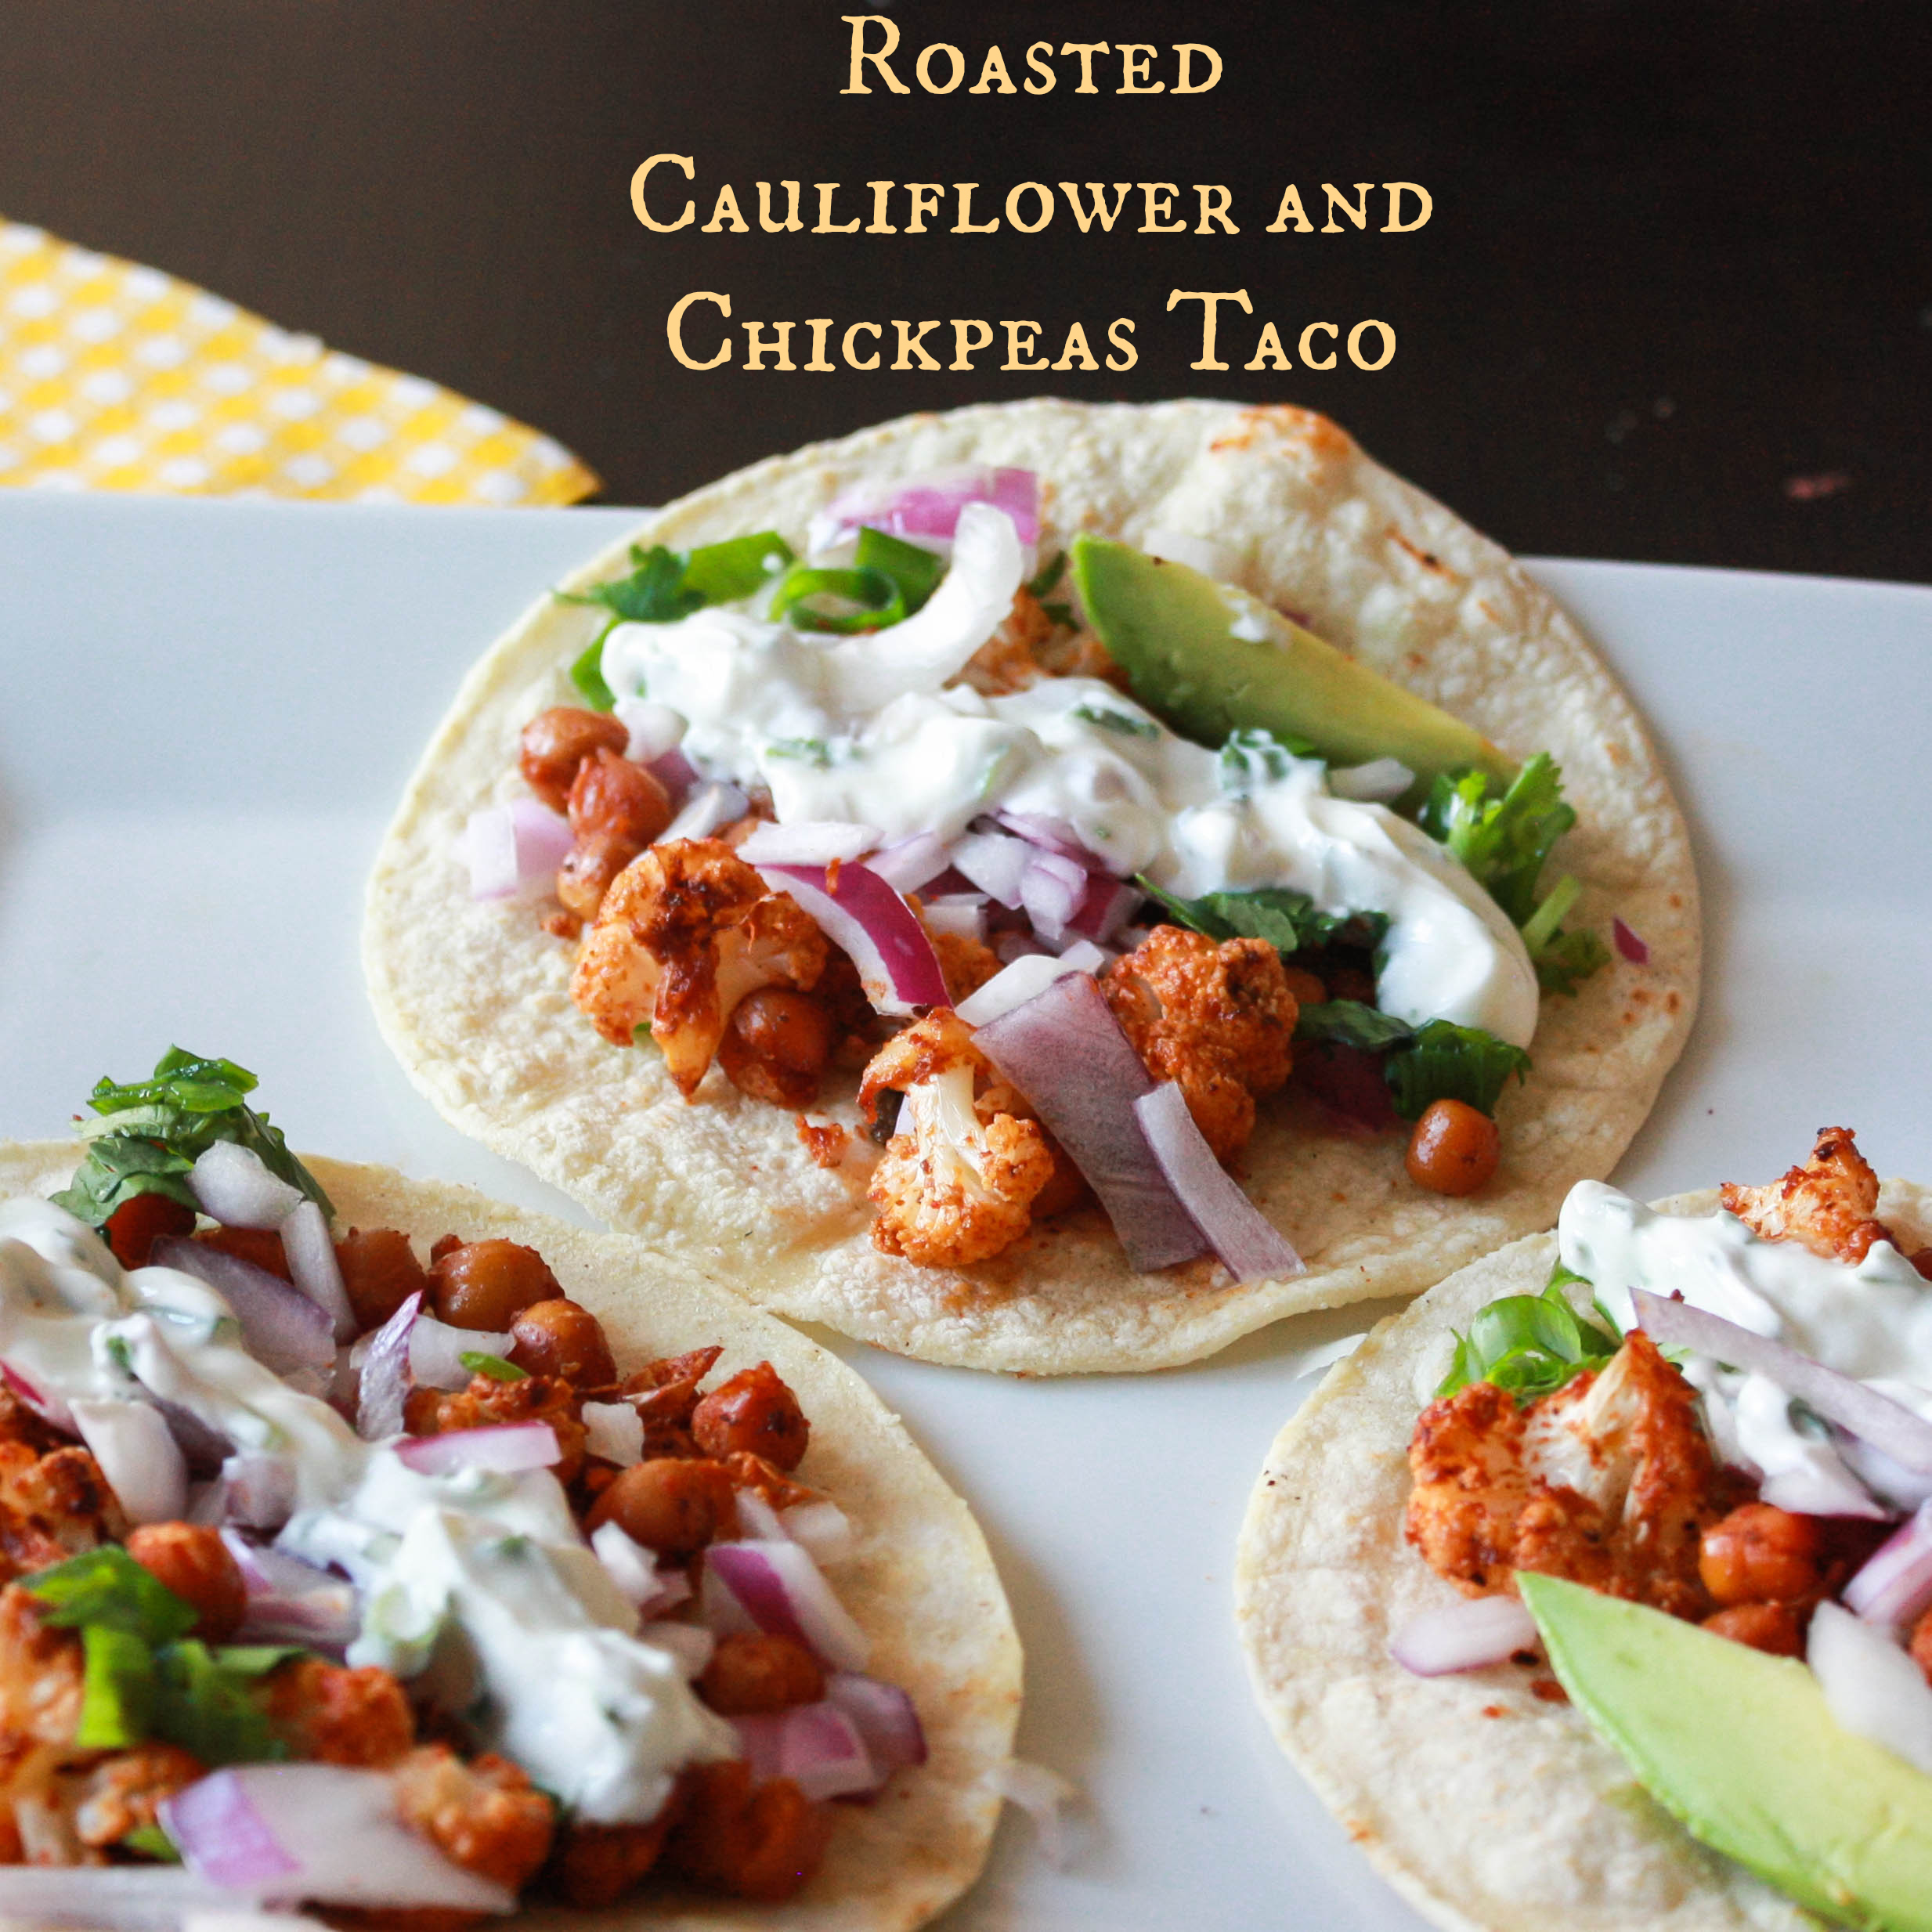
 I used store bought corn tortillas. Will make my corn tortilla sometime 🙂 and post the recipe soon 🙂 To make the cilantro lime crema vegan, you can use vegan sour cream or yogurt.
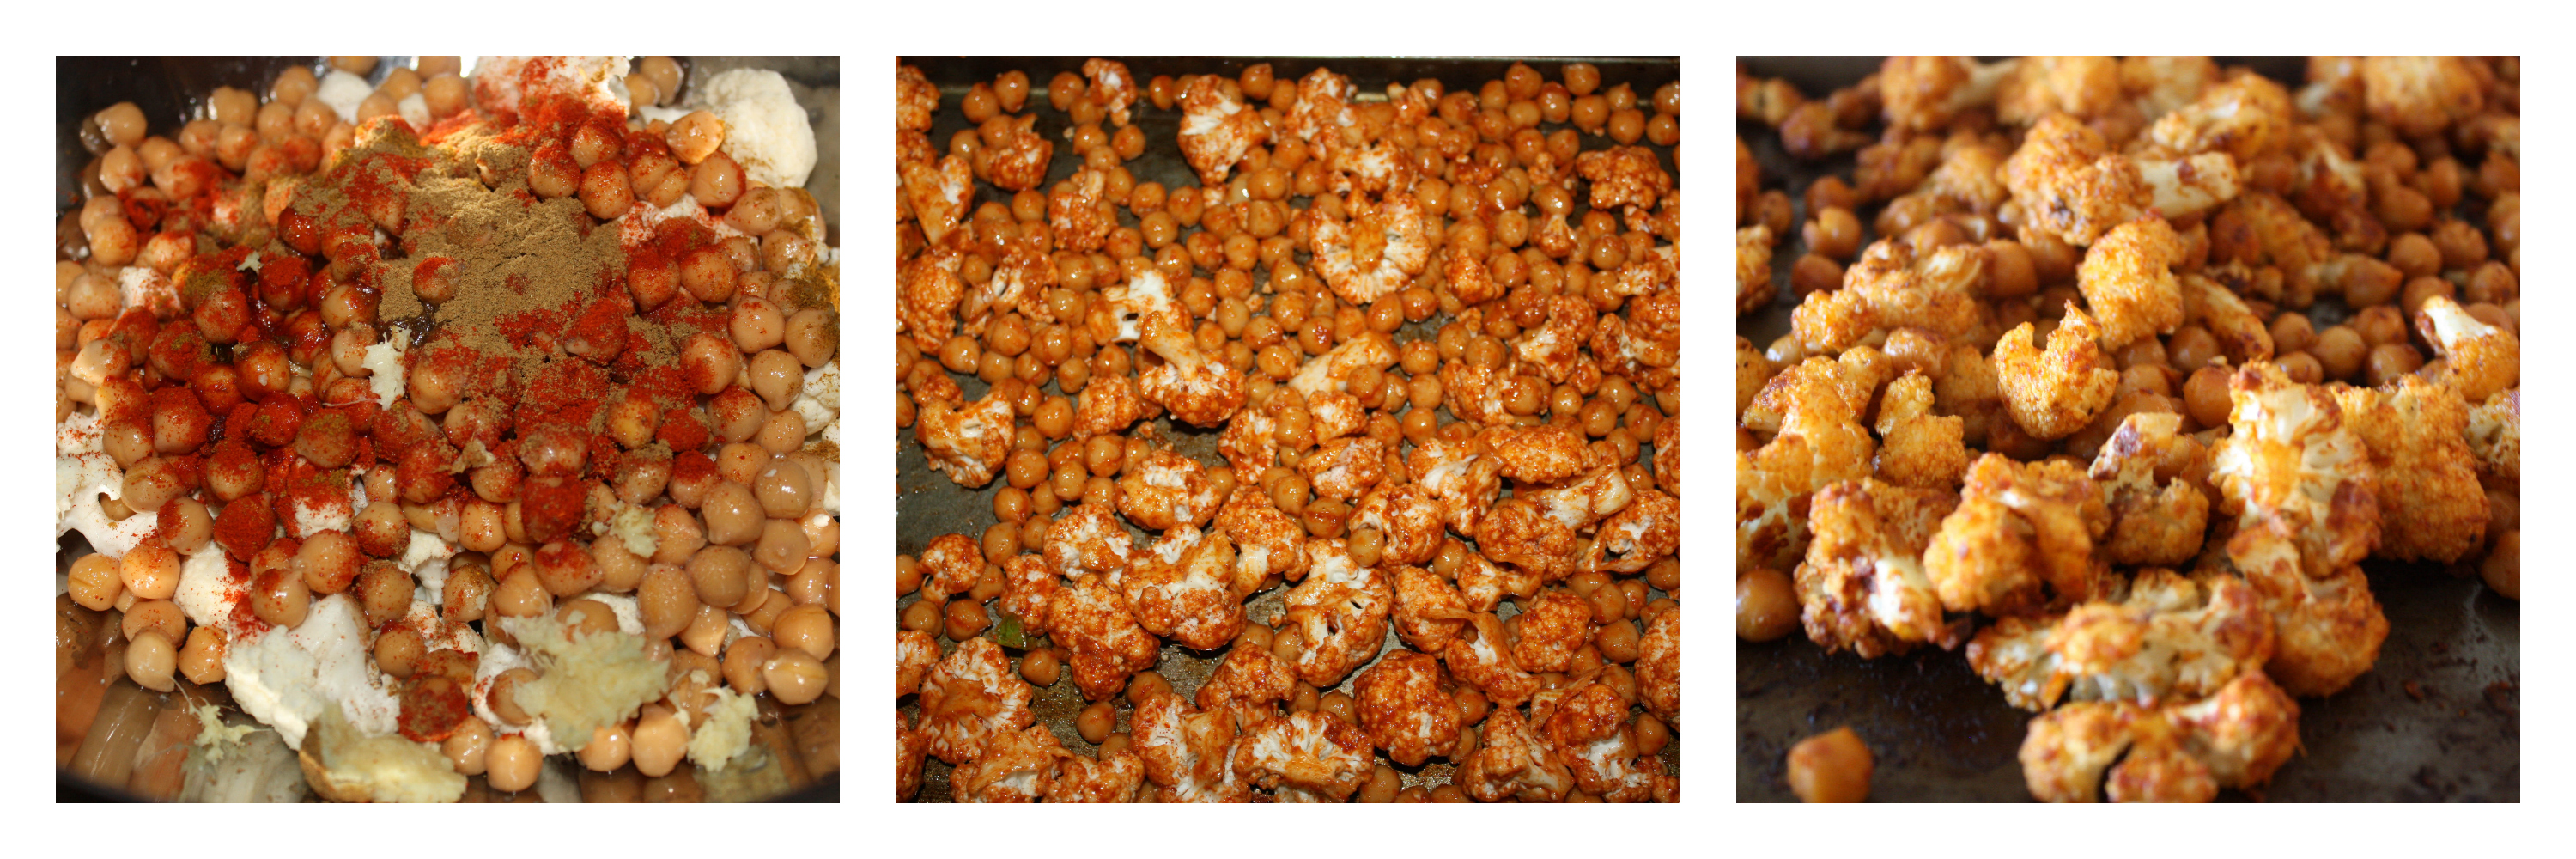


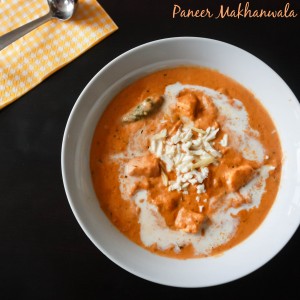
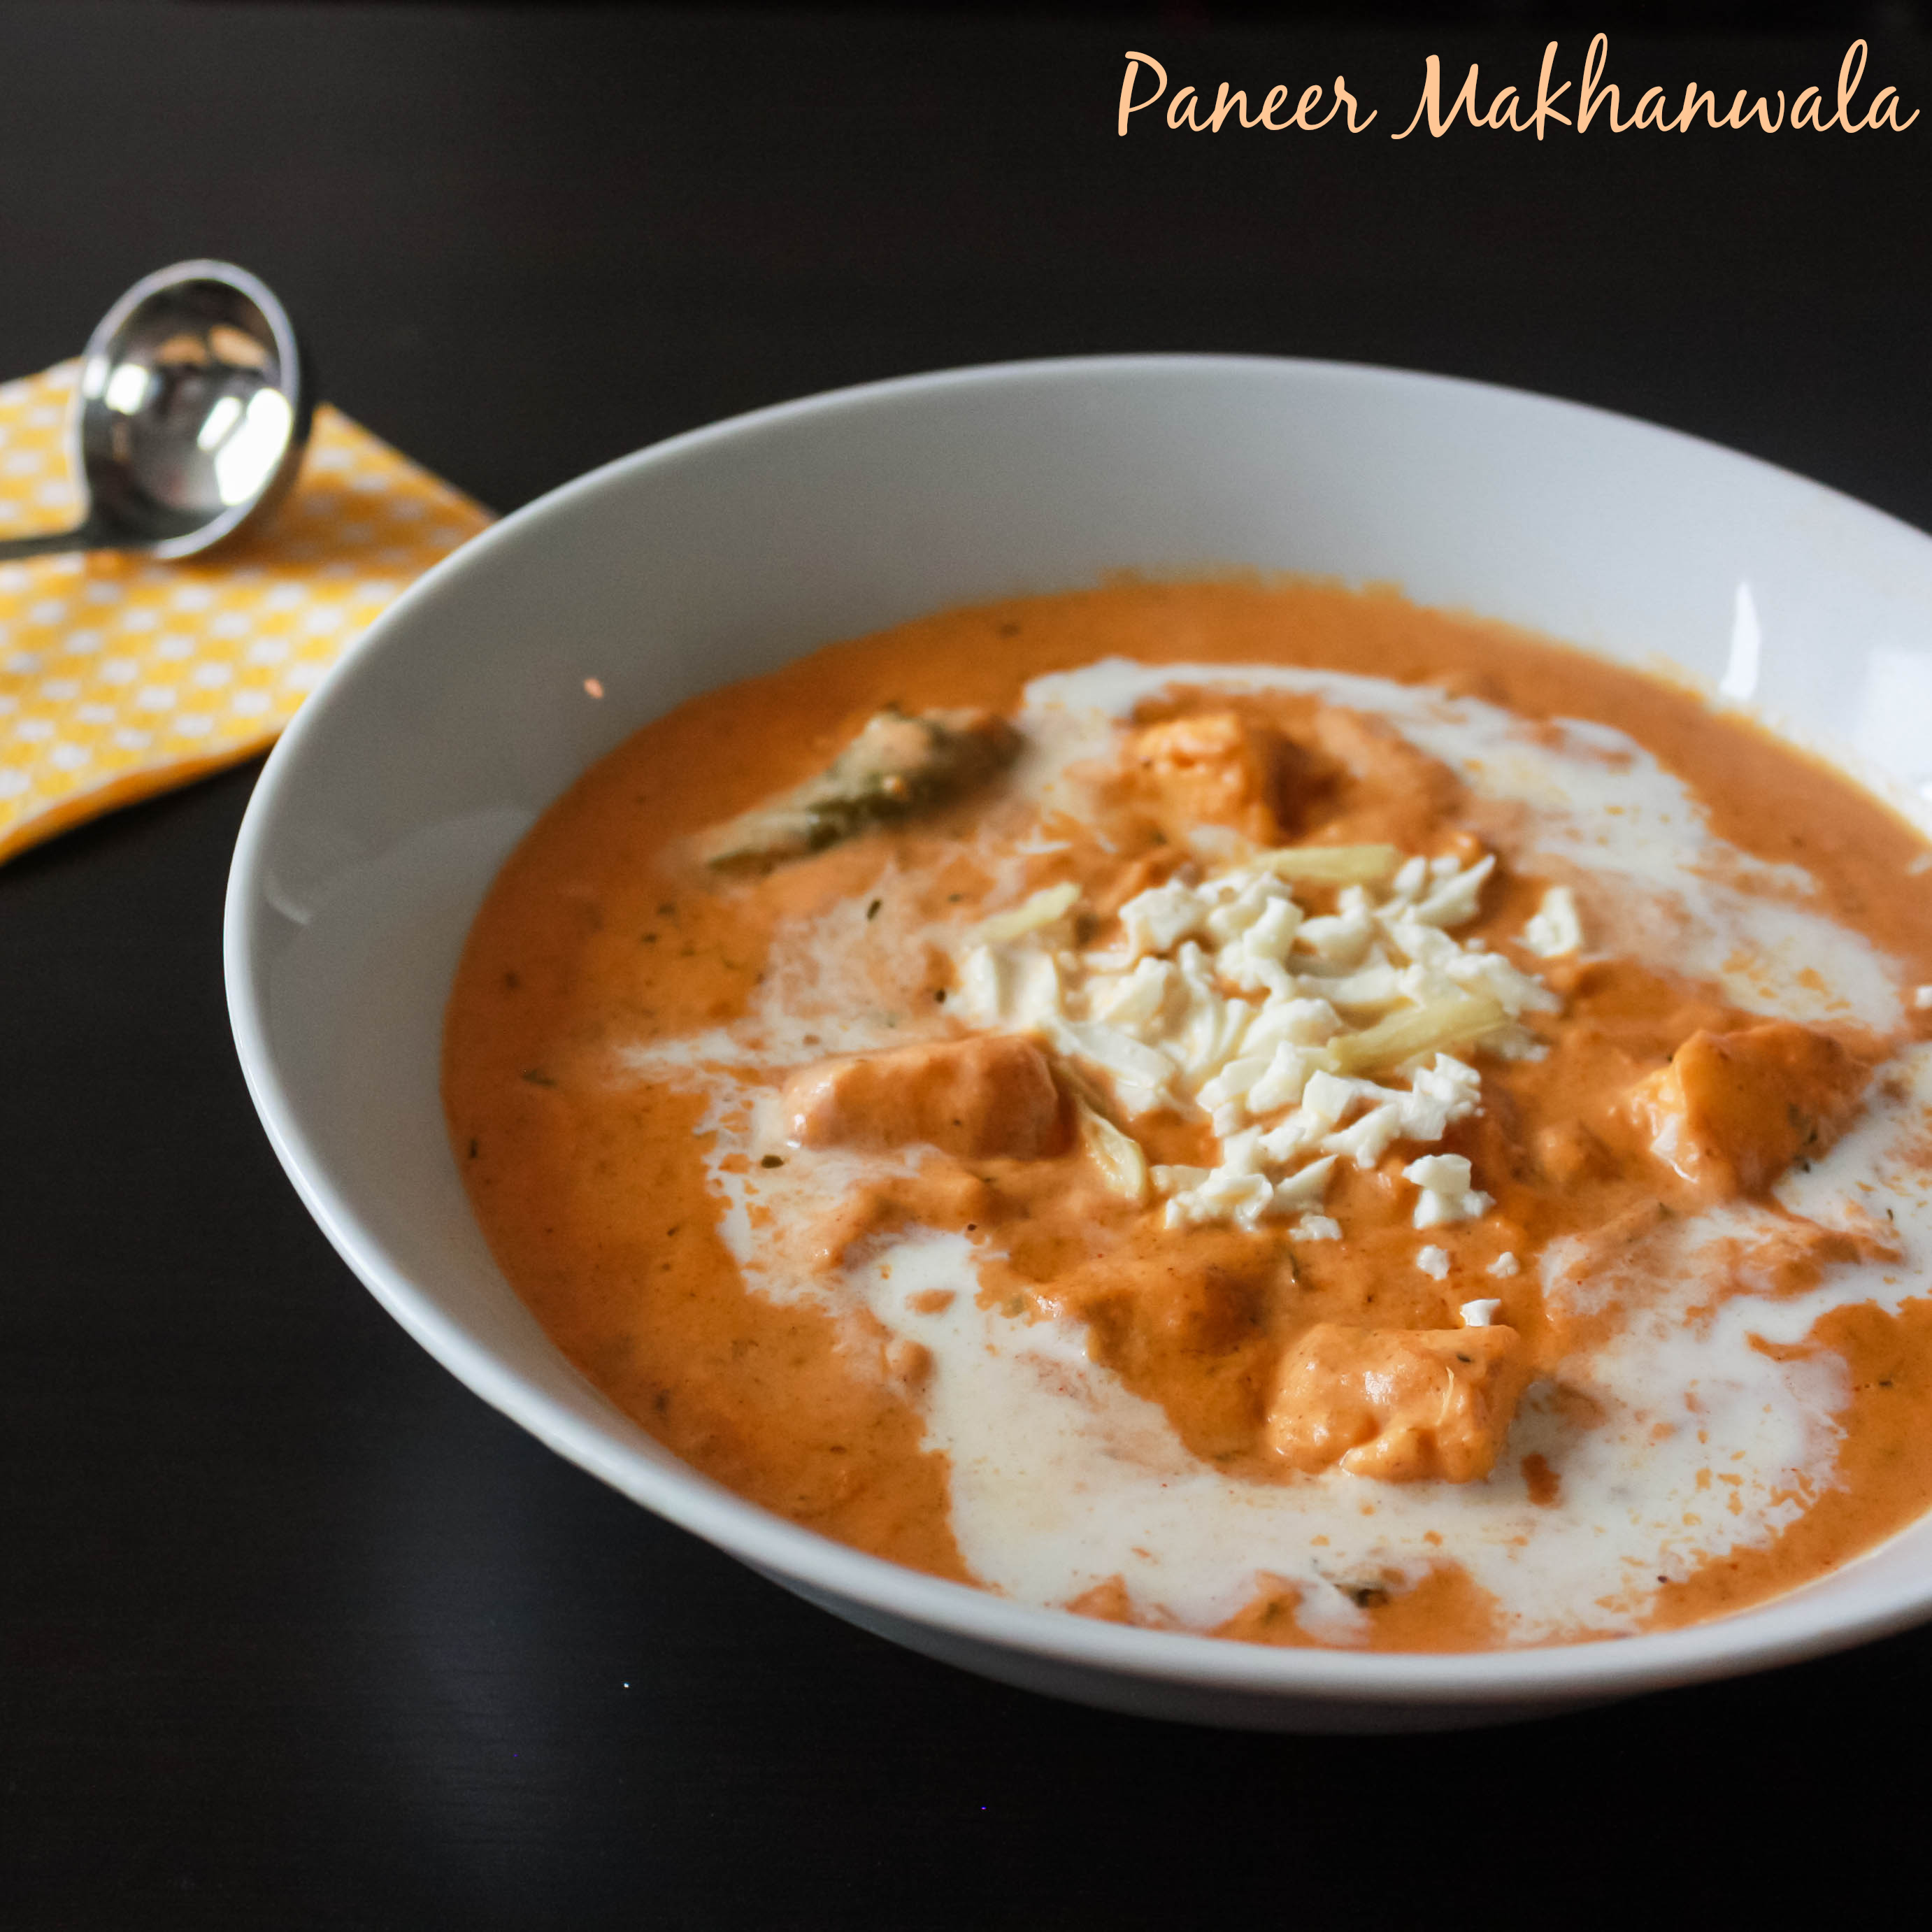
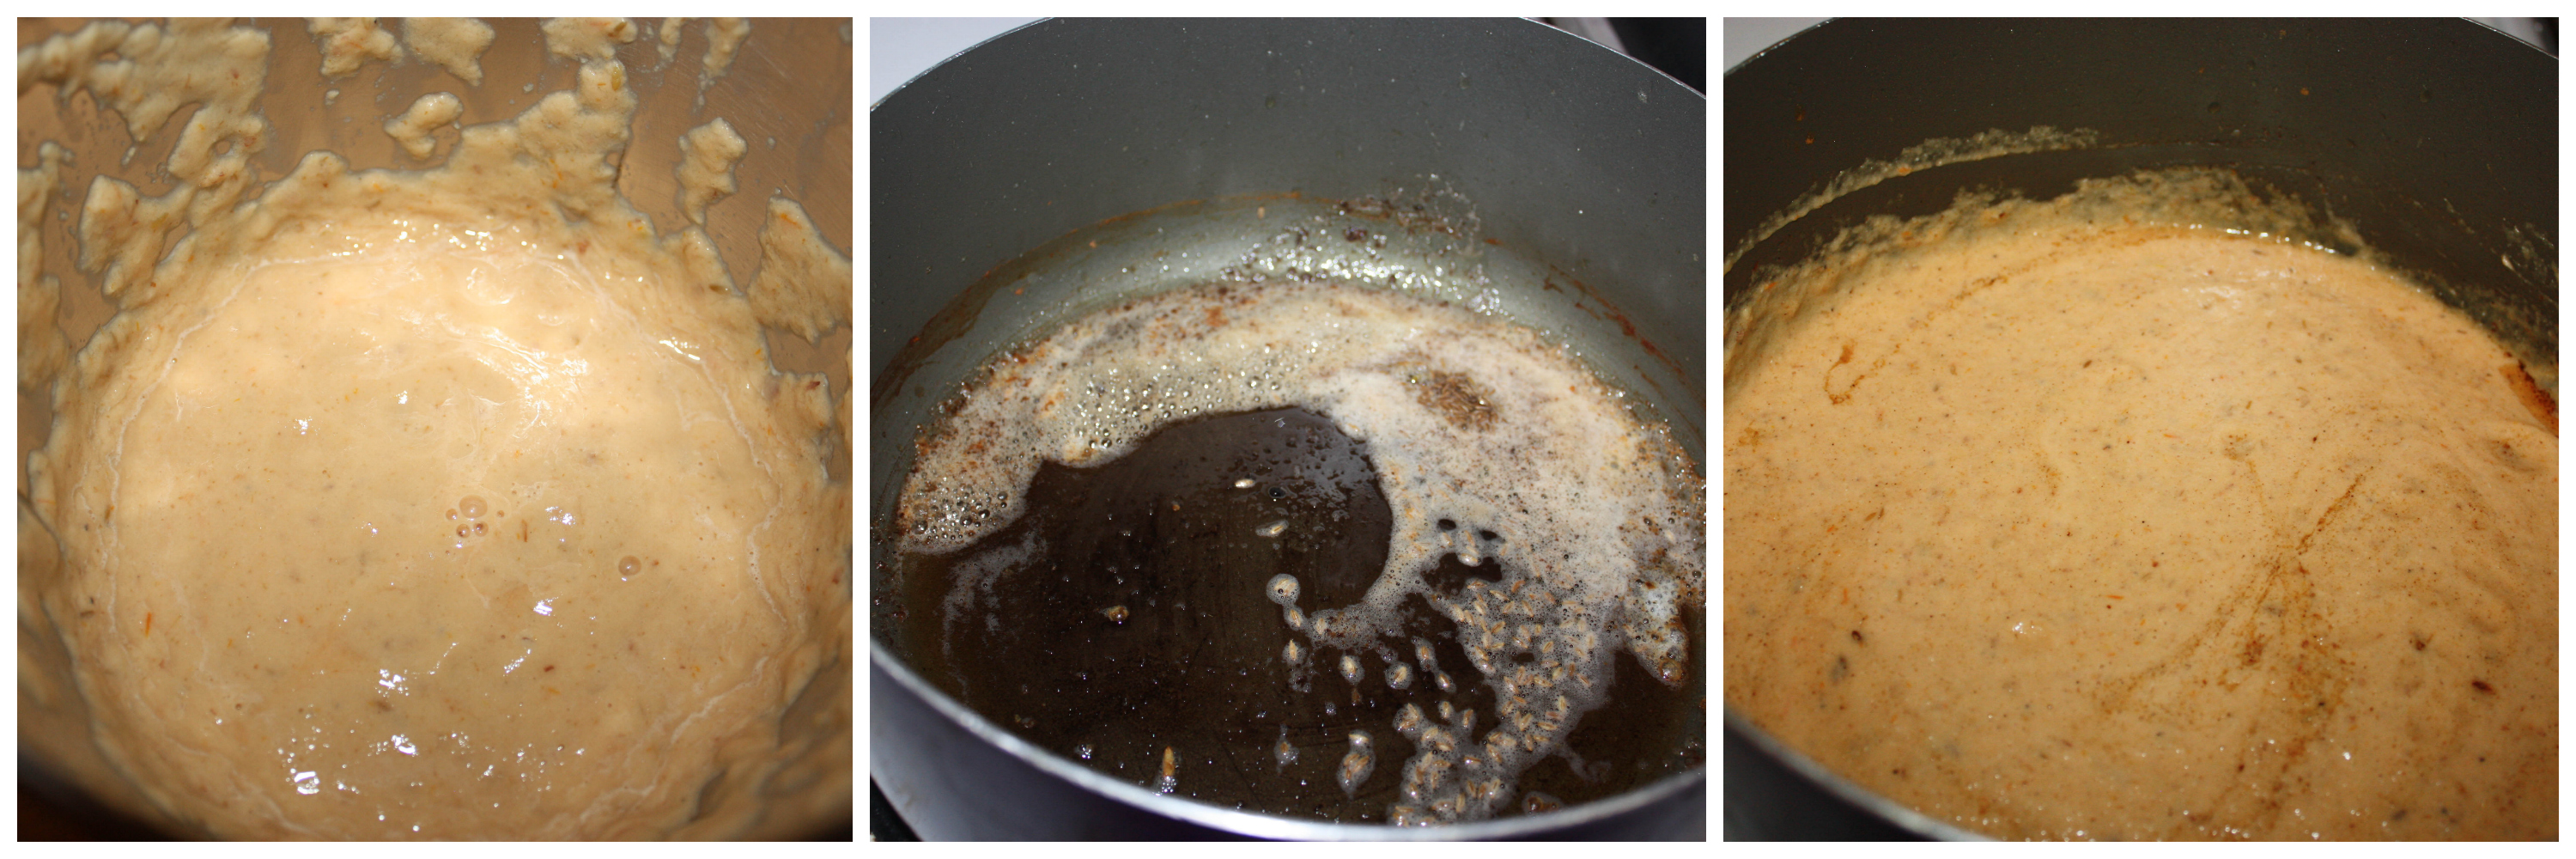
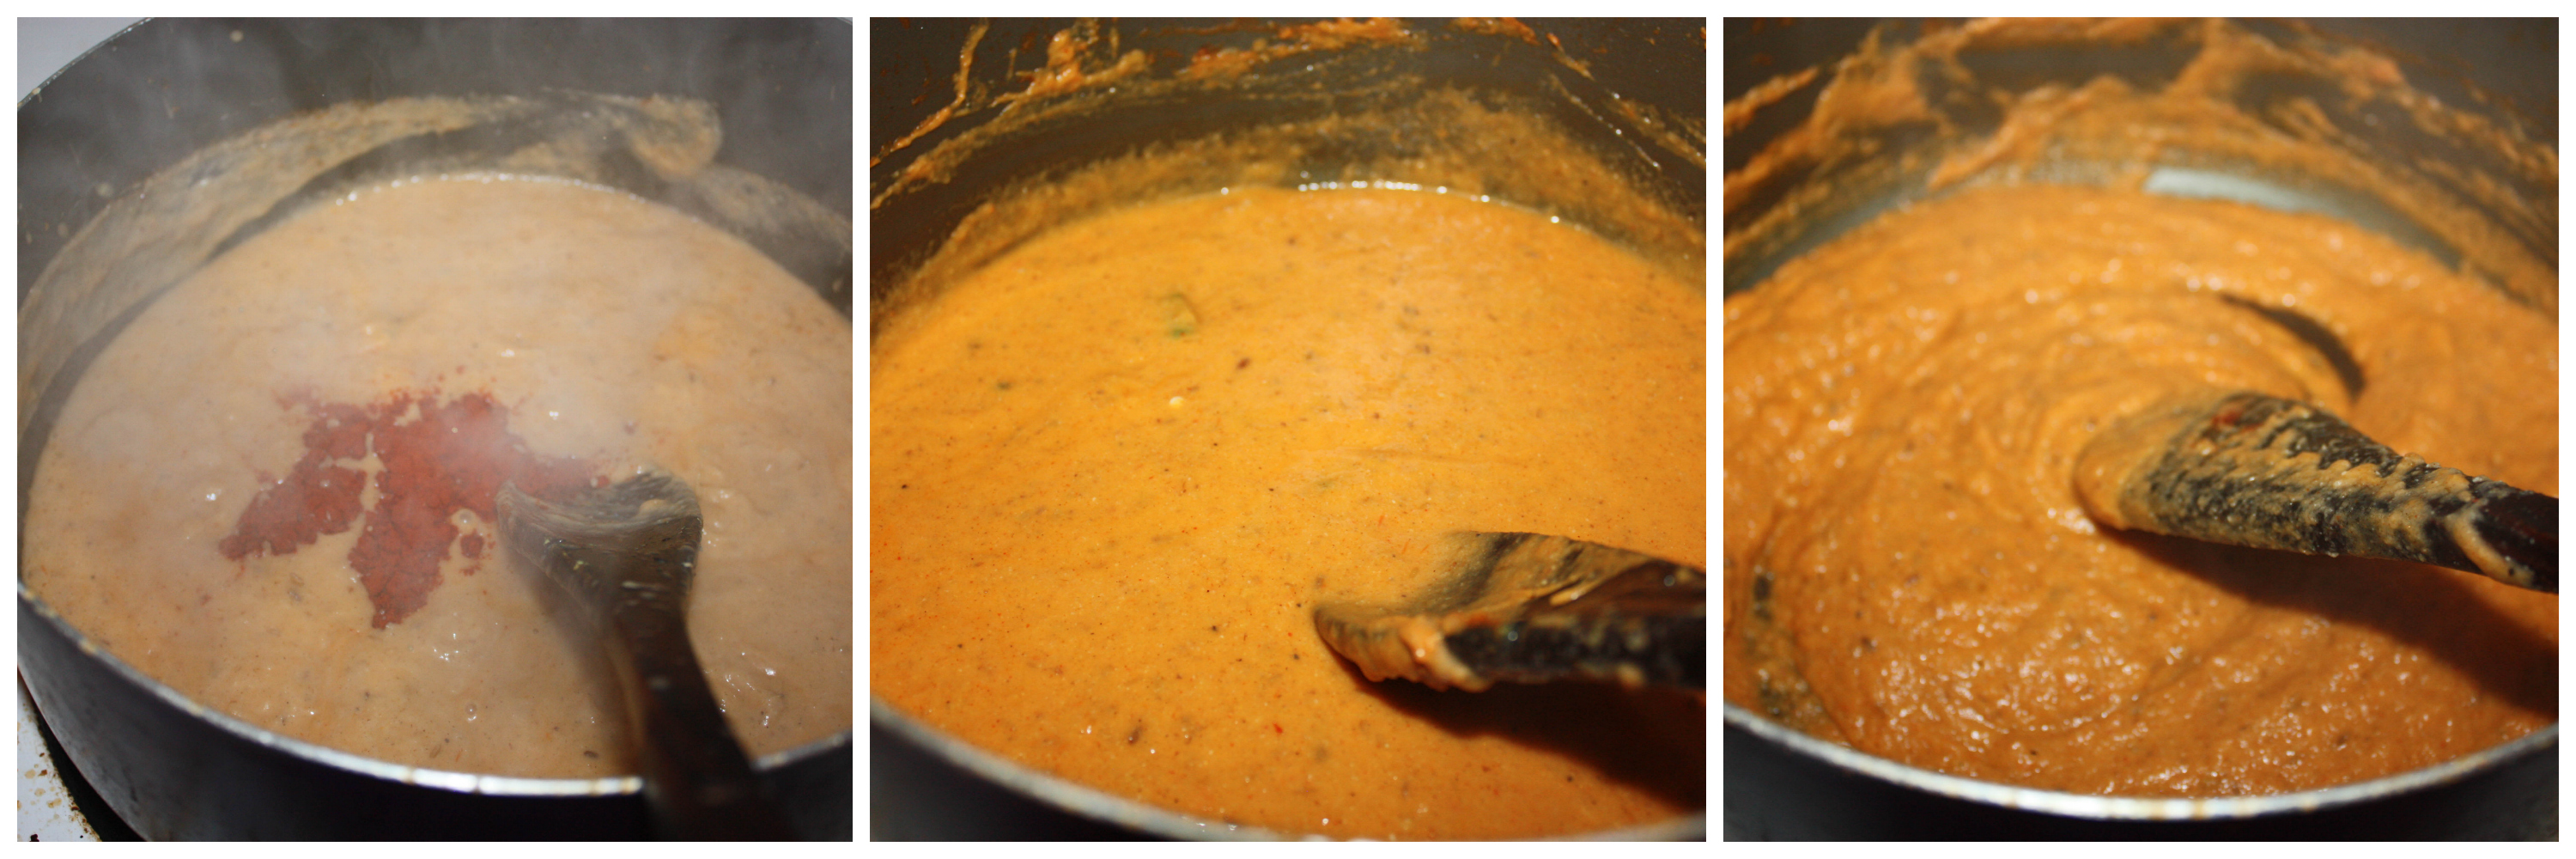
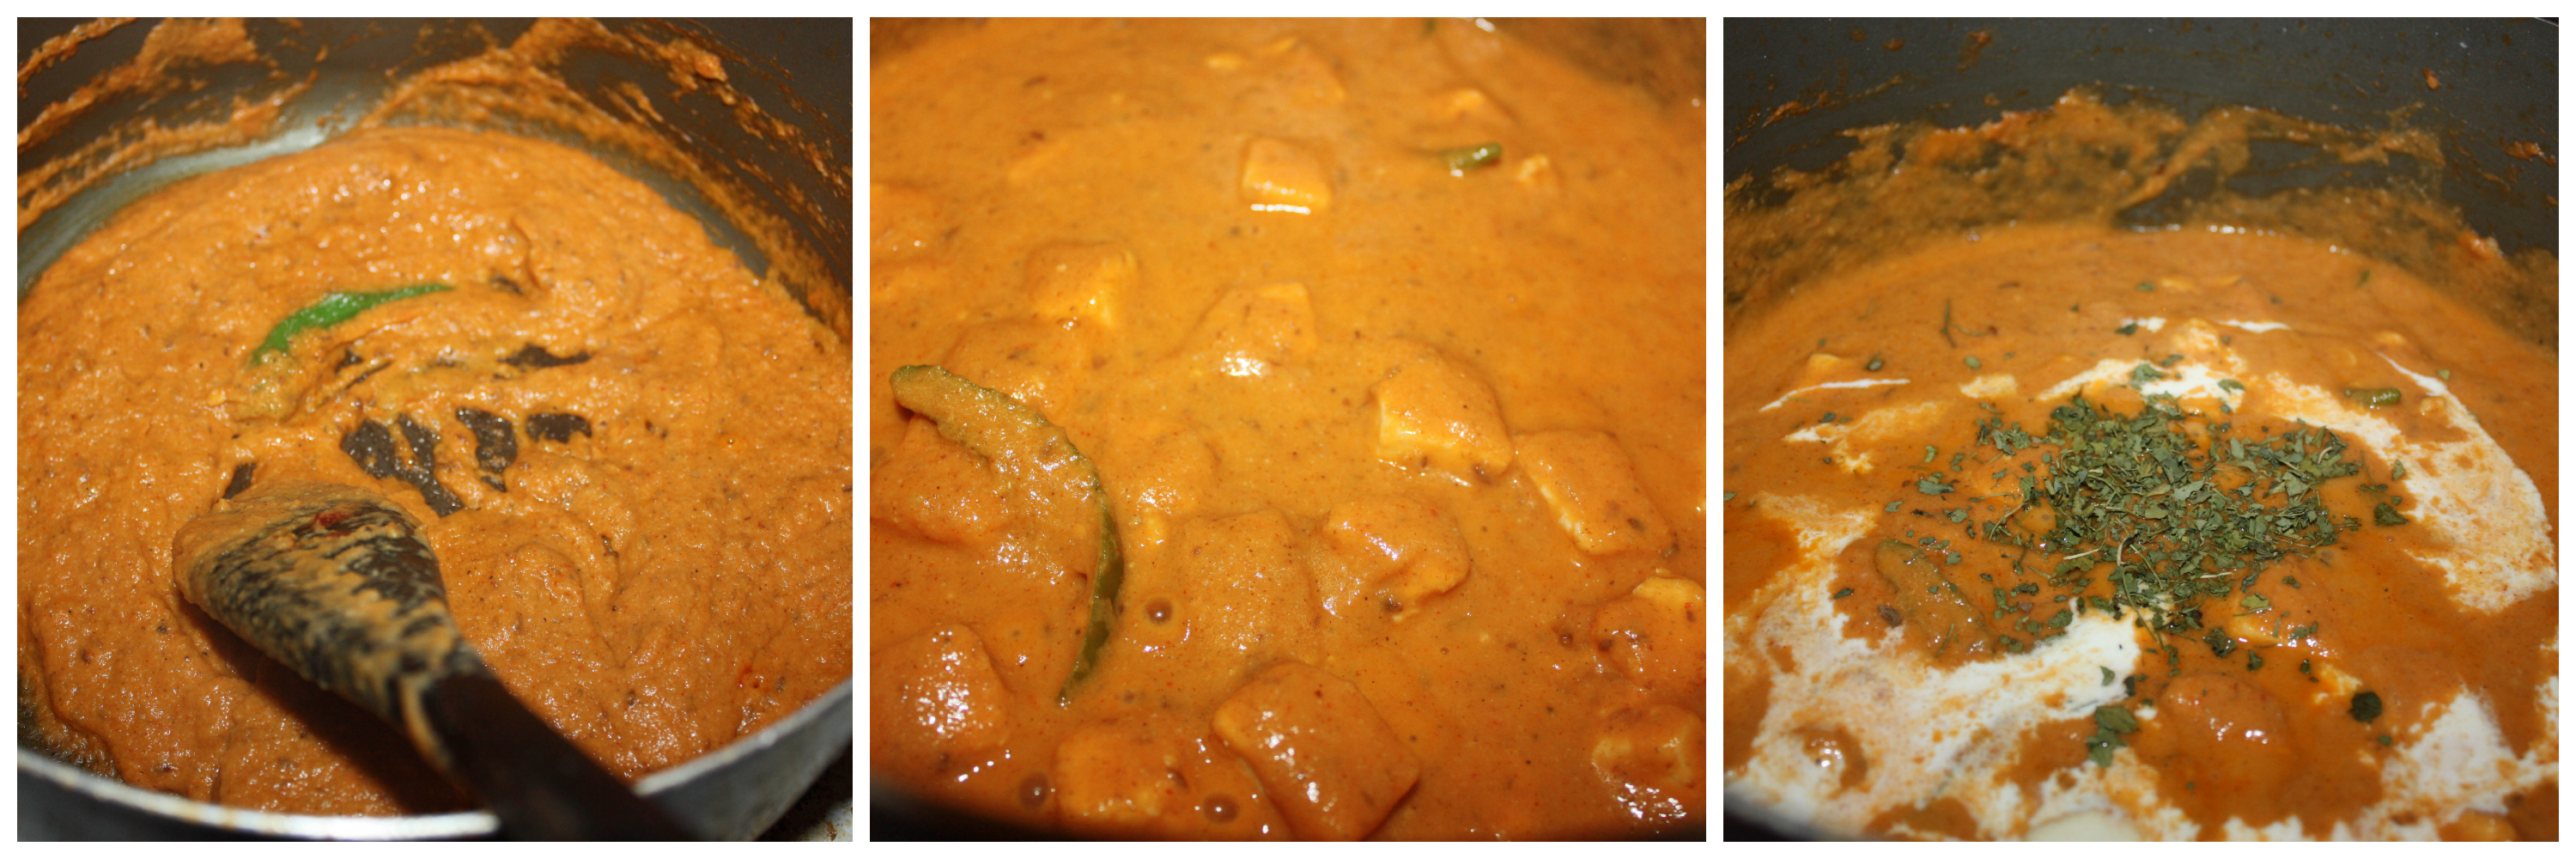
 . Happy ME ! 😀 When there is guest over and I wanted to do vegetarian dishes, I will make it a point to do atleast one paneer dish ;). It goes well with any kind of pulav, jeera rice, naan,roti or any kind of bread you fancy.
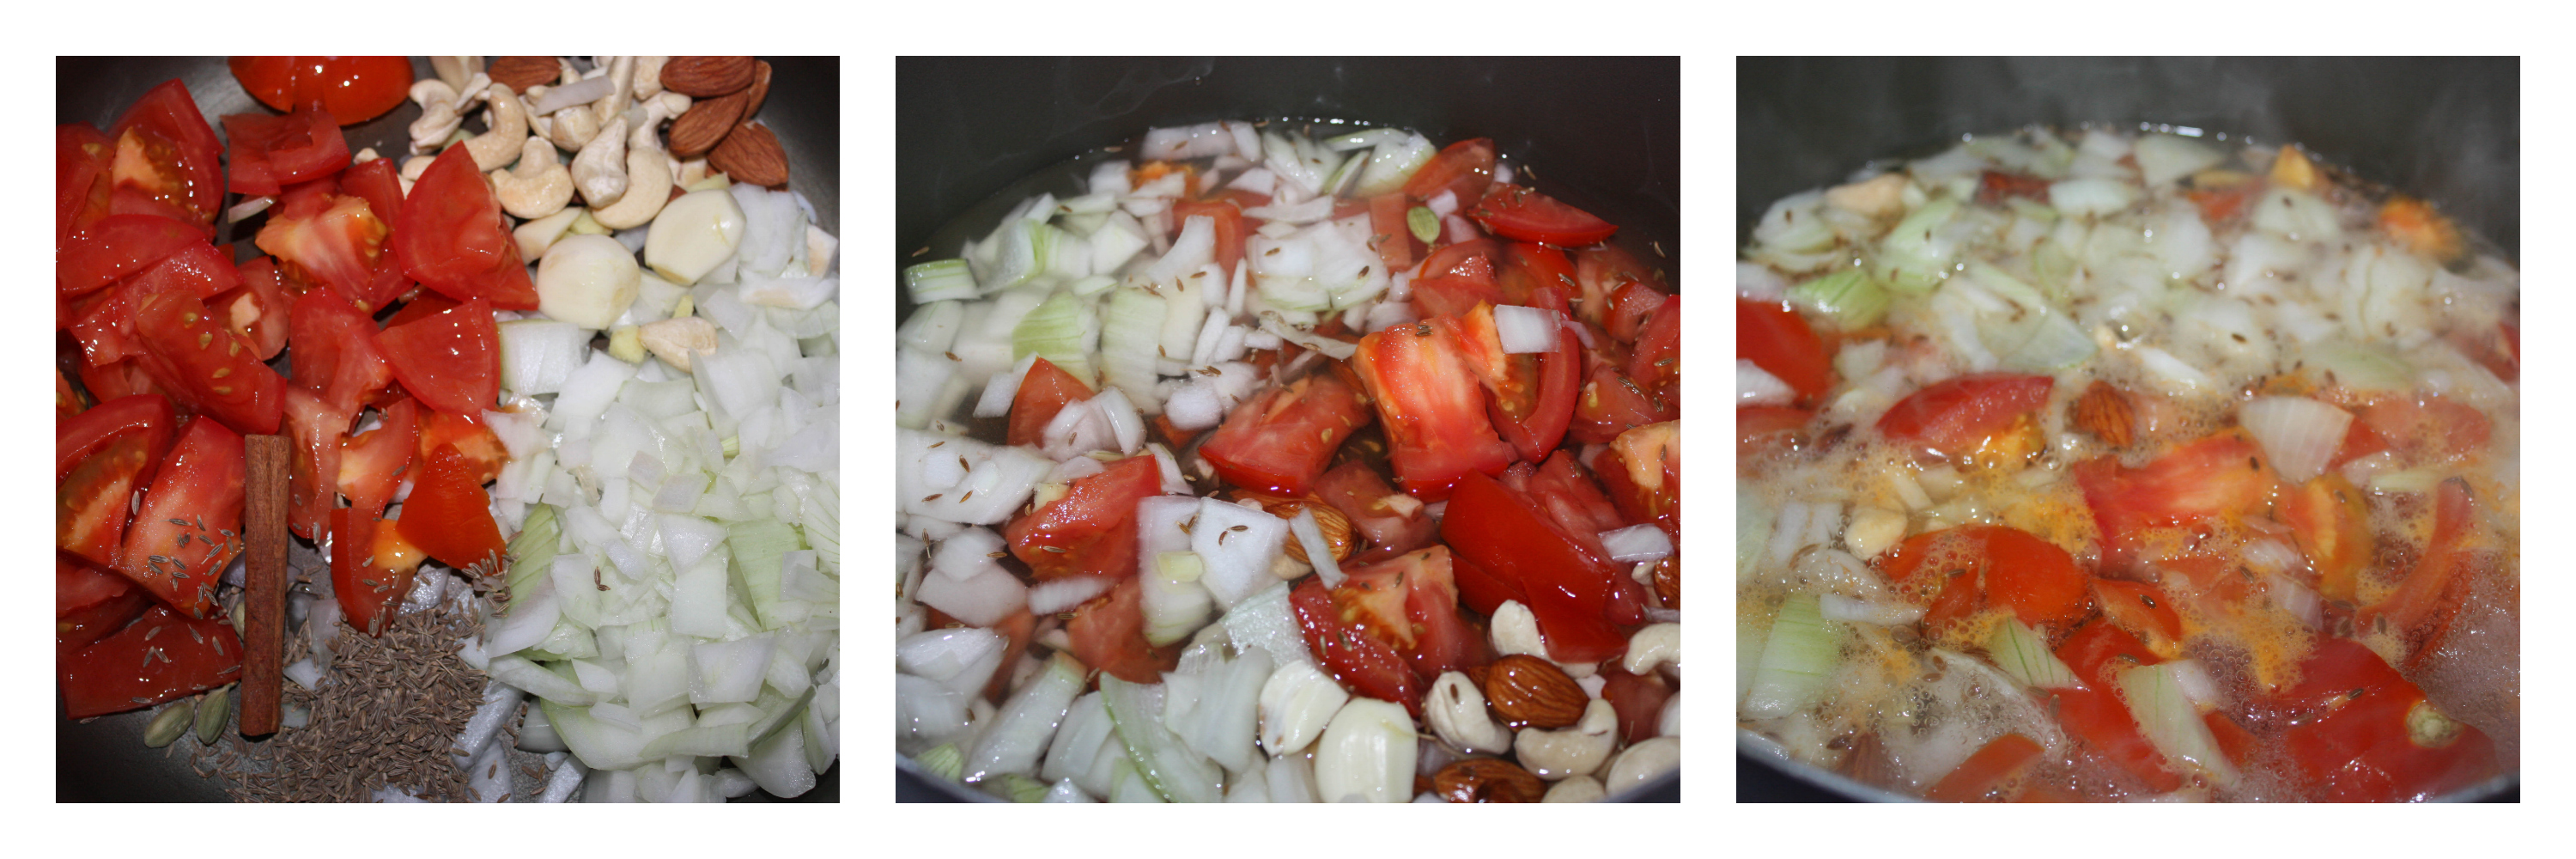


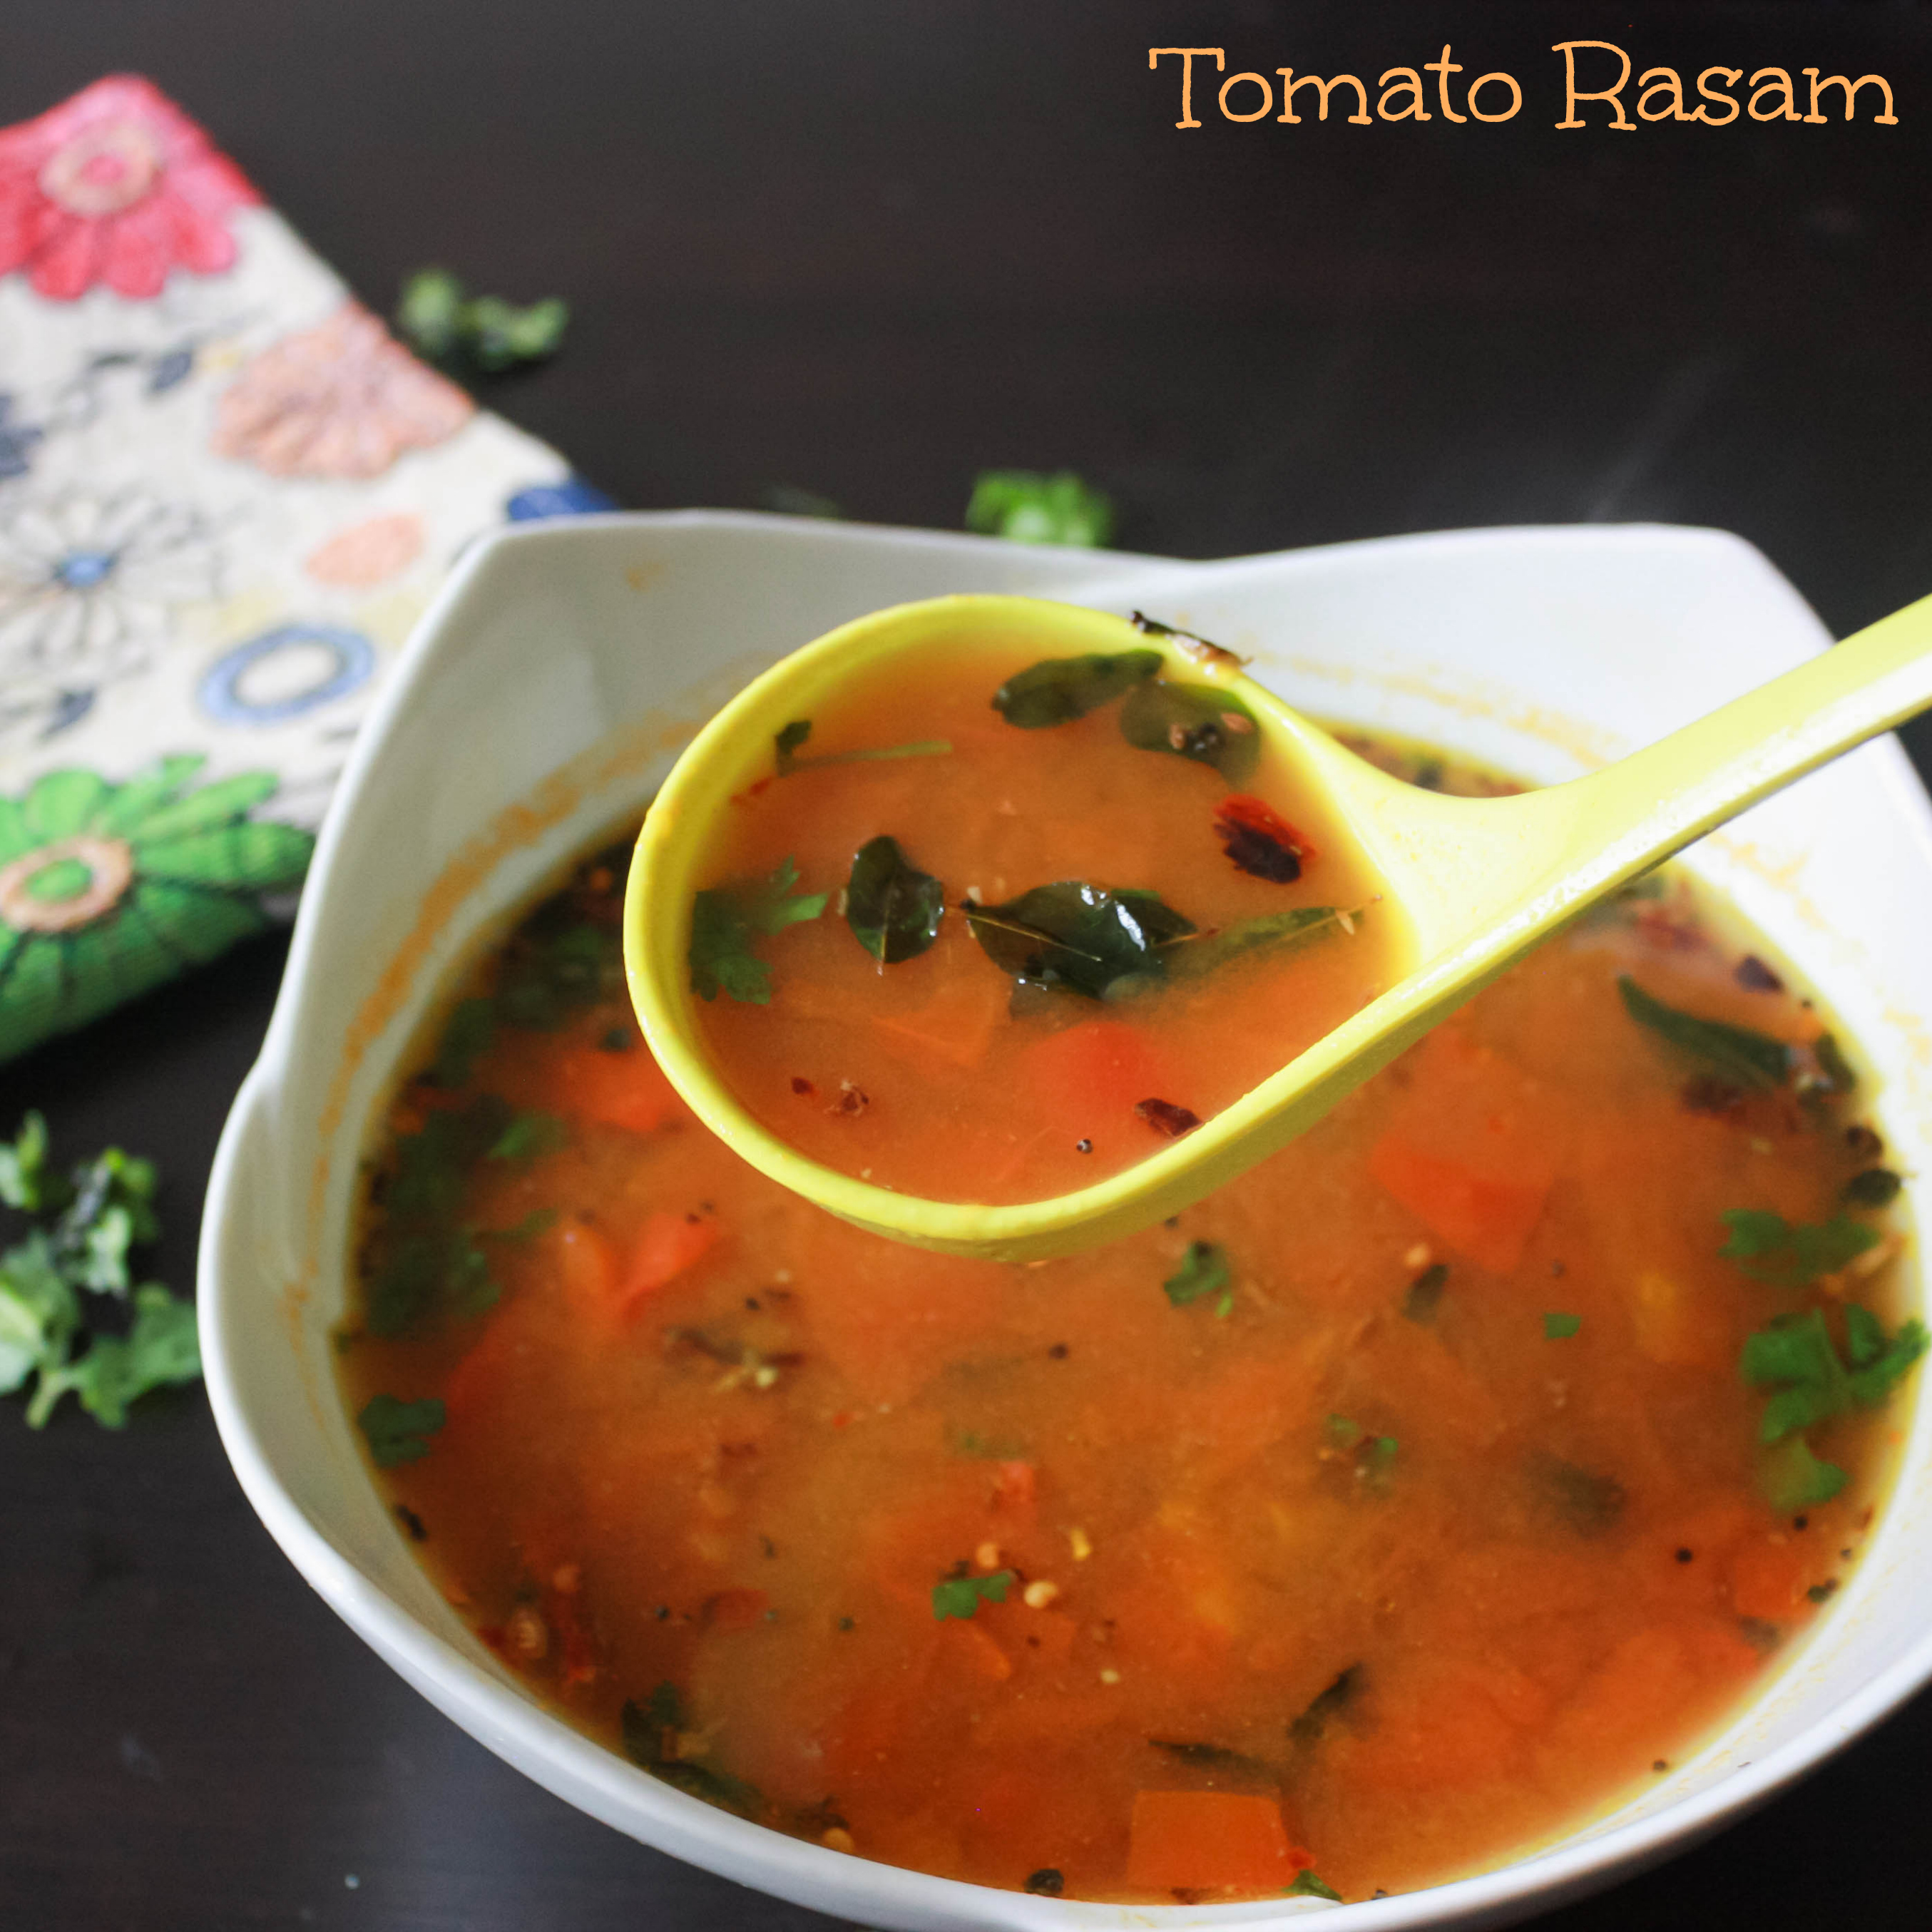
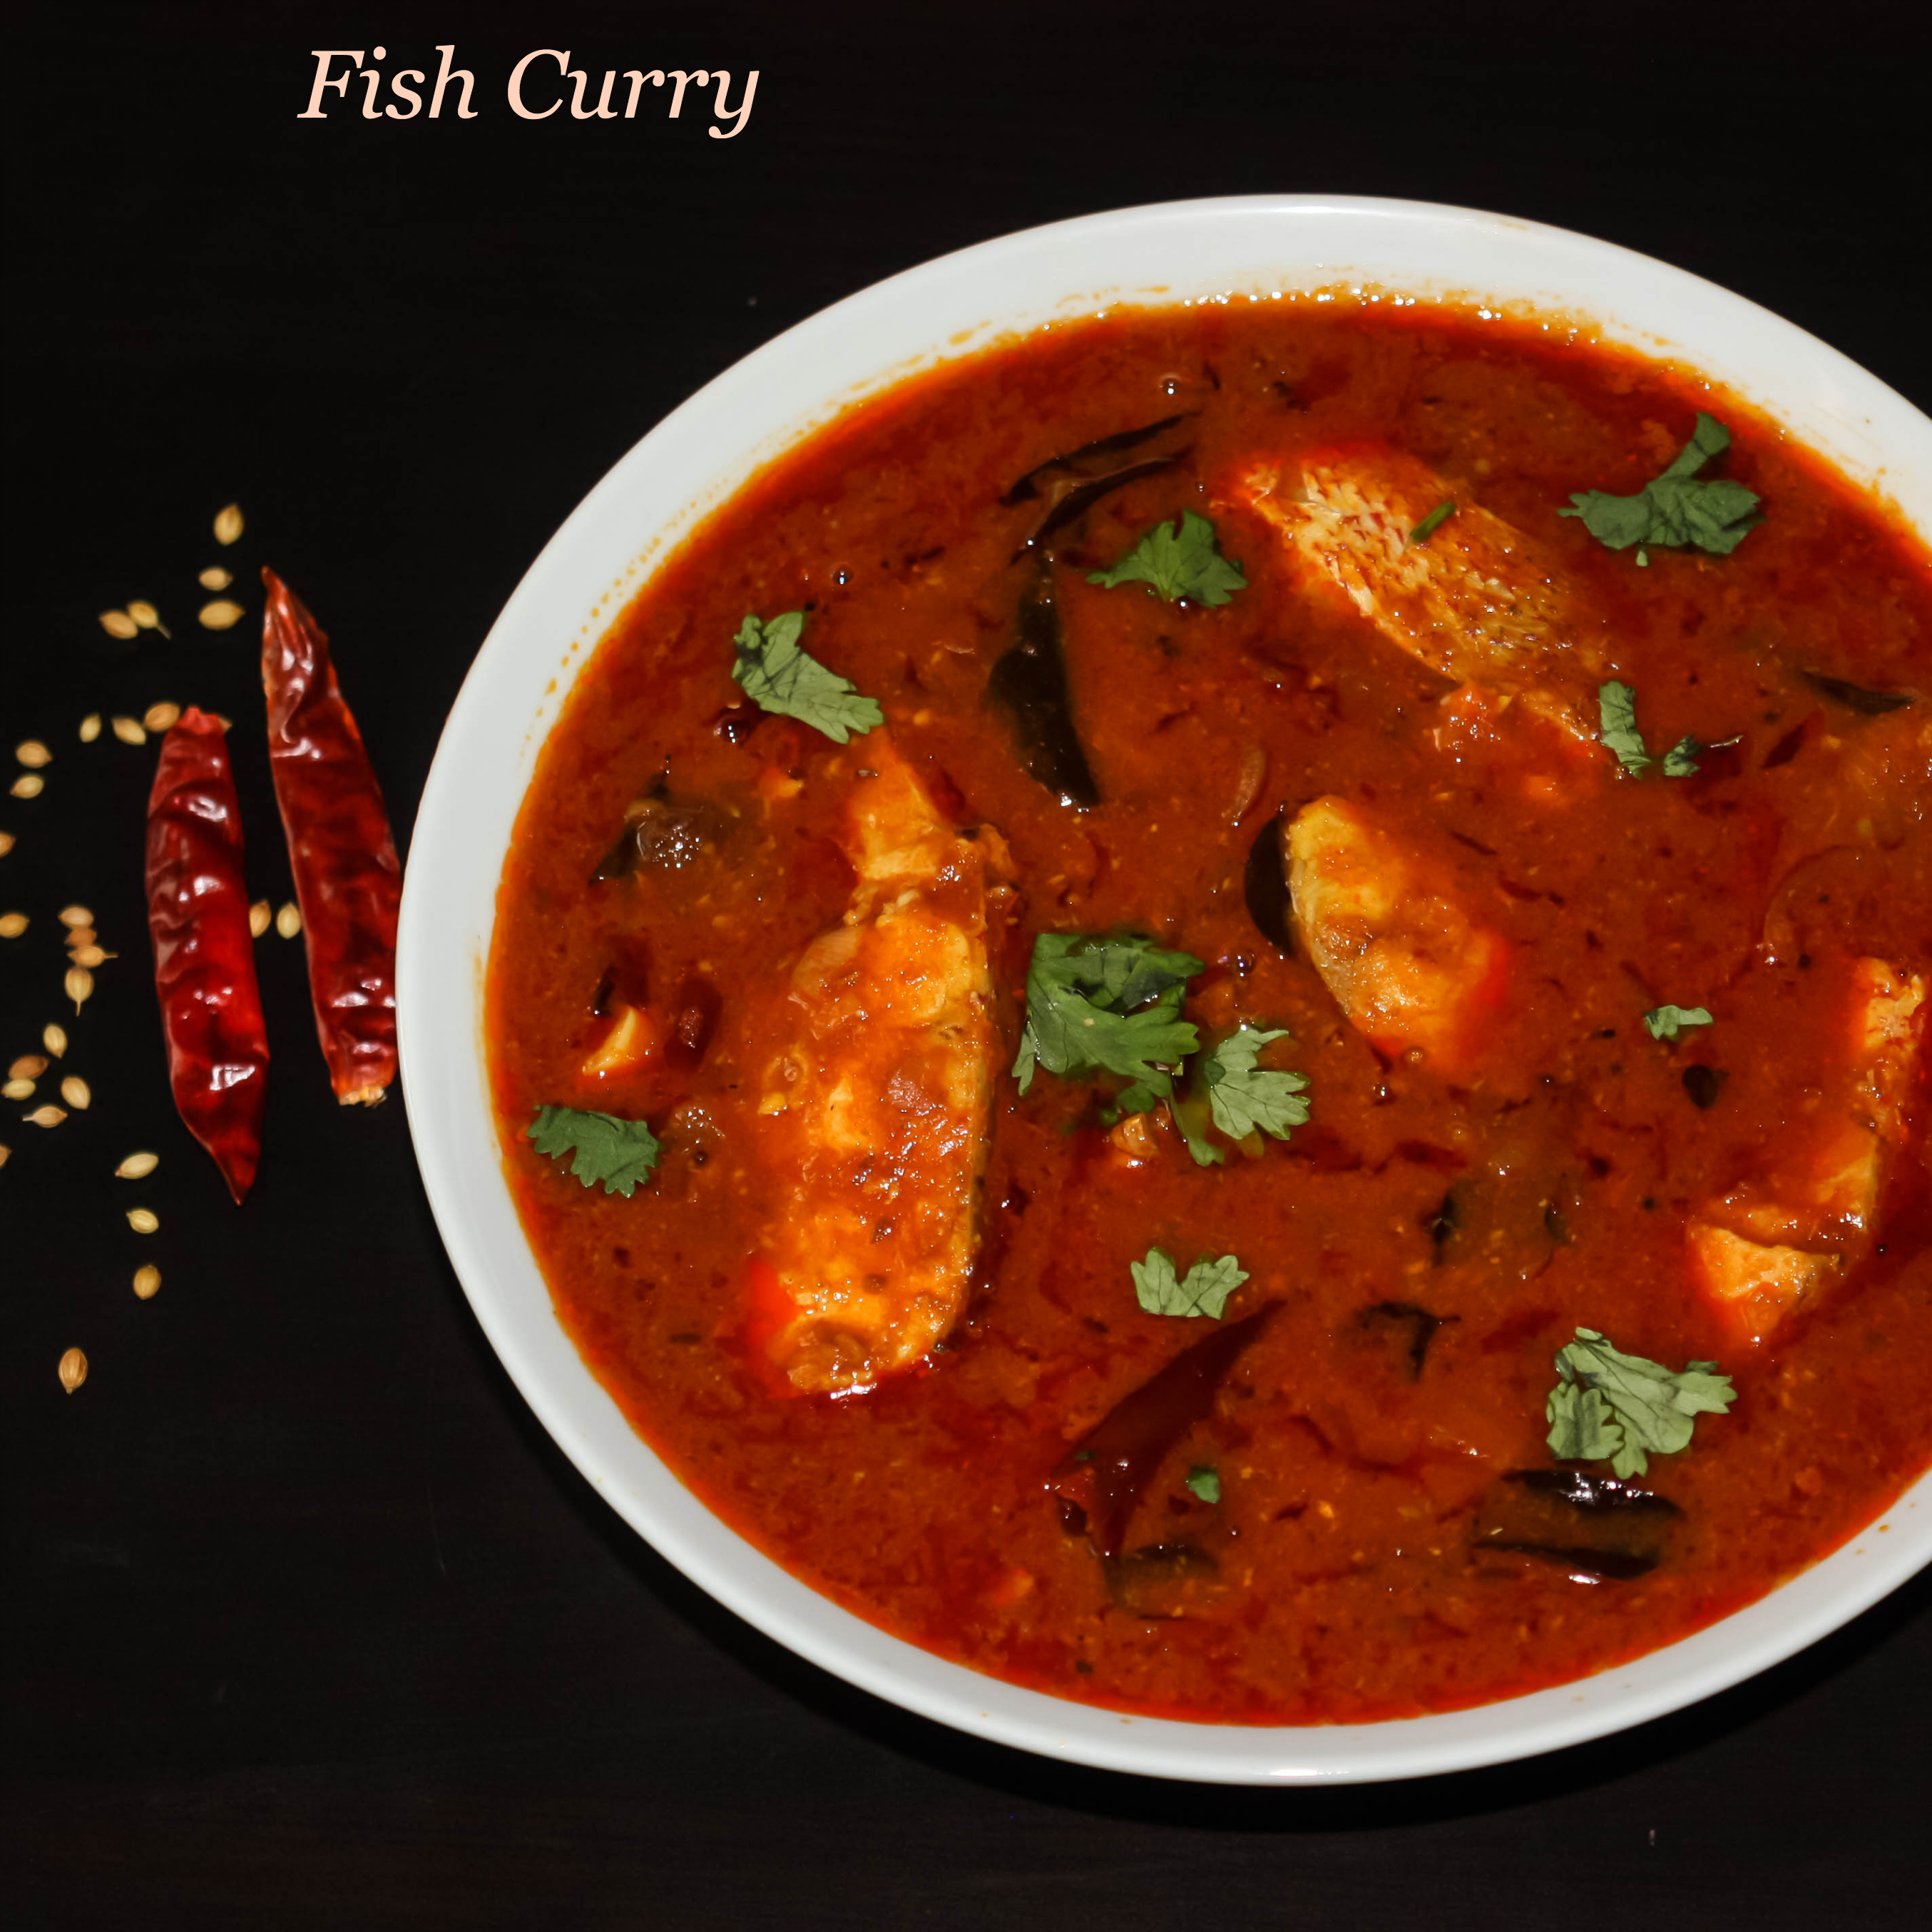
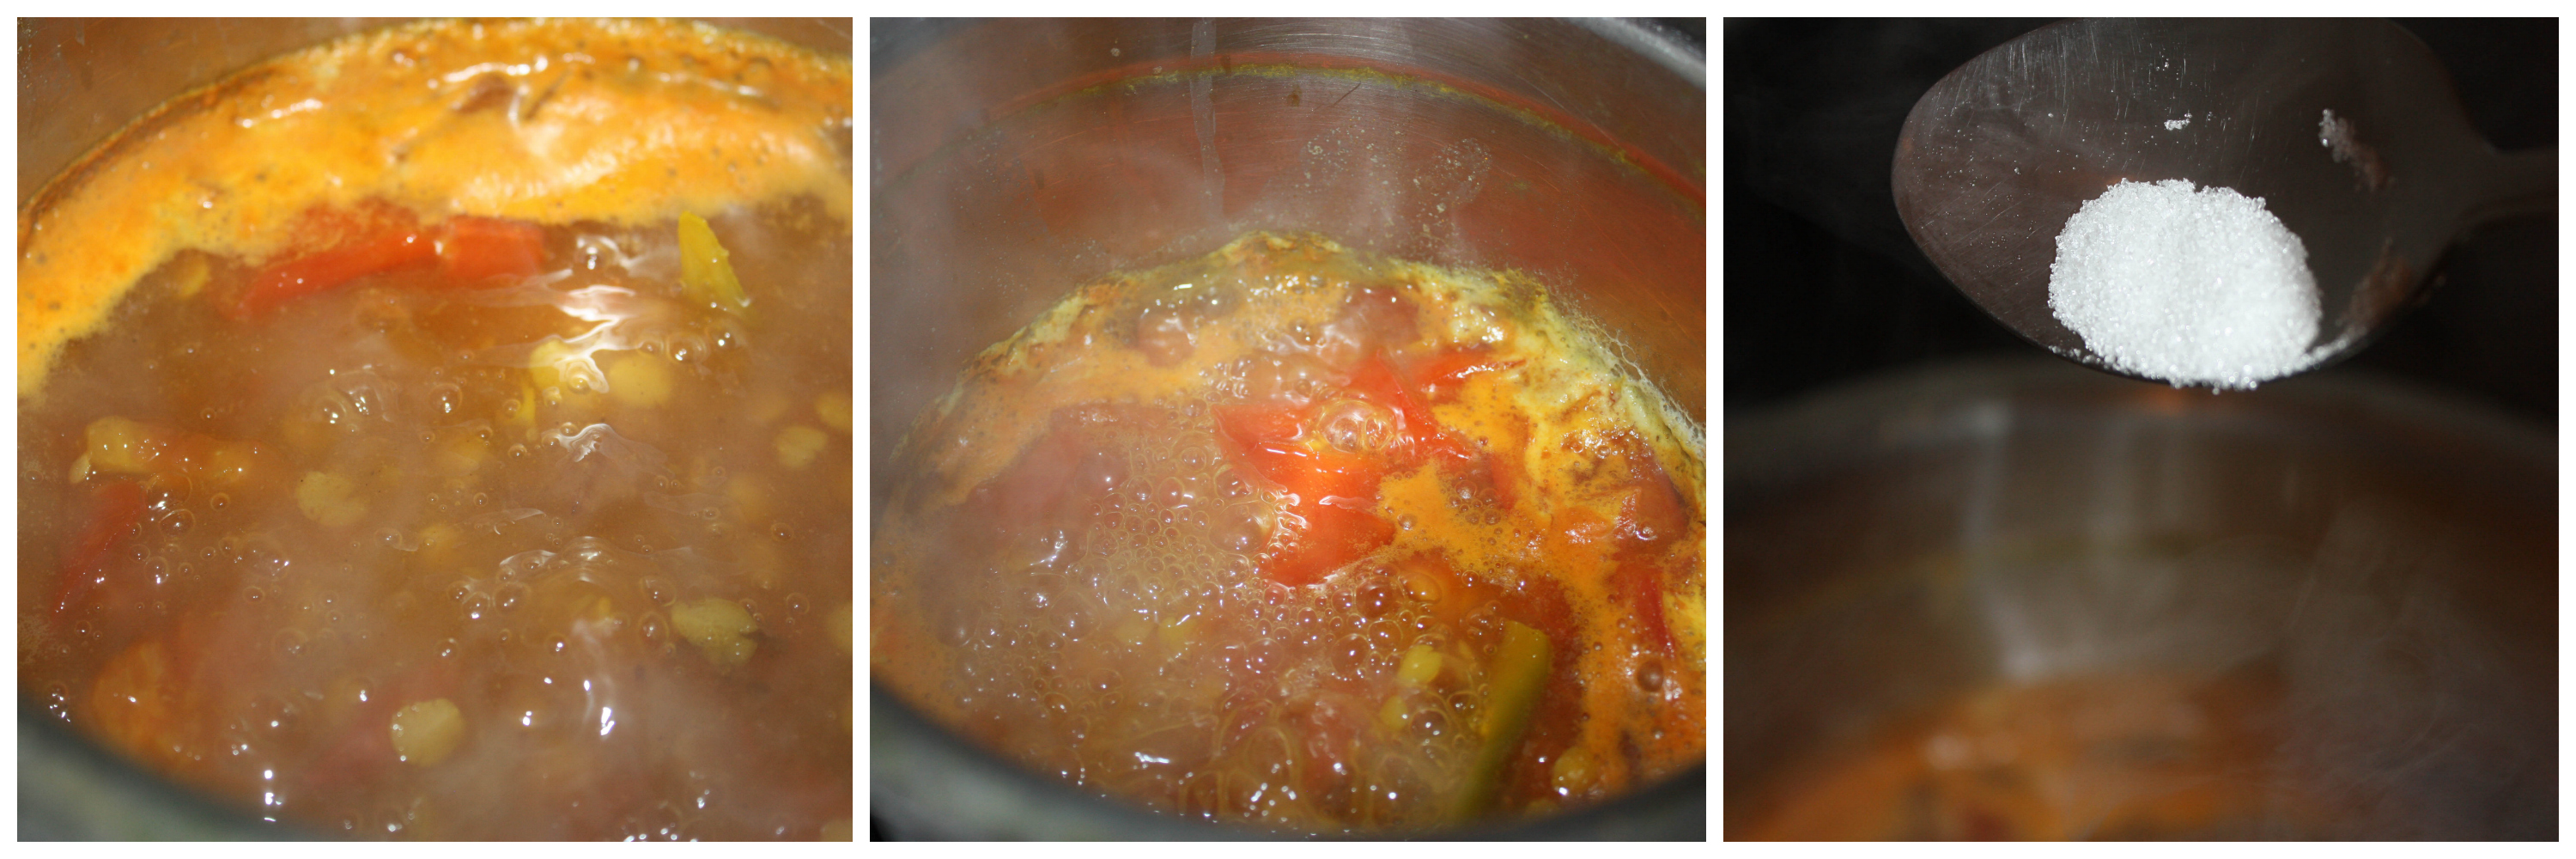
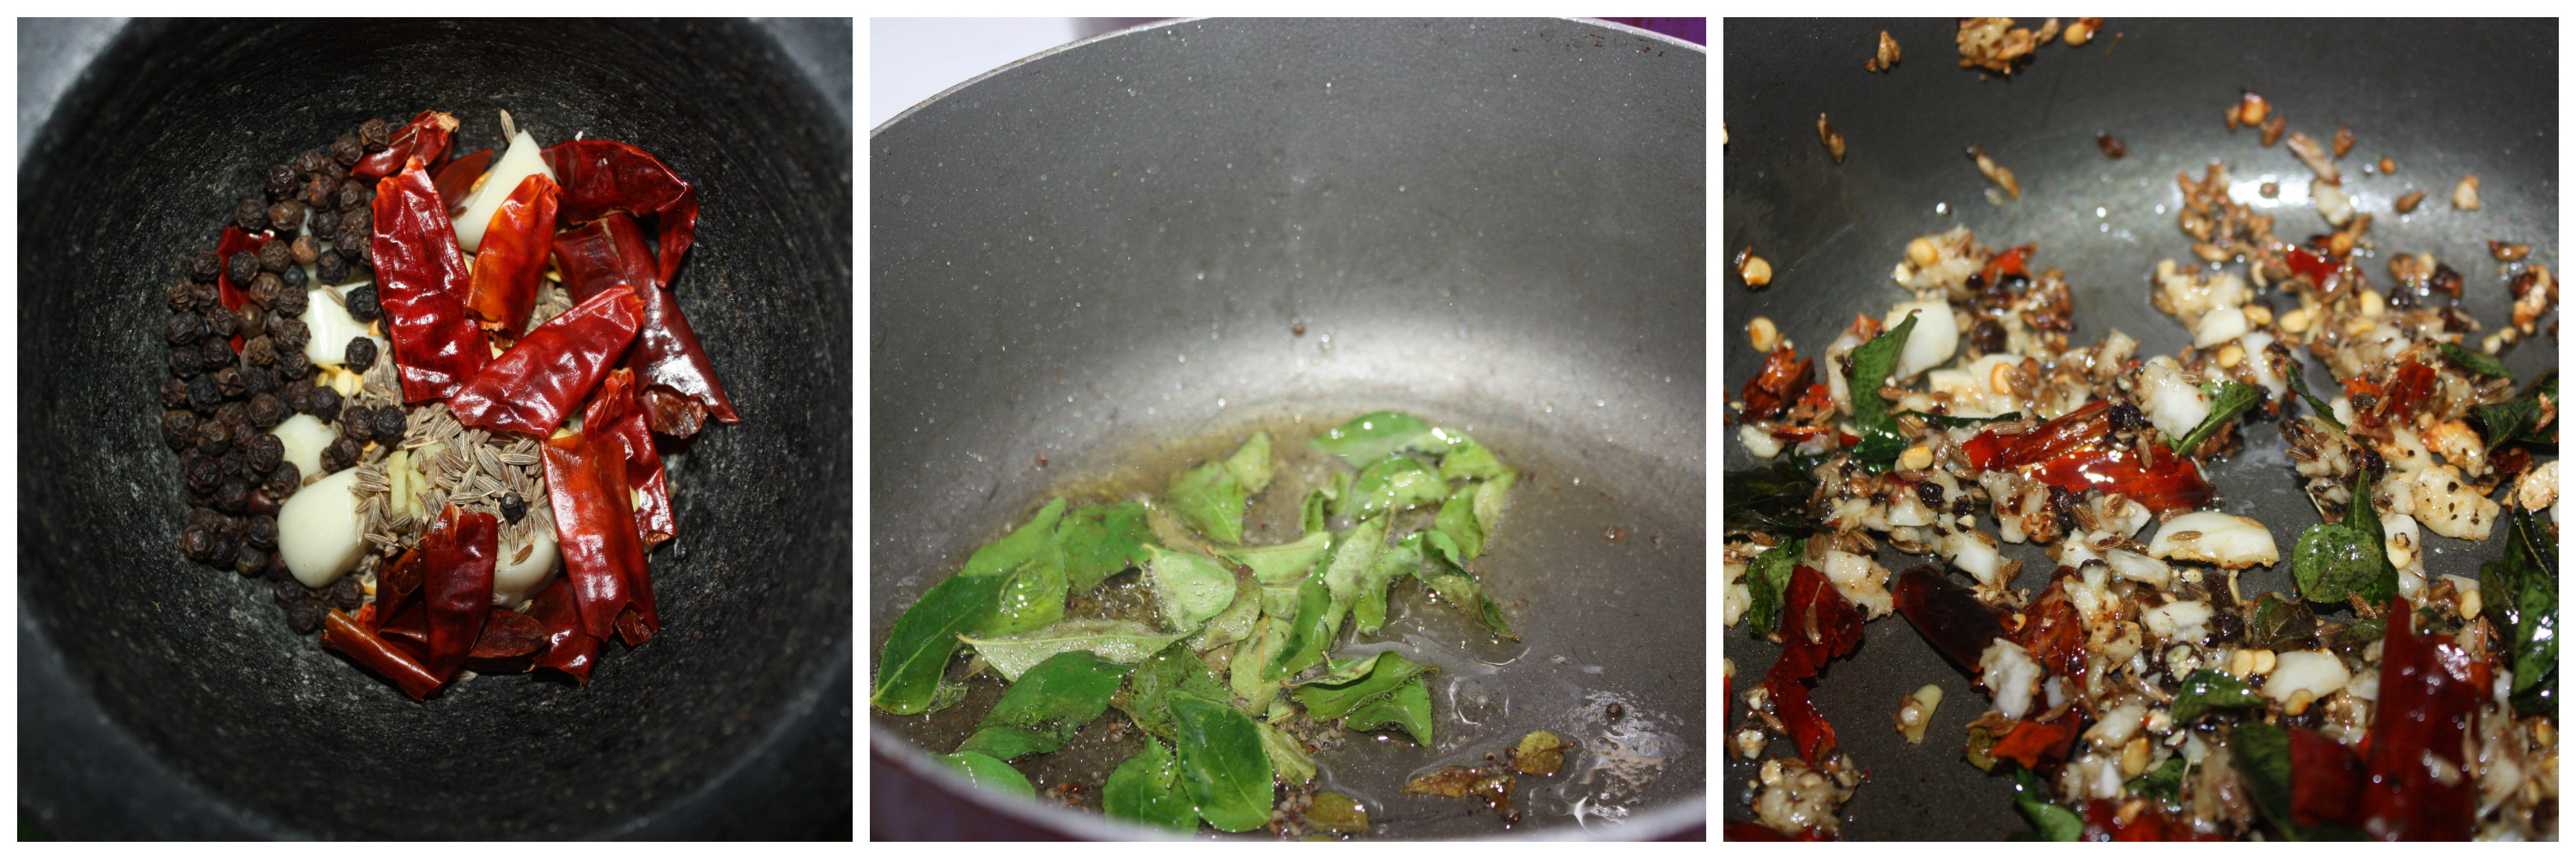
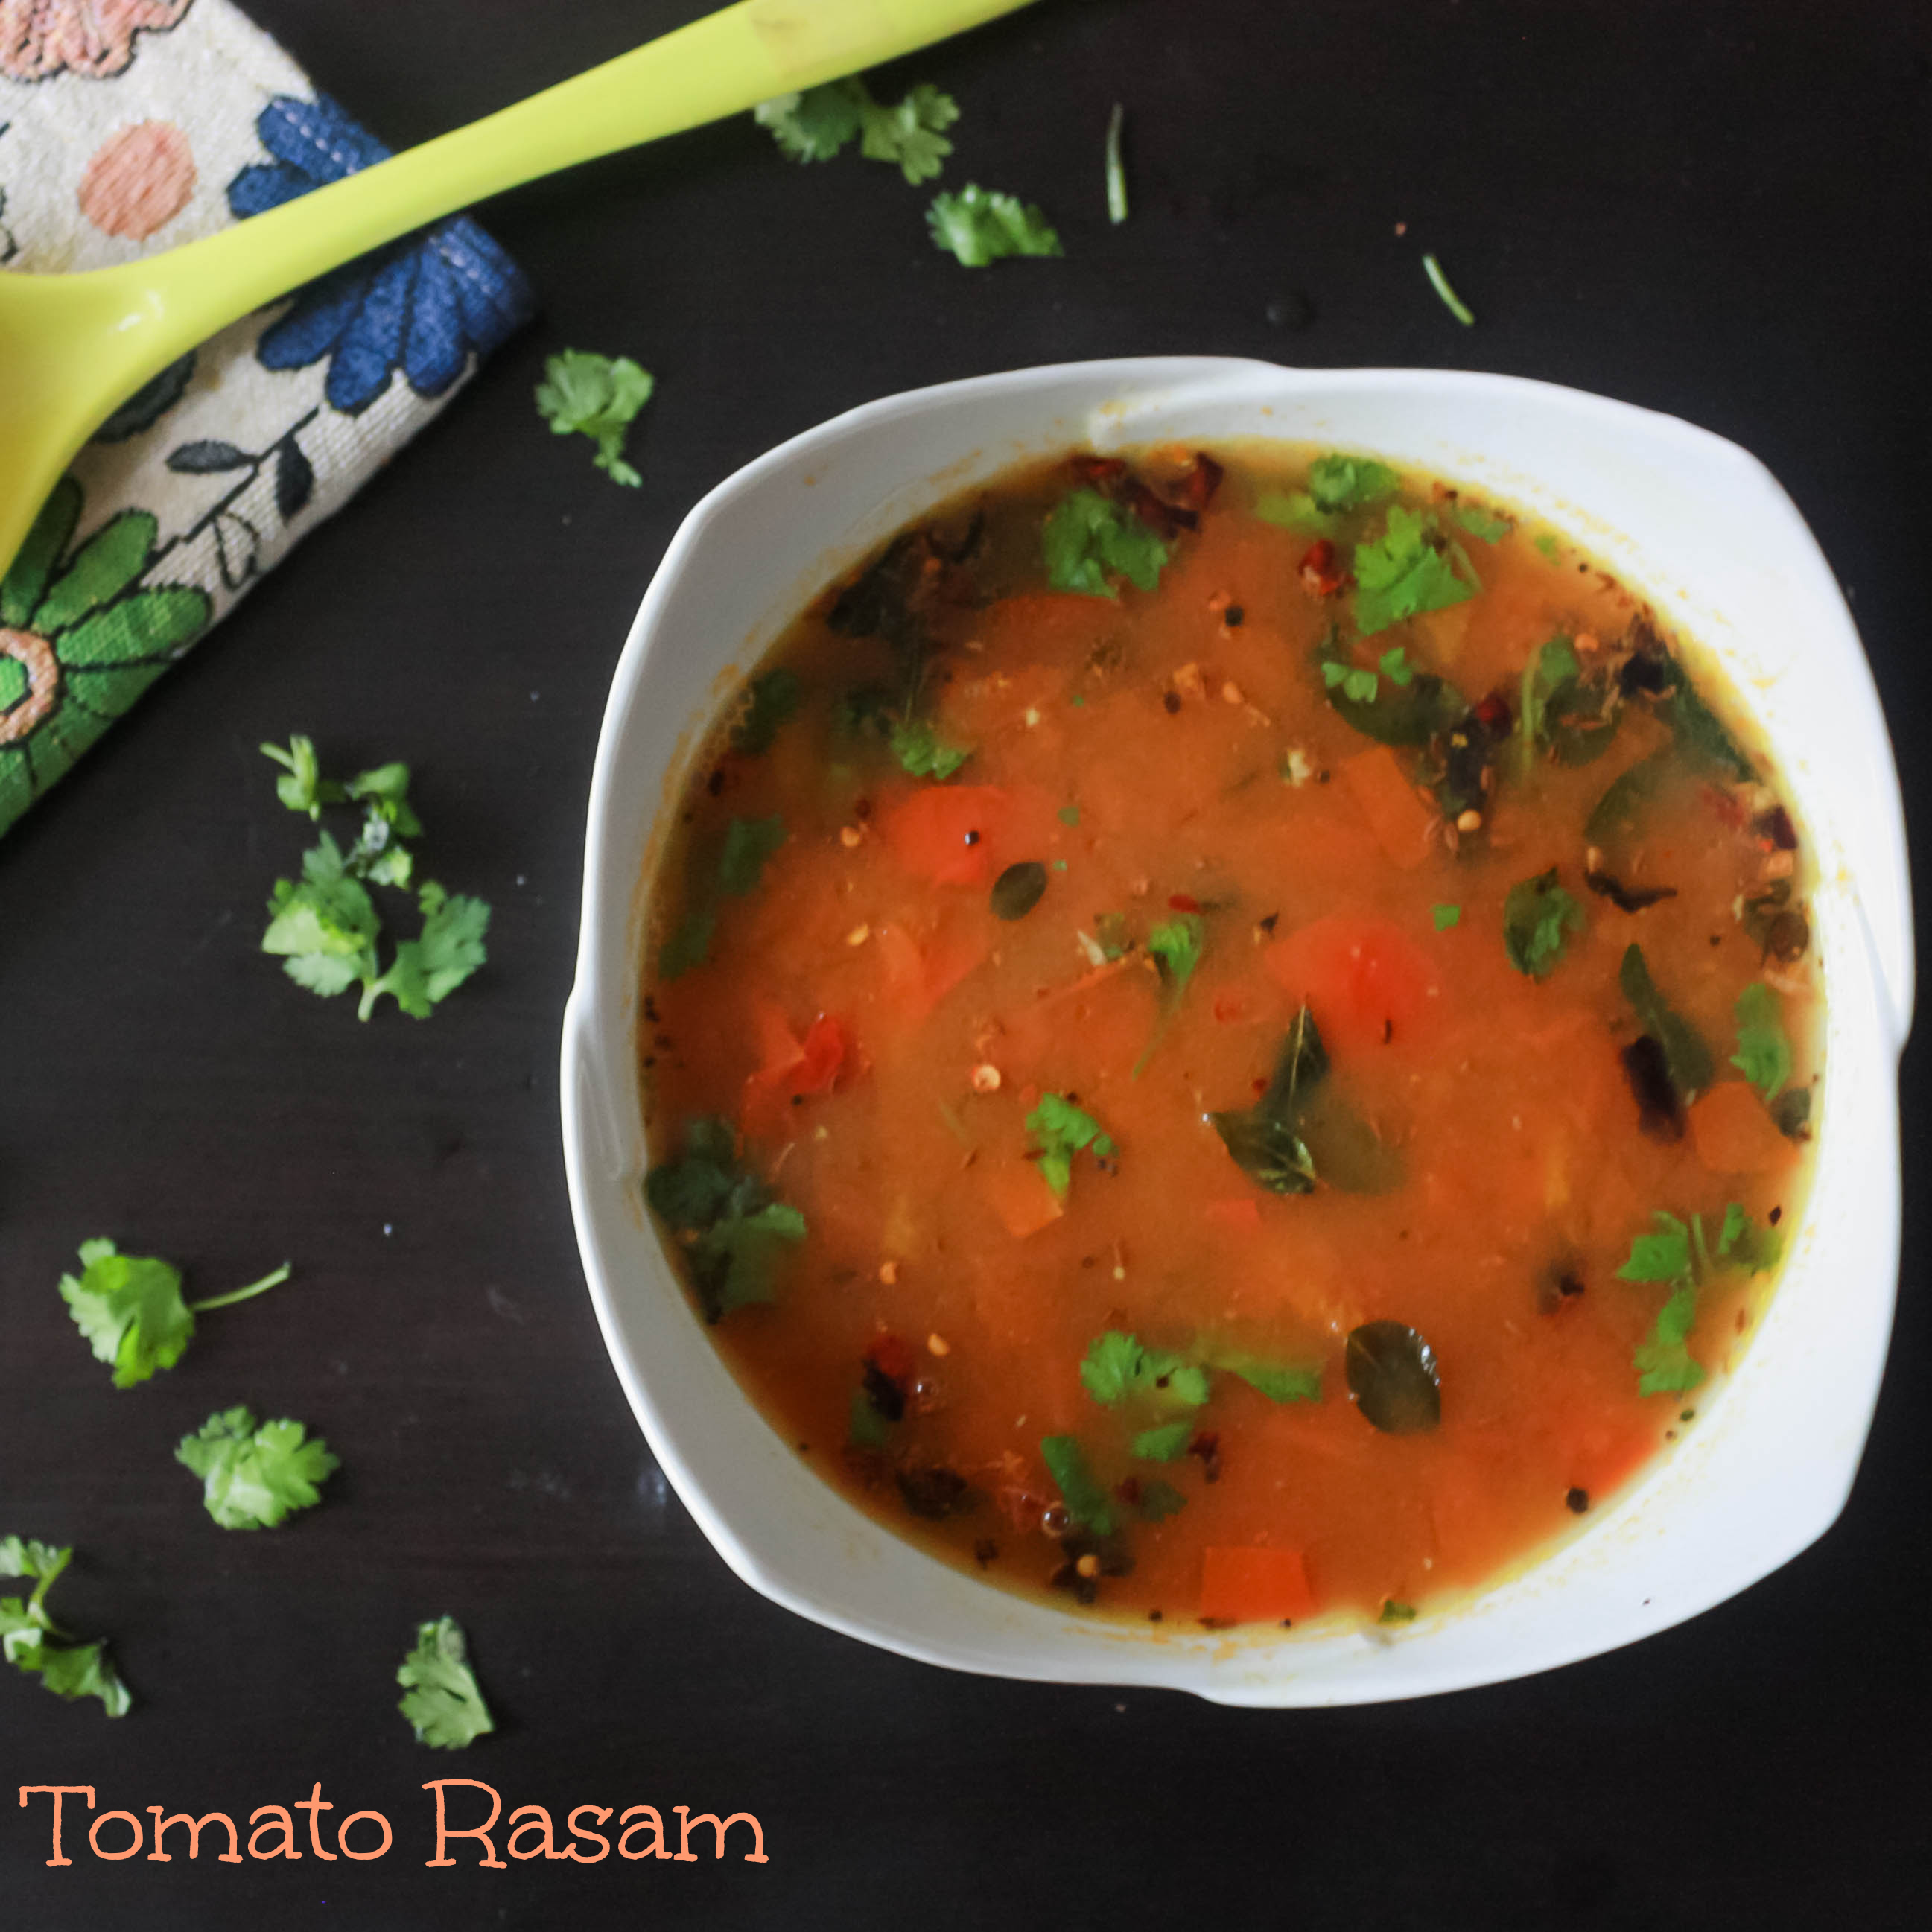
 . And my vacation is the reason for doing this simple and tasty rasam recipe. Rasam is such a comfort food. The whole five days of vacation I just had the same old pizza and burgers. My tongue almost died out of taste. I couldn’t wait to have home food on the last day. I personally feel hotel and outside foods are good to have once in a while only 😀 Home food is the best food. Don’t you agree 😉 ?


 .
.