• Home
  • Page Layouts
  • Page Templates
  • Theme Colors
    • Lifestyle Pro Blue
    • Lifestyle Pro Green
    • Lifestyle Pro Mustard
    • Lifestyle Pro Purple
    • Lifestyle Pro Red
    • Lifestyle Pro Teal

Relish The Bite

Taste of happiness

  • HOME
  • ABOUT
  • RECIPE INDEX
    • SNACKS & APPETIZERS
    • BREAKFAST
    • BAKED RECIPES
    • LUNCH & DINNER
      • RICE/BIRYANI VARIETIES
      • SIDES
        • DRY CURRY/STIR-FRY
        • SOUTH INDIAN CURRY/KUZHAMBU
        • NORTH INDIAN CURRY/DAL
        • RAITA/DIPS/CHUTNEY
        • Soups/Salads
      • PASTA PIZZA & TACOS
      • BREAD
      • CHINESE ASIAN INSPIRED
    • NON-VEG RECIPES
    • DESSERTS
    • BEVERAGES
  • SNACKS
  • BREAKFAST
  • NON-VEG RECIPES
  • RICE/BIRYANI VARIETIES
  • LAMB
  • SOUTH INDIAN CURRY/KUZHAMBU
  • VEGAN
  • NORTH INDIAN CURRY/DAL
  • DRY CURRY/STIR-FRY
  • PASTA & TACOS
  • CHINESE ASIAN INSPIRED
  • BAKED RECIPES
  • COLLECTIONS
  • BREAD
  • BEVERAGES
  • DESSERTS
  • FESTIVAL RECIPES
    • SNACKS & APPETIZERS
    • SWEETS/DESSERTS
  • RESOURCES
    • HOW TO START A BLOG
    • TITBITS
    • PRESS
  • CONTACT
You are here: Home / 2015 / Archives for February 2015

Archives for February 2015

Aloo Rasedar Recipe

February 25, 2015 by Suki 4 Comments

Aloorasedar1

Aloorasedar1
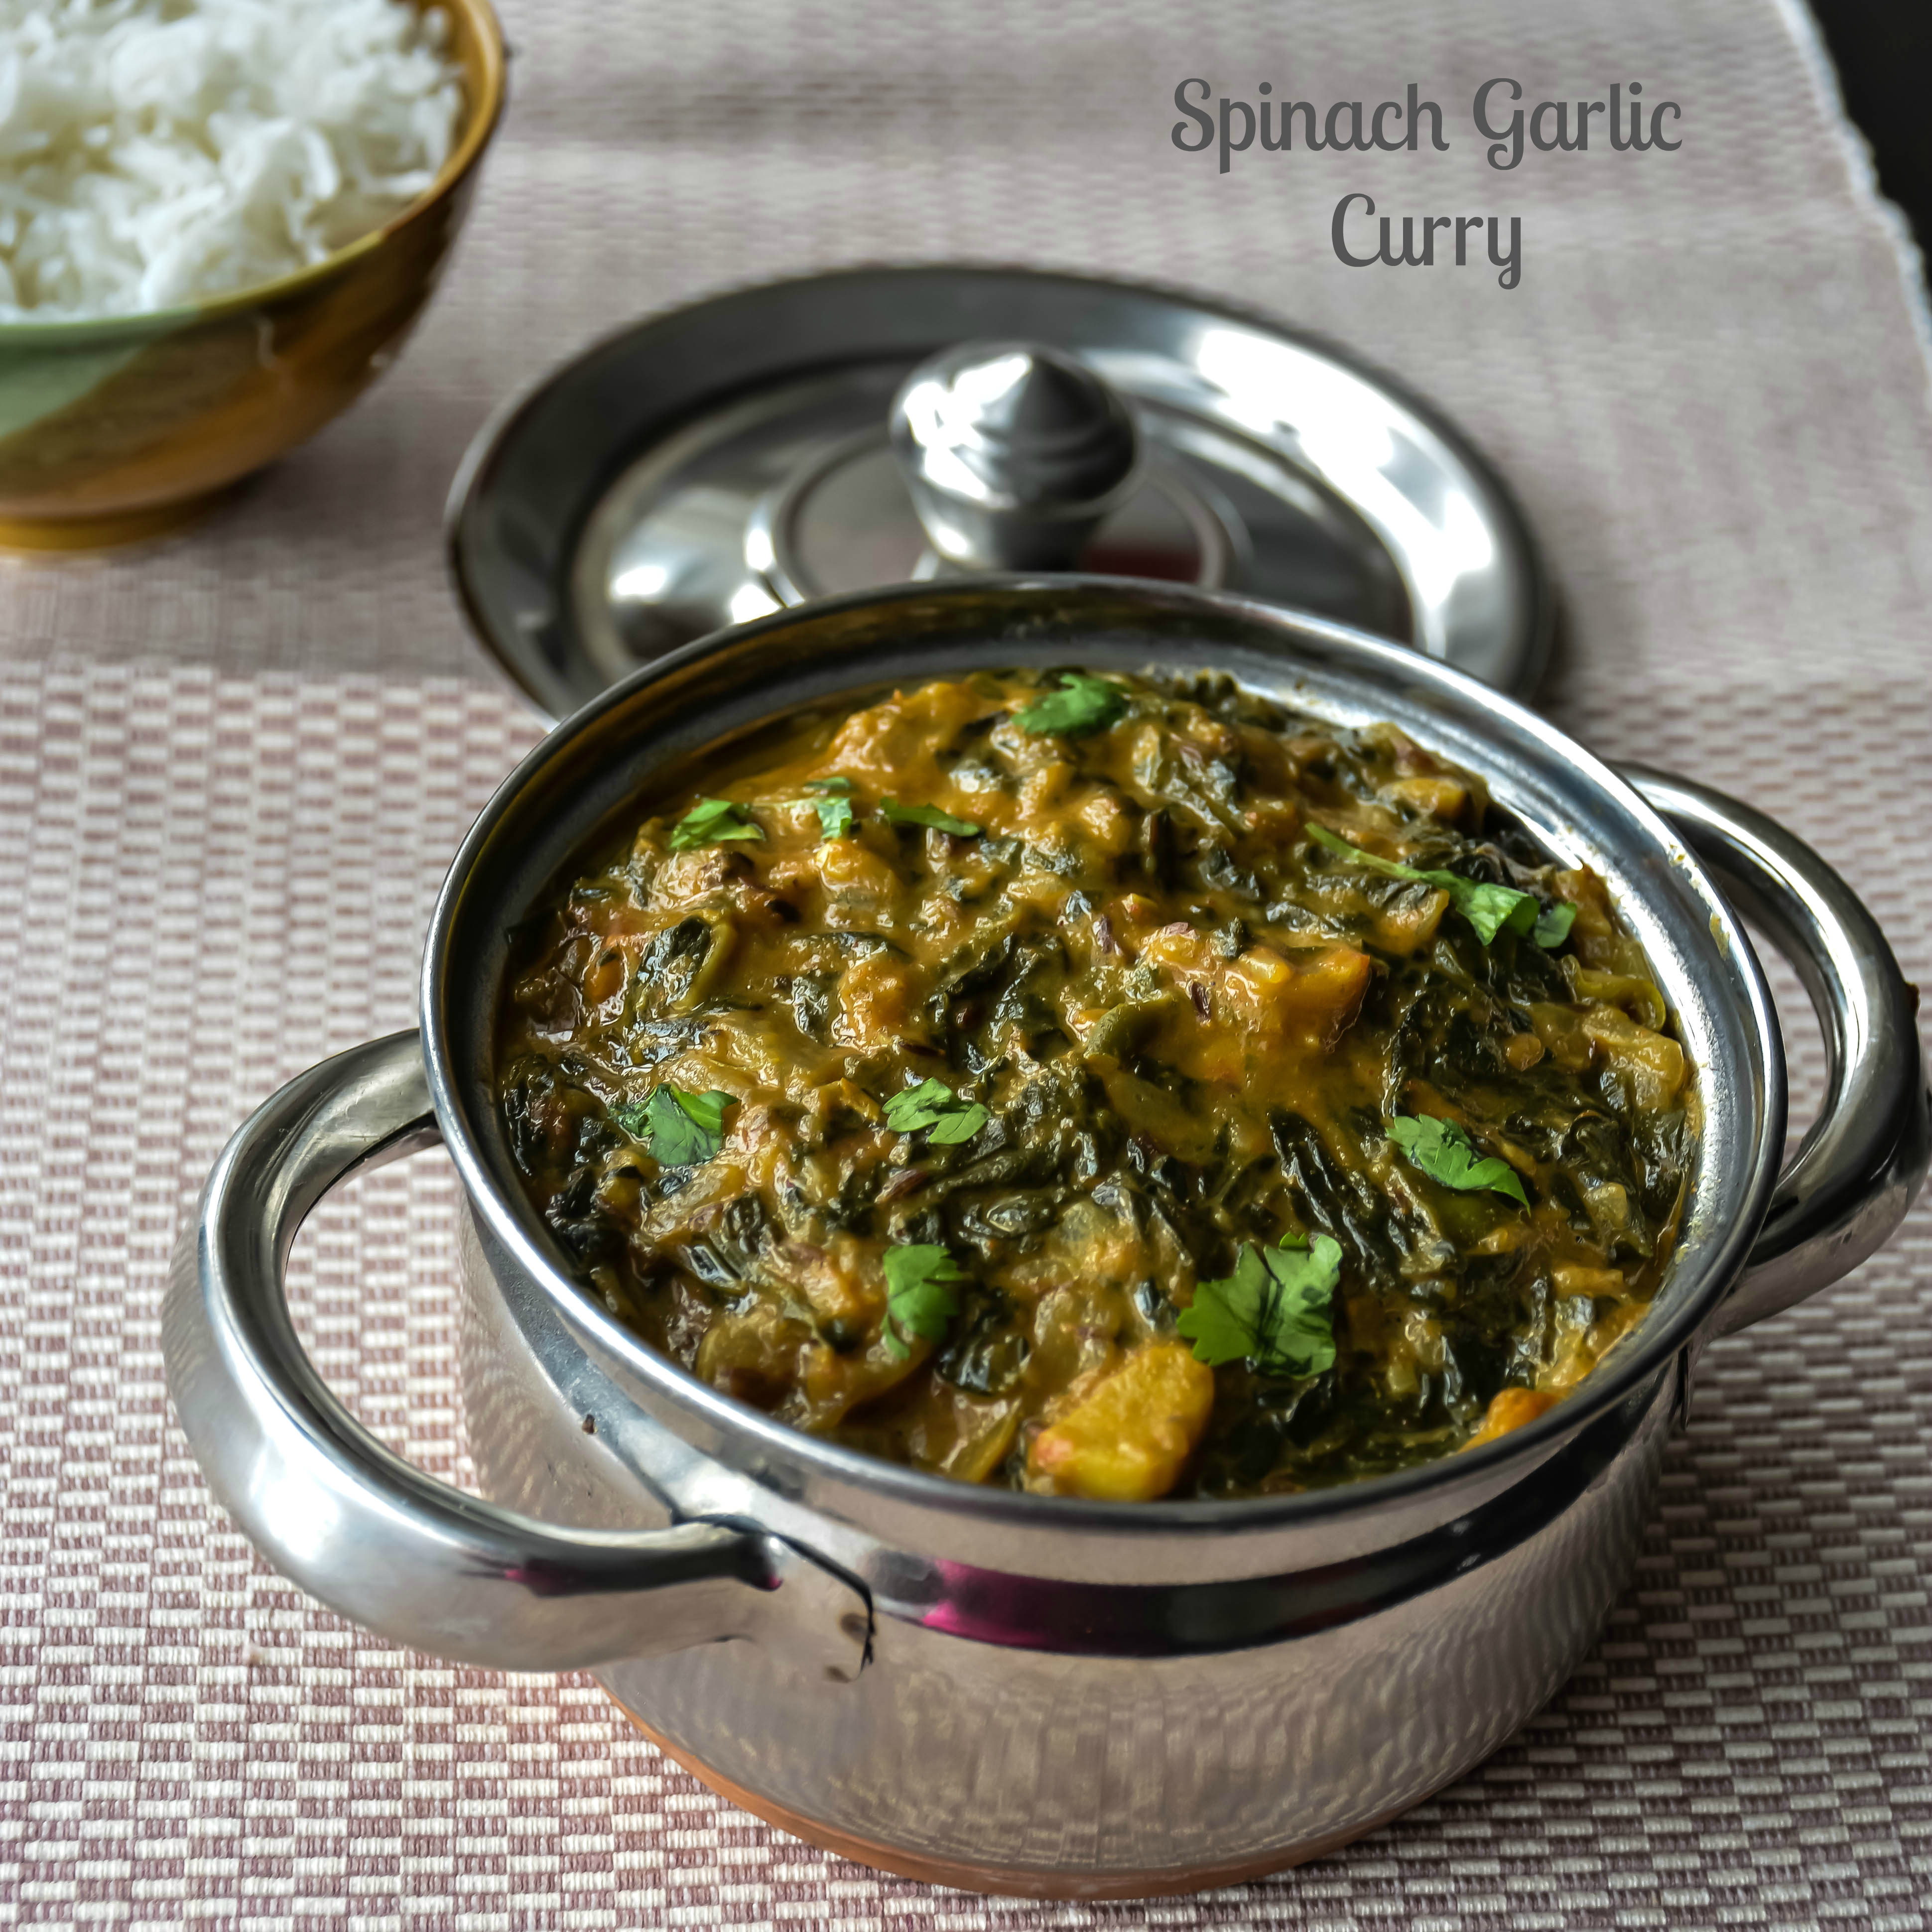
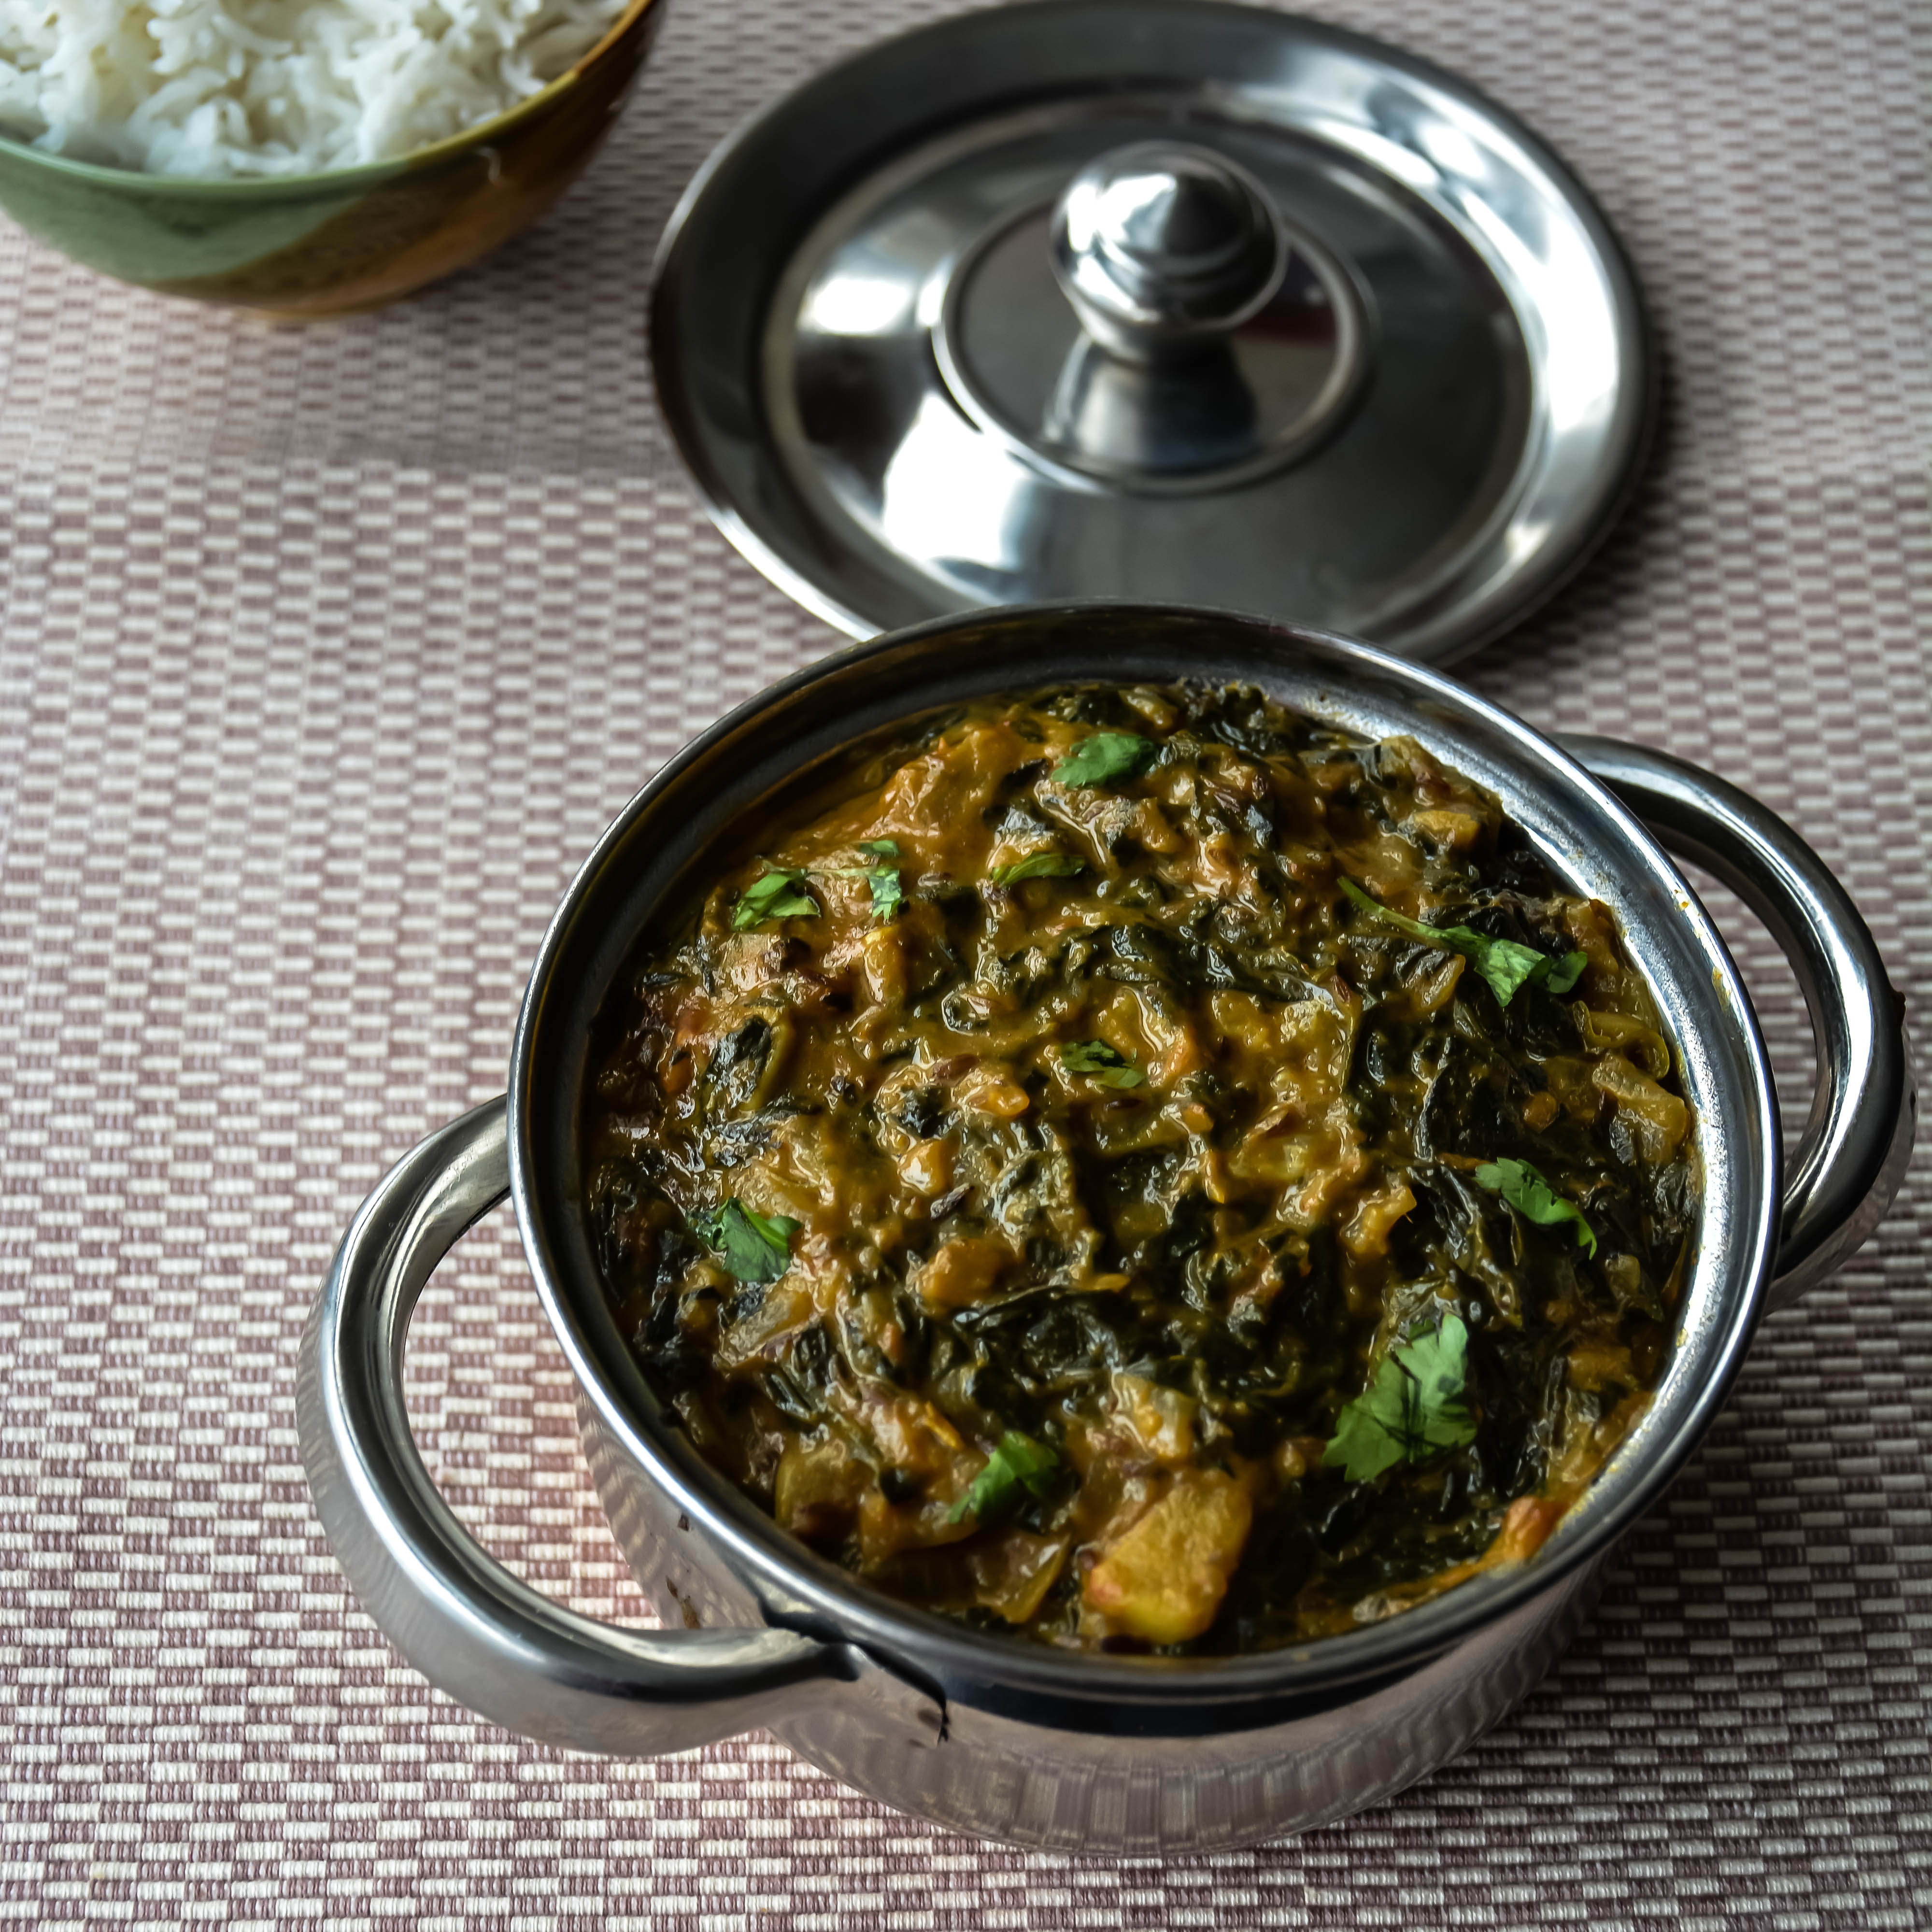
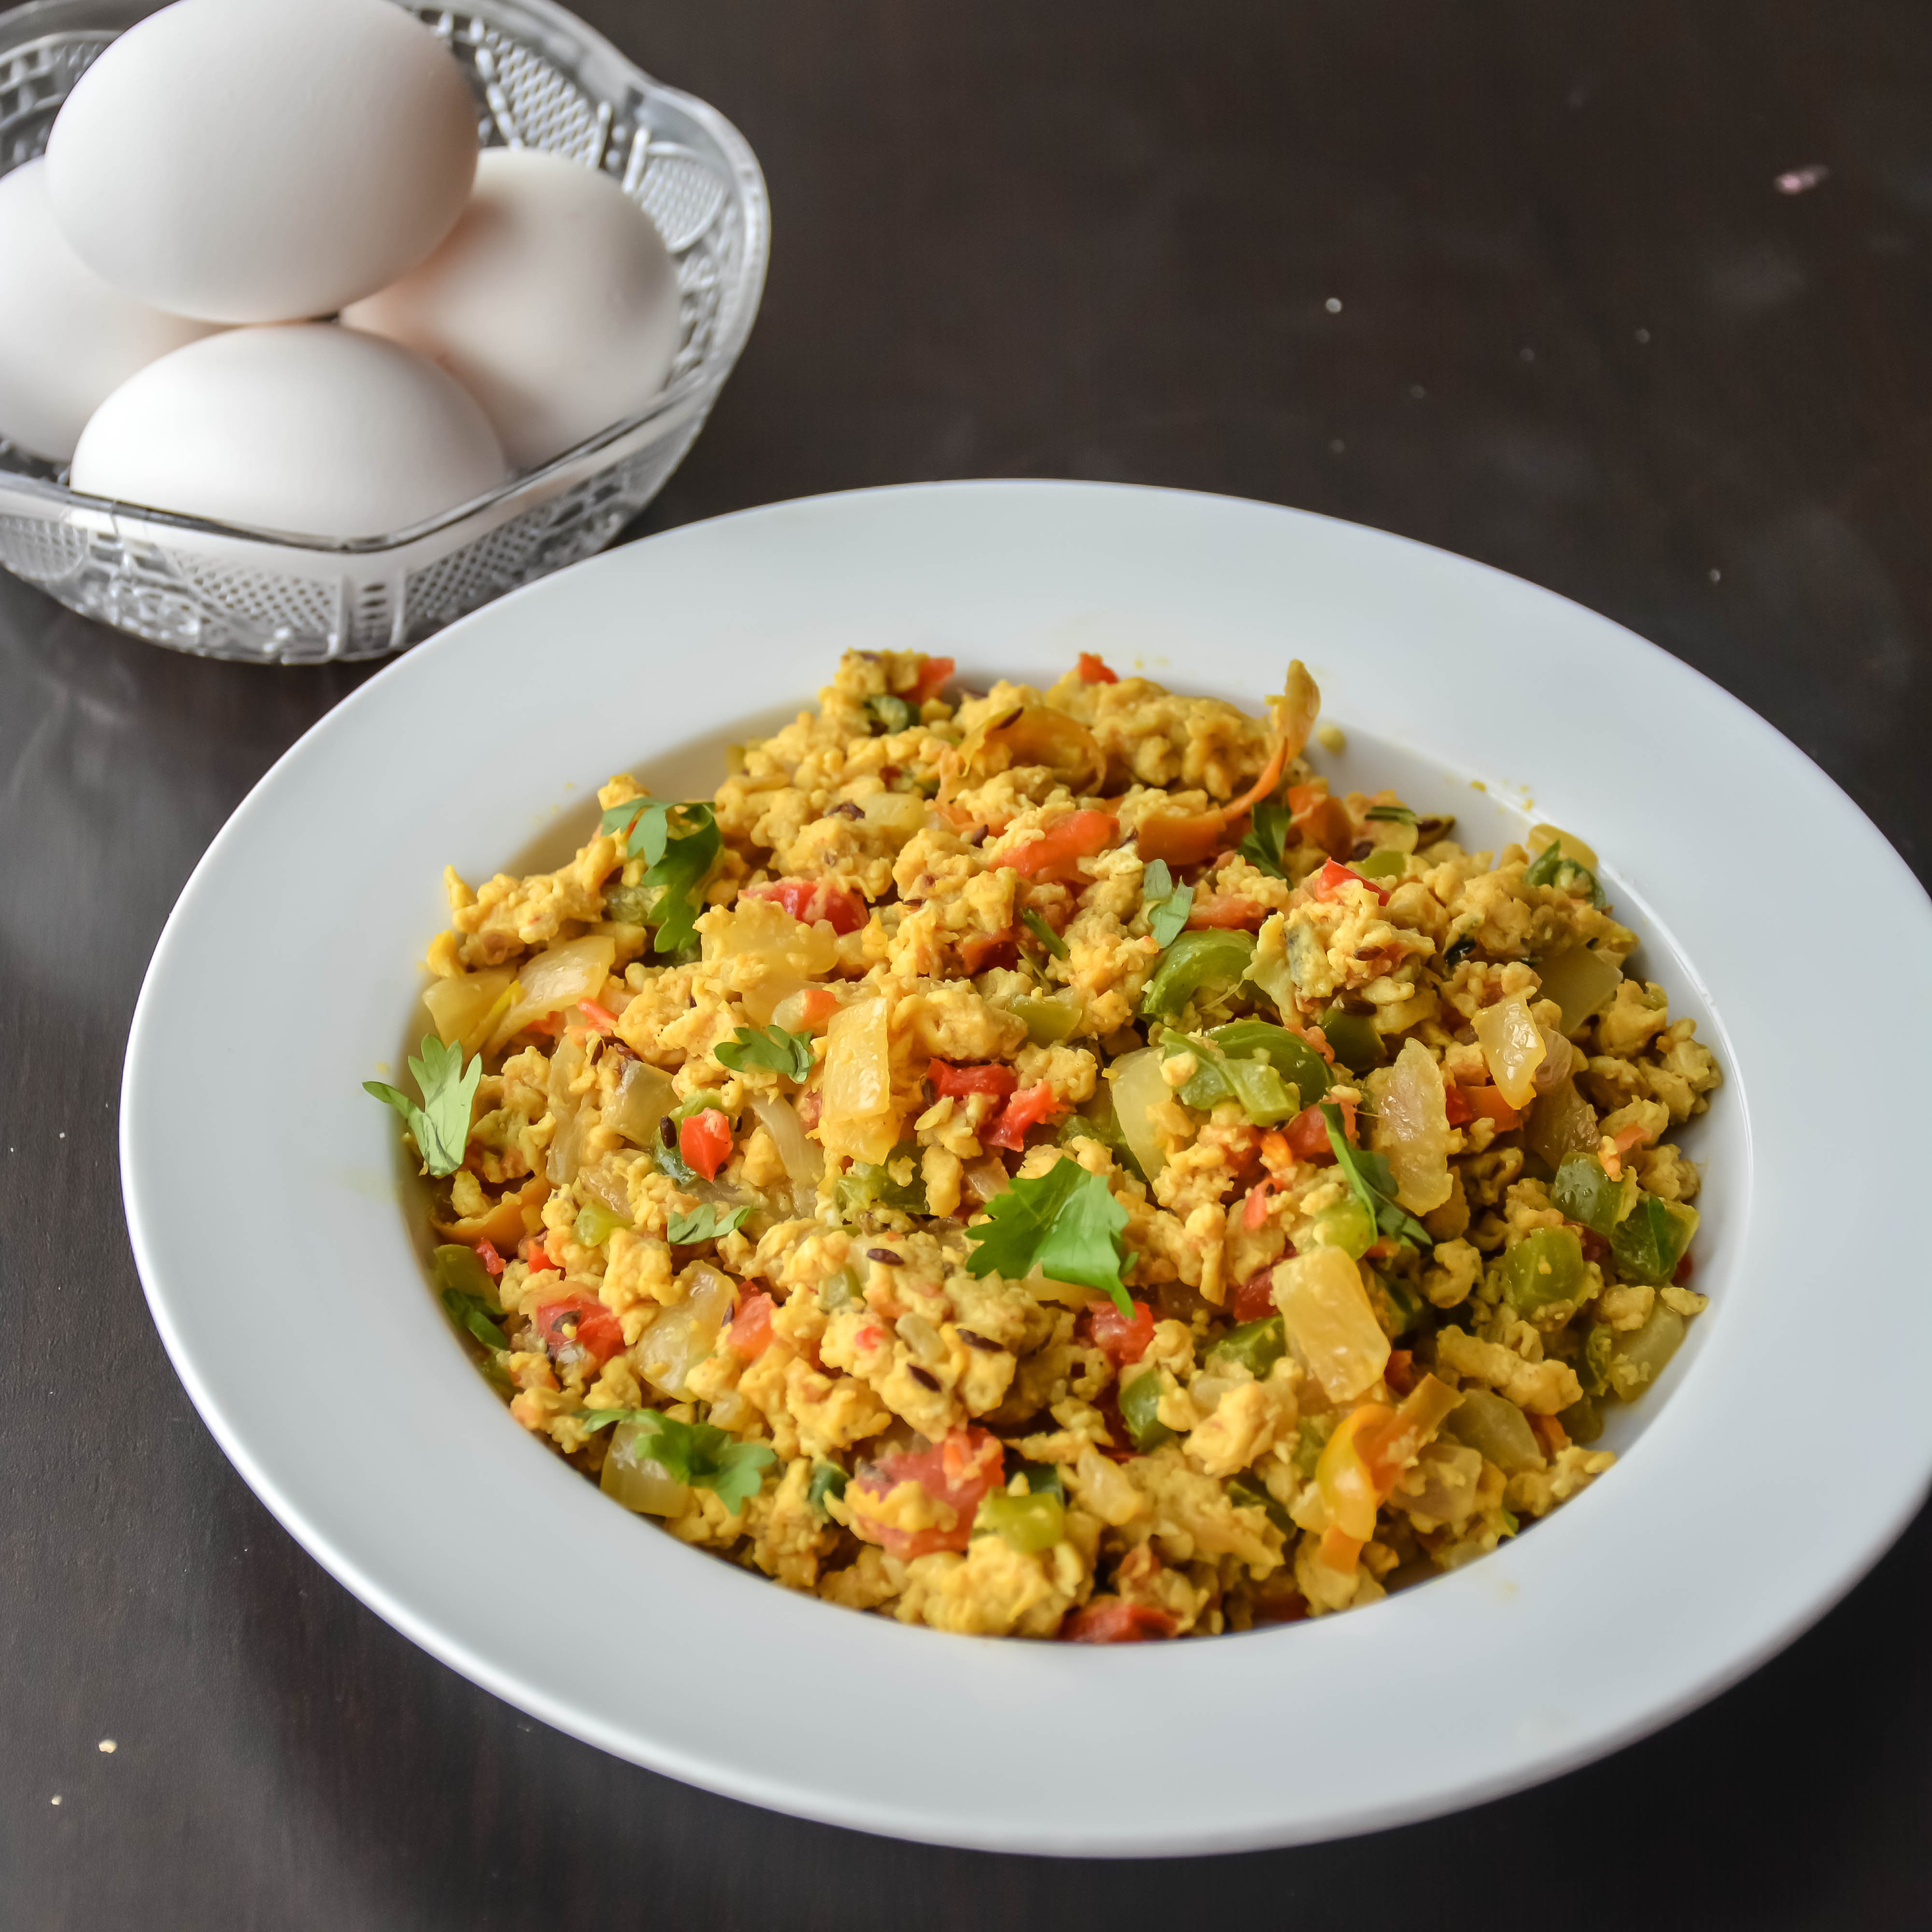
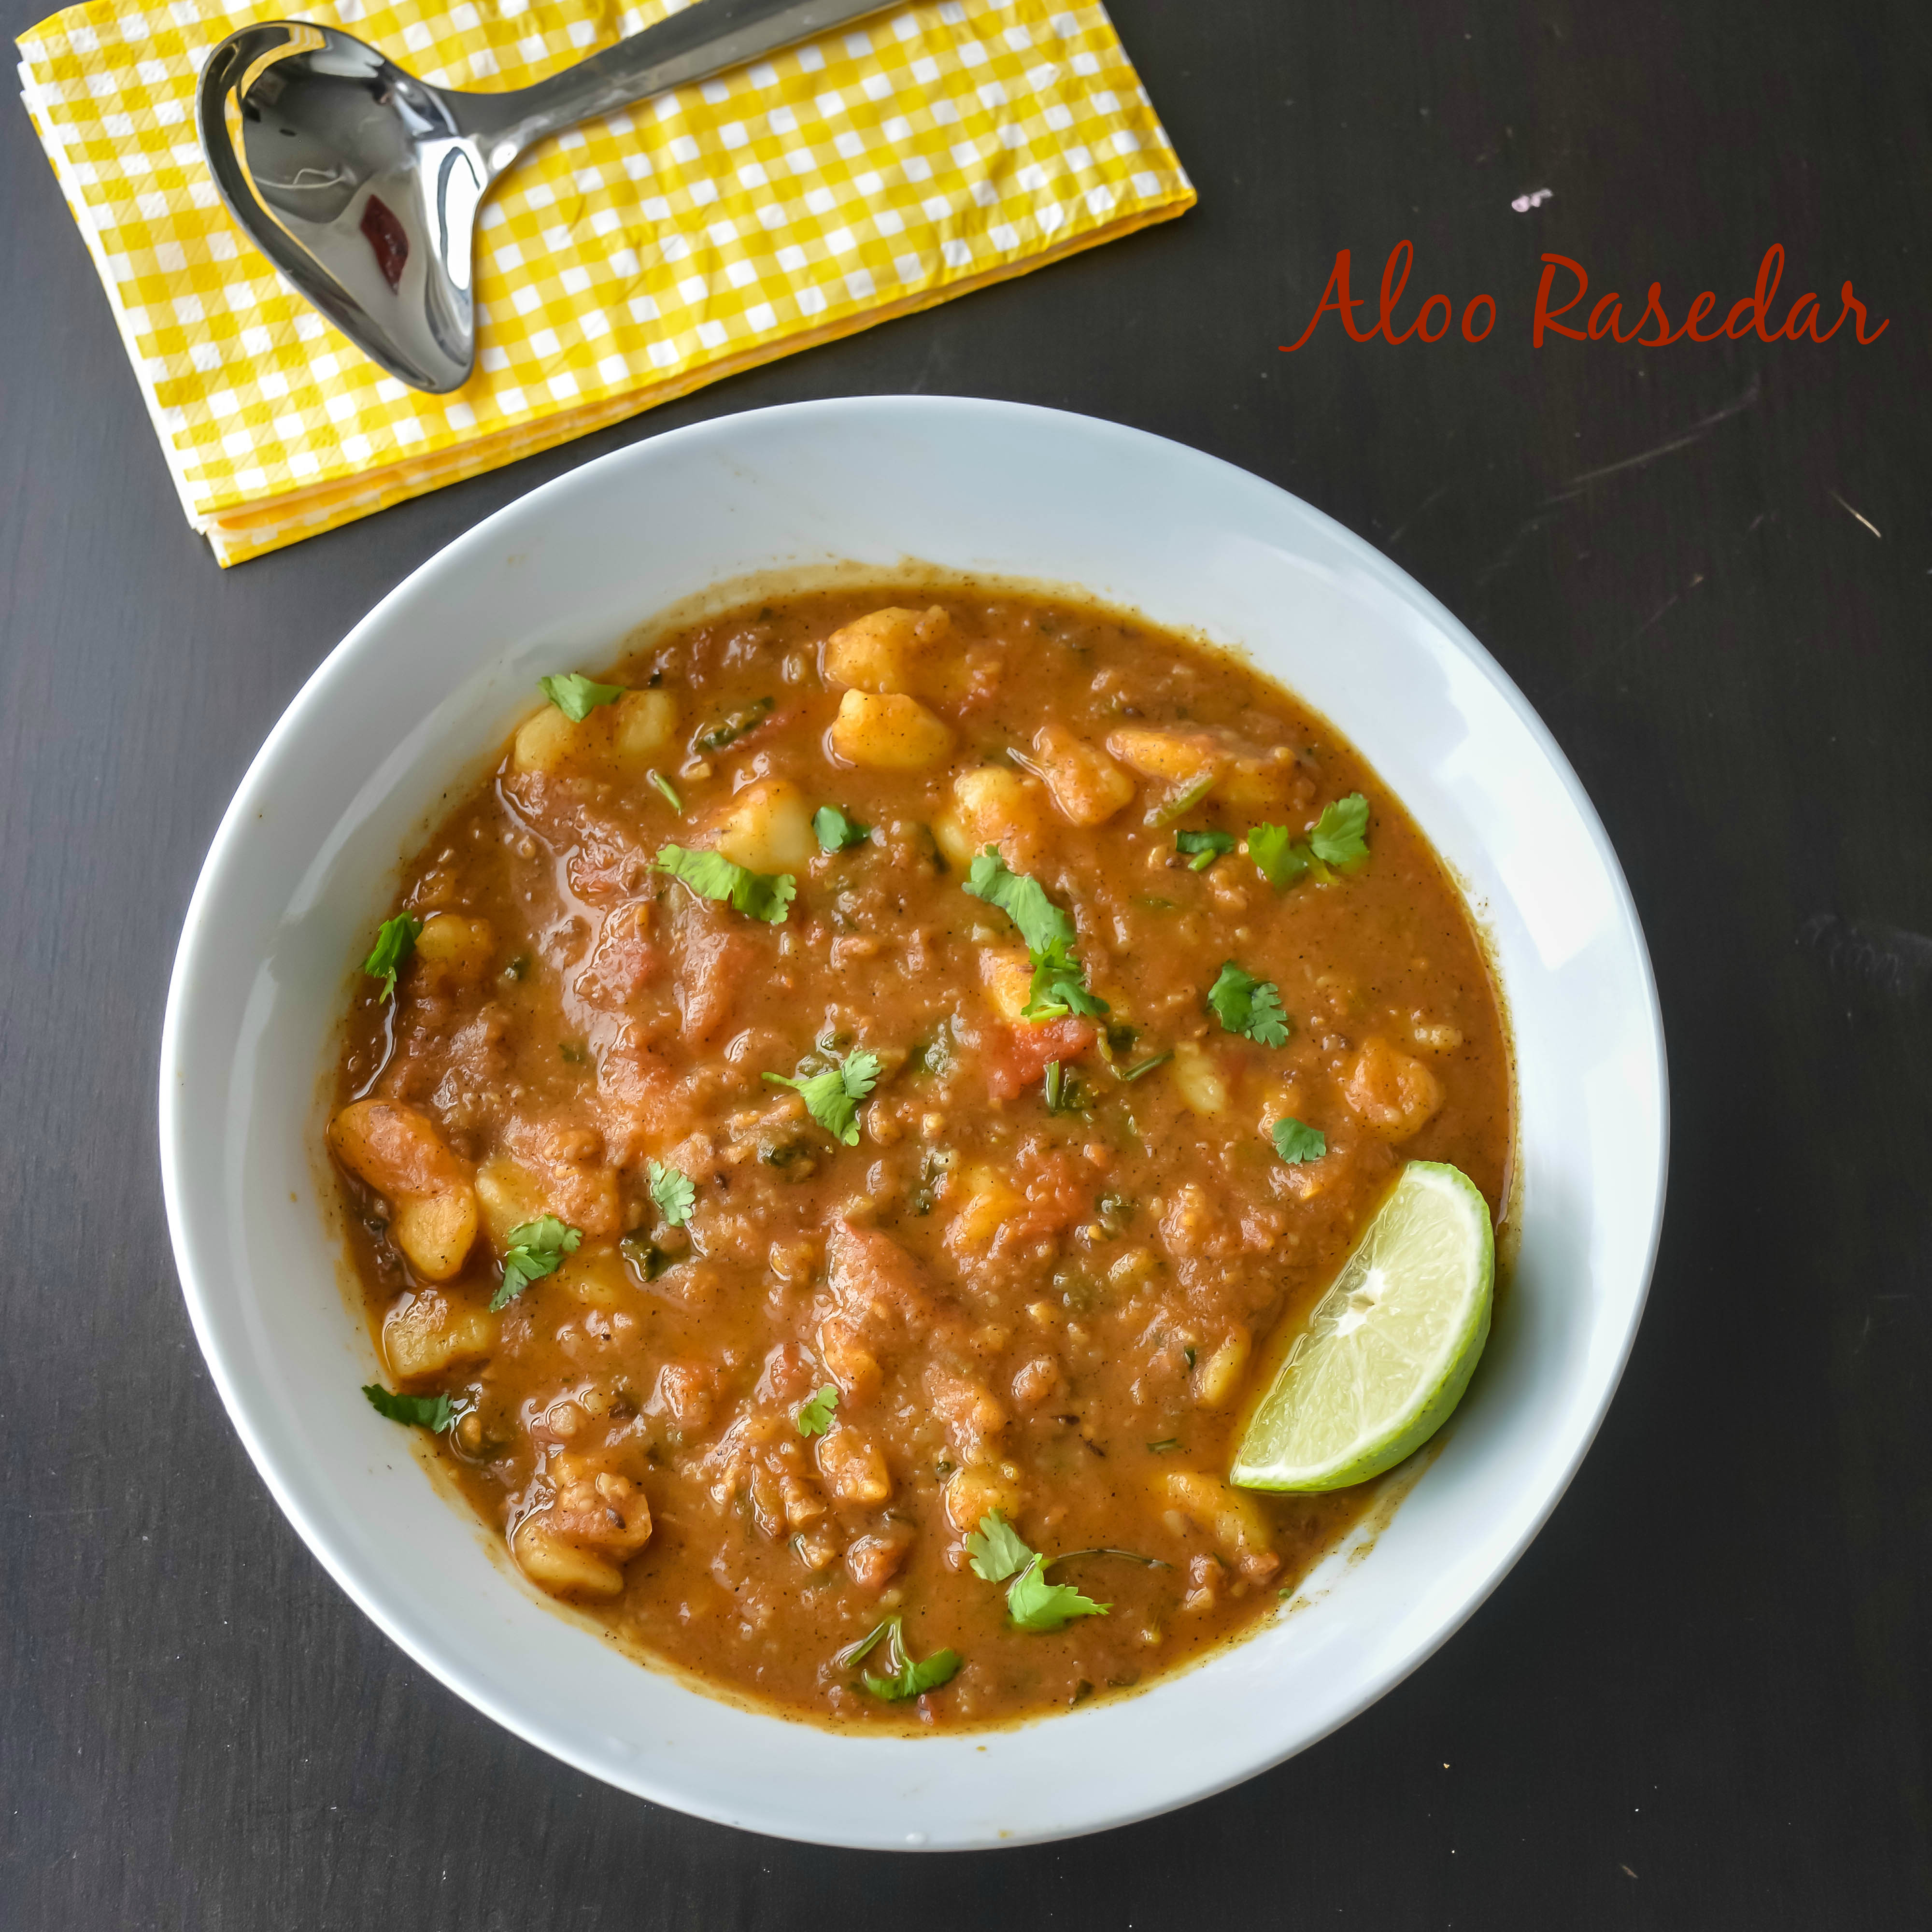
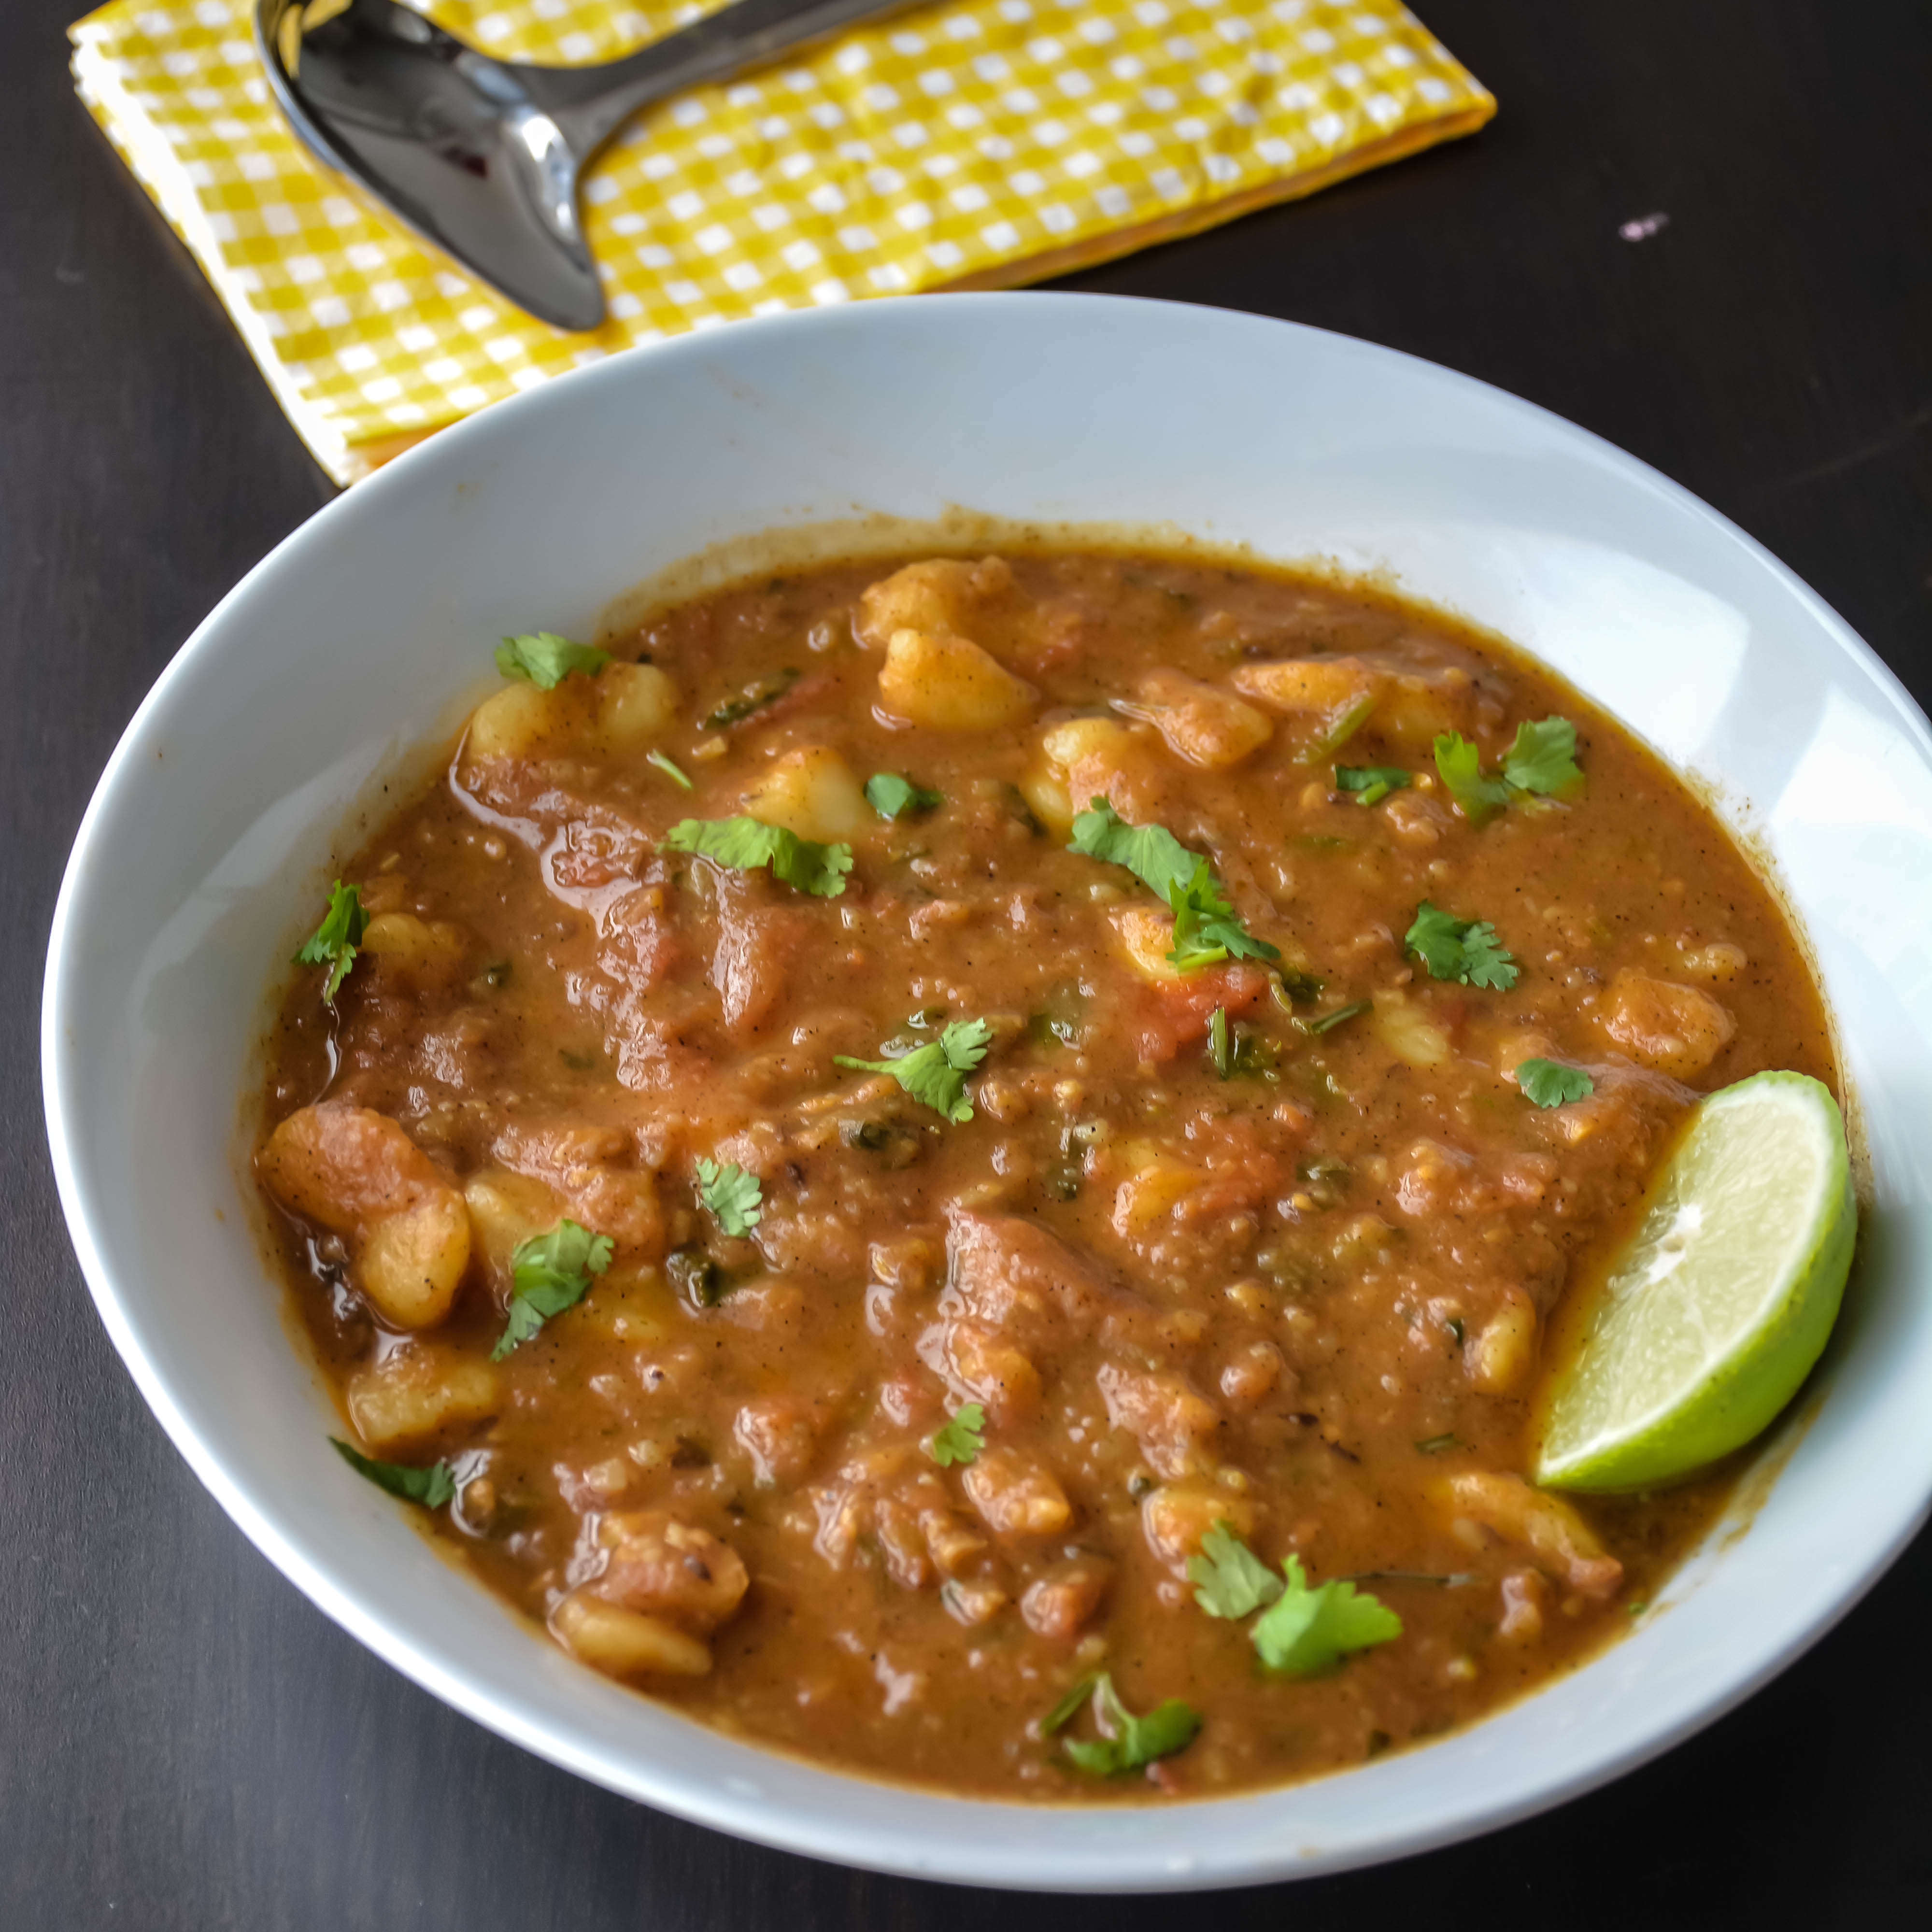
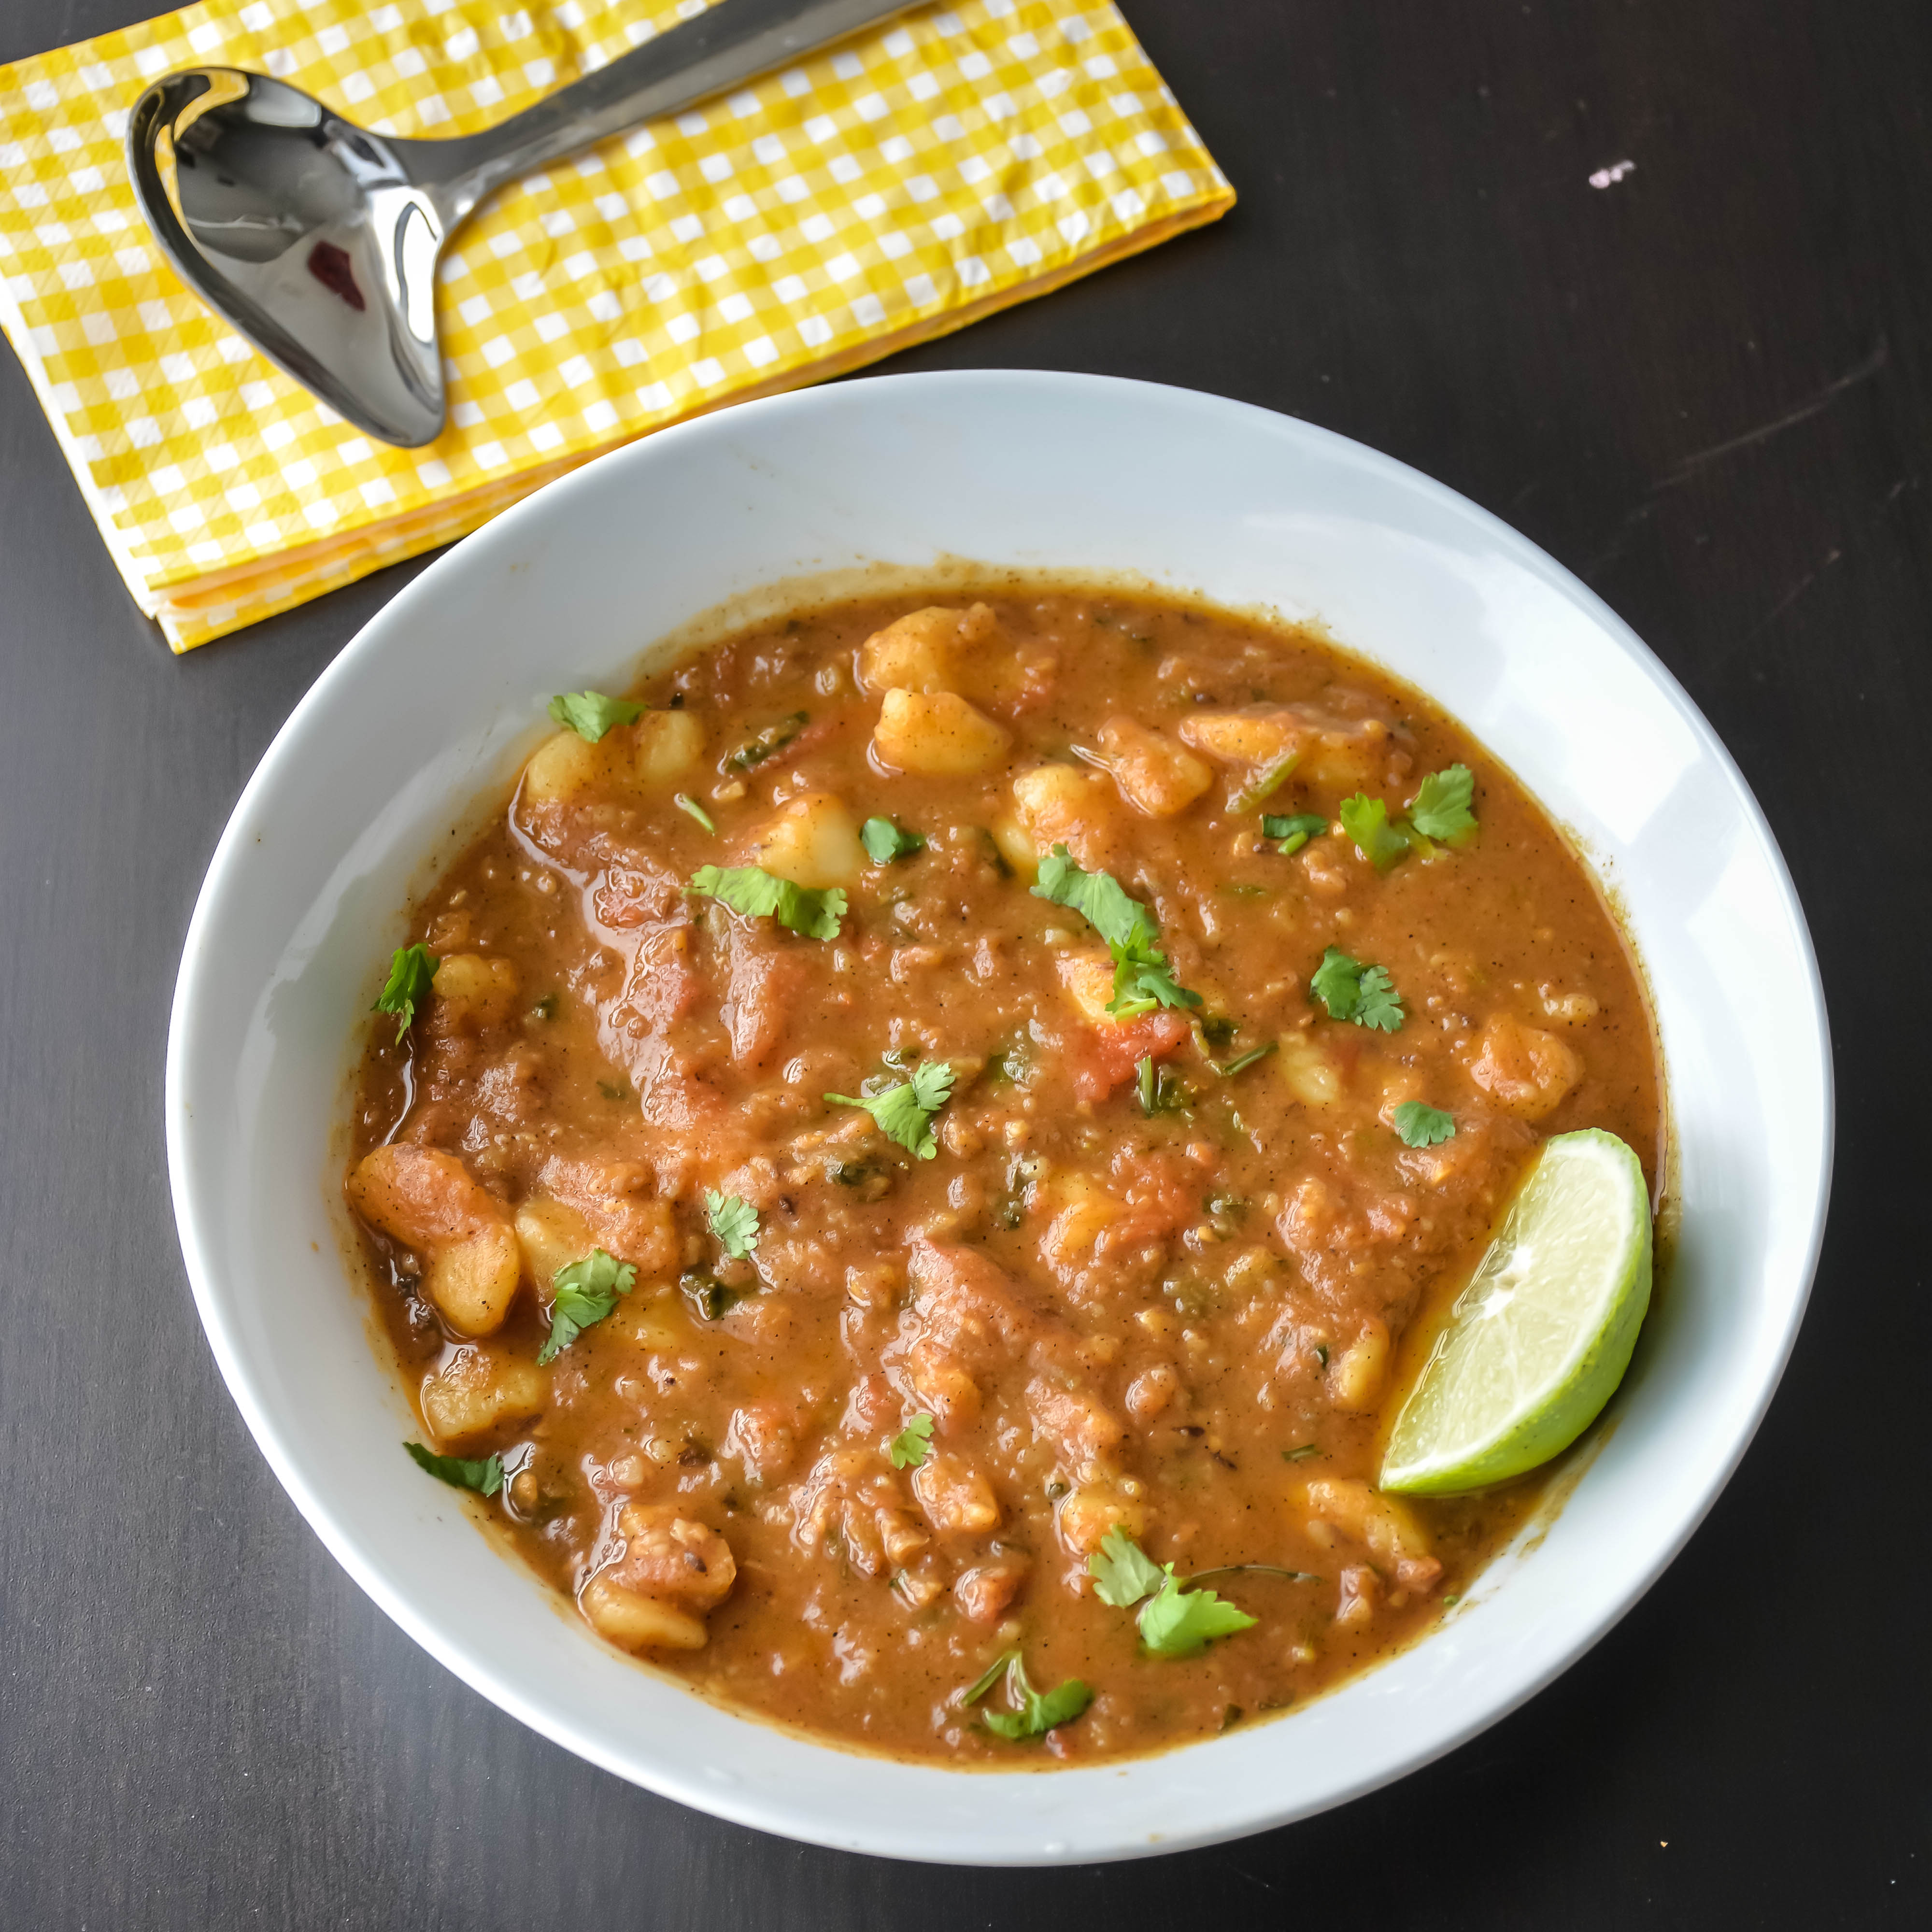
Easy spiced potato curry from Uttar Pradesh cuisine – Winter special.

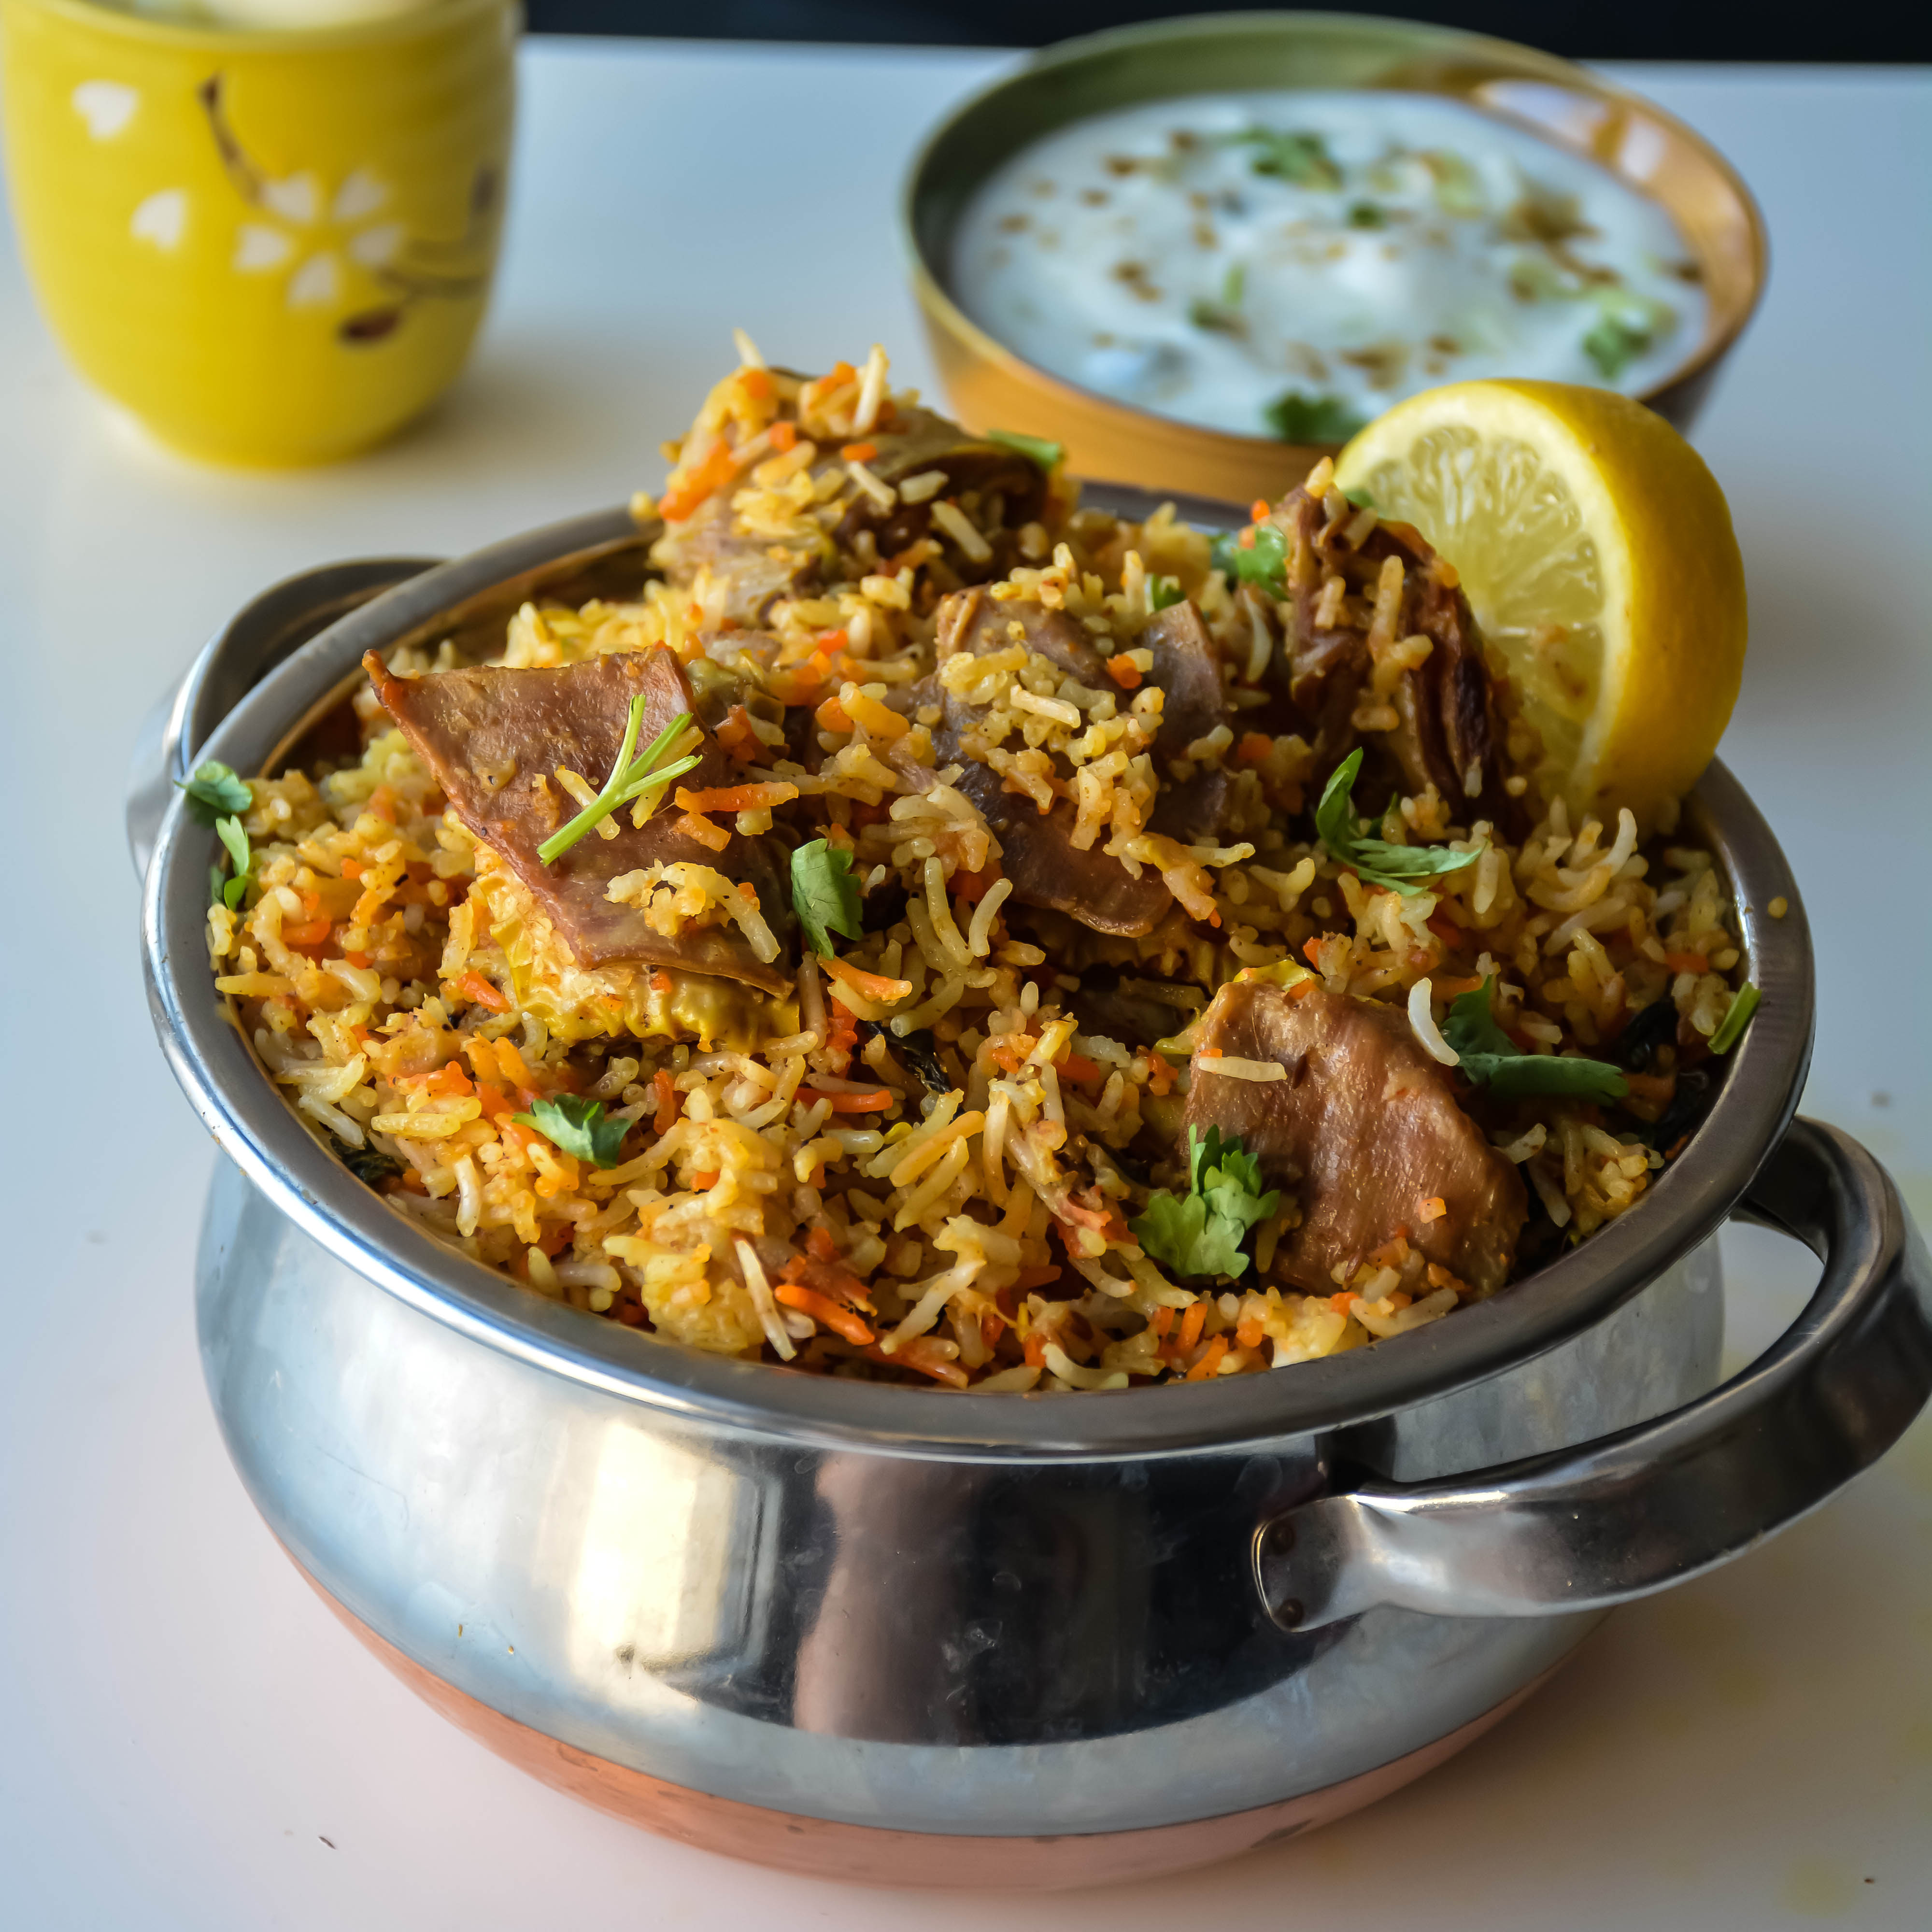
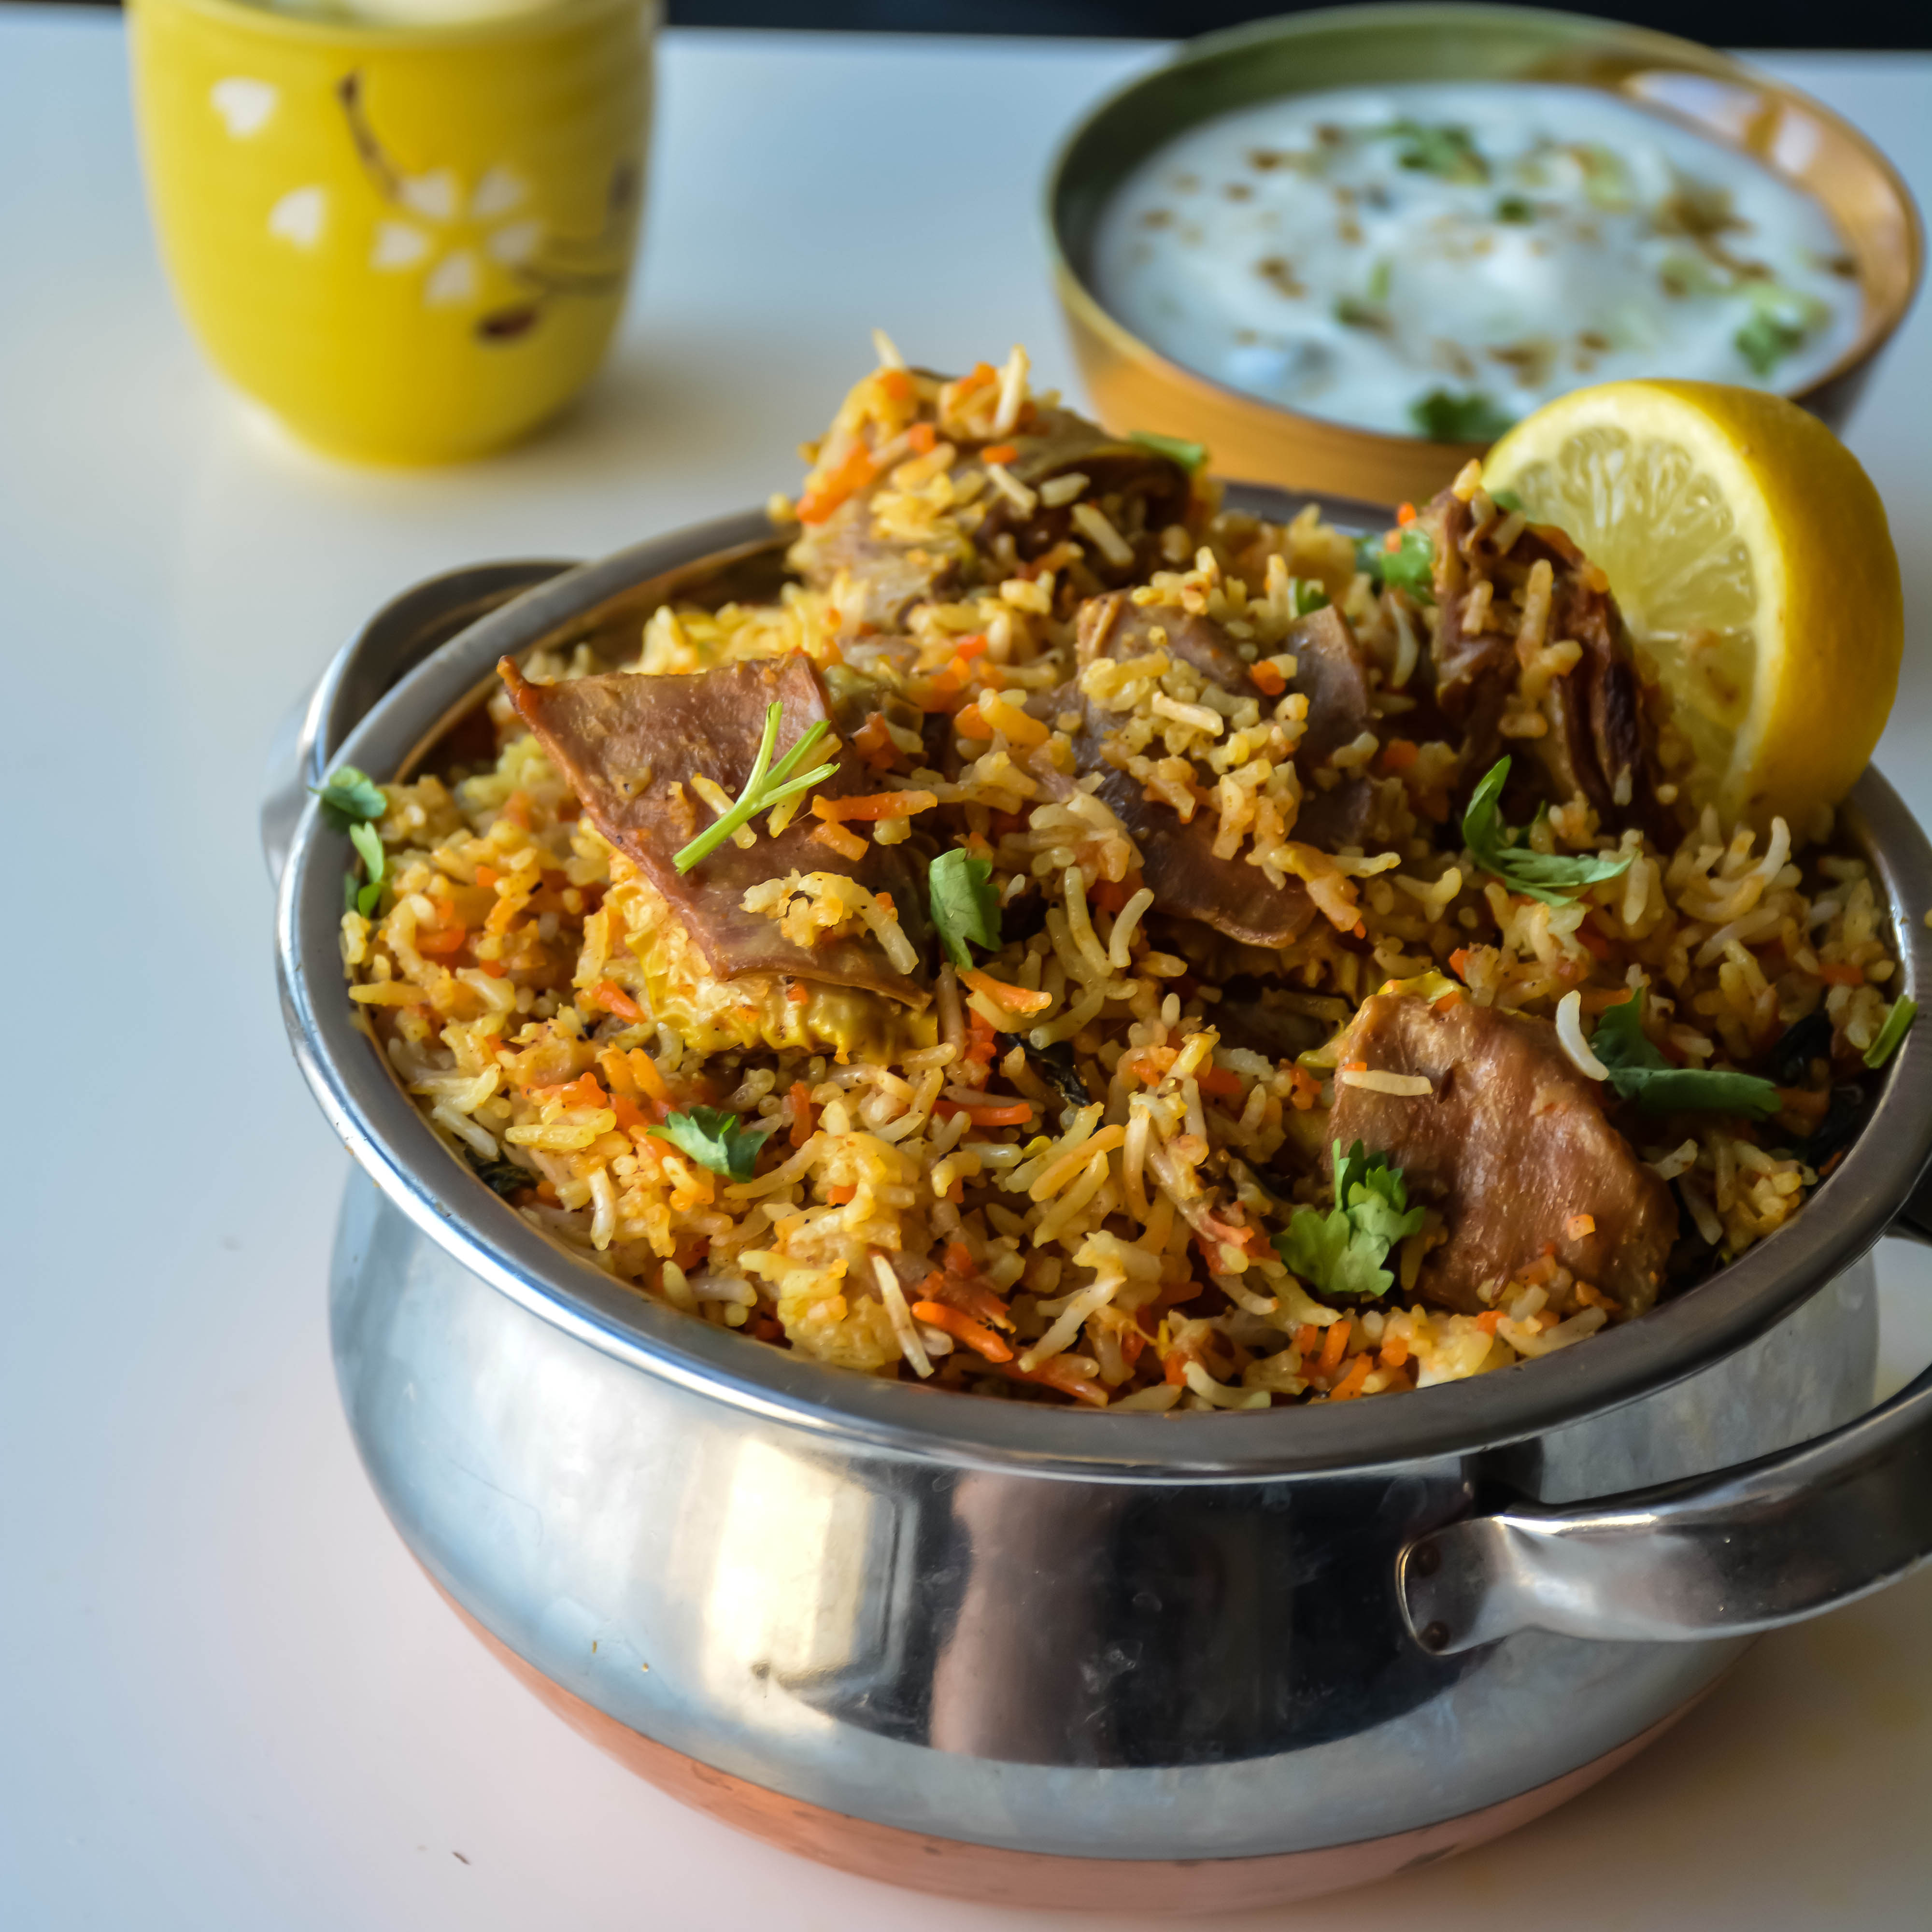
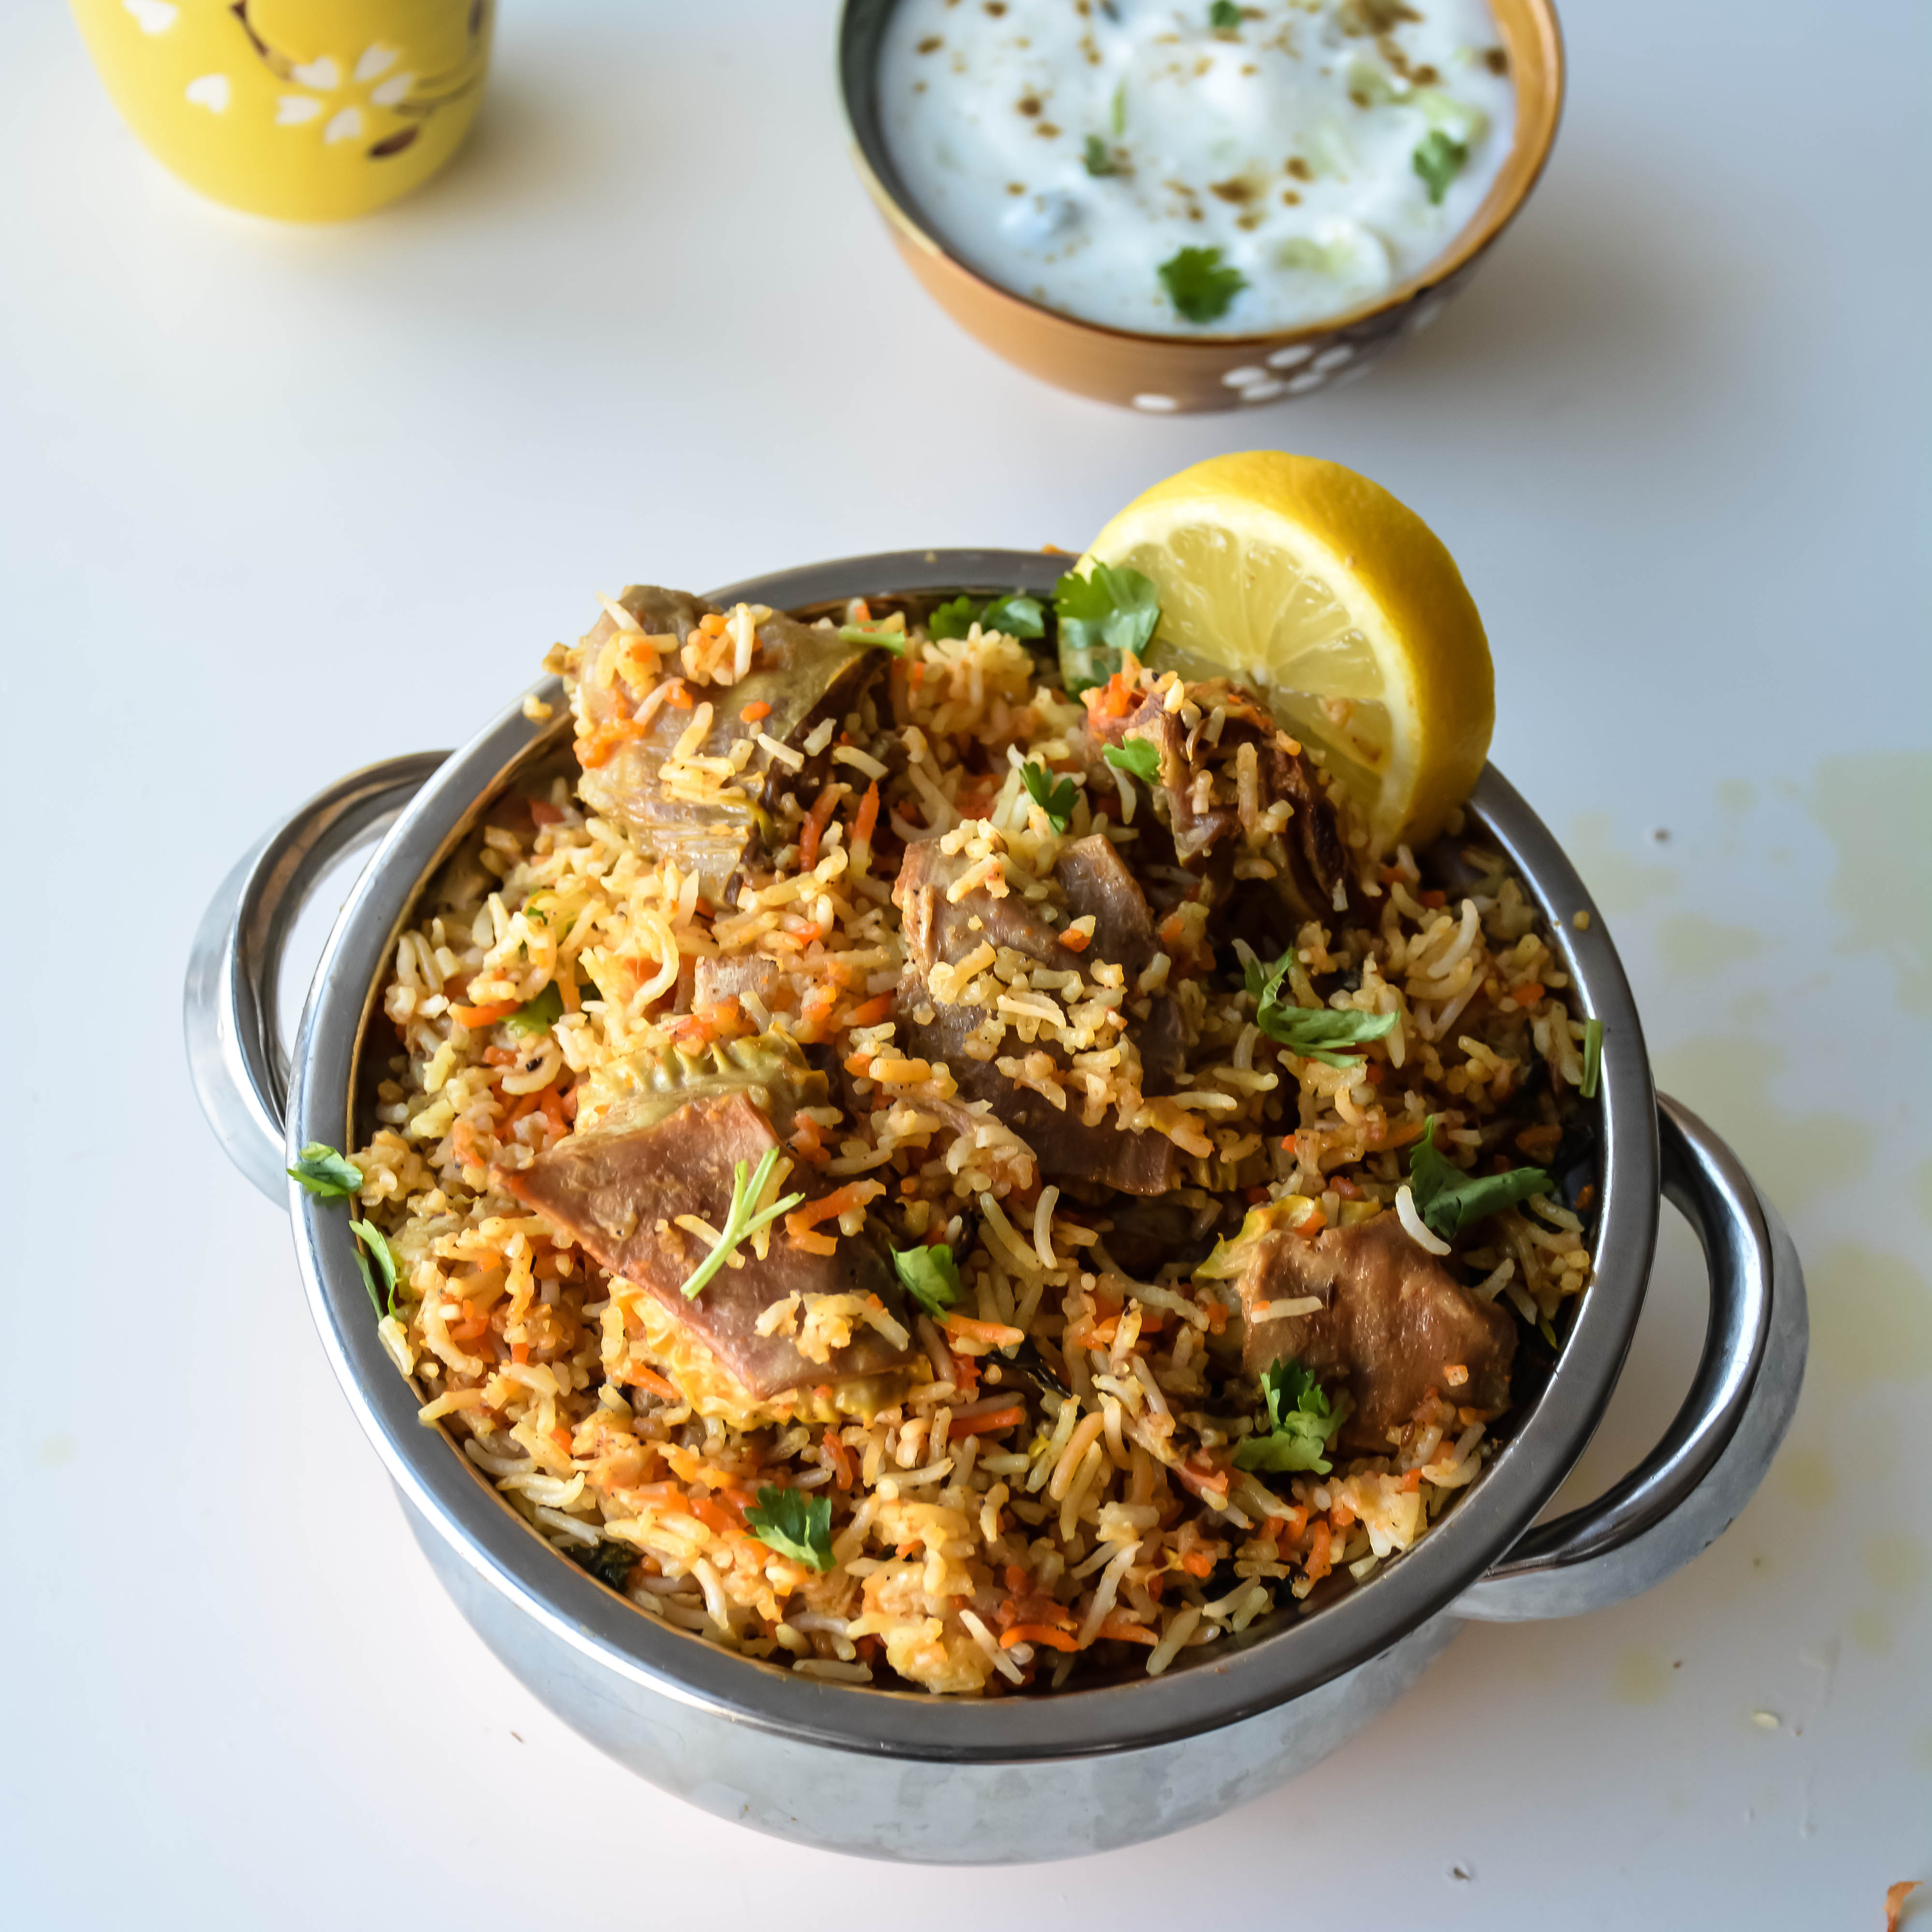
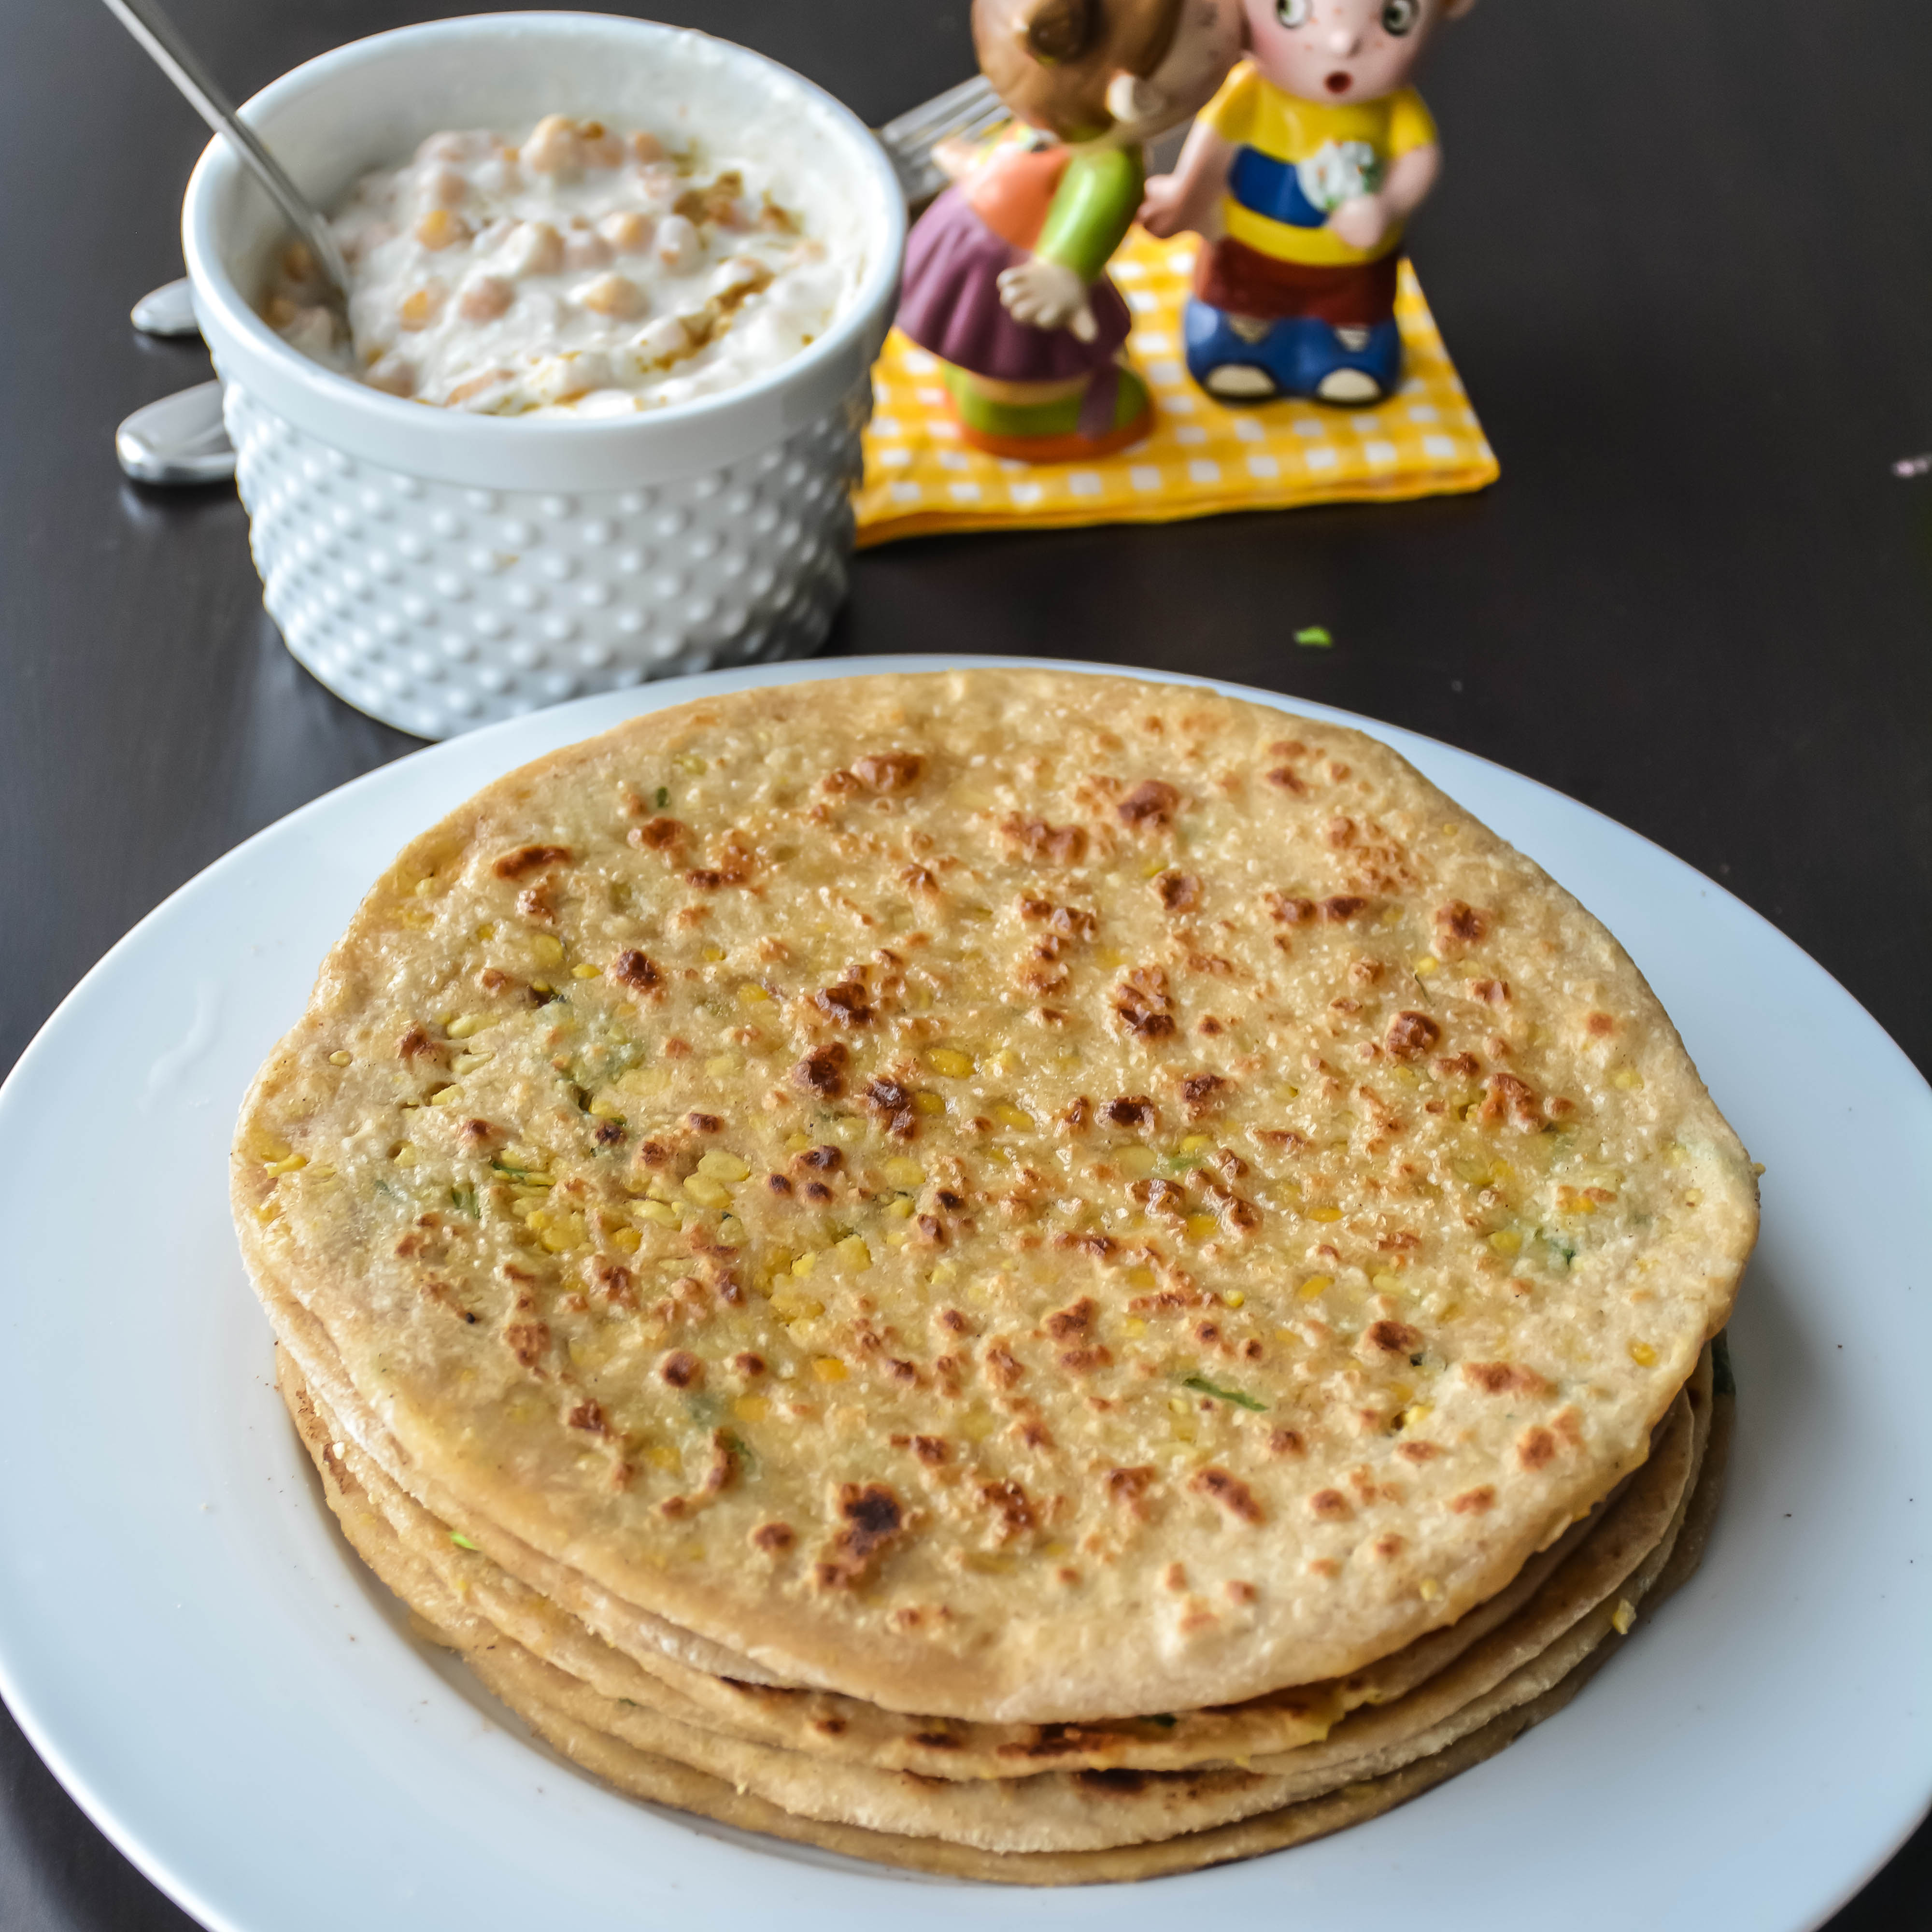
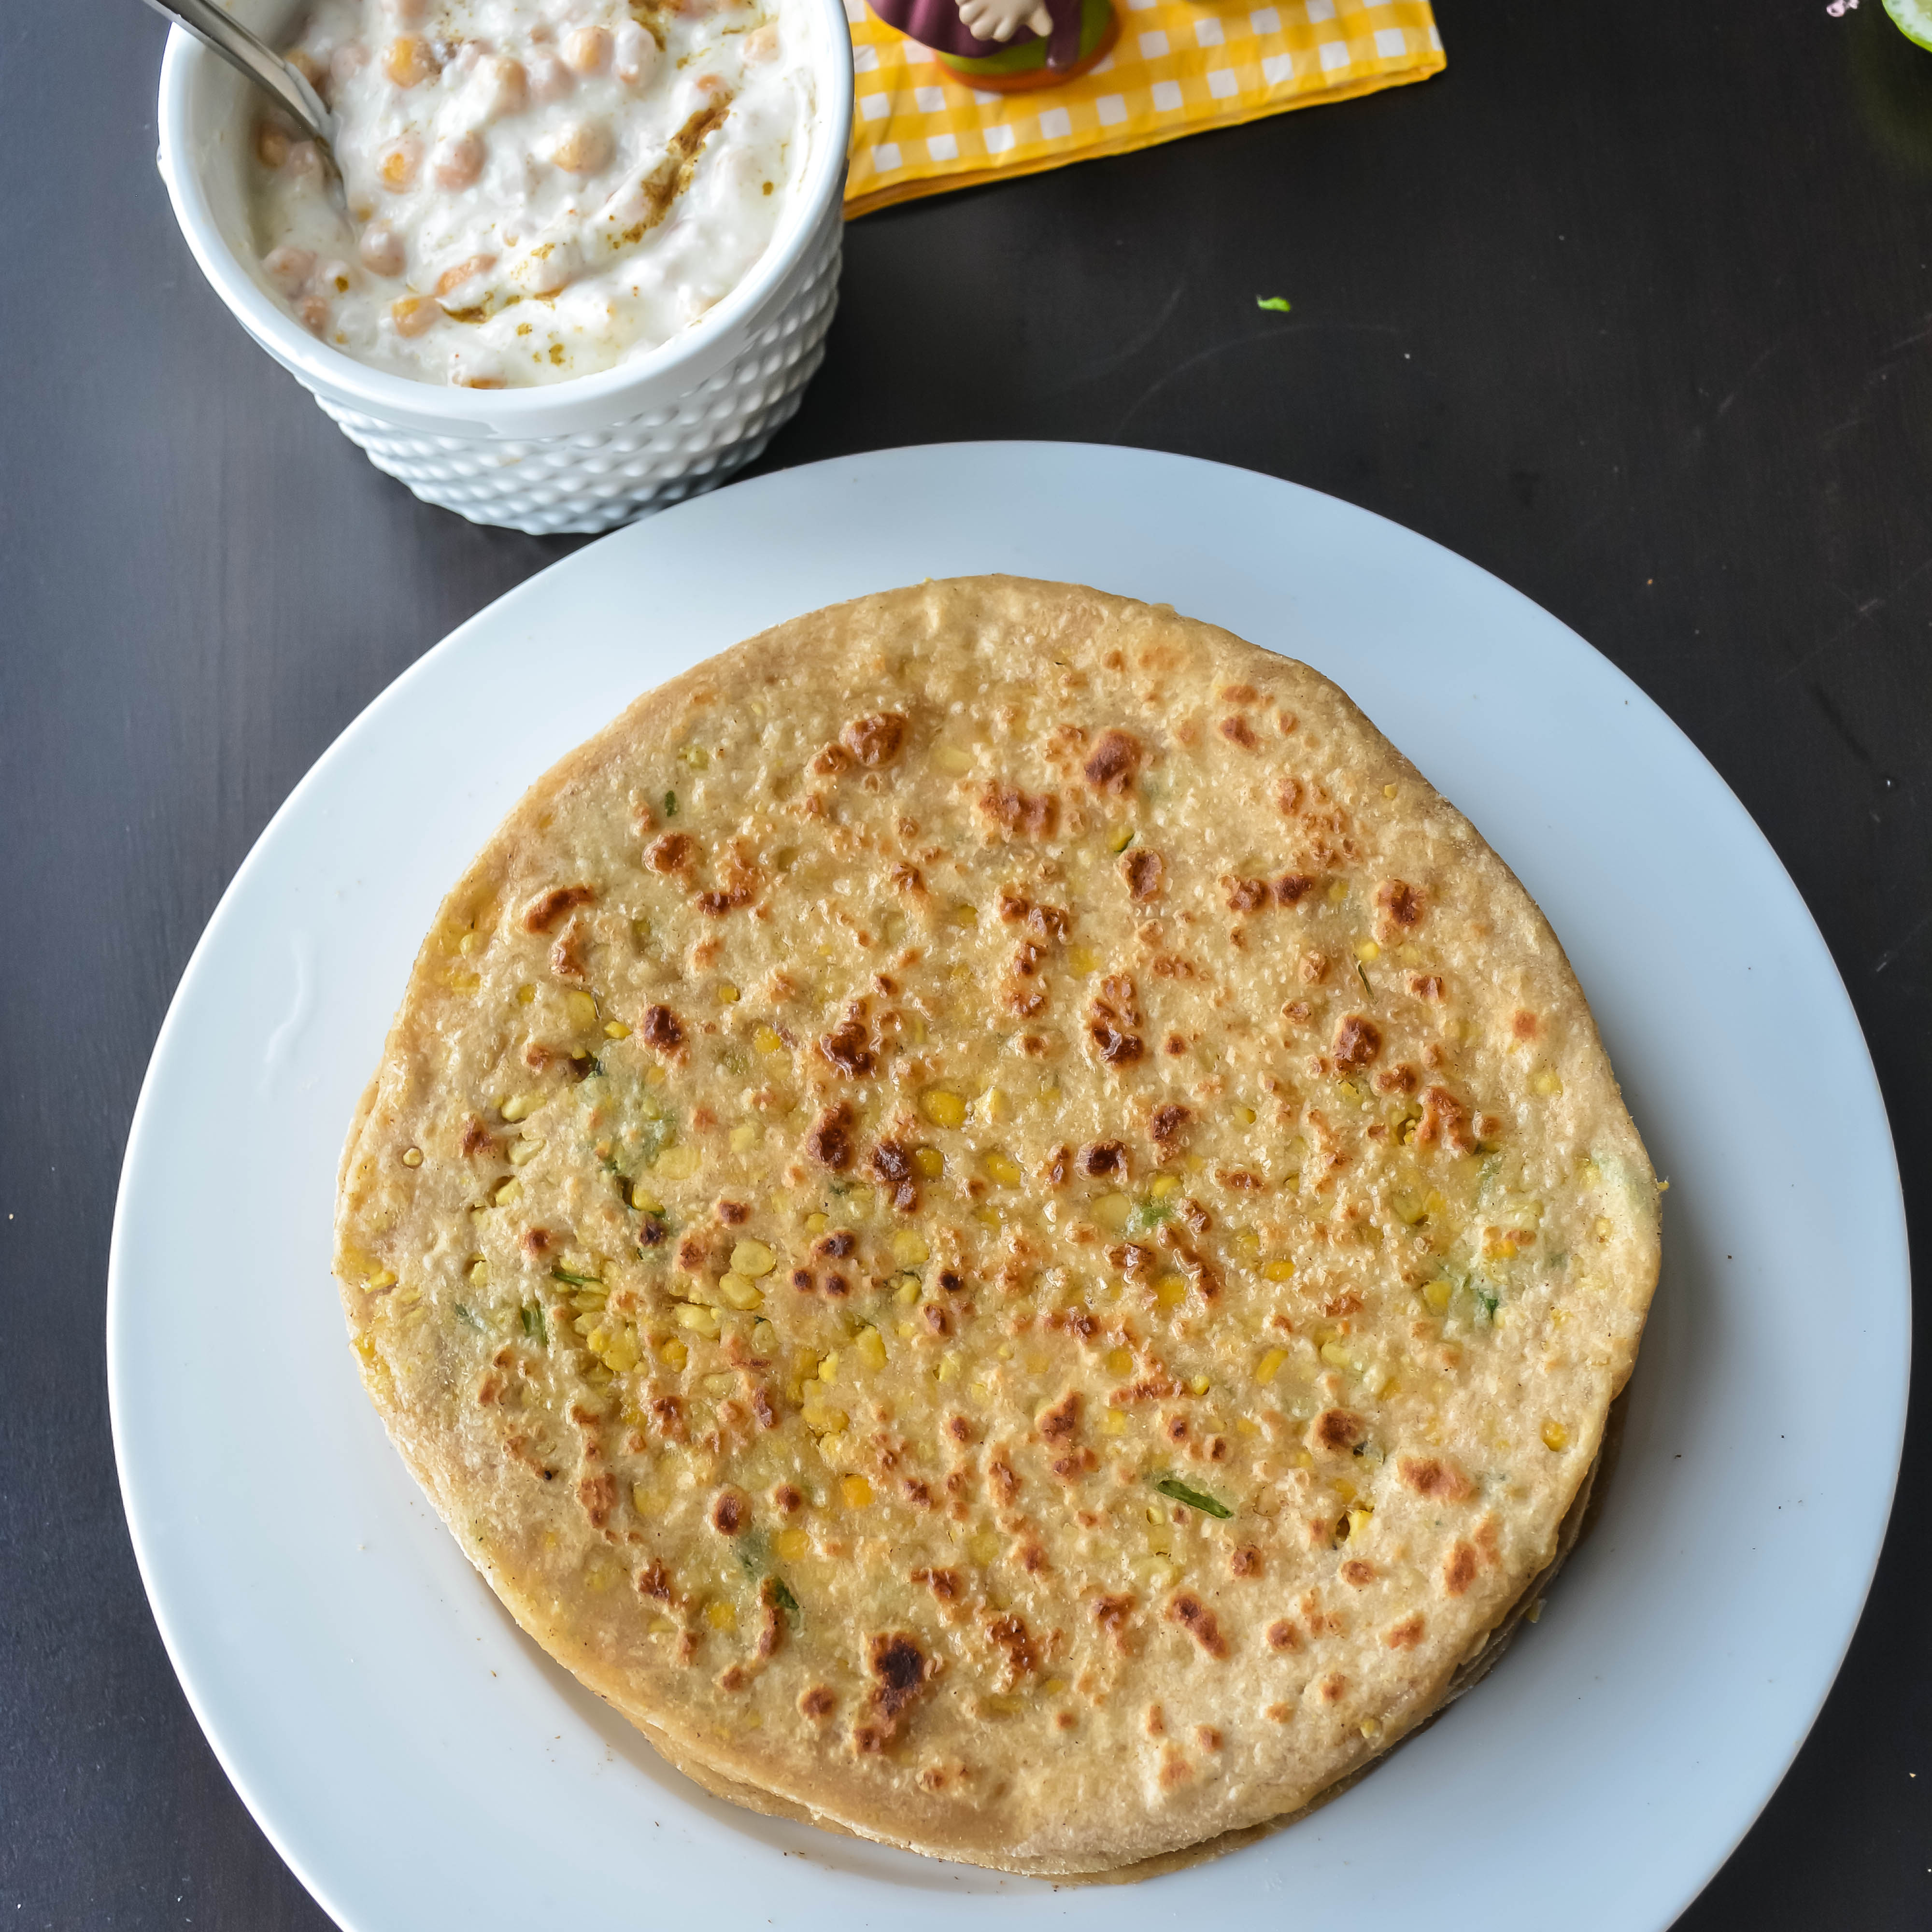
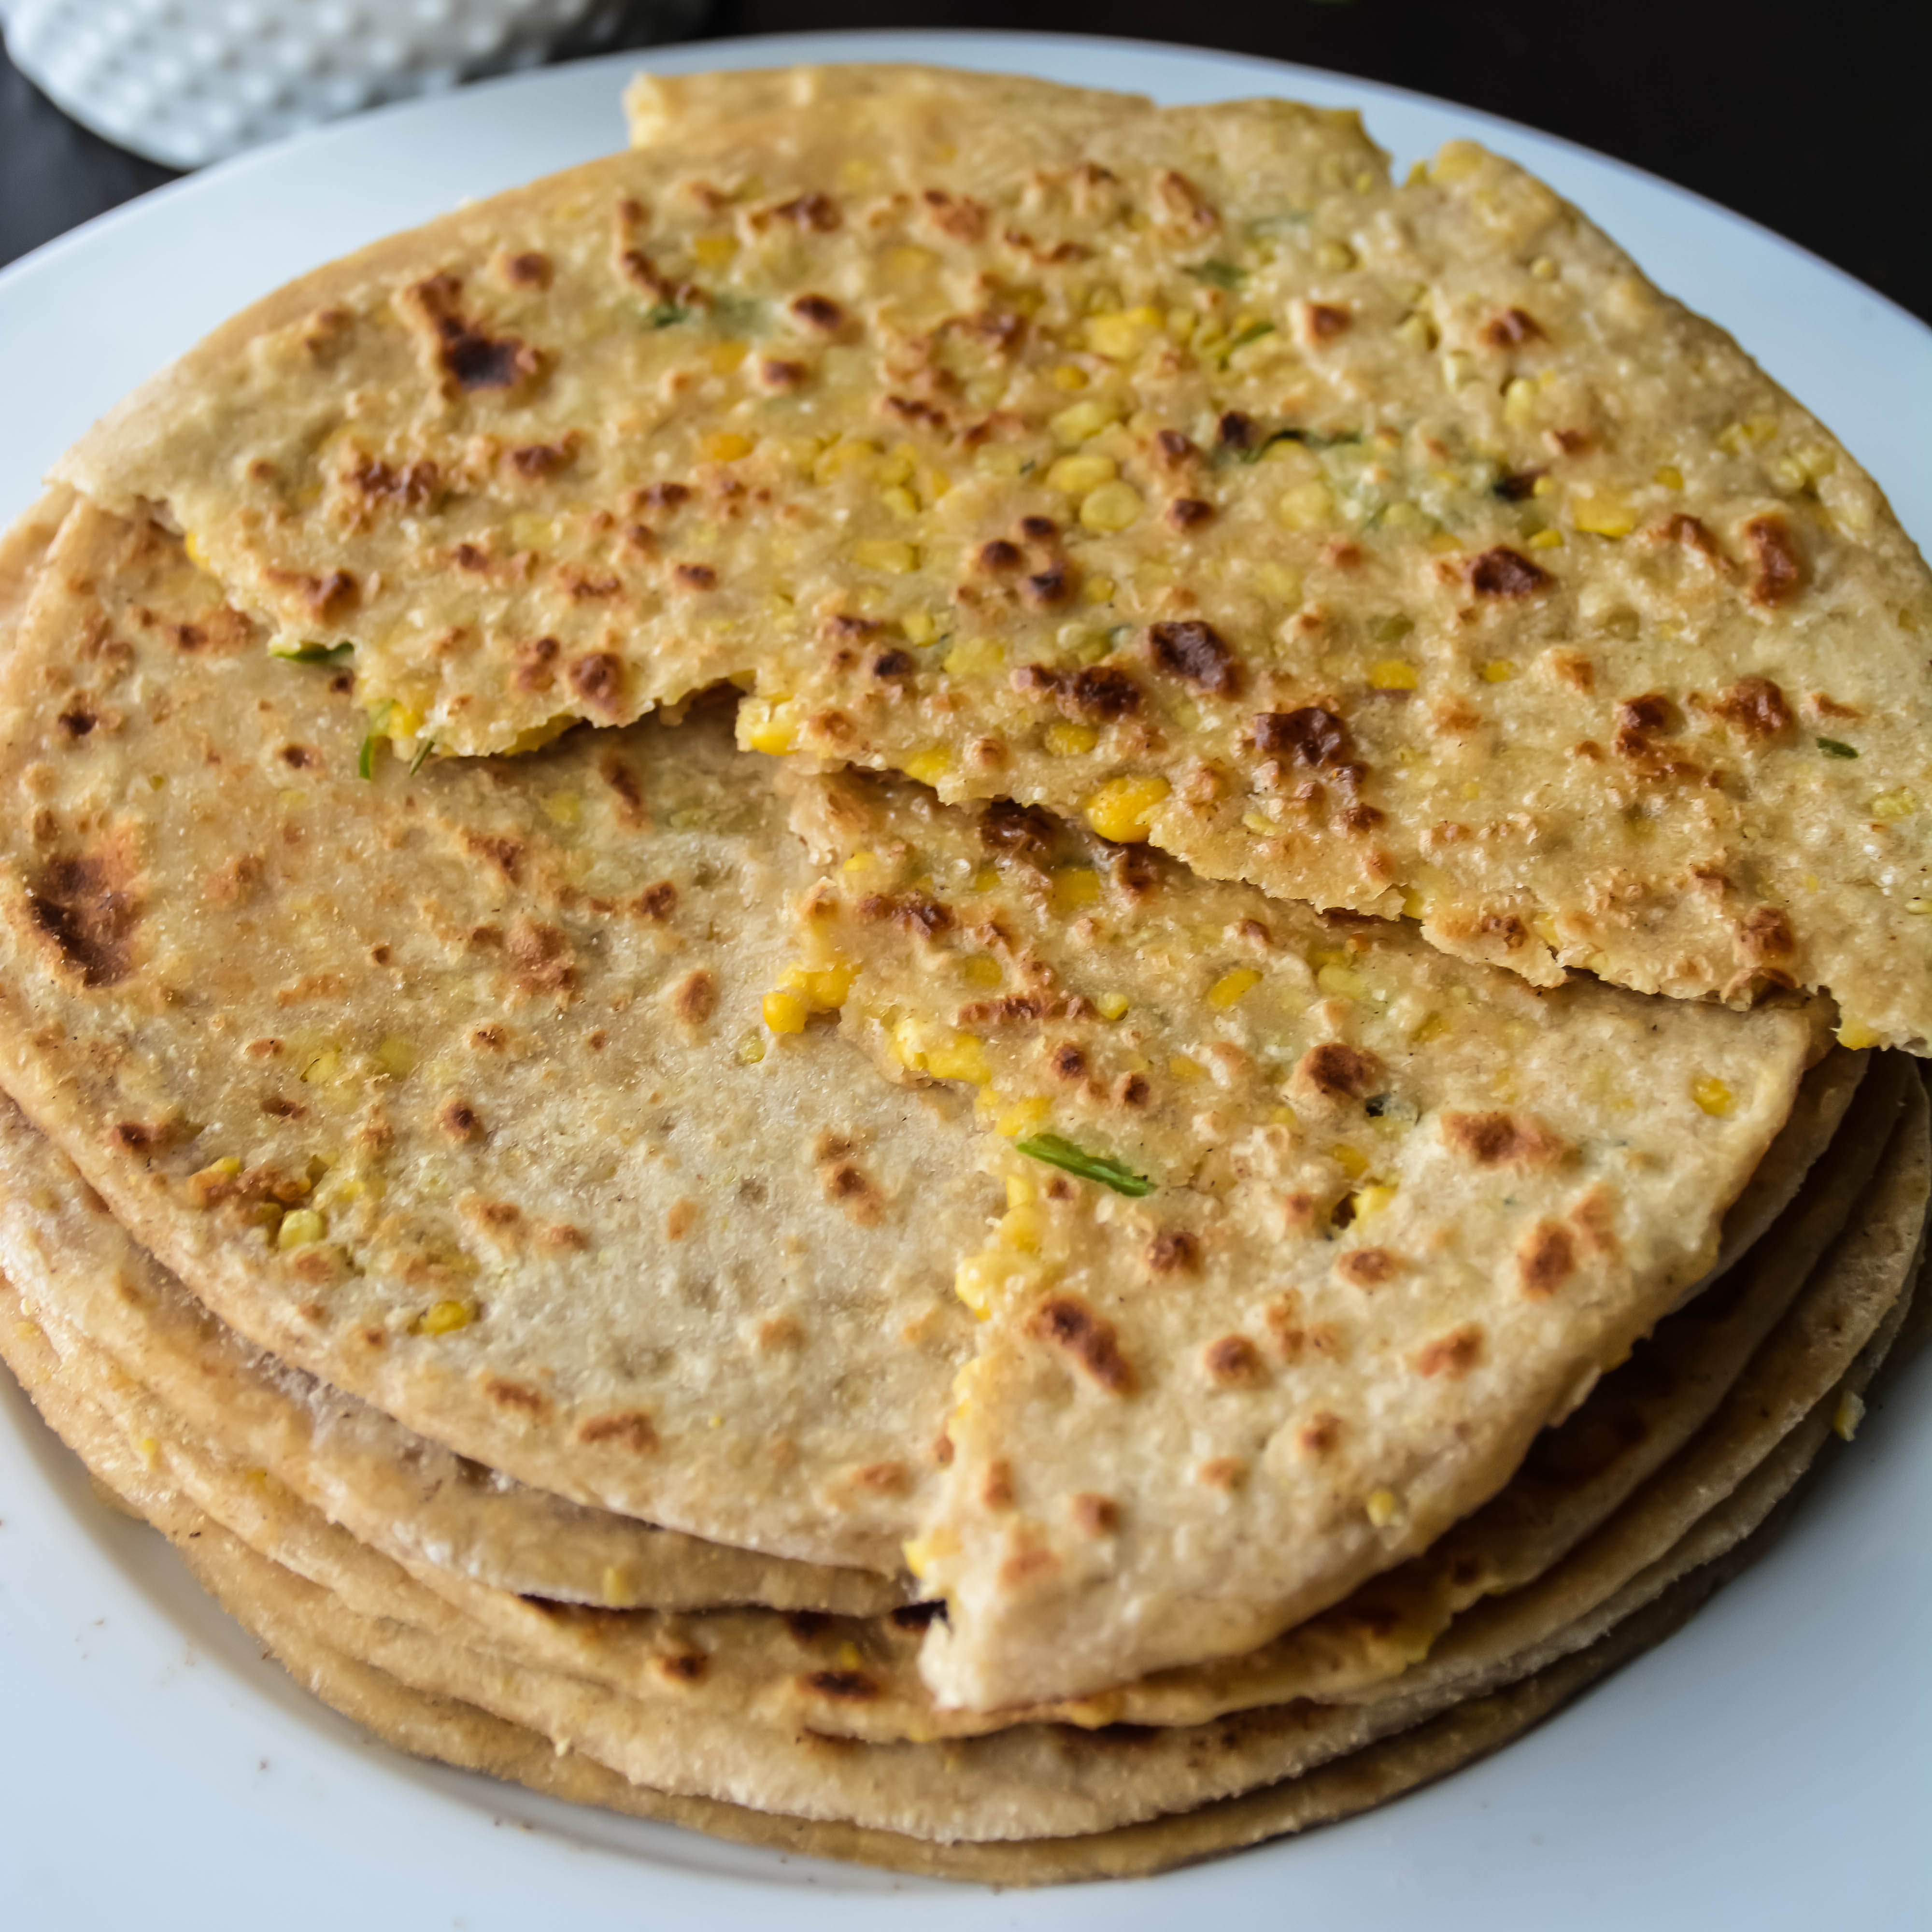
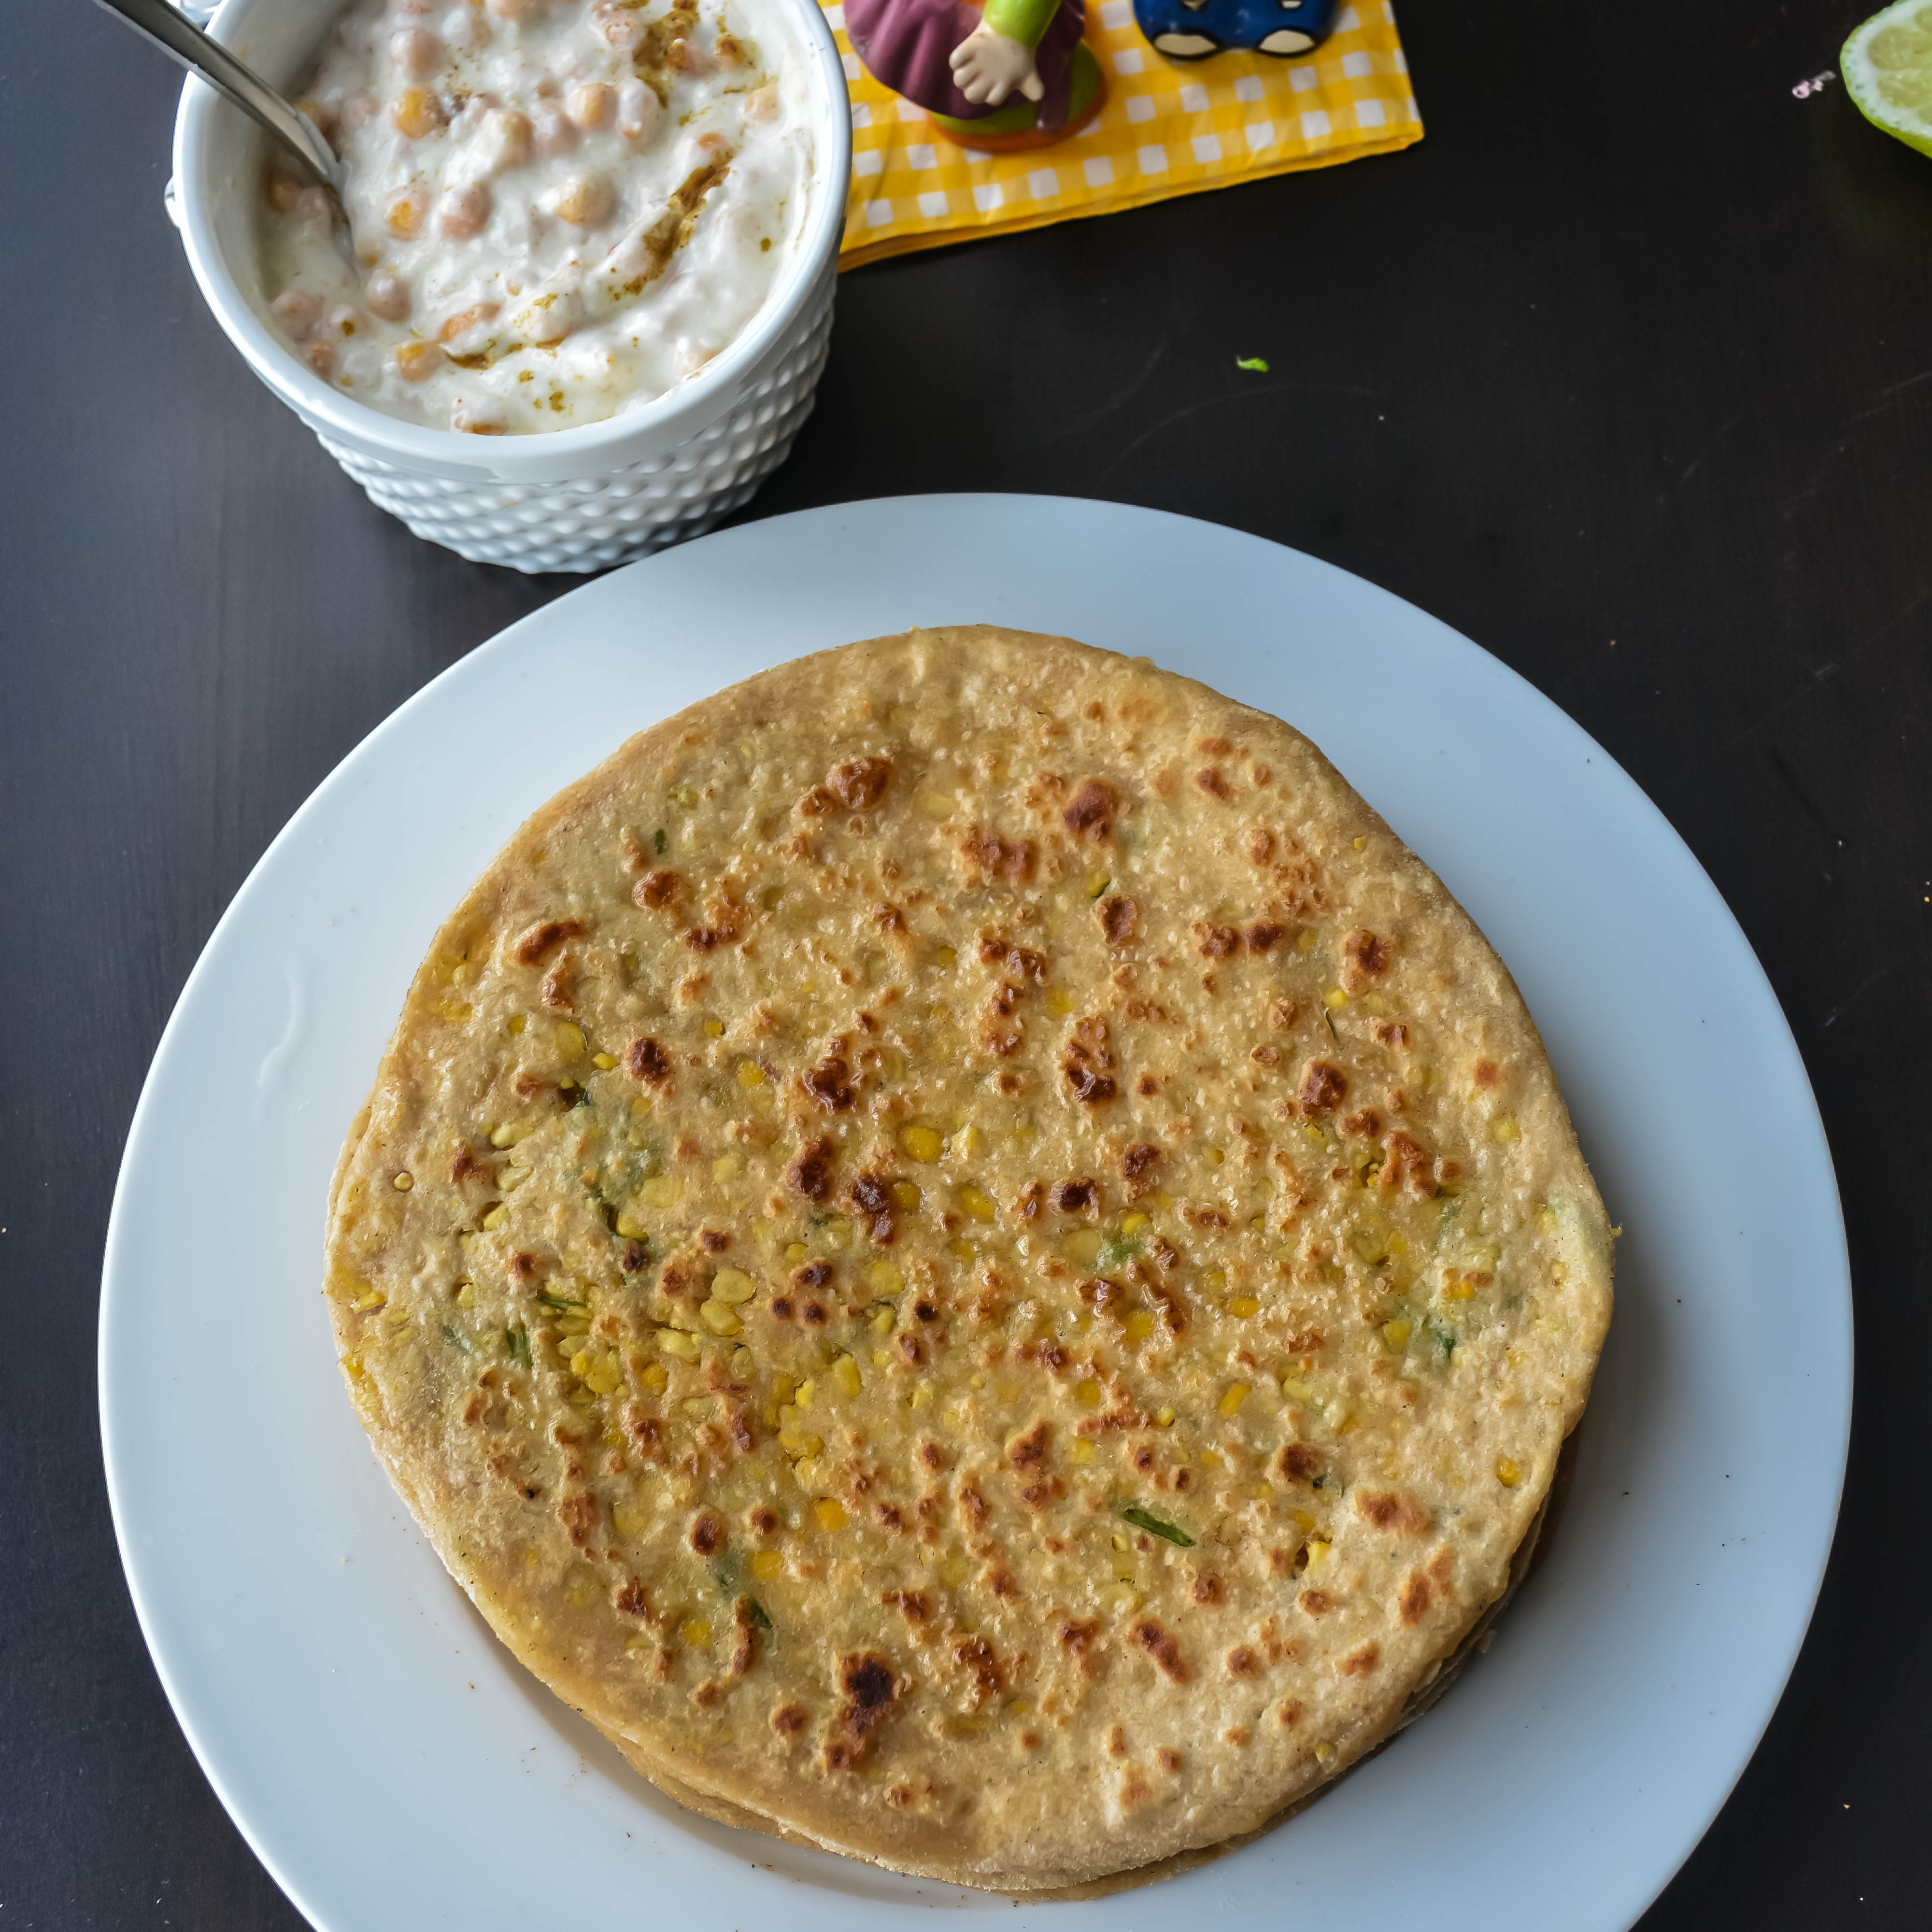
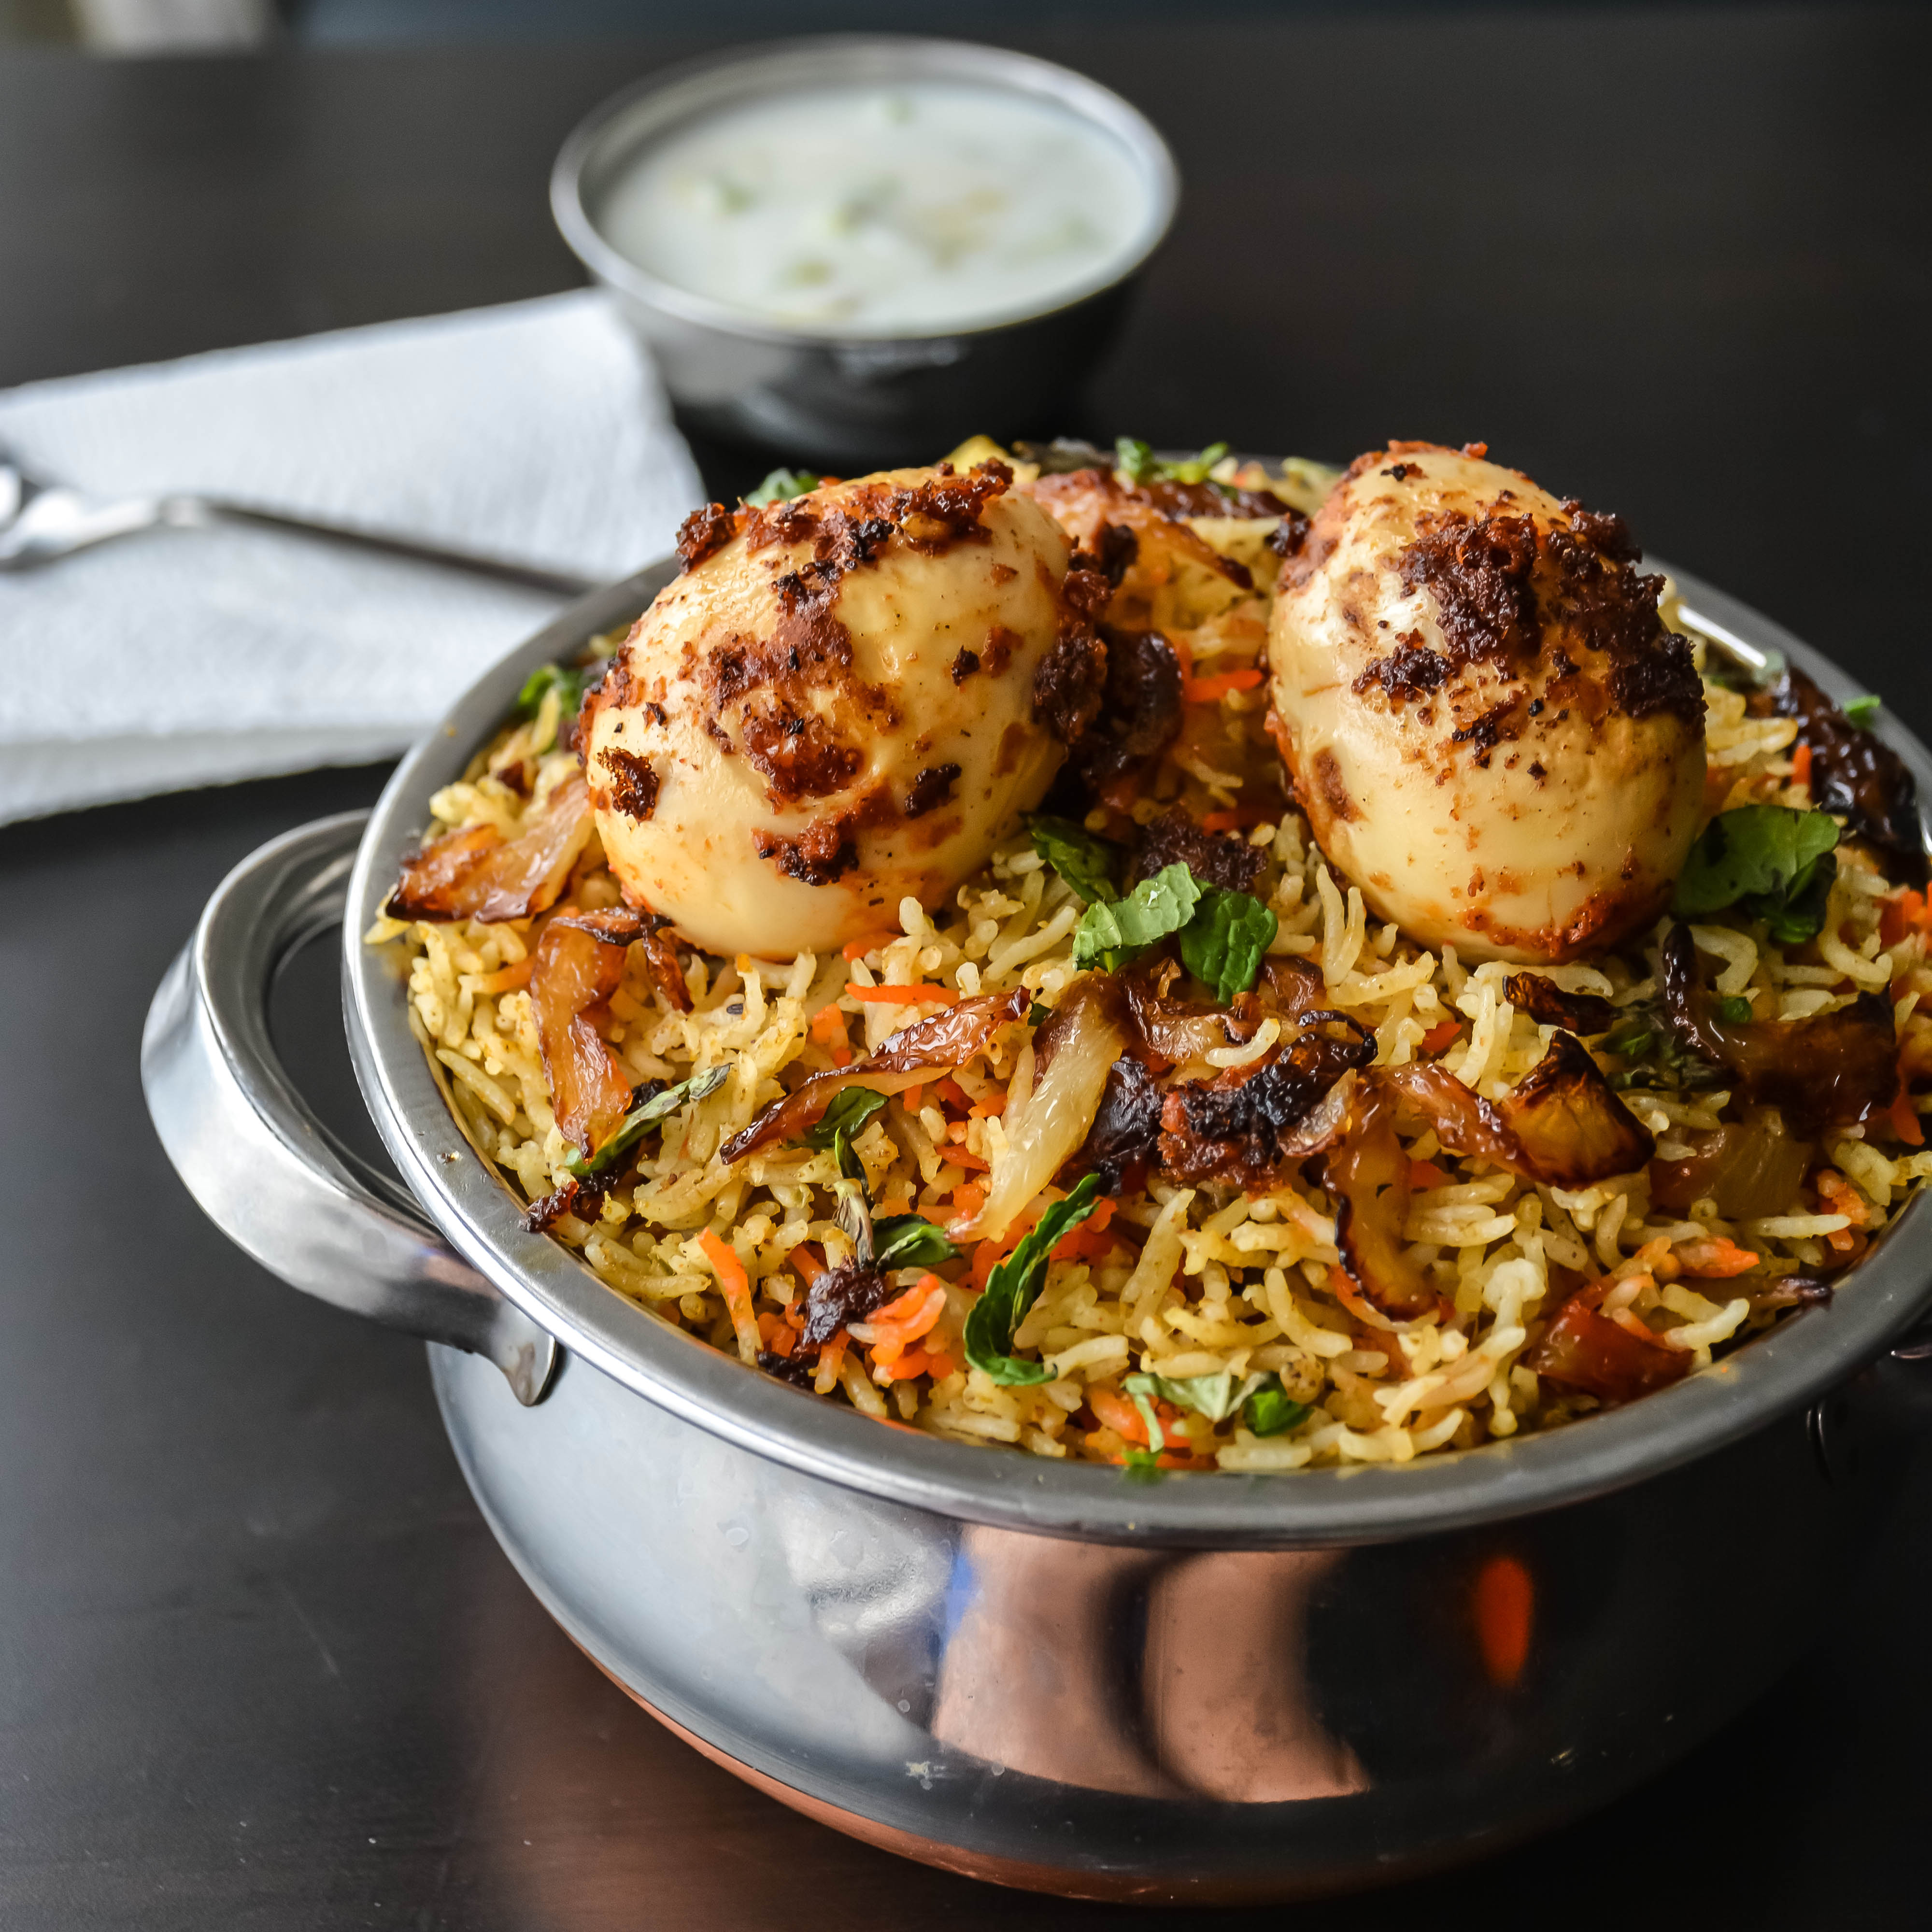
The rice is also no onion no garlic recipe. You can also make this curry for fasting. This recipe is so quick and is very easy. You can even add tamarind sauce to it when you prefer, it gives great twist to the recipe. Some add peas and cauliflower to the curry, it’s a great way to have any veggies. This recipe is popular all over India. I made this with channa paratha. But it taste great with just plain rice or poori or parotta.

PotatoMasala-3

Print
Aloo Rasedar Recipe
Author: Suganya Hariharan
Recipe type: Main
Cuisine: Indian
Prep time:  15 mins
Cook time:  15 mins
Total time:  30 mins
Serves: 4
 
Ingredients
  • Potatoes – 3 medium
  • Tomato – 1 large
  • Ginger – 1 inch, finely chopped
  • Green chilli – 2, chopped finely
  • Turmeric powder – ¼ tsp
  • Red chilli powder – ½ tsp
  • Cumin powder – 1 tsp
  • Fennel powder – 1 tsp
  • Coriander powder – 1 tsp
  • Dry mango powder – 1 tsp
  • Garam masala powder – 1 tsp
  • Asafetida/hing – ½ tsp
  • Water – 1.5 cups of water
  • Oil – 1 tbsp
  • Salt – 2 tbsp
Instructions
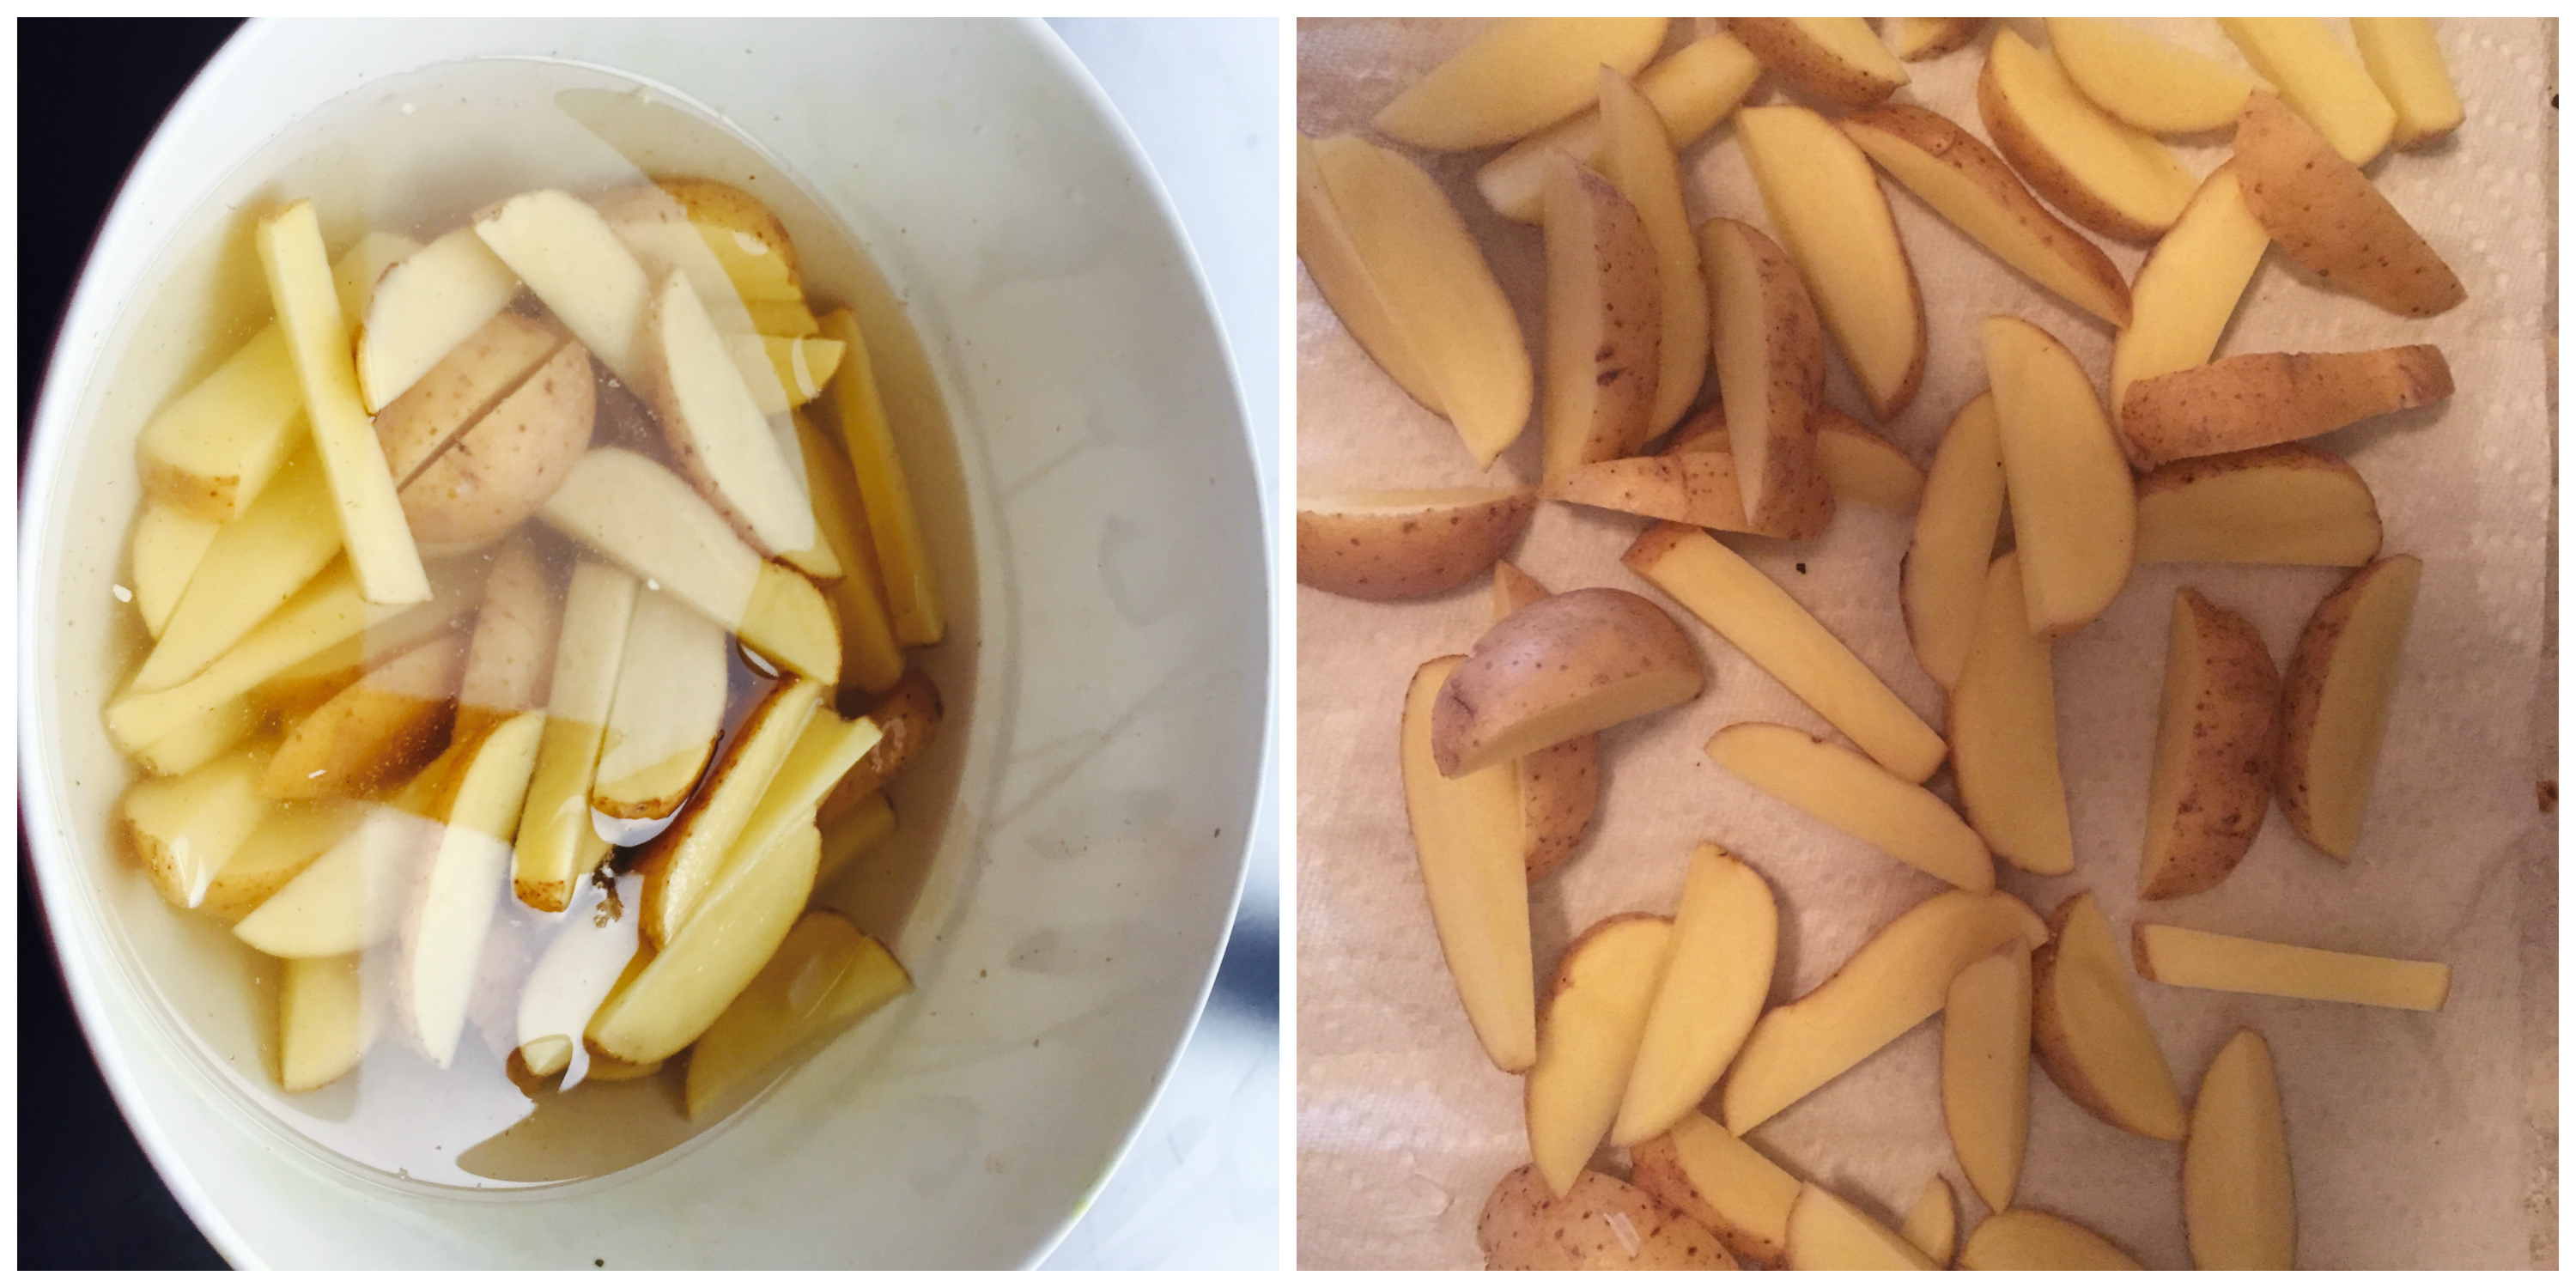
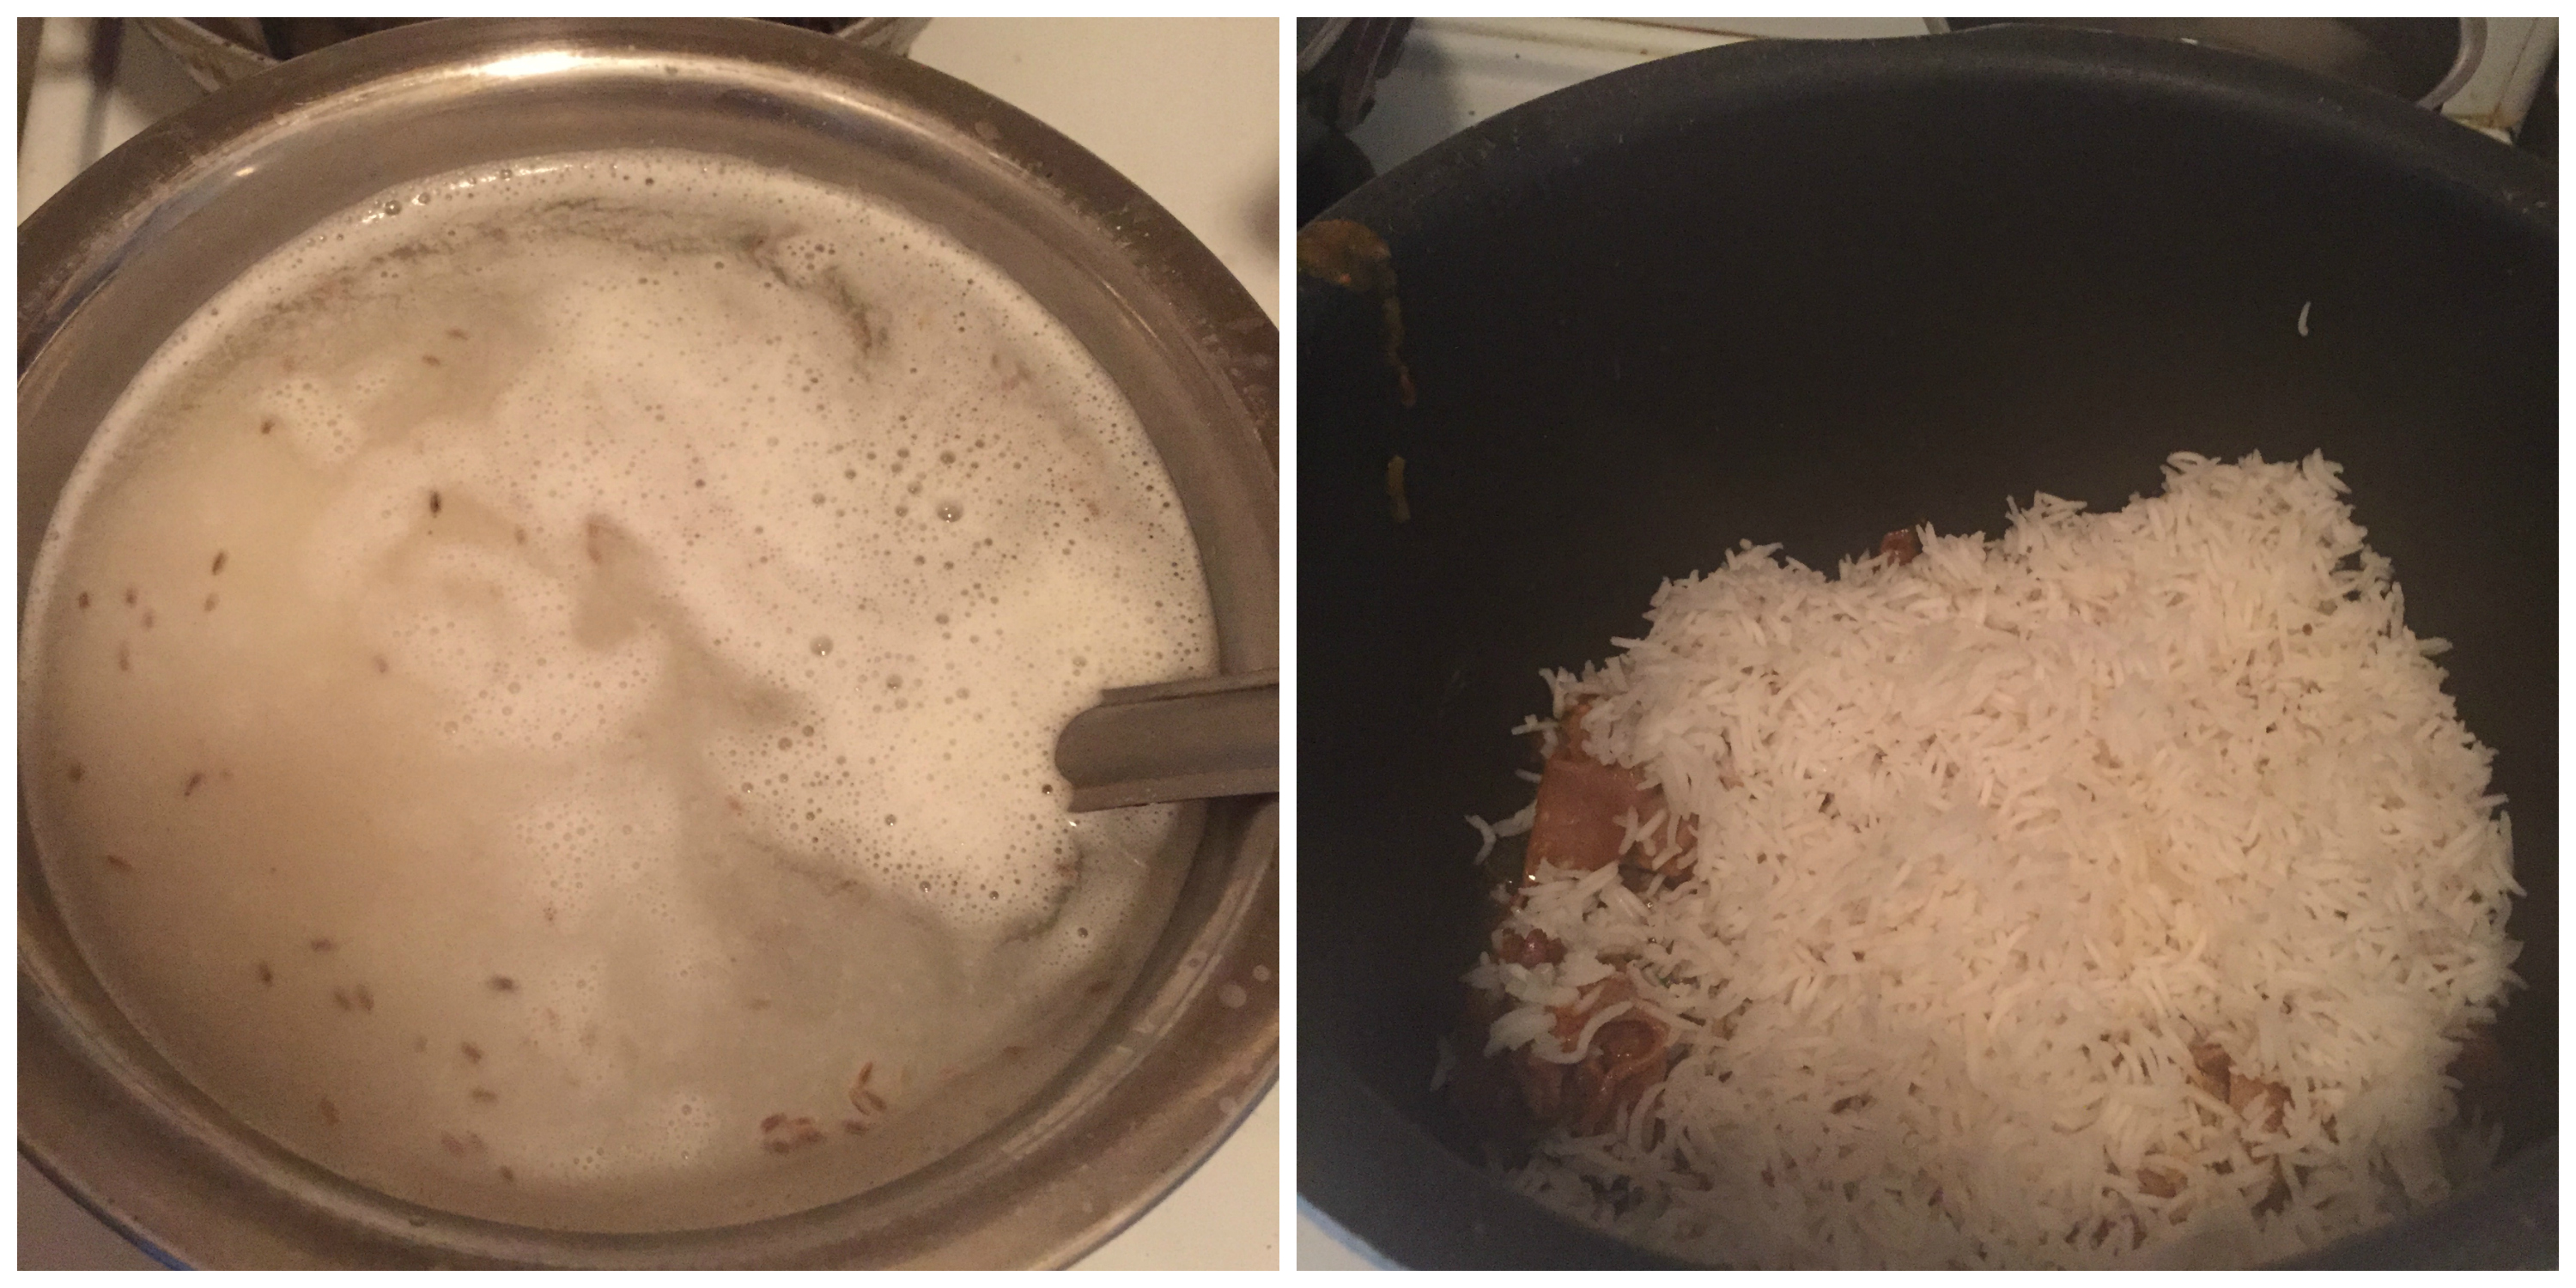
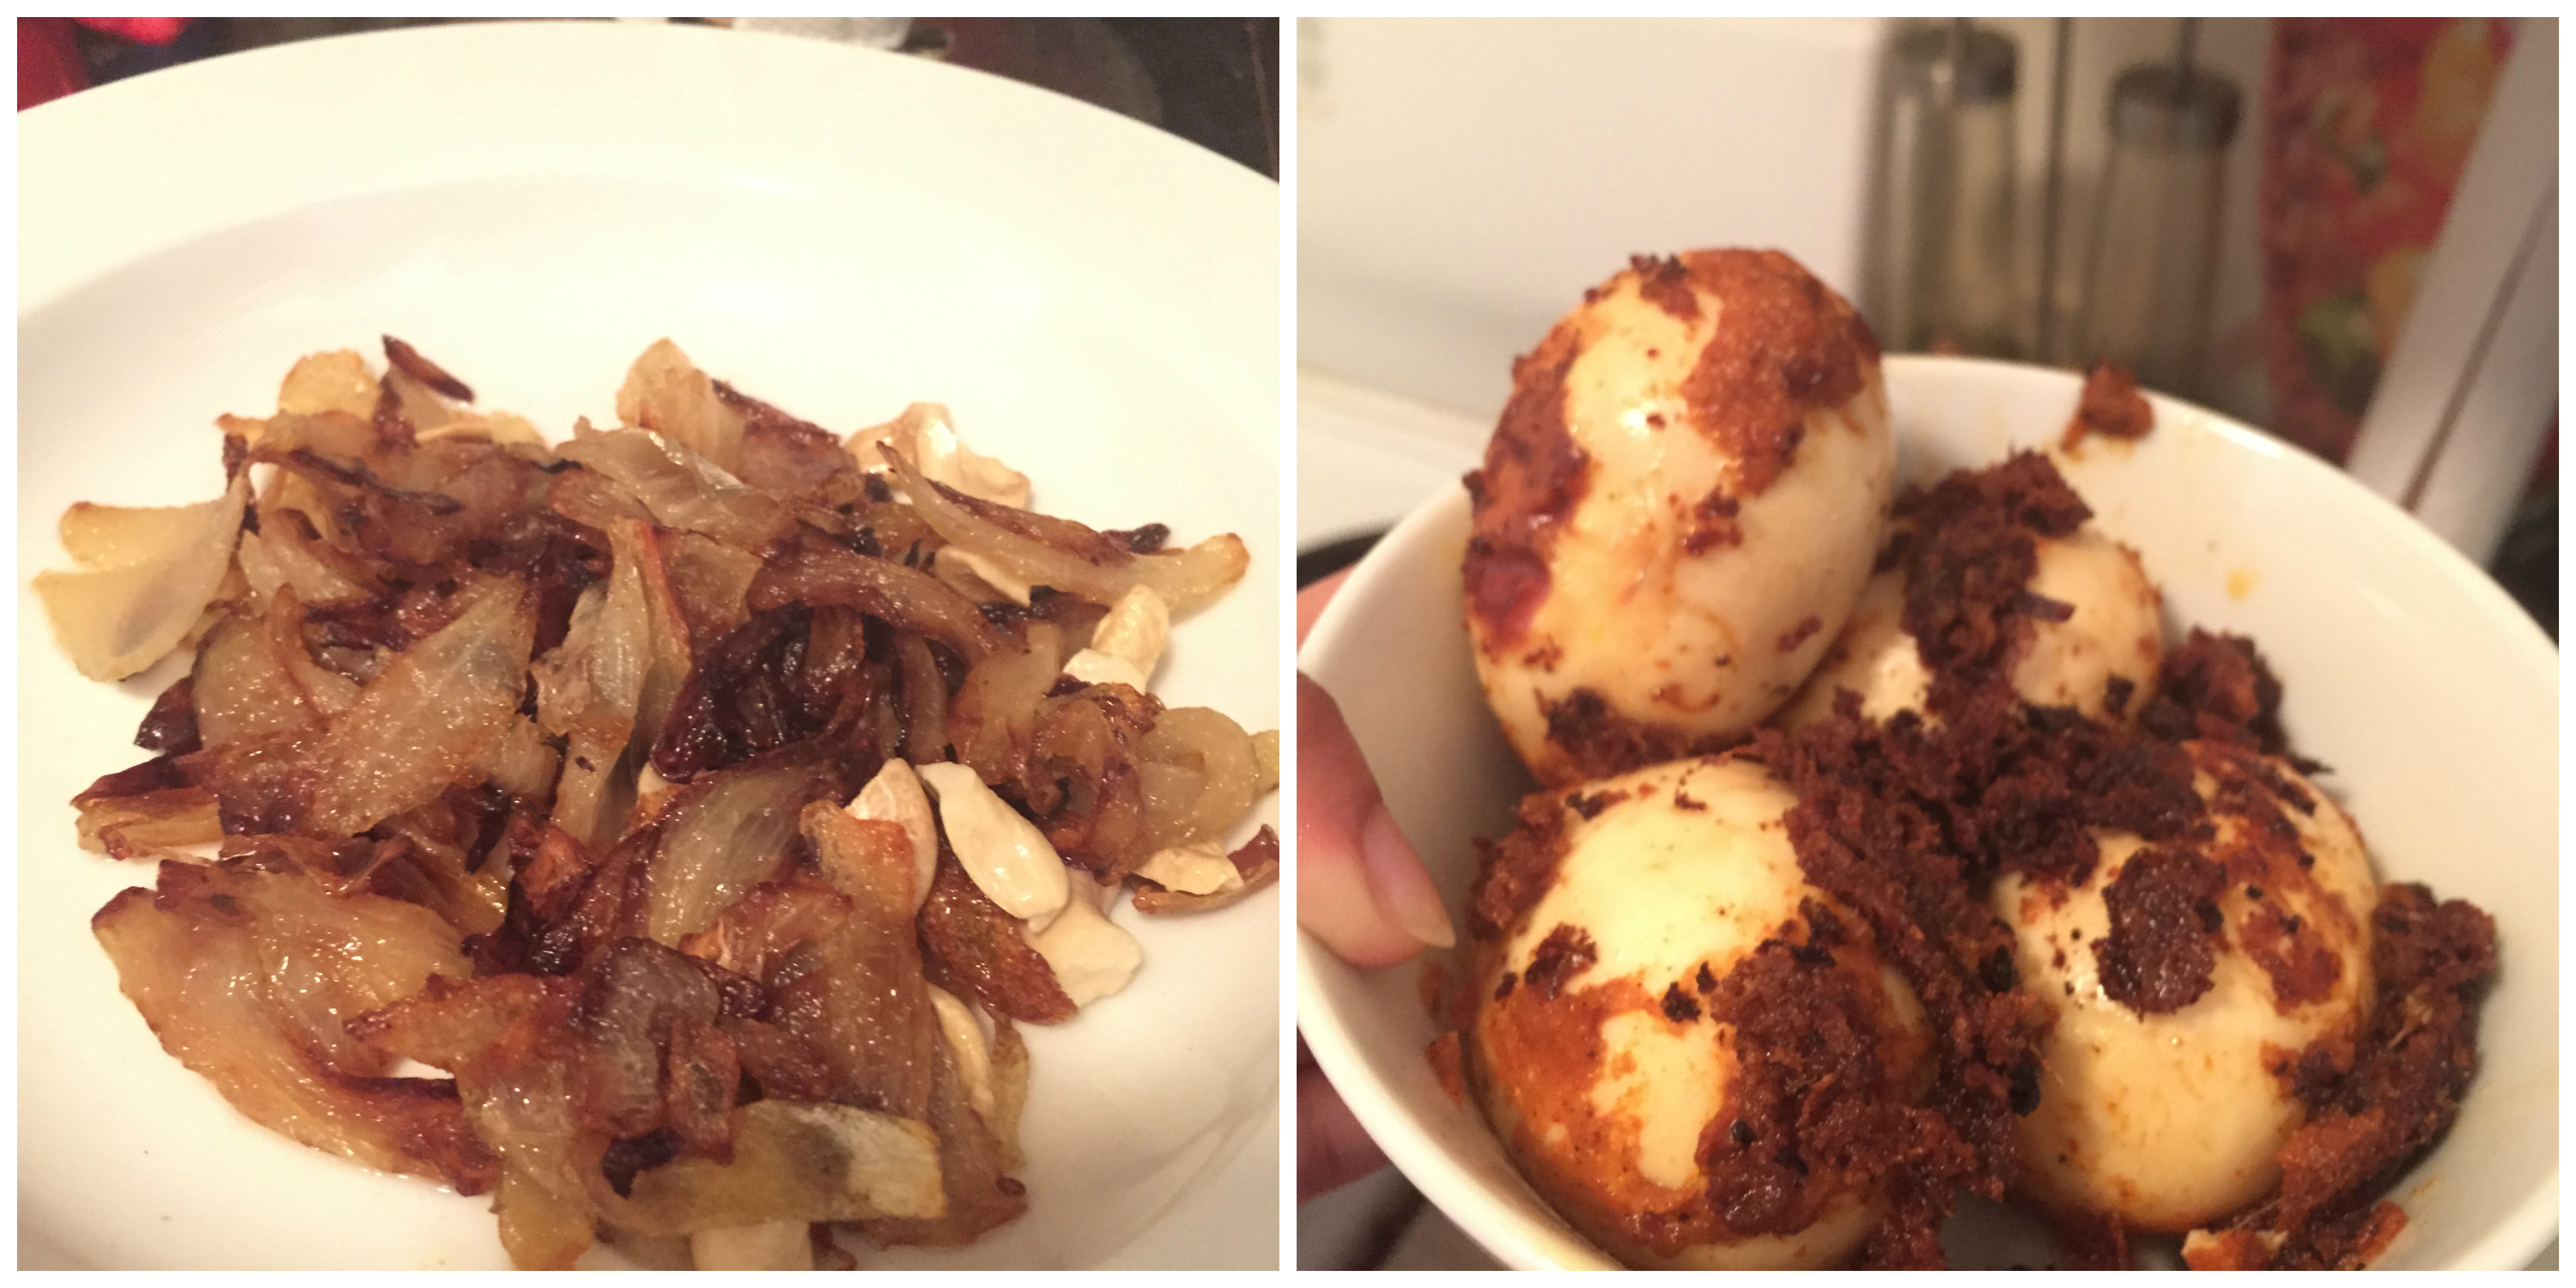
  1. Boil the potatoes in cooker for two whistles or just boil the potatoes for twenty minutes so that it can be easily crumbled. Now peel and crumble the potatoes and keep aside.
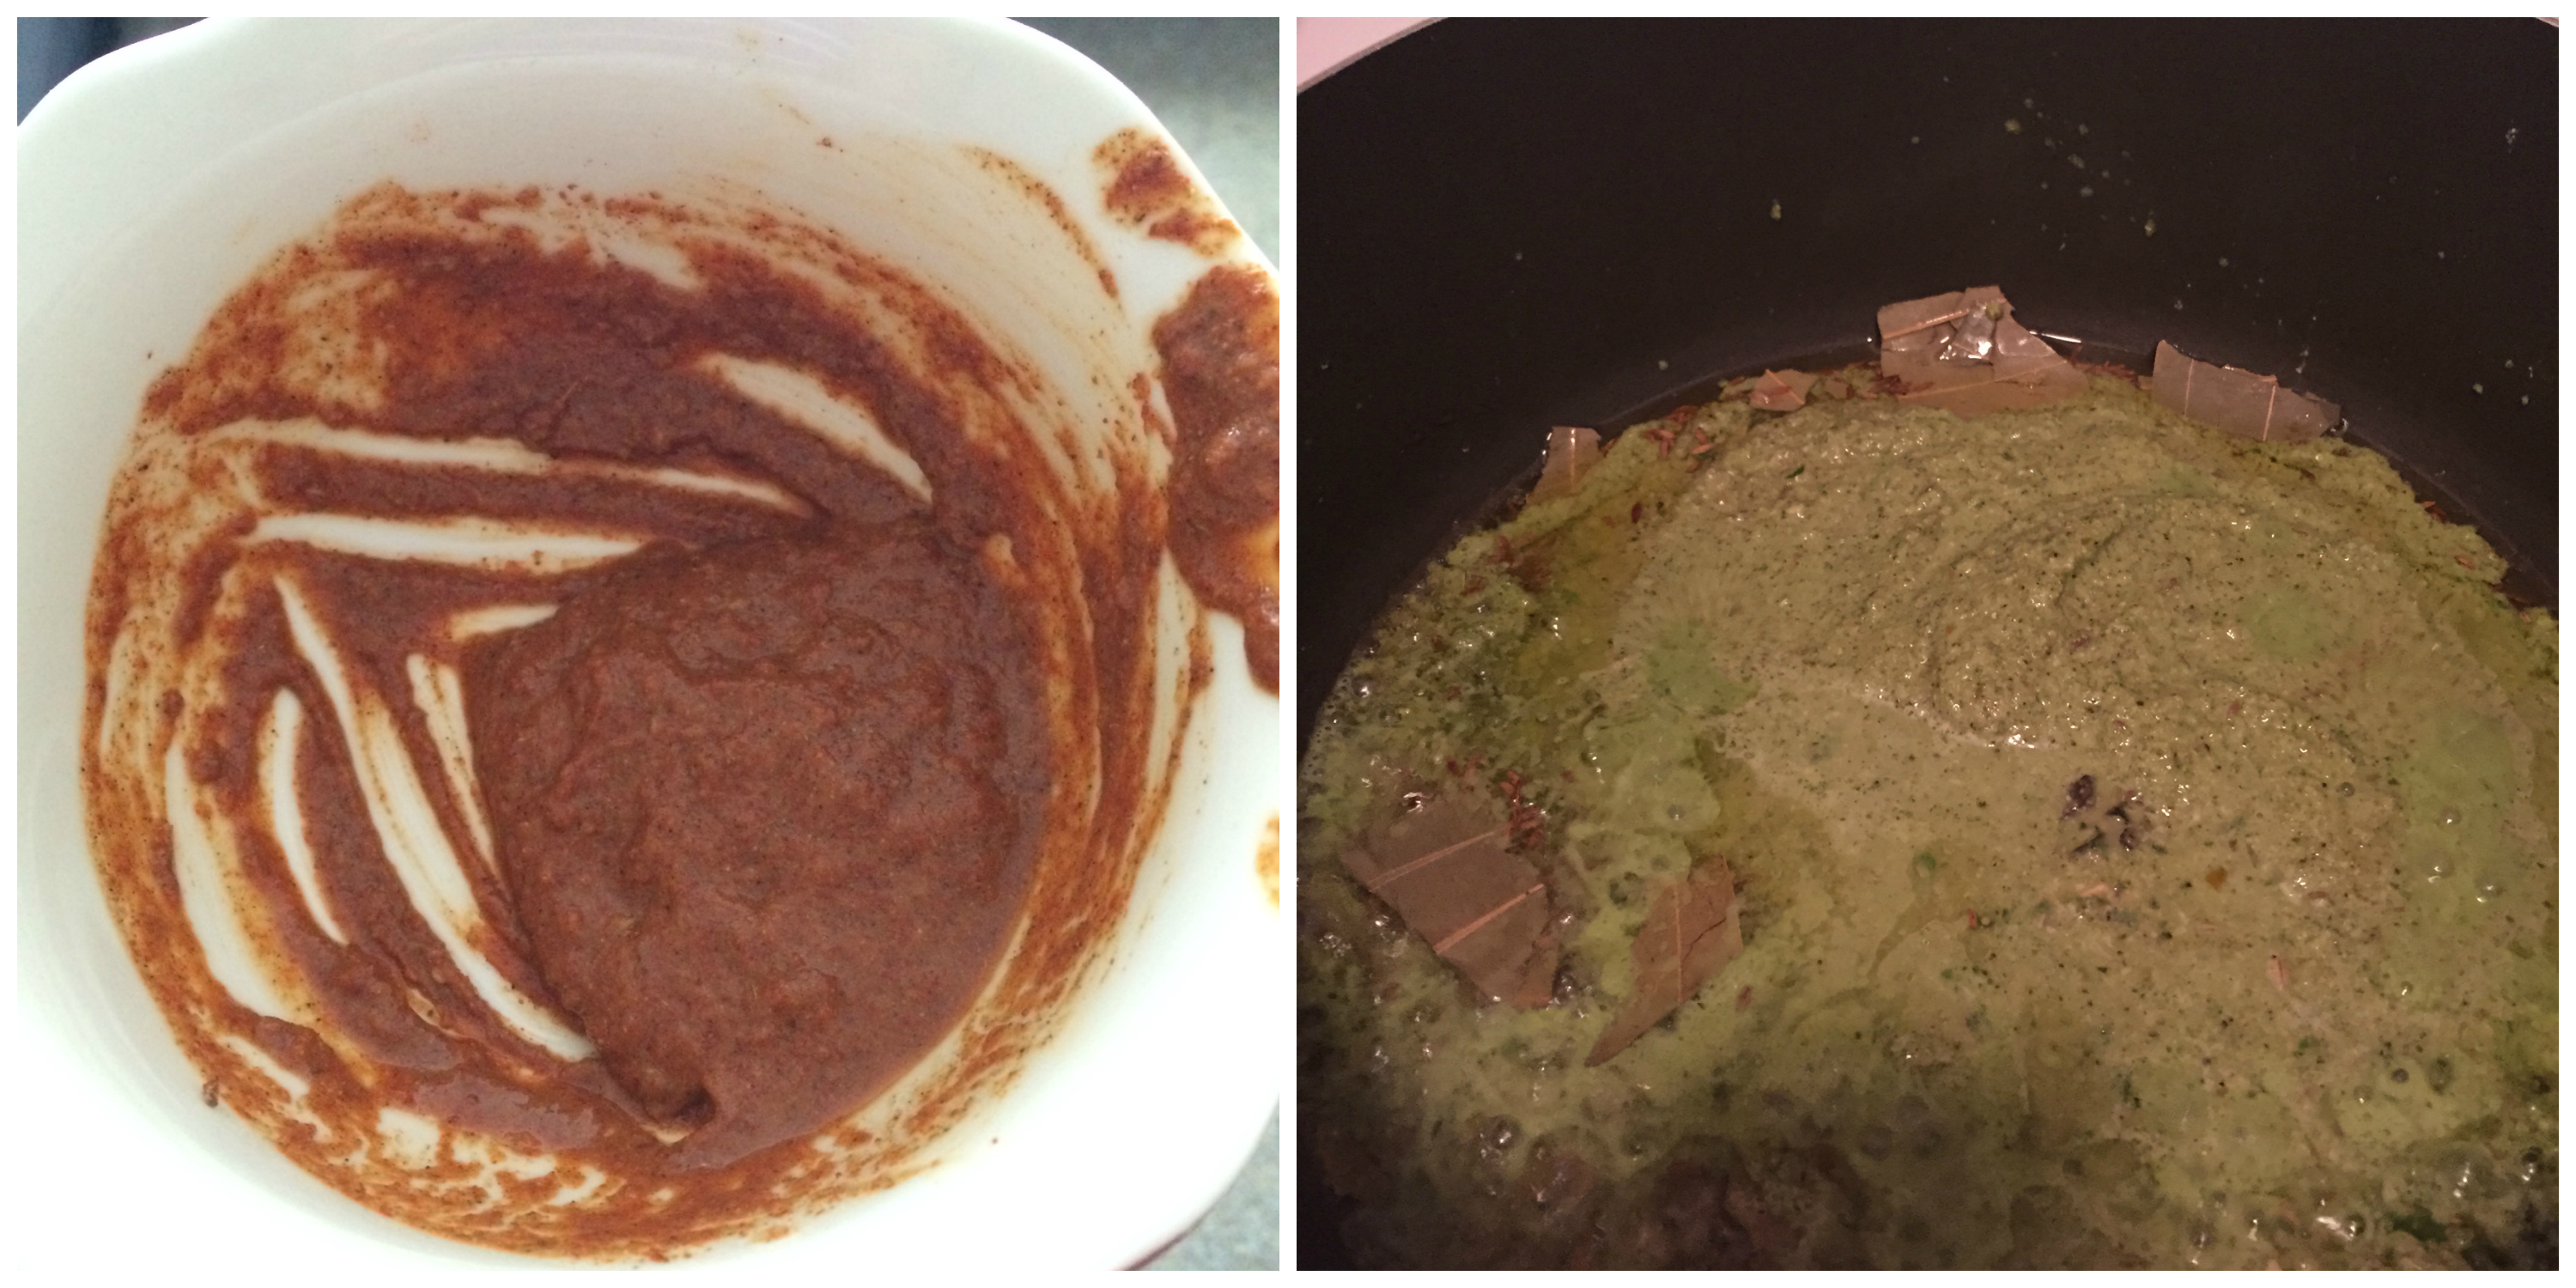
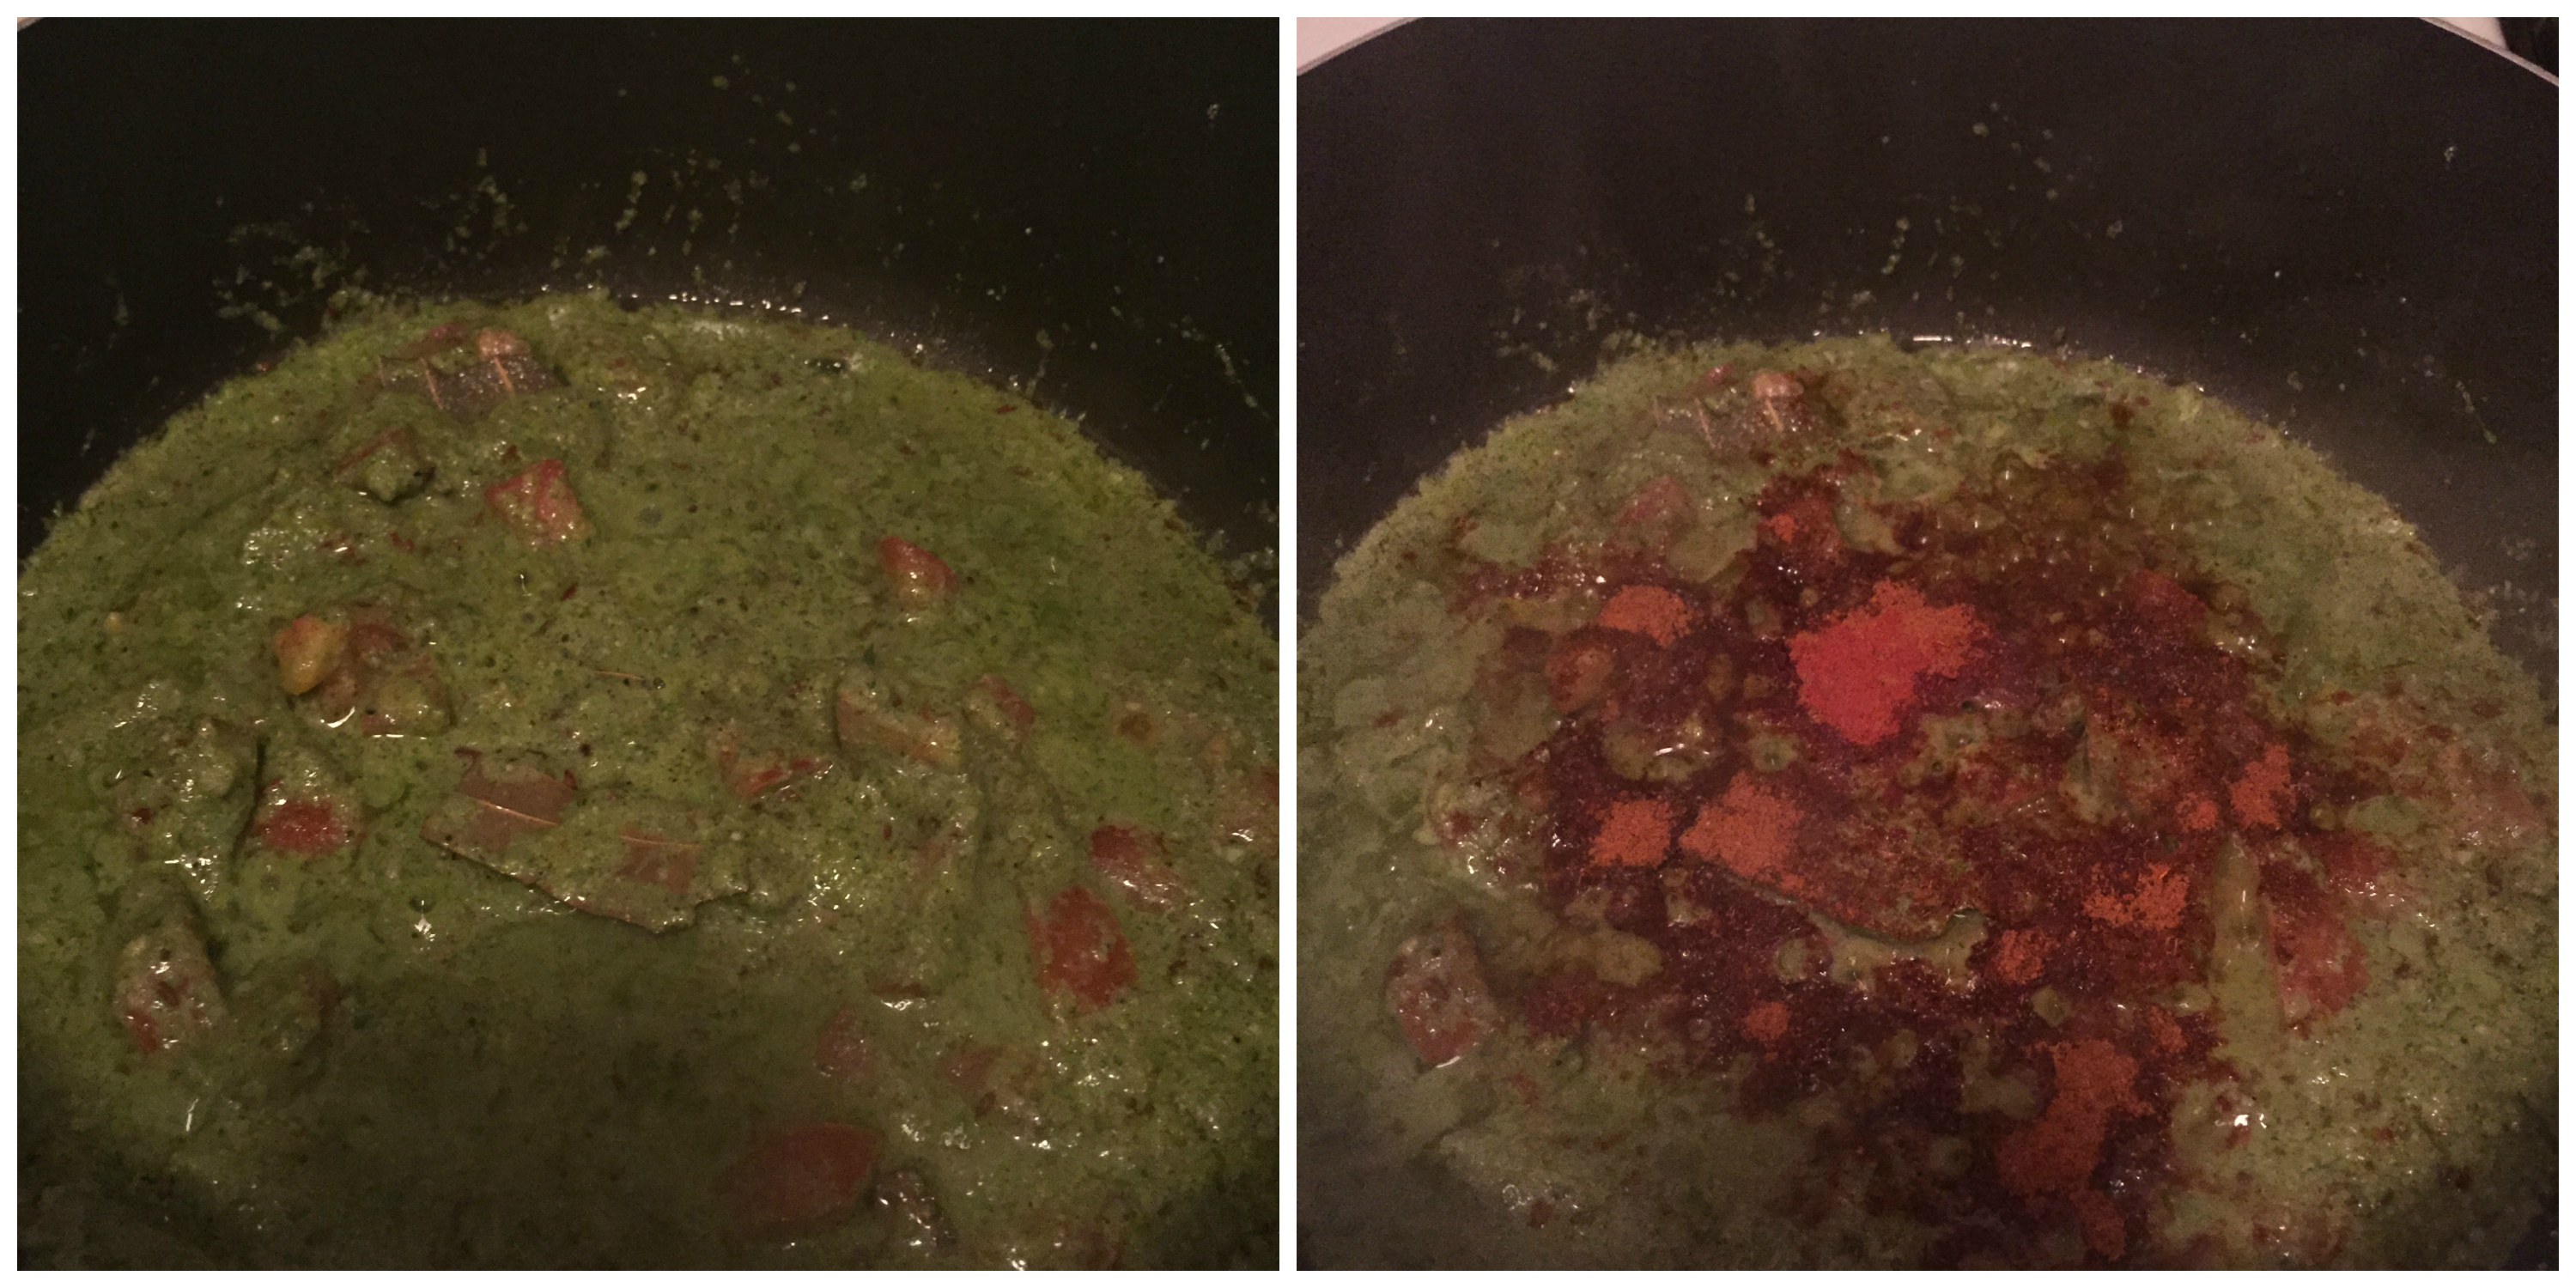
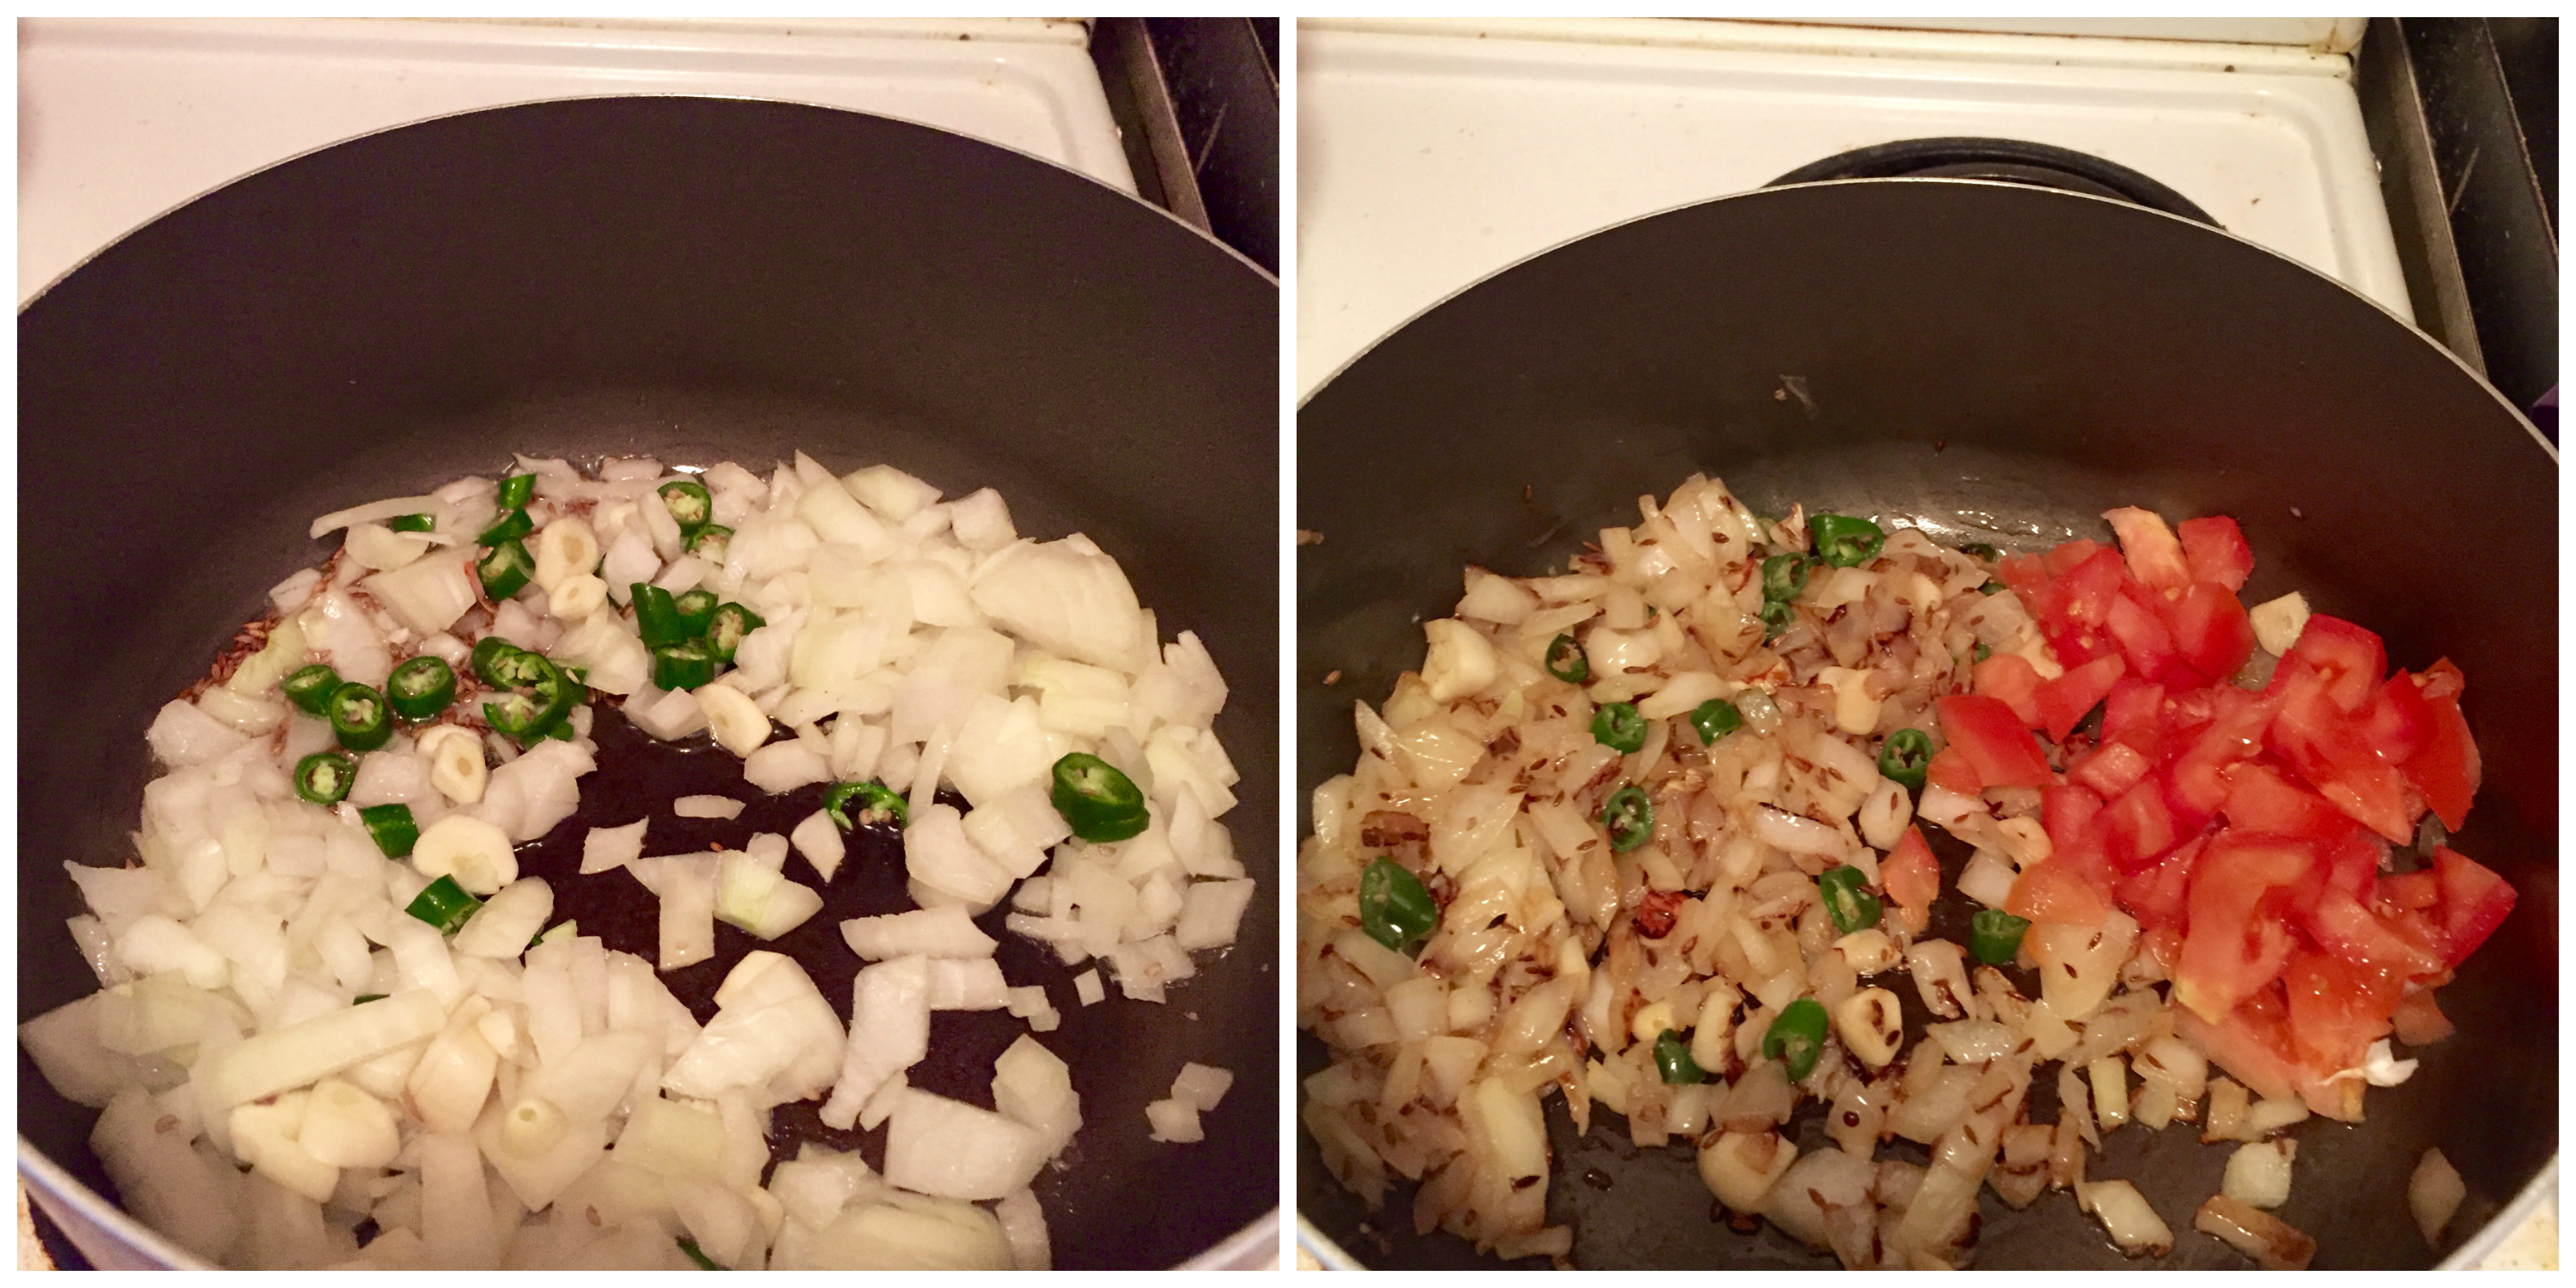
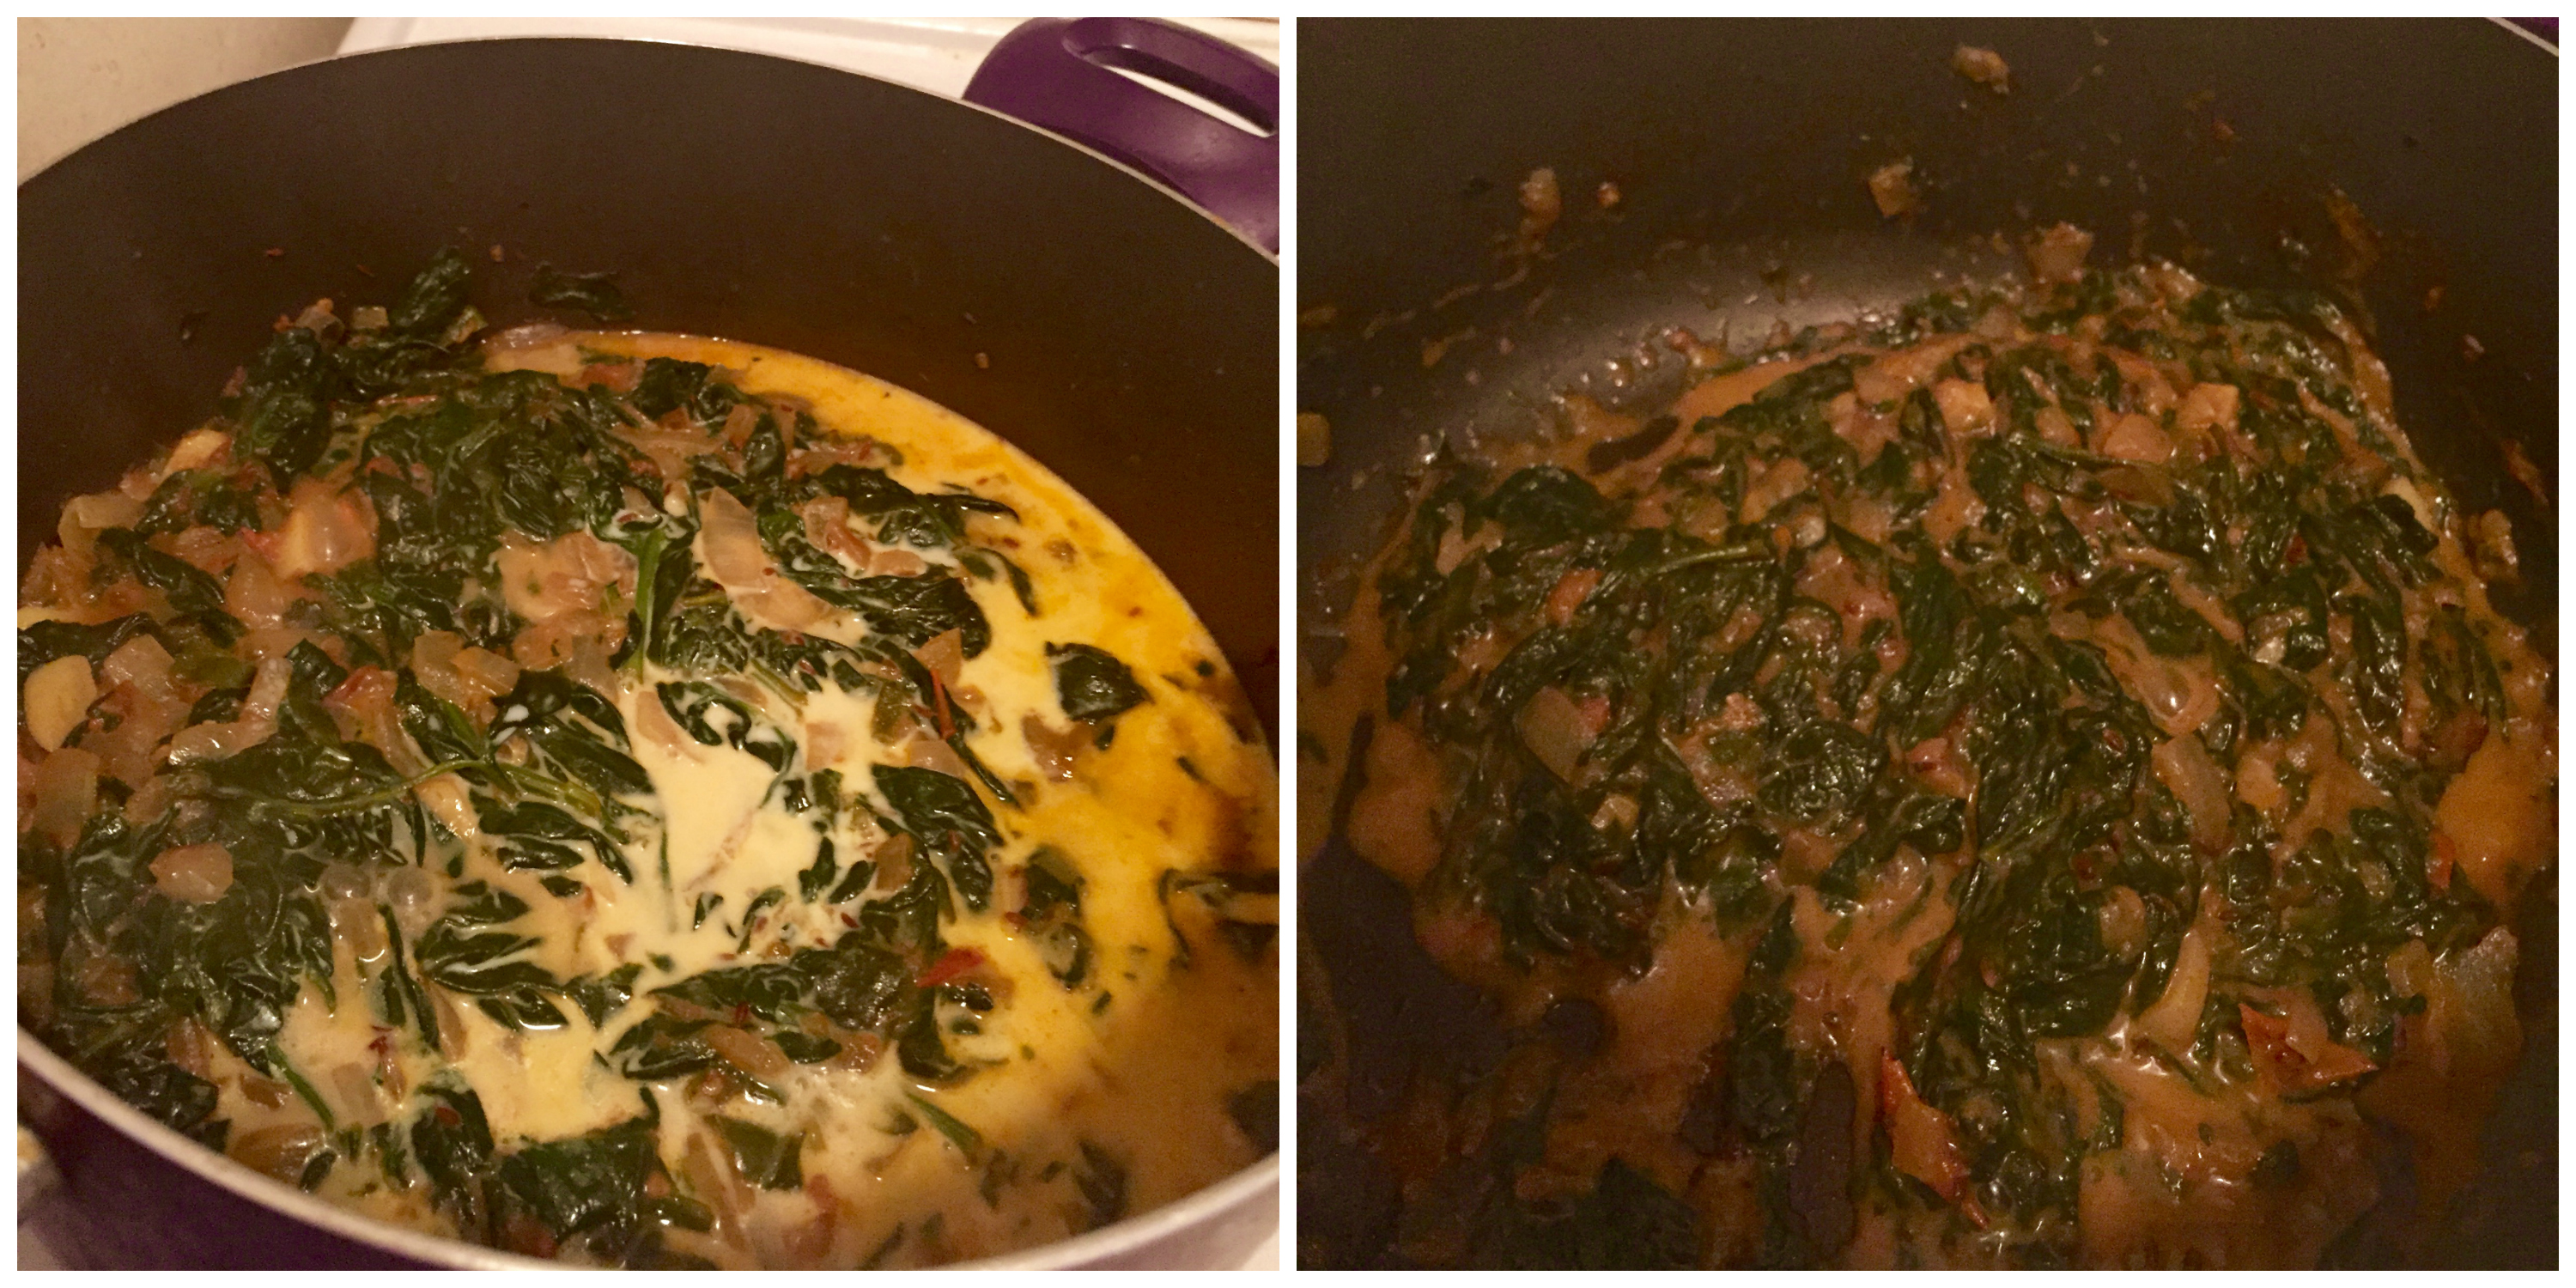
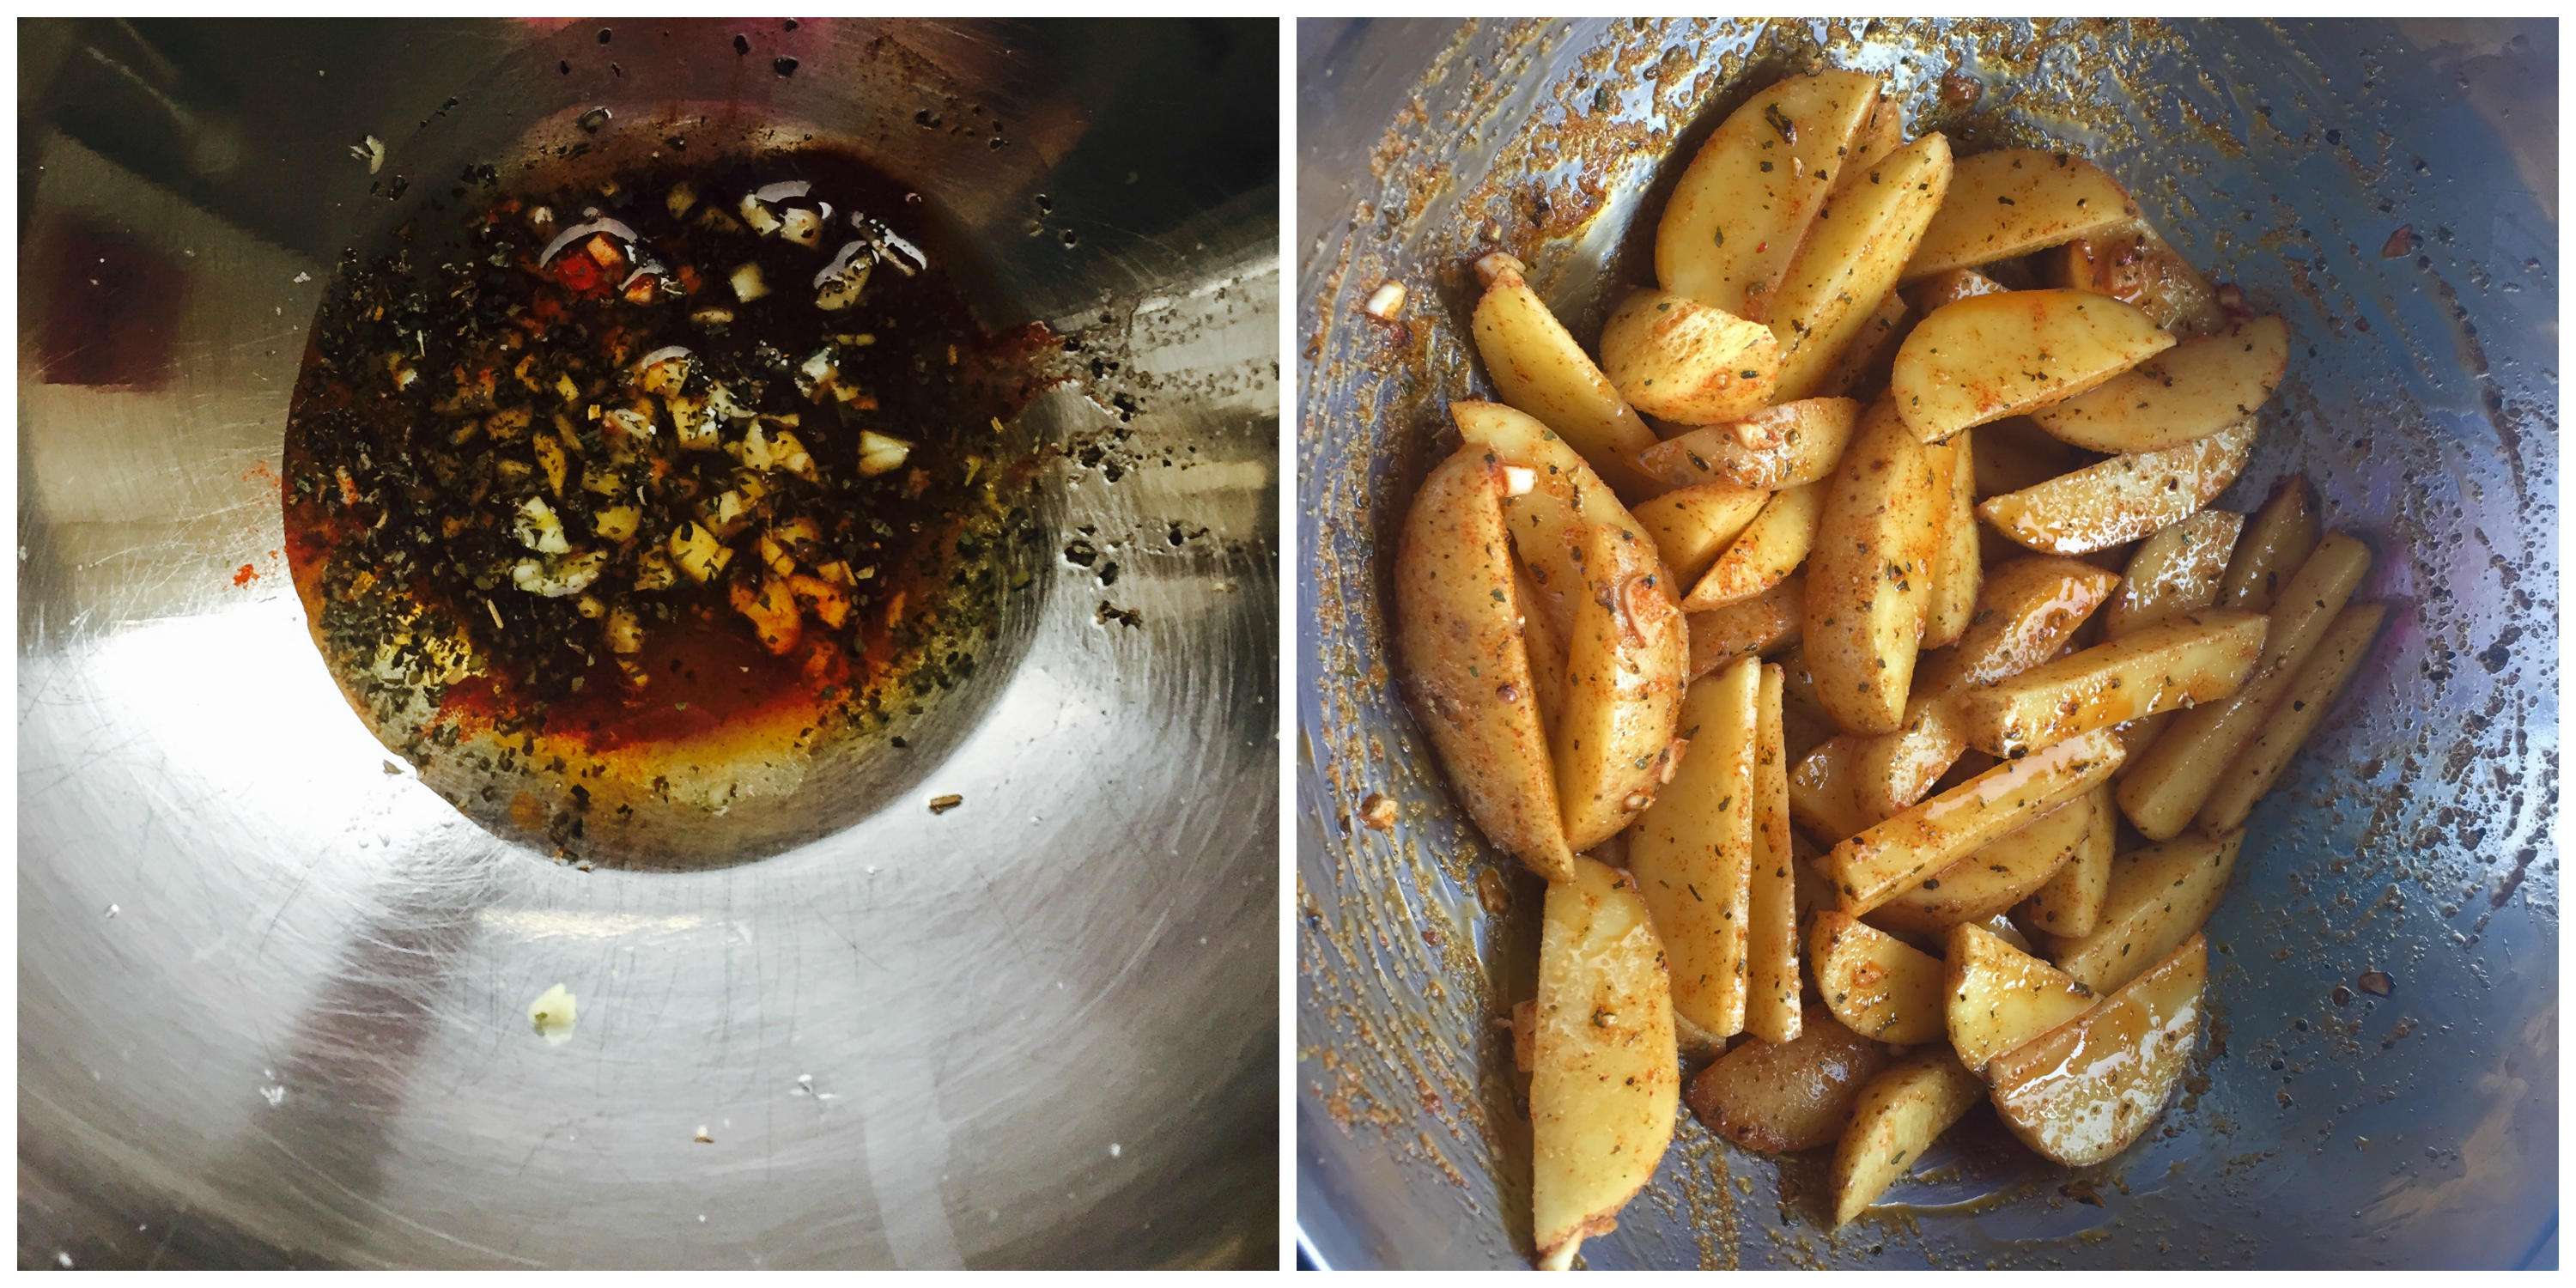
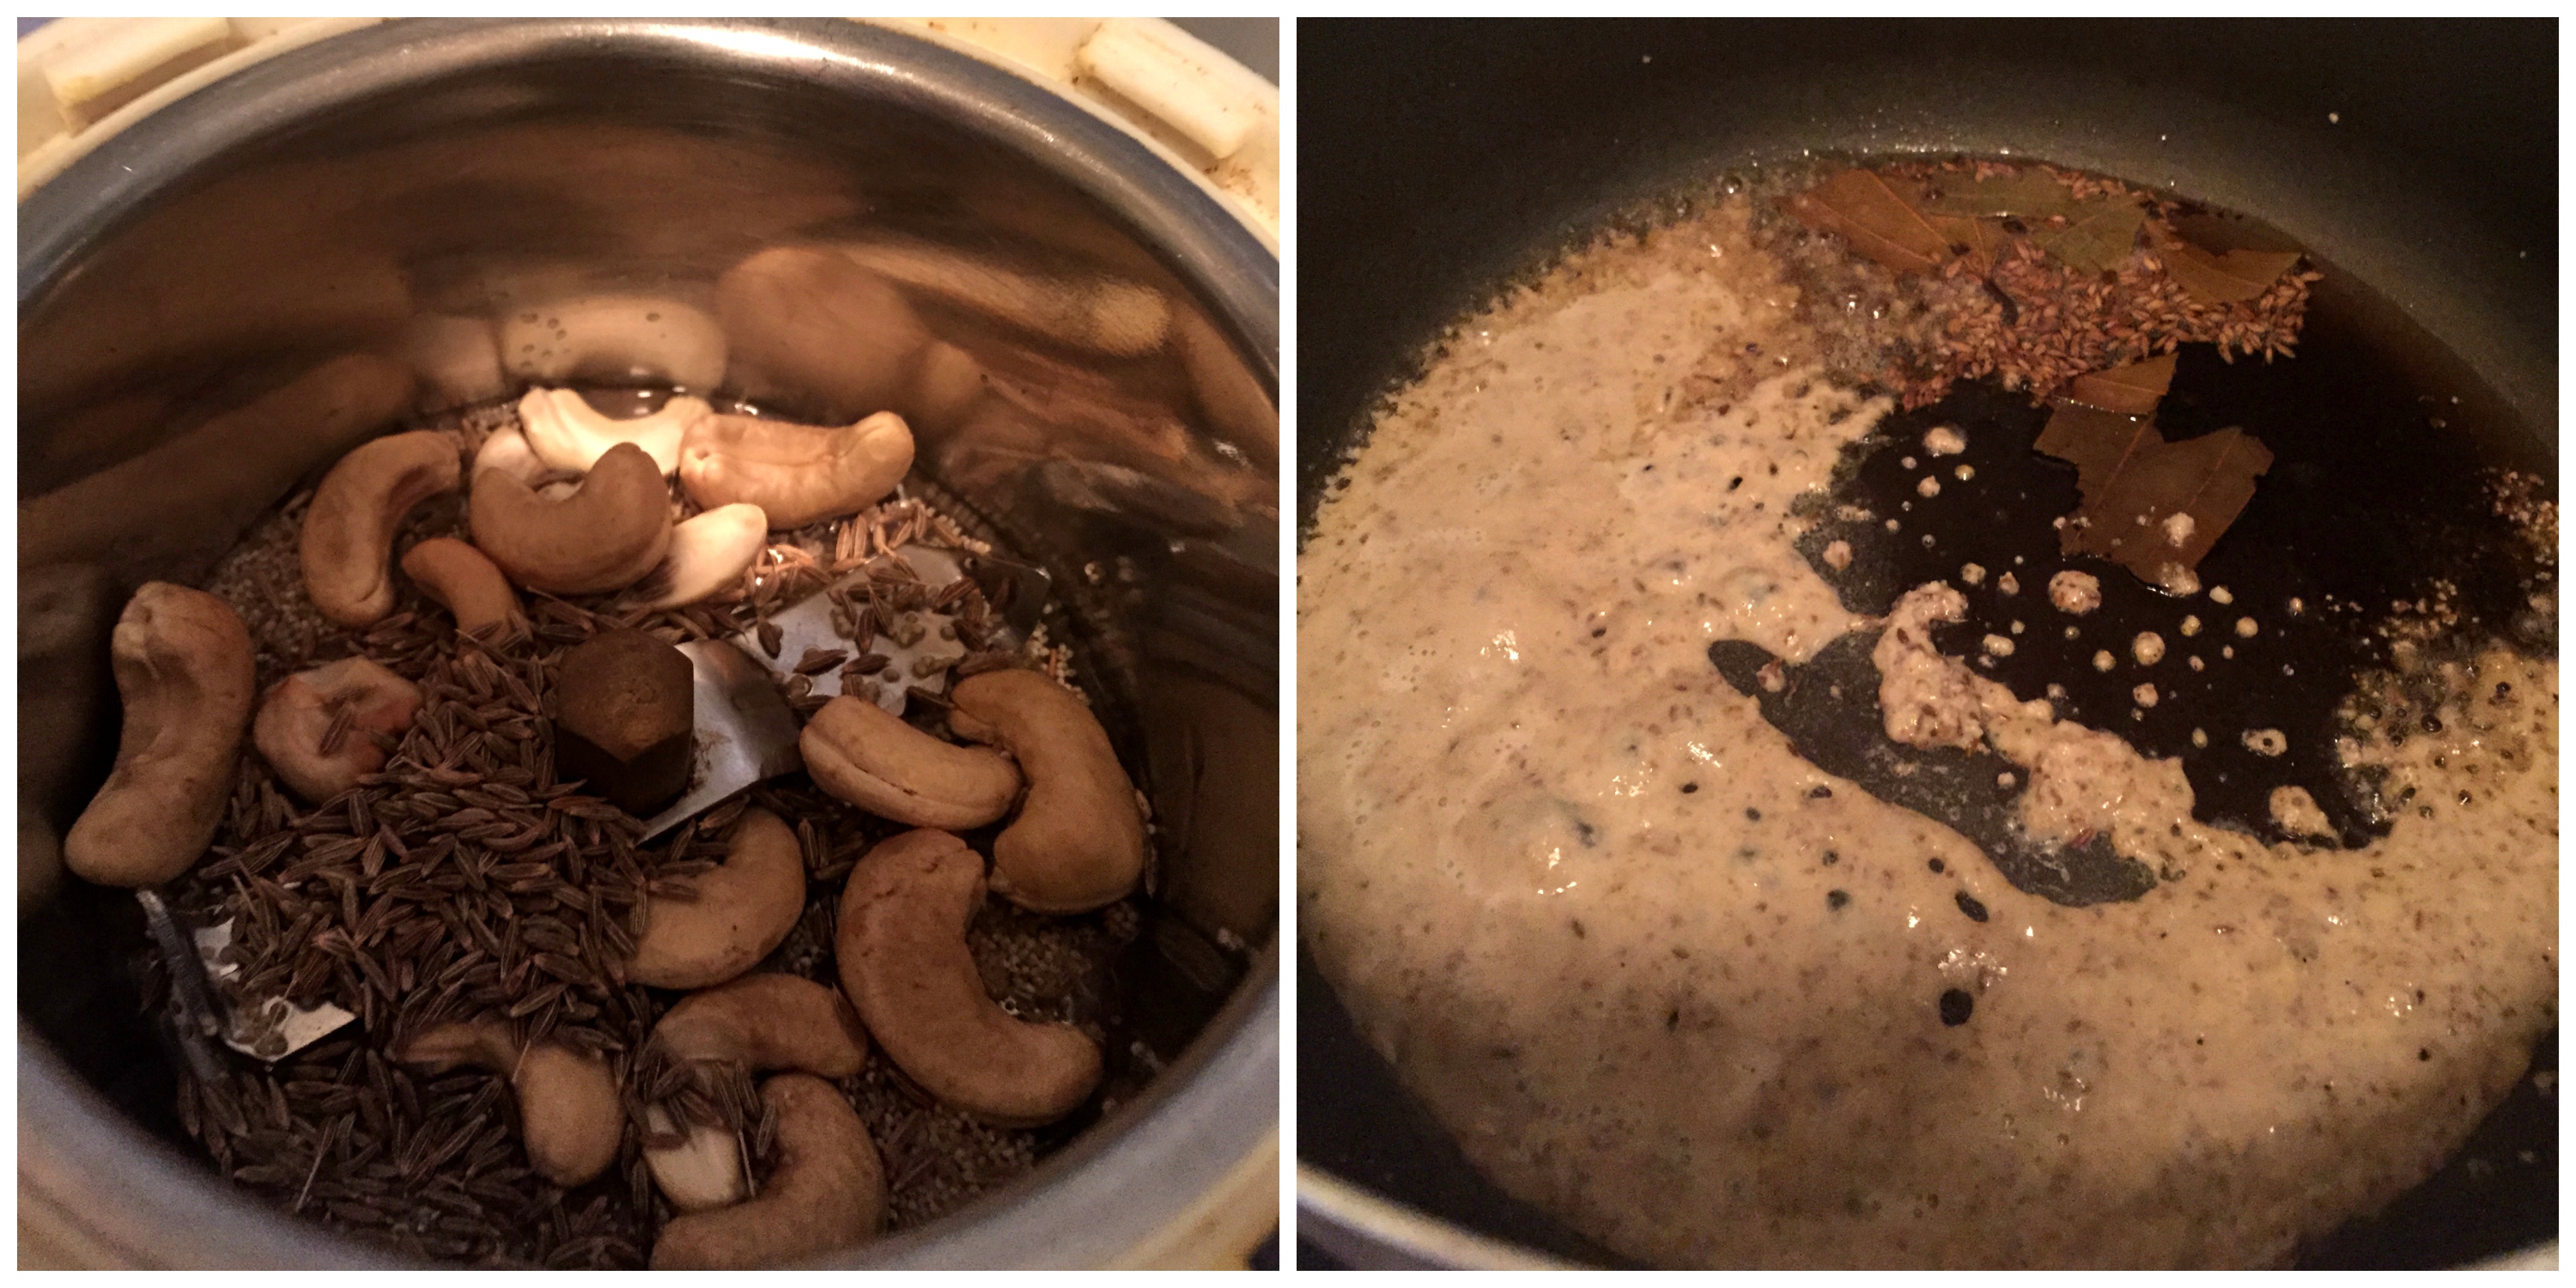
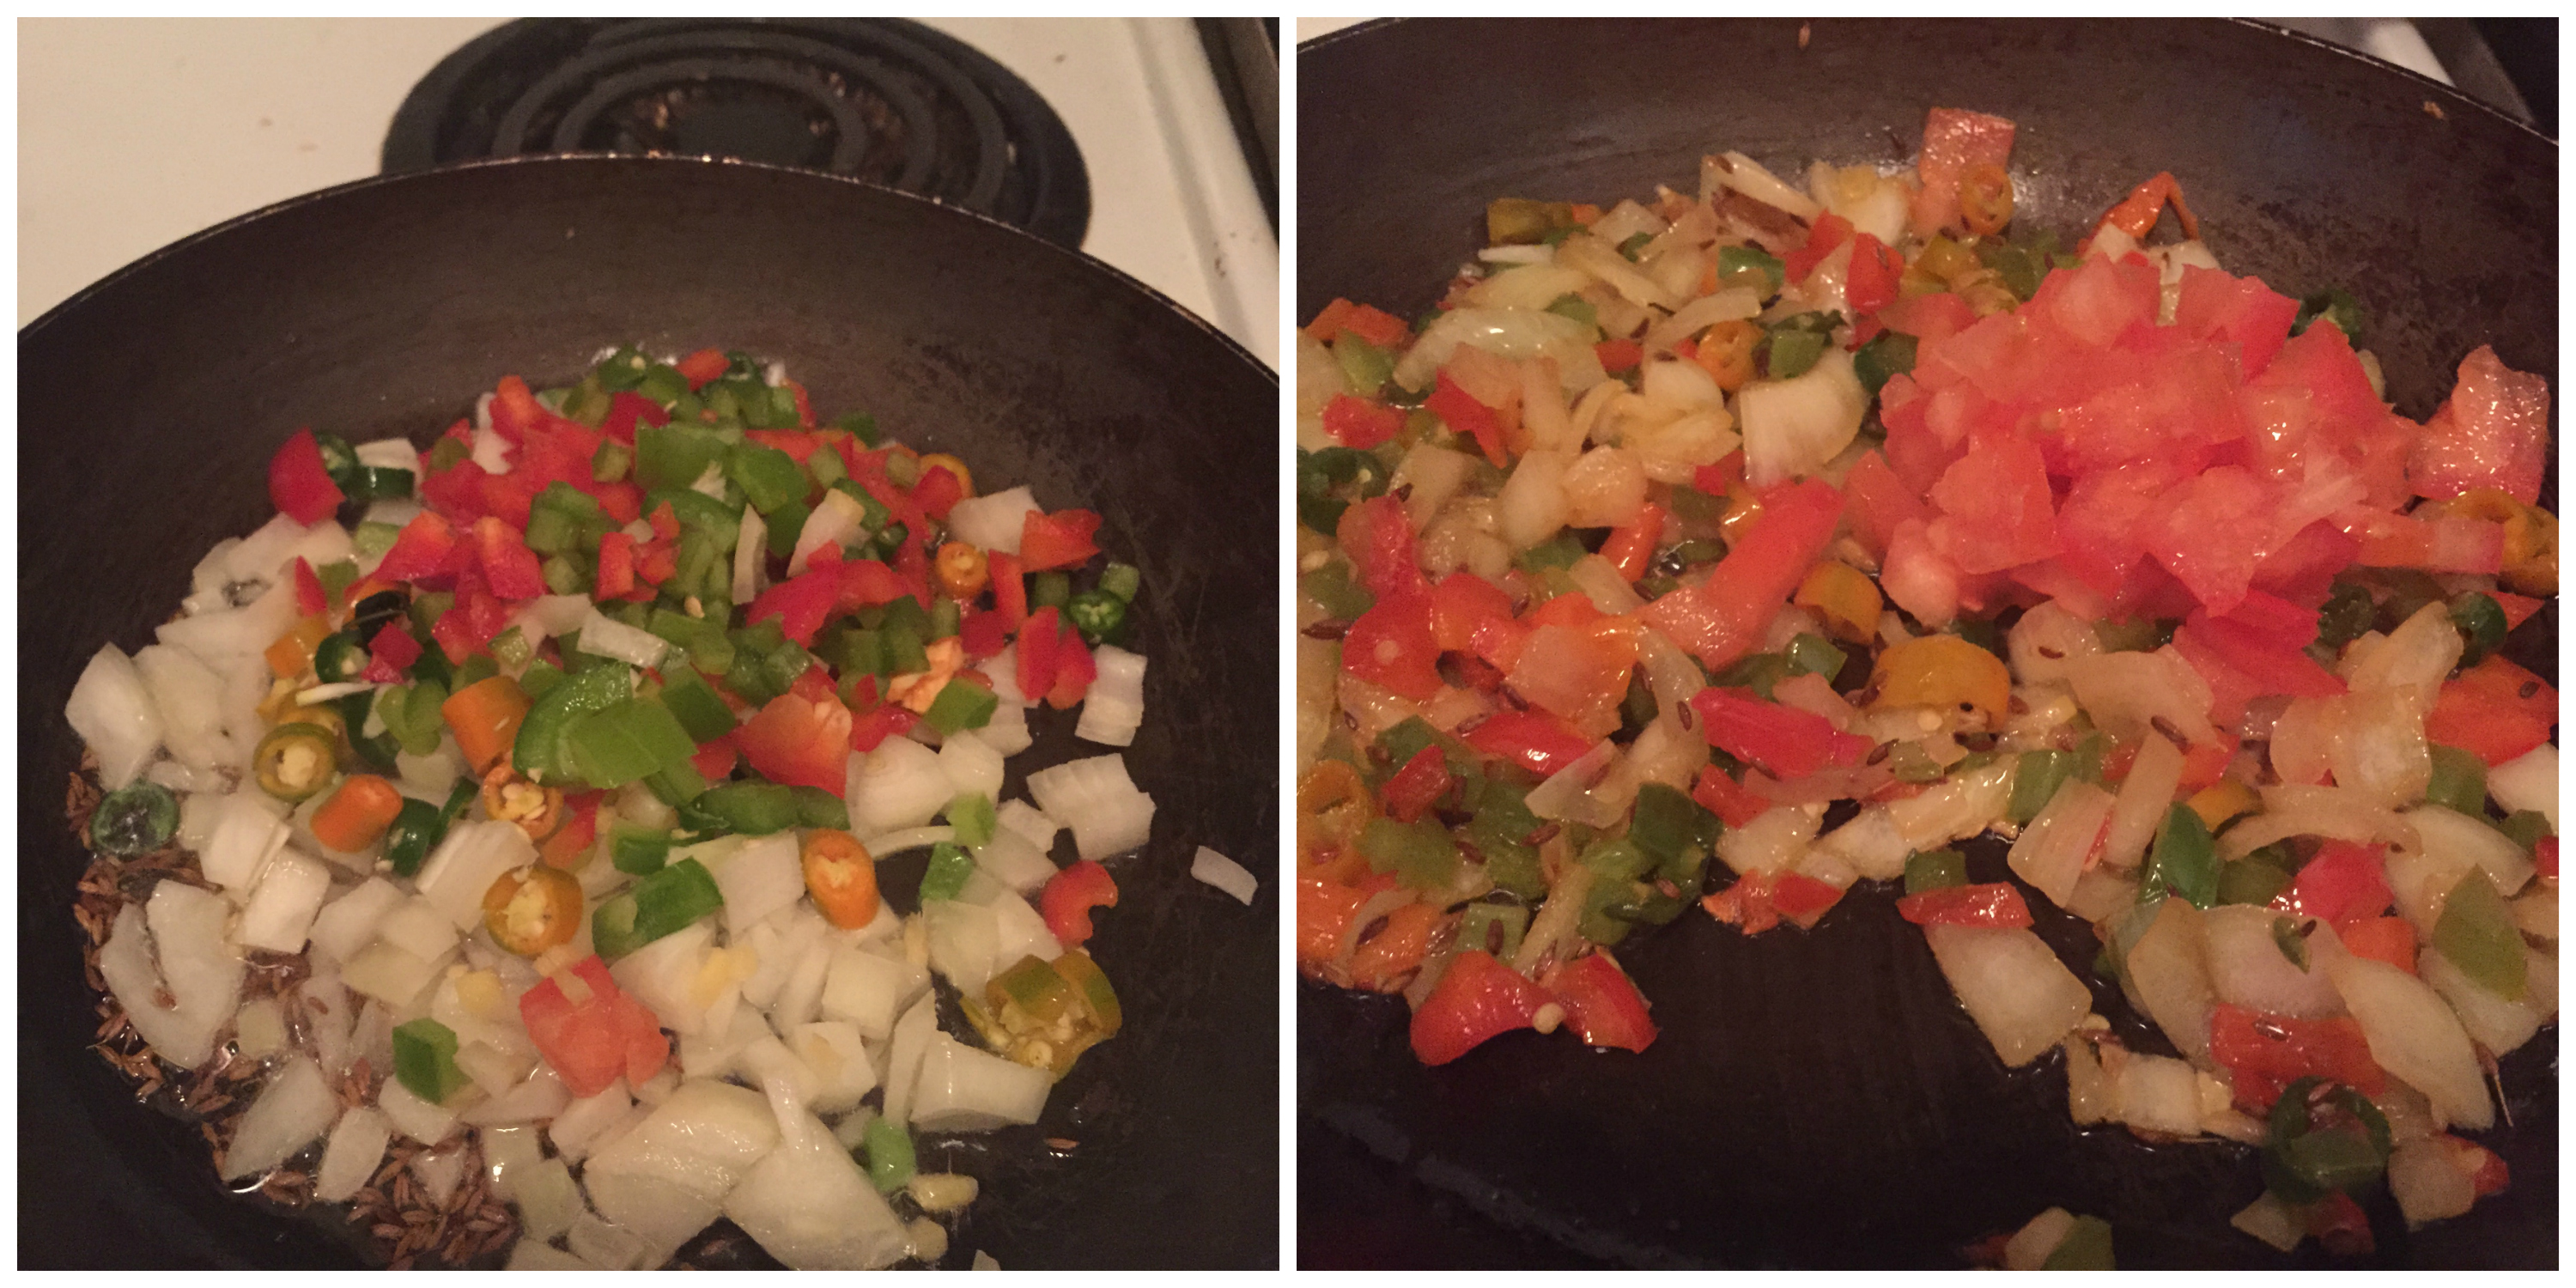
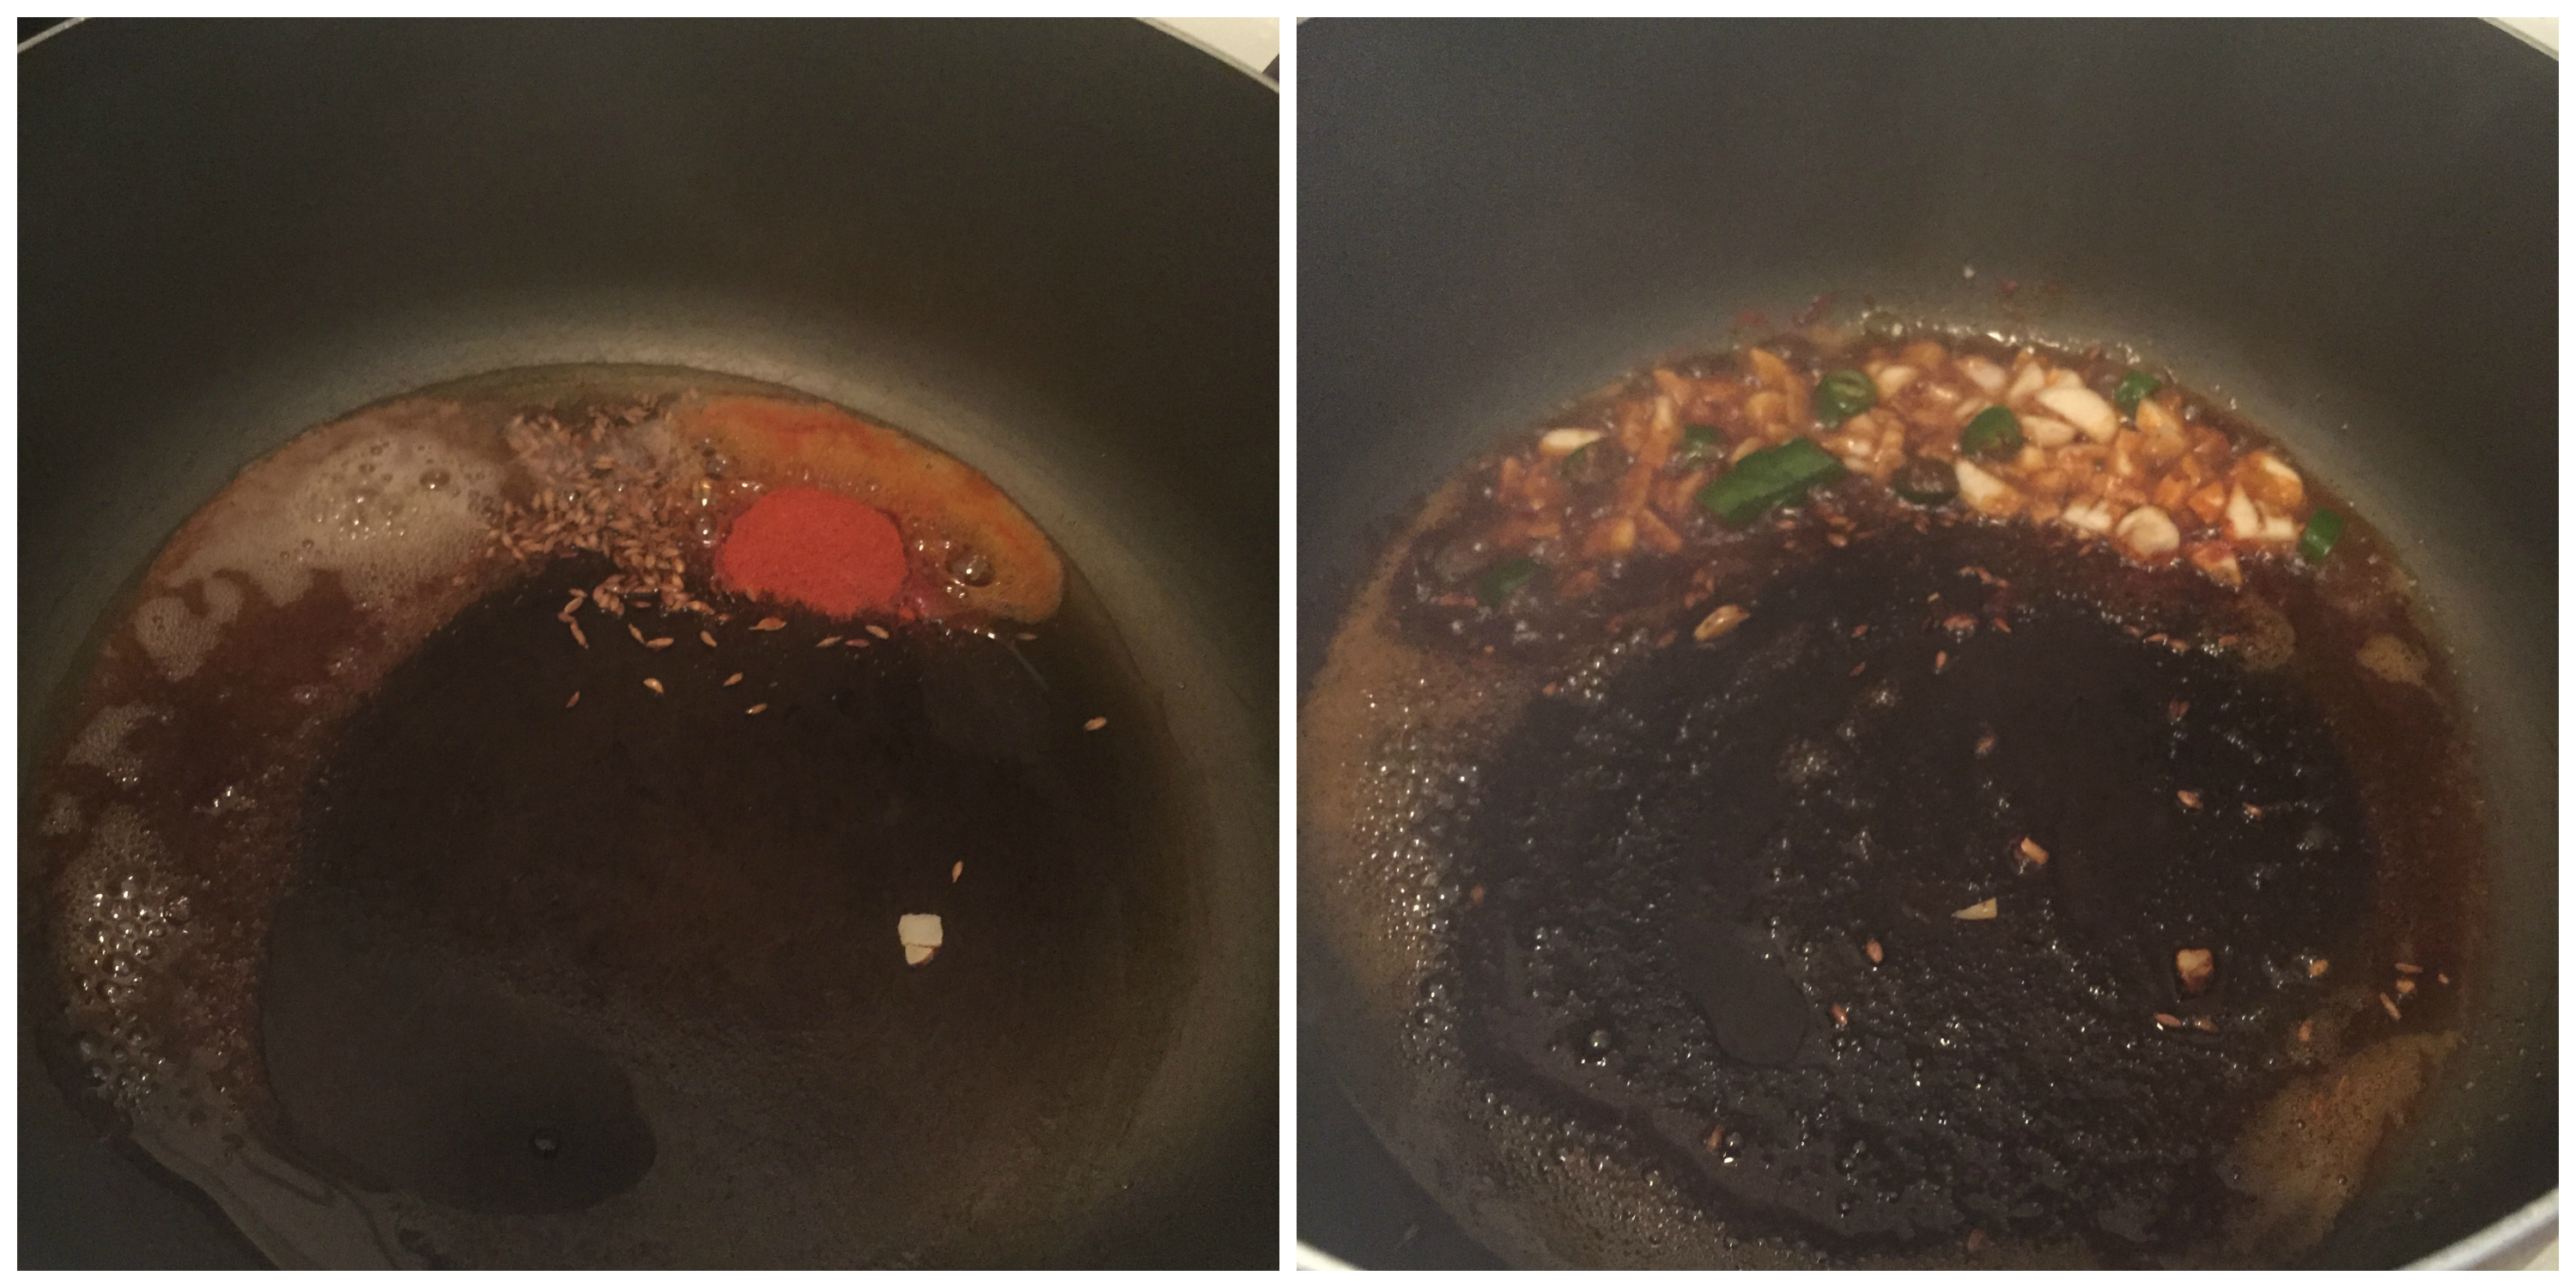
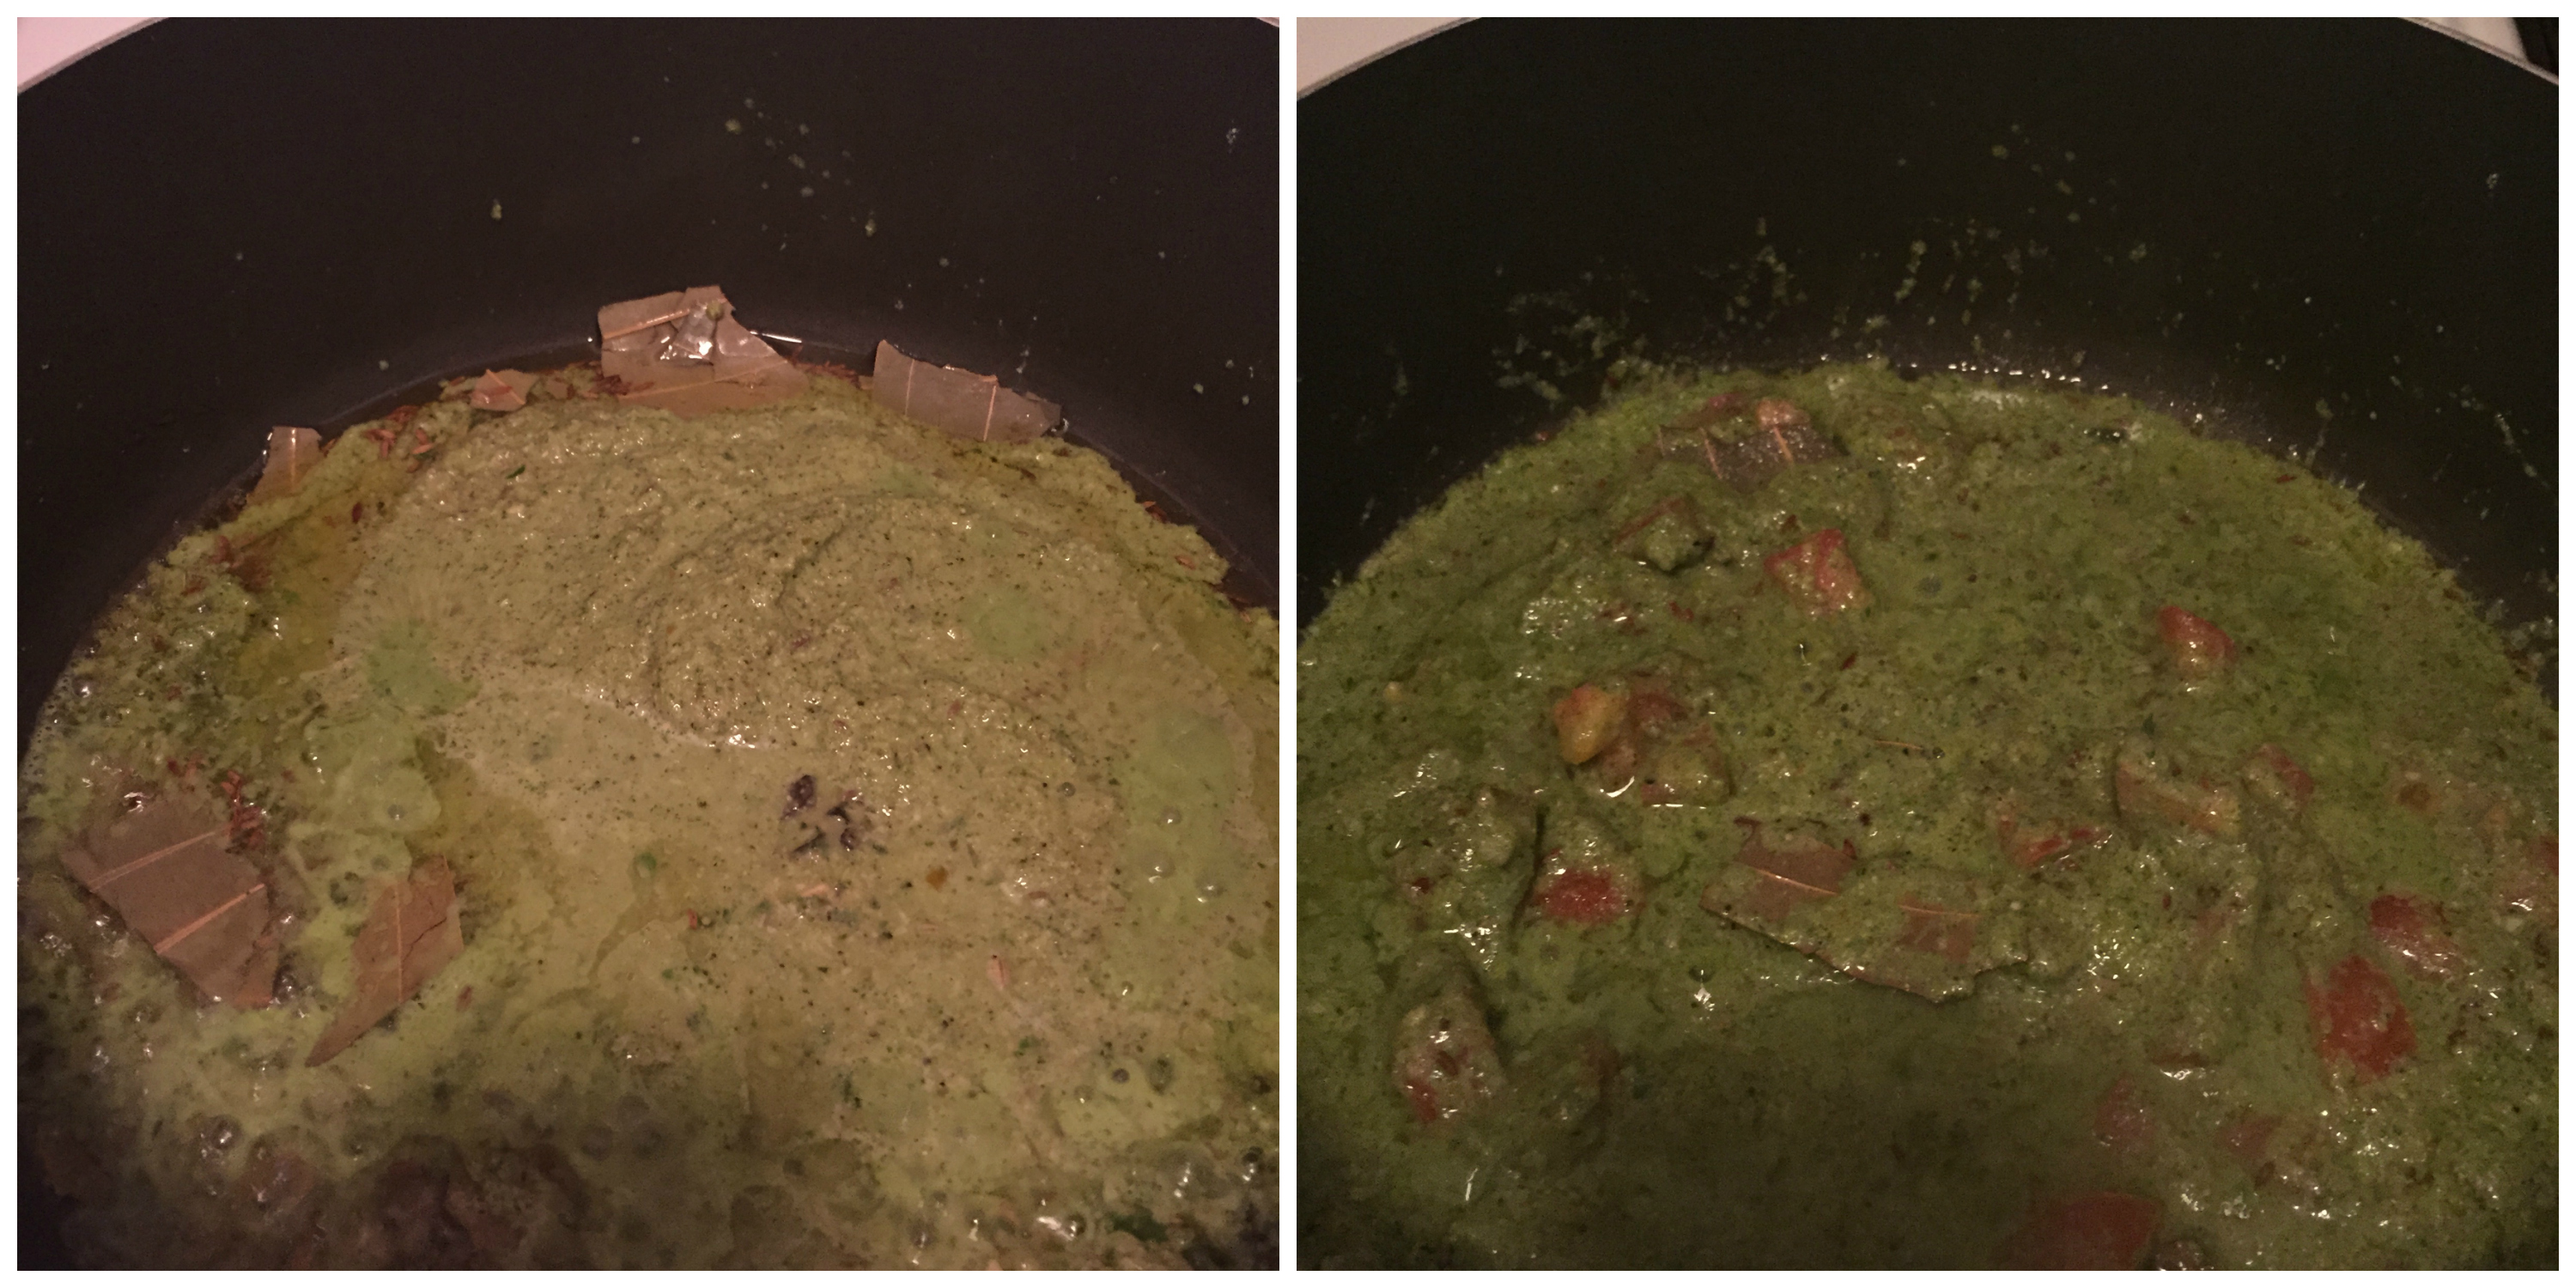
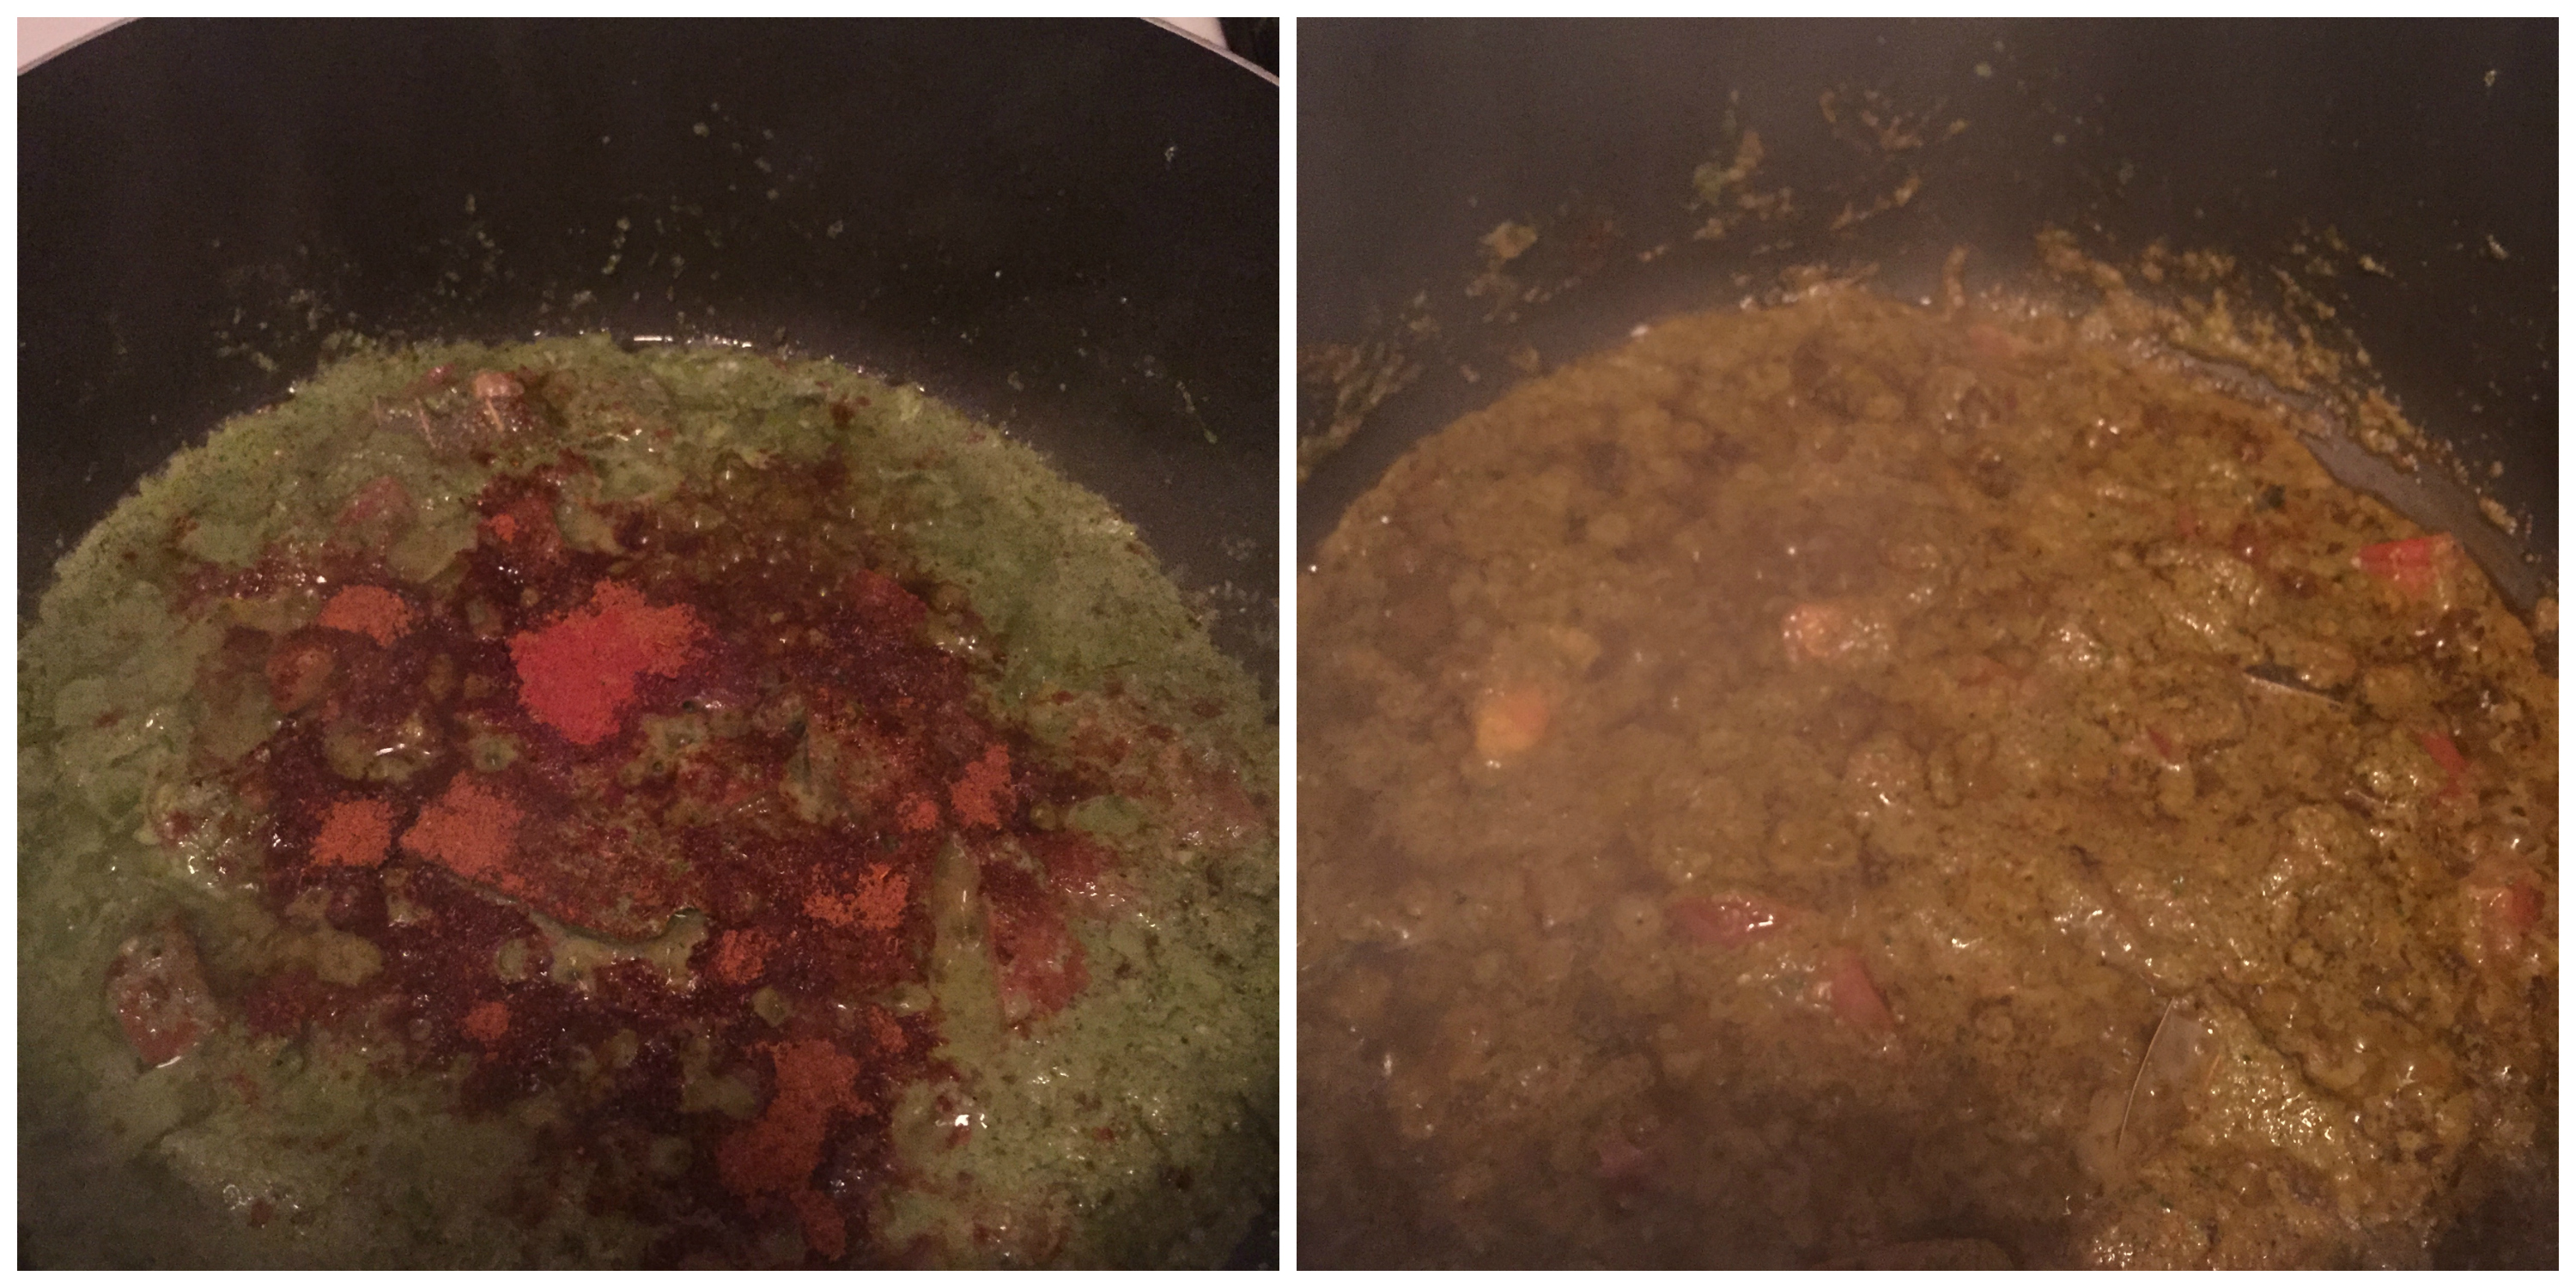
  2. Heat oil in a pan in a very low flame; add the spice powder – Cumin powder, coriander powder, red chilli powder, turmeric powder, fennel powder, asafetida, Amchur powder, ginger, green chillies. Stir quickly so that they don’t burn.
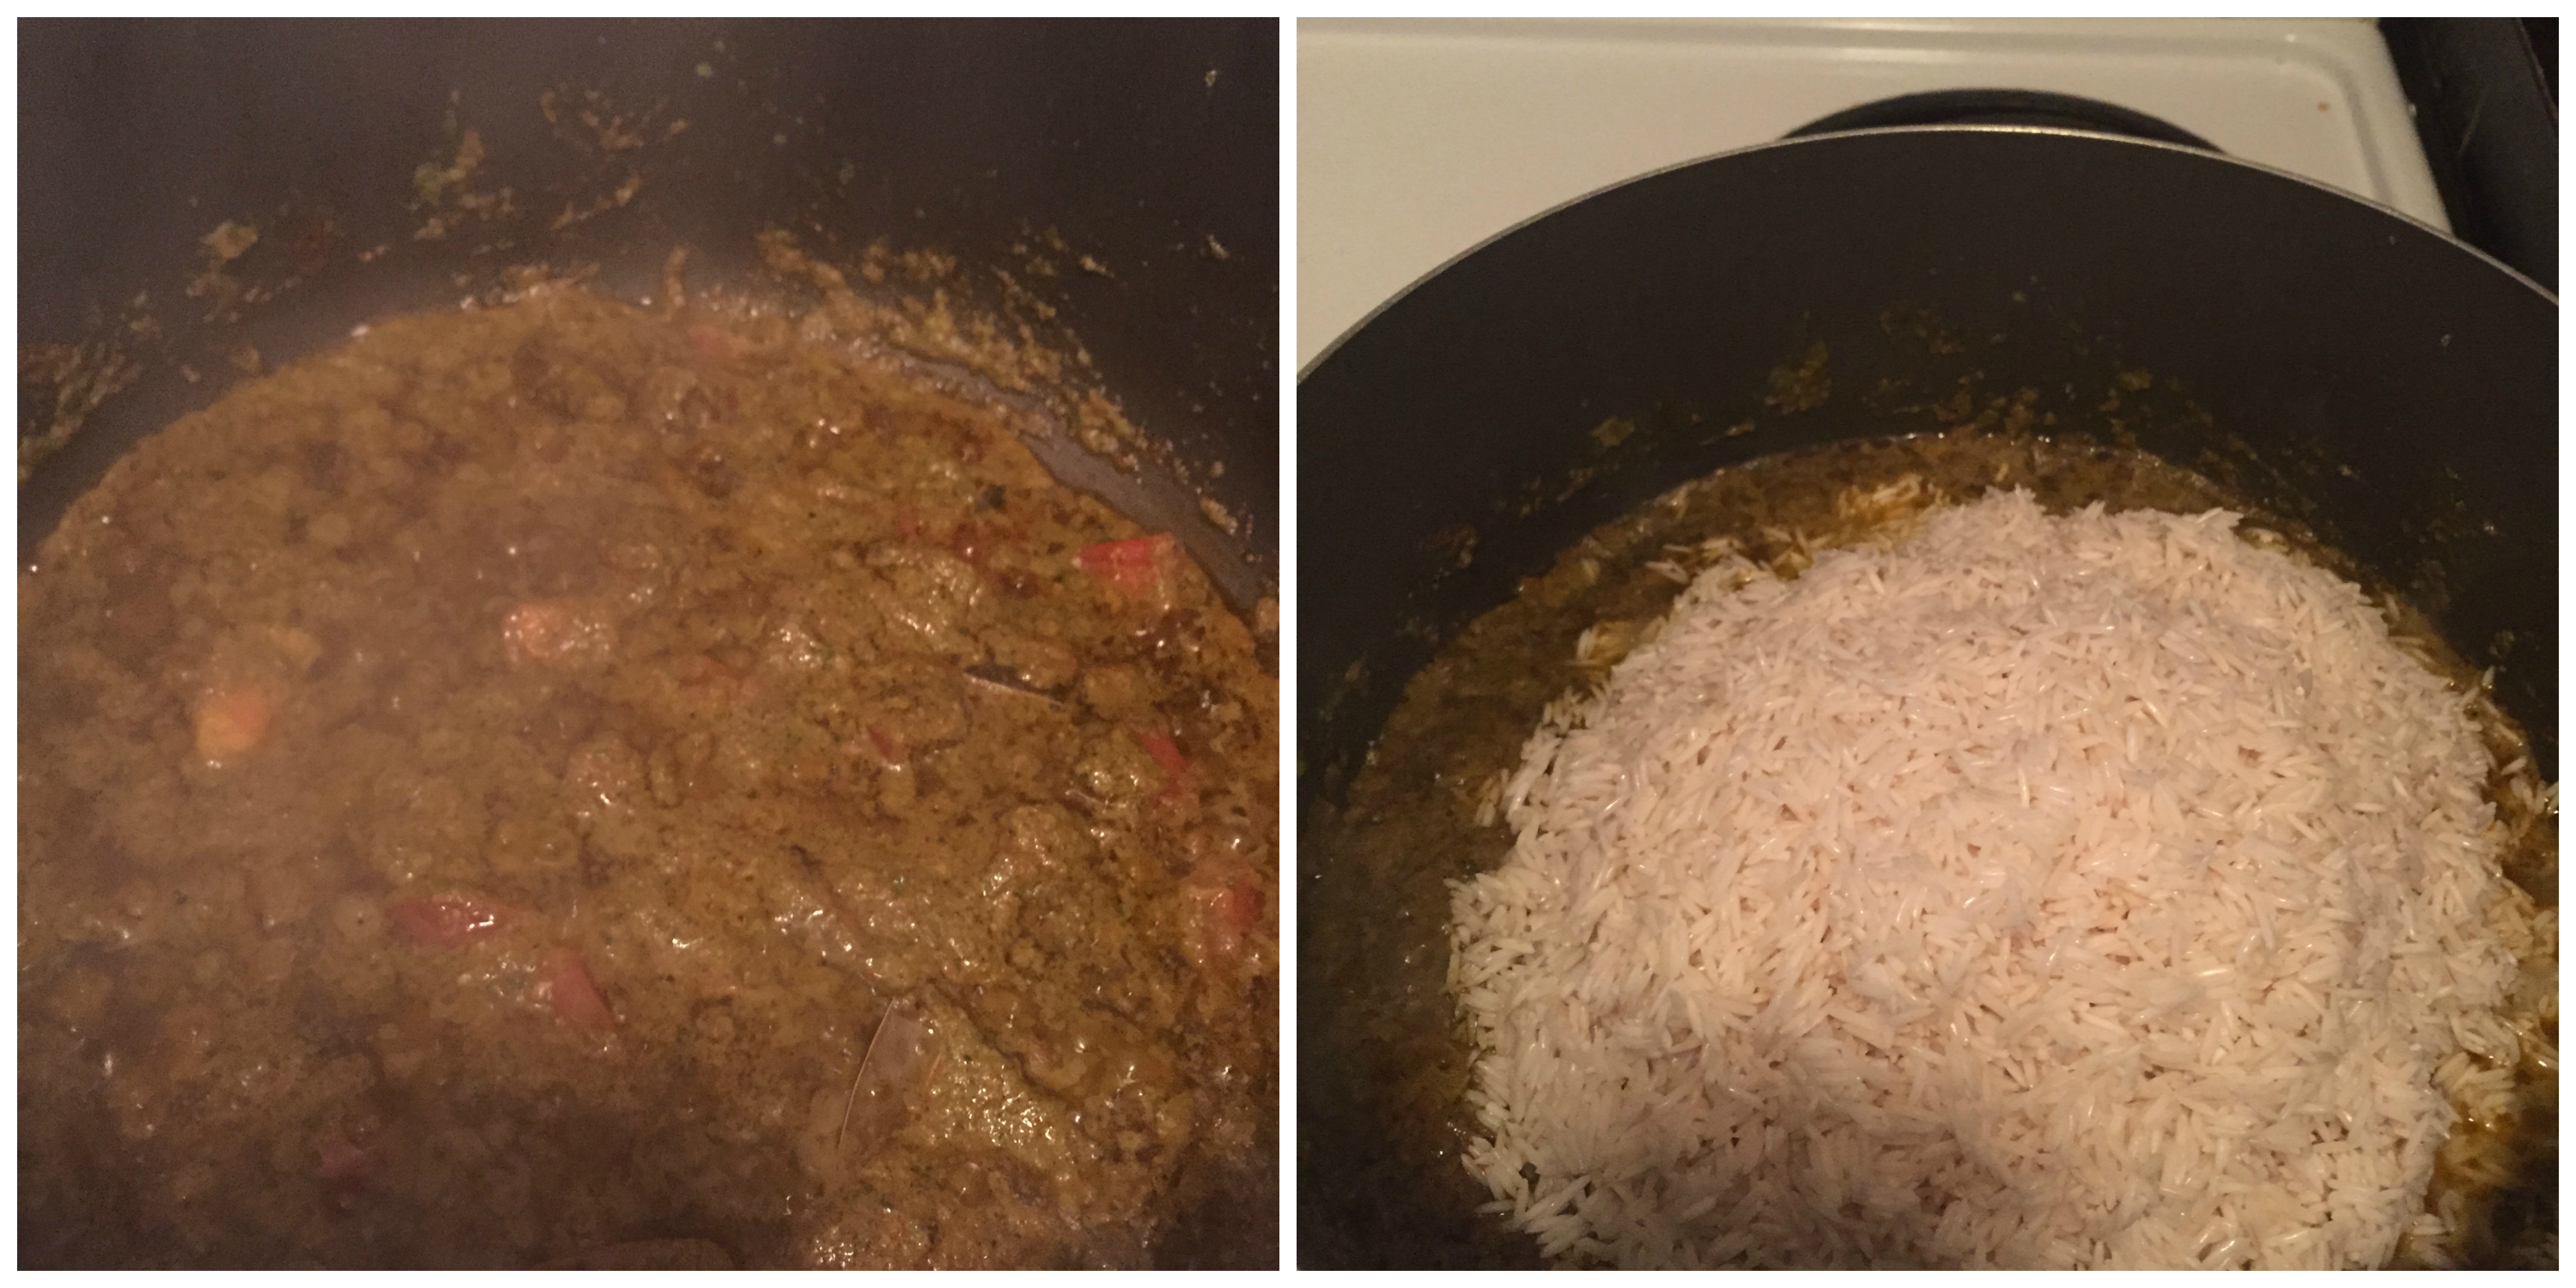
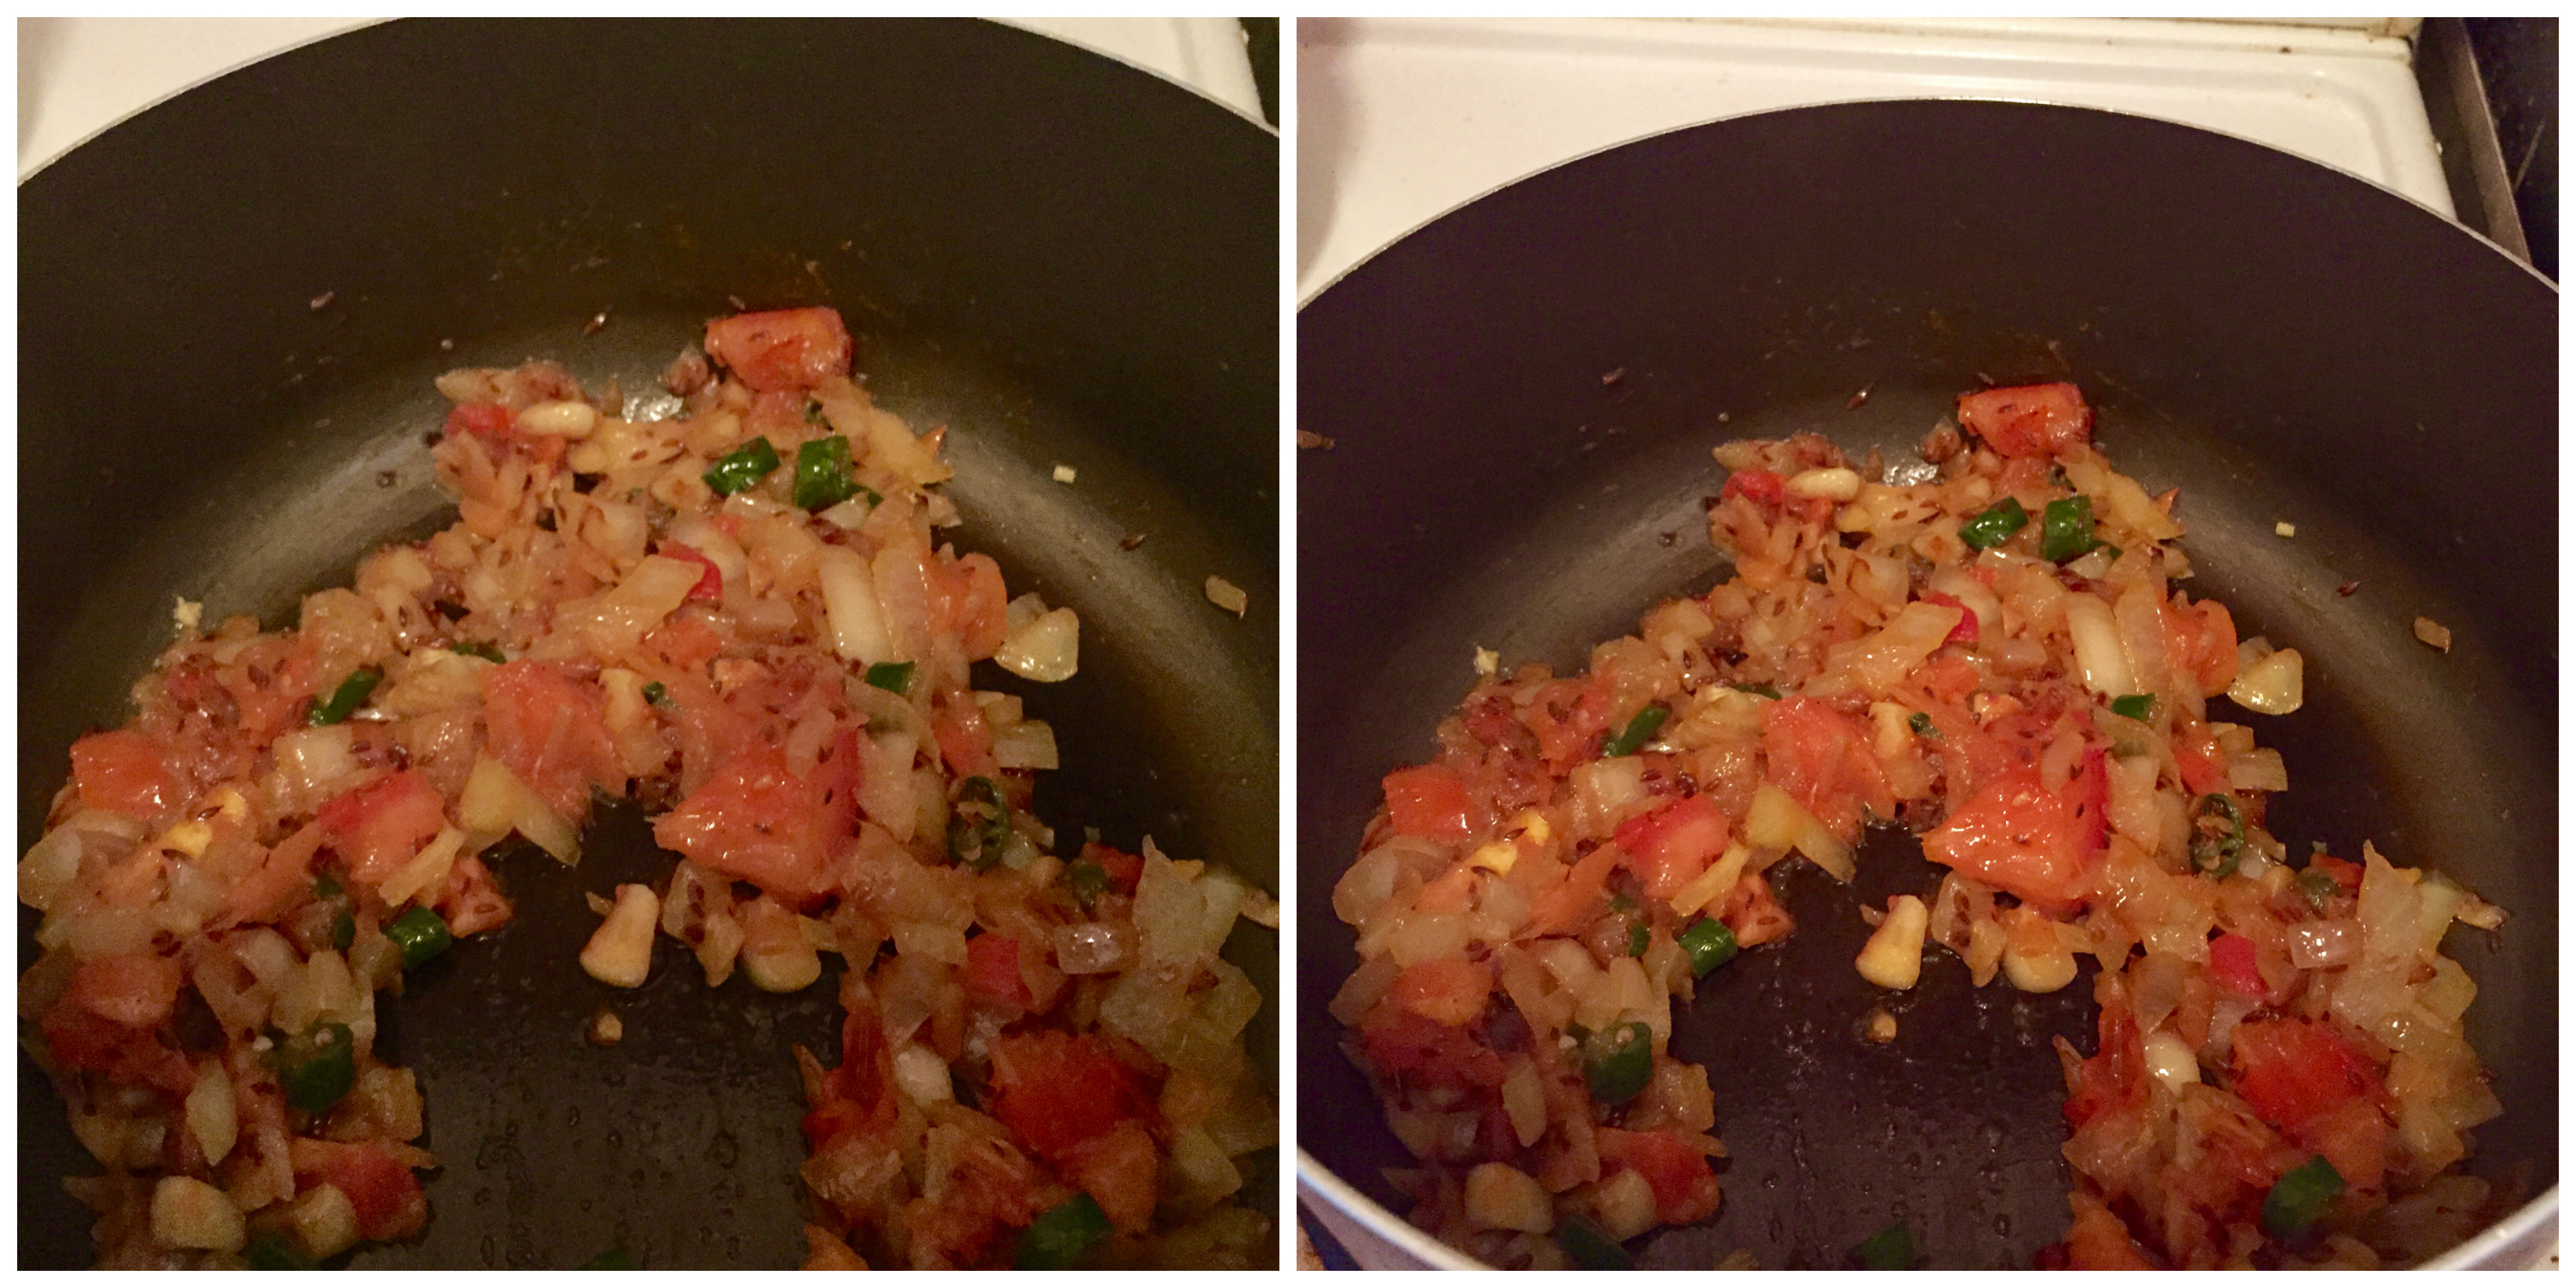
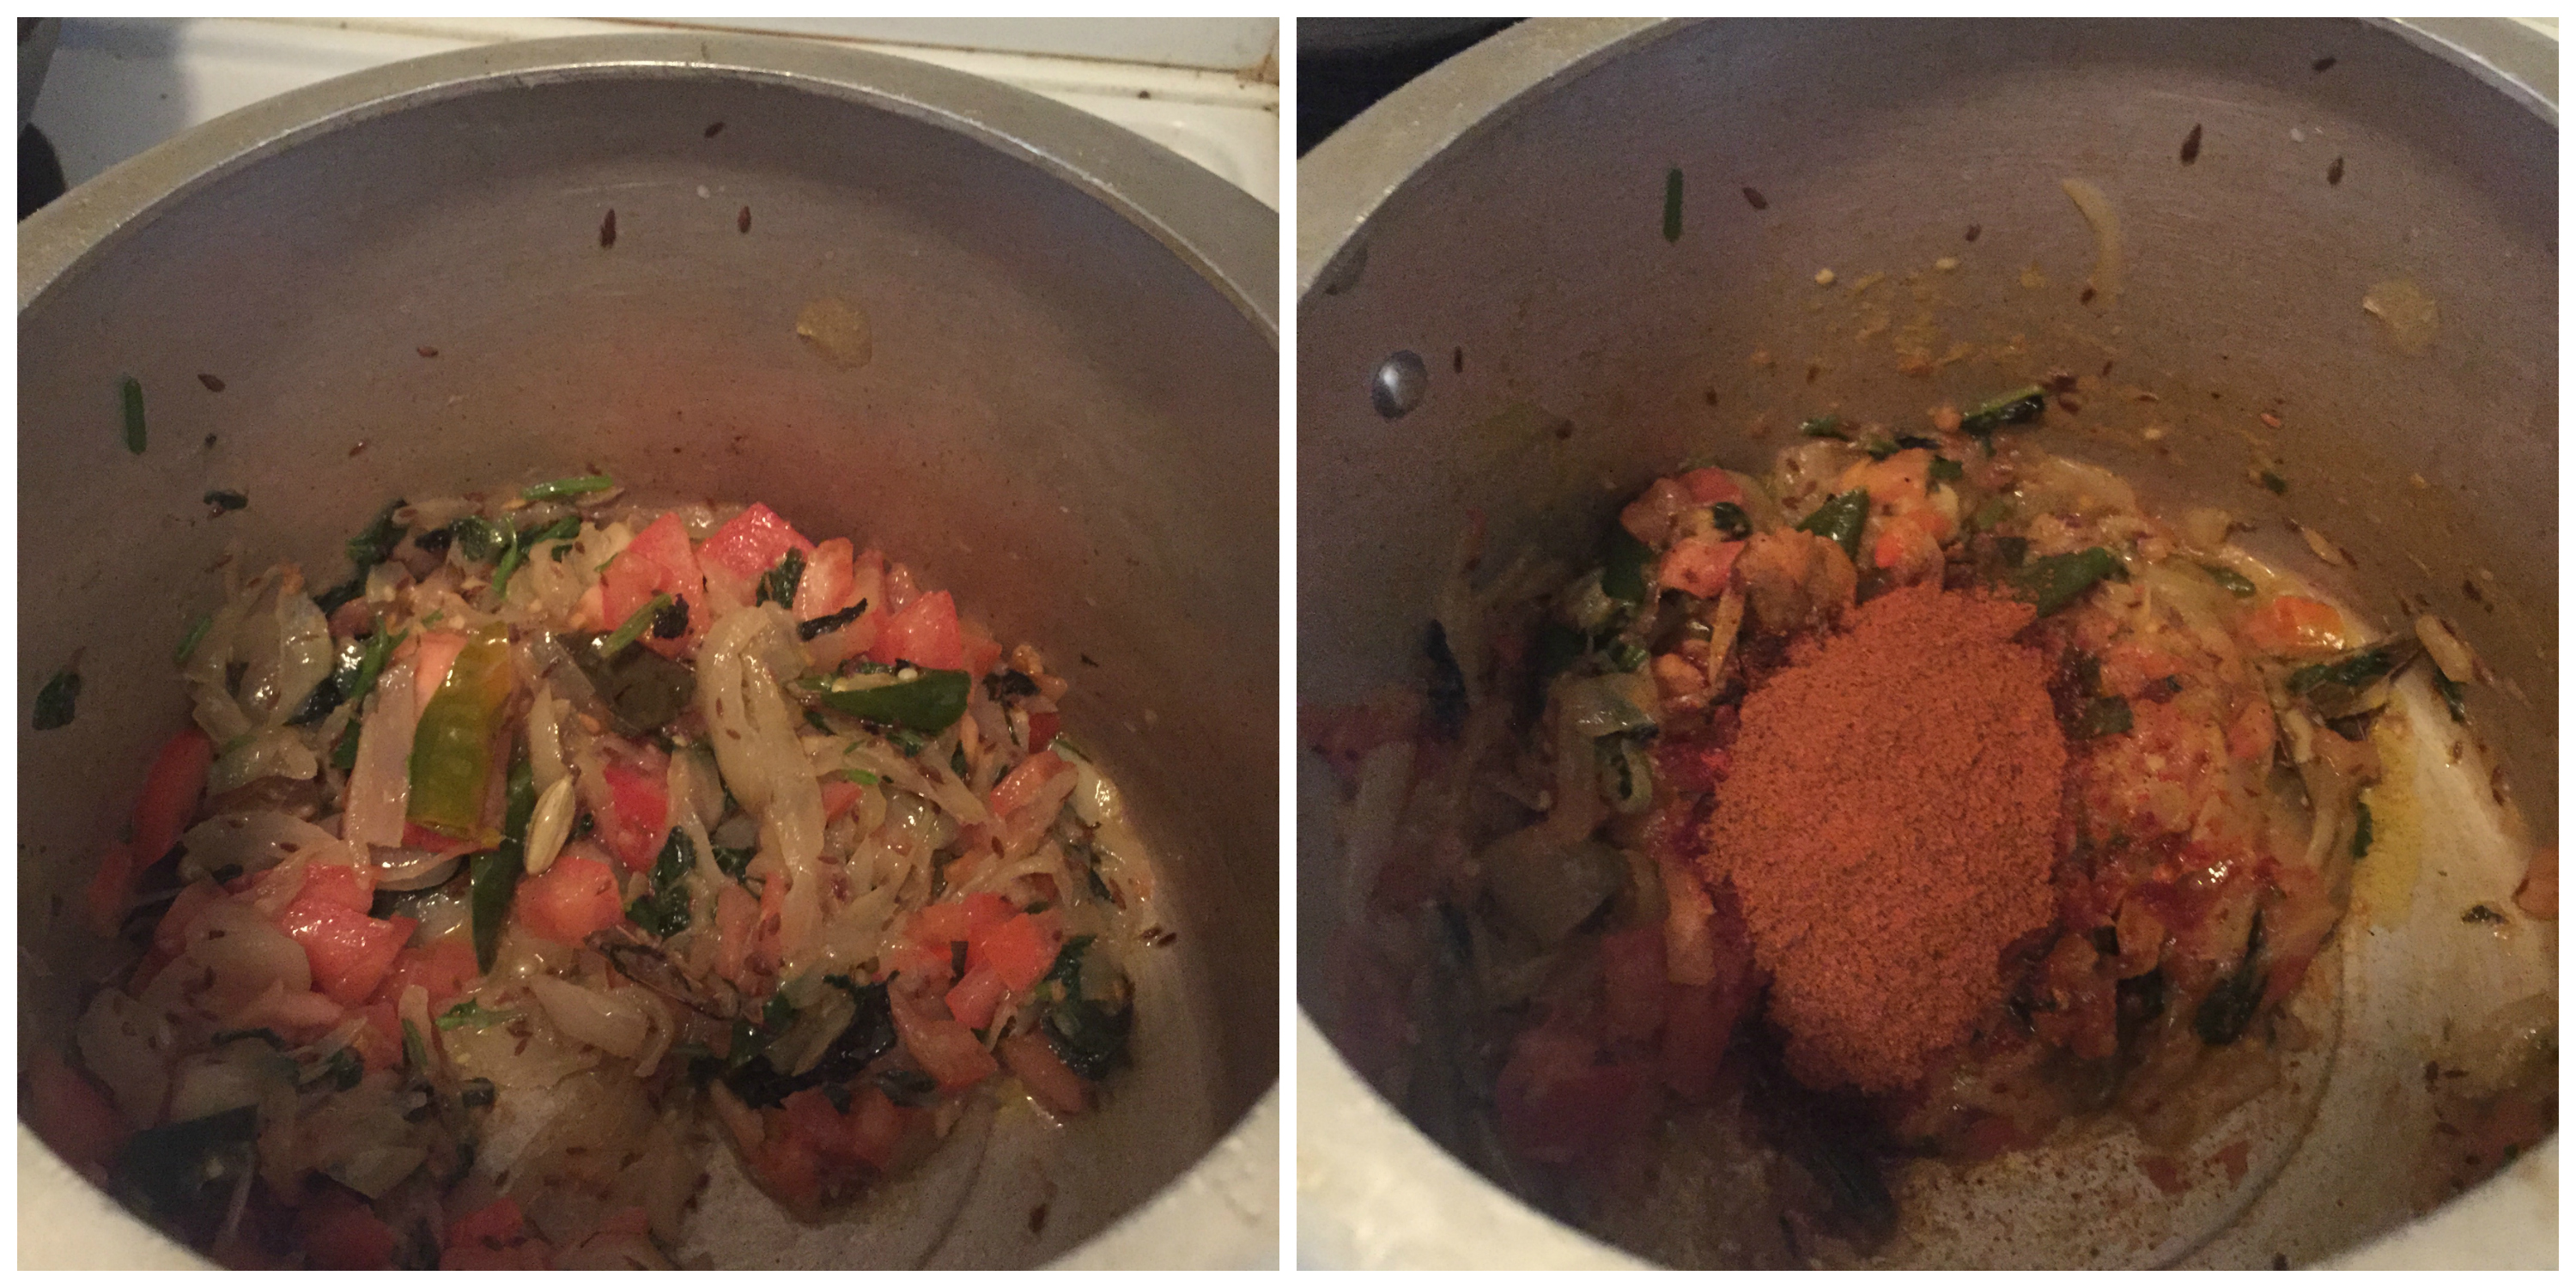
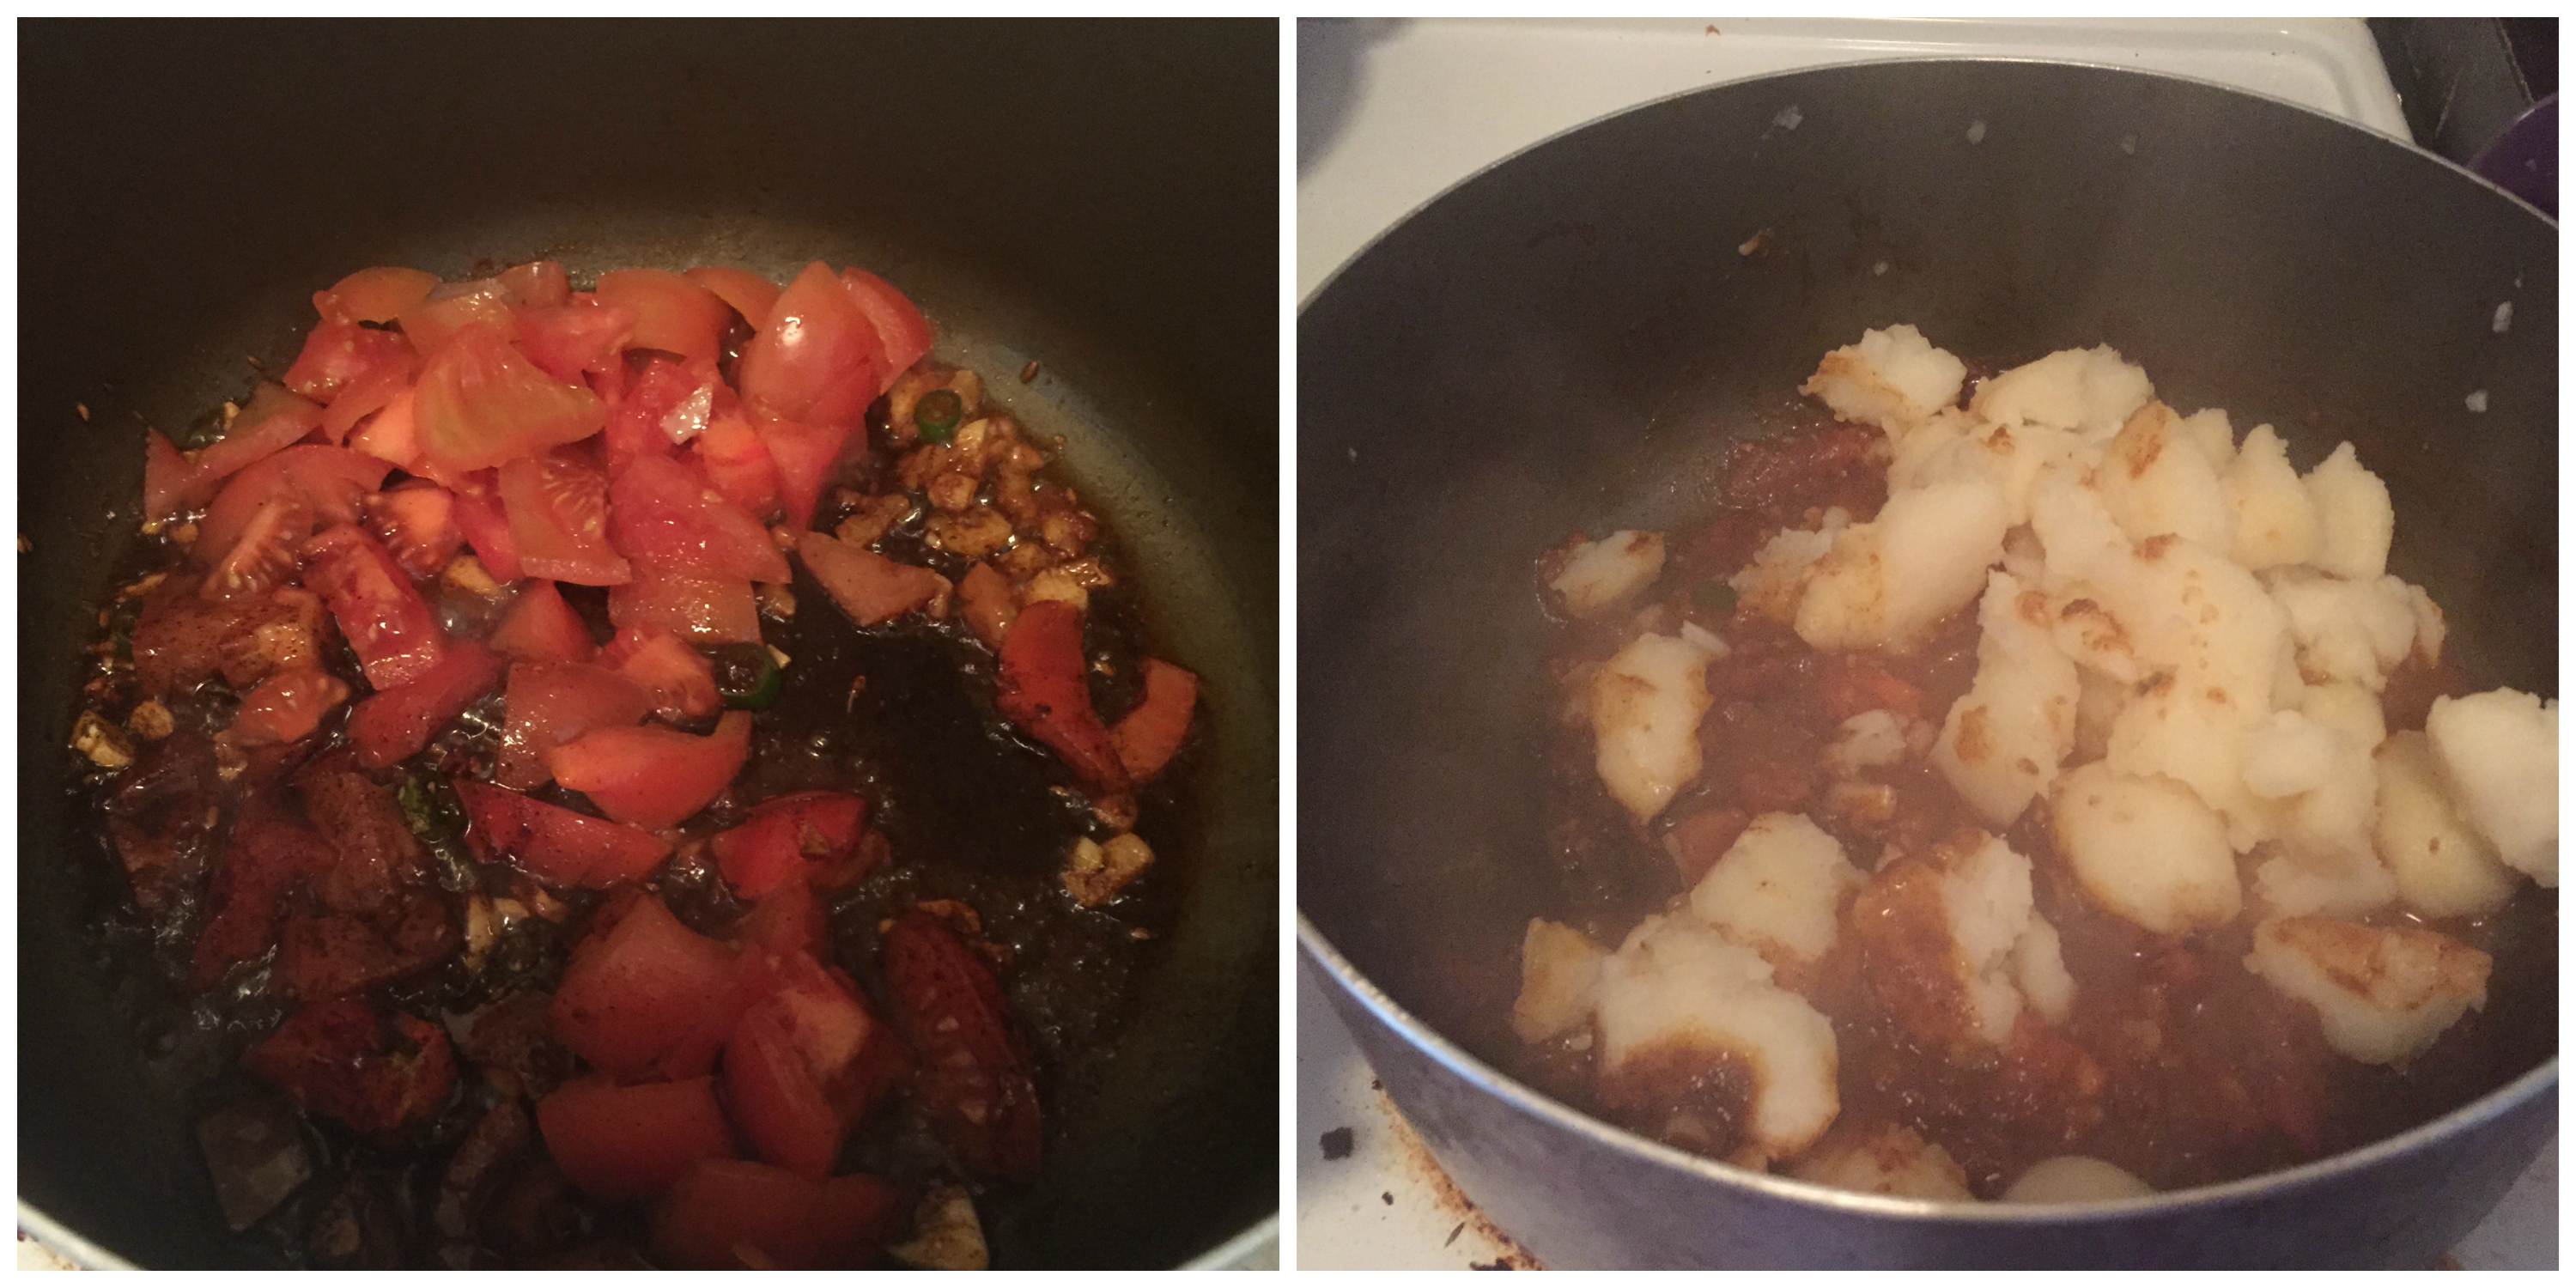
  3. Add chopped tomatoes and stir. Saute the tomatoes till they soften, crush and you will see oil releasing from the sides.
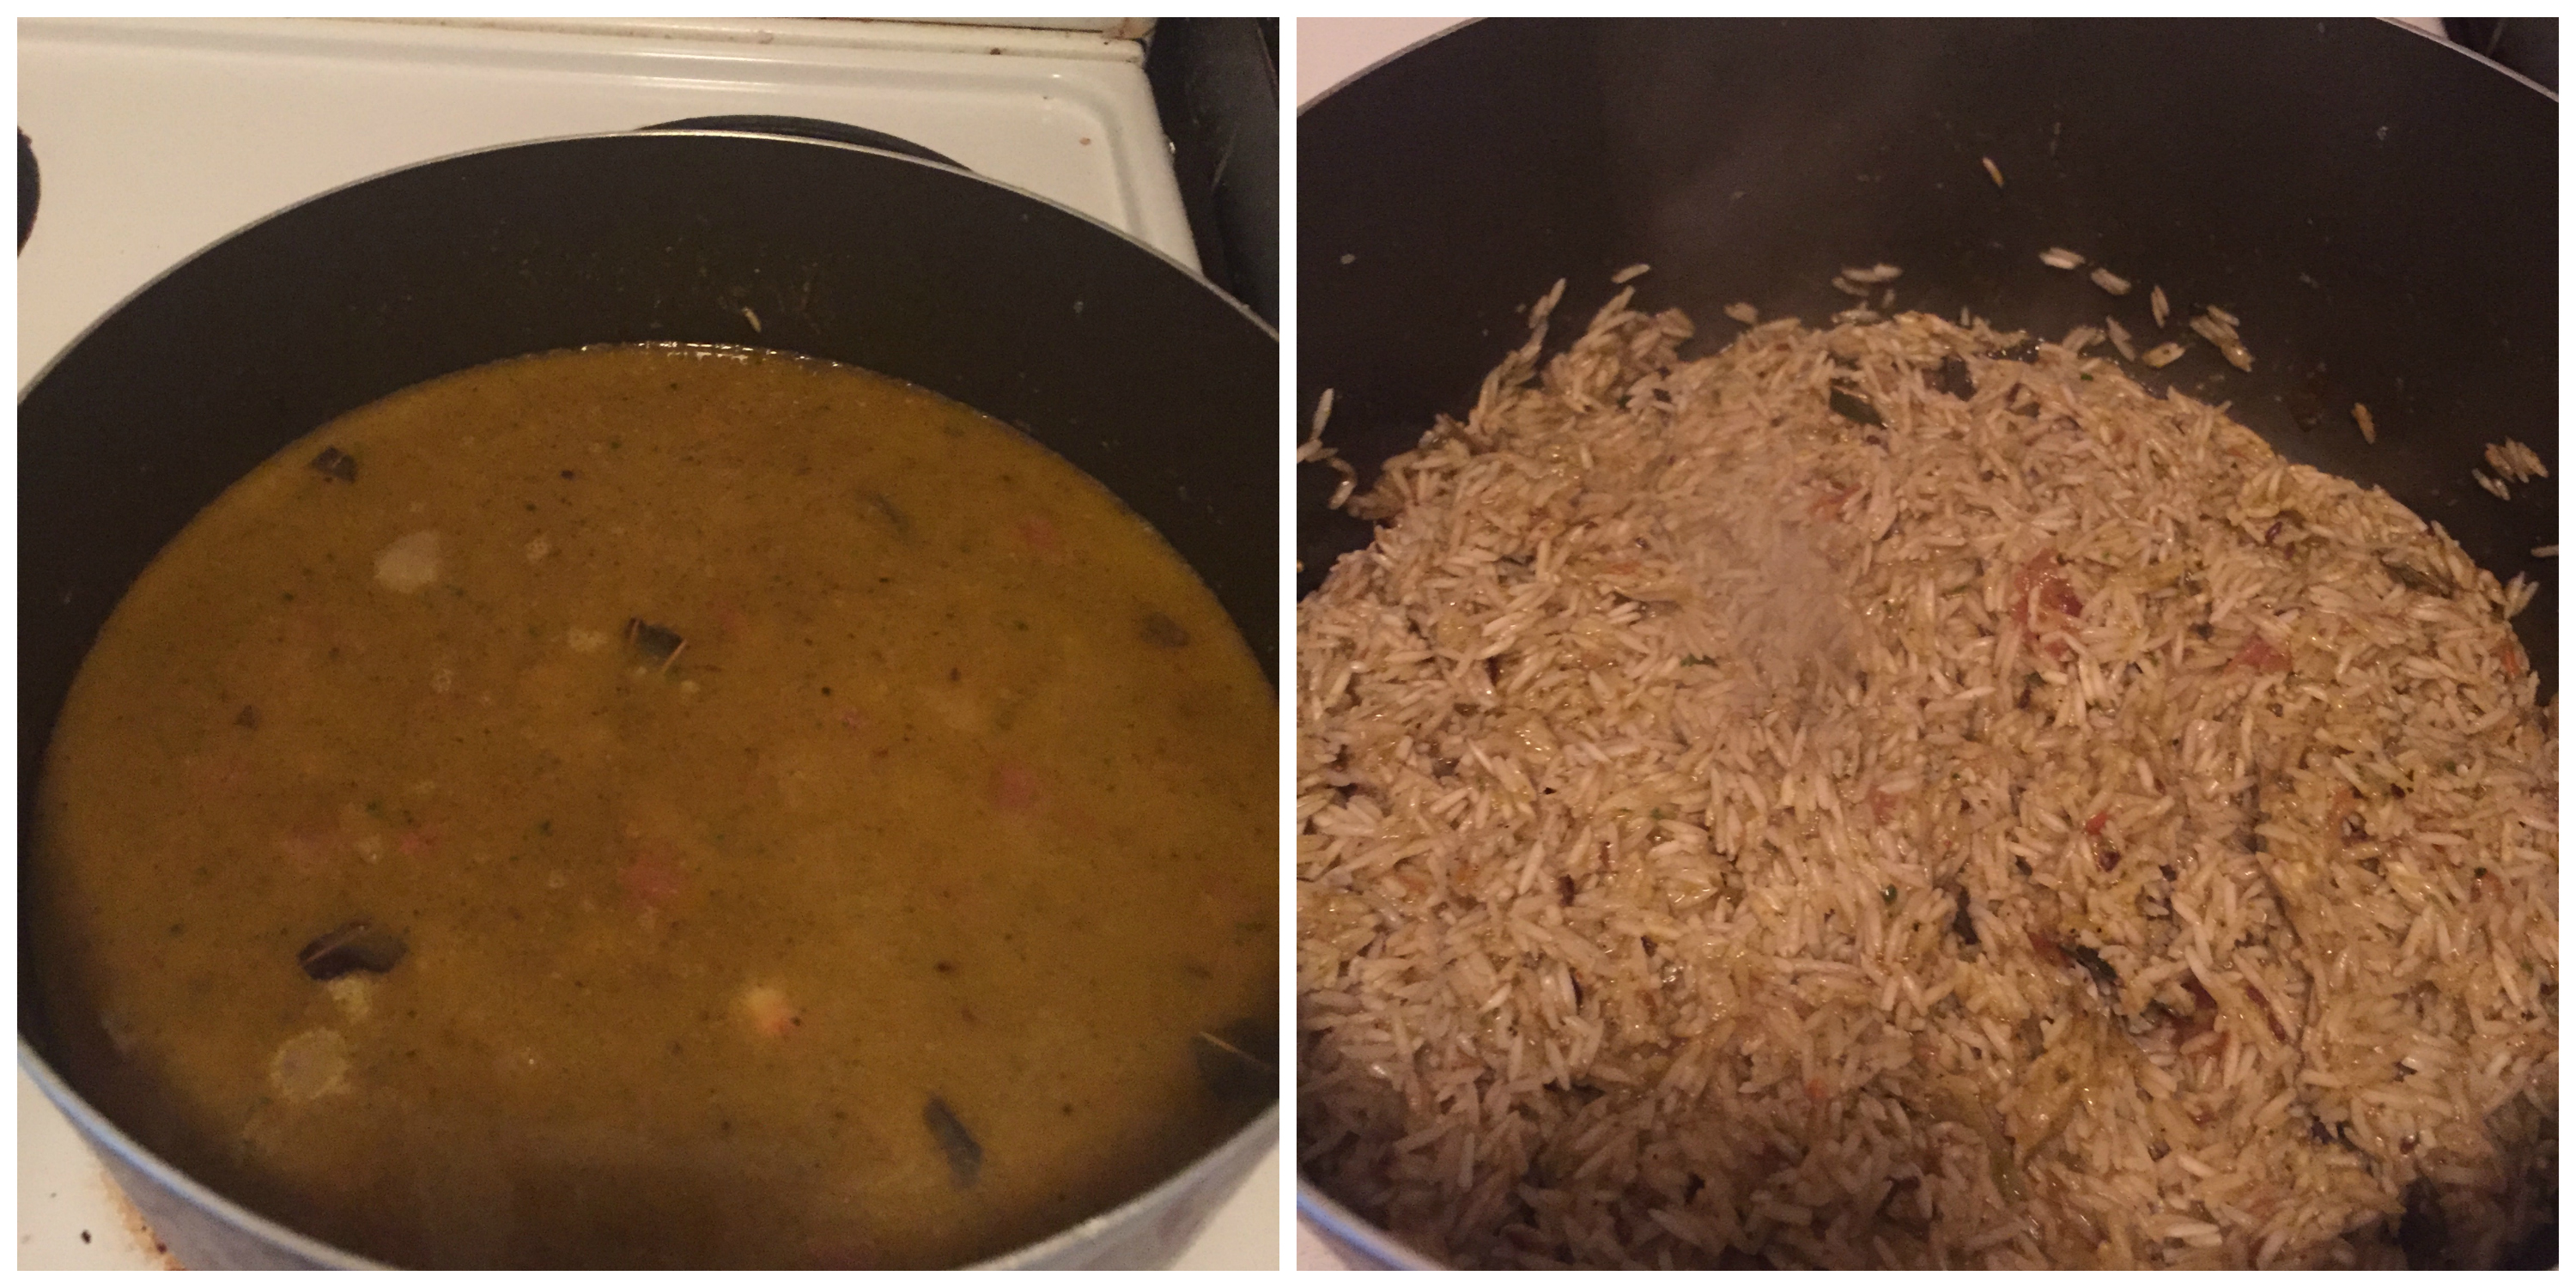
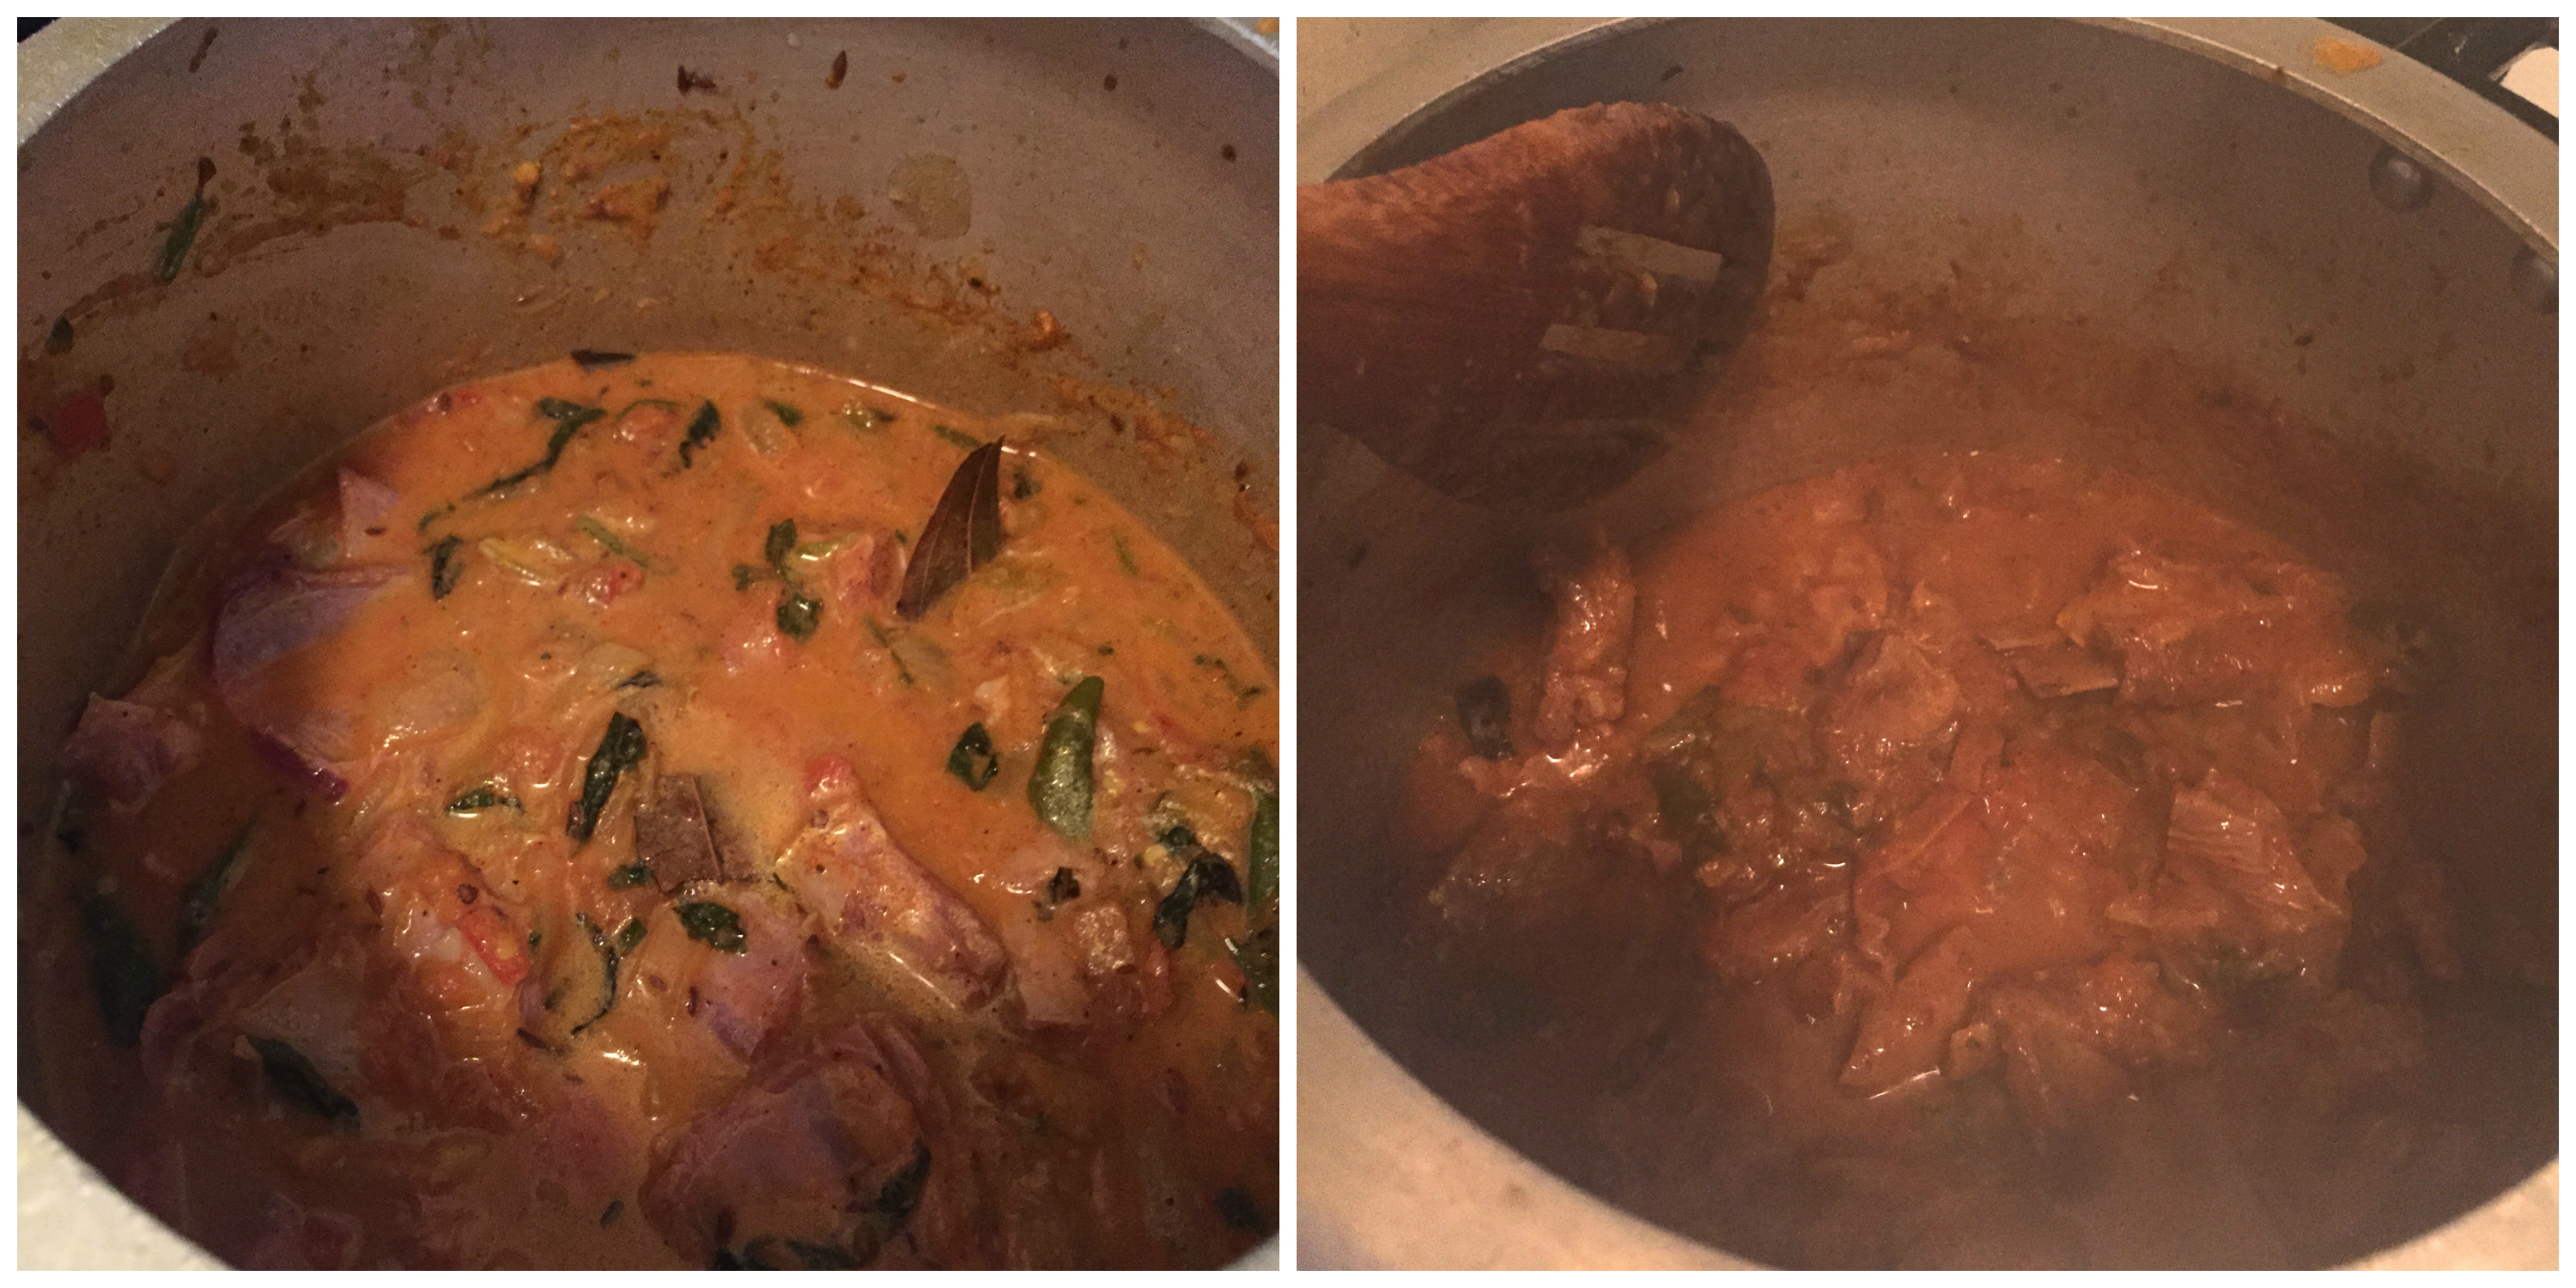
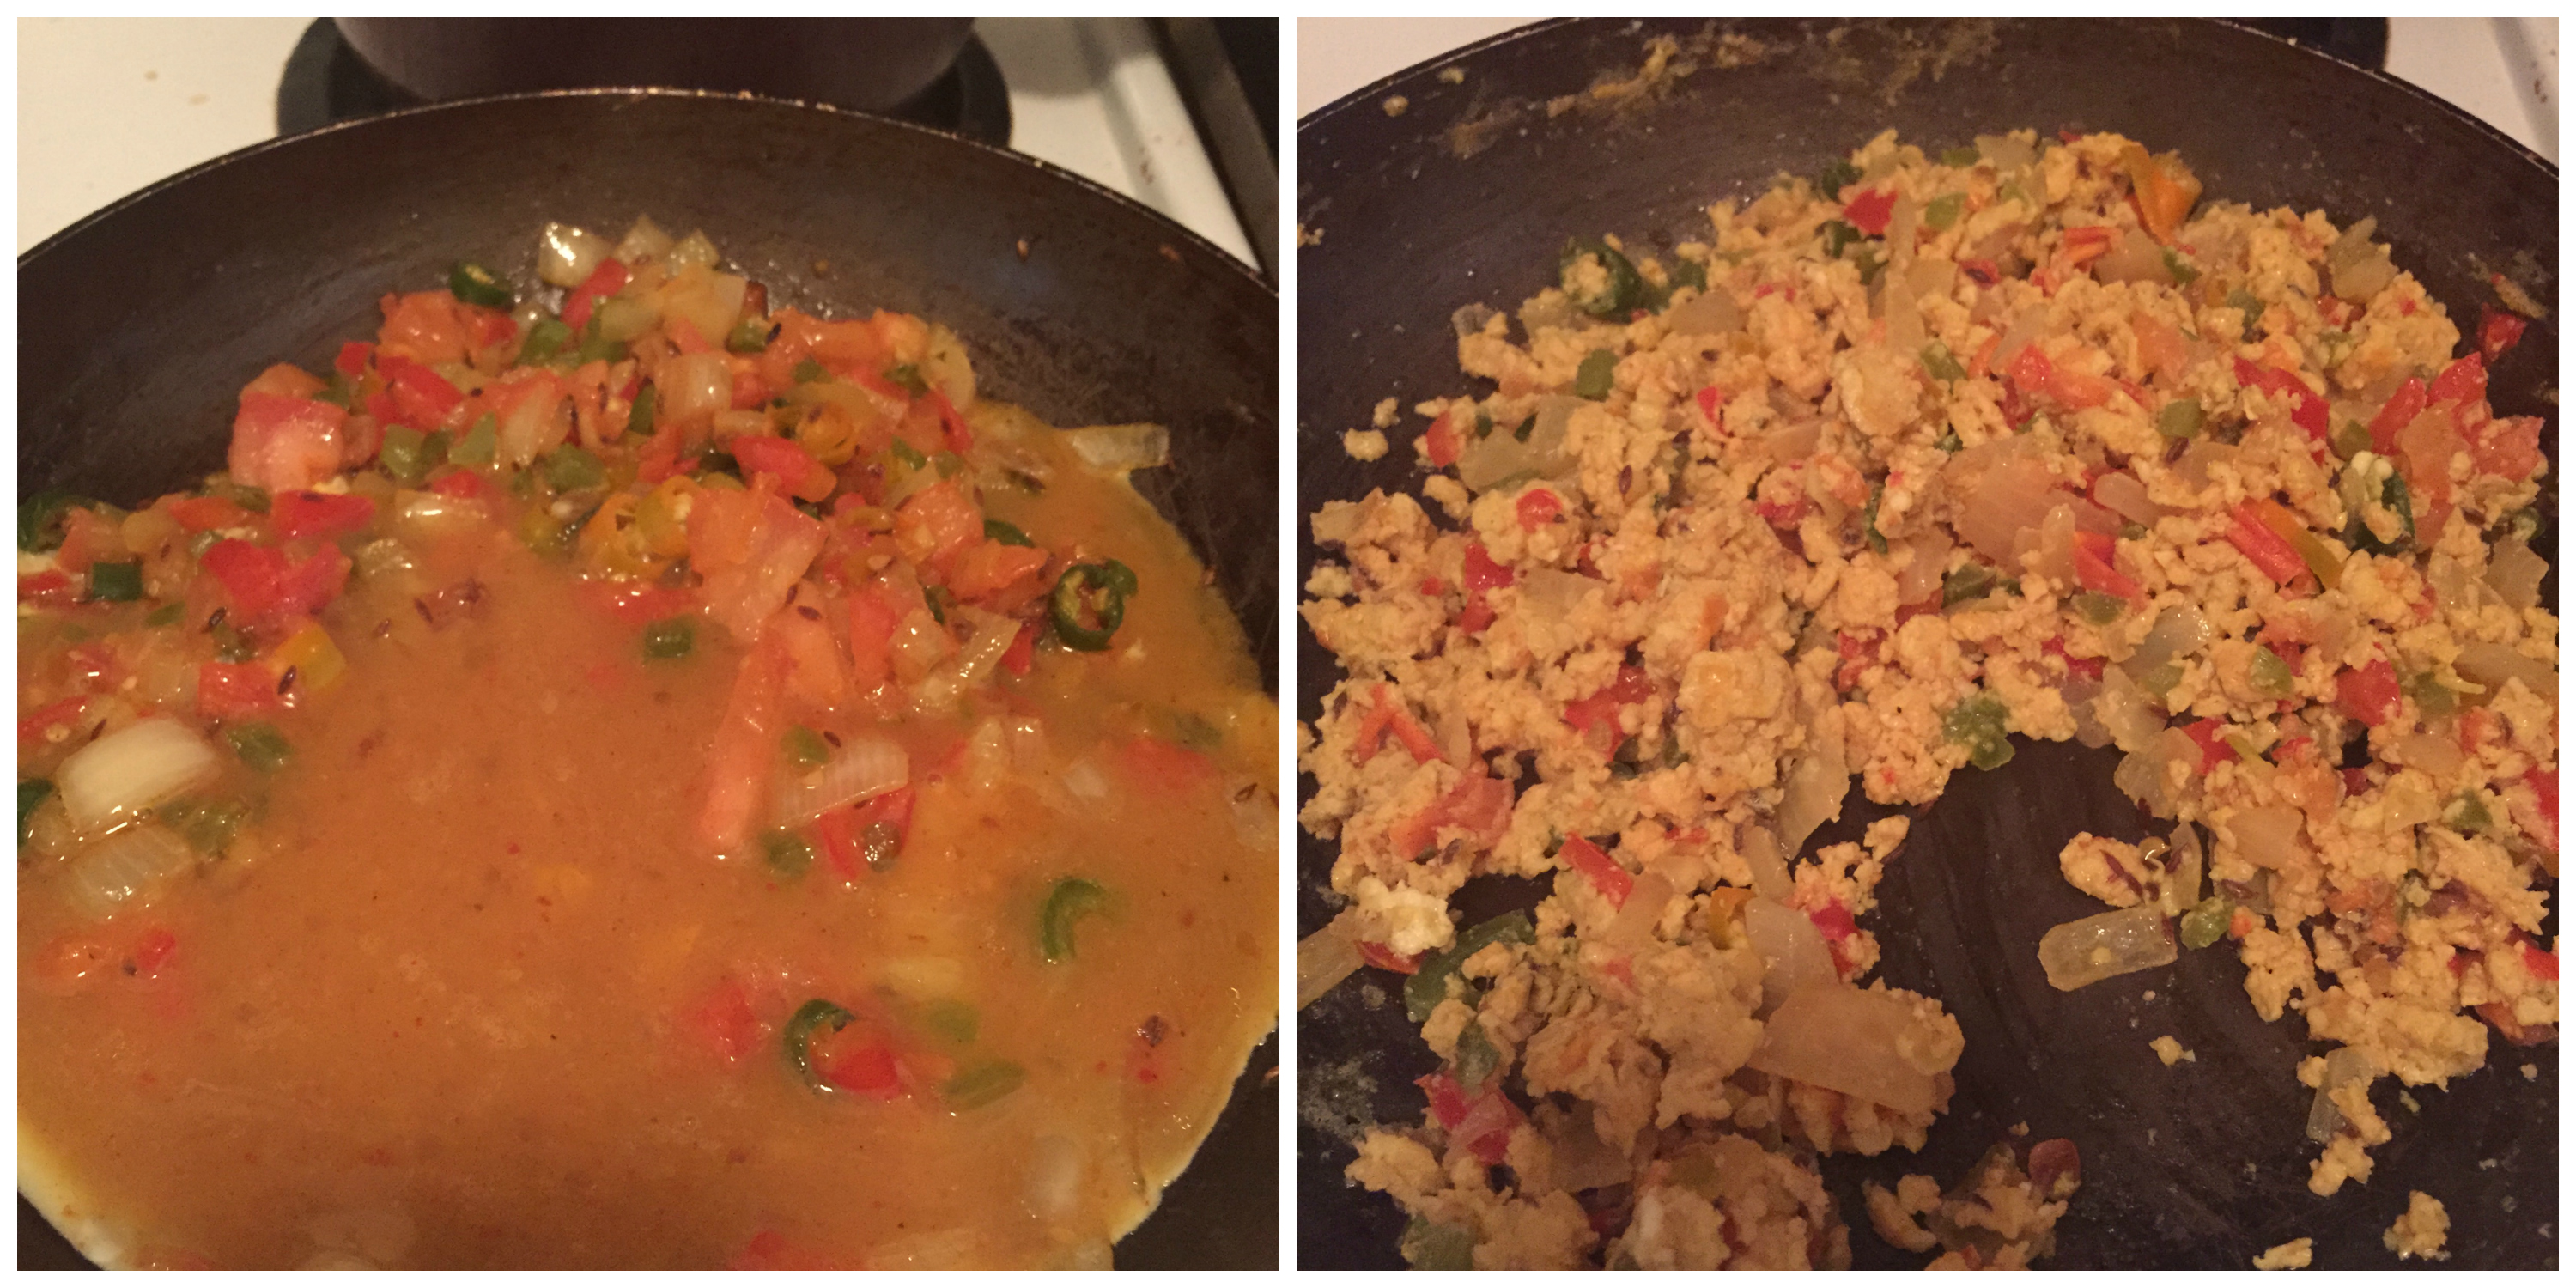
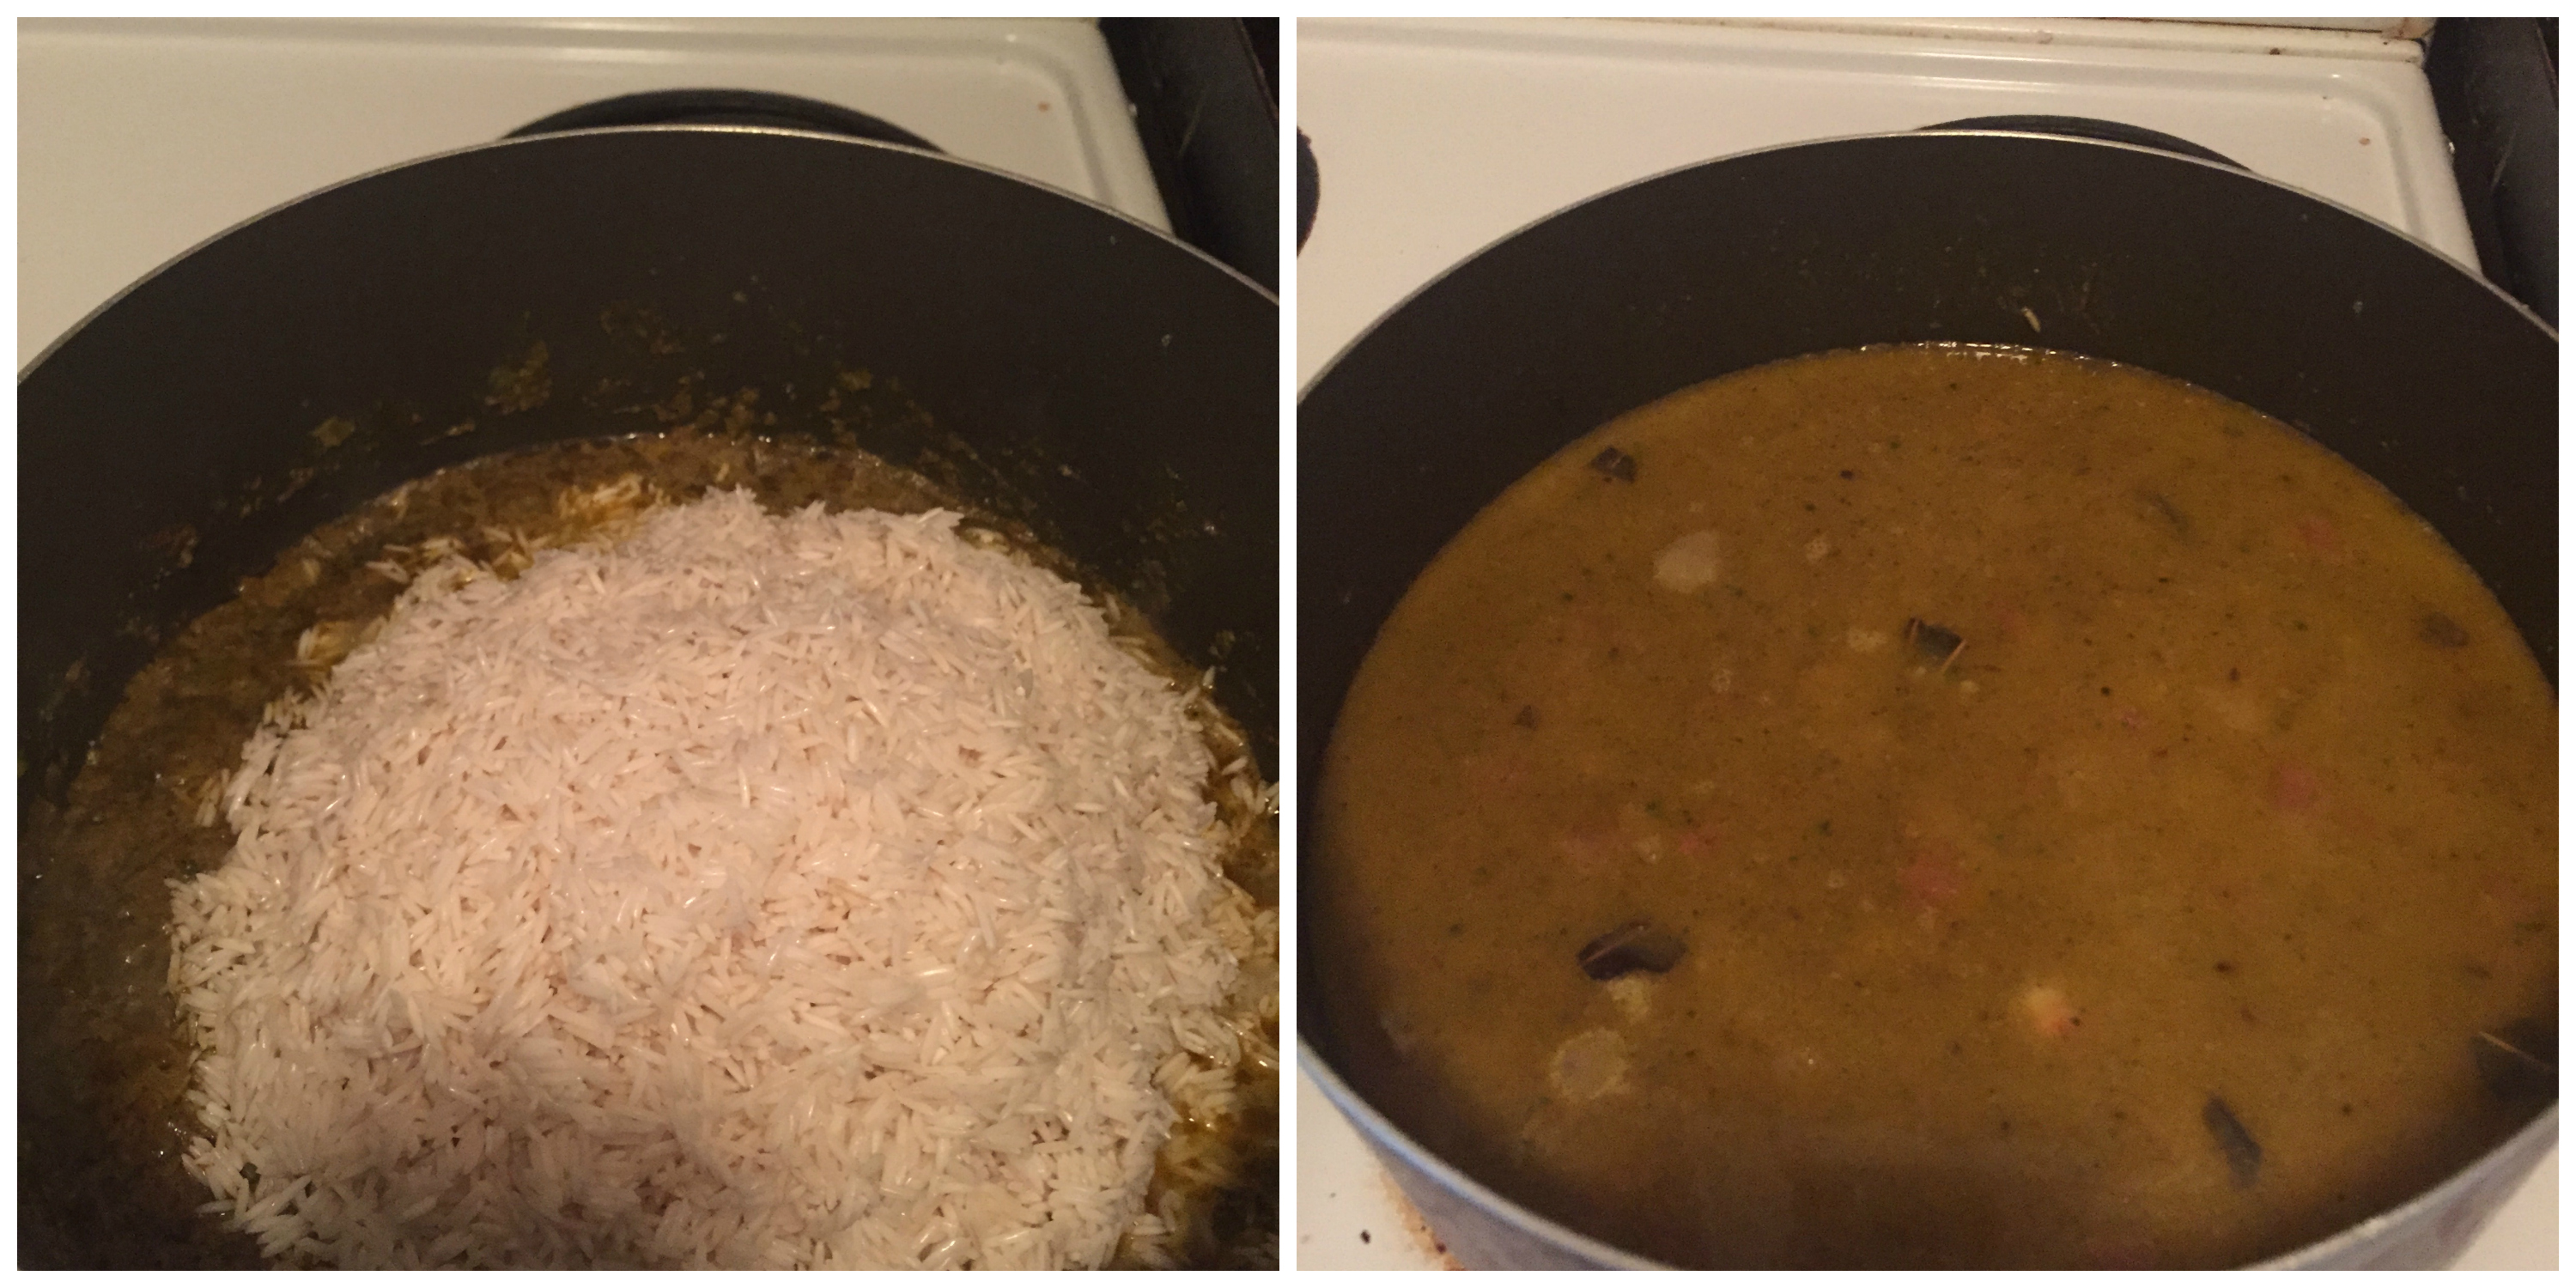
  4. Add the crumbled potatoes, salt and stir well. Saute for a minute. You can also mash potatoes with a back of spoon if you think it’s too big.Add water and stir again. If you think this consistency is not good, you can add more or less water. Stir & mix well.
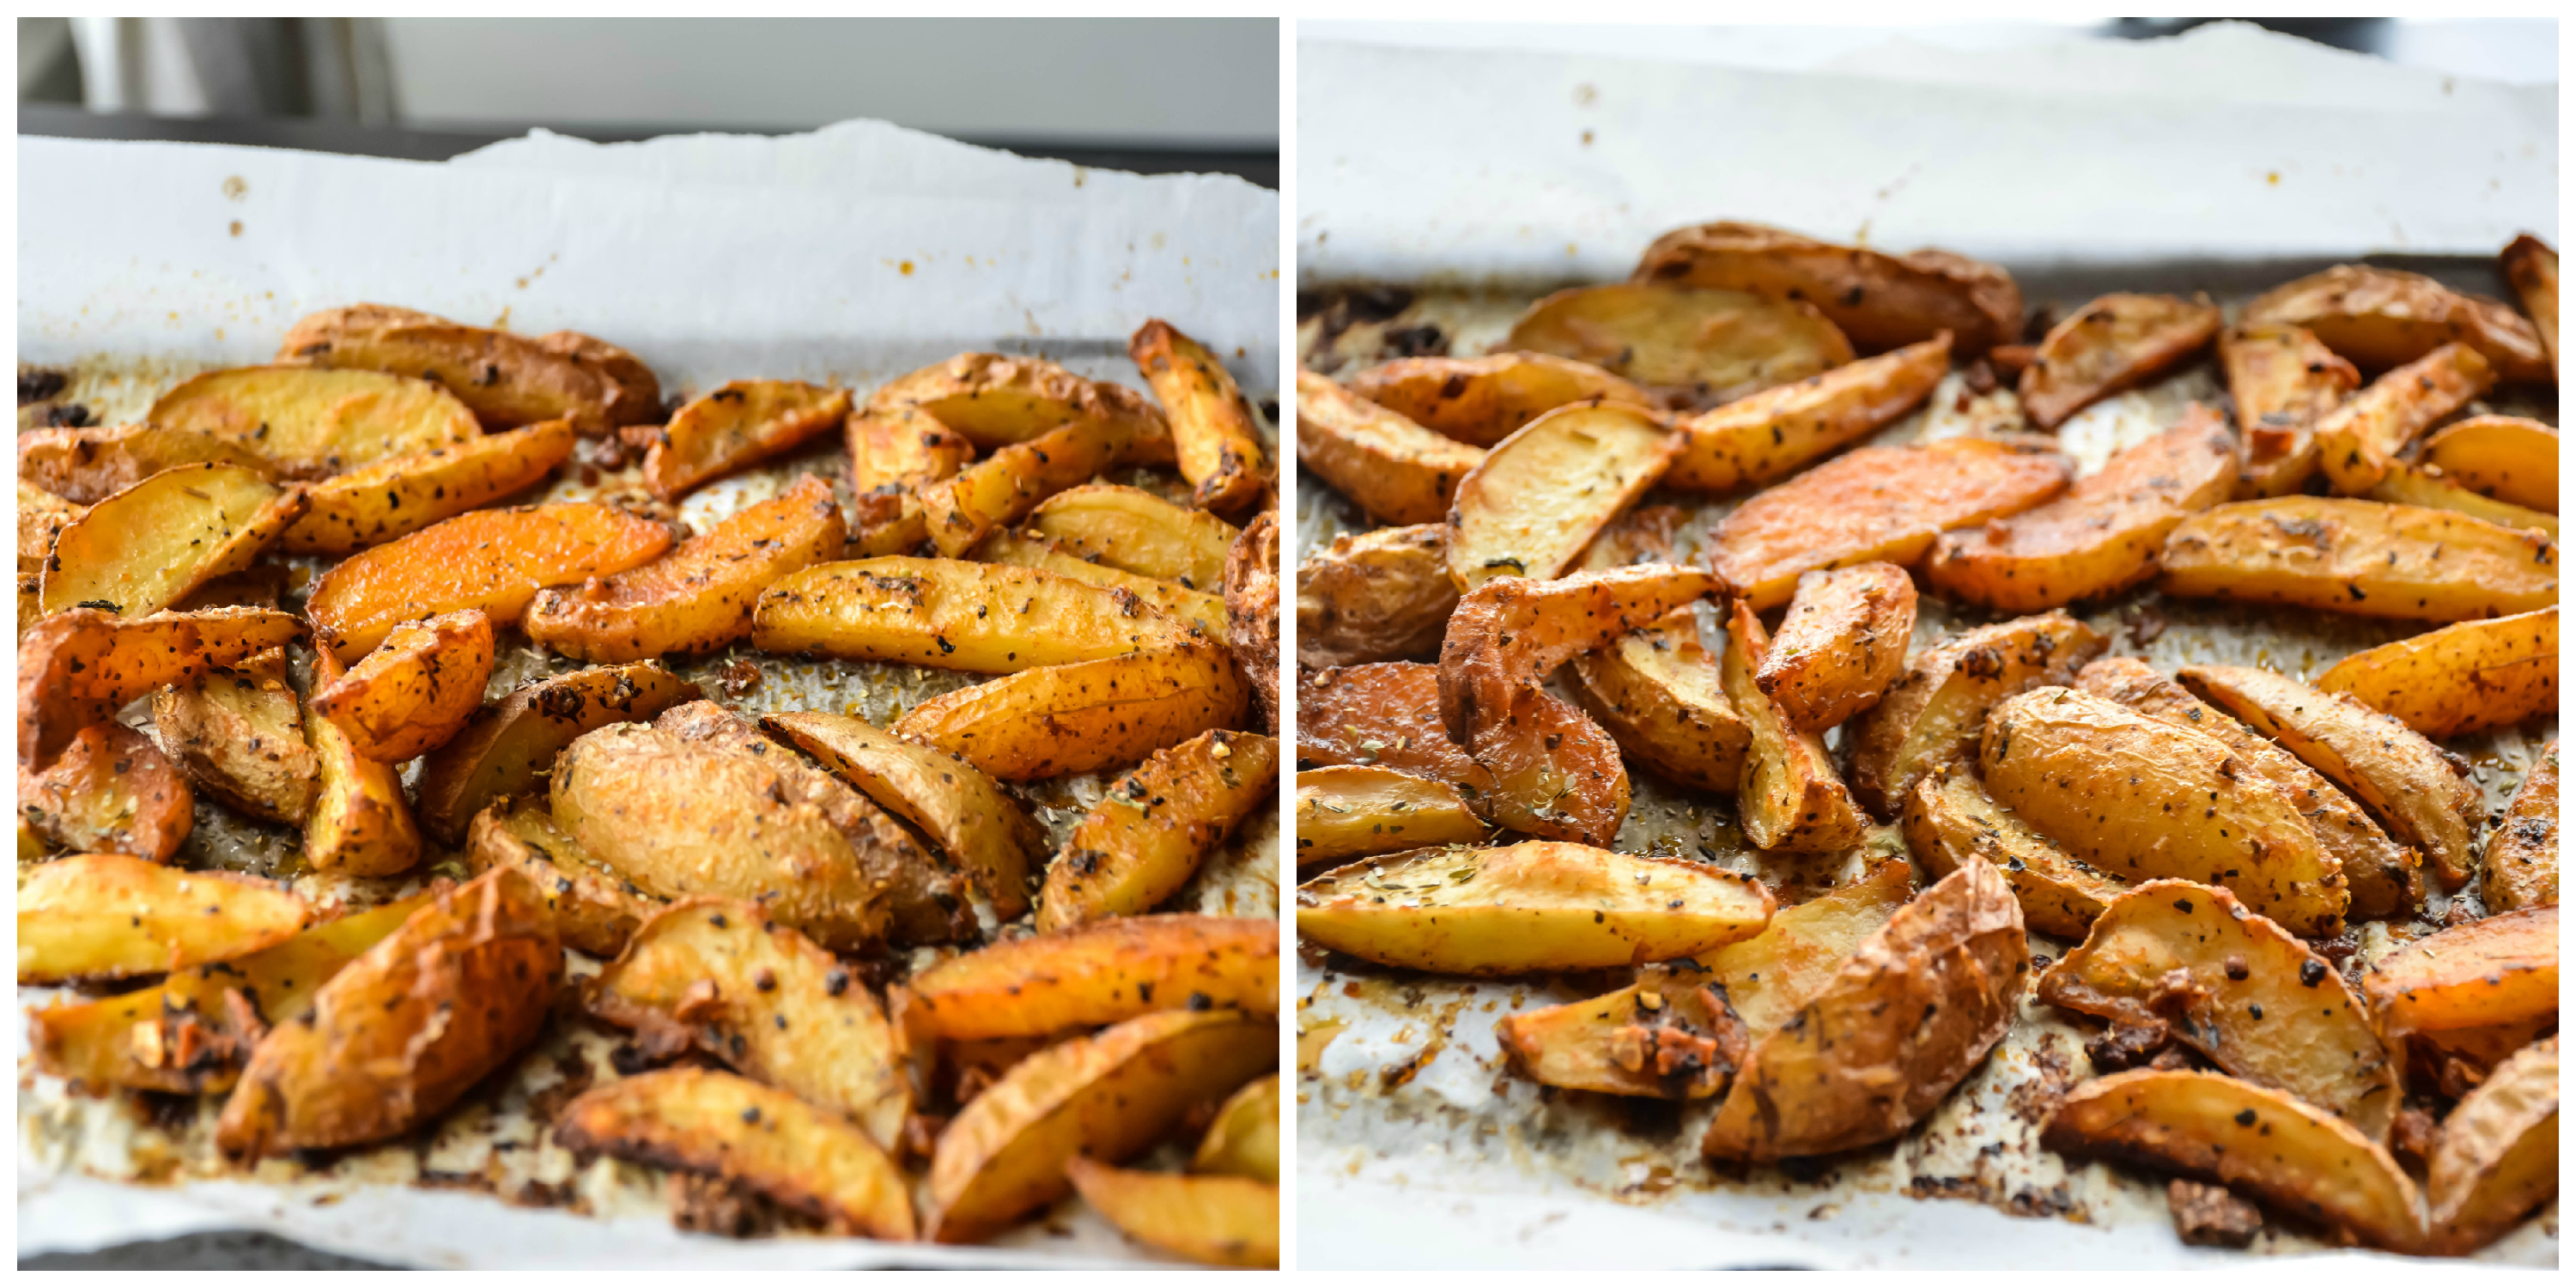
  5. Bring it for simmer for about 10 minutes so that the curry thickens slightly.
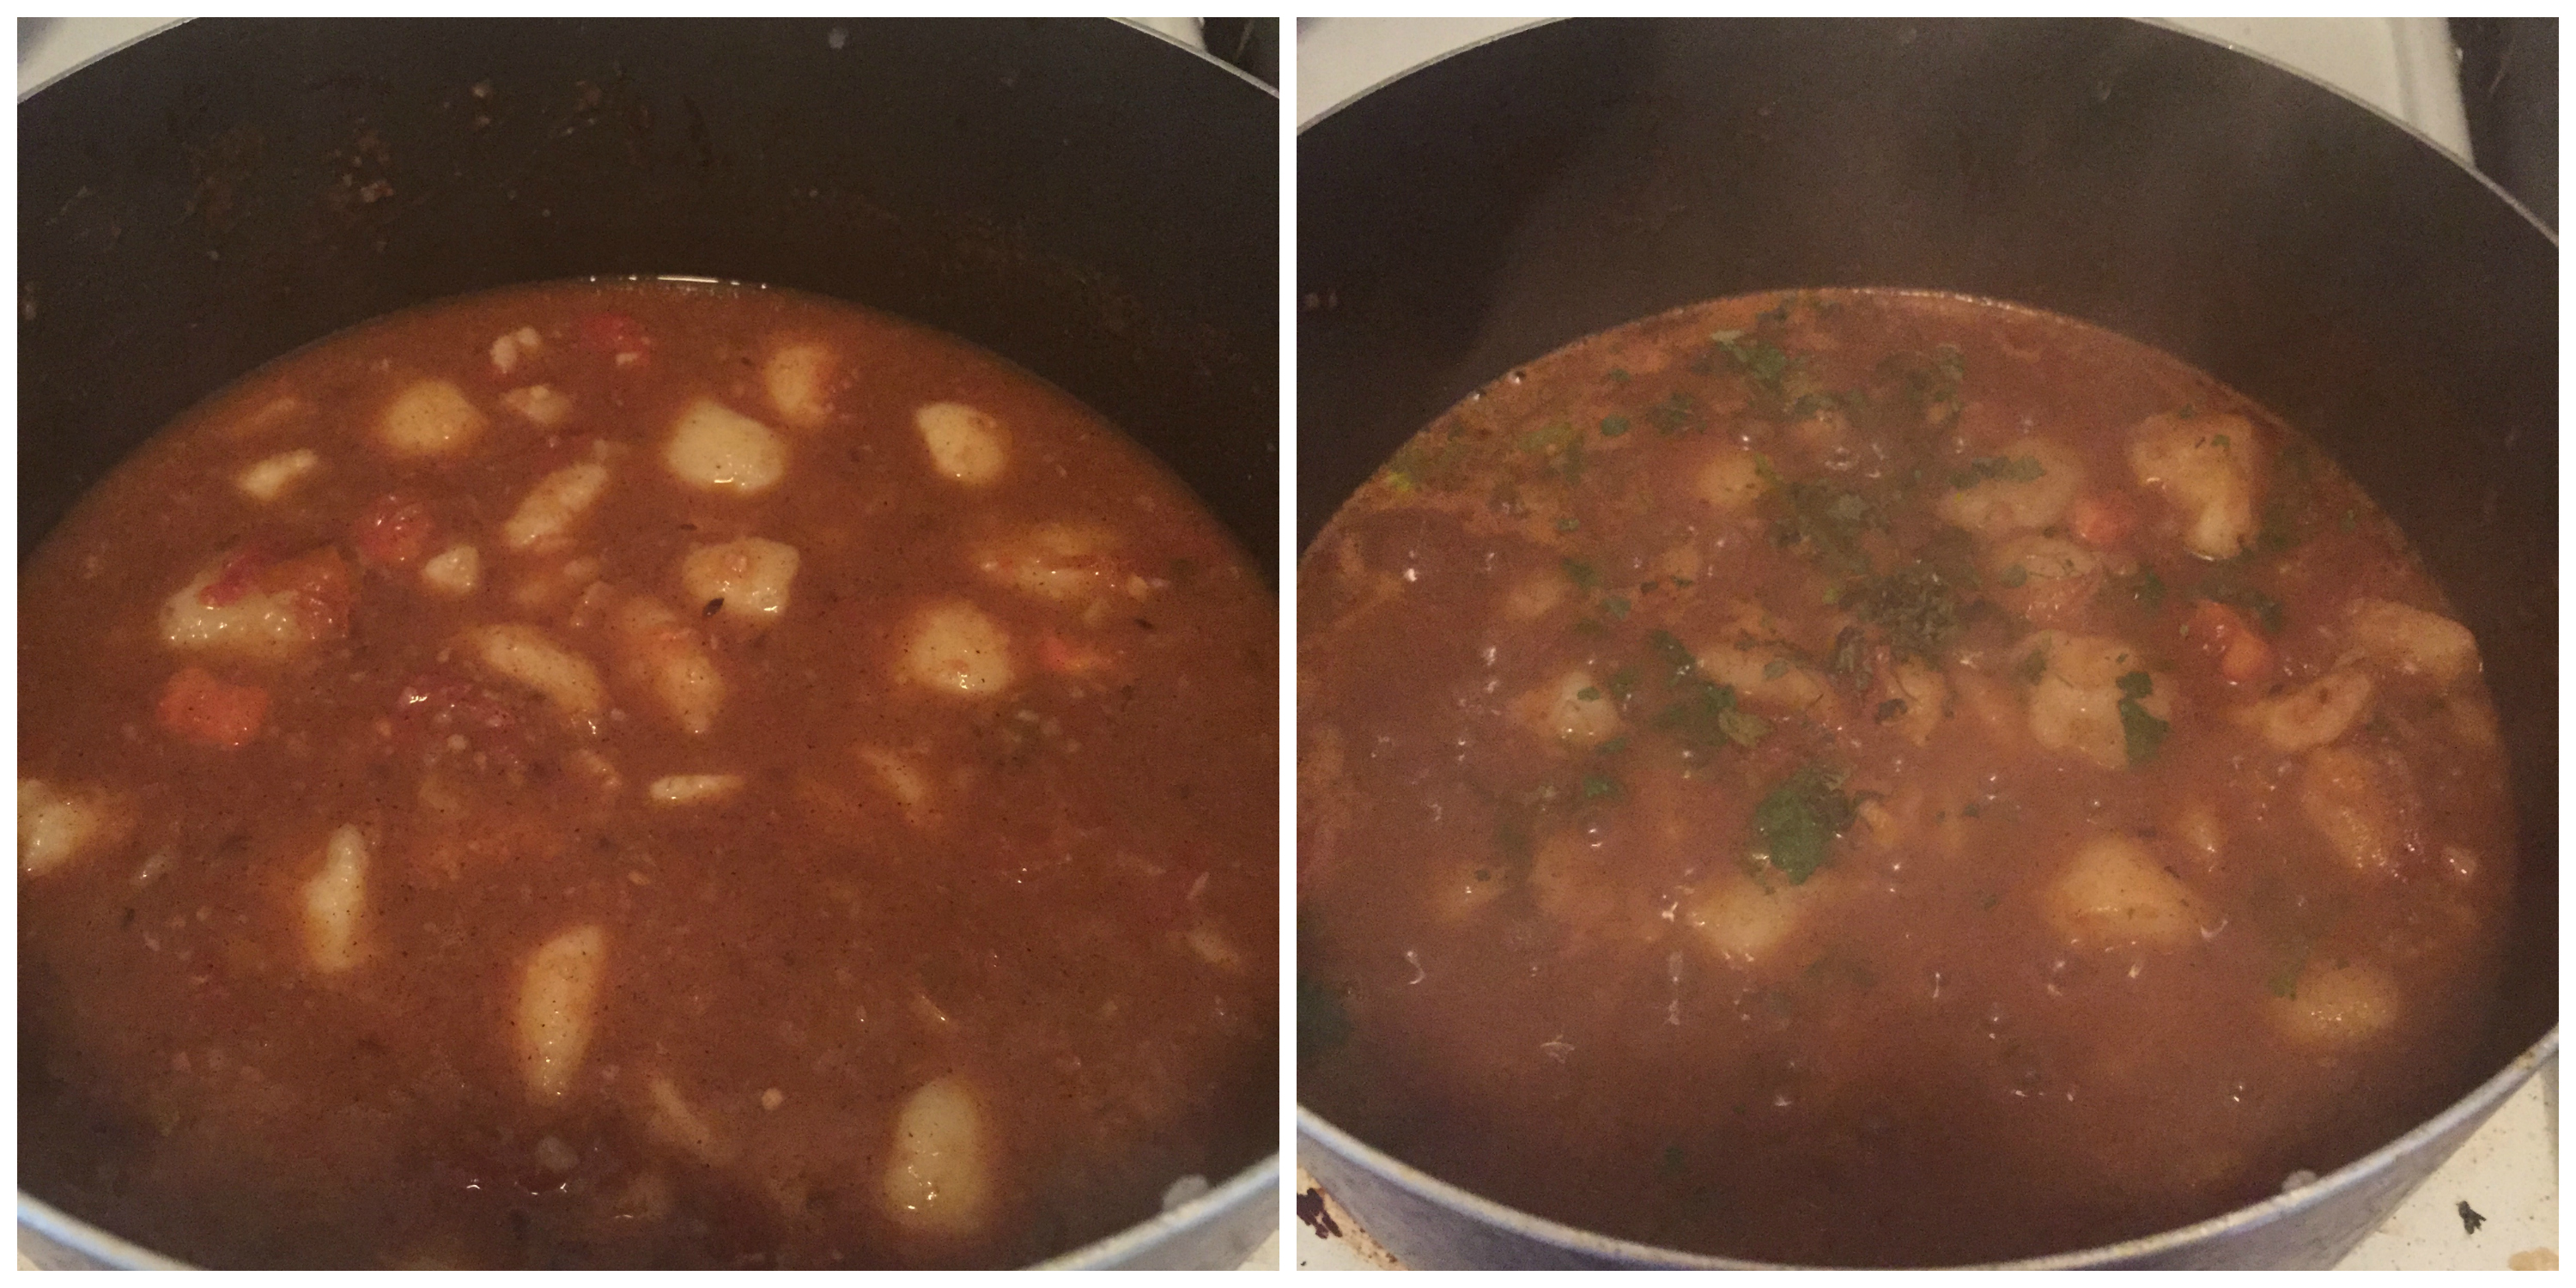
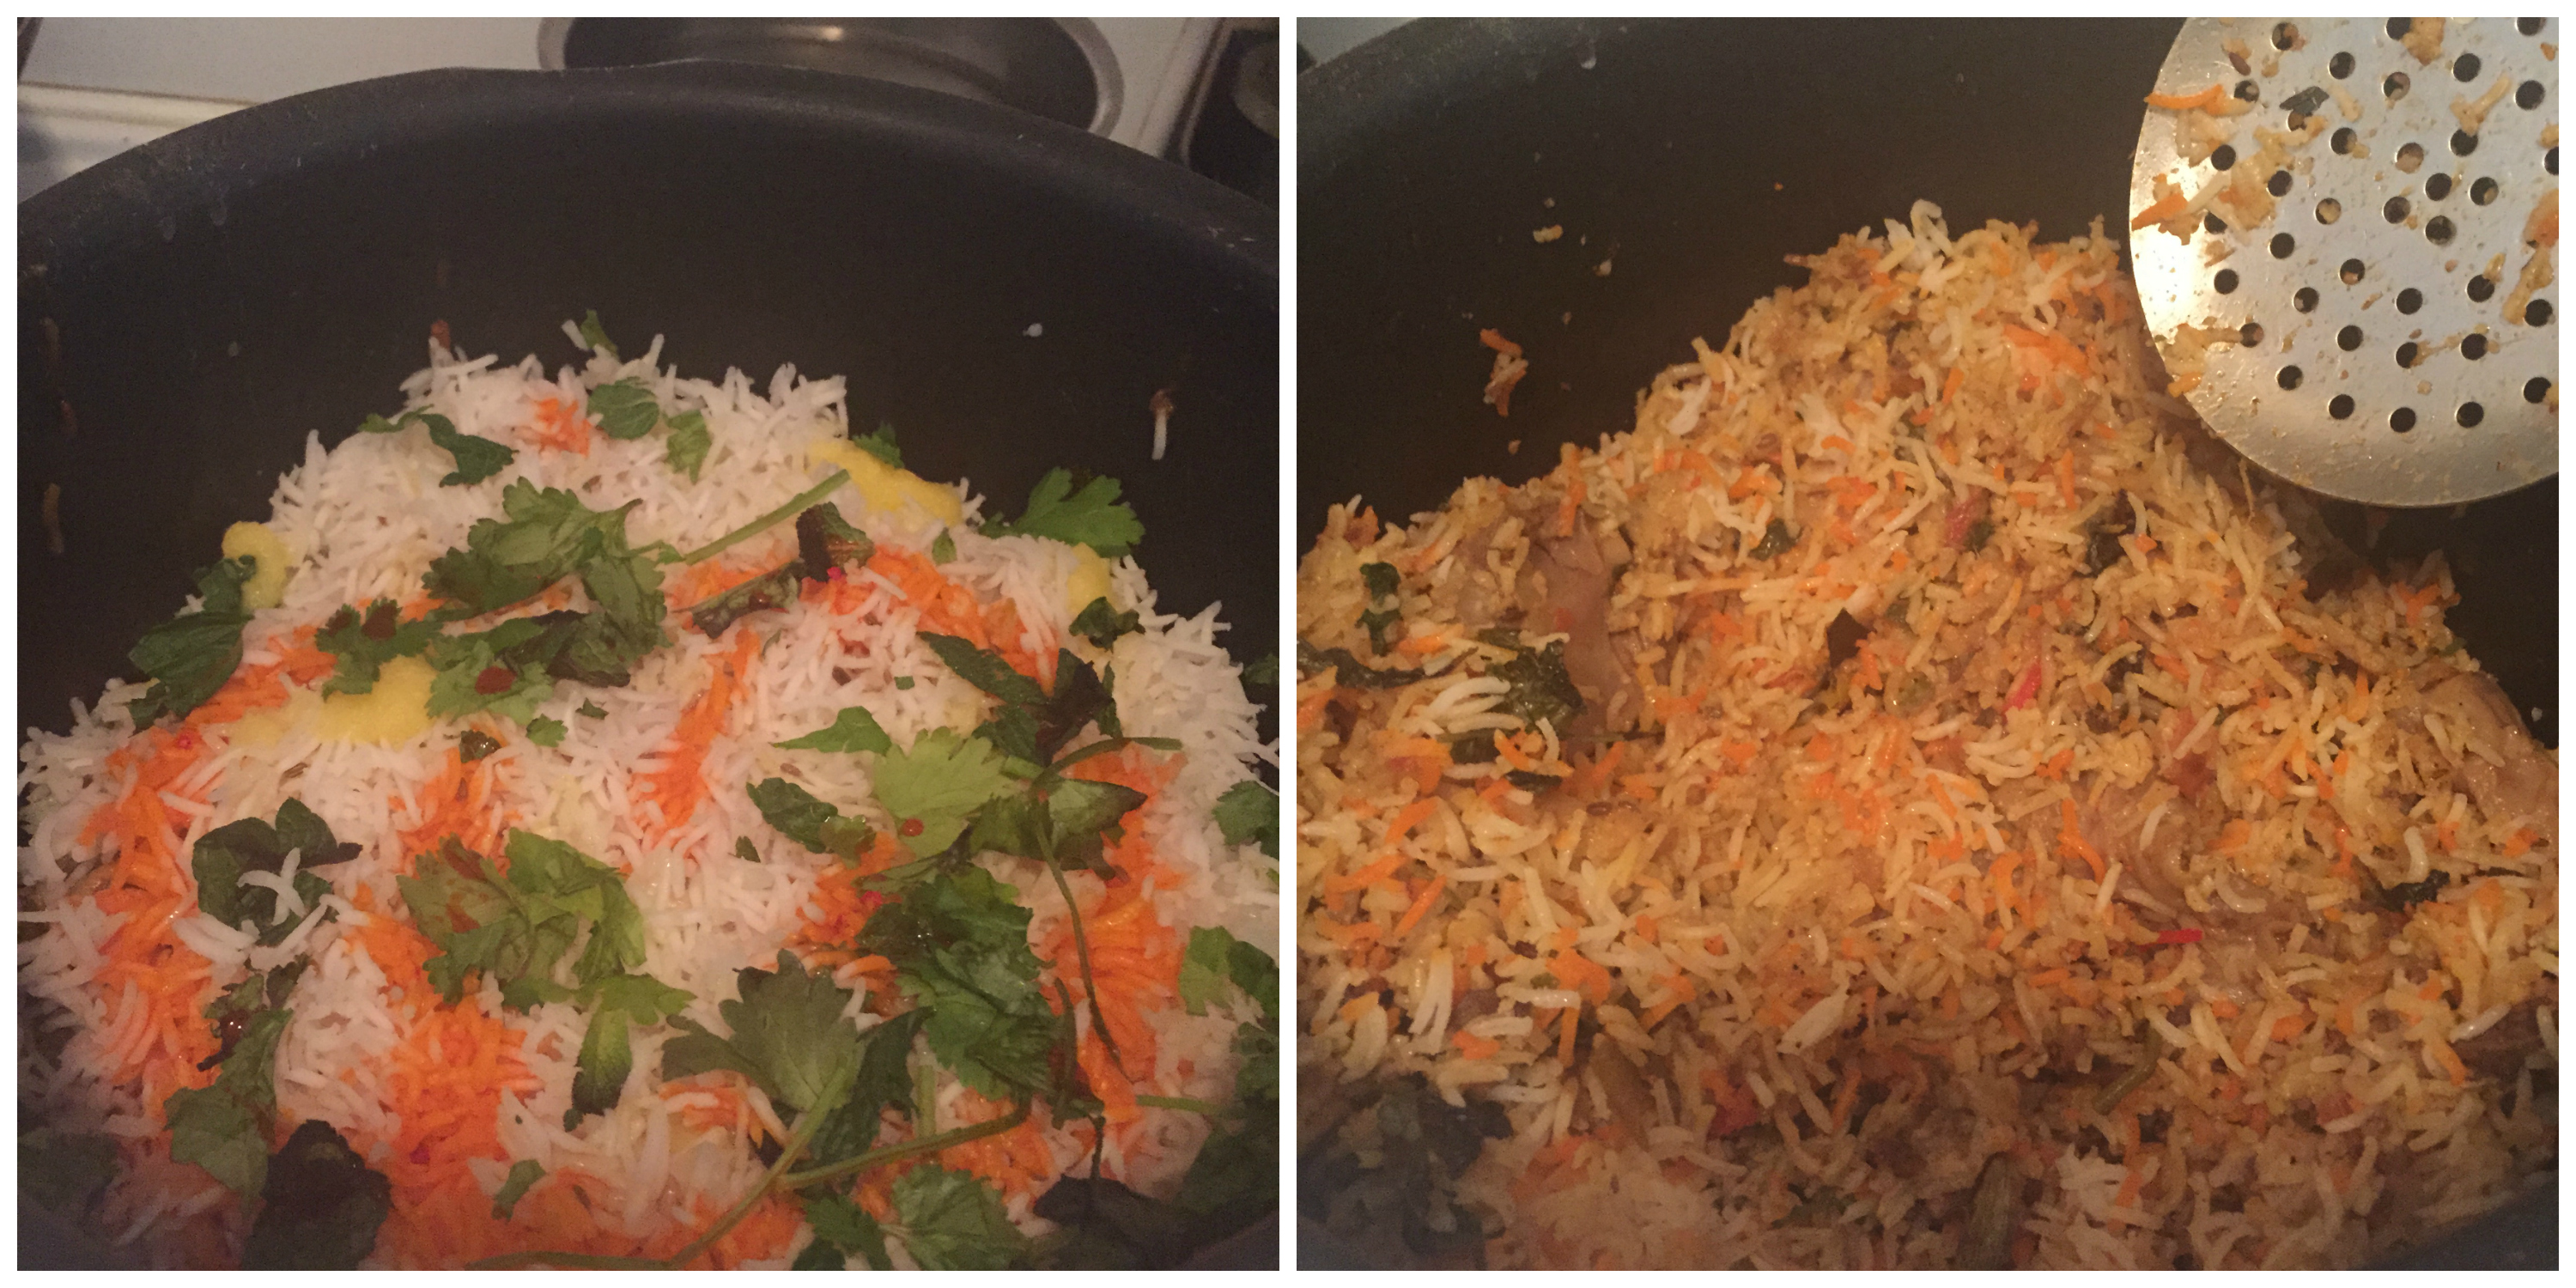
  6. Finally add chopped coriander leaves, methi powder and garam masala powder.
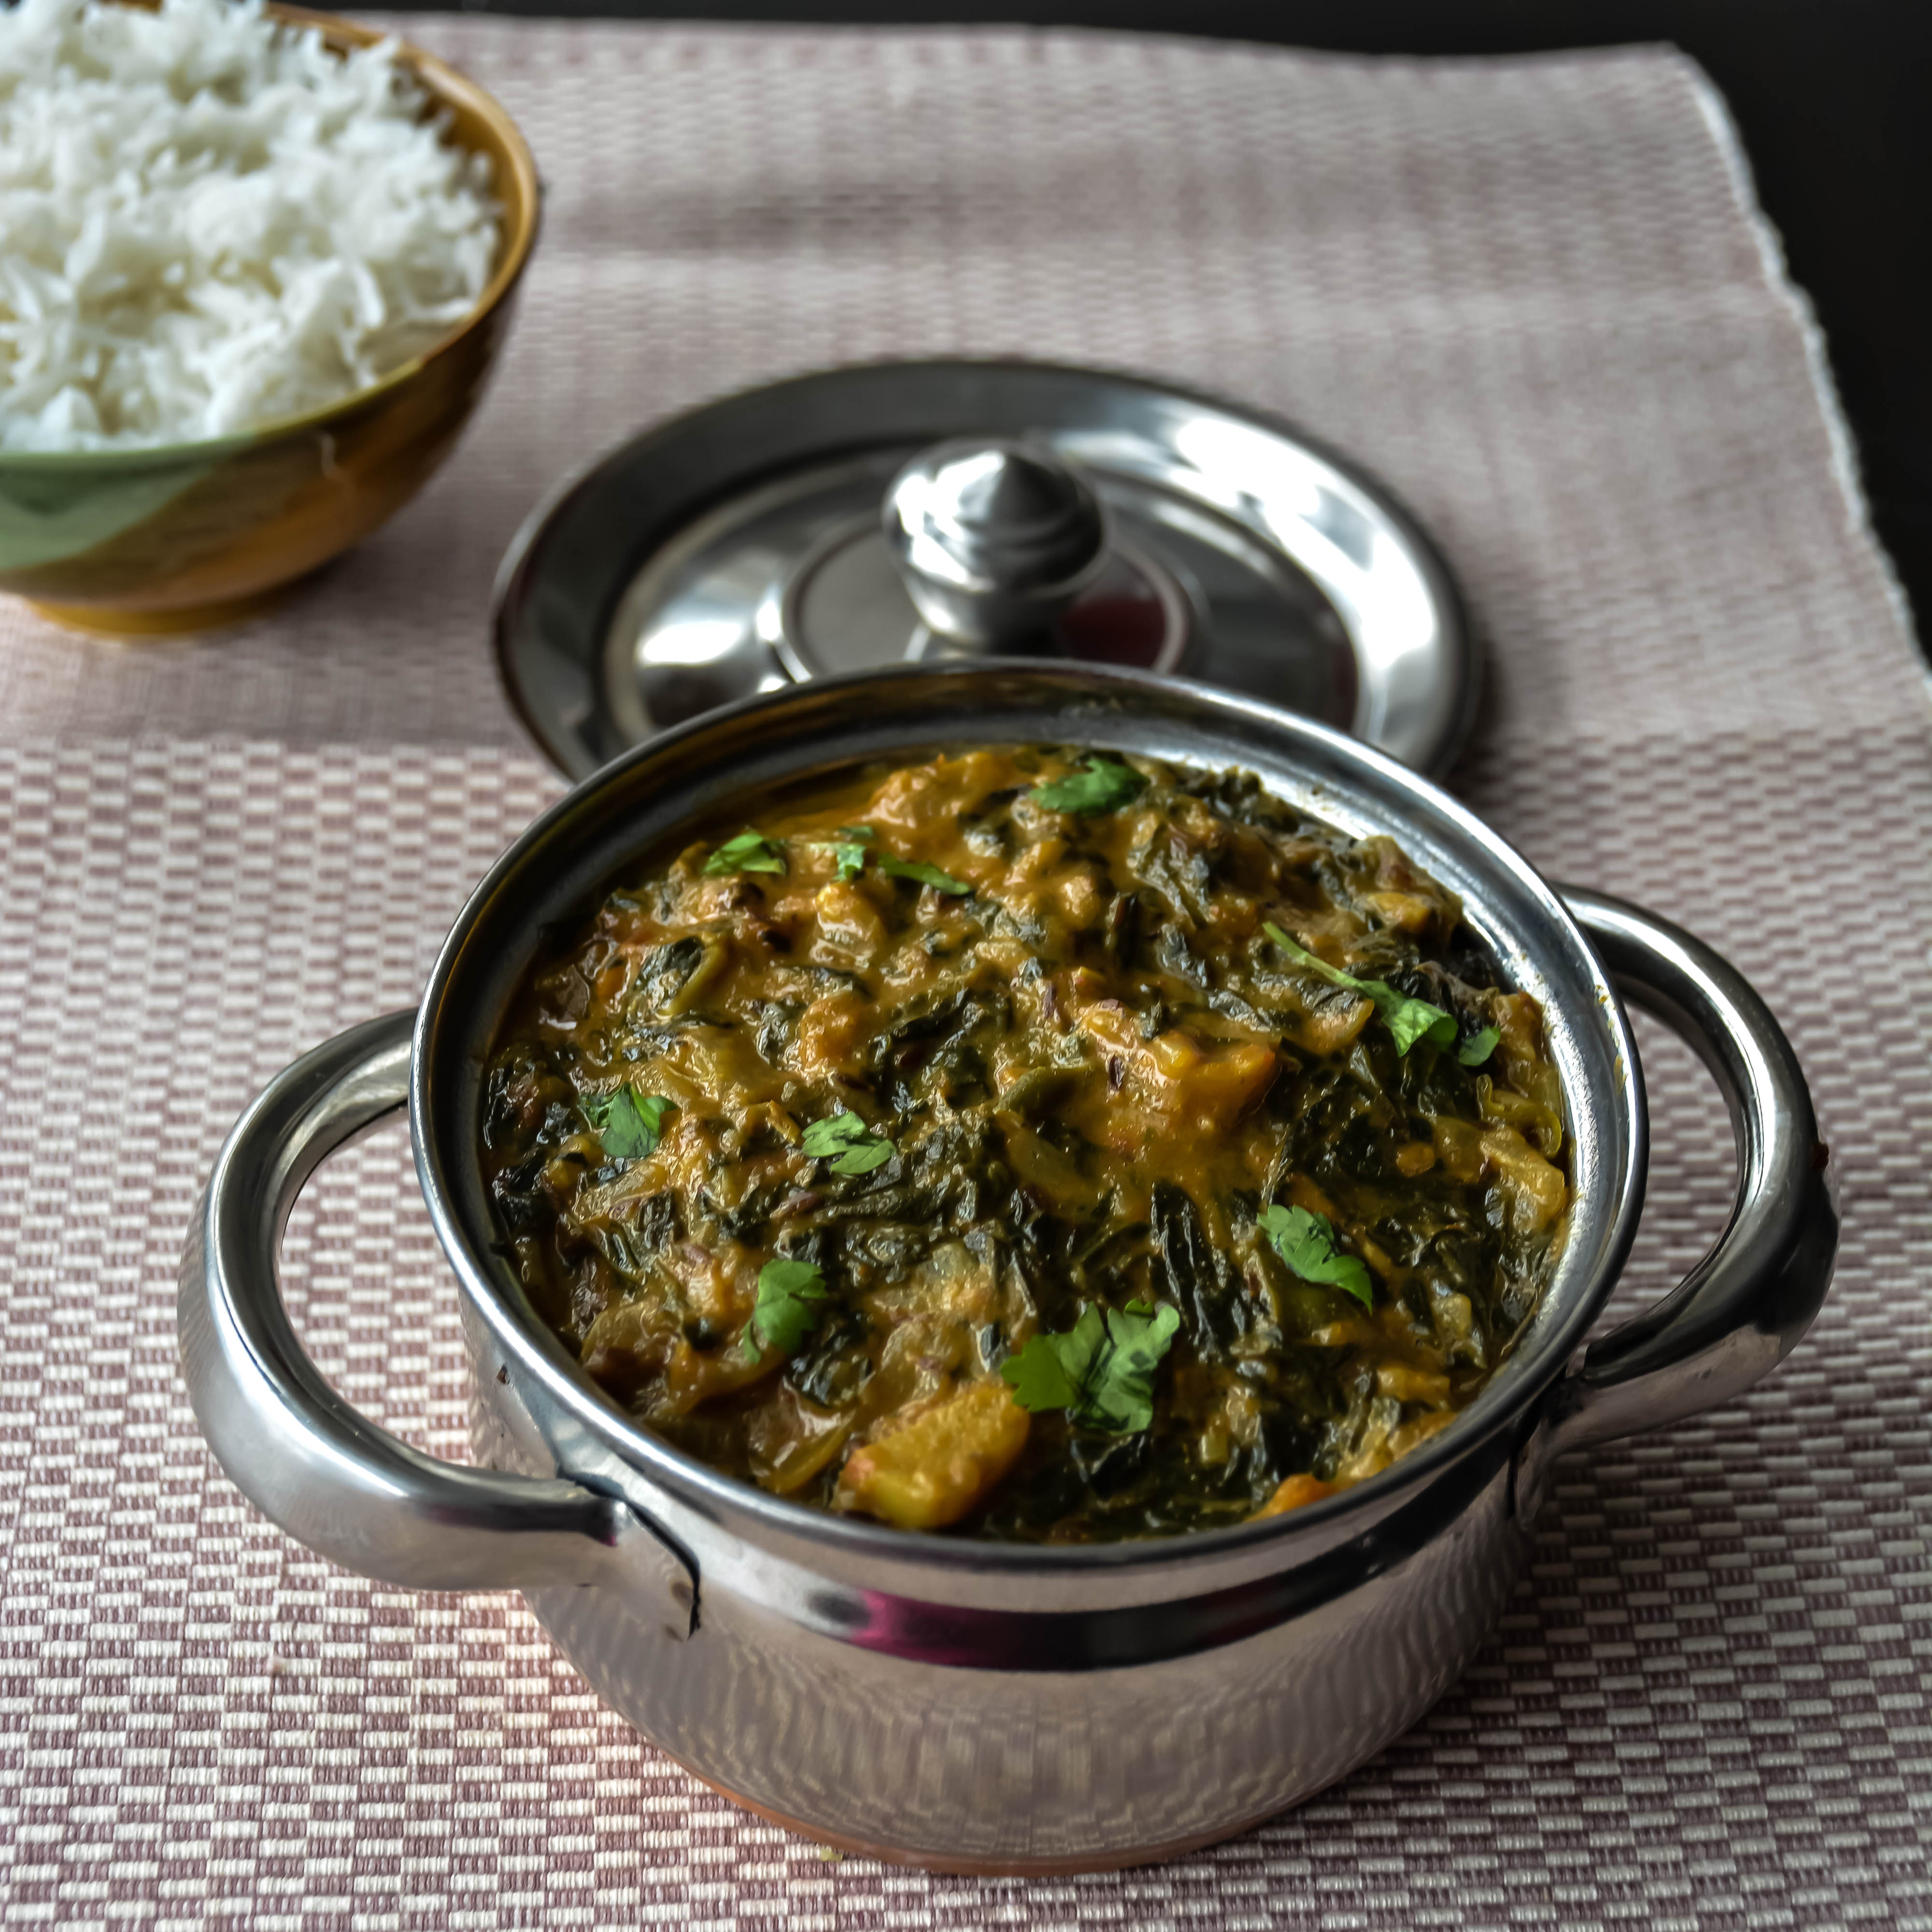
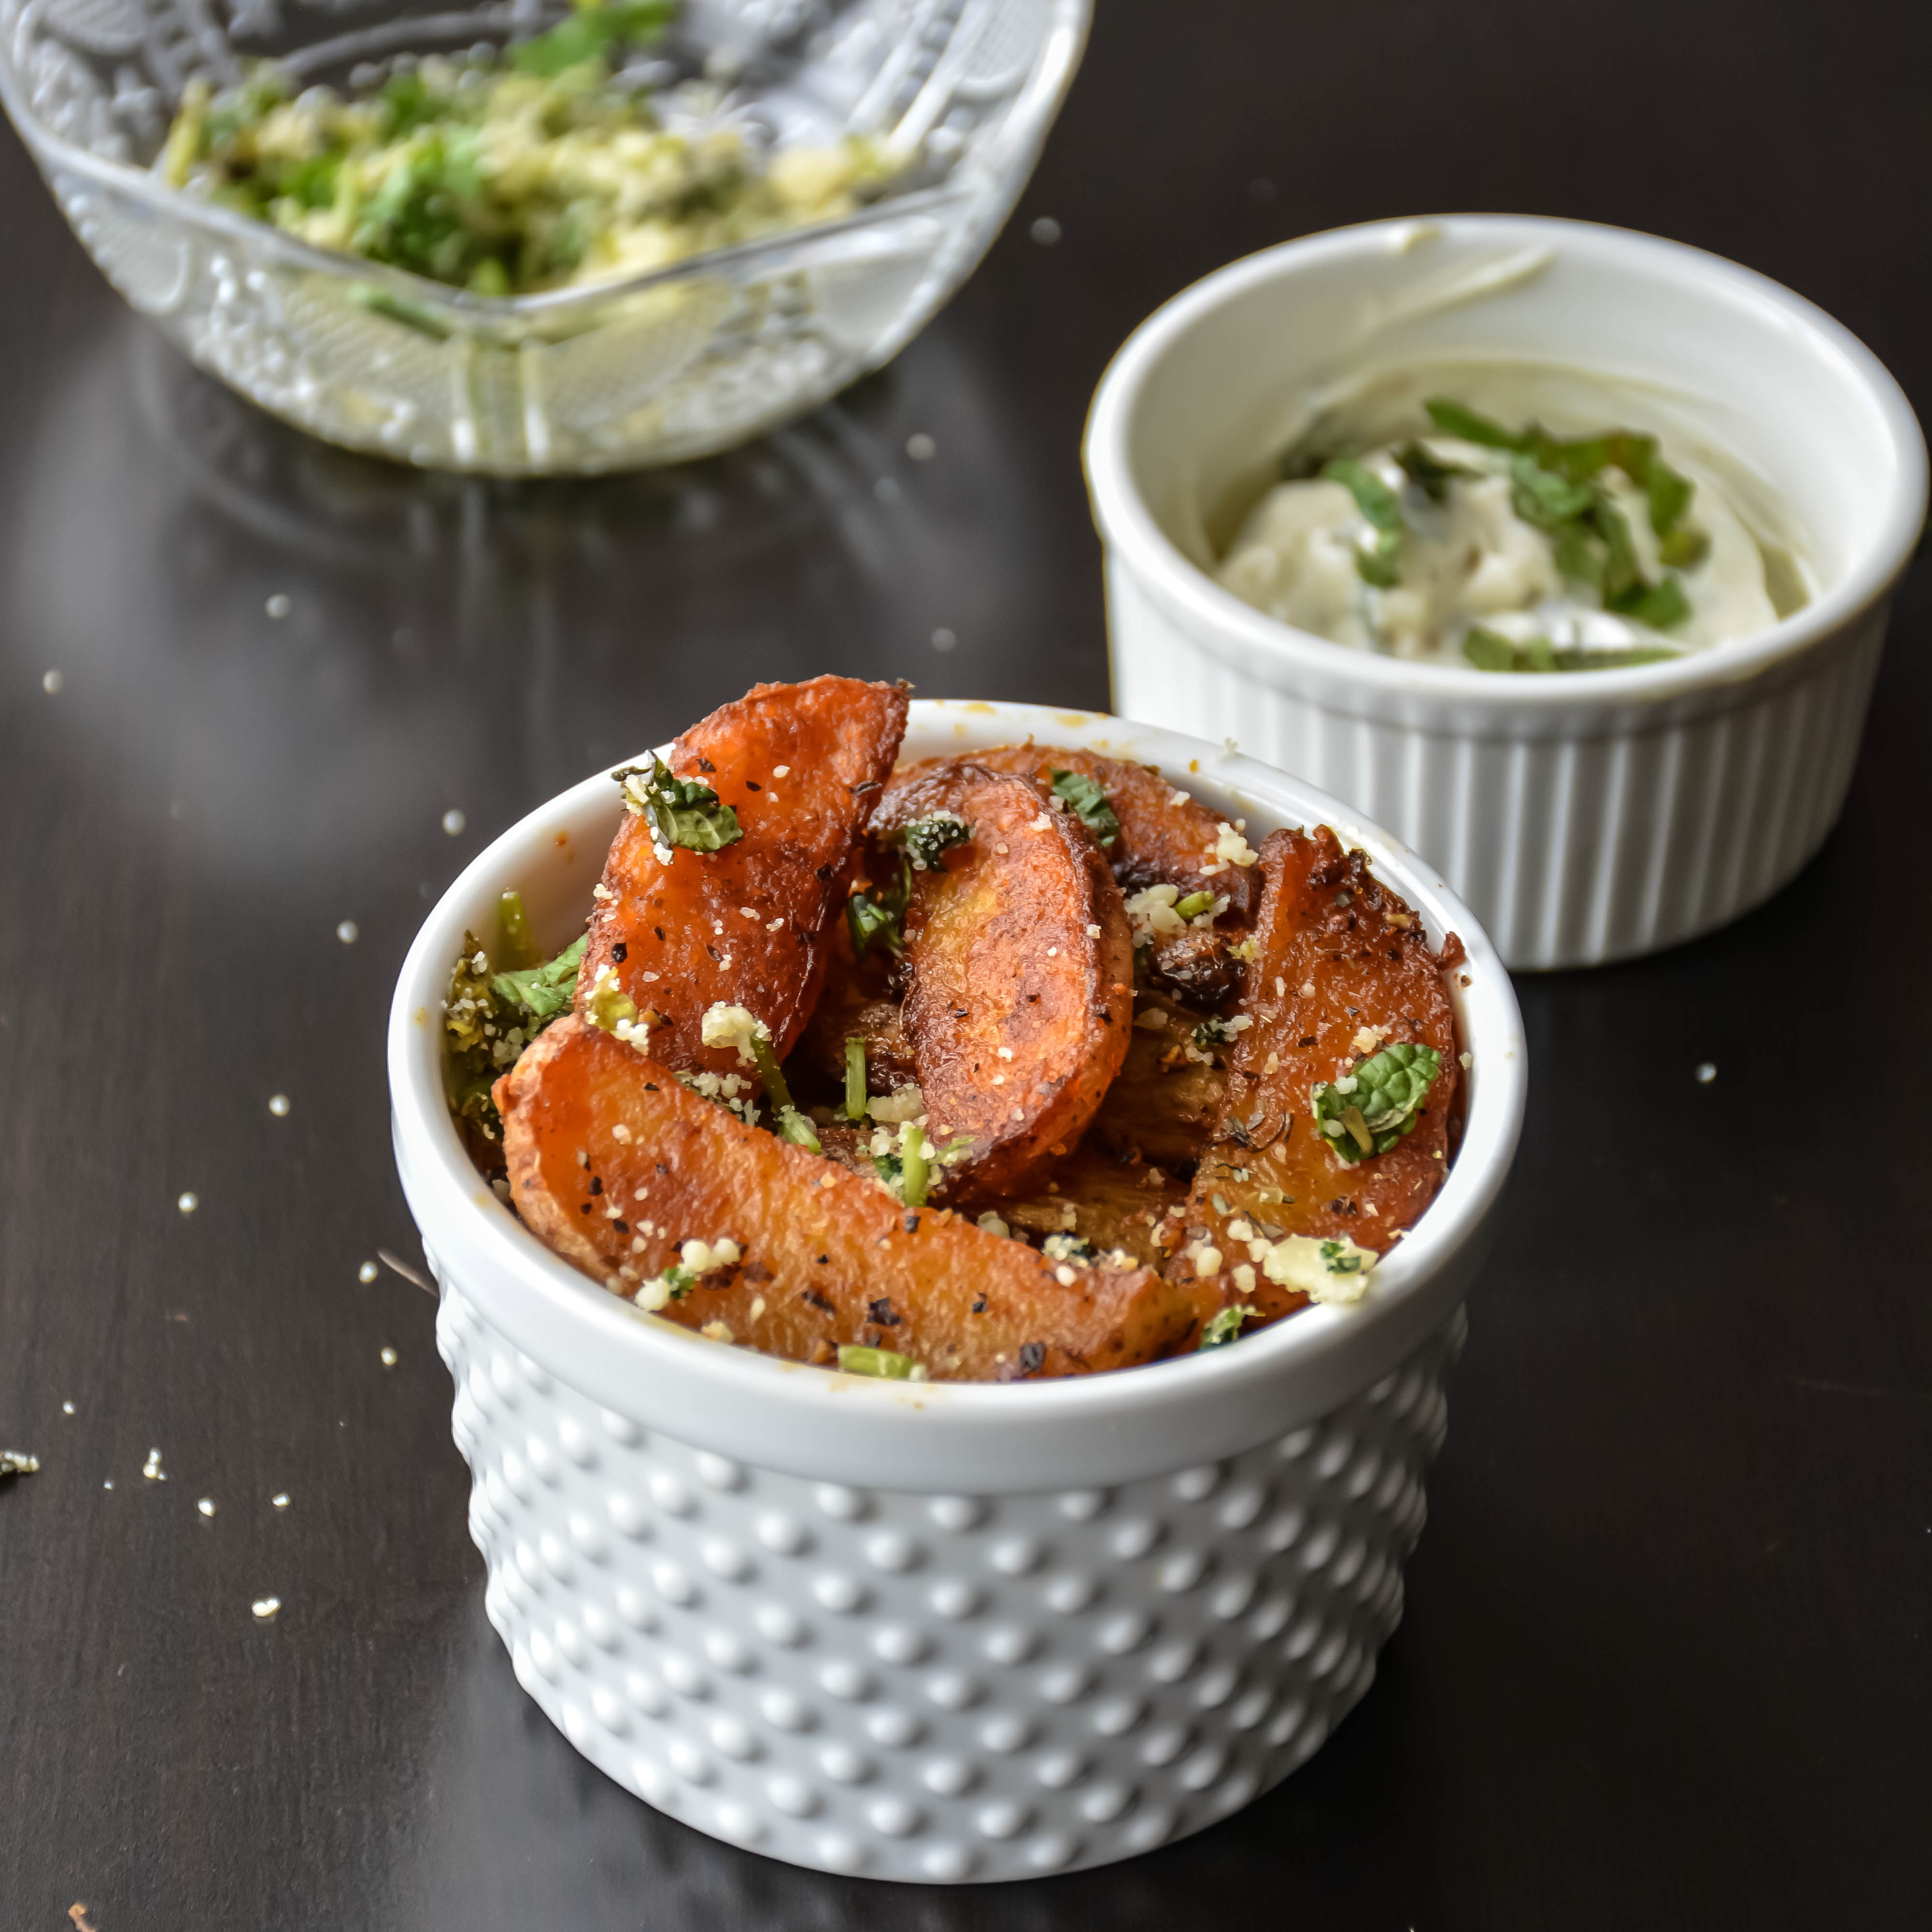
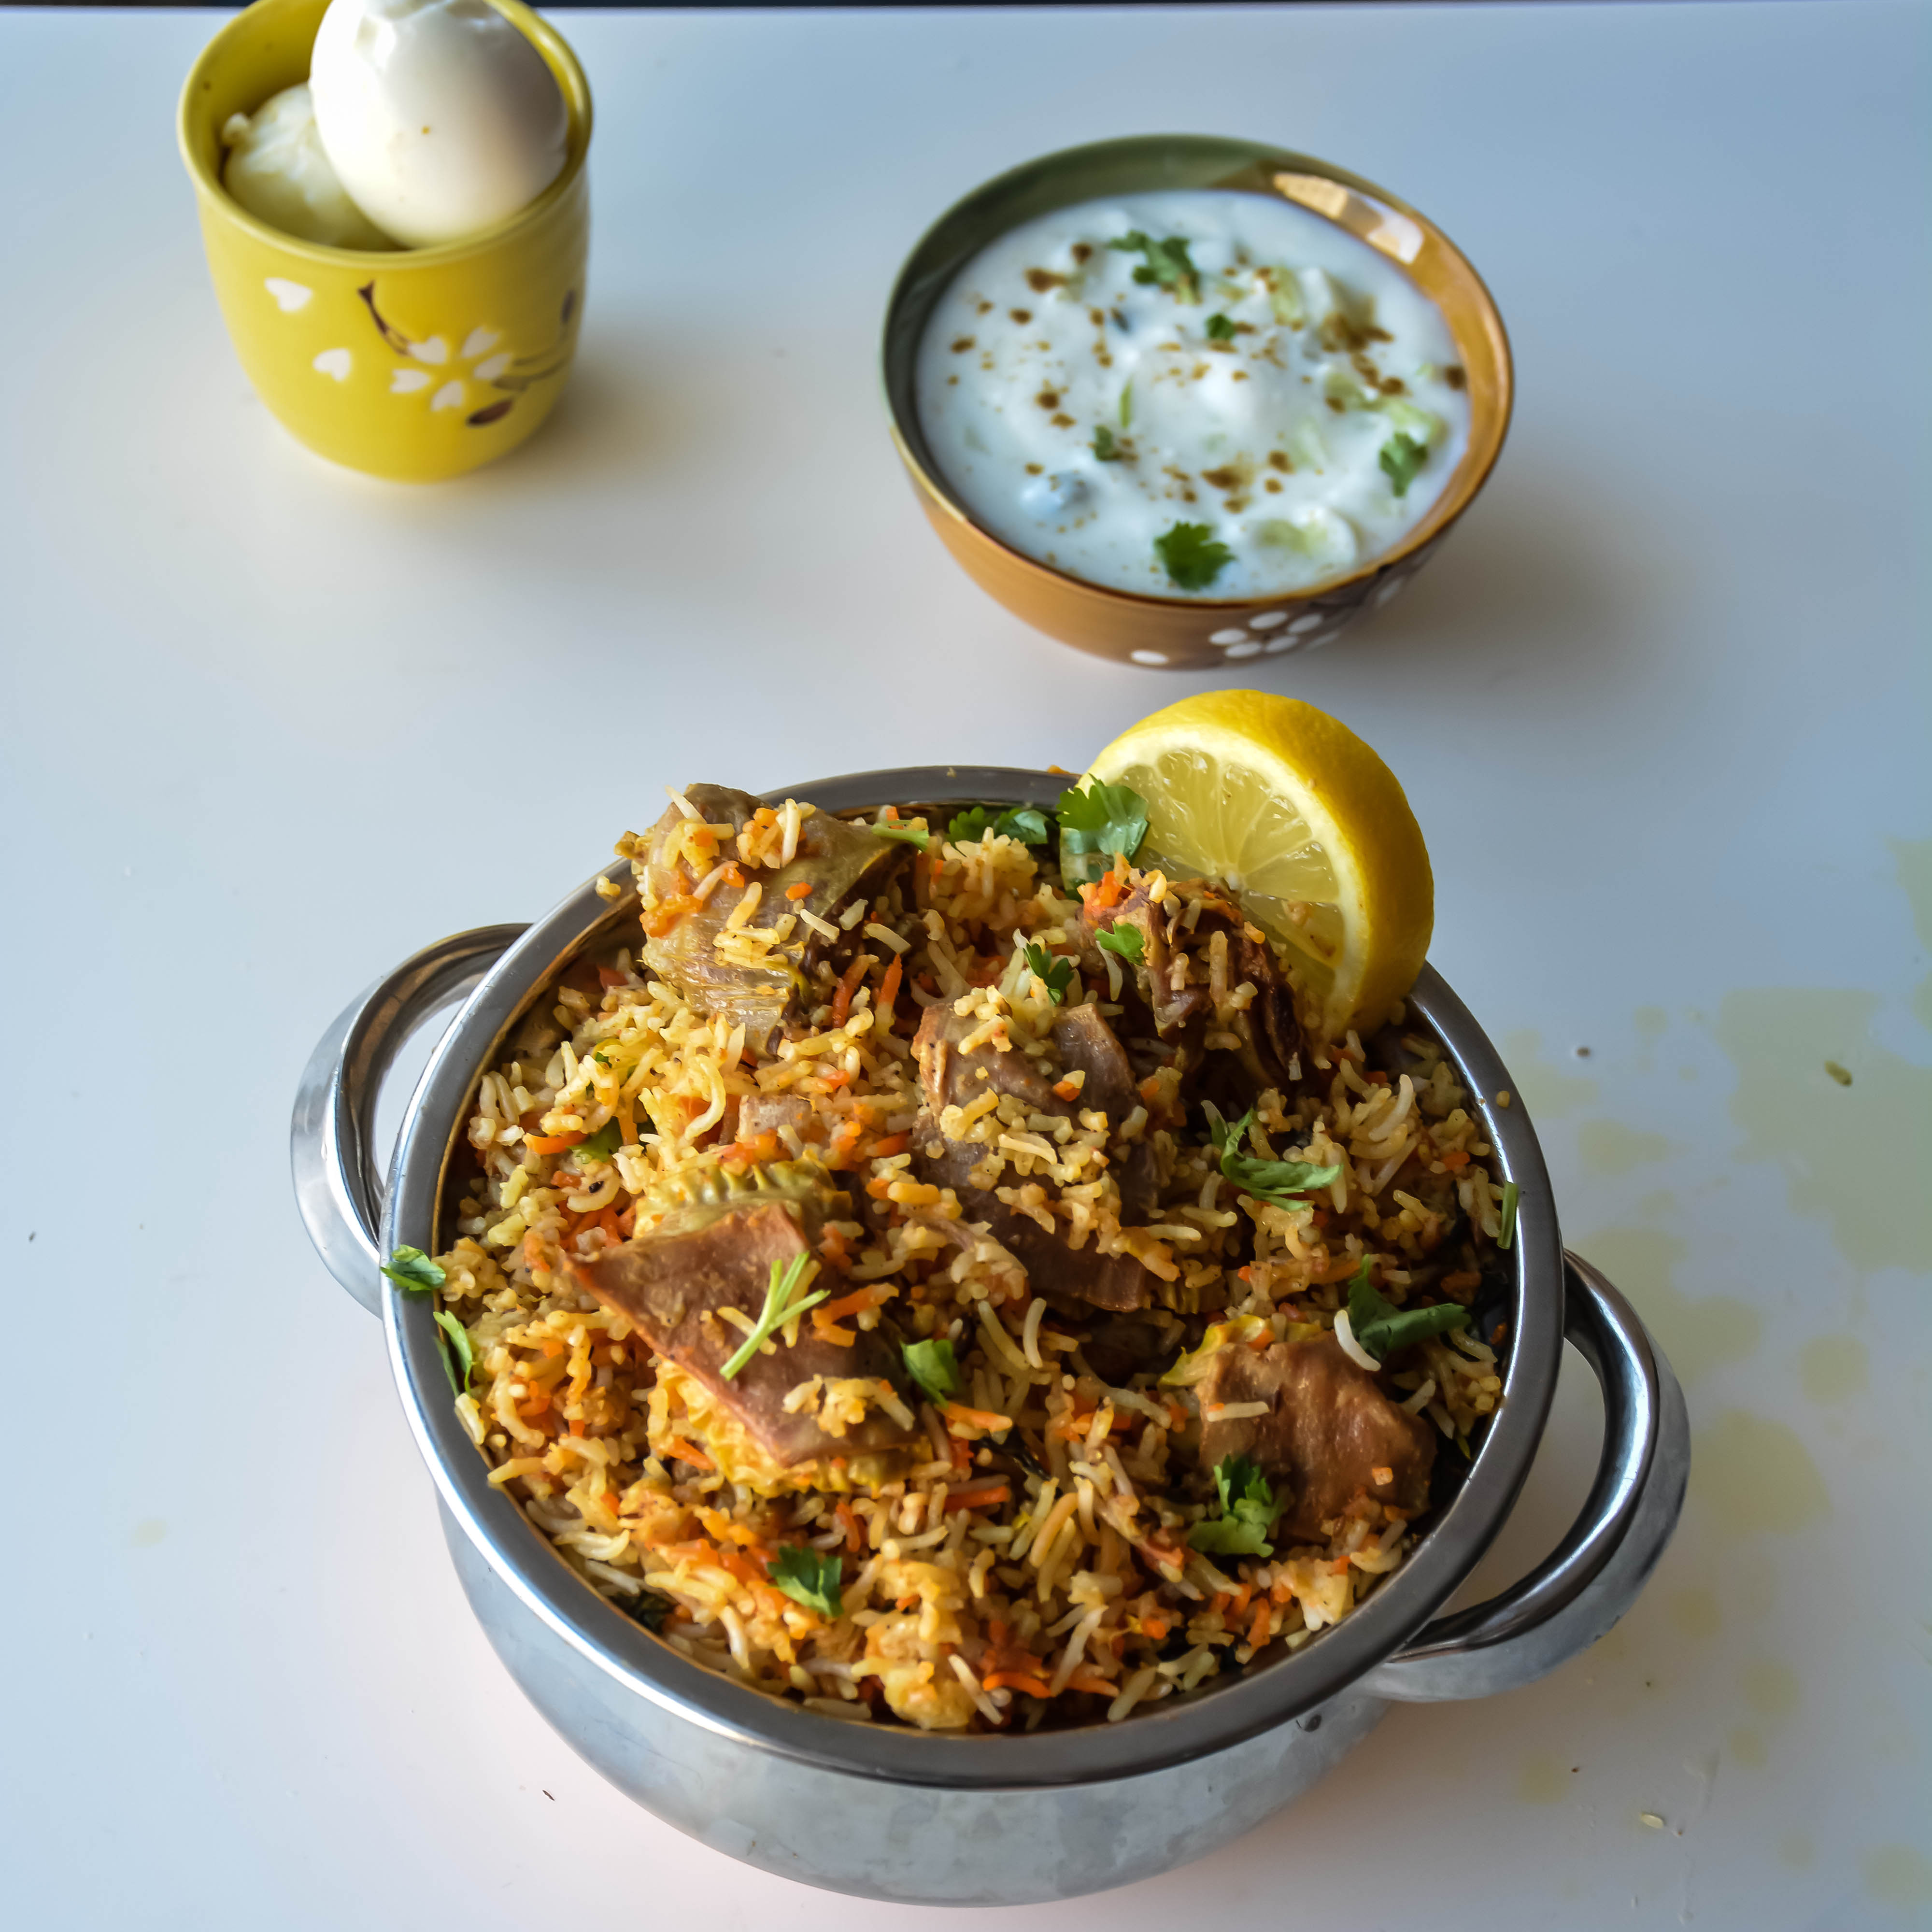
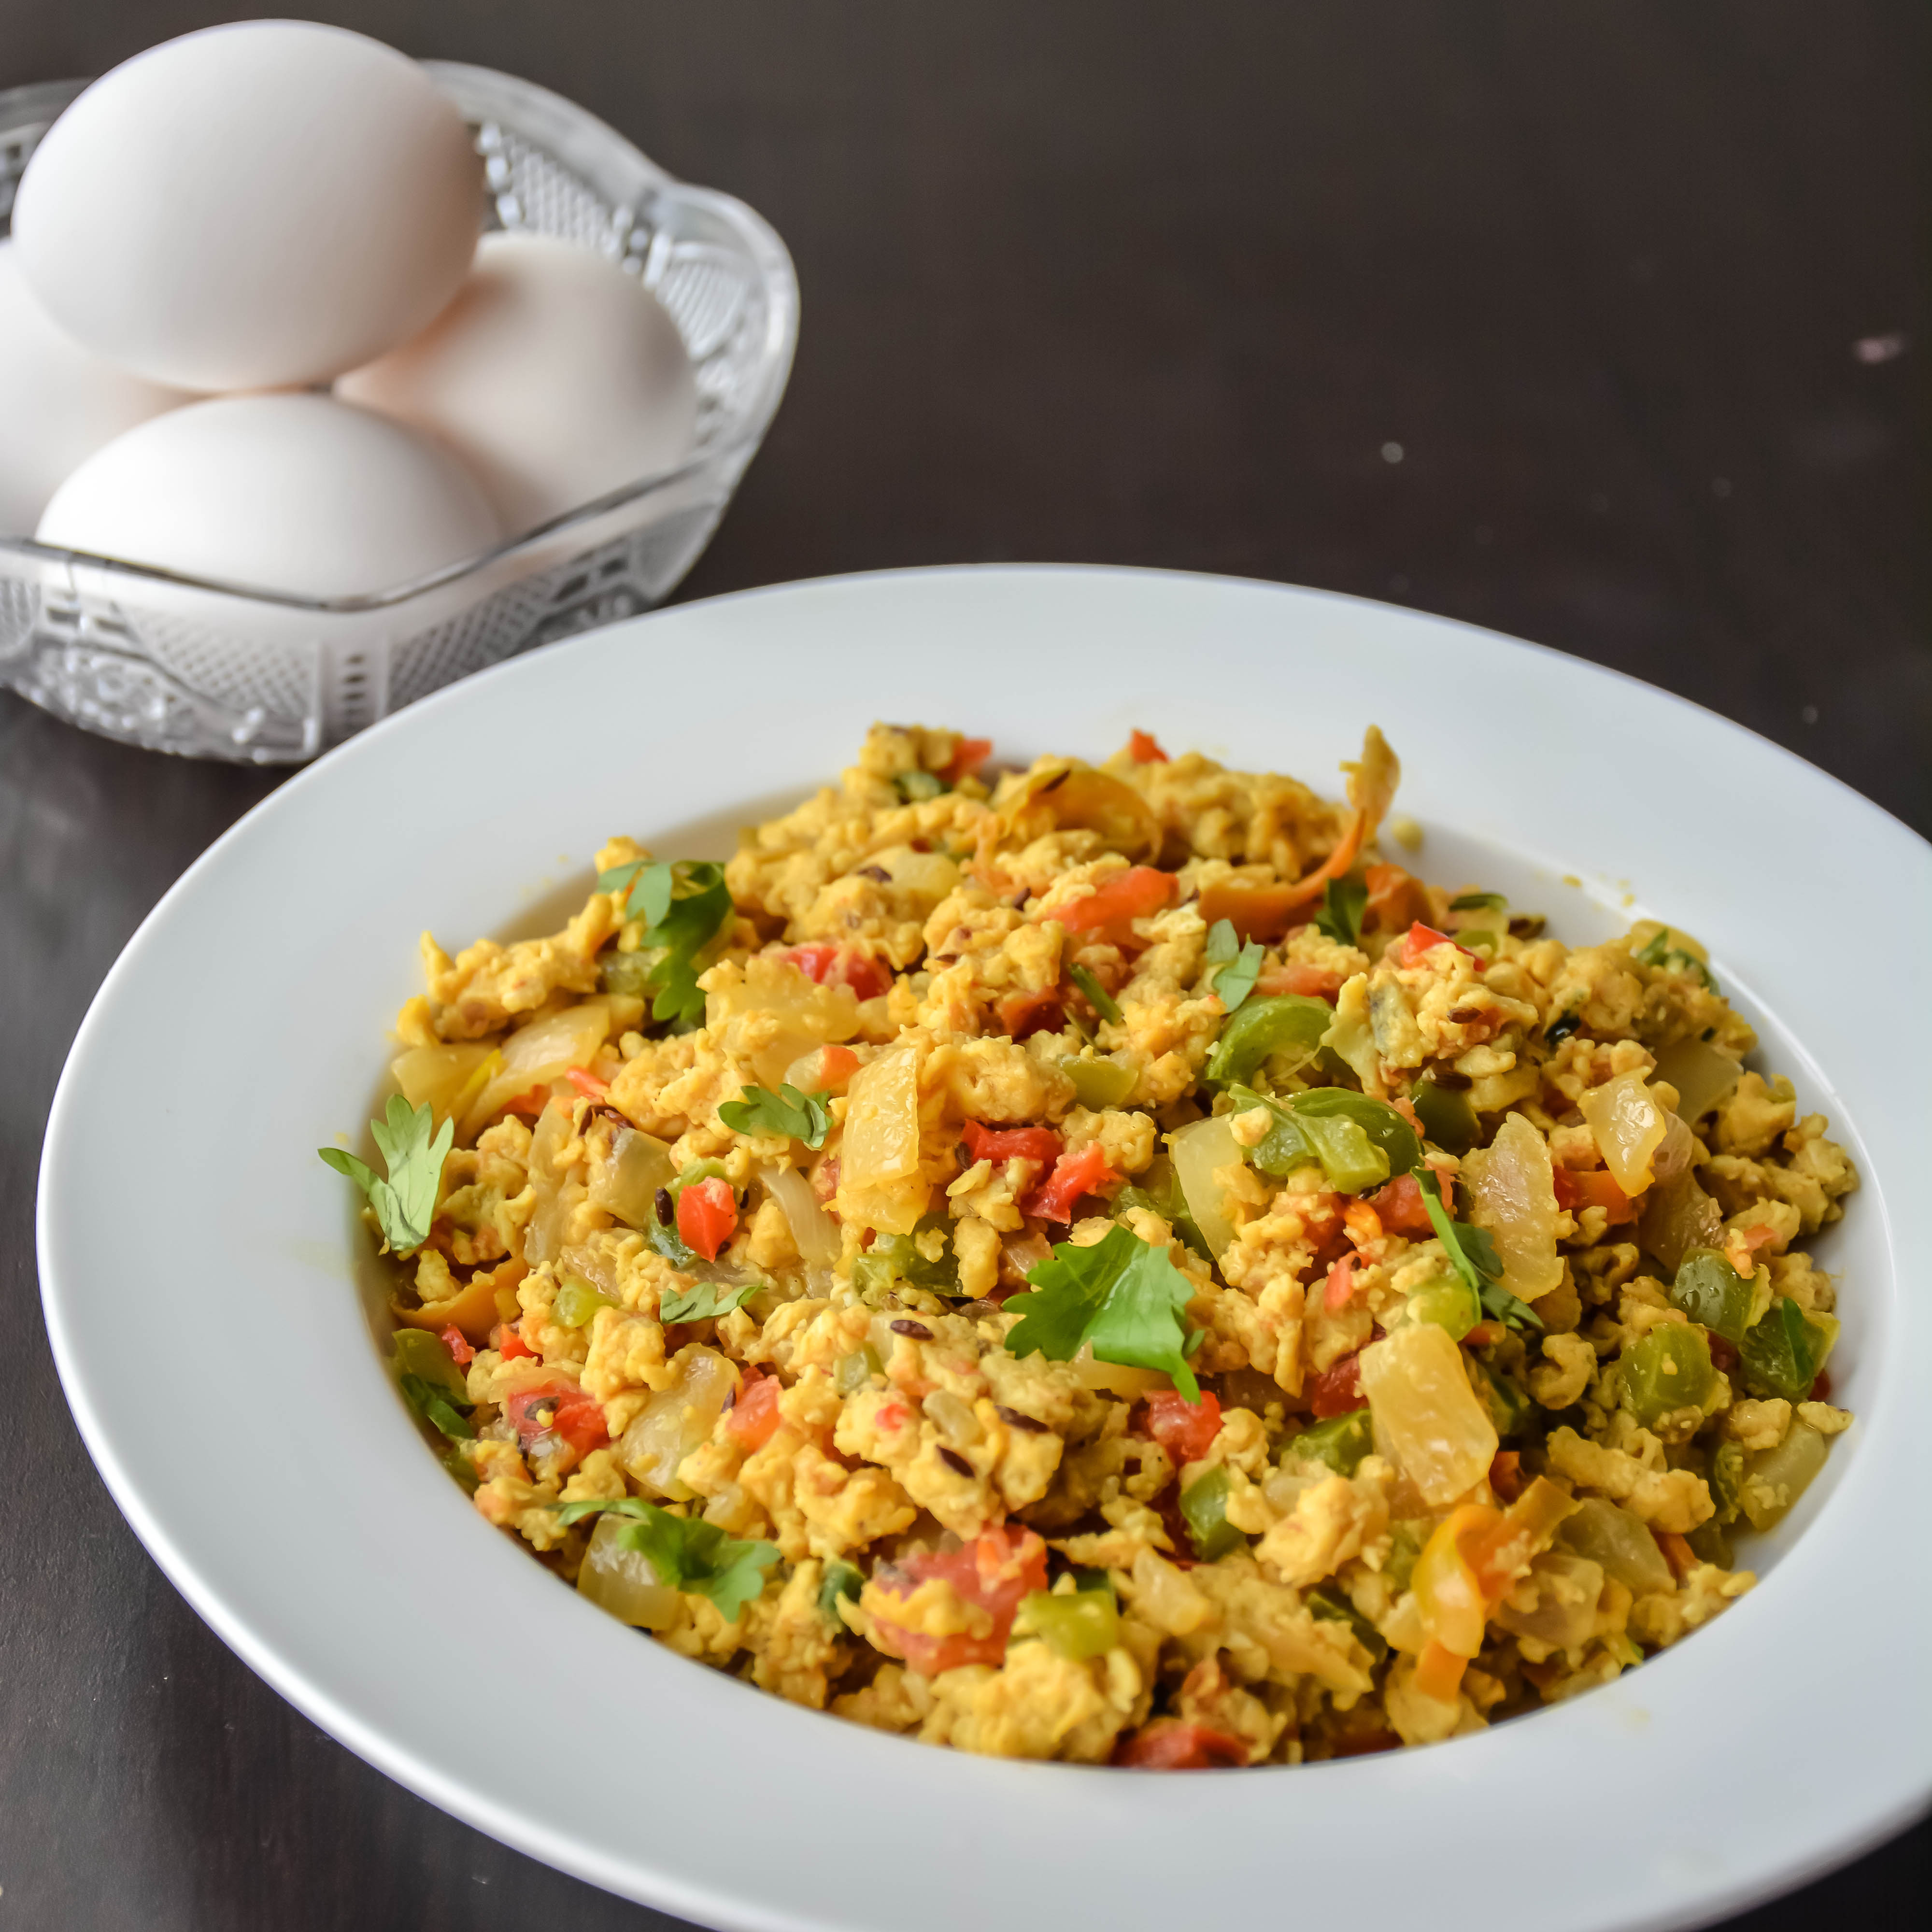
  7. Switch off and serve with rotis or parathas or with plain rice.
Wordpress Recipe Plugin by EasyRecipe
3.2.2885

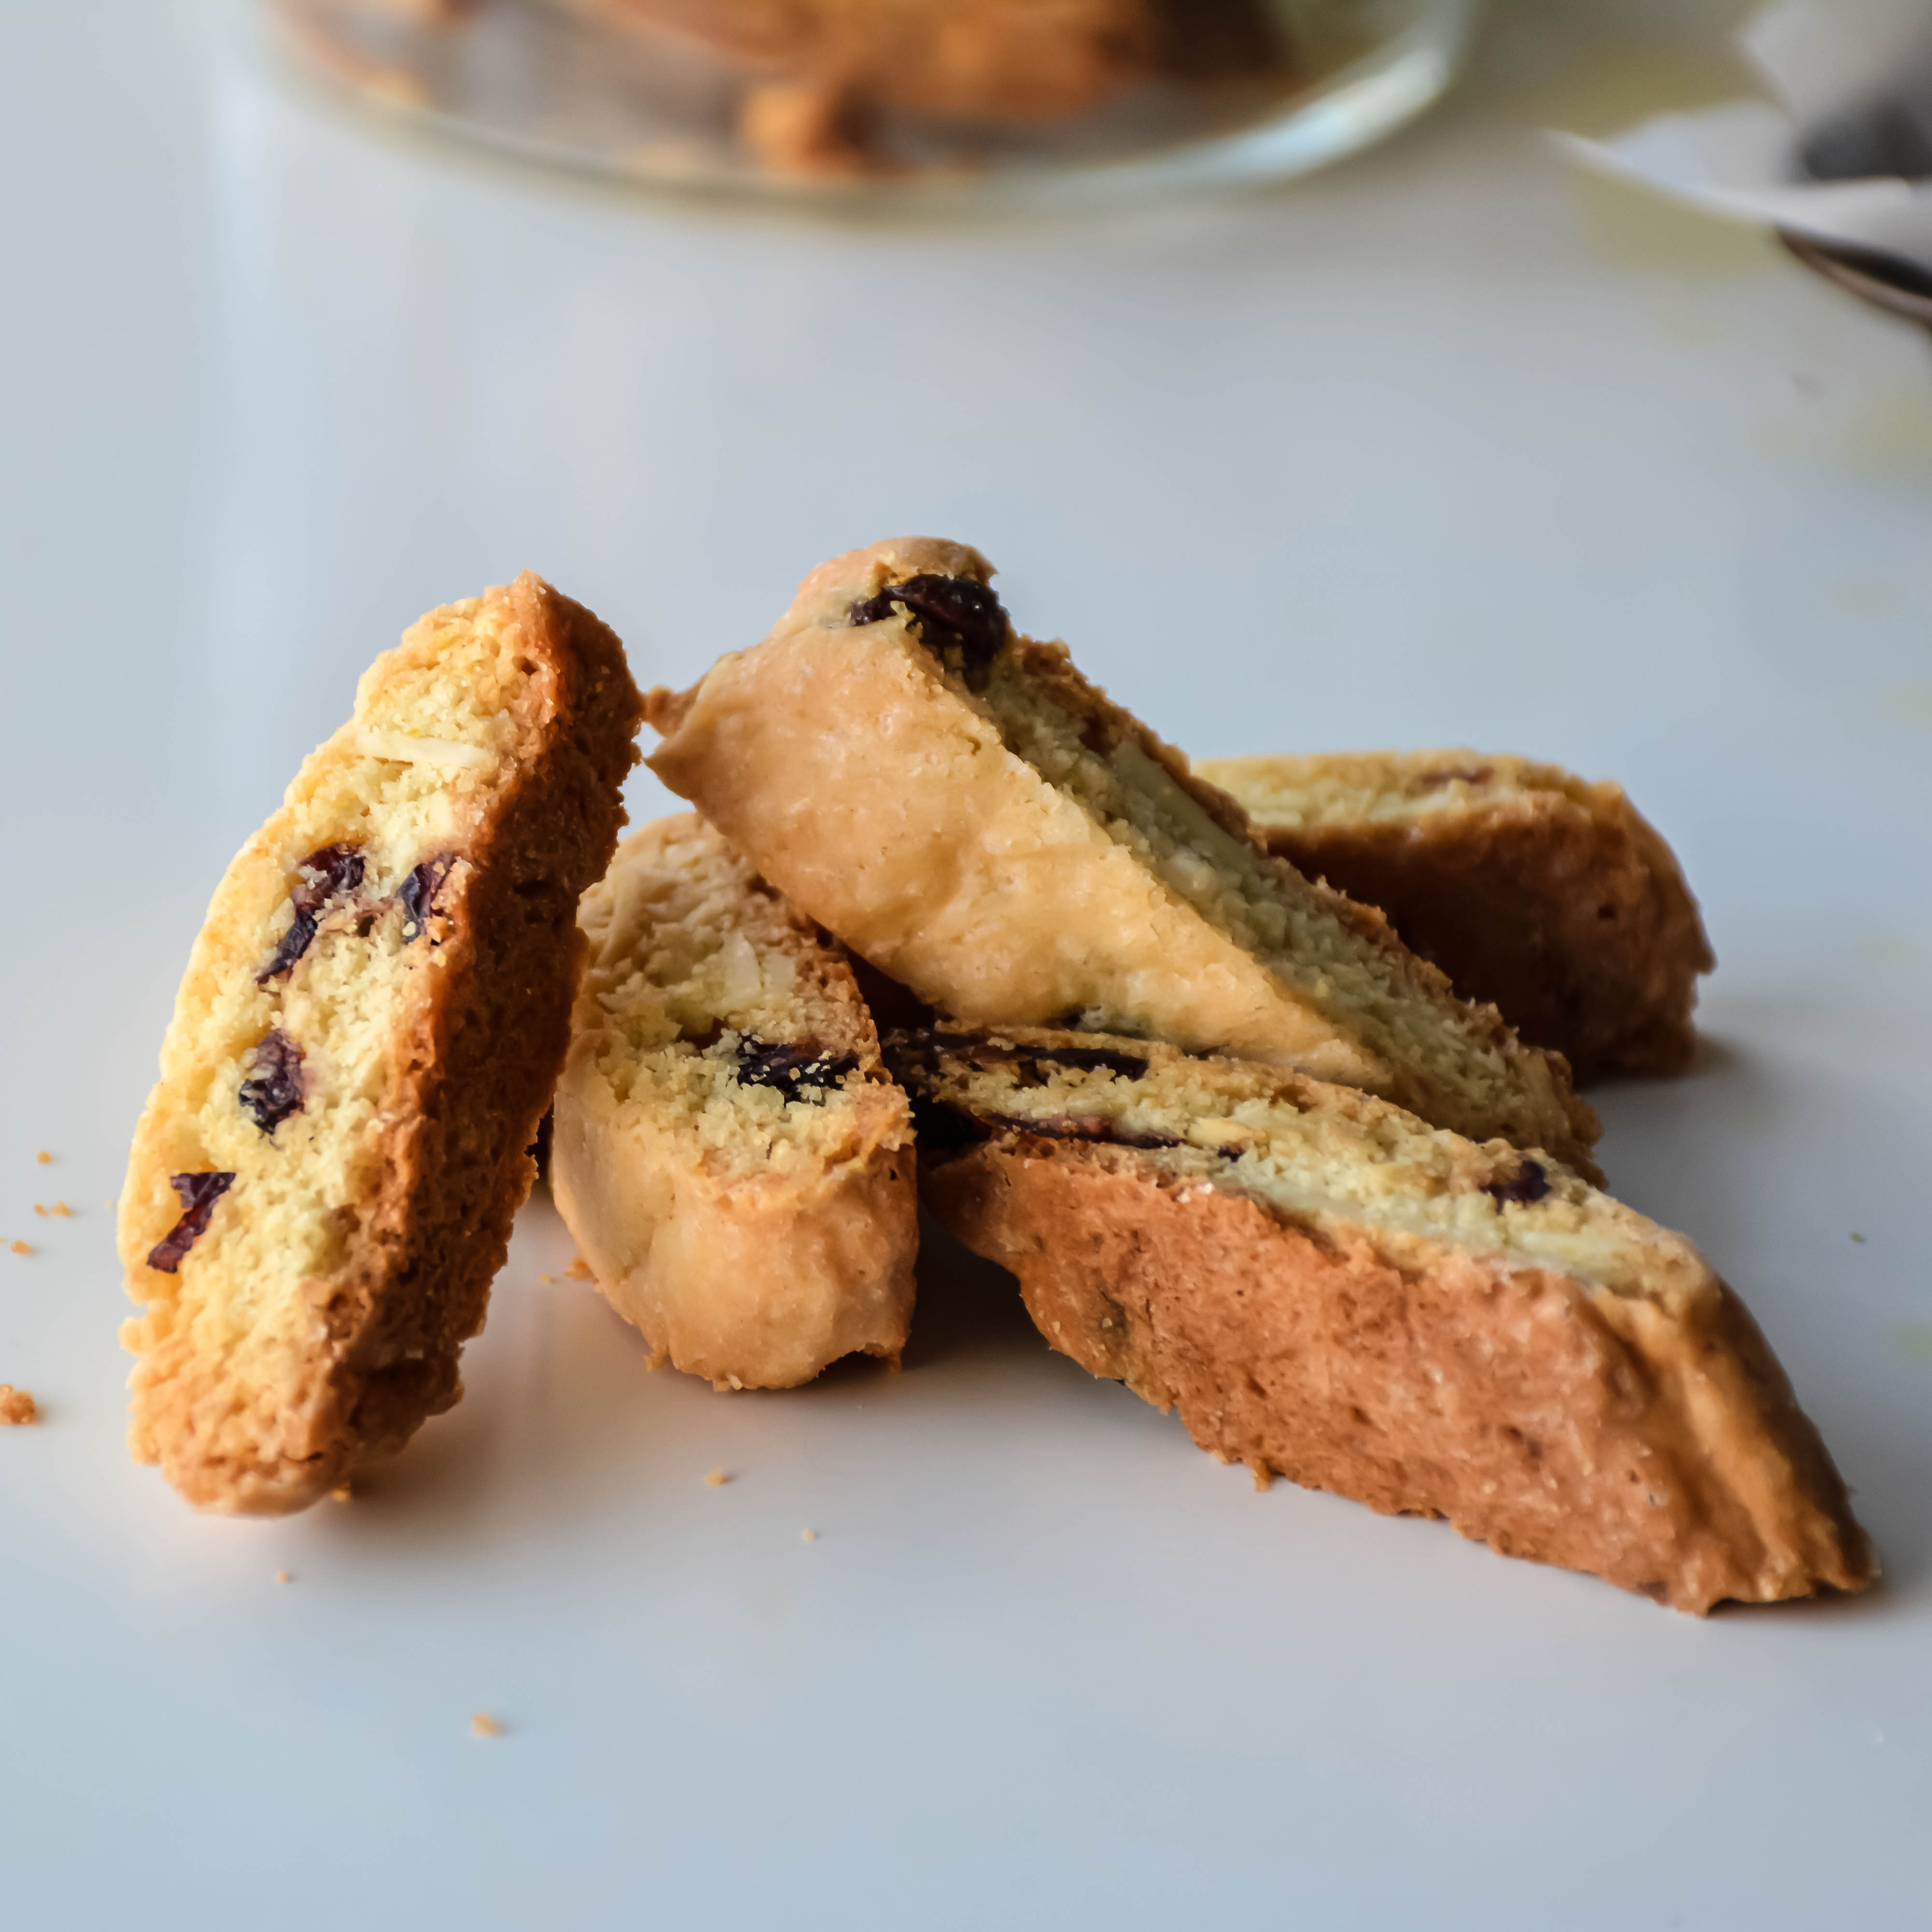
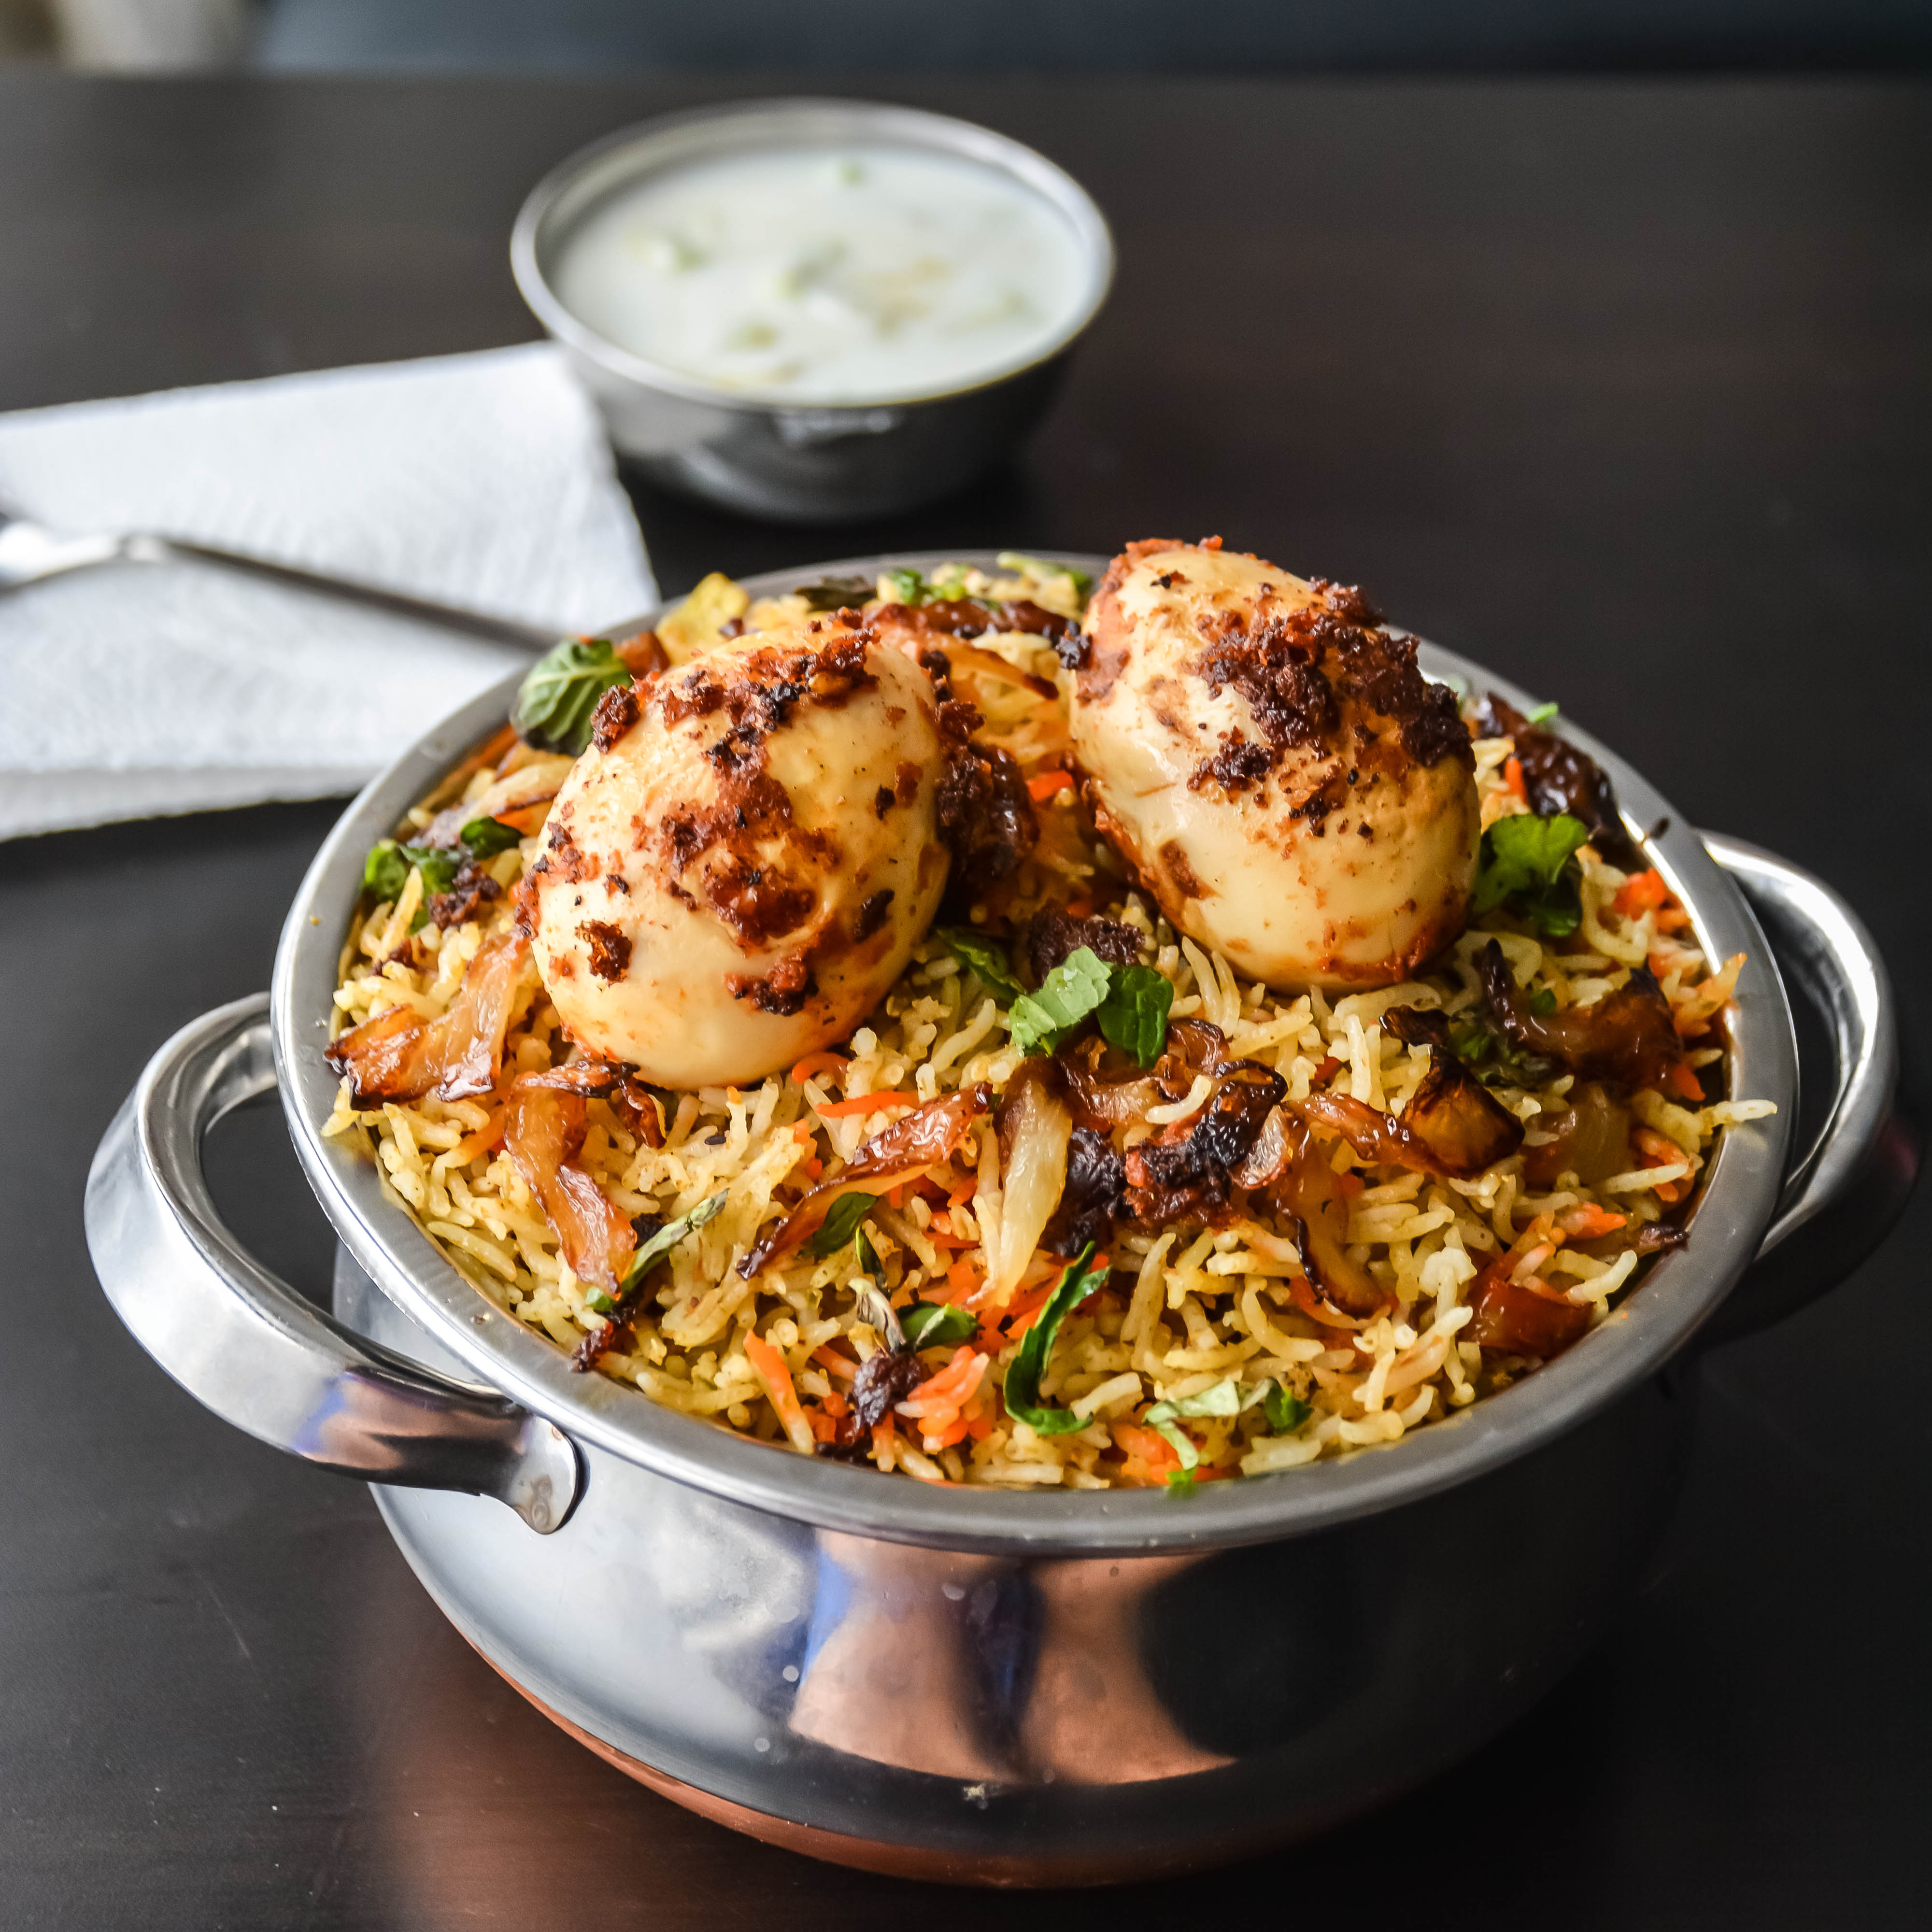
Taste great with just plain rice or poori or paratha or peas pulao.

PotatoMasala-7

Filed Under: NORTH INDIAN GRAVIES/DAL/CURRY, SIDES, VEGAN Tagged With: Aloo Rasedar Recipe, side dish for chapathi recipes, Uttar pradesh recipes, vegan indian recipe, vegan potato recipe, Vegan side dish recipe, vegetarian recipe

Chana Dal Paratha/ Stuffed Lentil Paratha

February 23, 2015 by Suki 7 Comments

ChanaParatha-5

ChanaParatha-5Popular Indian Whole wheat Flatbread stuffed with Chana dal. Healthy, delicious & vegan!

It is one of the best and popular breakfasts of India. It is stuffed with chana dal, cooked in a tawa and served with a knob of butter. It is even delicious with a bowl of plain curd or yogurt. I usually like to have rotis,phulkas,parathas for dinner only. But I really don’t like to cook something for dinner and then something else for lunch. Because I usually prepare something for dinner and pack the left over’s for the lunch. But these parathas are even good for breakfast. Many have them for breakfast, as they are healthy and filling.

ChanaParatha-2

These parathas are very filling than the usual parathas. I couldn’t even finish 1 ½ parathas. I usually like to prepare parathas once in a while and each time I would like to prepare a new filling variation J And also if you have don’t have vegetables at home, these chana dal parathas are the best! J Did I tell you that I prepared this because I did not have vegetables at home ;)!

ChanaParatha-6

Print
Chana Dal Paratha/ Stuffed Lentil Paratha
Author: Suganya Hariharan
Recipe type: Main
Cuisine: Indian
Prep time:  15 mins
Cook time:  30 mins
Total time:  45 mins
Serves: 8-10 parathas
 
Ingredients
  • Wheat Flour – 2 cups
  • Salt – 2 tsp
  • Oil – 2 tsp
  • Water – to Mix
    For Filling:
  • Chana dal – 1 cup, (soaked for 3 hrs)
  • Green chillies – 4
  • Coriander – 2 tbsp, chopped
  • Amchur Powder – 1 tsp
  • Coriander powder – 1 tsp
  • Ginger – 1 inch
  • Red chilli powder – 1 tsp
  • Garam Masala – ¼ tsp
  • Turmeric powder – ¼ tsp
  • Salt – 2 tsp
  • Ghee/oil to roast parathas.
  • Whole wheat to roll parathas
Instructions
  1. In a bowl, mix the flour with salt. Add the oil and add water little by little ( I added around ¾ cup of water) and knead everything till they begin to form as a soft and pliable dough.
  2. If the dough becomes sticky then add some flour. If it looks dry and crumbly, add some water and knead well.
  3. Cover the dough and let it rest for 20-30 mins.


    Preparing the chana dal stuffing:
  4. Wash and soak chana dal for 3-4 hours. Drain the excess water and grind it in two pulses (coarse mixture). Do not grind it to a fine paste. You can even grind the chillies and ginger with the mixture.
  5. Add amchur powder, Chopped coriander leaves, red chilli powder, garam masala, salt, coriander powder, green chillies, ginger and turmeric powder. Mix well and keep it aside.


    For parathas:
  6. Pinch the dough and take big lemon sized dough and roll in between your palms.
  7. Then on dusted flour, roll it out to a small circle with a rolling pin.
  8. Now add the chana dal filling in the center of the rolled out dough. Bring the edges together and join them in the center.
  9. Just tap the center and it would look like a neat stuffed ball.
  10. In a dusted rolling board, use a rolling pin to roll the stuffed dough ball gently to a 6" disc of ½" thickness Make sure not to break them. If some chana dal pieces come out, it is fine. But it should not totally come out.
  11. Heat a tawa or a pan, put the rolled chana dal paratha. When you see some bubbles on paratha, Apply some oil or ghee and flip it. And apply some oil and ghee and fry the other side also. You would see some brown spots. It is perfect and try following the same procedure and do the rest of the parathas.
Wordpress Recipe Plugin by EasyRecipe
3.2.2885

Serve with some raita, pickle or some cashew paneer or some gravy side dishes.

ChanaParatha-3

Filed Under: BREAD/PARATHA, VEGAN Tagged With: chana dal paratha recipe, Chana Dal Paratha/ Stuffed Paratha recipe, Indian bread recipes, Indian stuffed parathas bread, Indian vegan paratha recipes, Lemtil Paratha recipes, Lentil Healthy recipes, north Indian style paratha recipes, paratha recipes, quick breakfast paratha recipes, quick healthy paratha recipes, quick Vegetarian paratha variety, Restaurant style paratha recipes, roti recipes, stuffed dal recipe, Vegan bread recipe, Vegetarian Bread recipe, wheat recipes

Hyderabadi Egg Biryani

February 19, 2015 by Suki 36 Comments

EGgBiryani-9

EGgBiryani-5_nameGot some rice and eggs? Turn them into famous scrumptious one pot meal – Egg Biryani.

One of the famous Indian one pot meal biryani using hard boiled eggs. It has amazing flavors. Biryani has become one of my all time Sunday recipes. I guess I have posted 4 biryani recipes – Lamb Biryani, Shrimp Biryani, Paneer Biryani and Vegetable Biryani. Now this is the fifth one! We can make the Biryani and just have it with no Eggs also. It still tastes great.

EGgBiryani-3

I used to frown to prepare biryani before 4 years. I thought it was a big thing, and it is best had only in restaurants. But now 🙂 it has become a part of my Sunday lunch. It took about an hour to prepare. But on weekends, it is fine and also we don’t need to prepare side dish for this. It is great to have with any raita 😉 and especially with garlic raita. I blended the masala and all ingredients and then cooked the rice and masala together and topped the fried masala egg on it.

EGgBiryani-2

4.7 from 3 reviews
Print
Hyderabadi Egg Biryani
Author: Suganya Hariharan
Recipe type: Main
Cuisine: Indian
Prep time:  20 mins
Cook time:  40 mins
Total time:  1 hour
Serves: 3 cups
 
Ingredients
  • • Oil – 1tbsp
  • • Bay leaf – ½
  • • Cinnamon – 1 thin piece
  • • Cloves – 3
  • • Cardamom pods -2
  • • Tomato - 1, small, chopped
  • • Yogurt – 2 tbsp
  • • Basmati Rice – 3 cups
  • • Biryani Masala – 1 tbsp
  • • Red chilli powder – 1 tsp
  • for garnish:
  • • Saffron – ½ tsp dissolved in ½ cup warm milk
  • • Ghee – 2 tbsp
  • • Mint – 2 tbsp finely chopped (to garnish)
  • For the Egg masala:
  • • Ginger garlic paste – 1 tsp
  • • Red chilli powder – 2 tsp
  • • Black pepper powder – 1 tsp
  • • Besan flour- 2 tbsp
  • • Salt – 2 tsp
  • • Boiled eggs - 4
  • For fried onions:
  • • Onions – 2 small onions, ½ cup, sliced thinly
  • • Cashewnuts – 6
  • • Oil – to fry (3 - 4 tbsp)
  • For rice masala:
  • • Cashew nuts – 6
  • • Khus khus (white poppy seeds) – ½ tbsp.
  • • Cumin seeds/ jeera – ½ tbsp
  • • Fennel seeds – ½ tbsp.
  • • Coconut – 2 tbsp
  • • Garlic – 4 pods
  • • Ginger – 1 inch
  • • Green chilli – 4
  • • Mint – ½ cup, chopped finely
  • • Coriander leaves – ½ cup, chopped finely.
Instructions
  1. Wash and soak rice for at least 30 -40 minutes.


    For Fried onions:
  2. Heat a pan with oil, add the sliced onions and cook in medium heat till turn golden brown. Add cashews in the end and fry too. Stir in the middle so that it does not stick to the bottom. Set aside.


    For Egg masala:
  3. Mix all the ingredients under “Egg masala” with little water and add the Eggs. Heat a pan with 1 tbsp of butter. Now add the marinated eggs and coat till the eggs gets golden brown.


    For masala:
  4. Grind the garlic, ginger, mint, coriander, cashews, coconut (optional), poppy seeds, fennel seeds, cumin seeds, chillis with two tbsp. of water into a smooth paste.
  5. Now take a big pan, add oil or ghee in medium heat, add the spices (cardamom, bay leaf, cinnamon, cloves), and then add the tomatoes and grinded paste and sauté them till the tomatoes are not raw and little mushy.
  6. Now add the yogurt, chilli powder, biryani powder and mix well. I always move the skillet away from the heat when adding yogurt which prevents it from curdling.
  7. Now after returning the skillet back to the stove, add the rice and salt and water. (Quantity of water to be added is for one cup of rice, it is 1.5 cups of water). Mix well and close the lid tight and keep it in medium heat for 10 minutes.
  8. Now add the marinated eggs, fried onions and chopped mint for garnish and keep it in low for 5 minutes.
  9. Drizzle the saffron and milk over the rice and Switch off, and keep it closed for another 5 minutes. They will help the eggs get the masala flavors from rice and vice versa.
Notes
You can skip coconut while grinding and add coconut instead of water while boiling.
Wordpress Recipe Plugin by EasyRecipe
3.3.3077

Taste perfect with raita or mirchi ka salan. Even having it plain is delicious.

 EGgBiryani-9

Filed Under: NON-VEG RECIPES, RICE/BIRYANI VARIETIES Tagged With: Best Indian biryani recipes, biryani recipes, egg briyani recipe, egg Indian quick recipes, Egg pulao recipe, egg recipes, Fried egg recipe, fried onions recipe, hotel style egg biryani, Hyderabadi Egg Biryani recipe, Indian egg biryani, Indian Recipes, Indian rice recipes, One pot meal recipes, perfect Huderbad biryani recipe, restaurant style egg biryani

Masal Vadai/ Masala Vada/ Paruppu Vada recipe:

February 16, 2015 by Suki 4 Comments

MasalVada3Name

MasalVada3NameCrunchy and delicious deep fried lentil fritters. Perfect snack on this cold winter day!

It is a popular snack in southern India. It is super addictive snack. Perfect party snack and also it taste best with tea time snack. And if you make these for parties, it is a great hit. Whenever there is a tea time here, people tend to have biscuits or cakes. But I guess in India, It is always spicy crunchy snacks with tea. Whenever I walk in streets in Chennai, I used to have this masala vada aroma near the road side shops. It smells so good! I have never got the chance to taste them. It is been in my drafts for a long time to post, so I am posting it today.

MasalVada

The tips to make these vada tasty are by adding the shallots, mint and fennel seeds. And also people think it’s hard to make these. If you make them once, you will know how easy it is to make them. But make sure to not add water when you grind them. I have mentioned some tips in the notes. Do look at it.

MasalVada-2

Print
Masal Vadai/ Masala Vada/ Paruppu Vada recipe:
Author: Suganya Hariharan
Recipe type: Appetizer
Cuisine: Indian
Prep time:  4 hours
Cook time:  40 mins
Total time:  4 hours 40 mins
Serves: 15 Vada
 
Ingredients
  • Channa Dal – 1 cup
  • Shallots/Small onions – 1 cup, chopped
  • Corainder leaves – 2 tbsp, chopped
  • Mint leaves – 2 tbsp, chopped
  • Curry leaves – 1 sprig
  • Green Chillies – 4
  • Fennel seeds/ Soambu – 1 tsp
  • Ginger – 1 inch piece
  • Garlic – 6 cloves
  • Rice flour – 1 tbsp
  • Salt – 1 ½ tbsp
Instructions
  1. Soak channa dal for 4 hours.
  2. First grind ginger, chillies, garlic and fennel coarsely in a blender jar.
  3. Drain channa dal completely and add it to the same jar of the ginger paste and grind coarsely. 4-5 channa dal pieces can be whole.
  4. Mix finely chopped onion, mint, coriander, salt, rice flour and curry leaves.
  5. Heat oil in pan/kadai.
  6. Meanwhile Keep a bowl with water and wet both hands. Make equal sized balls first for uniform sized vadas. Shape each ball to flat patties of medium thickness.
  7. The oil should be hot and when it is hot, Drop the vadas. Simmer the heat and deep fry them in hot oil until golden brown in color, flipping once in between. It is always good to cook in medium flame to ensure even cooking and golden colour.
Notes
1. Make sure not to add water while grinding.
2. Make sure to soak vada for three to four hours. It is hard to grind them otherwise and also if it is not soaked well, it may turn hard and too crisp.
3. Rice flour helps to make it crispier. It is optional. You can soak 1 spoon for rice with the dal and grind instead.
4. Garlic is optional too.
5. Shallots can be replaced with normal red/white onions. But shallots give great texture and flavor.
Wordpress Recipe Plugin by EasyRecipe
3.2.2885

MasalVada-4

Filed Under: SNACKS & APPETIZERS, SNACKS & APPETIZERS FESTIVAL, VEGAN Tagged With: crunchy tea time snack, fennel seeds recipe, how to make masala vada, lentil recipes, masal vadai, masala vada recipe, masala vada with mint leaves, masala vadai recipe, paruppu vadai, snack recipes, vegetarian appetizer recipes

5 Minute Nutella Mug Cake

February 15, 2015 by Suki 10 Comments

ChocMugcake-6

ChocMugcake-4Happy Valentine’s Day to all!!! Love! Beautiful feeling!!! No words to say how it feels to be loved. Where there is love, there is life!!! heart

And Guess what? This is my 100th post! 🙂 I have posted 100 recipes baloon and it’s been 6 months! Wow! clap I am proud of myself! I am so happy that I started a food blog 🙂  and I am not regretting it at any minute! It keeps me busy and of course Happy :)! Many have asked me how I get time to cook so much each day and post. To be frank, weekdays it is more of quick dinner and quick lunch and not such heavy meals. I cook them on weekends and I post it that week or later. I type recipes when I get some time and I schedule it for later to post. Some days used to be so busy that I just doze off staring at my laptop after all the work at company and at home.  (Only some days) But I am still happy about blogging! I can’t complain!

Mug cakes are always awesome to do. The idea is pretty neat. You combine all the ingredients in a large mug, cook it in the microwave for a minute or so and there comes the steaming chocolate cake. When I want to make solely for me, I prepare the mug cake. Many a times I feel like doing cakes, but I don’t want the entire cake to sit on the counter. And If I prepare the cake, I just have only one serving and not feel guilty having a whole cake. The cleanup and preparation time is so minimal 🙂 And top of all this, mug cakes can be prepared, cooked and in your mouth in 5 minutes. What else can you ask for in a lazy weekend morning?

ChocMugcake-5

And if you make it with right ingredients quantity, it will not be dry and rubbery. Egg is really optional in this recipe. You can skip it if you want it eggless. Cake is rich, moist and also chocalatey or nutelly!!! 😀 You can even add mashed bananas or peanut butter to this recipe.

I have tried lemon mug cake once, and it’s perfect! 😀 I don’t have many sweets, so, I did not try many. But I may say NO to chocolates if you offer me one but surely not to Nutella 😀 I love nutella! The hazelnuts and dark cocoa combo in that is just heaven!

Other favorite similar recipes: Breakfast recipes under 20 Minutes collection!

ChocMugcake-3

5.0 from 2 reviews
Print
5 Minute Nutella Mug Cake
Author: Suganya hariharan
Recipe type: Dessert
Prep time:  3 mins
Cook time:  2 mins
Total time:  5 mins
 
Ingredients
  • Flour – 4 tbsp
  • Sugar – 2 tbsp
  • Unsweetened cocoa powder – 2 tbsp
  • Salt – a pinch
  • Milk – 3 tbsps
  • Vanilla extract – ¼ tsp
  • Nutella – 2 tbsp
  • Baking Powder – ¼ tsp
  • Egg – 1
  • Espresso powder – 1 tsp
  • Oil – 2 tbsp. (vegetable or coconut oil)
Instructions
  1. In a mug, break the egg and whisk a little with a fork. Add milk, oil and mix it together.
  2. Now add all the dry ingredients (flour, sugar, cocoa, salt).
  3. Finally add nutella. Mix it well but do not over mix or else it may become rubbery.
  4. Microwave for 2 minutes on high. Start checking from 1 minute 20 seconds. Mine was done exactly at 2 minutes.Even keeping in microwave for long can turn it rubbery.
  5. Let cook for 5 minutes. Drizzle some icing sugar and serve when it is warm.
Wordpress Recipe Plugin by EasyRecipe
3.2.2885

 ChocMugcake-6

Filed Under: BAKED RECIPES, BREAKFAST, DESSERTS Tagged With: 5 minute cake recipe, chocolate mug cake recipe, Mug cake recipes, nutella cake recipe, Nutella mug cake recipe, Nutella recipes, quick cake recipe, Recipes using nutella, valentines day reciep for two, valentines day recipes for two

Paneer Biryani

February 13, 2015 by Suki 11 Comments

paneerbiryaniname

paneerbiryaniname

This is a treat for the vegetarians. Aromatic and flavorful one pot meal!

I usually do biryanis on weekends. I had half of the paneer left over from paneer burji. So wanted to do something with paneer for weekend. And i asked my friend for paneer recipe ideas 🙂 and she did say me few amazing ones but more of sweets :)! I did not want to make a lunch and also sweet. So, wanted to cook quickly but a heavy happy sunday lunch. And 🙂 I did this lovely paneer biryani. I have had paneer biryani only once in my life. But as I always say Paneer is my favorite. If you say “Paneer”, I am in! There are a lot of ways to do a biryani. You can do layering like this “vegetable Biryani“, or boil the meat and then do layering like this “lamb biryani” or just marinate overnight and cook the biryani like this “shrimp biryani“. For all the above recipes I cooked the rice separately. This time for the paneer briyani, I blended the masala and all ingredients and then cooked the rice and masala together. It was just lovely.

I have few other paneer recipes 🙂 here and I loved every single recipe!!! 🙂 – Cashew paneer, paneer Makhanwala, Malai Methi paneer , Matar Paneer, how to make paneer at home

paneerbiryani-7

5.0 from 1 reviews
Print
Paneer Biryani
Author: Suganya Hariharan
Recipe type: Main
Cuisine: Indian
Cook time:  1 hour
Total time:  1 hour
Serves: 3 cups
 
Ingredients
  • Oil – 1tbsp
  • Bay leaf – ½
  • Cinnamon – 1 thin piece
  • Cloves – 3
  • Cardamom pods -2
  • Yogurt – 2 tbsp
  • Basmati Rice – 3 cups
  • Biryani Masala – 1 tbsp
  • Red chilli powder – 1 tsp


  • for garnish:
  • Saffron – ½ tsp dissolved in ½ cup warm milk
  • Ghee – 2 tbsp
  • Mint – 2 tbsp finely chopped (to garnish)

    For the paneer masala:
  • Ginger garlic paste – 1 tsp
  • Red chilli powder – 1 tsp
  • Black pepper powder – ½ tsp
  • Besan flour- 1 tbsp
  • Salt – 2 tsp
  • Paneer cubes – ½ cup

    For fried onions:
  • Onions – 2 small onions, ½ cup, sliced thinly
  • Cashewnuts – 6
  • Oil – to fry (3 - 4 tbsp)

    For rice masala:
  • Cashew nuts – 6
  • Khus khus (white poppy seeds) – ½ tbsp.
  • Cumin seeds/ jeera – ½ tbsp
  • Fennel seeds – ½ tbsp.
  • Coconut – 2 tbsp
  • Garlic – 4 pods
  • Ginger – 1 inch
  • Green chilli – 4
  • Mint – ½ cup, chopped finely
  • Coriander leaves – ½ cup, chopped finely.
Instructions
  1. Wash and soak rice for atleast 30 -40 minutes.

    For Fried onions:
  2. Heat a pan with oil, add the sliced onions and cook in medium heat till turn golden brown. Add cashews in the end and fry too. Stir in the middle so that it does not stick to the bottom. Set aside.


    for paneer:
  3. Mix all the ingredients under “paneer masala” and add the paneer cubes. Heat a pan with 1 tbsp of butter. Now add the marinated paneer and coat till the paneer gets golden brown.


  4. For masala:
  5. Grind the garlic, ginger, mint, coriander, cashews,coconut(optional), poppy seeds, fennel seeds, cumin seeds, chillis with two tbsp. of water into a smooth paste.
  6. Now take a big pan, add oil or ghee in medium heat, add the spices (cardamom, bay leaf, cinnamon, cloves), and then add the tomatoes and grinded paste and sauté them till the tomatoes are not raw and little mushy.
  7. Now add the yogurt, chilli powder, biryani powder and mix well. I always move the skillet away from the heat when adding yogurt which prevents it from curdling.
  8. Now after returning the skillet back to the stove, add the rice and salt and water. ( Quantity of water to be added is for one cup of rice , it is 1.5 cups of water). Mix well and close the lid tight and keep it in medium heat for 10 minutes. Now add the marinated paneer, fried onions and chopped mint for garnish and keep it in low for 5 minutes.
  9. Drizzle the saffron and milk over the rice and Switch off, and keep it closed for another 5 minutes.They will help the paneer get the masala flavors from rice and vice versa.
Notes
1. You can skip the paneer marination and add paneer directly.
2. You can skip coconut while grinding and add coconut instead of water while boiling.
Wordpress Recipe Plugin by EasyRecipe
3.2.2885


Serve with garlic raita/ cucumber raita or Mirchi ka salan.

paneerbiryani-3-2

Filed Under: RICE/BIRYANI VARIETIES Tagged With: biryani vegetarian recipe, hyderaba biryani recipe, hyderabadi vegetarian recipe, indian party vegetarian recipe, Paneer Biryani recipe, paneer biryani resturant style, party vegetarian recipe, potluck vegetarian recipe

Spinach Garlic Curry

February 10, 2015 by Suki 54 Comments

SpinachGarlicCurry

SpinachGarlicCurry

A simple garlic spinach curry, uniquely flavored with milk. I’ll place this right up with my most-loved comfort foods.

To be frank, when I really feel like having comfort home food, I have few recipes that I would like to make –  vengaya kuzhambu, rasam, mor kuzhambu, potato roast and there comes this recipe “spinach garlic curry”. I just love this recipe. This makes me feel good after having it 🙂 I am not exaggerating. I feel so! I always make this spinach curry with potato roast and basmati rice. I really like the flavors of spinach curry and basmati rice and with sides I need my potato roast. You should try this combo! It is just awesome! You can even have this as sides to roti or just plain rice. It can be made as vegan by adding coconut milk or soy milk. I came to know about this recipe from my friend Priyanka. She used to make it for us 🙂 I just adapted this recipe from that. Before having this, I was wondering spinach and milk combination, it did not feel good 🙂 Now I am in love with this! Thank you Priyanka :)!!!!

Vegan Note – . You can use coconut milk/ soy milk instead of milk to make it completely vegan.

Spinach-2

4.7 from 14 reviews
Print
Spinach Garlic Curry
Author: Suganya Hariharan
Recipe type: Main
Cuisine: Indian
Prep time:  5 mins
Cook time:  20 mins
Total time:  25 mins
Serves: 2 cups
 
Ingredients
  • • Cumin seeds (jeera) – 2 tsp
  • • Garlic – 8, chopped finely
  • • Onion – 1, chopped finely
  • • Green chilli – 1, chopped finely
  • • Tomato – ½, chopped finely
  • • Turmeric powder - ½ tsp
  • • Spinach – 3 cups, chopped or whole
  • • Chilli powder – 1 tbsp
  • • Coriander powder – 1 tbsp
  • • Cumin powder – 1 tbsp
  • • Milk – ½ cup
  • • Oil – 2 tbsp
  • • Salt – as needed
  • • Coriander leaves – For garnish
Instructions
  1. Heat oil in a large heavy bottomed non-stick skillet over medium heat, add jeera, garlic and add the onions and chillies and fry until they are golden brown.
  2. Now add the tomatoes, salt and turmeric and fry until golden brown.
  3. Now stir in the chopped spinach to this and add 2 tbsp of water and close the lid. Simmer it for few minutes till the spinach leaves shrink.
  4. Now add the chilli powder, coriander powder and cumin powder. Fry this for a minute.
  5. Now add milk and Stir in the mixture few times and the milk should evaporate 90%.
  6. Now switch off and Garnish with coriander leaves.
Notes
1. You can use coconut milk/ soy milk instead of milk to make it completely vegan.
Wordpress Recipe Plugin by EasyRecipe
3.3.3077

Spinach-5

Filed Under: SOUTH INDIAN GRAVIES/DAL/CURRY/KUZHAMBU, VEGAN Tagged With: Garlic recipes, indian curry recipe, side dish for rice recipes, south indian spinach recipe, Spinach Garlic Curry recipe, spinach recipes, vegan spinach recipe, vegetarian spinach recipes

Parmesan oven baked potato wedges with mint dip

February 8, 2015 by Suki 4 Comments

PotatoWedges-5
PotatoWedges-5
Crispy oven baked potatoes coated with freshly grated parmesan and a generous dose of garlic! They are crispy, flavorful and delicious!They are simple and perfect every time i make them. Crispy on outside and soft on inside. They are irresistible all over. 
I made this yesterday with a nutella mug cake for brunch. Perfect for one 🙂 I just loved it! Finished it and was not hungry till night. I usually like to cook good on the weekends but yesterday I was super lazy so just was thinking loads of recipes. My only criteria was it should be quick. so made these both and was amazing!!
I do these potato wedges always and it is always perfect the every time i make. It has never failed me. But be careful about the salt. Parmesan has salty taste so do not add more salt to the potatoes. You don’t want your potatoes to be salty. you can even make these without parmesan.
PotatoWedges-3
 
 
5.0 from 1 reviews
Print
Parmesan oven baked potato wedges
Author: Suganya Hariharan
Recipe type: Breakfast
Prep time:  30 mins
Cook time:  30 mins
Total time:  1 hour
 
Ingredients
  • Potatoes – 5
  • Red Onion – ½
  • Sea salt – ¼ cup
  • Garlic - 1 tbsp, minced
  • Dried basil – ¼ tsp
  • Paprika/Chilli powder – ¼ tsp
  • Black pepper – ¼ tsp
  • sugar – 1 tsp
  • Oil – 2 tbsp
  • parsley – 2 tbsp, chopped
  • Parmesan Cheese – ¼ cup
    Cream Cheese Mint Dip:
  • Cream Cheese/sour cream/yogurt - 2 tbsp
  • Pepper - 1 tsp
  • Mint - 2 tsp
  • lime juice - 1 tsp
Instructions
  1. Wash & cut potatoes into wedges by cutting lengthwise in half then slice each half into 3 slices.
  2. Place the potatoes in a bowl of water with two cups of cold water. Let them stand for 30 mins. Then pat dry with paper towels.
  3. Preheat oven to 450˚F
  4. In a bowl, mix the salt, garlic, chilli powder, pepper powder, sugar, dried basil and 1 tbsp of oil. . And toss the rest of the mixture with the dry potatoes in it.
  5. Take a baking sheet and place the tossed potatoes.
  6. Put them in oven and cook potatoes after 30 mins until the potatoes are cooked through, browned and crispy.
  7. Toss the potatoes and onions with the chopped parsley and grated Parmesan.
  8. Mix the ingredients under cream cheese mint dip. You can even use yogurt or sour cream instead of cream cheese.
Notes
1. You can use the parchment paper to line in the baking sheet.
2. Coriander can be used instead of parsley to garnish
Wordpress Recipe Plugin by EasyRecipe
3.2.2885
 
 
 PotatoWedges-6
 

Filed Under: BAKED RECIPES, BREAKFAST, SNACKS & APPETIZERS Tagged With: breakfast potatoes recipes, cheese potato recipes, garlic potatoes recipes, Oven baked potatoes, Parmesan oven baked potato wedges, parmesan recipes, potato wedges recipes, roasted potatoes recipe

Restaurant Style Lamb Biryani

February 6, 2015 by Suki 7 Comments

LAmbBiryani-5

LAmbBiryani-5

Rich and delicious biryani made with lamb. It is surely a festive dish and this is perfect to cook when you have guests over or make it for dinner parties. You are going to love this rice flavorful rice. This is an exotic Indian lamb biryani in a restaurant style. Each and every time when I make lamb biryani, I try different methods 🙂 just to differentiate and have different taste each time.


LAmbBiryani-4


There are varieties of biryani are prepared like Hyderabadi biryani, Mughal biryani, chettinadu biryani, Kashmiri biryani. The style of preparation and the rice used to make this biryani gives a unique delicious taste. In lamb biryani, the main thing is that the lamb has to be cooked for long or have to be in whistles. Even you can use meat tenderizer. But I personally boil them for long or put in pressure cooker for 5 – 6 whistles to make the lamb perfectly cooked.

LAmbBiryani-2

5.0 from 1 reviews
Print
Restaurant Style Lamb Biryani
Author: Suganya Hariharan
Recipe type: Main
Cuisine: Indian
Prep time:  20 mins
Cook time:  40 mins
Total time:  1 hour
Serves: 5
 
Ingredients
  • For the masala:
  • • Cashew nuts – 6
  • • Khus khus (White poppy seeds) – ½ tbsp.
  • • Cumin seeds/ Jeera – ½ tbsp.

    For fried onions:
  • • Onions – 1 cup, 2 onions, sliced thinly
  • • Cashewnuts - 6
  • • Oil – to fry

    For layering:
  • • Mint leaves – 1 tbsp, chopped
  • • Cilantro Leaves – 1 tbsp, chopped
  • • Saffron – ½ tsp dissolved in ½ cup warm milk
  • • Ghee – 2 tbsp

    For the rice:
  • • Basmati rice – 2 cups
  • • Salt – 2 tbsps
  • • Cumin Seeds/ Jeera – 1 tbsp

    For the lamb:
  • • Oil – 1 tbsp
  • • Bay leaf – ½
  • • Cinnamon – 1 thin piece
  • • Cloves – 3
  • • Cardamom pods – 2
  • • Onion – 1, sliced thinly
  • • Ginger garlic paste – 2 tsp
  • • Full fat yogurt – ½ cup
  • • Garlic – 4 whole
  • • Green chilli – 5, slit
  • • Tomato – 1, sliced thinly
  • • Biryani masala – 1 tbsp
  • • Red Chilli powder –1 tsp
  • • Mint – ½ cup, chopped finely
  • • Coriander leaves – ½ cup, chopped finely
  • • Lamb – 1 lb
Instructions
  1. Grind the cashew, poppy seeds and cumin seeds into a smooth paste, using as little water as possible. Set aside.
  2. Deep fry the sliced onions when it is hot. Don’t overcrowd the oil. When the onions turn light brown, remove from oil and drain on paper towel. The fried onion will crisp up as it drains. Also fry the cashewnuts till golden brown. Set aside.
  3. Wash the rice and soak in water for twenty minutes.
  4. Meanwhile, take a big wide pan, add oil in medium heat, add the sliced onions, add the blended paste, to it add the green chillies, ginger garlic paste and garlic and fry for a minute.
  5. Then add the tomatoes and sauté them well till they are cooked and not mushy.
  6. Then to it add the red chilli powder, biryani powder, mint, coriander leaves and sauté them well.
  7. Add the yogurt and mix well. I always move the skillet away from the heat when adding yogurt which prevents it from curdling.
  8. Now after returning the skillet back to the stove, add the washed lamb and salt and ½ cup water and mix well. Cook for 1 hour and cook it covered in medium low heat or put it in a pressure cooker for 6 whistles. If the water is not drained totally, heat it by keeping it open.
  9. Take another big pan, add thrice the cup of rice you use, and boil it. When it is boiling high, add the rice, salt and jeera and mix well. After 7 minutes exact or when the rice is 80% done. Switch off and drain the rice.
  10. Now, the layering starts. To the lamb, pat and level it. Add the drained hot rice on the top of it. Garnish with fried onions, ghee, mint, coriander leaves and saffron dissolved in milk.
  11. Cover the dish and bake in a 350f oven for 15 minutes or till the cooked but not mushy. Or cook in the stove medium heat for 12 minutes and lowest heat for 5 minutes. And switch off. Mix and serve hot!
Notes
1. If you are cooking in oven, do make sure to cook in a big oven safe pan and cover it tight and then keep in oven for the final step.
2. You can skip biryani masala if you don’t have and add just garam masala (1 tsp and red chilli powder – 3 tsp instead of 1 tsp)
3. If it is spicy in the end, squeeze some lemon, it will reduce the heat and enhance the flavors also.
Wordpress Recipe Plugin by EasyRecipe
3.2.2885

Taste perfect with raita or mirchi ka salan. Even having it plain is delicious.

LAmbBiryani-3

Filed Under: LAMB, NON-VEG RECIPES, RICE/BIRYANI VARIETIES Tagged With: Biryani recipe, indian lamb briyani recipe, lamb biryani recipe, lamb recipes, mutton biryani recipe, restaurant style lamb biryani recipe, restaurant style lamb recipe, rice varieties

Mumbai Style Egg Bhurji

February 4, 2015 by Suki 10 Comments

EggBhurji_name

EggBhurji_nameIndian scrambled eggs, spicy and loaded with veggies. Perfect for a healthy breakfast or pairs well with rotis or a sandwich filling.

I would say it is one of the Mumbai’s famous and fast selling foods when it comes to street corners and food stalls. It is also called as Anda bhurji, scrambled eggs, Bhurji pav. This will stand out of all the dishes on your dining table. I used colorful peppers to make it look more beautiful.

EggBhurji-3

It has onions, ginger, tomato, green chillis and green red peppers. You can even use peas in these. I have used pav bhaji masala in this recipe. Pav bhaji is a popular Indian chat food in India and this masala is used in this recipe. You can get this masala at any Indian grocery stores. You can replace 2 tsp of pav bhaji masala with 1:1 Red chilli powder and garam masala powder.

It is so easy to make these. And as I always say, eggs are saviors if you don’t have anything or lazy to make a time consuming dinner. They serve best when had in the breakfast. Very healthy! You can also have them with rice and some curry. Or just have it as a snack in the evening with some tea. You can also place them in pita or taco or have it in a sandwich filling.

4.0 from 1 reviews
Print
Mumbai Style Egg Bhurji
Author: Suganya Hariharan
Recipe type: Breakfast
Cuisine: Indian
Prep time:  5 mins
Cook time:  15 mins
Total time:  20 mins
Serves: 2 cups
 
Ingredients
  • Eggs – 3 large.
  • Onion – 1 small, finely chopped
  • Green chillies – 2, finely chopped
  • Green capsicum – 1, finely chopped ( I added green and red half and half)
  • Grated ginger – 1 tsp
  • Tomato – 1 small, finely chopped
  • Pav bhaji masala – 2 tsp ( or 1 tsp chilli powder and 1 tsp garam masala)
  • Pepper powder – ½ tsp
  • Turmeric powder – 1 tsp
  • Butter – 1 dollop
  • Coriander leaves – 3 tbsp, finely chopped
  • Milk – 2 tsp
  • Salt – 1 tbsp
  • Oil – 2 tsp
Instructions
  1. In a large bowl, break one egg at a time and whisk the egg yolks and whites together until light and fluffy.
  2. To the egg mixture, add the salt, turmeric powder, pav bhaji masala and pepper powder. Whisk well till they all combine well.
  3. Take a wok/ pan on medium heat and add 2 tsp of oil, add the grated ginger, the chopped onions, the finely chopped bell peppers and the green chillies. Sauté those until the onions and peppers are soft and tender.
  4. Now add the chopped tomatoes to it, and then sauté those until the tomatoes are lightly softened but not very mushy.
  5. Now add the egg mixture to it, keep stirring the mixture continuously until you begin the eggs coming together. And also they should have the crumbly texture. Keep stirring or else it may stick to the pan.
  6. When they have cooked completely, add the butter and milk and stir well.
  7. Switch off and Garnish with coriander leaves and serve.
Notes
1. Adding milk makes it not dry.
2. reduce the green chilli if you like it not spicy.
Wordpress Recipe Plugin by EasyRecipe
3.2.2885

Serve these delicious egg bhurji with bread for breakfast or make it as side dish for any curry and rice or make this dish for tea time snack.

EggBhurji-2

Filed Under: BREAKFAST, NON-VEG RECIPES Tagged With: anda bhurji recipe, breakfast recipes, capsicum recipes, egg recipes, healthy breakfast ideas, indian scrambled eggs recipe, Mumbai style egg bhurji recipe, pita filling recipe, restaurant style egg bhurji recipe, restyaurant style scrambled eggs recipe, sandwich filling recipe, scrambled eggs recipe, side dish fro roti recipe

Almond Cranberry Orange Biscotti

February 2, 2015 by Suki 2 Comments

Biscotti-12

Biscotti-12

Traditional biscotti with almonds and cranberries infused with orange flavor. It is moist and rich.

They have lower fat content than most cookies as the biscotti are baked twice for an extra crunchy texture. Without the egg yolks, they have no extra fat at all.  You can replace the almons with pistachiods,walnut,pcecans and what not! 😀 When you are having tea or coffee, it is a perfect light dessert to serve with.  I made them in loads and stored in an airtight container. And also they are perfect gifts!

Biscotti-9

I usually like to make every small thing at home. After making these, I thought I should never buy them at stores. Most times it is hard, dry and too bland. My sister has the store bought ones 😉 but I liked them. It is not always same. Whenever I go to her house, she has wheat bread or oats for the morning 🙂 I will be in vacation mode, so she always gets me loads of junks for me to have! 🙂 She will keep them on the top of her refrigerator, I will go bring the box and start muching from the time I wake up 🙂 Sisters are so good and my sister is even more special to me!!! 🙂 She is always been there for me from the day I was born. Never jealous, we have never had even small fights :)! She is that sweet!!!

Biscotti-13

Print
Almond Cranberry Orange Biscotti
Author: Suganya Hariharan
Recipe type: Dessert
Cuisine: Italian
Prep time:  15 mins
Cook time:  60 mins
Total time:  1 hour 15 mins
Serves: 50
 
Ingredients
  • All purpose flour – 2 cups
  • Baking powder – 1 tsp
  • Sugar – 1 cup
  • Vanilla – ½ tsp
  • Vegetable oil – 5 tbsp
  • Orange Zest –from 1 orange
  • Orange juice – 3 tbsp
  • Salt – ½ tsp
  • Eggs – 2, large
  • Flaked Almonds – ¾ cup
  • Dried cranberries -3/4 cup
Instructions
  1. Keep oven racks in the middle and top of the oven. Line two large baking sheets with parchment paper and set aside.
  2. Preheat oven to 350 degrees.
  3. In a bowl, mix together the flour, salt, sugar and baking powder to combine. Take ¼ cup of the flour mixture; toss the orange zest, almonds and cranberries. Mix well and make sure there are no lumps. Take this and mix into the big bowl of the flour mixture.
  4. Beat the eggs, oil and juice and mix well. Add the flour mixture and mix but do not over mix.
  5. It will be kind of sticky dough, dump dough onto a heavily floured board or cleaned floured tile and divide in to 4 equal portions.
  6. Roll each piece into a log that’s about 12 inches long, and set the logs about 3 inches apart into the baking sheet. Press to flatten each log so that they are 2 inches wide.
  7. Bake them now till they are golden and firm near the center. I rotated my baking sheets half way through to insure even baking. It took me about 25-28 minutes.
  8. Let the logs cool for another 20 minutes. Slice them in a cutting board, cut them diagonally into ½ inch slices.
  9. Arrange the slices on the baking sheets, laying the cut side down. Return to oven and bake for 8 minutes. Turn the cookies and rotate the baking sheets and bake for another 10 minutes or until golden and lightly browned.
  10. Let it cool on baking sheets for 5 mins, then transfer to a wire rack to cool completely.
  11. Store it in an airtight container and use for months
Notes
1. Until cooled completely, it would not be perfect.
2. Do rotate the baking sheets in step 7 and step 9 to cook it venly.
3. You can replace almonds with hazelnuts, walnuts, pecans or so on And also cranberries with raisins.
4. Avoid back and forth motion so you don’t shatter the loaf when you cut the biscotti. Cut it in one go.
Wordpress Recipe Plugin by EasyRecipe
3.2.2885

 Biscotti-10

Filed Under: BAKED RECIPES, DESSERTS, SNACKS & APPETIZERS Tagged With: almond biscotti recipe, Almond Cranberry Biscotti, classic biscotti recipe, easy biscotti recipe, less fat biscotti recipe, less fat snack recipe, orange biscotti recipe, snack recipes

  • Facebook
  • Google+
  • Instagram
  • Pinterest
  • Twitter

LOOKING FOR SOMETHING?

logo
Food Advertisements by
logo
Food Advertisements by

Categories

STAY CONNECTED

  • Facebook
  • Google+
  • Instagram
  • Pinterest
  • Twitter

SUBSCRIBE BY EMAIL

SEARCH RELISH THE BITE

logo
Food Advertisements by

Copyright © 2025 · Lifestyle Pro Theme on Genesis Framework · WordPress · Log in