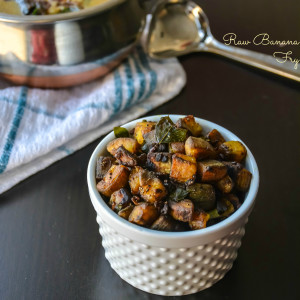
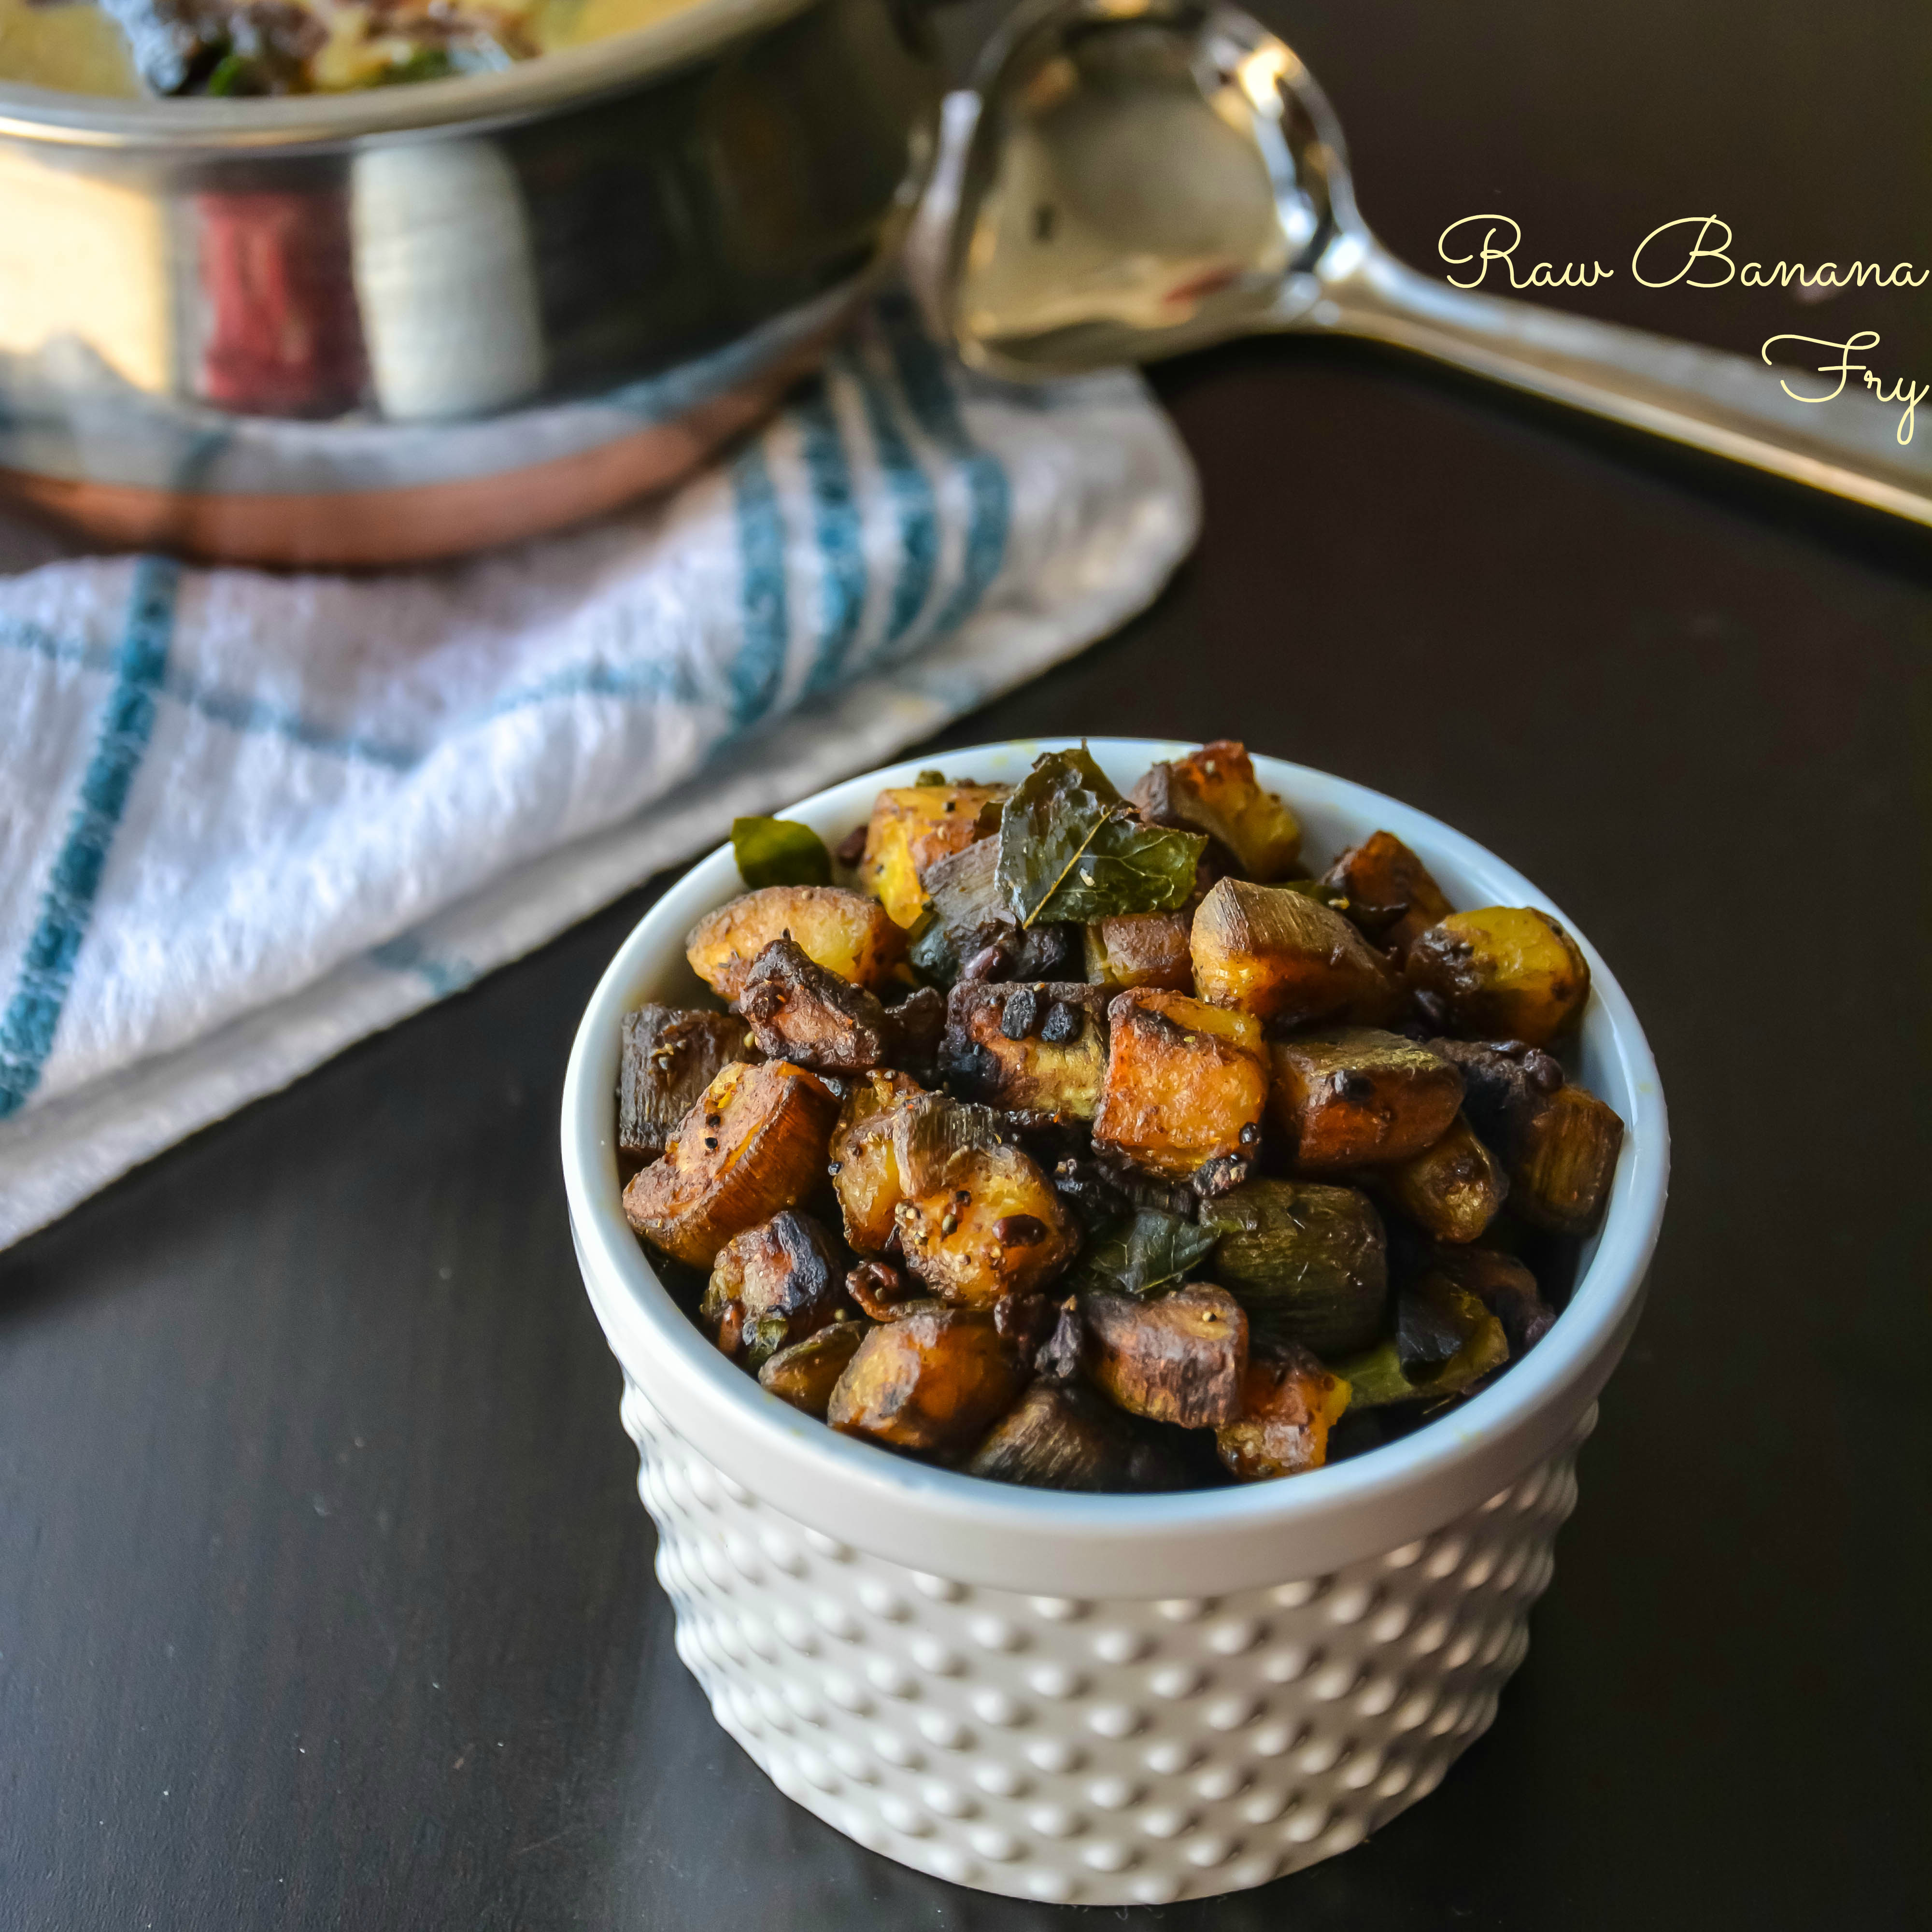
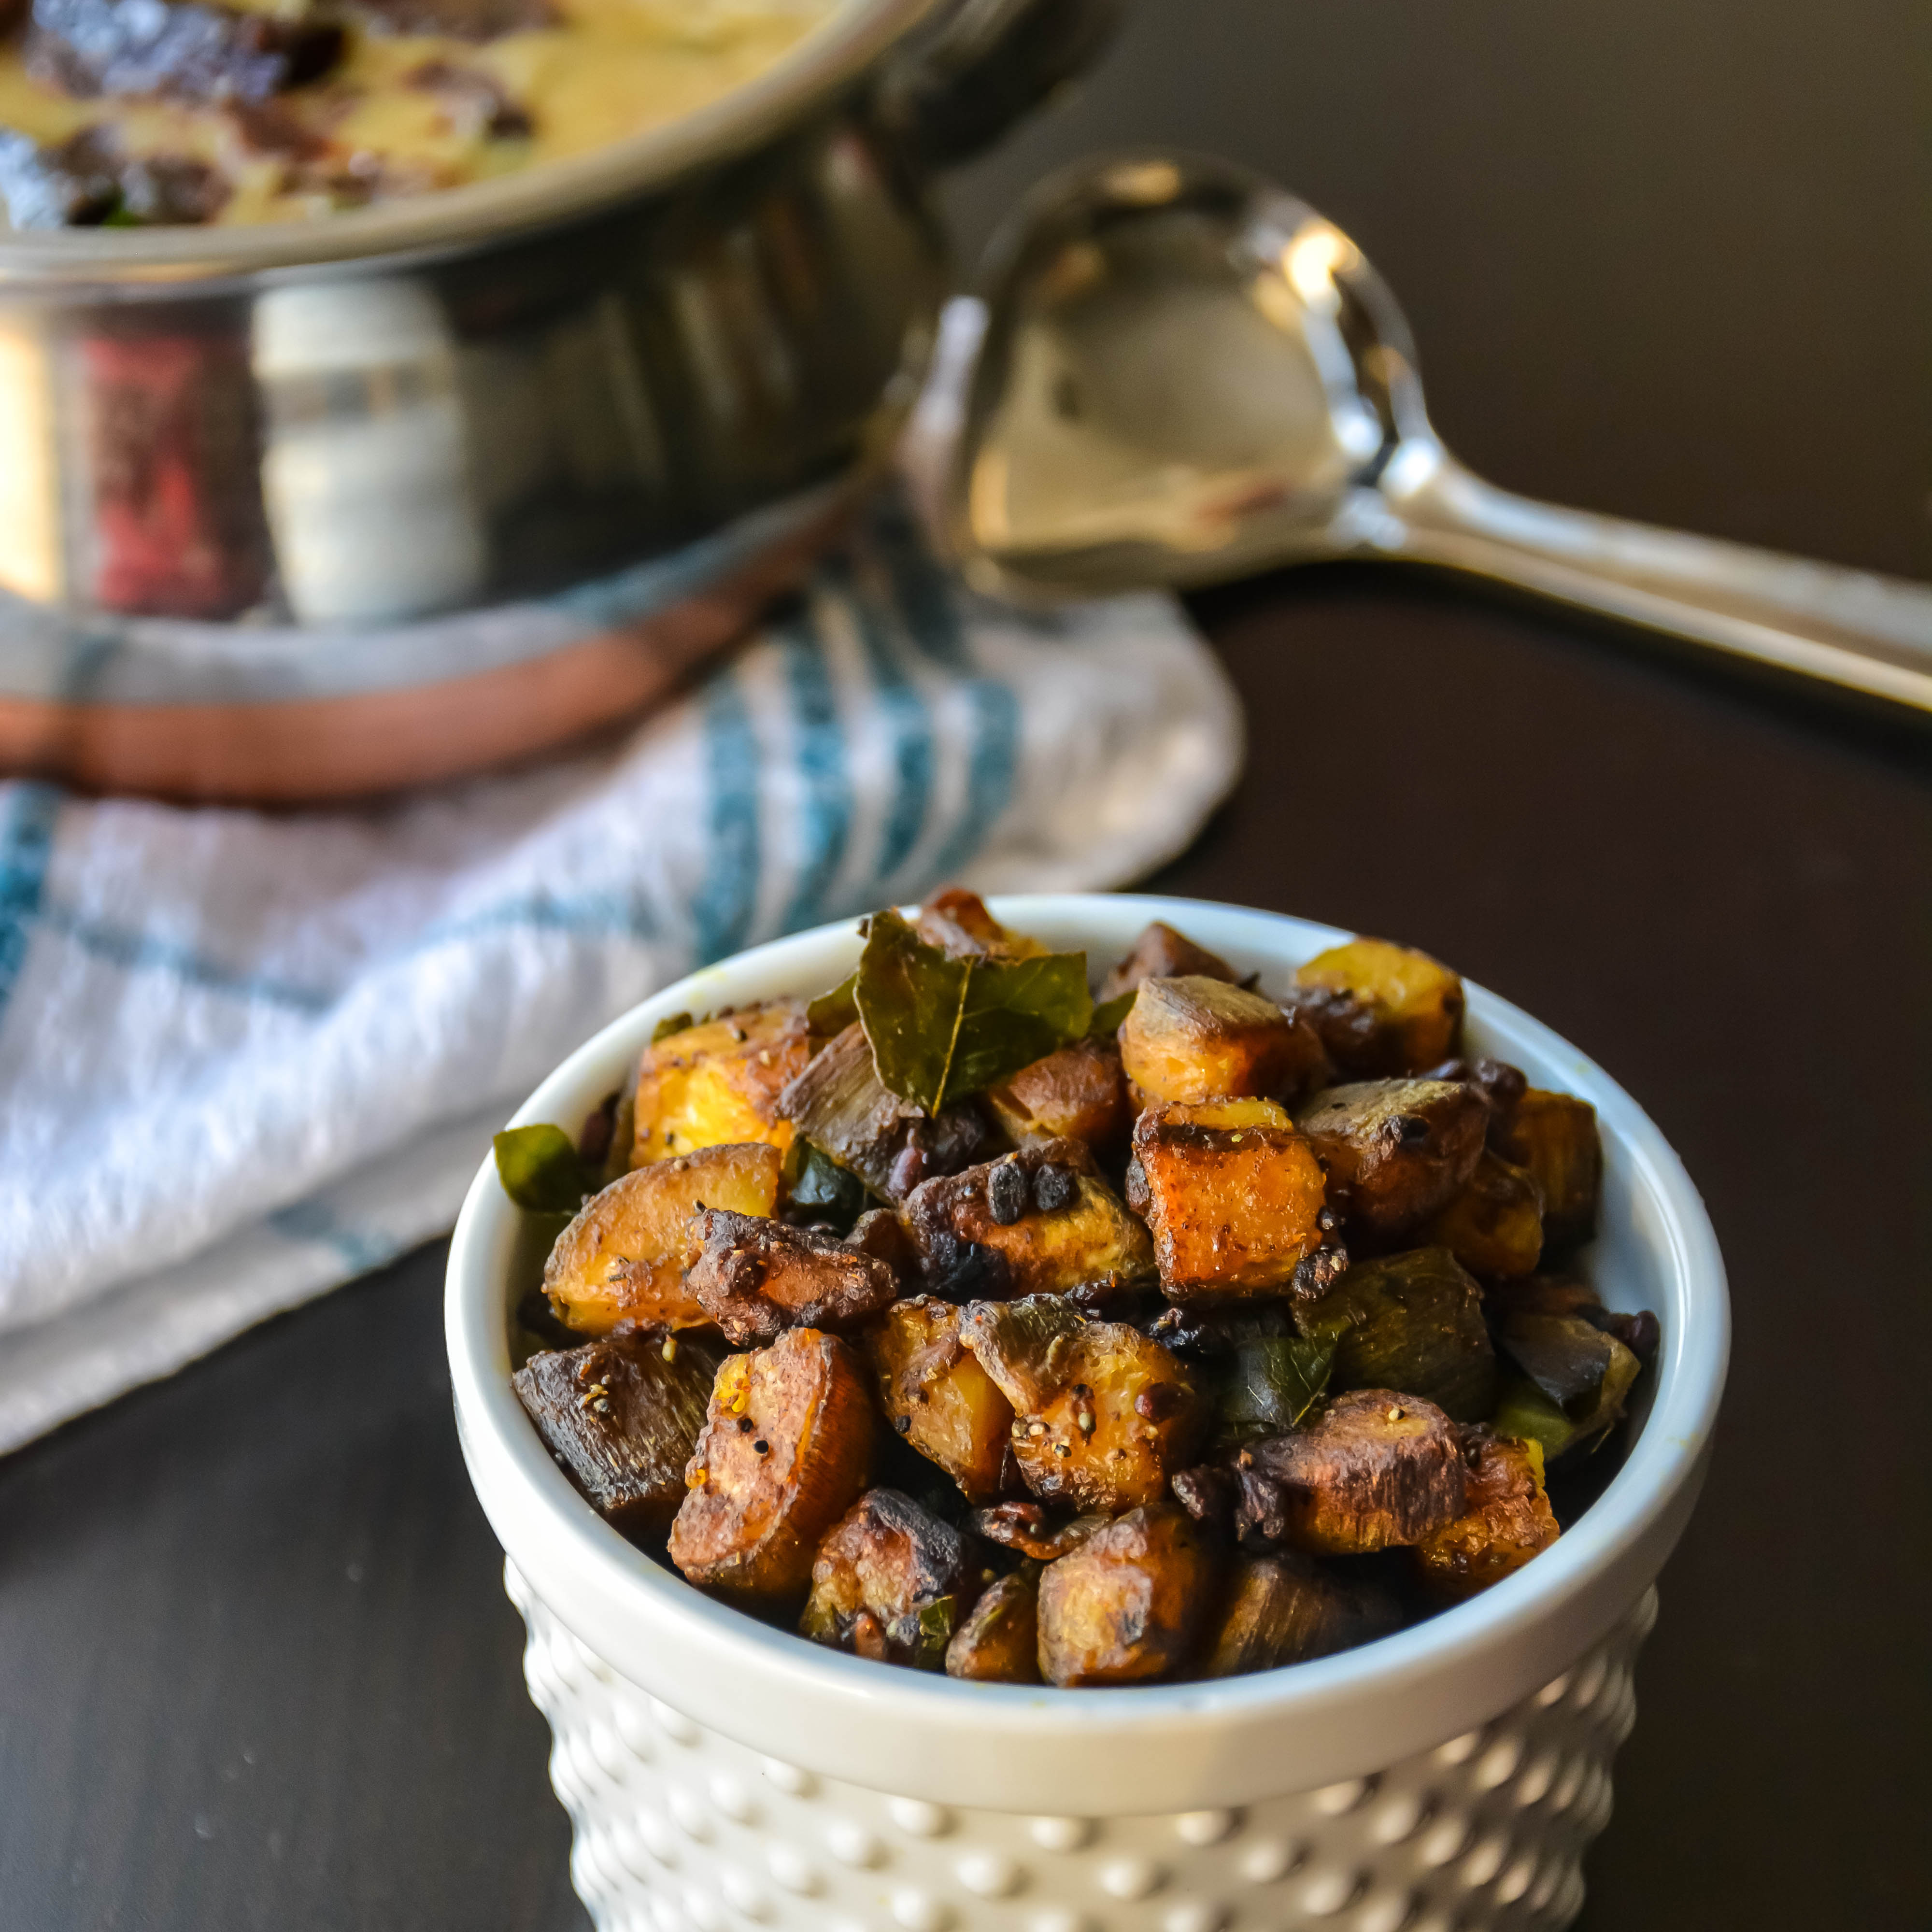
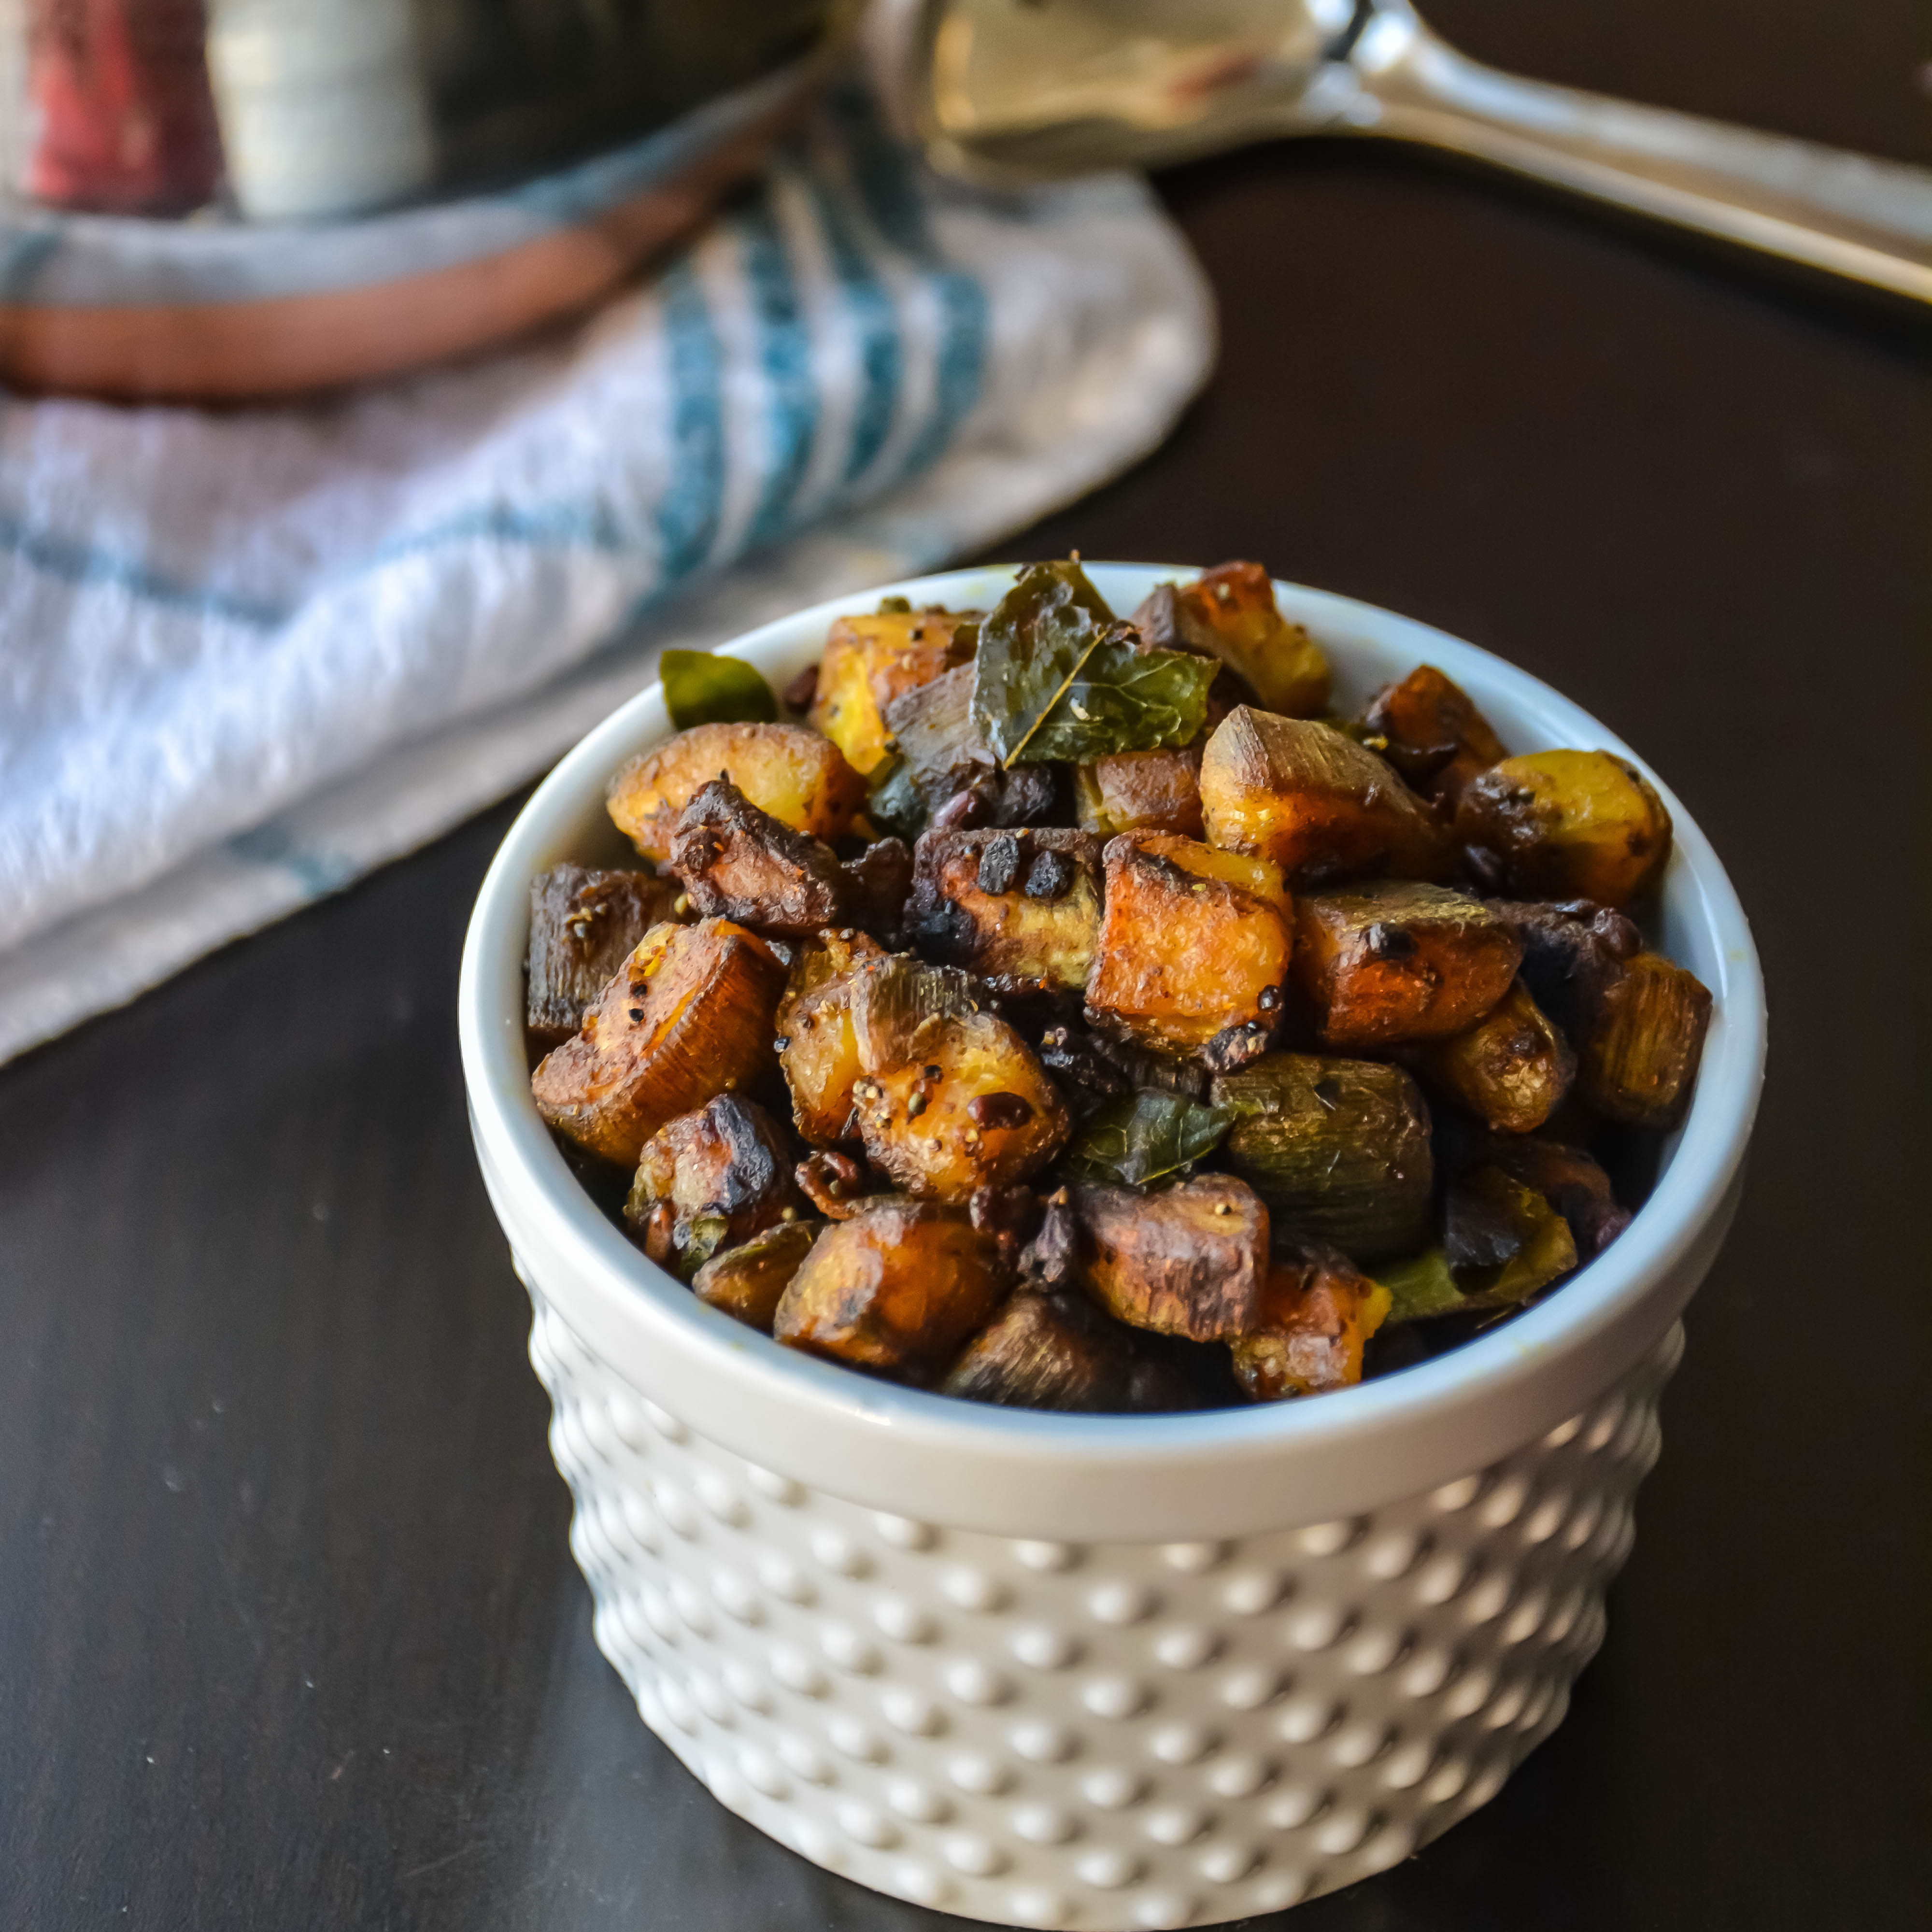
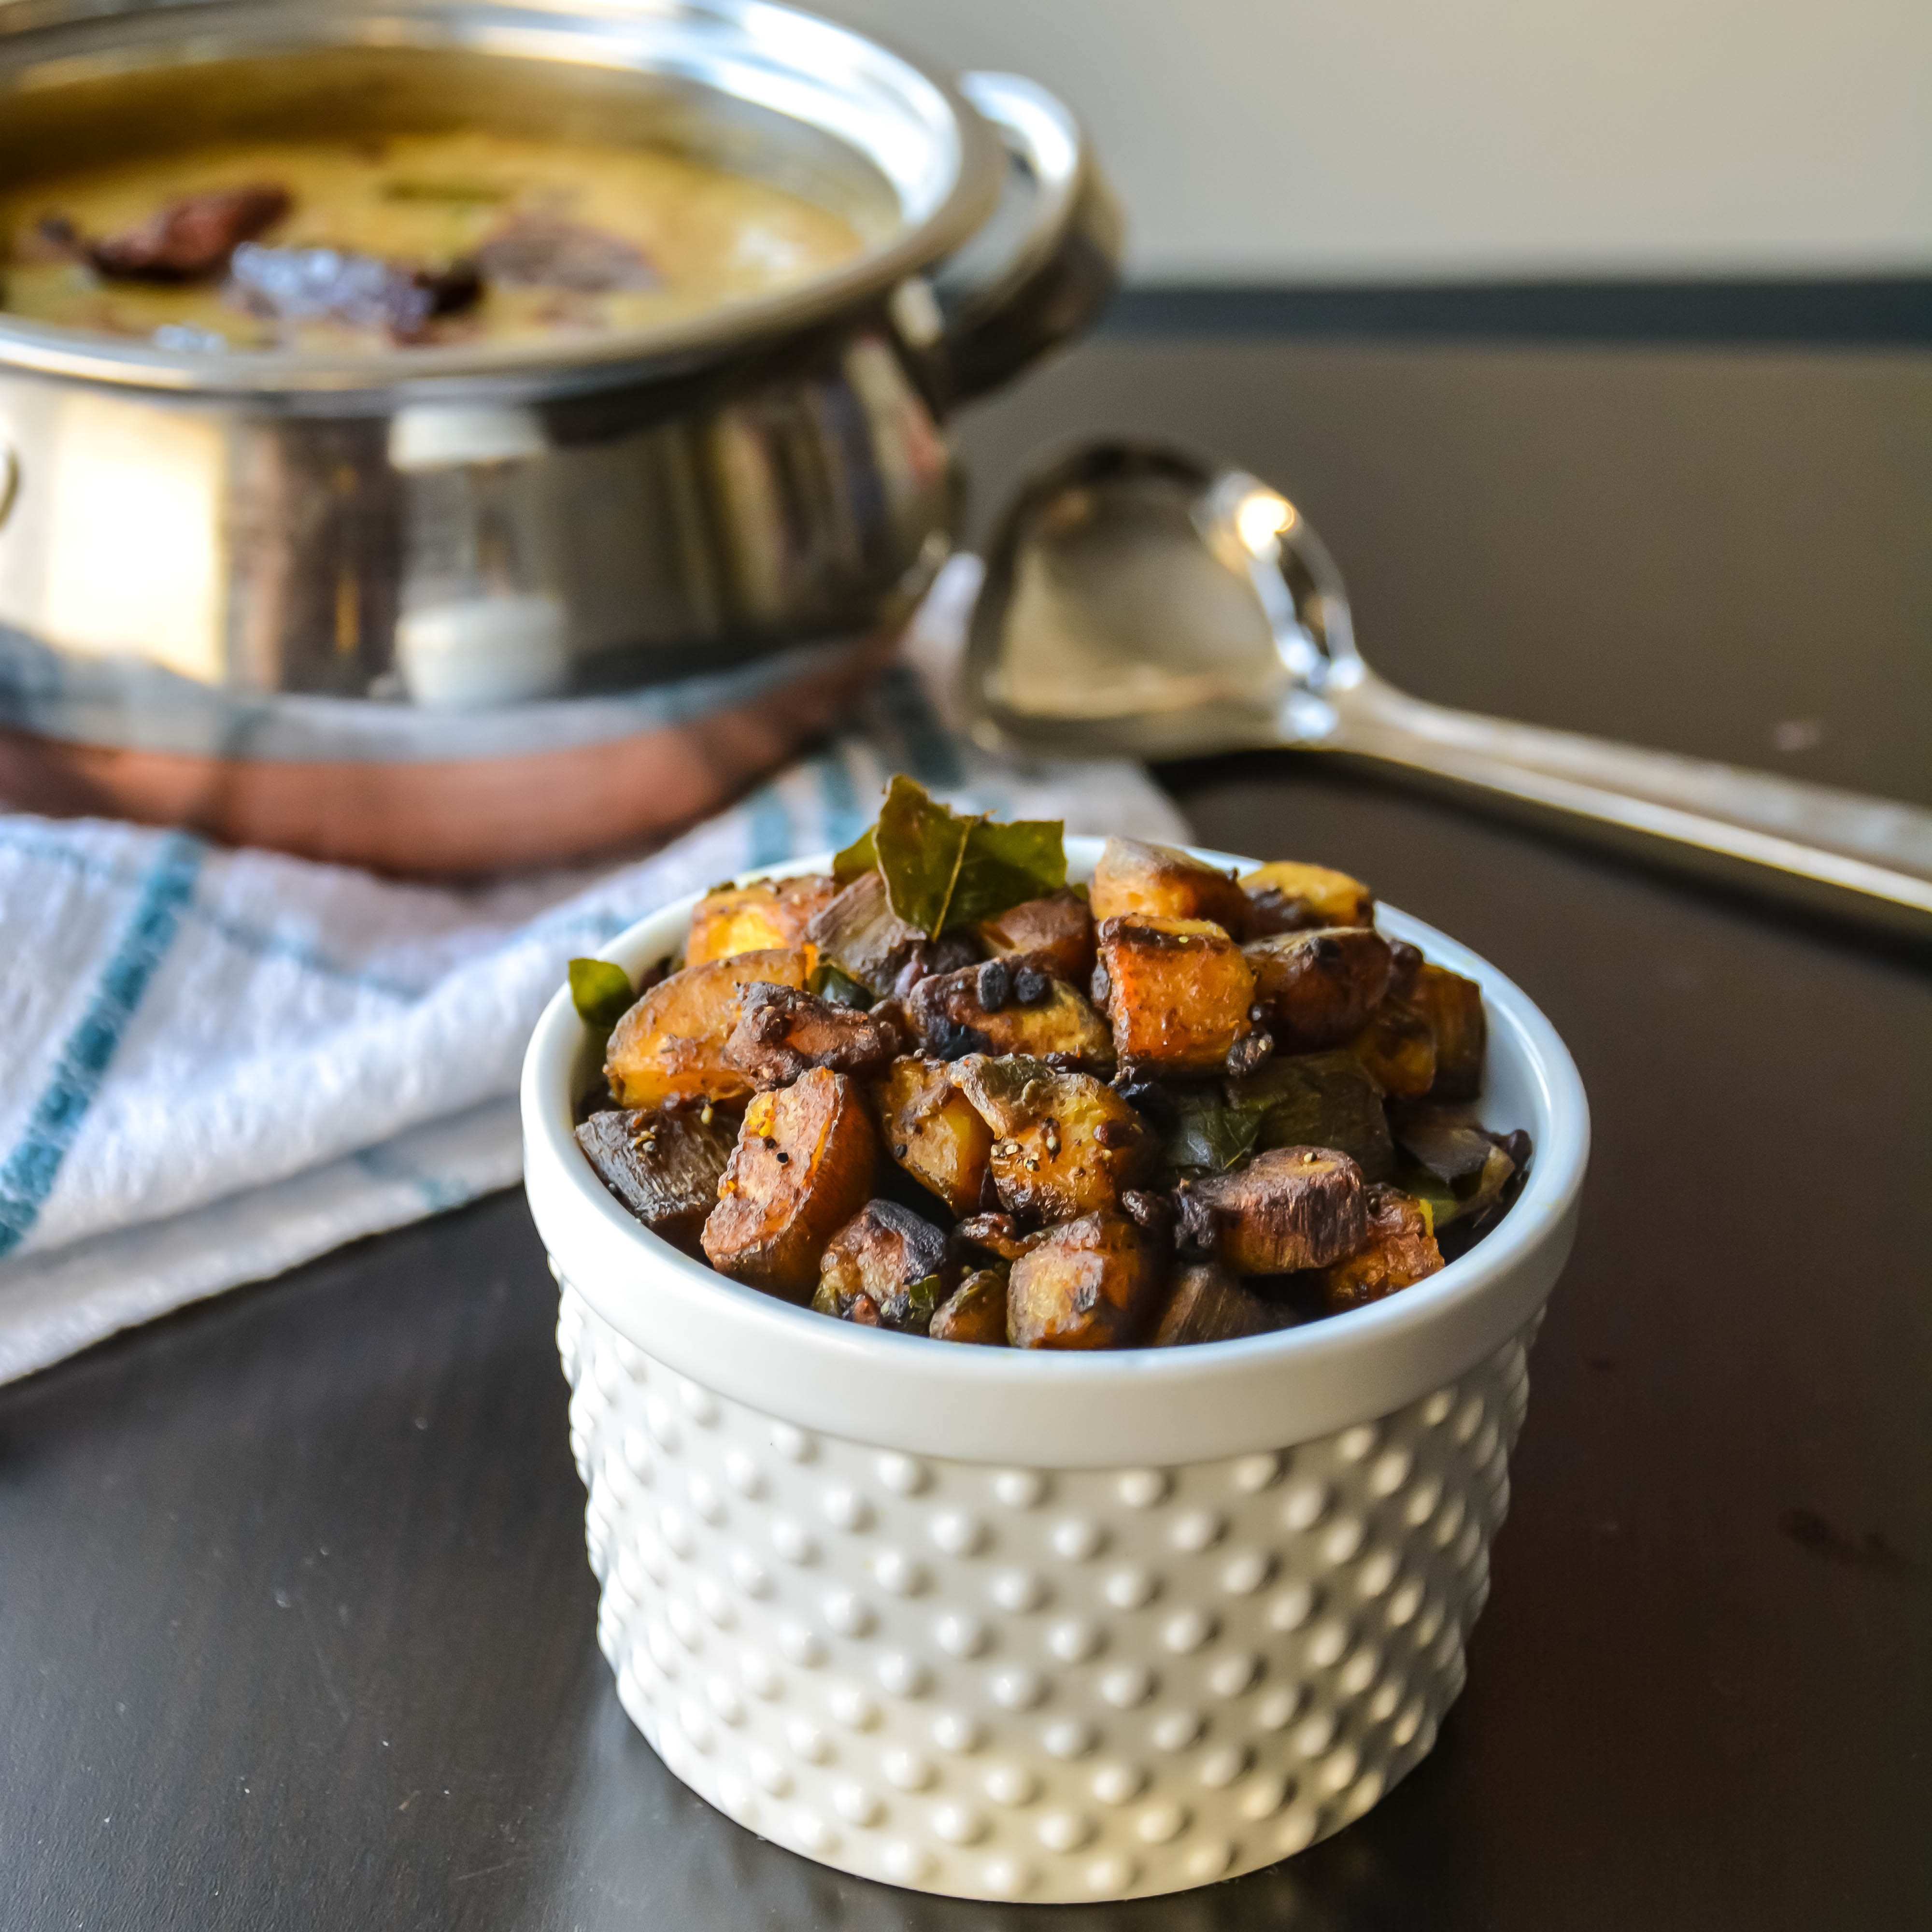
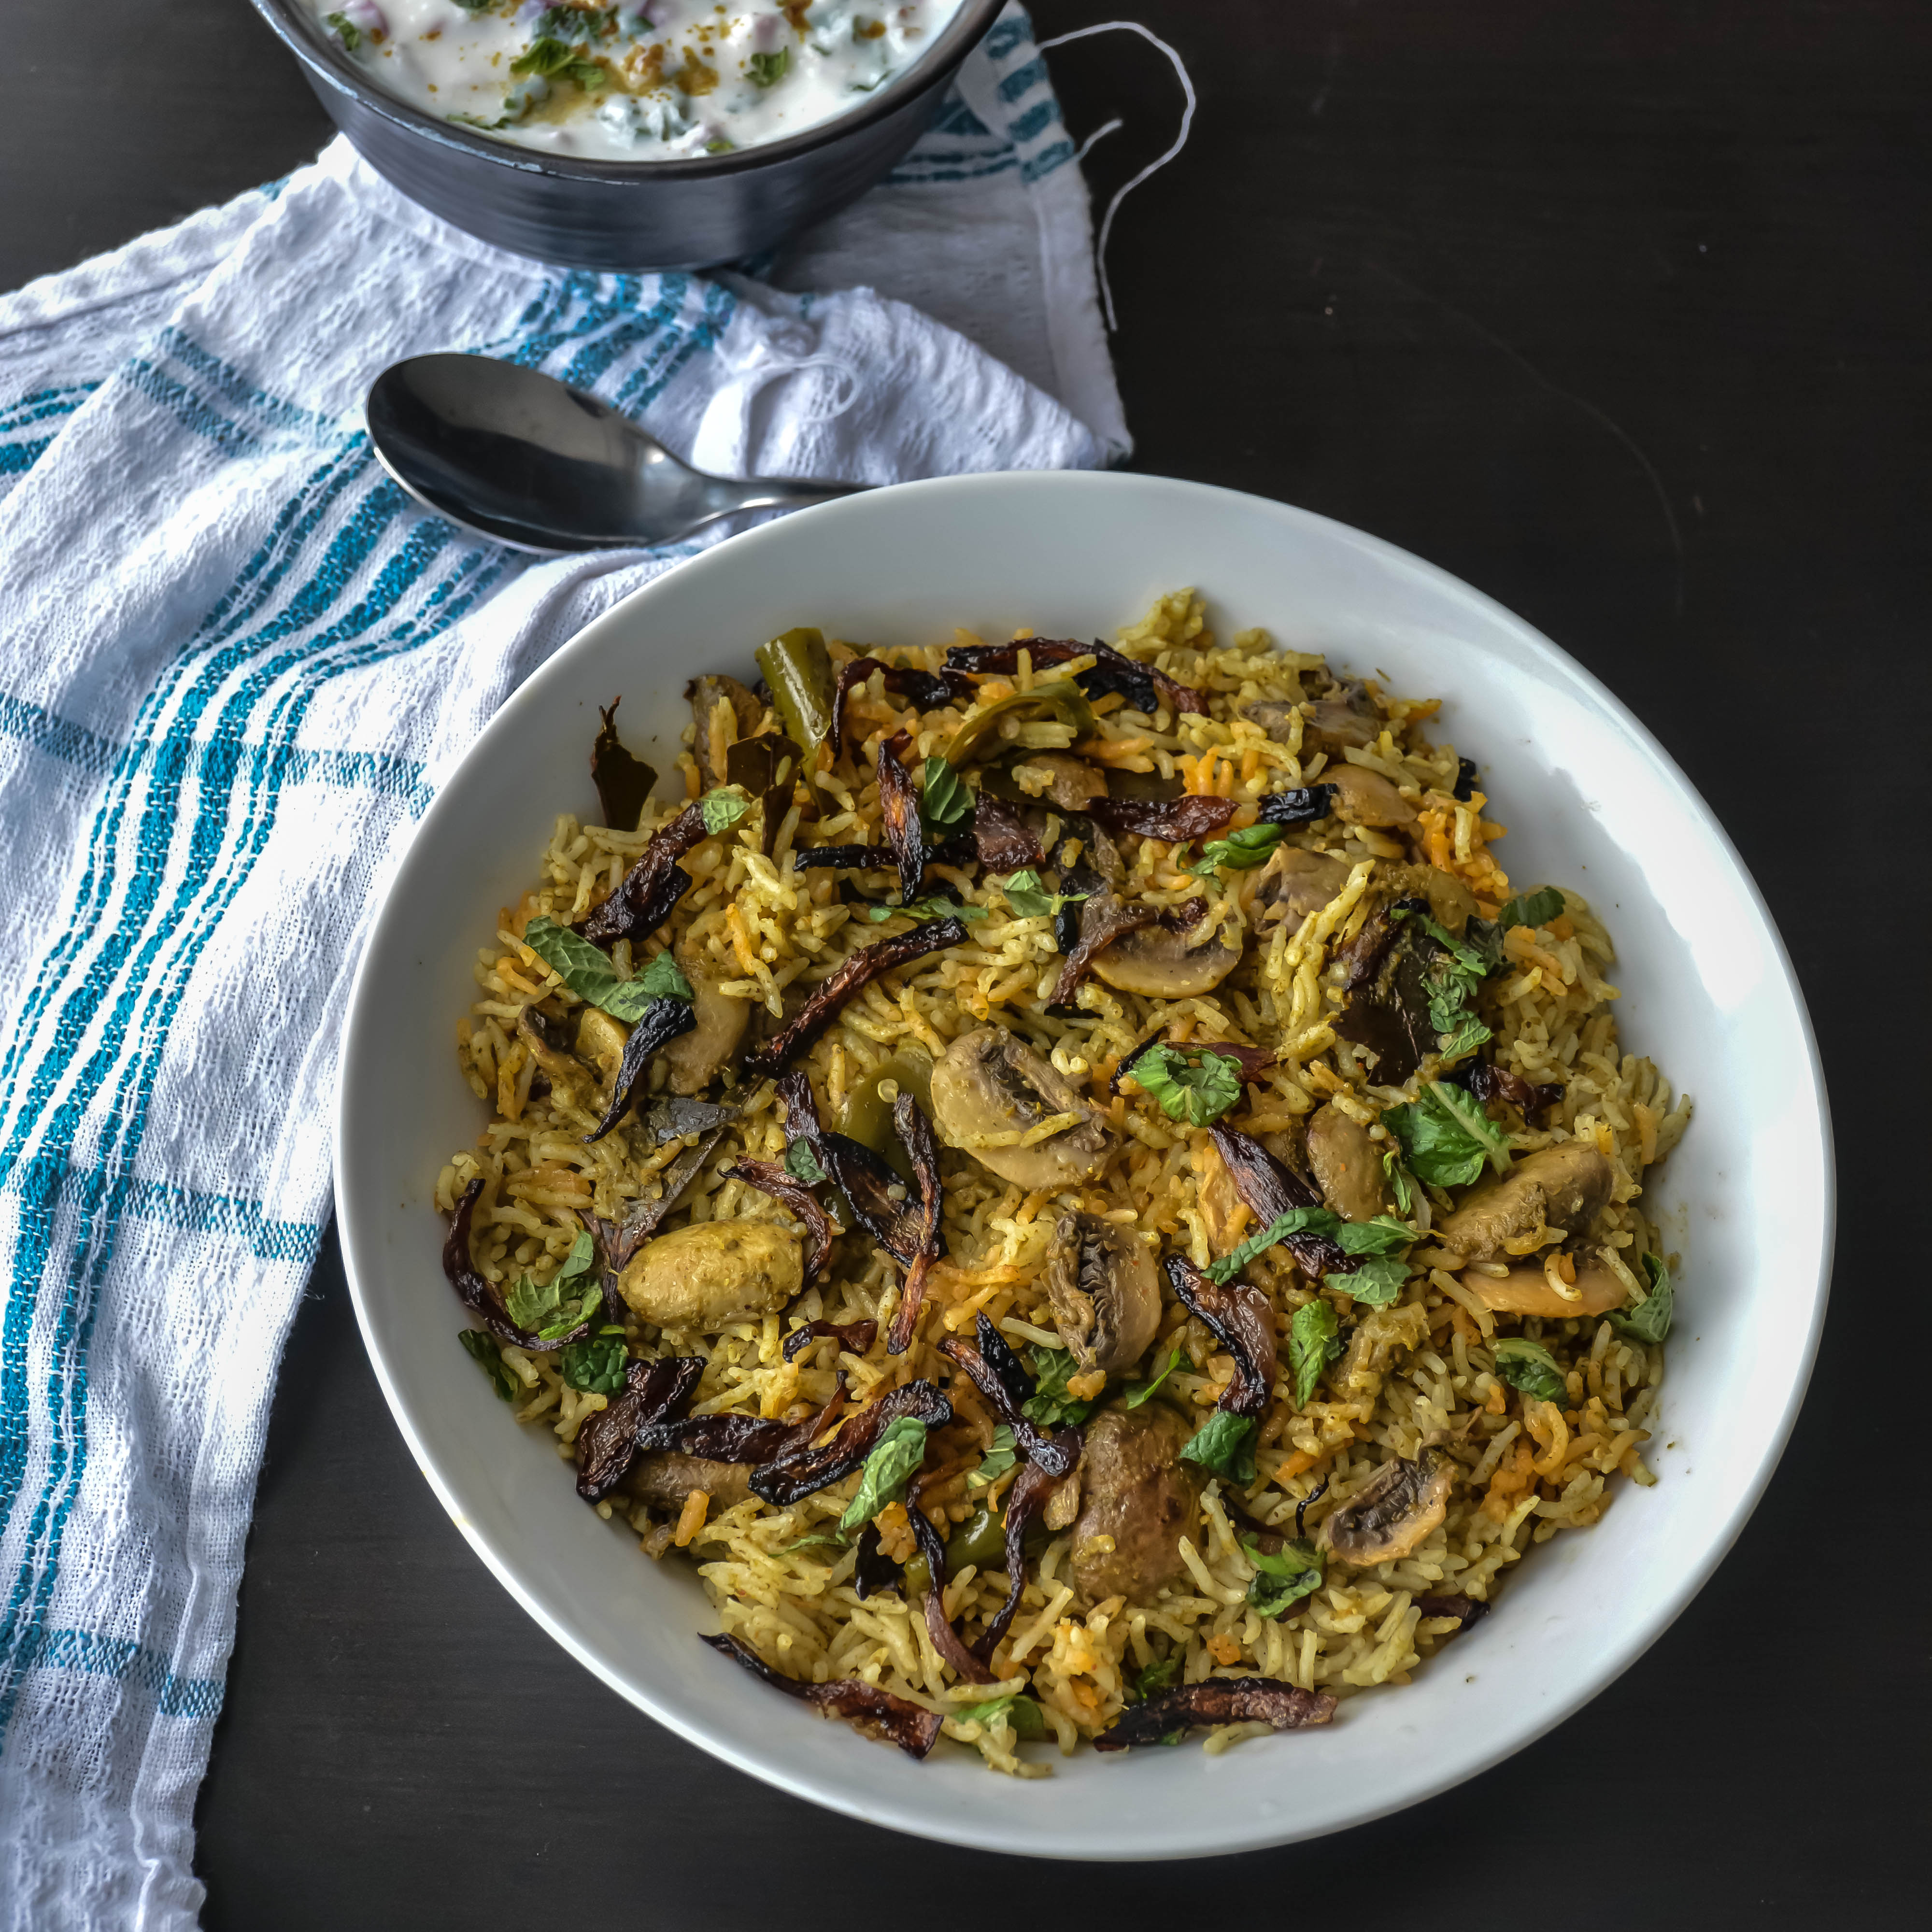
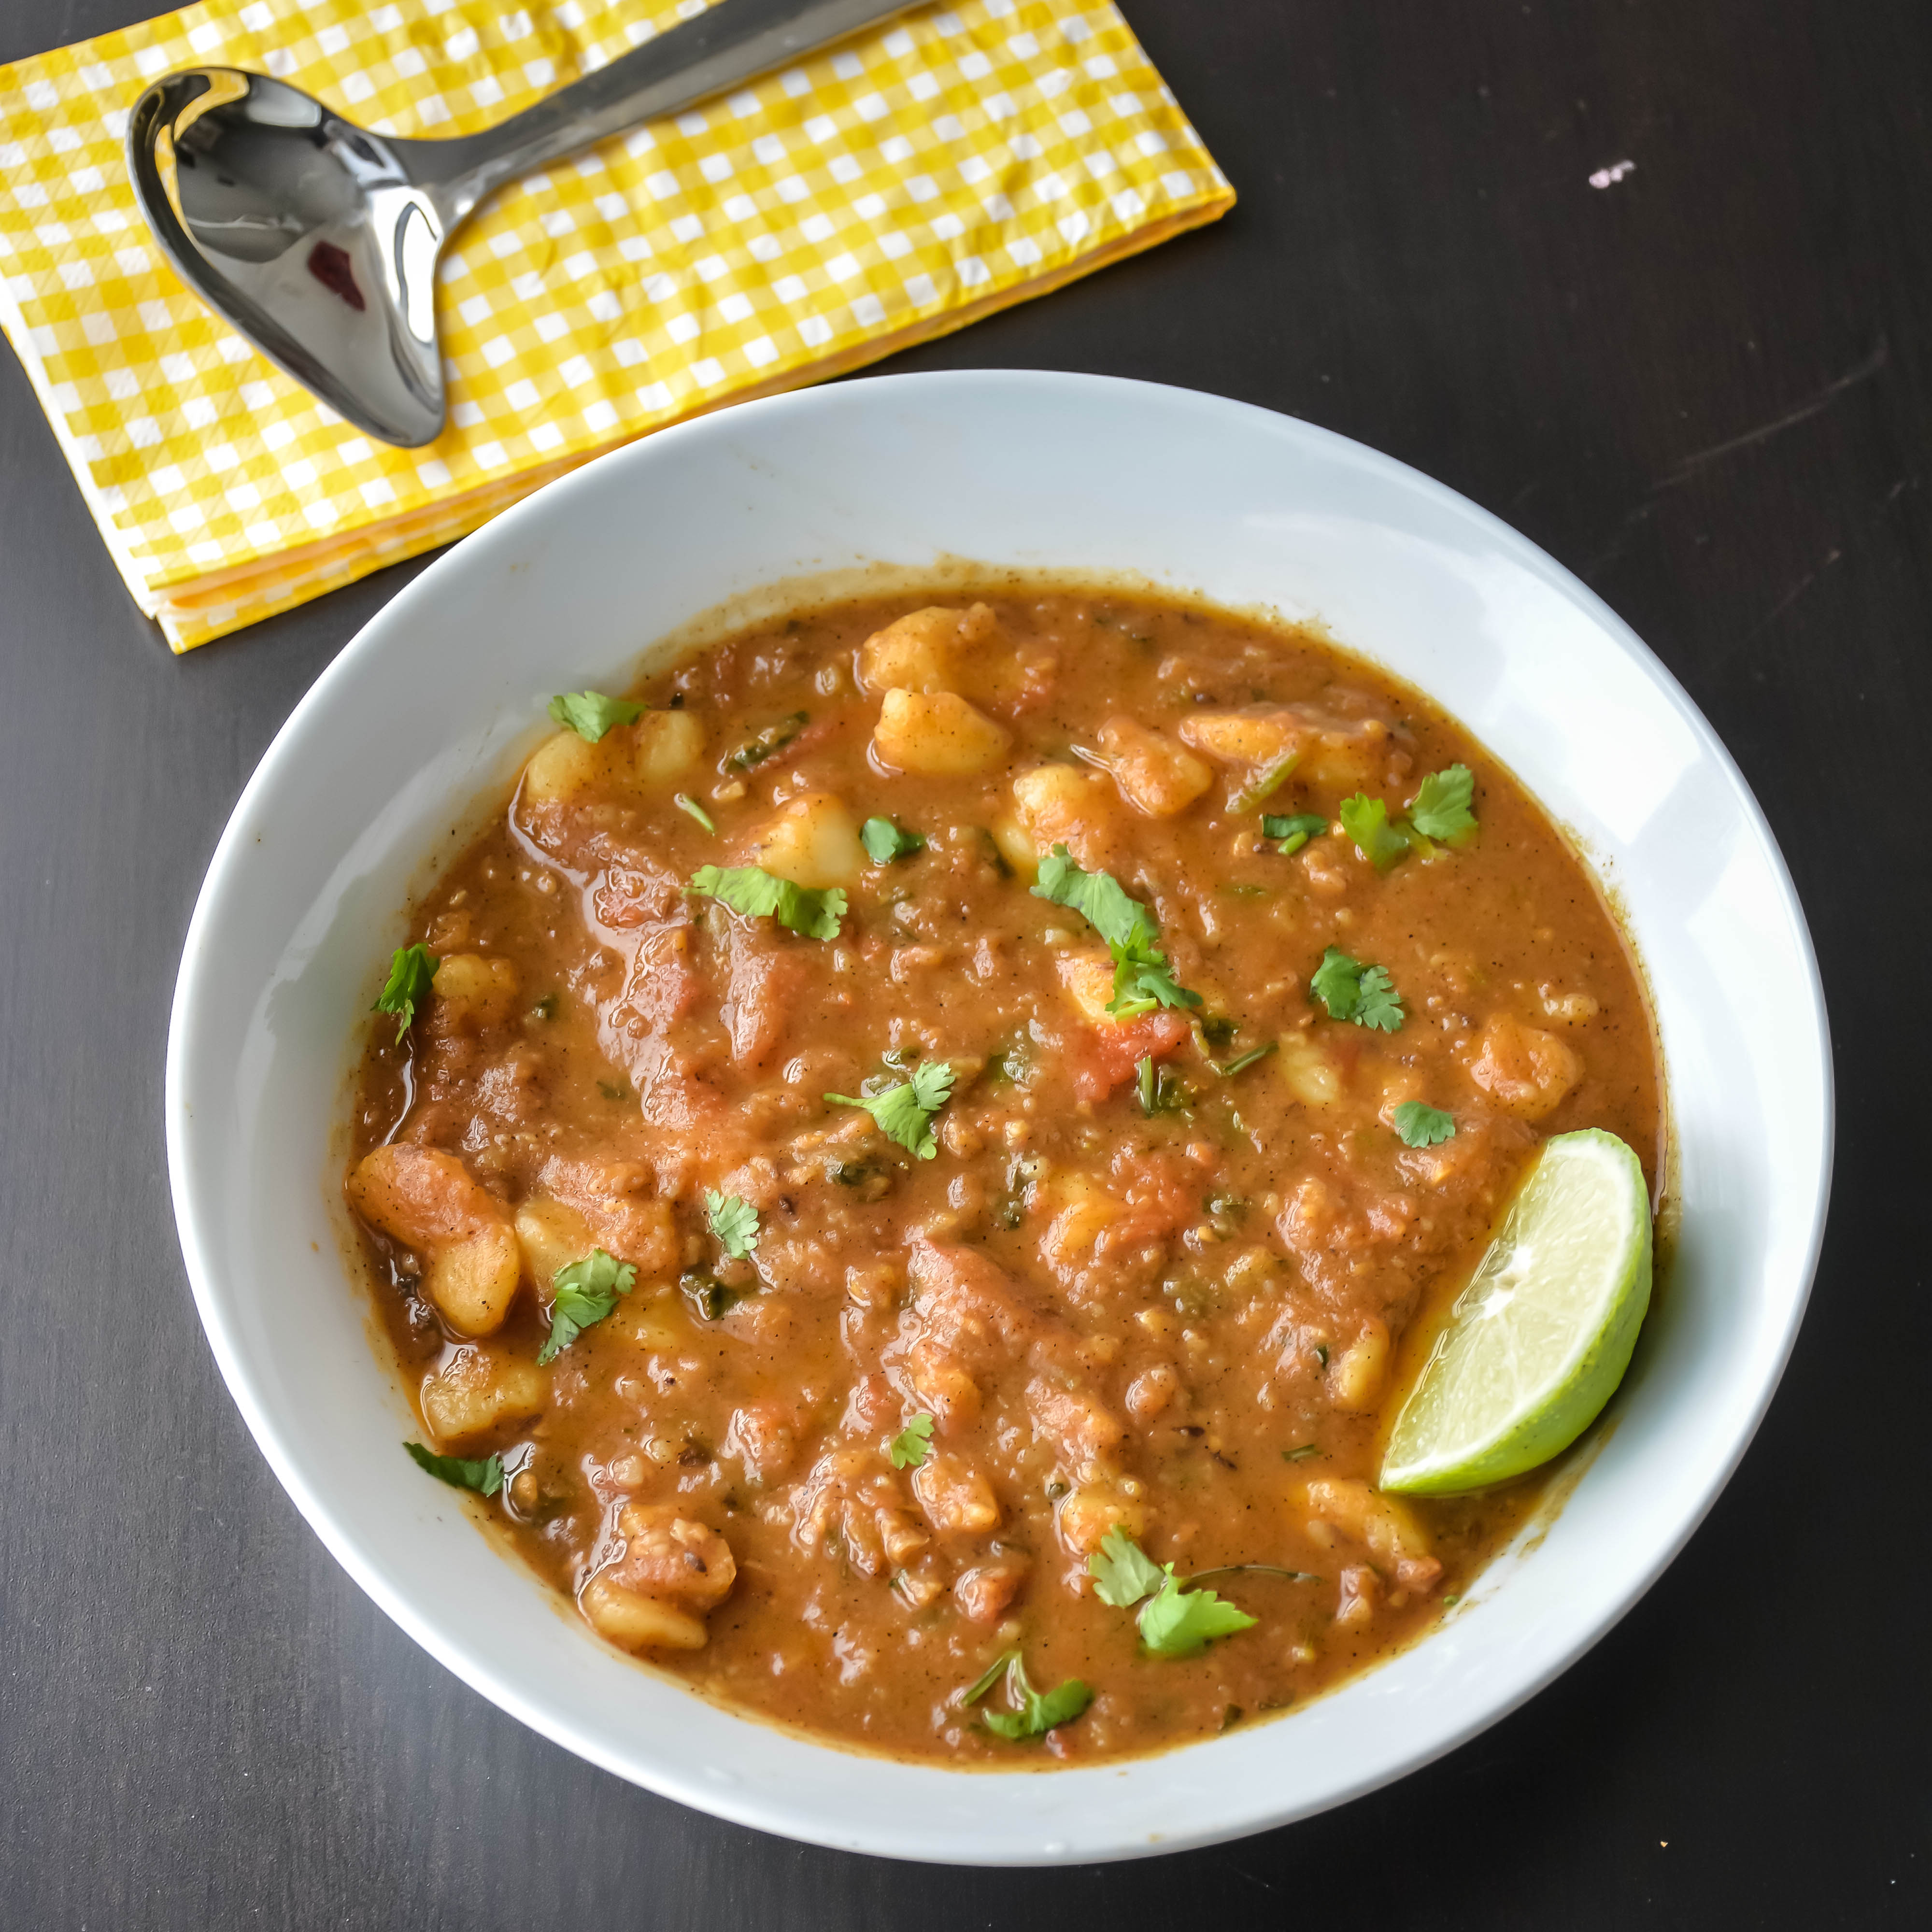
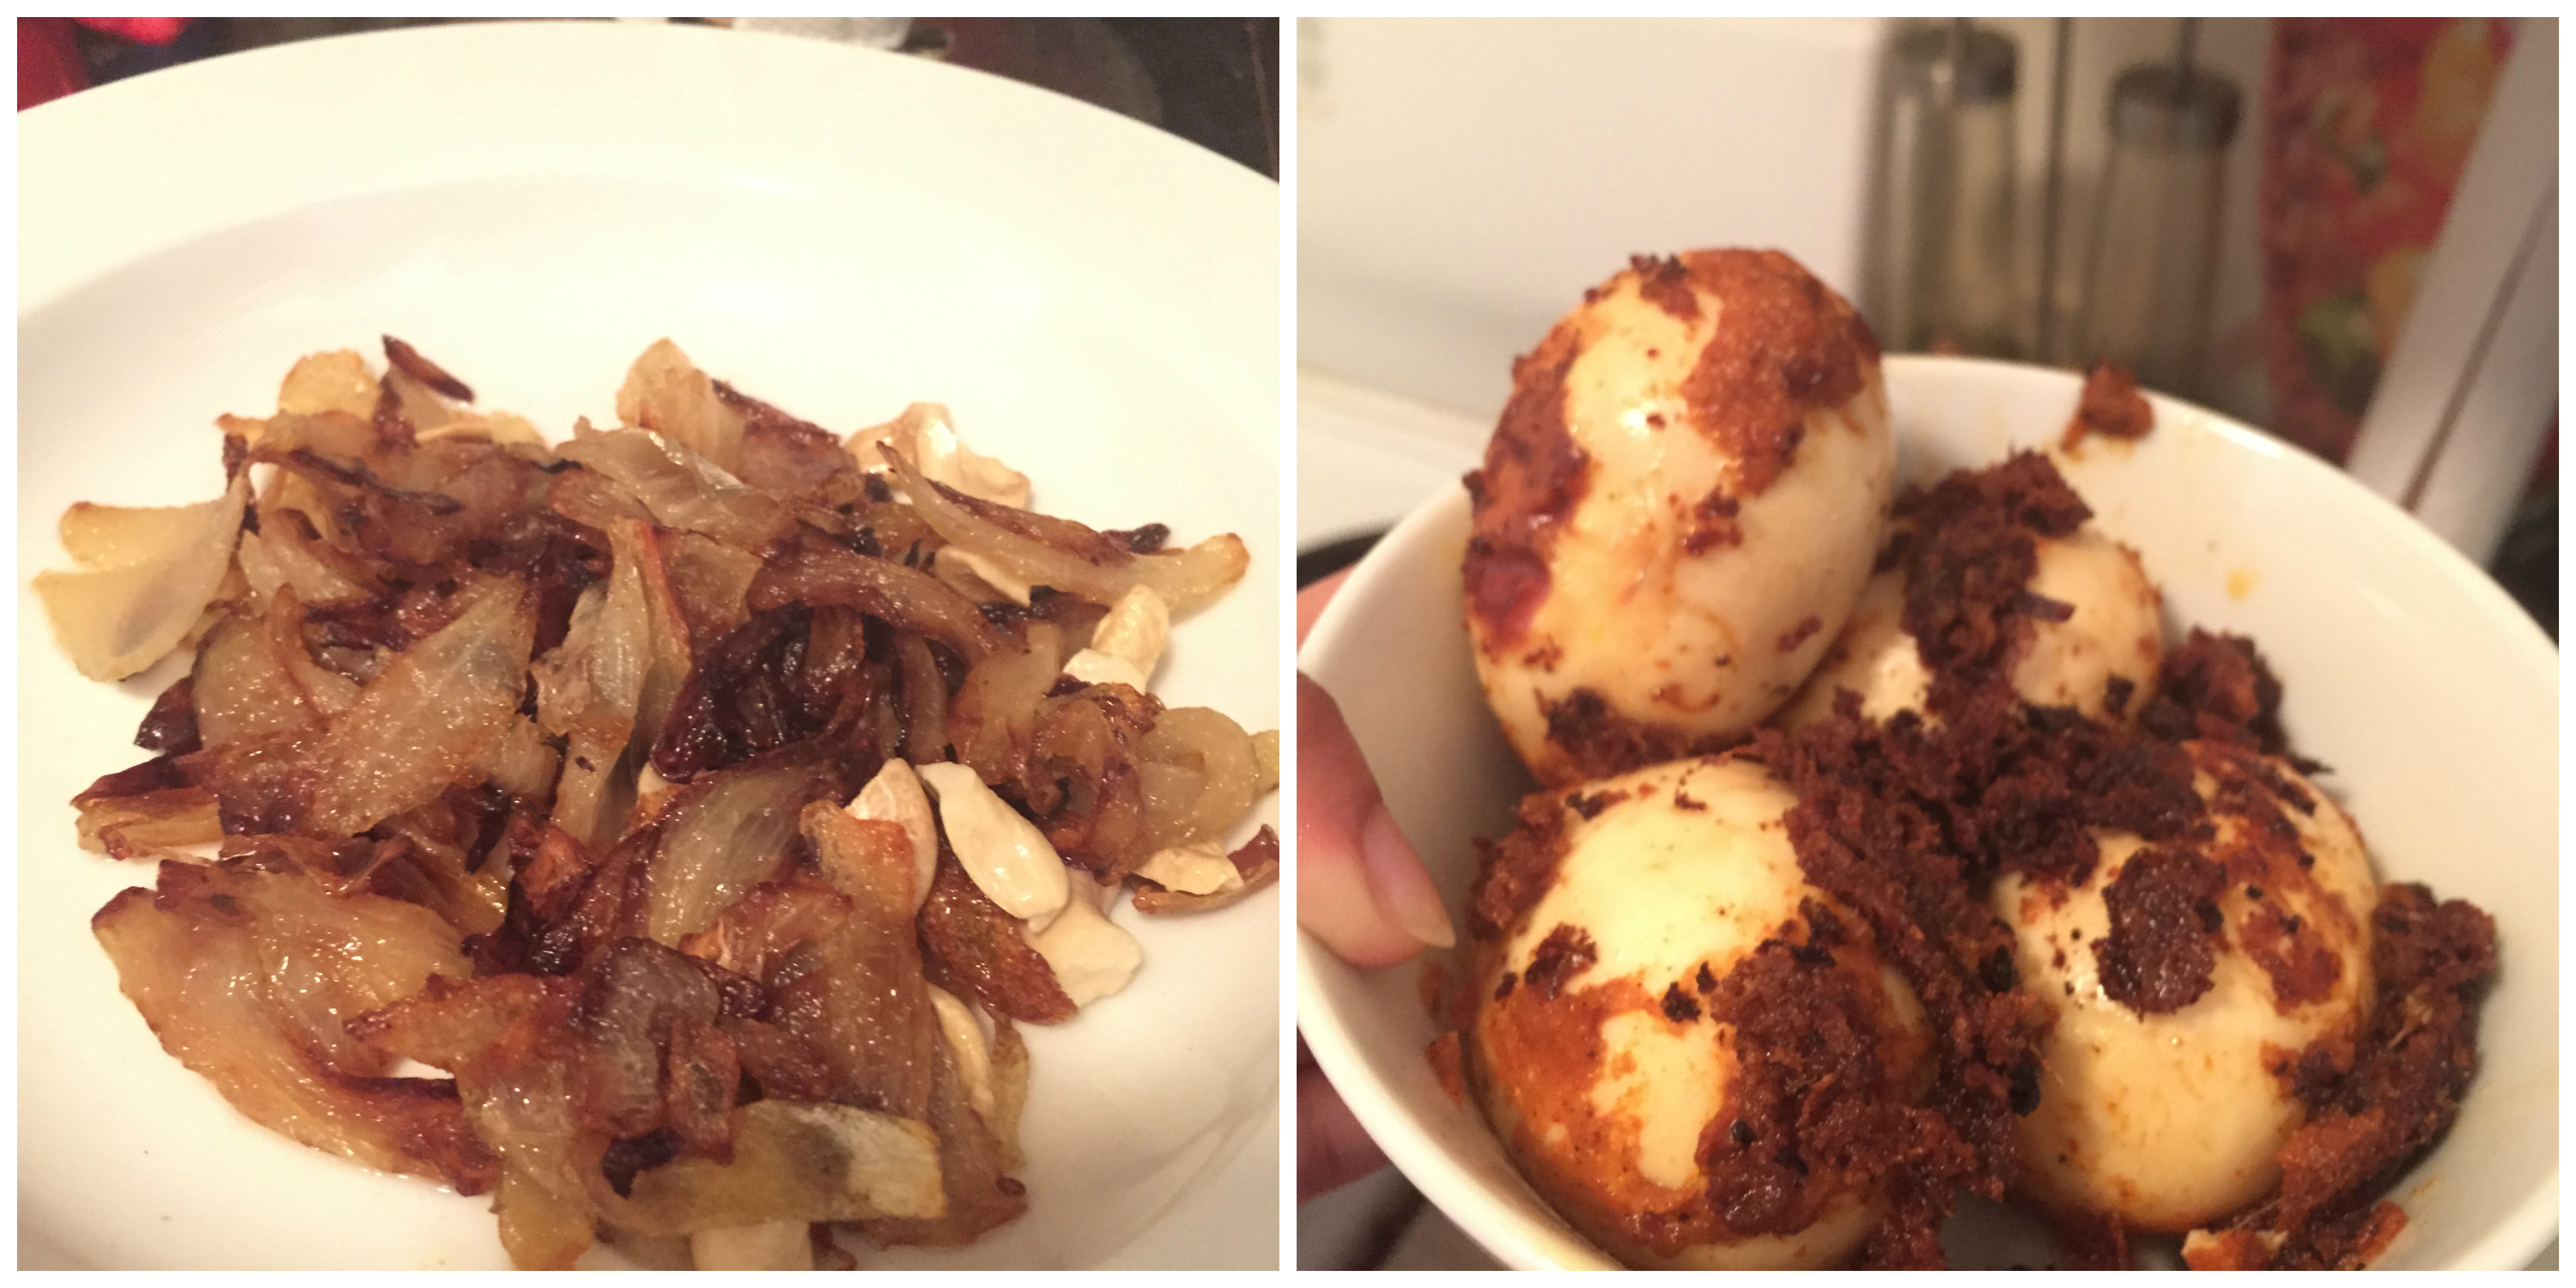
 Perfectly roasted plantain with curry leaves and spices.
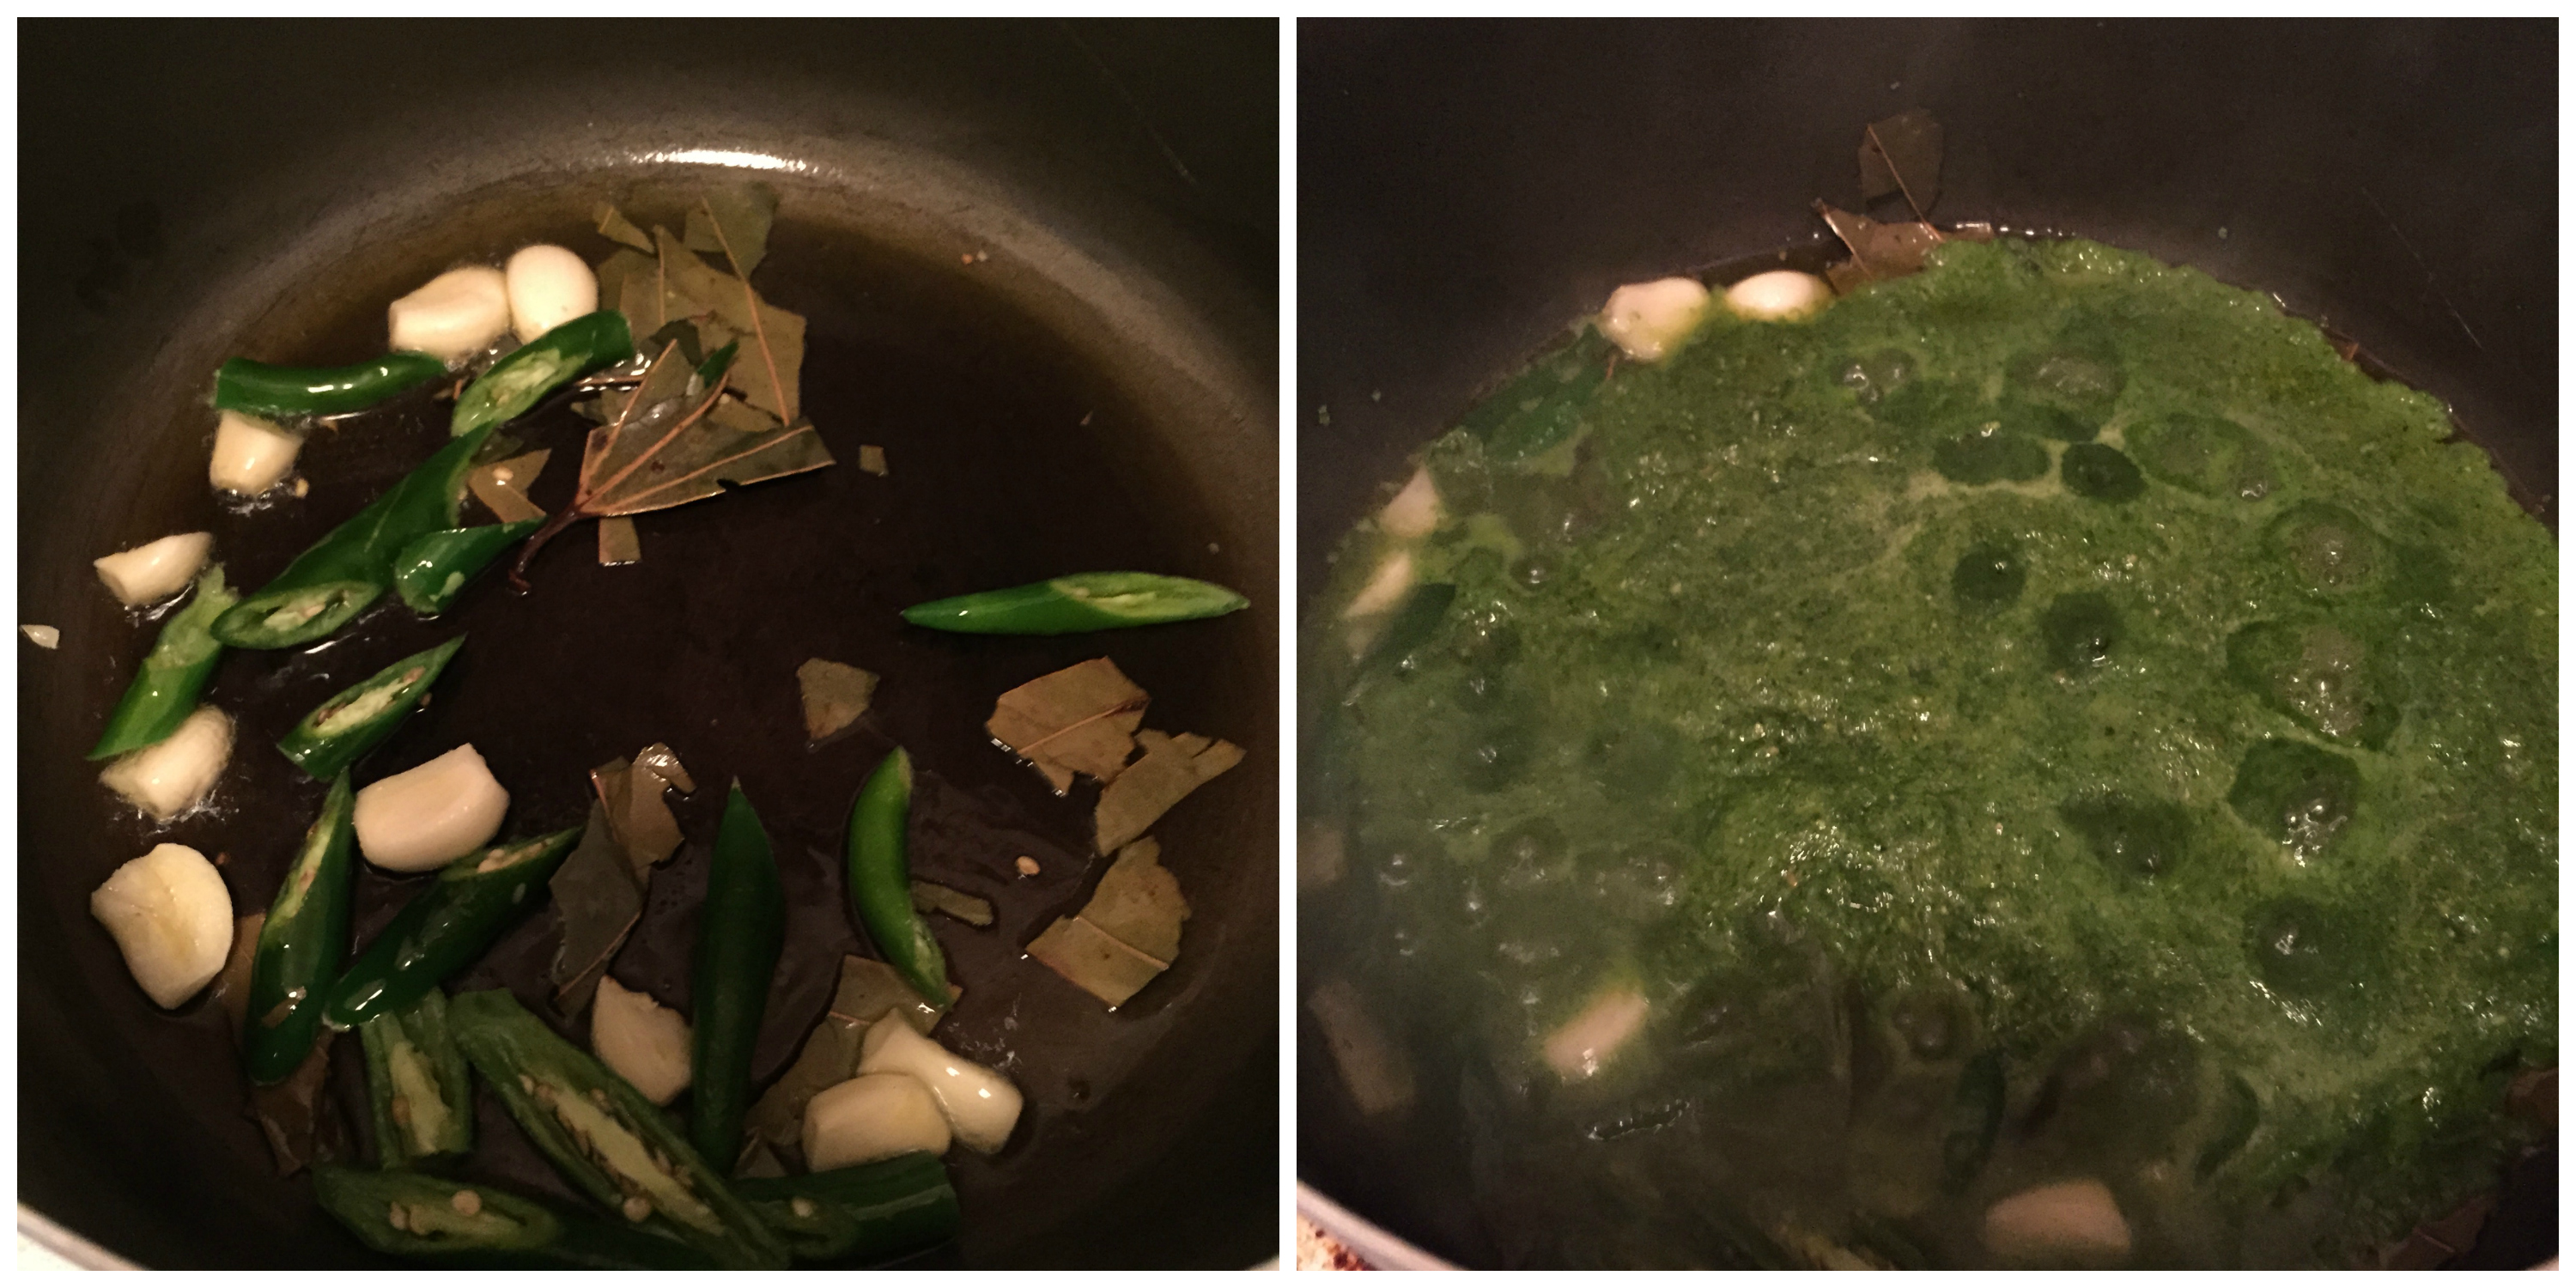
I usually prepare the raw banana in two other different styles. One is by chopping them in circles, marinate in the masala and pan roasting them. Other is by grinding few masala with coconut and cooking raw banana with the masalas. And the one I am doing now is a classic recipe at my house 🙂 My mom does this for some rice and rasam. Because this one is crispy, it tastes great with any rice. My dad actually makes this at my place. My mom makes raw banana podimas by boiling it and mixing with few masalas. OMG! I am drooling! Even if I cook the best recipe of mine or have my favorite food in my favorite restaurant, my vote and my option is for my Moms food at any day. I guess it is the same for most of us. 🙂 I was raised having this comfort food and I love them.
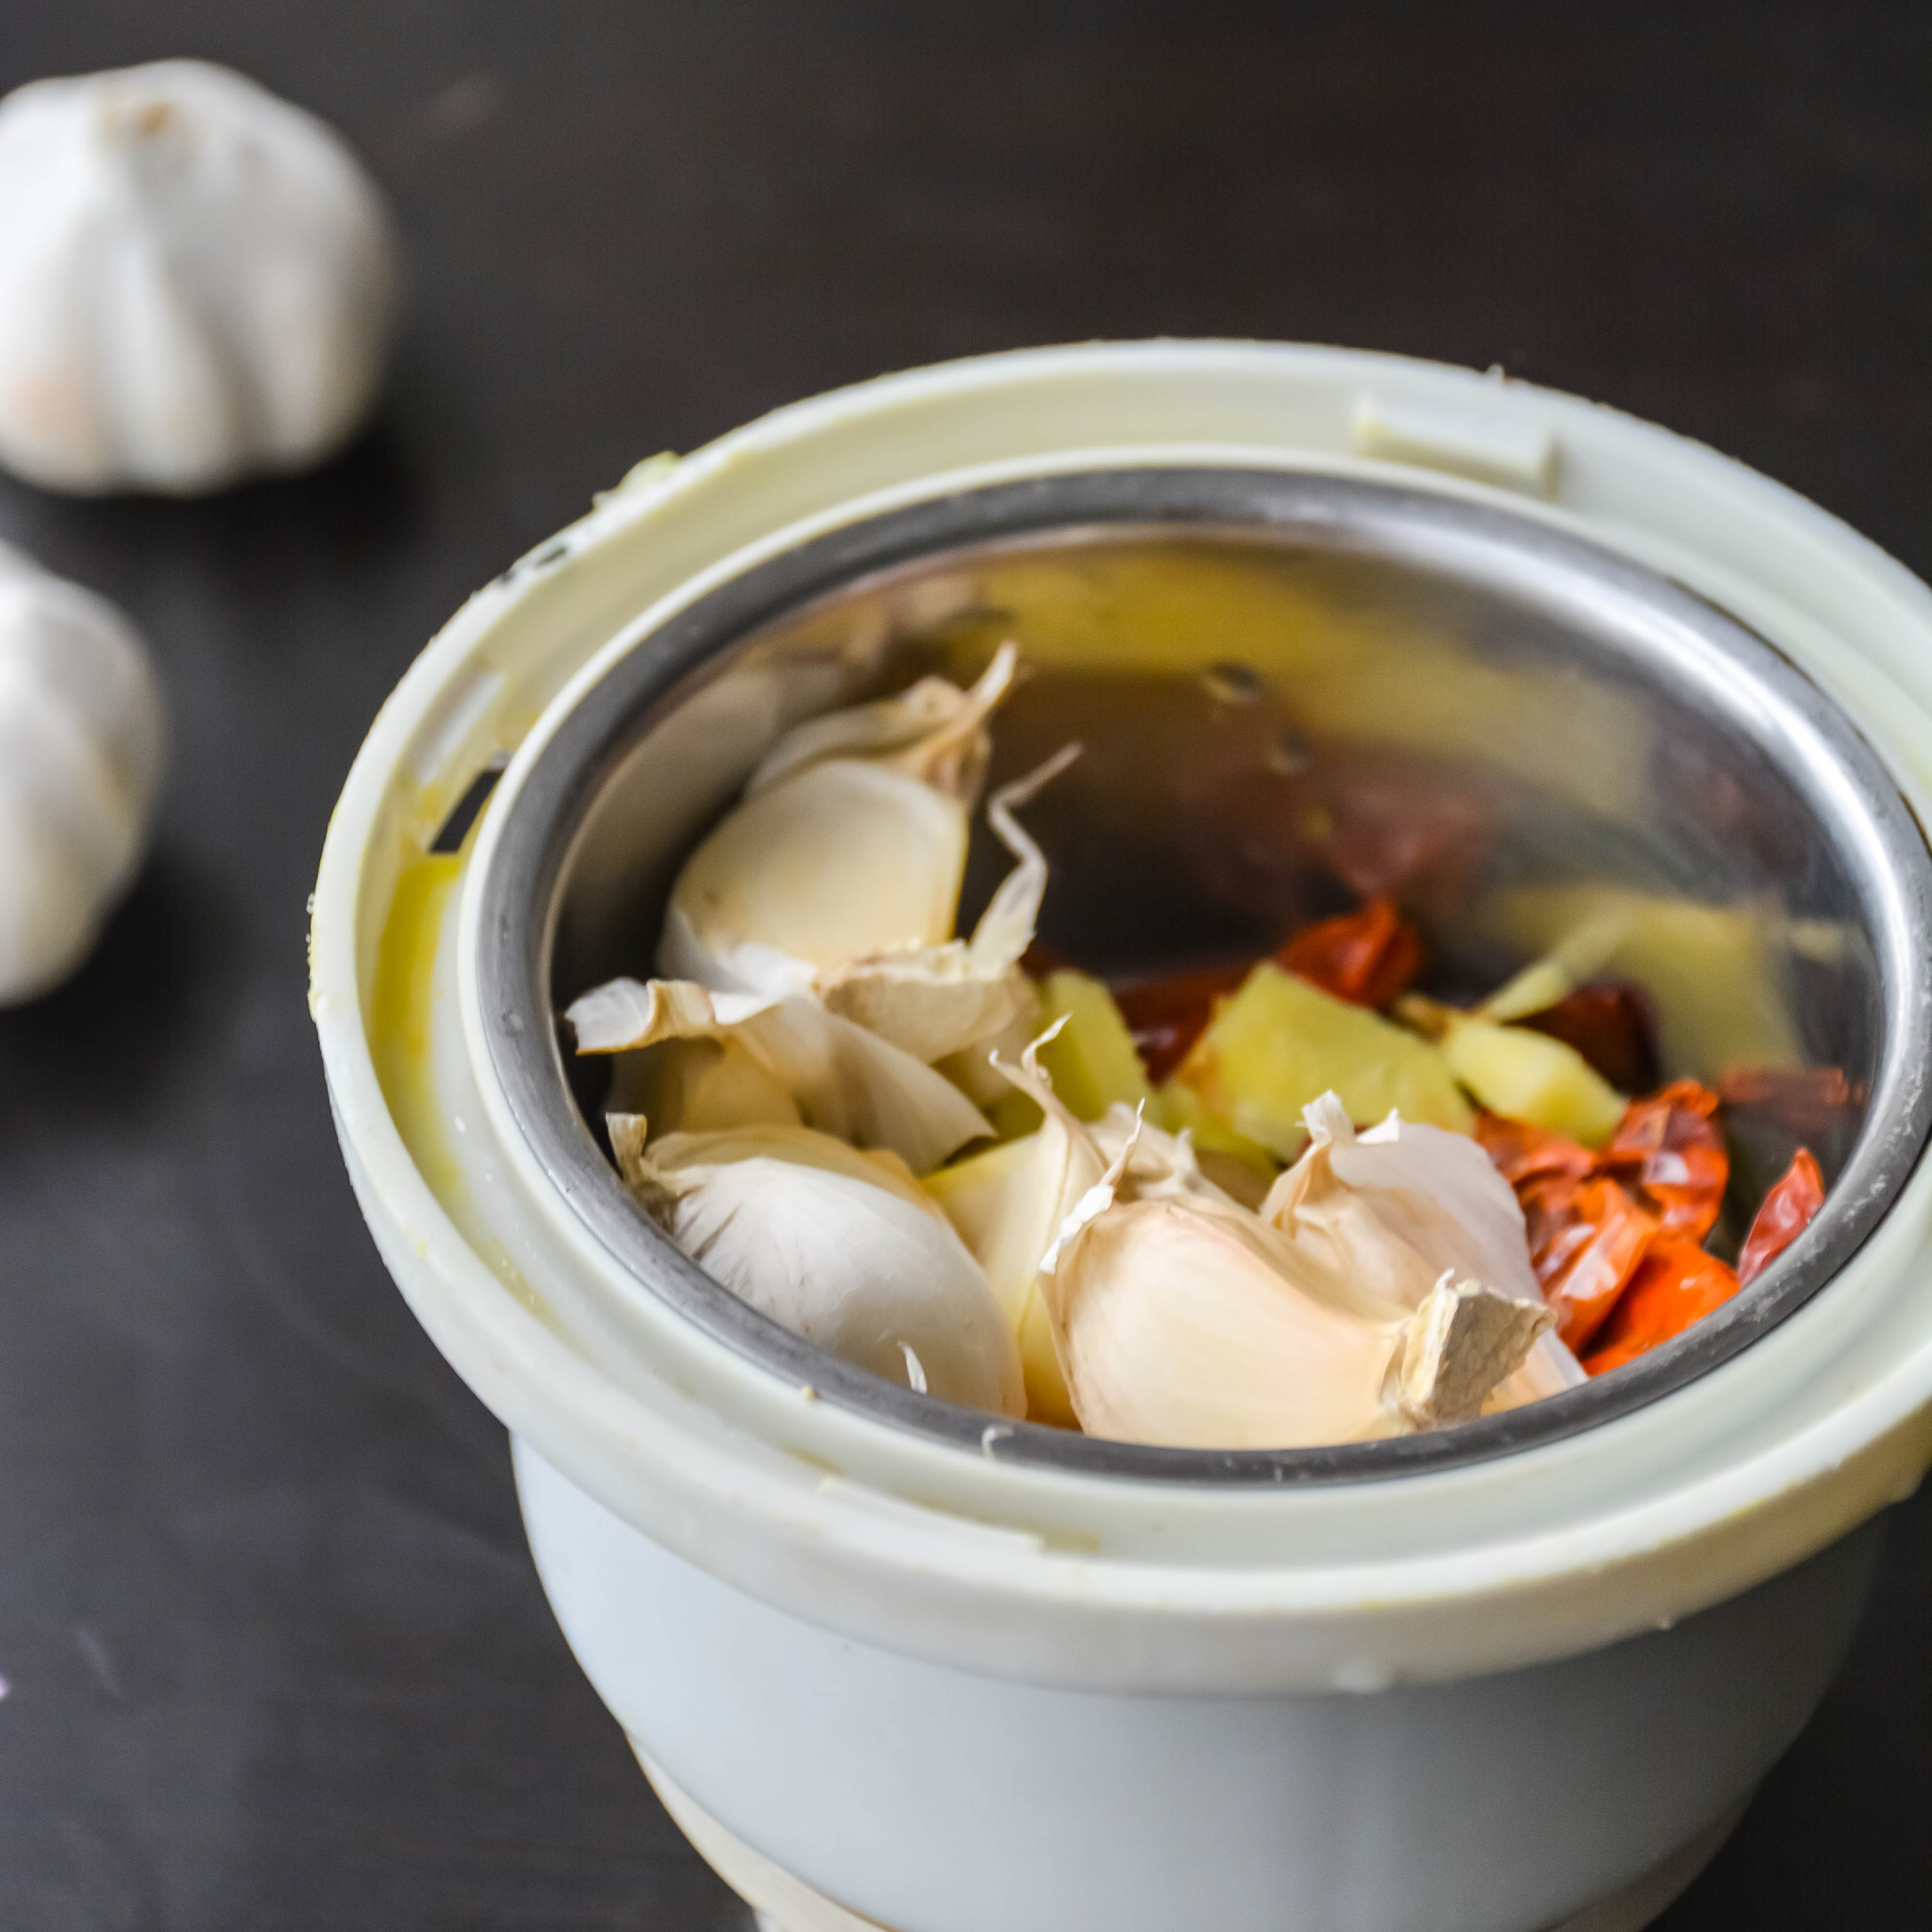
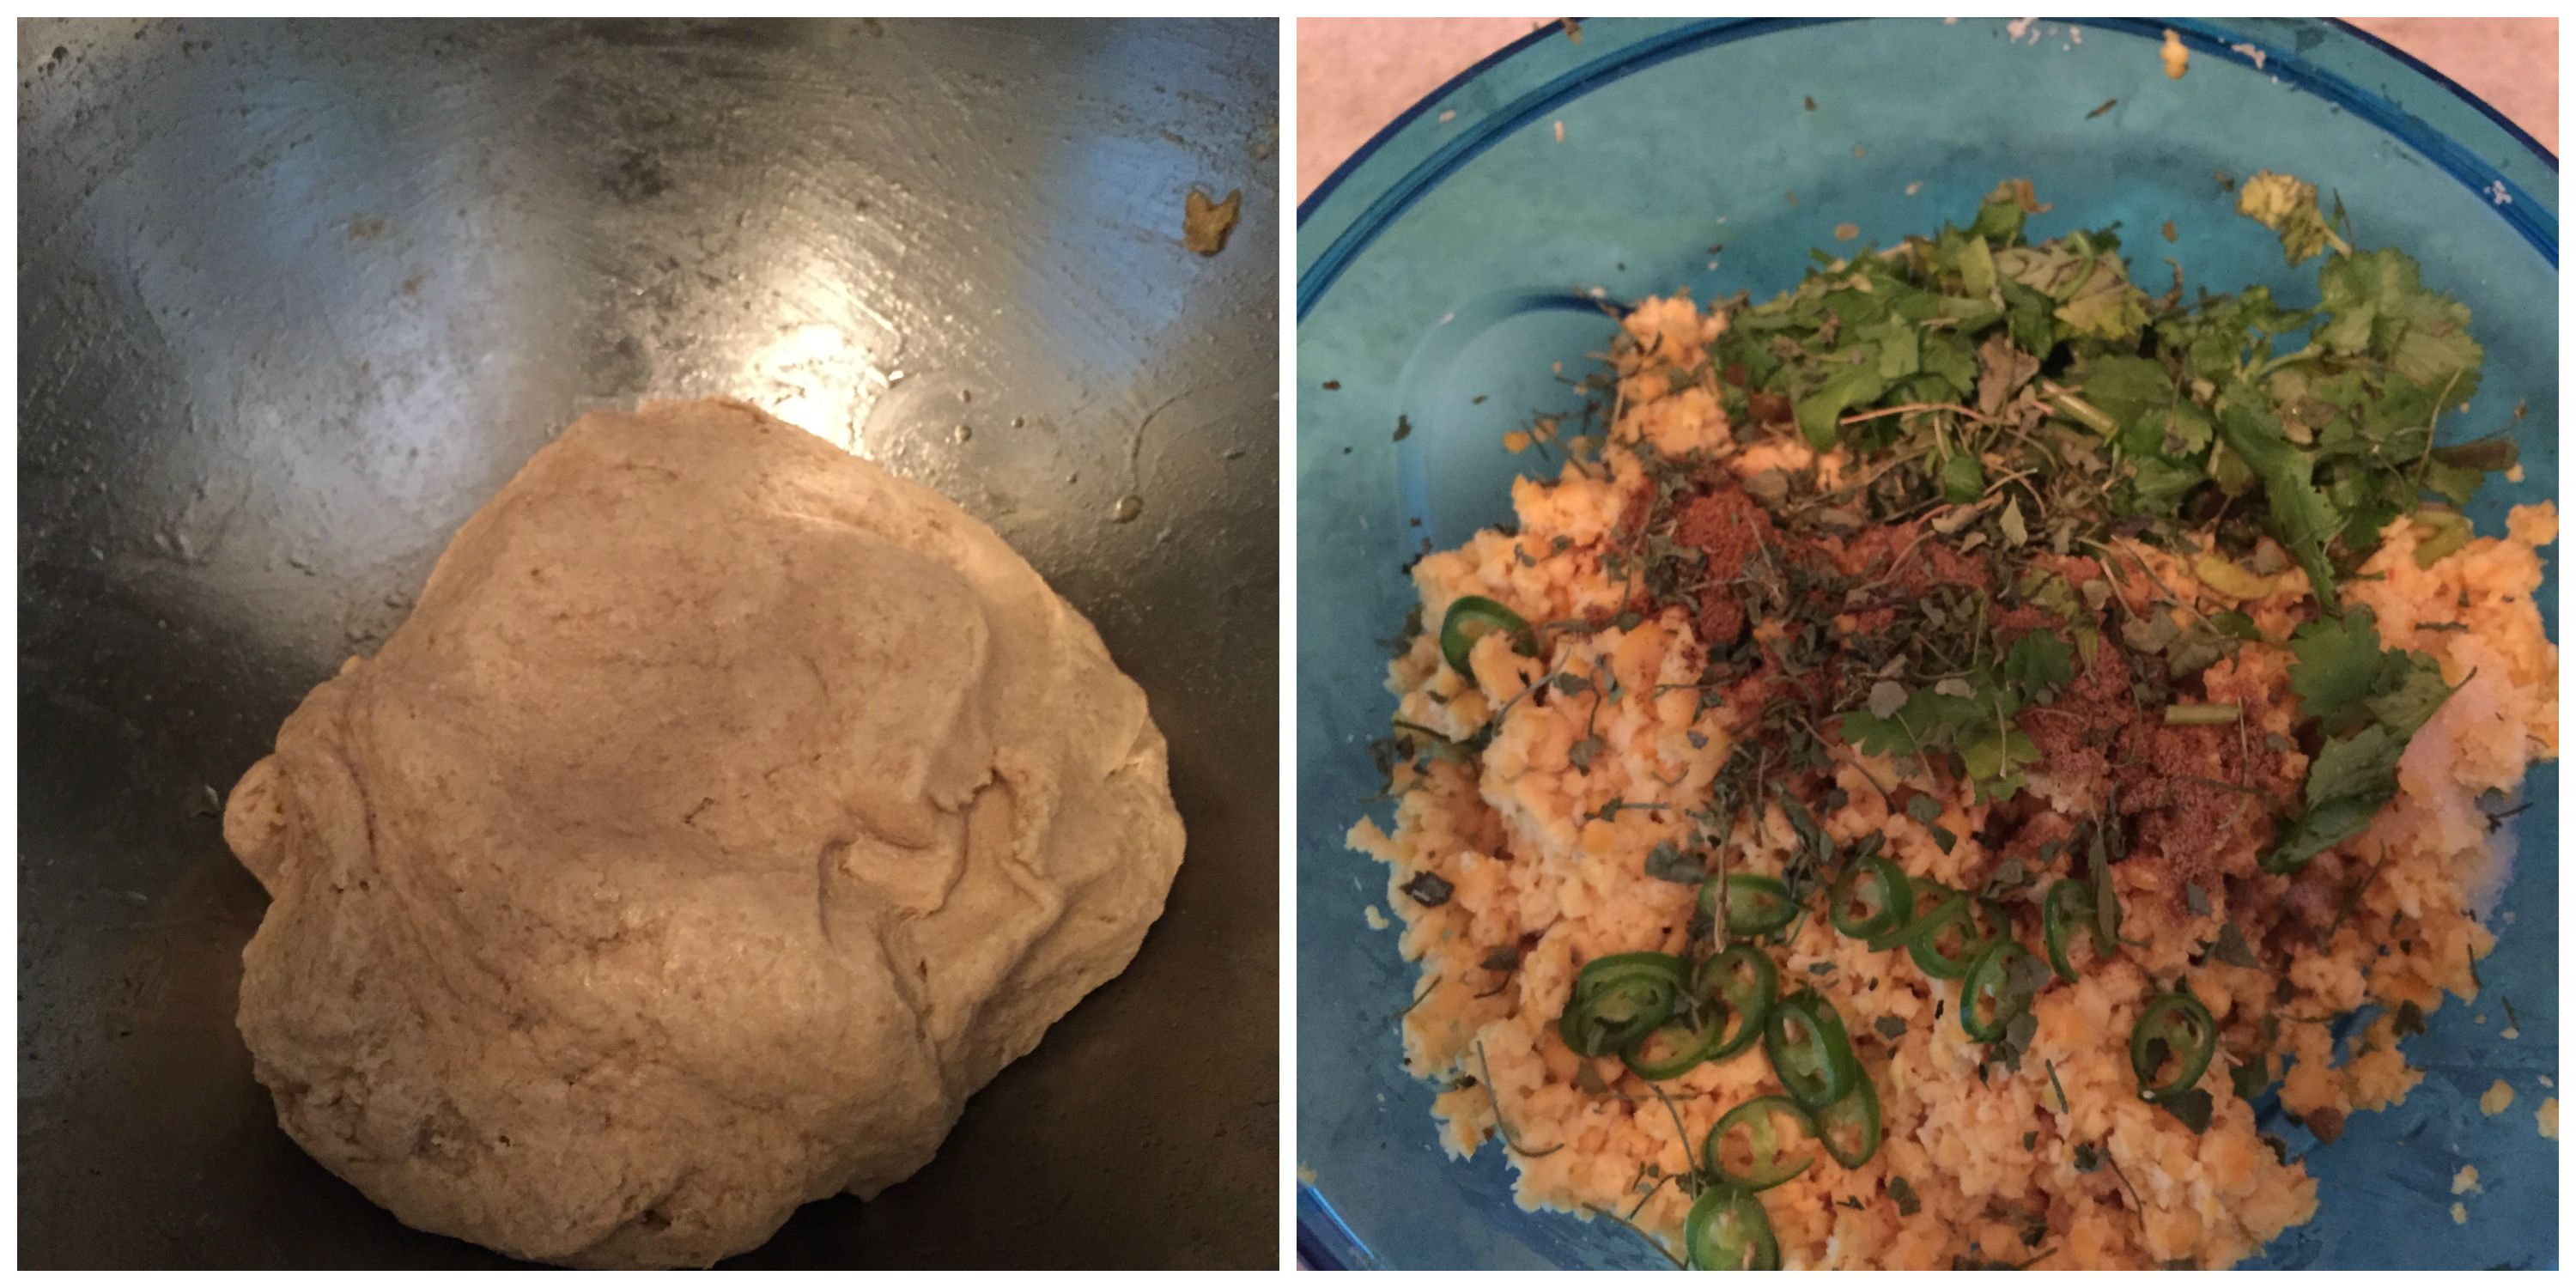
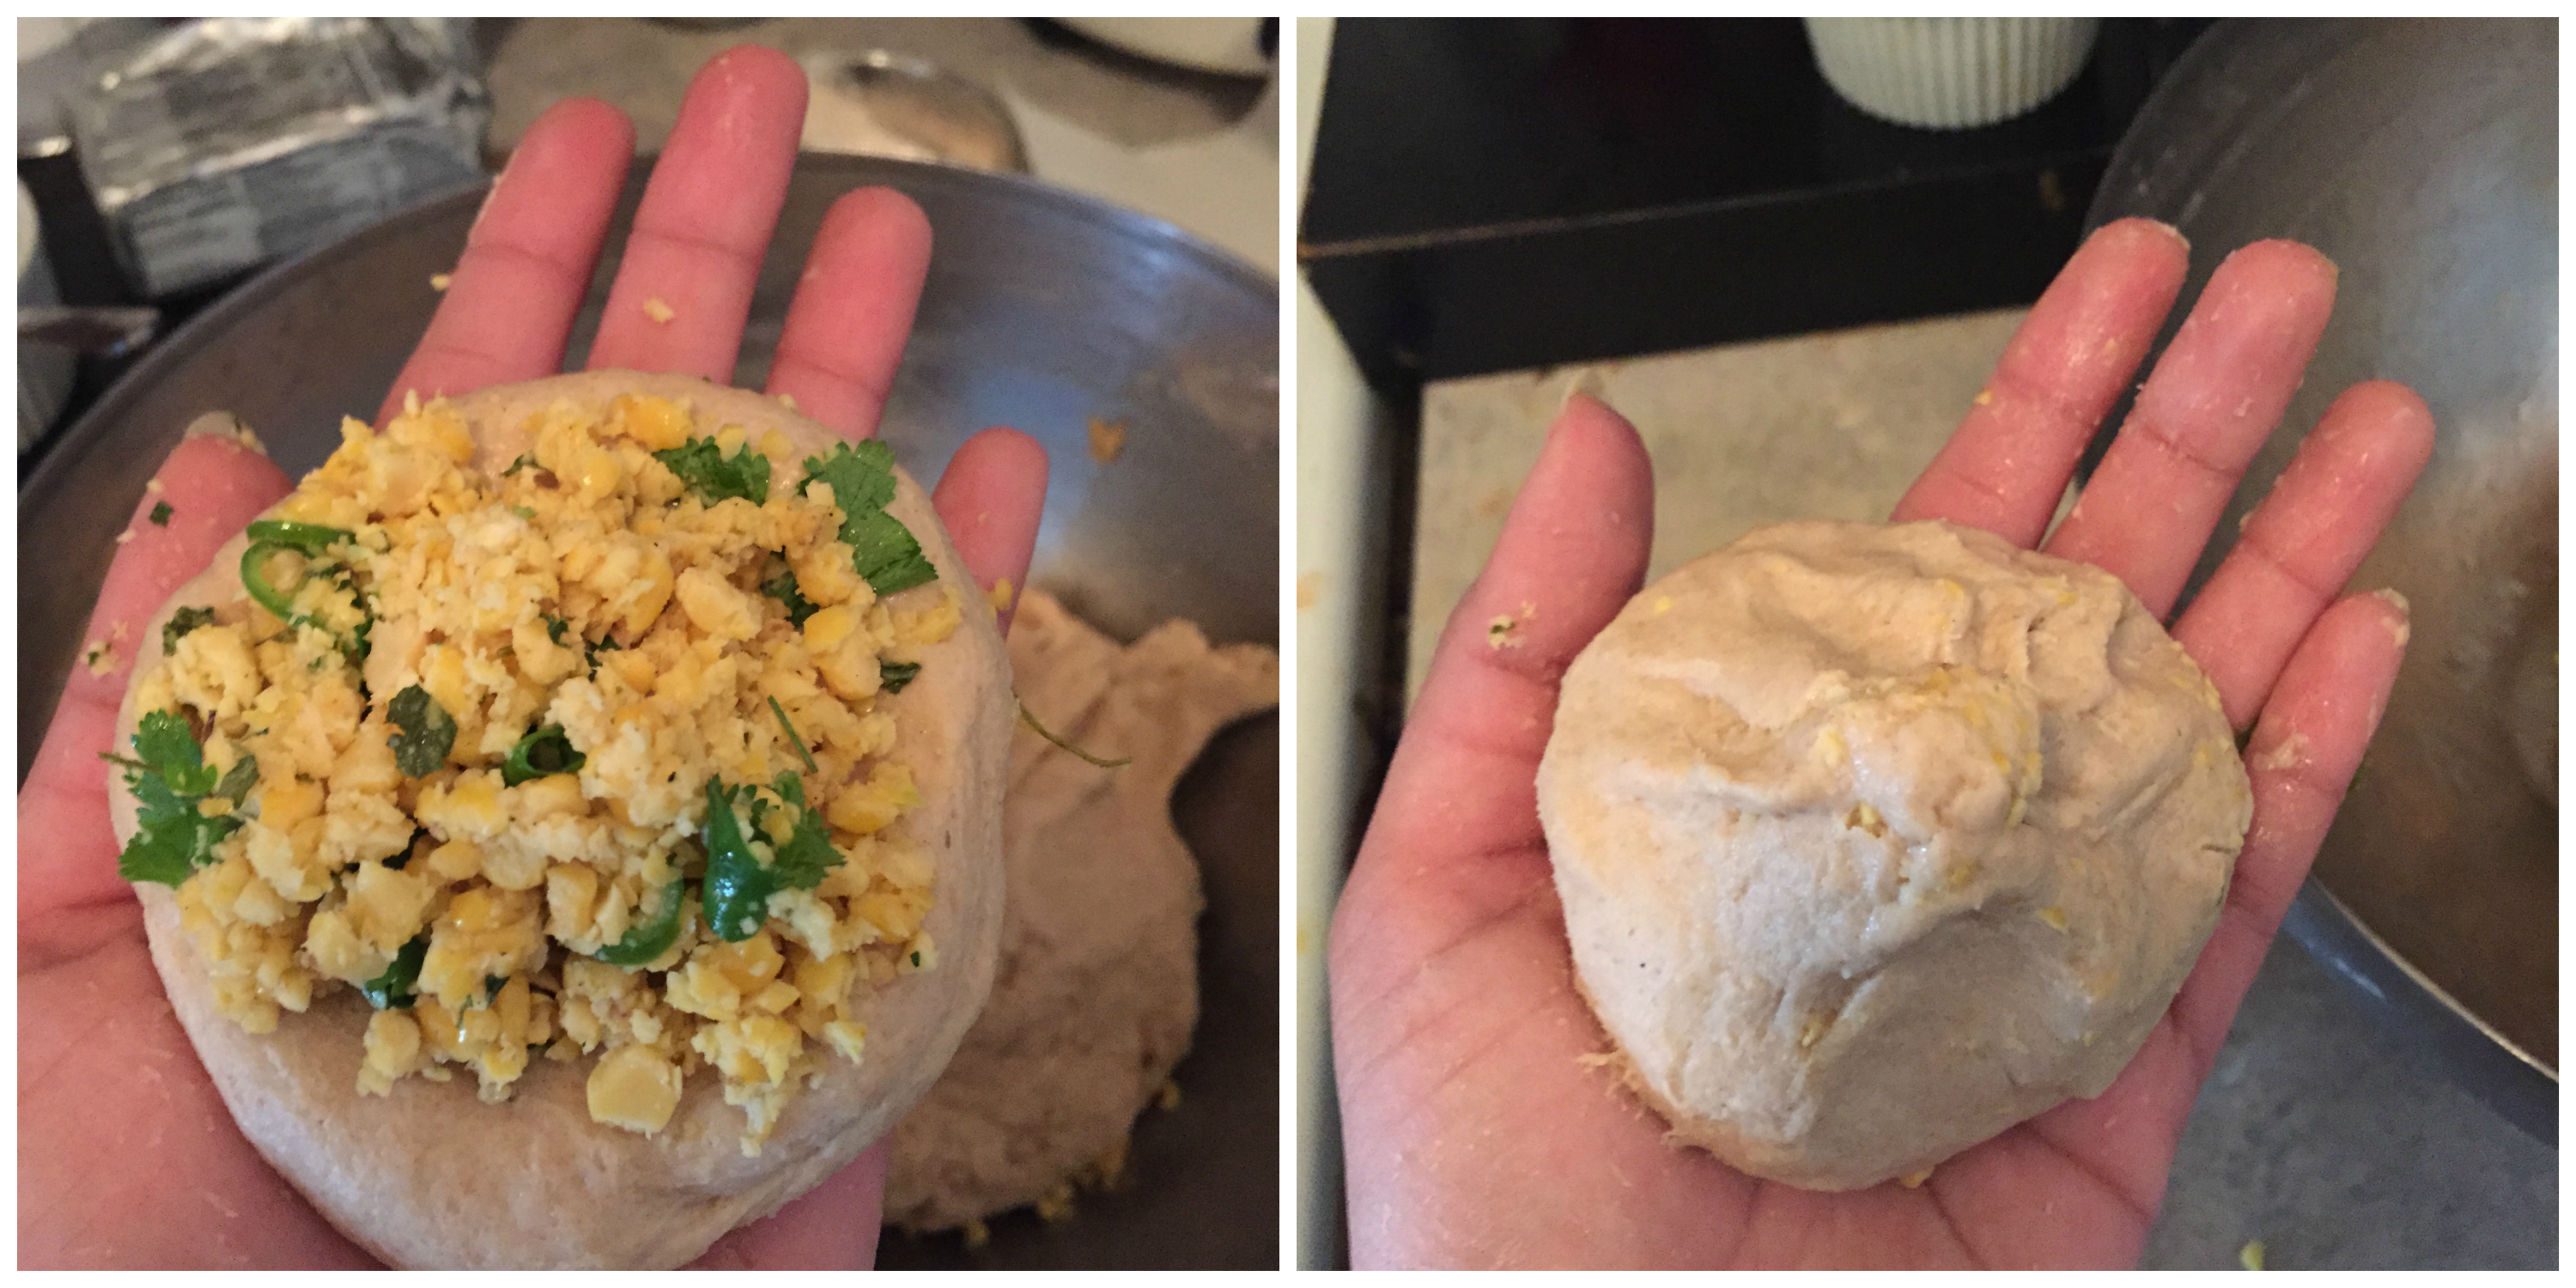
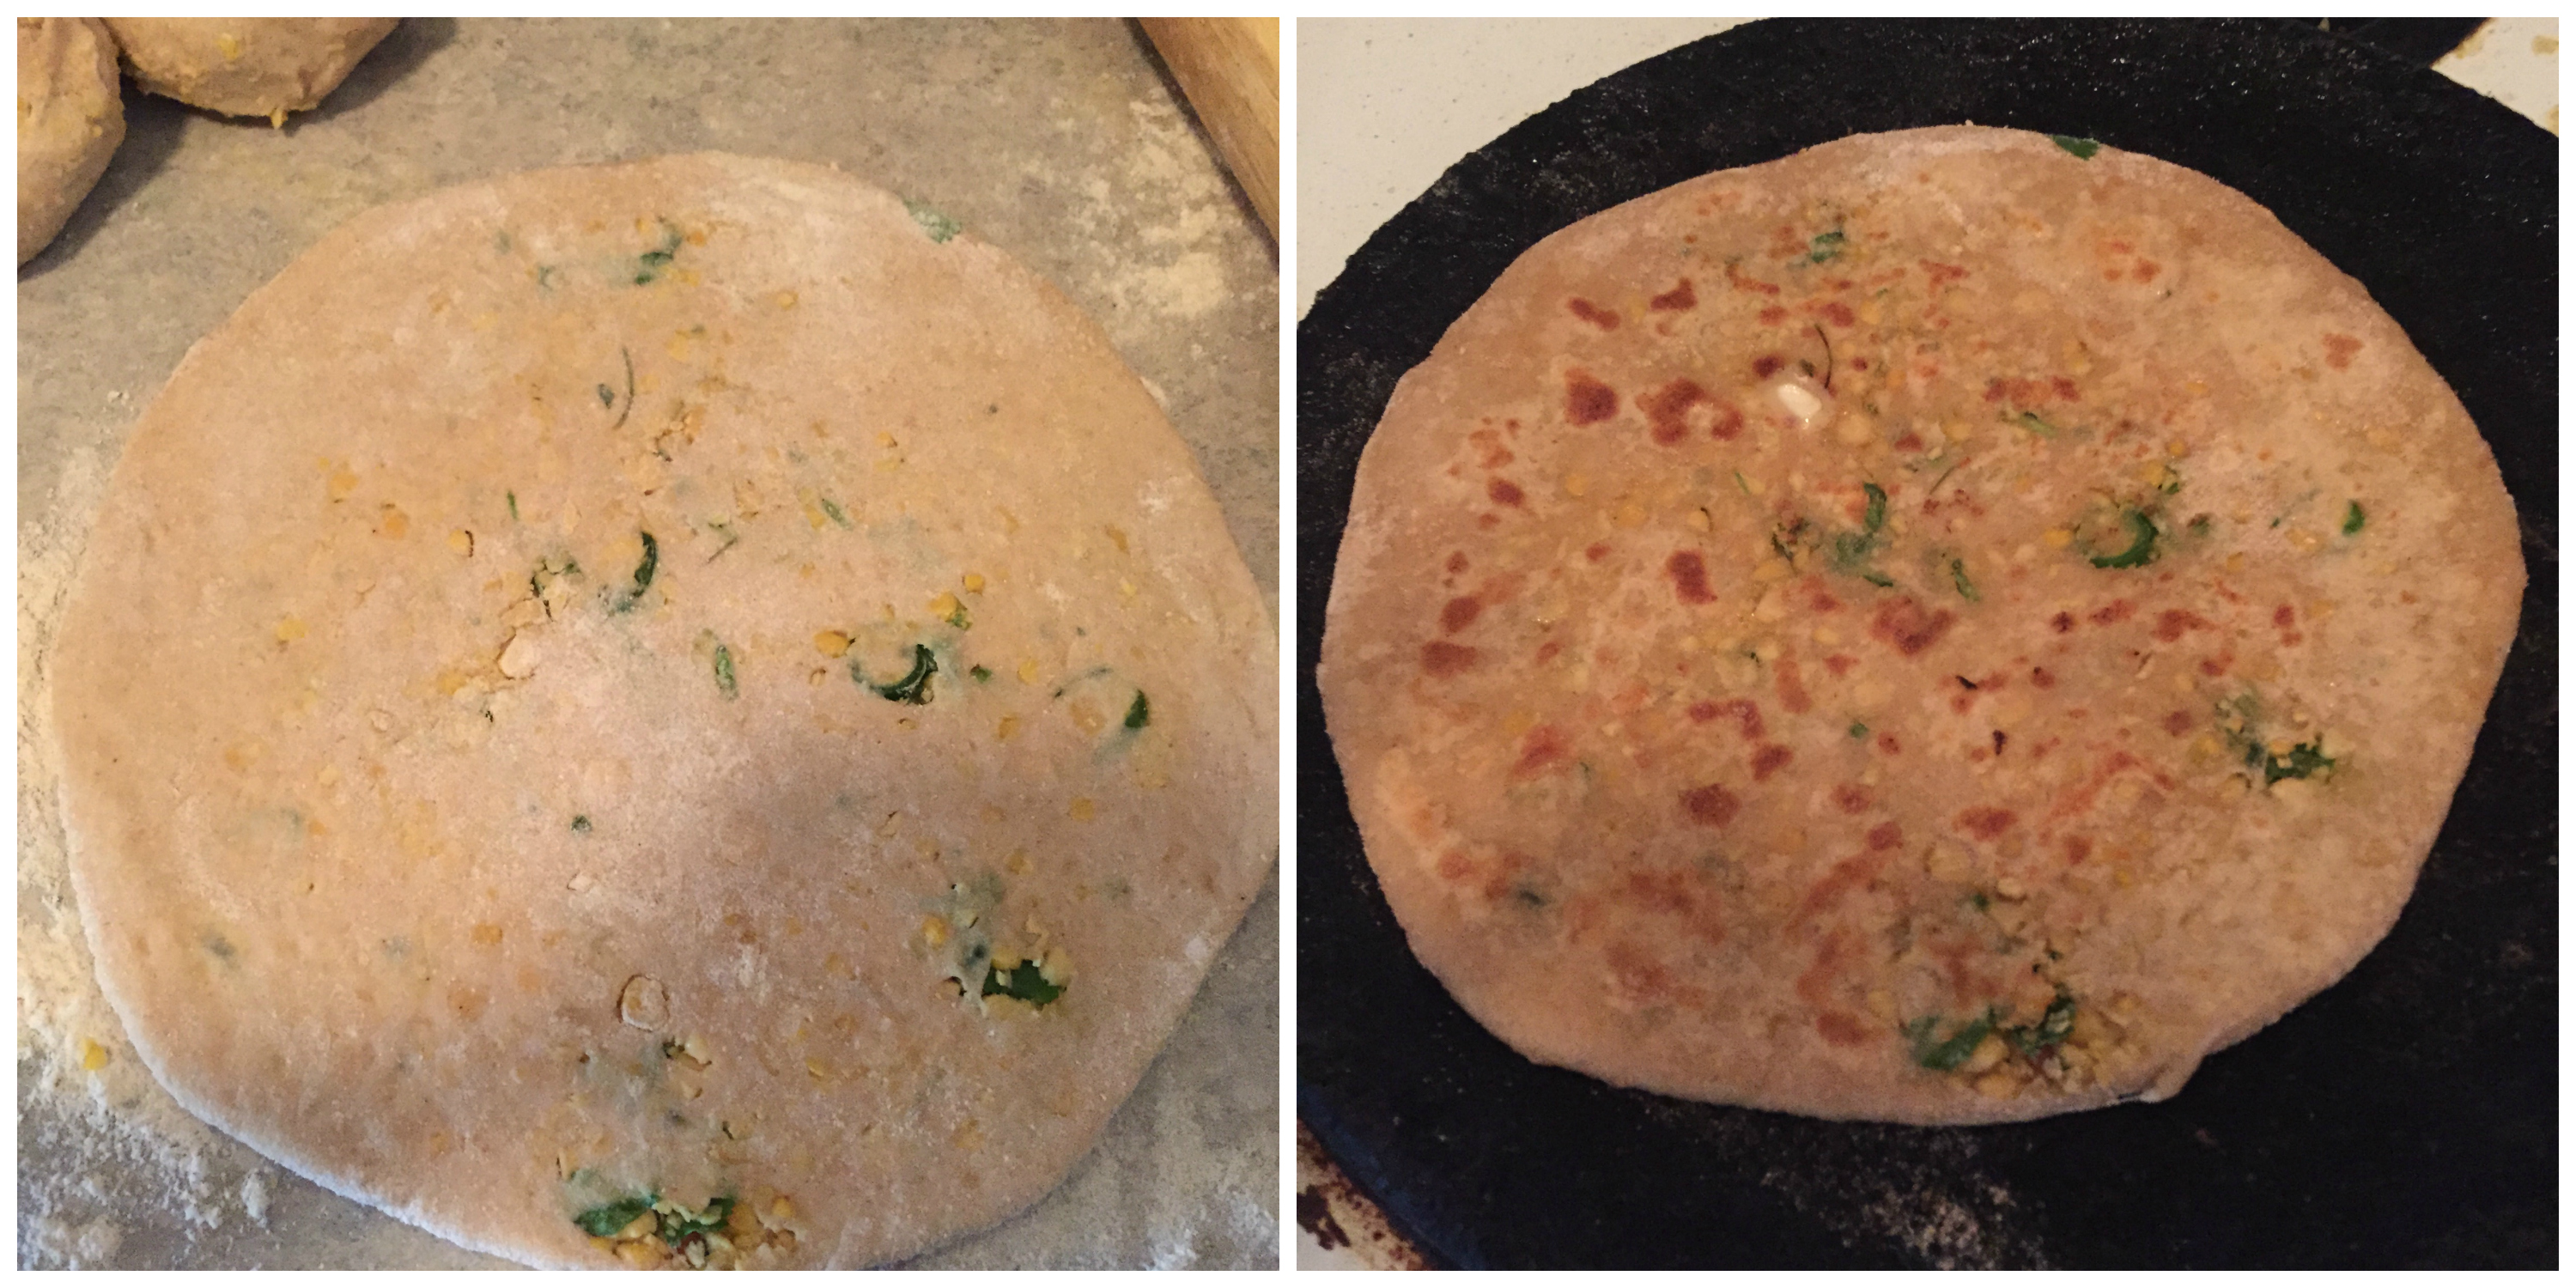
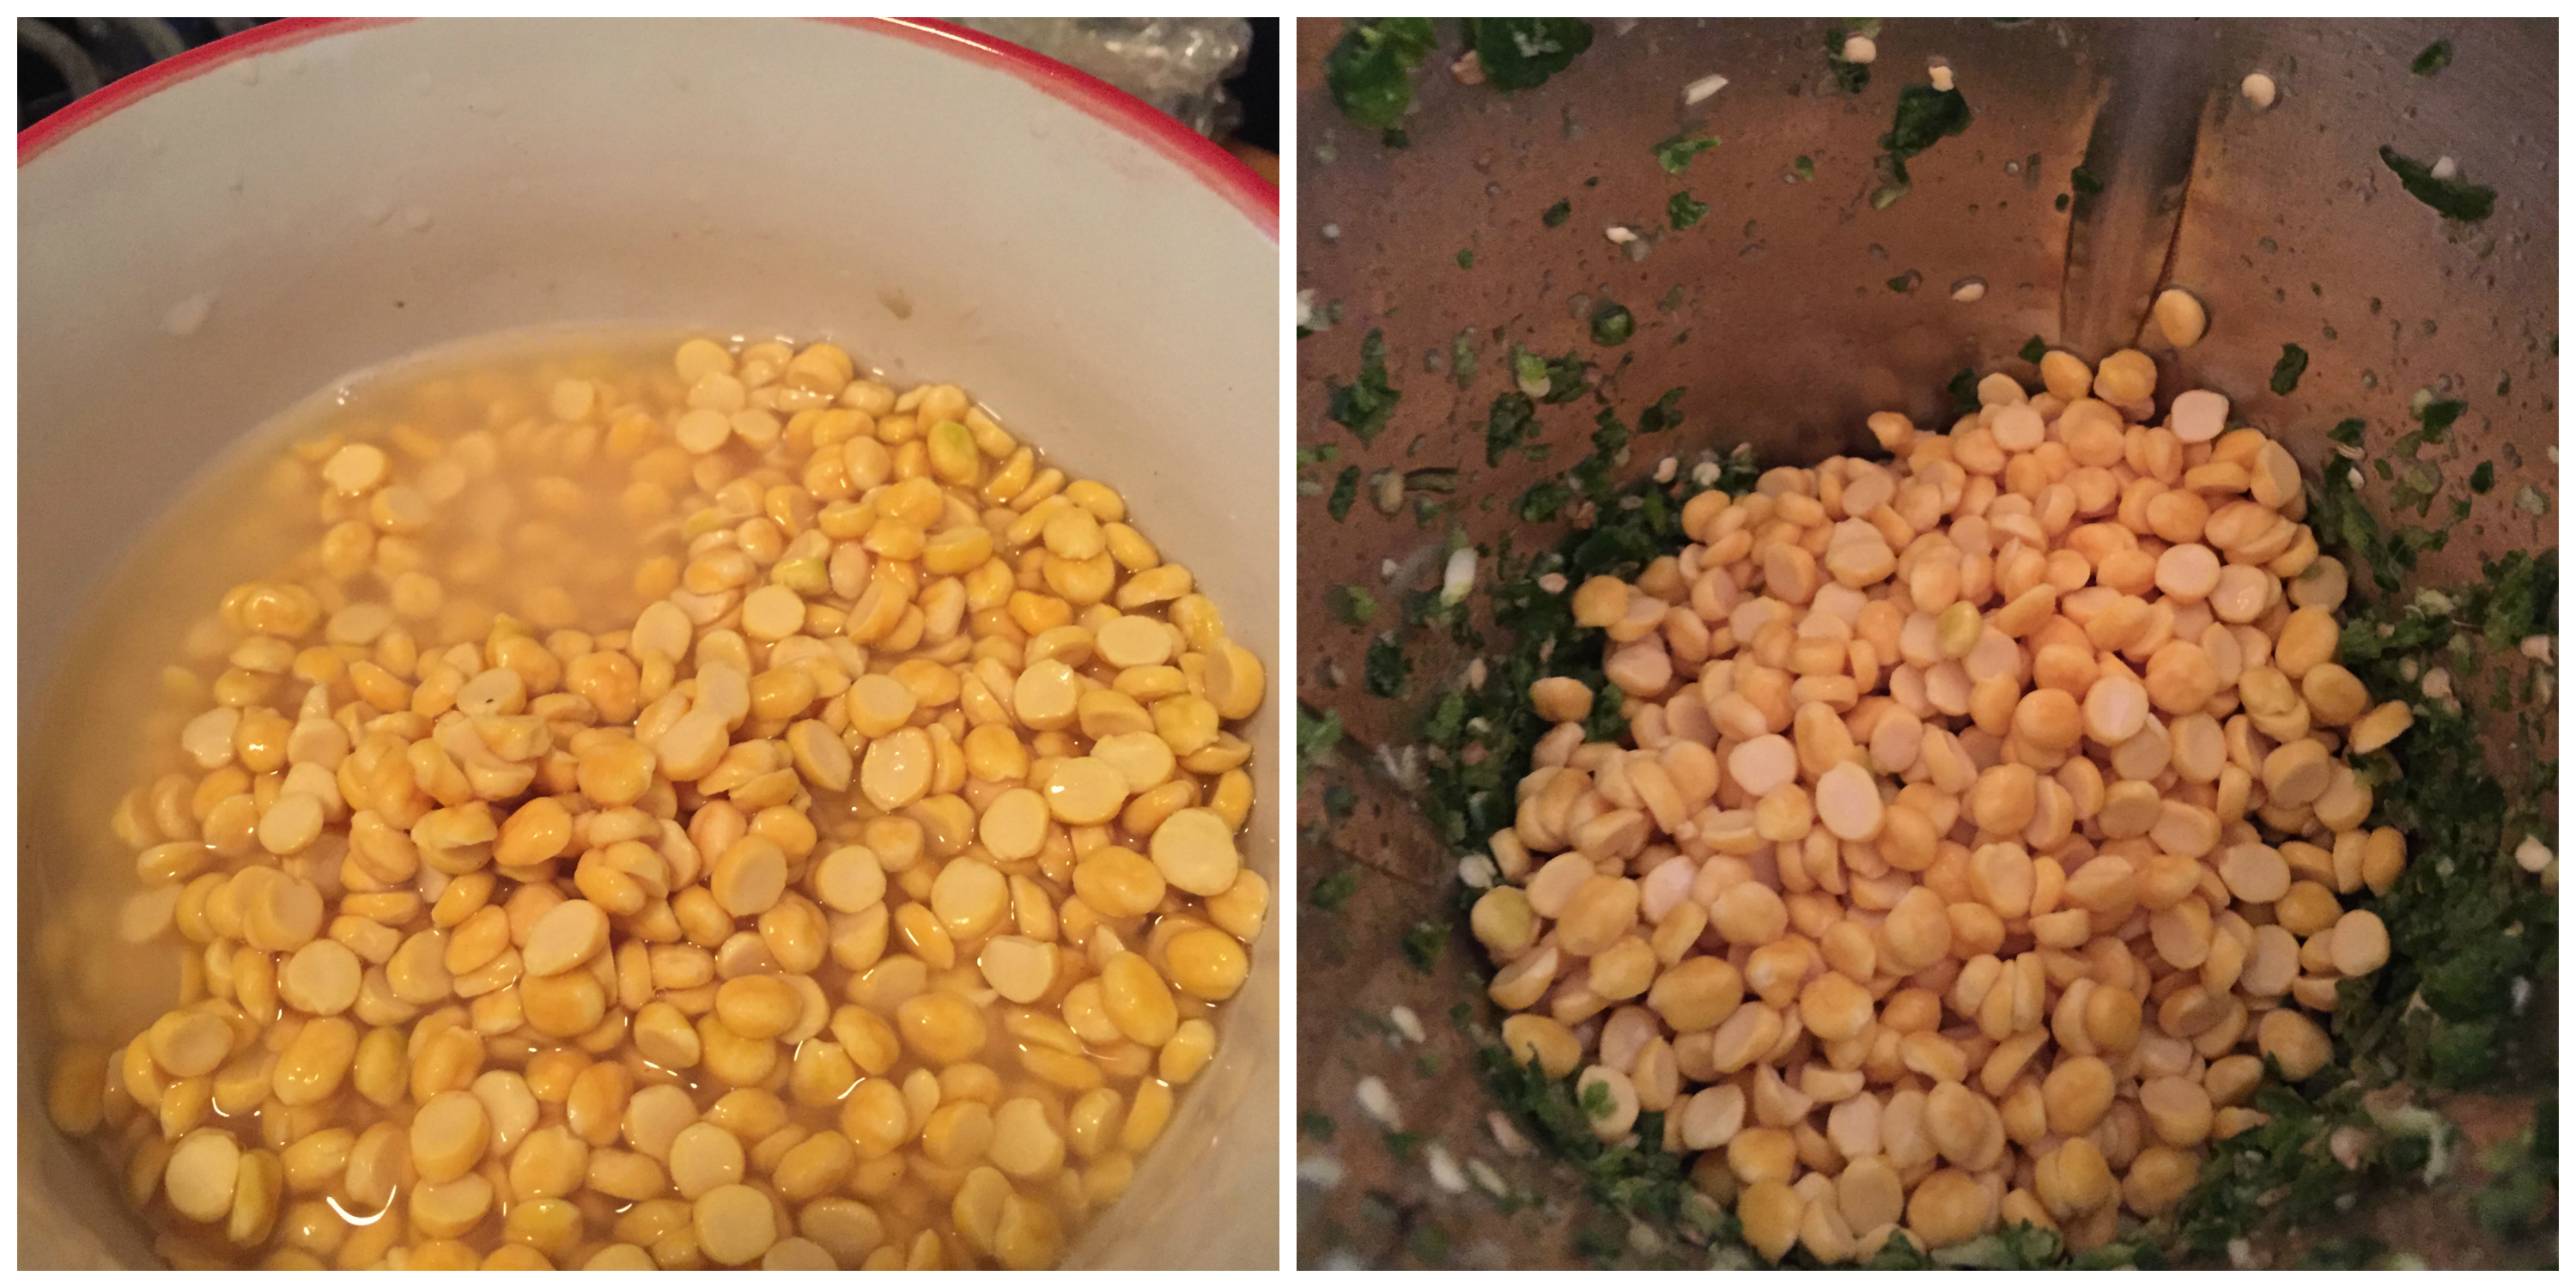
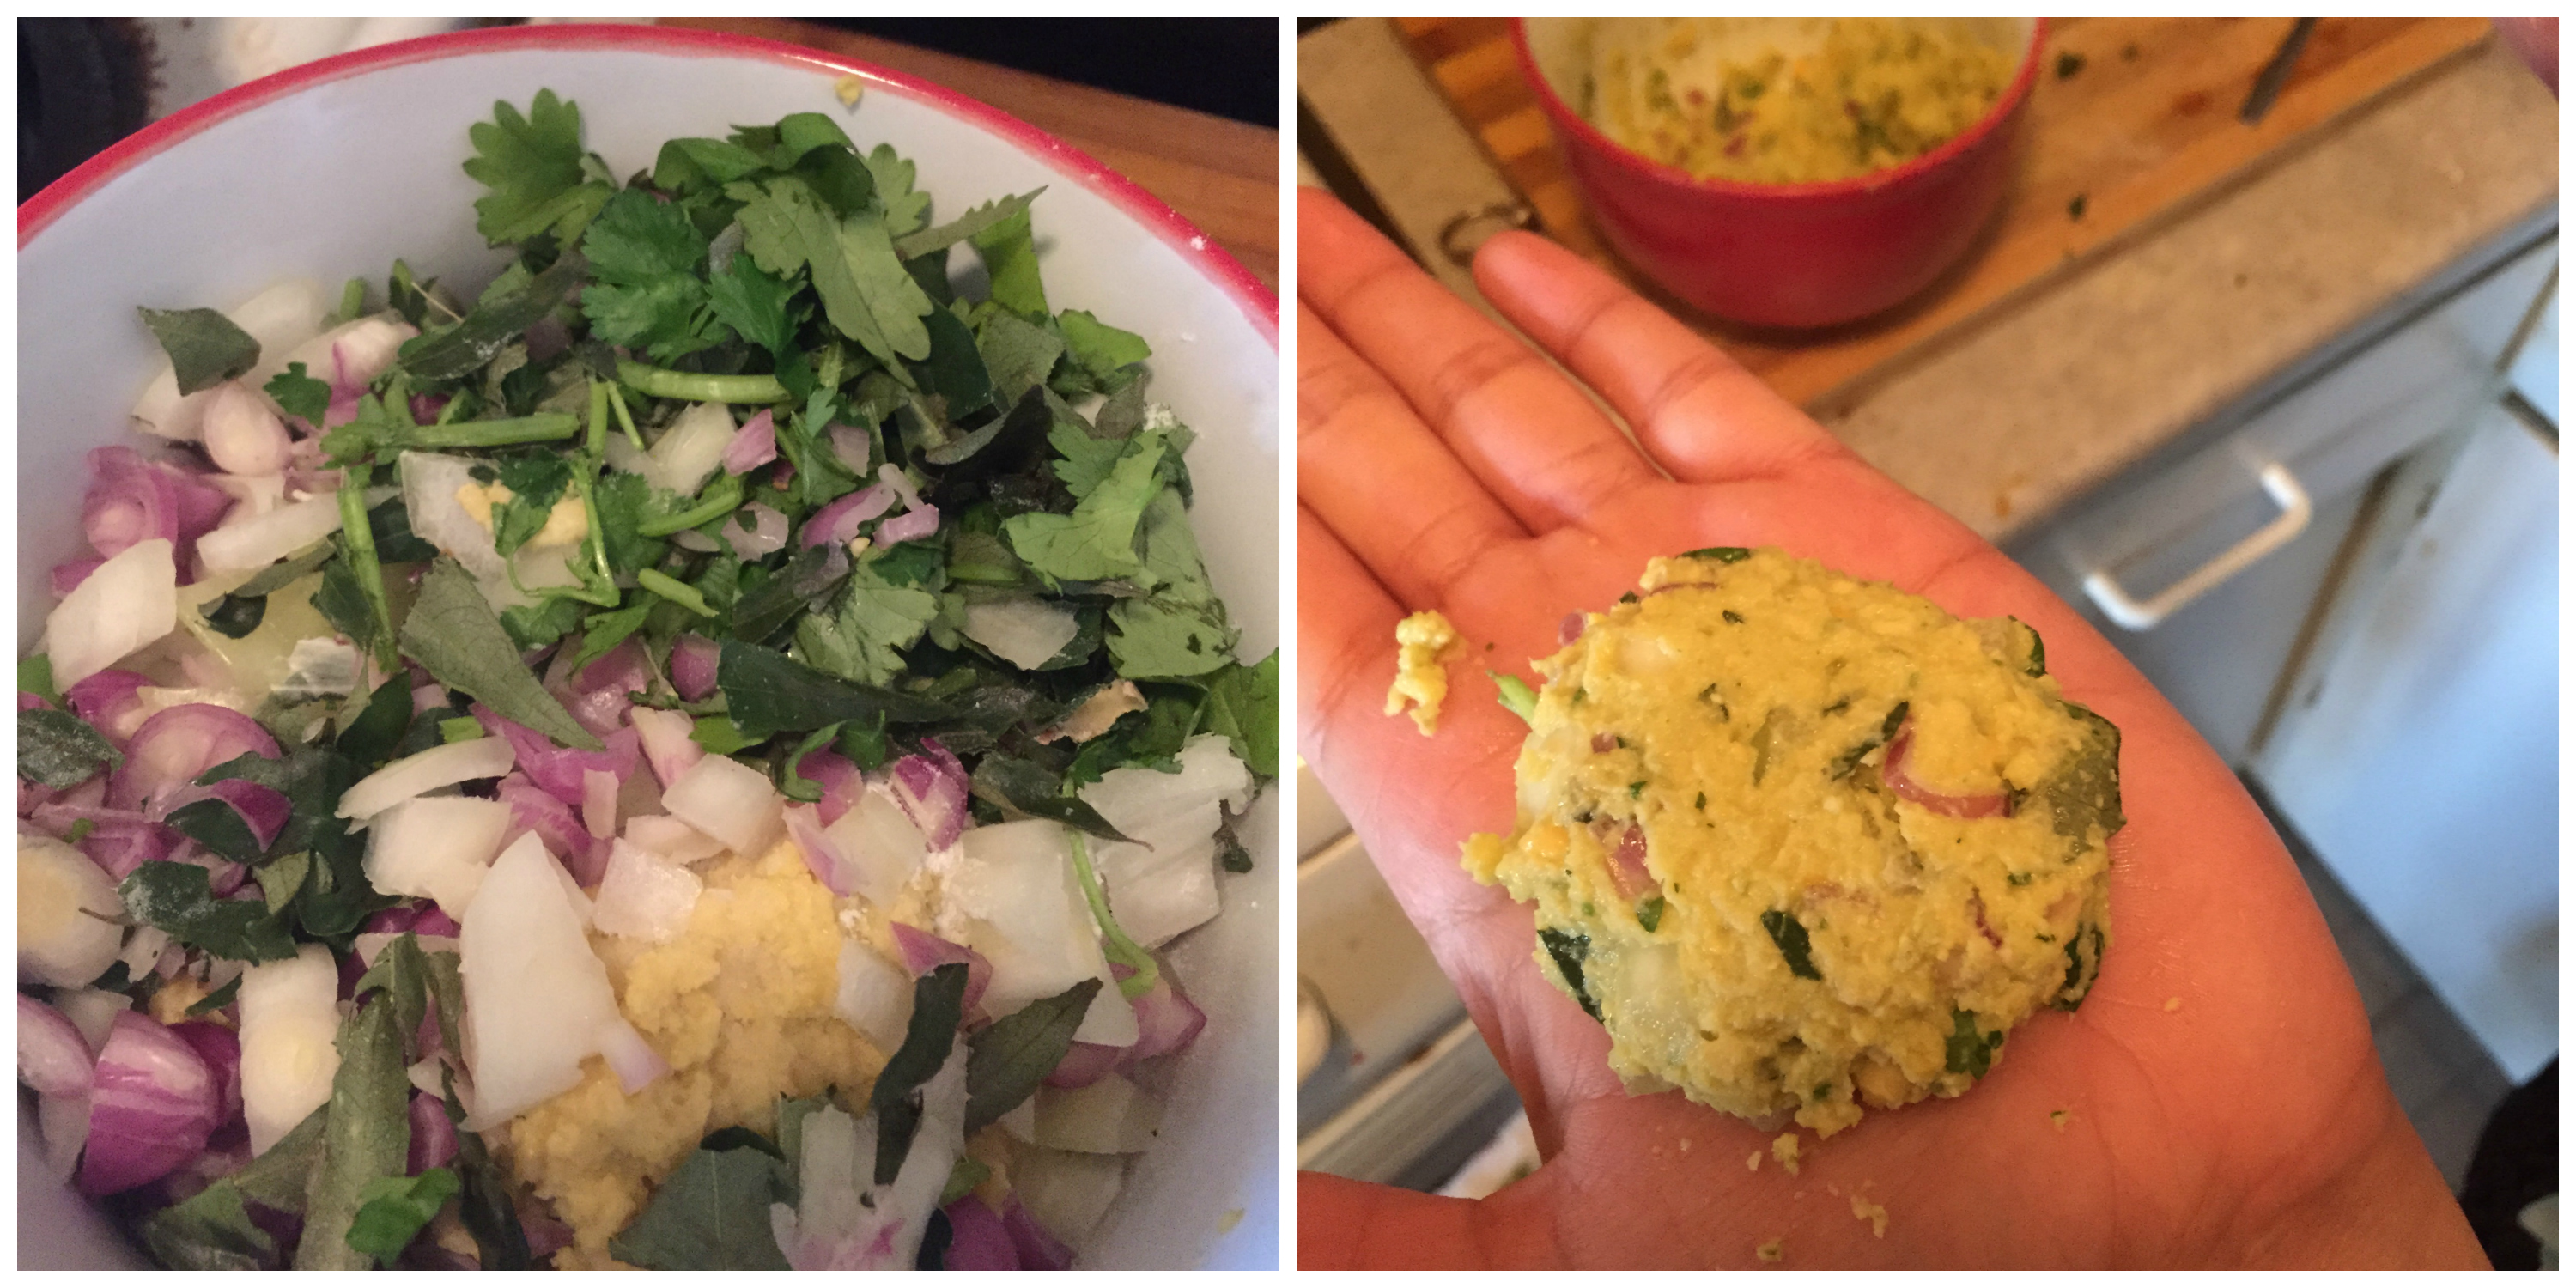
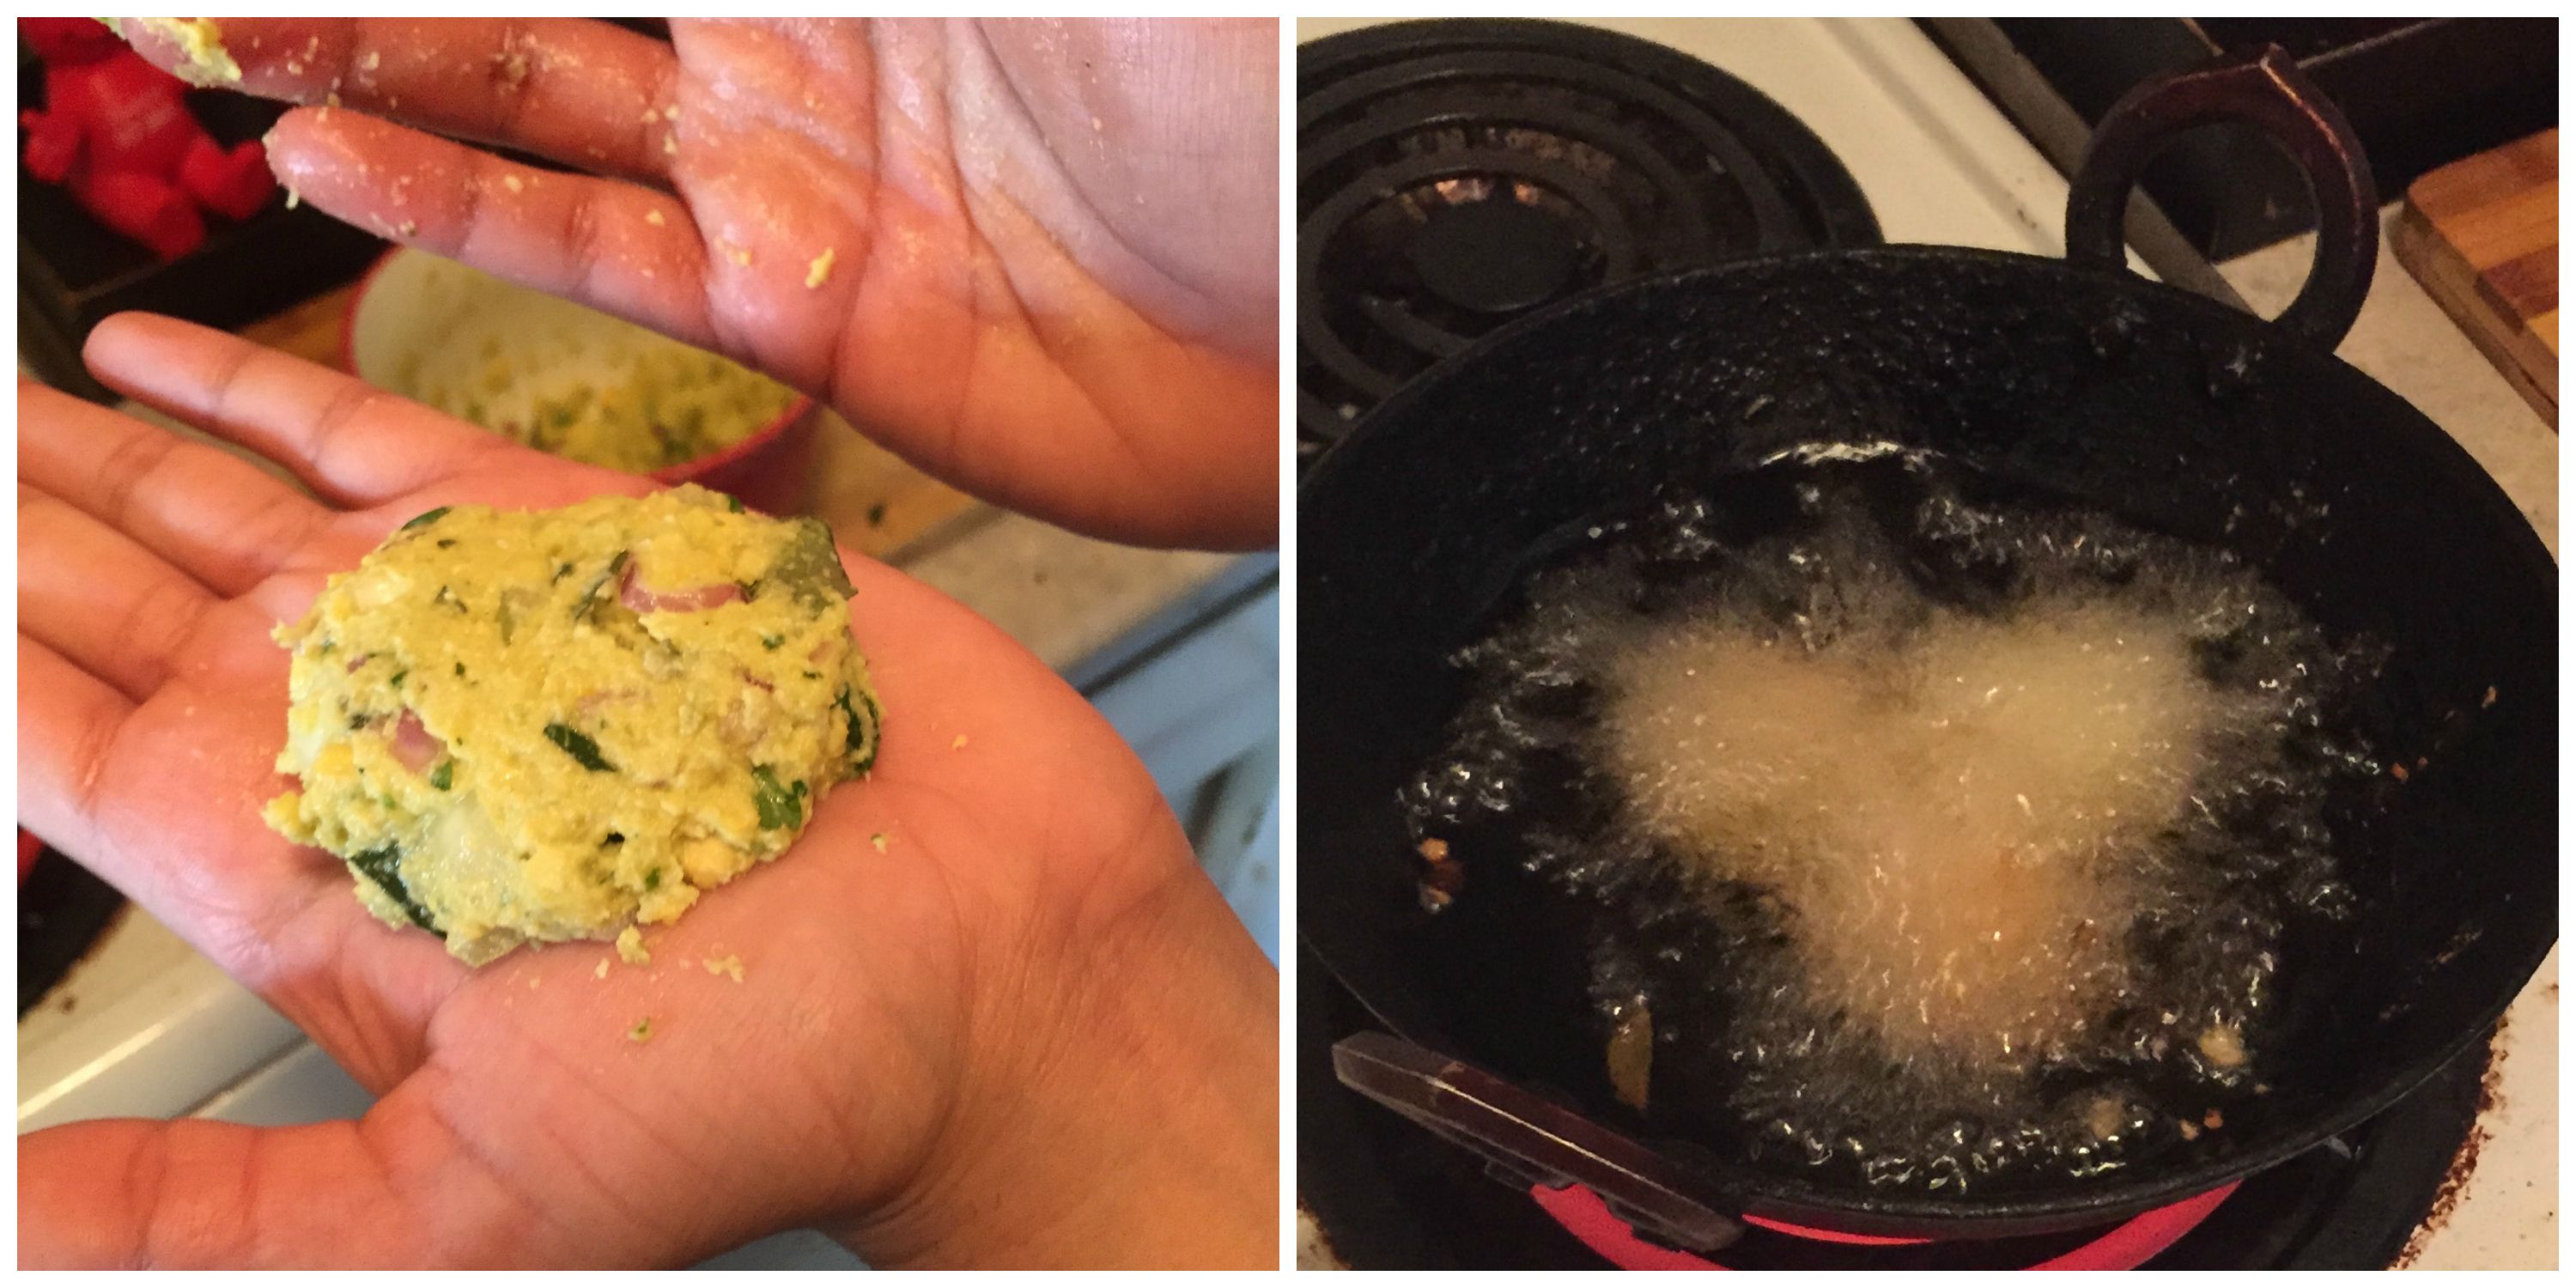
I noticed that there are no raw banana recipes in my site. I noted 😉 in my list to add few more.
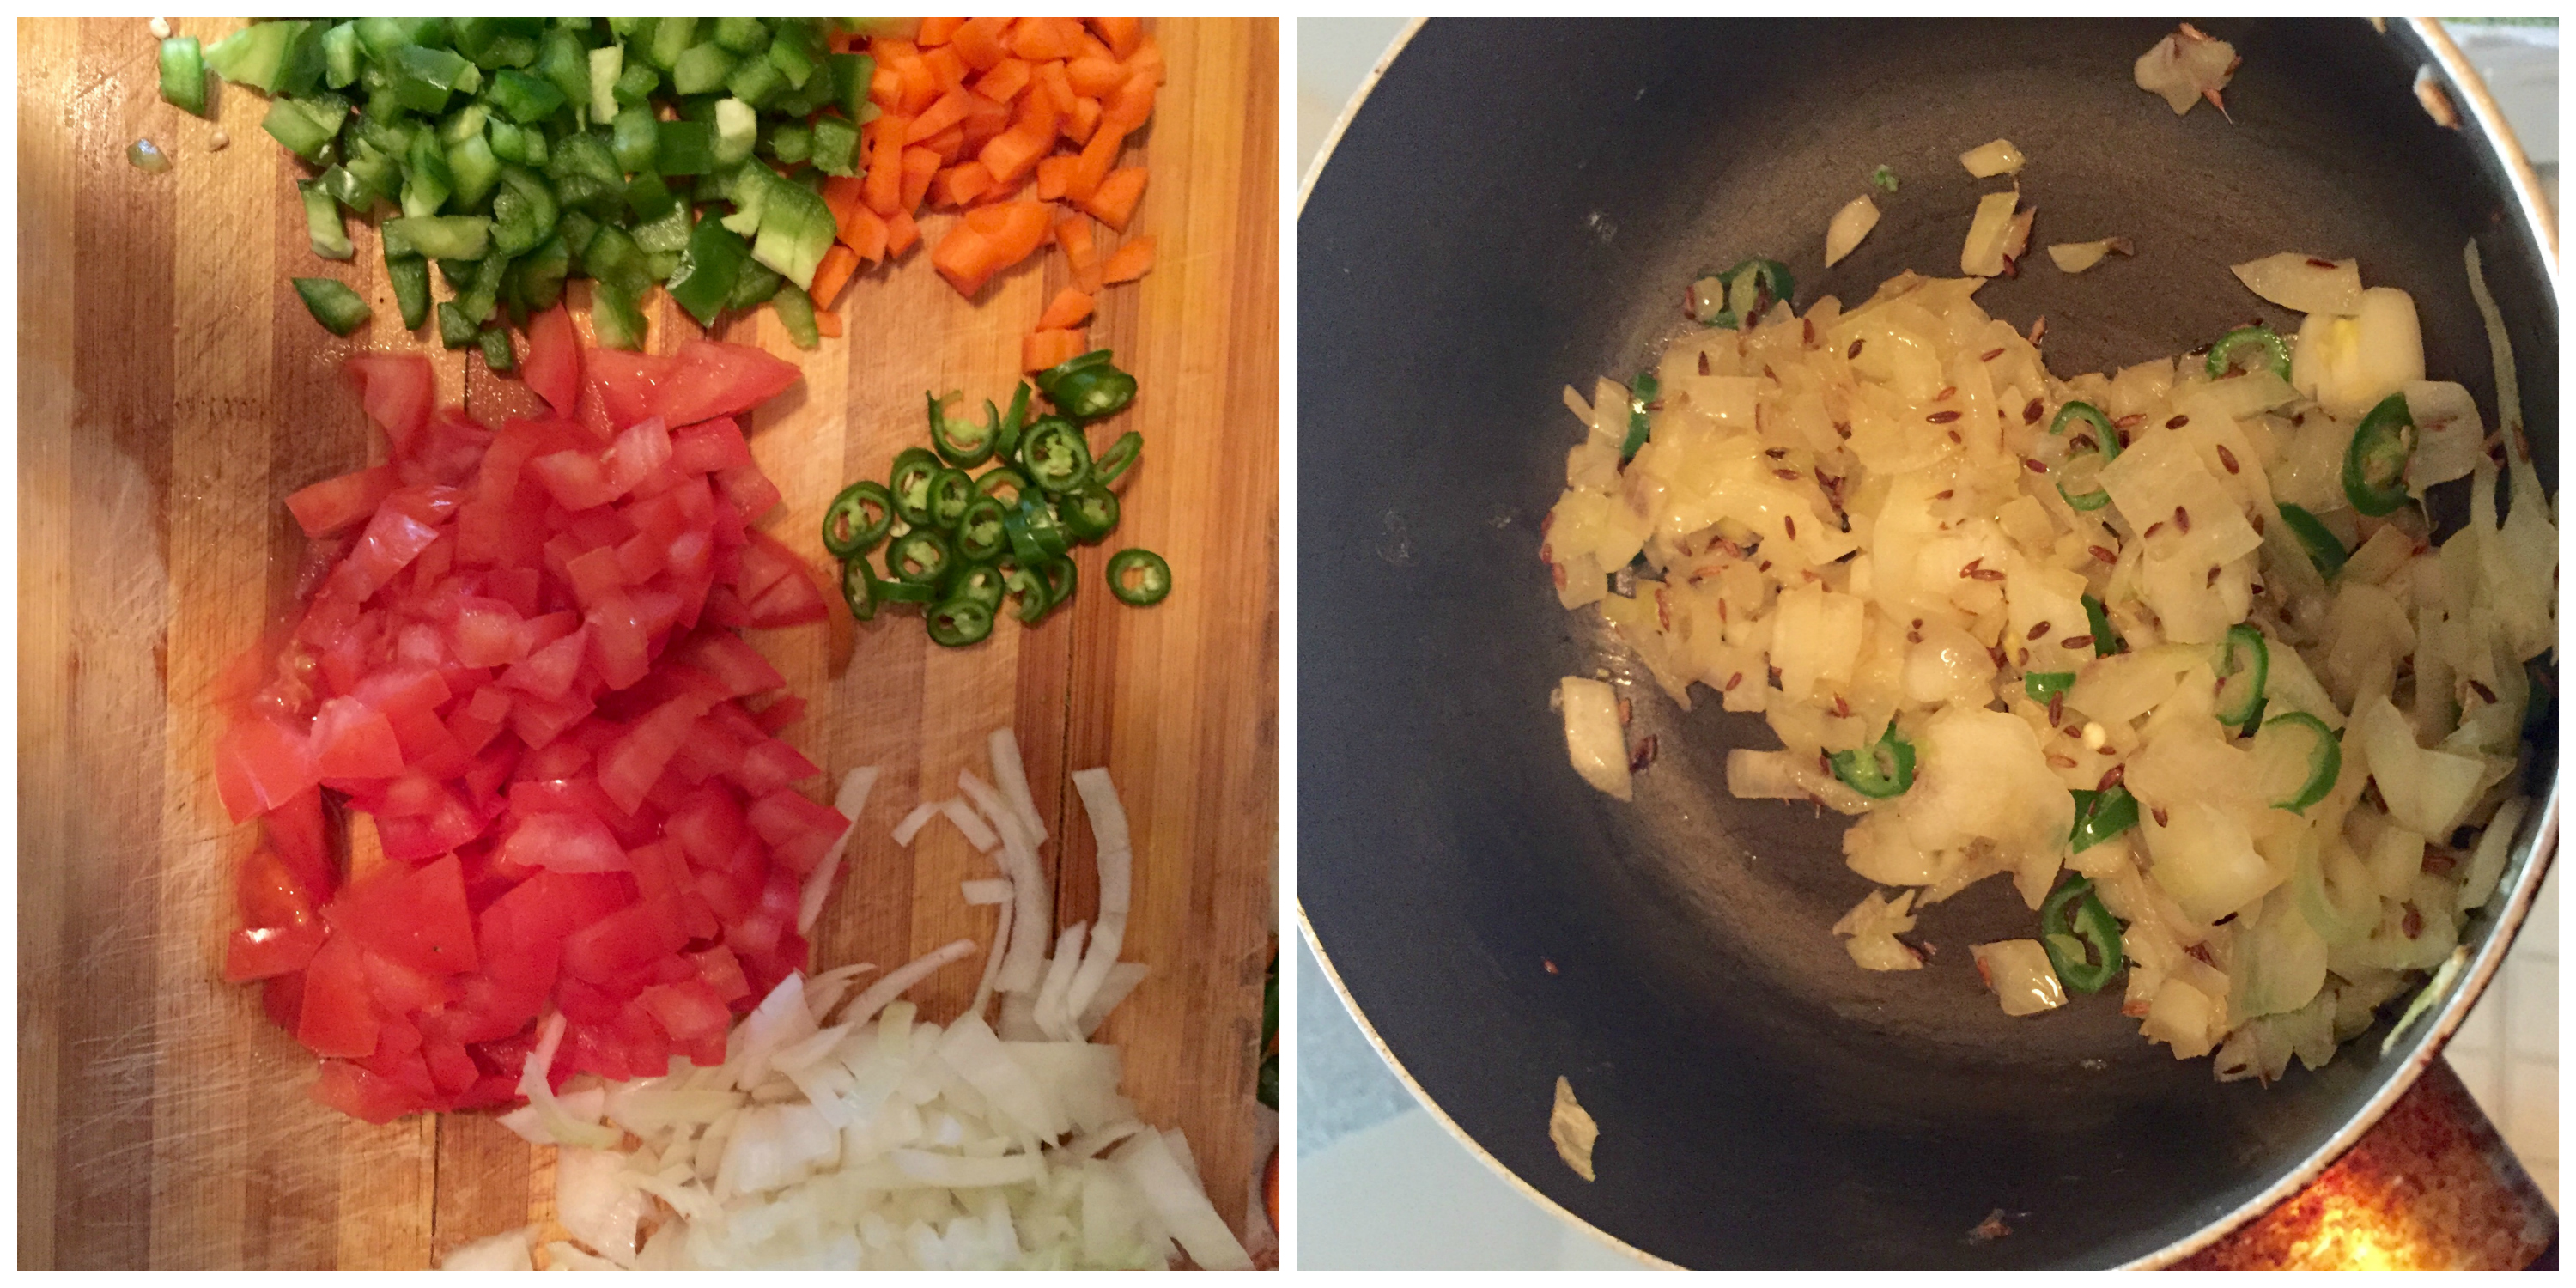
- • Raw banana/ vazhakkai – 2 medium sized( 2 cups), thinly sliced into circles
- • Oil - 2 tbsp
- • Mustard seeds - ¾ tbsp
- • Cumin seeds (Jeera) - 1 tsp
- • Urad dal - 2 tsp
- • Curry leaves - 5
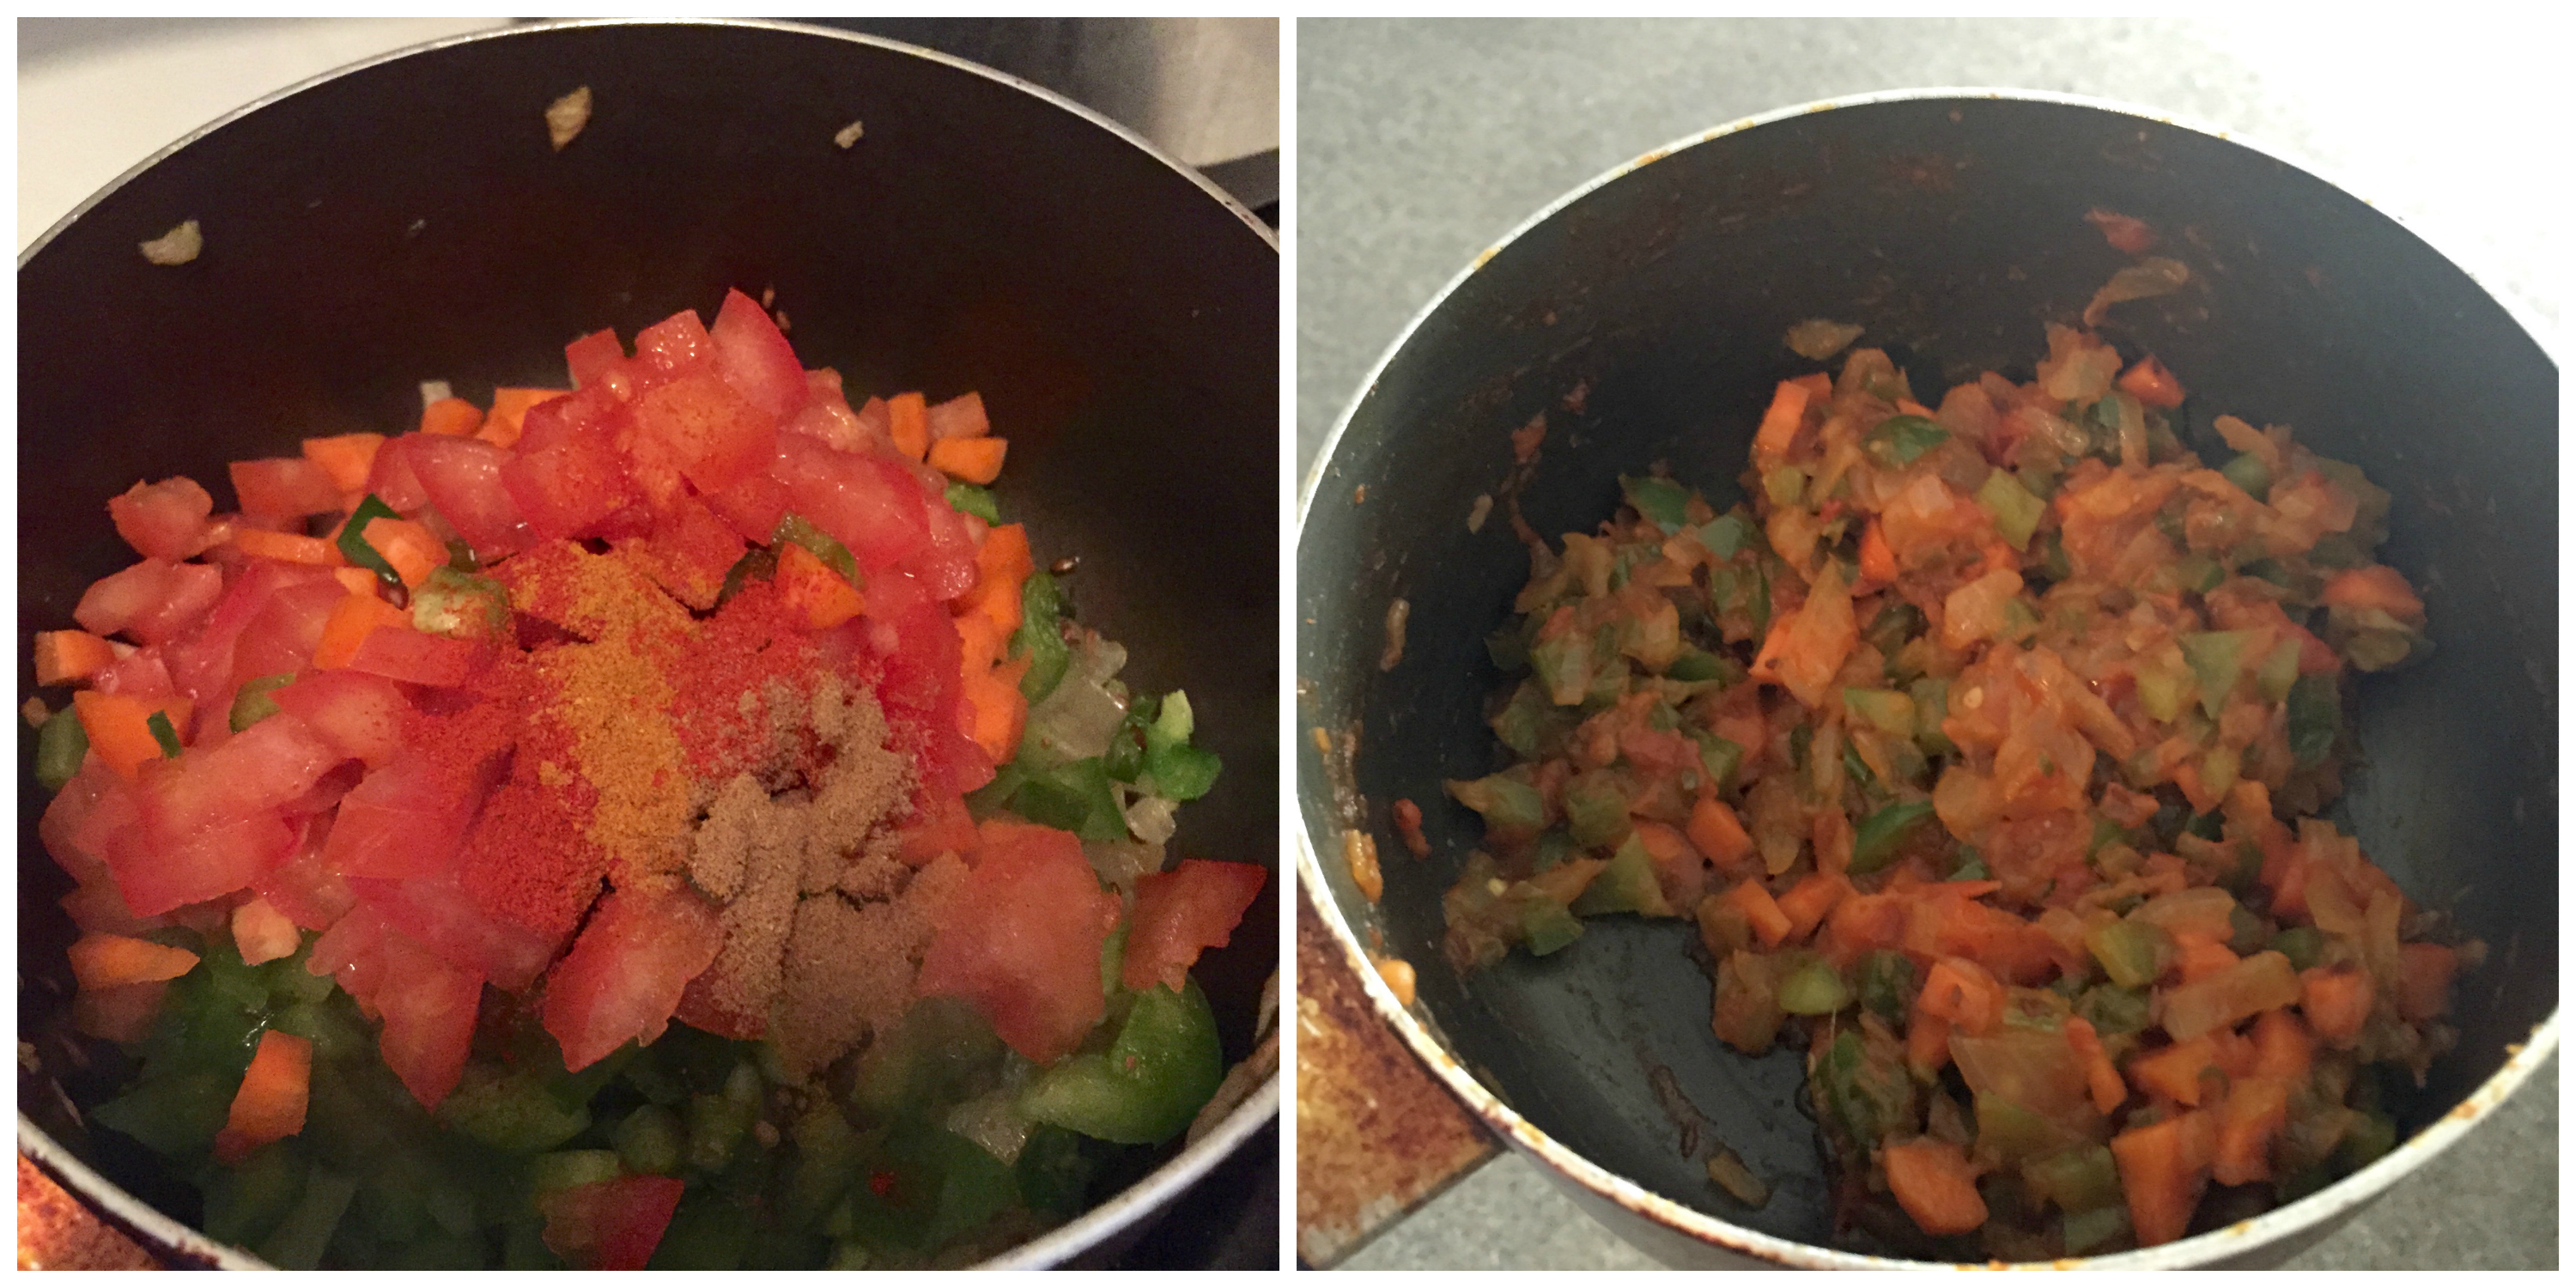
- • Turmeric powder - 2 tsp
- • Sambhar powder - 1 tbsp
- • Chilli Powder - 1 tbsp
- • Sugar - 1 tsp
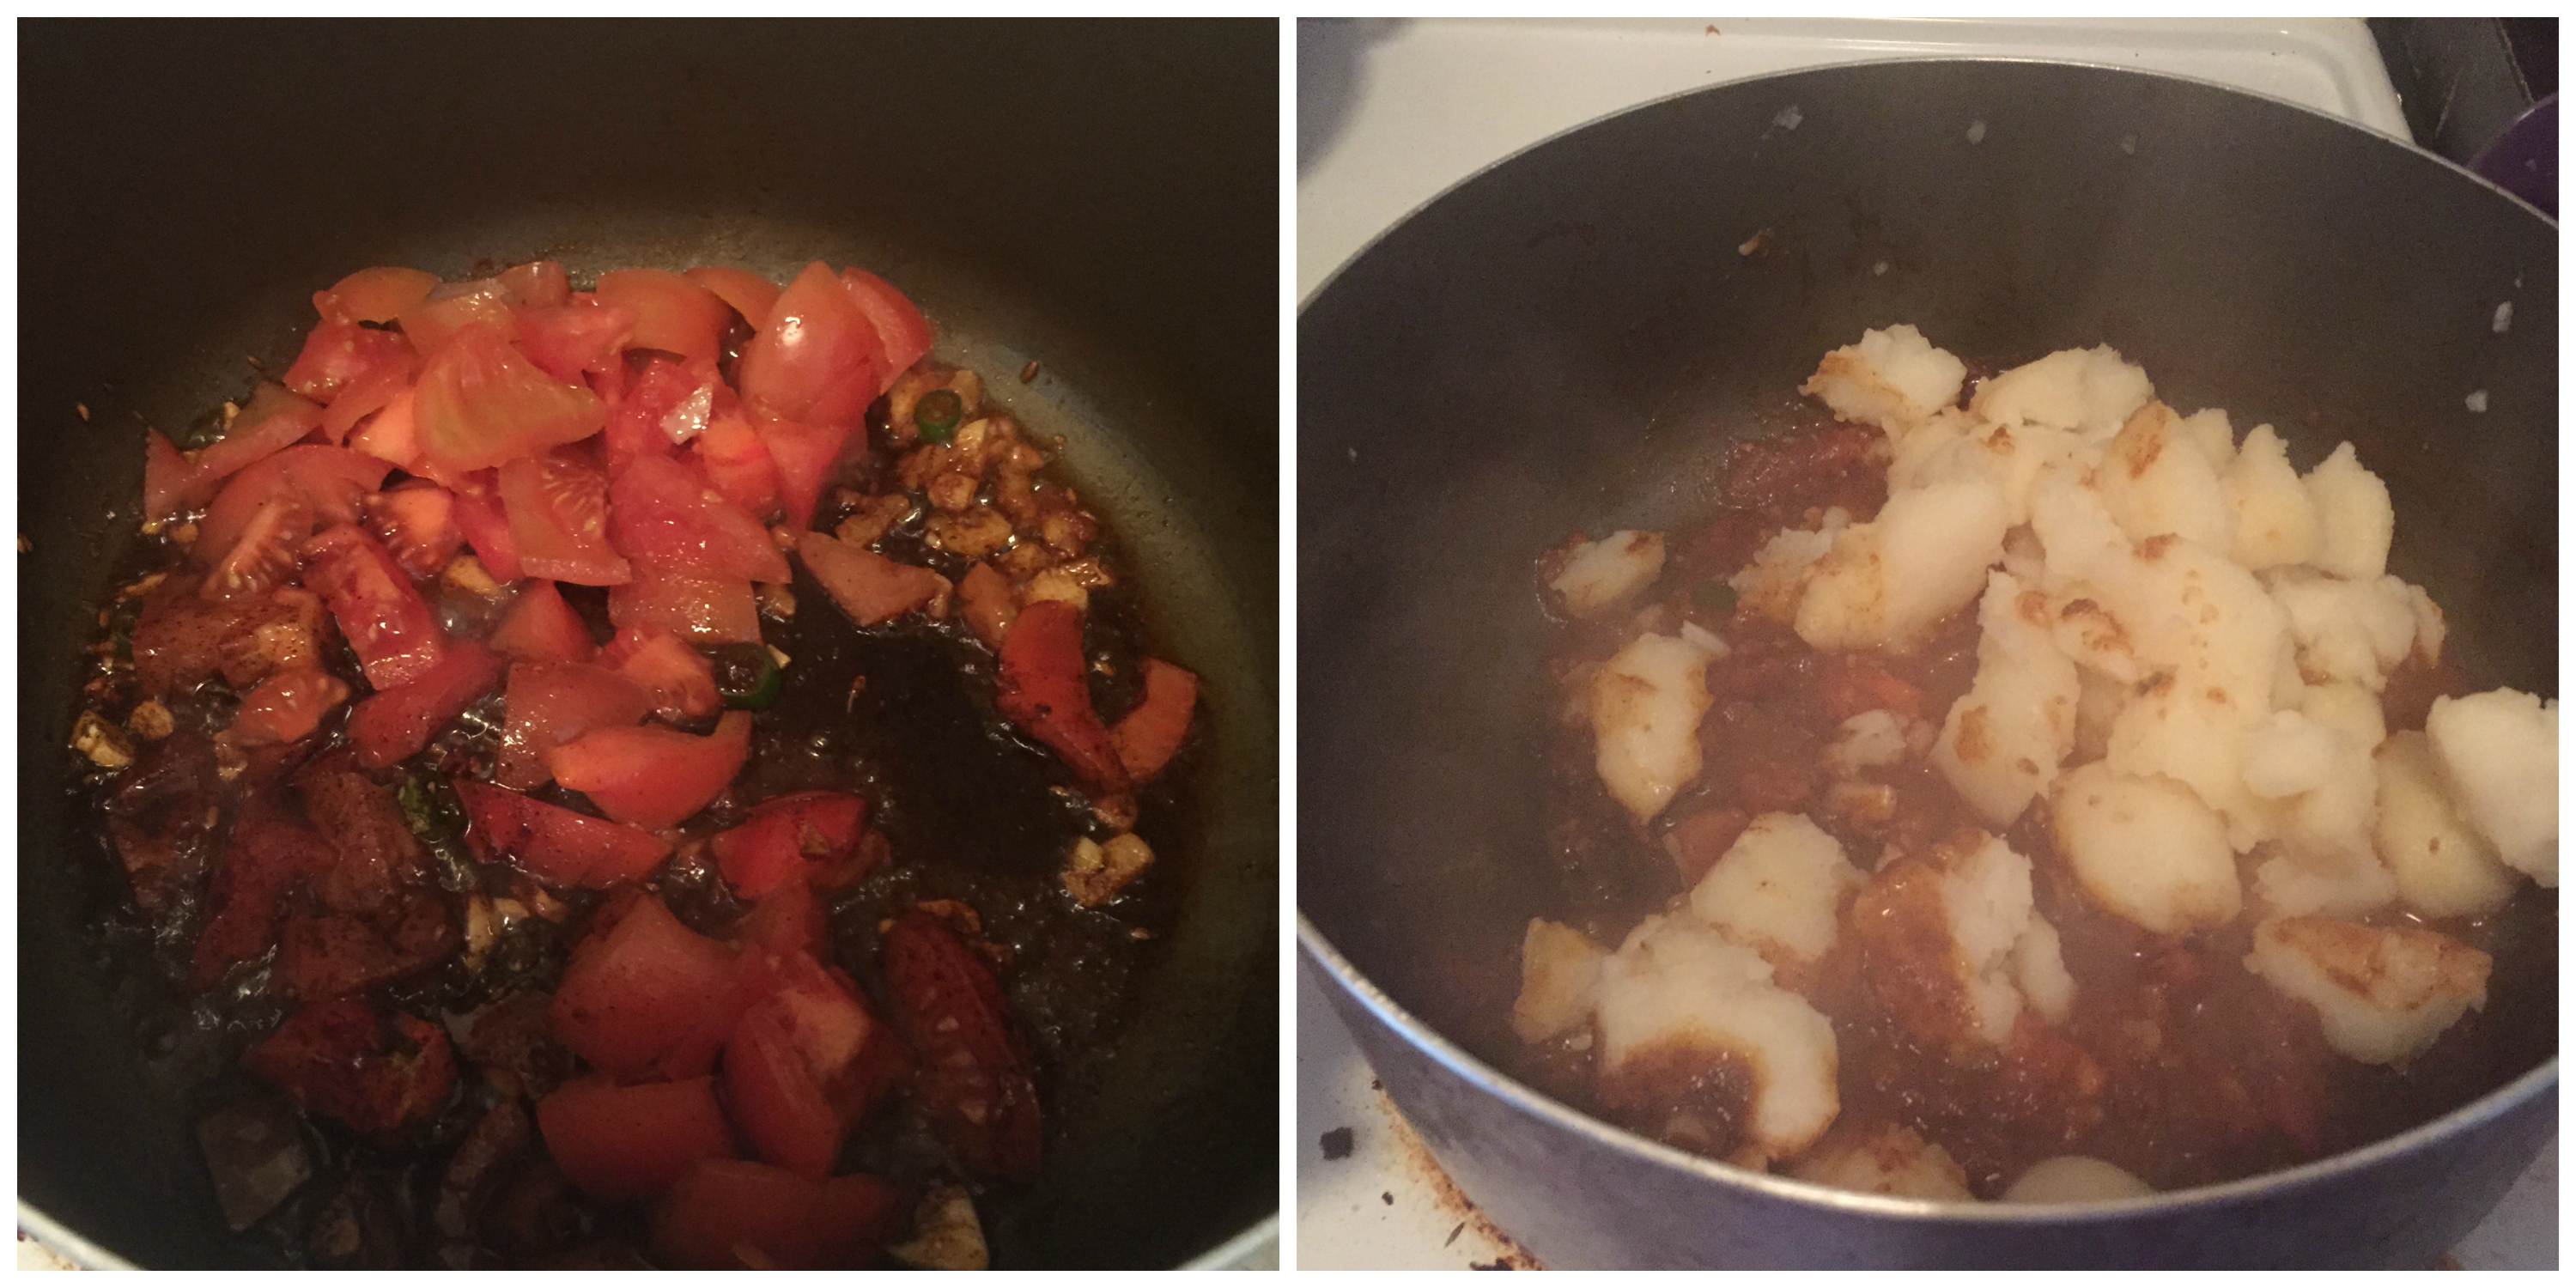
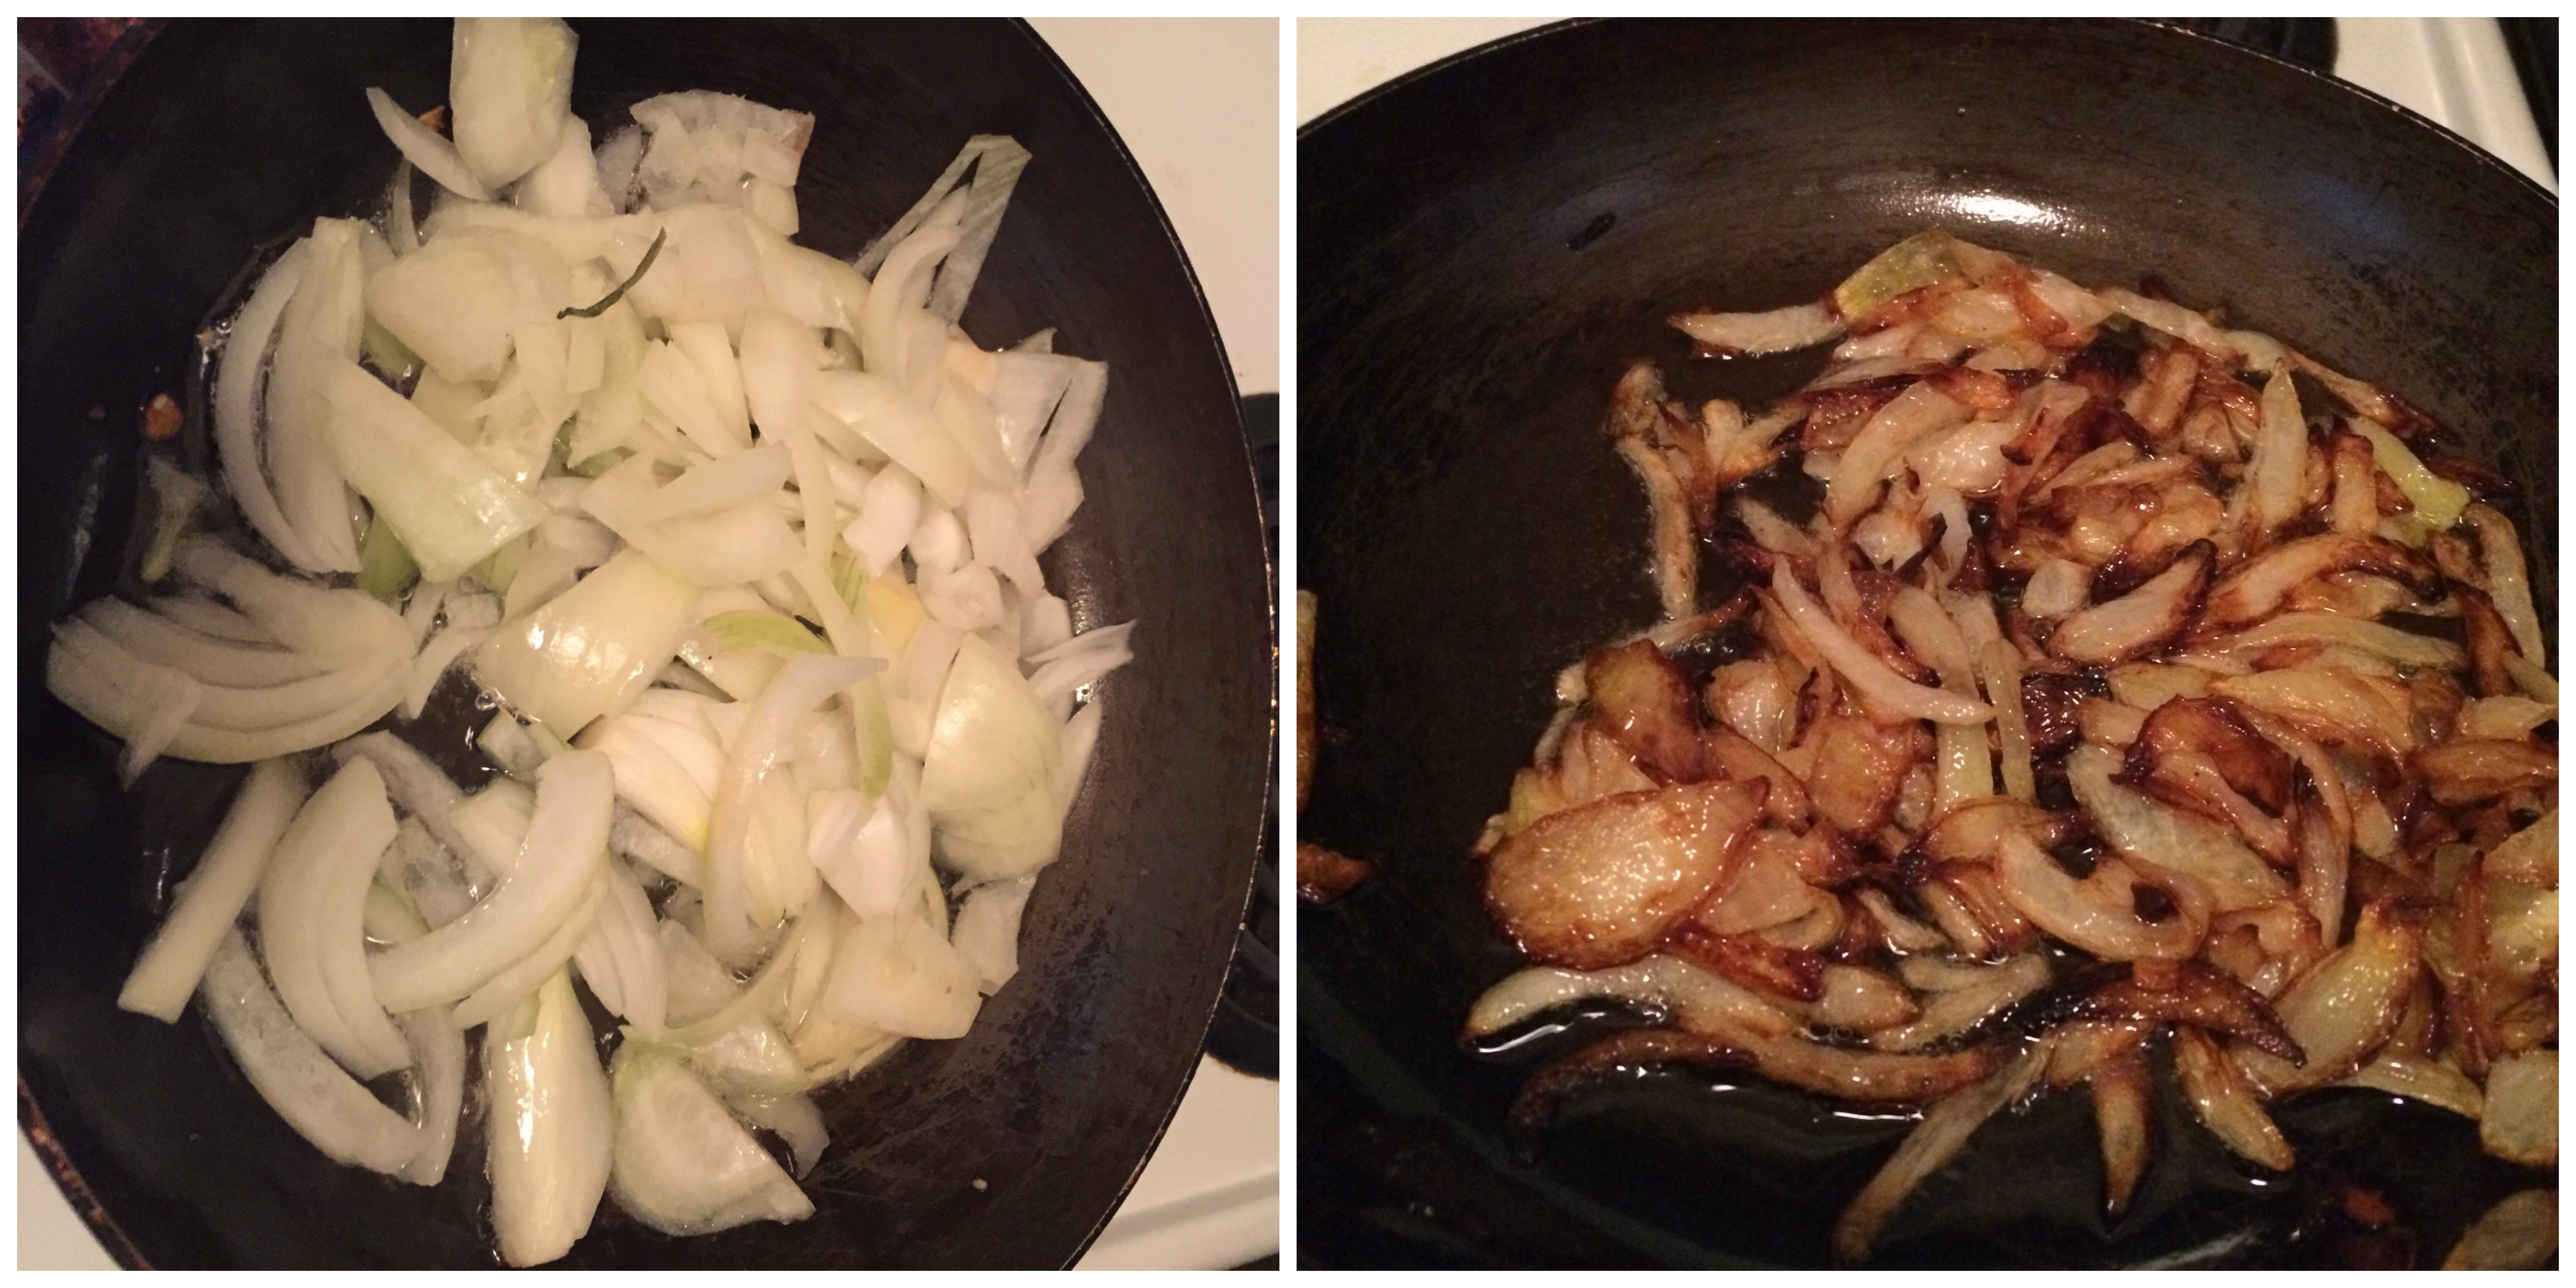
- Wash raw banana and peel the outer layer. Chop them finely into small cubes. Soak them in water till you use them.
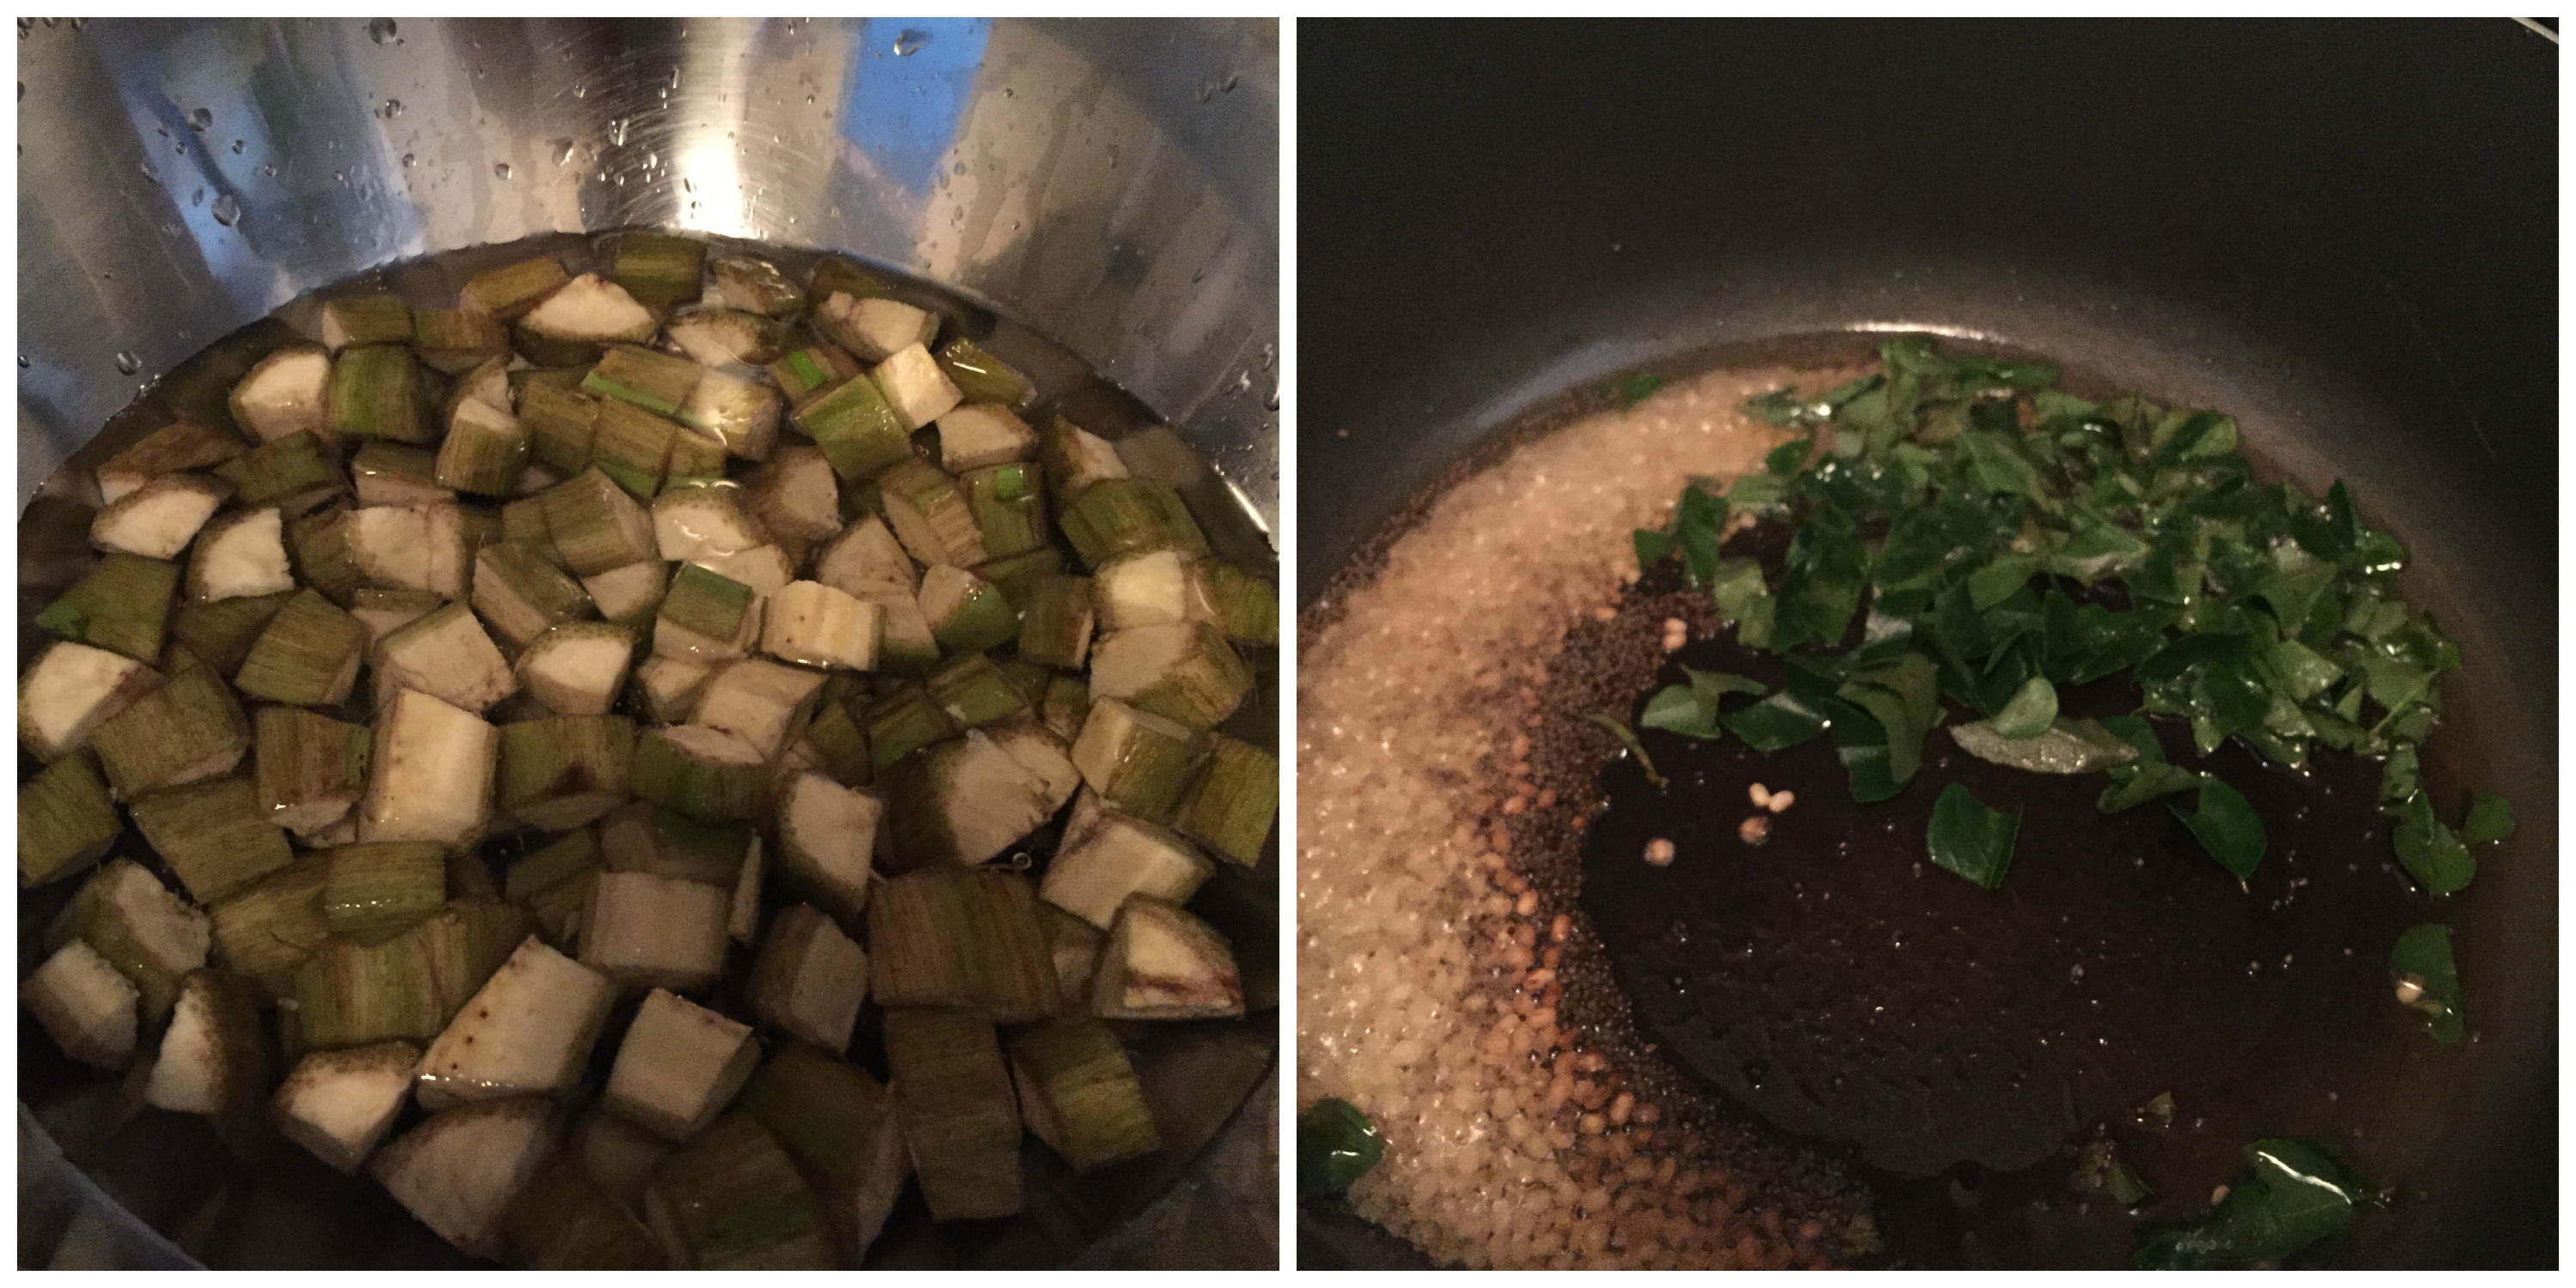
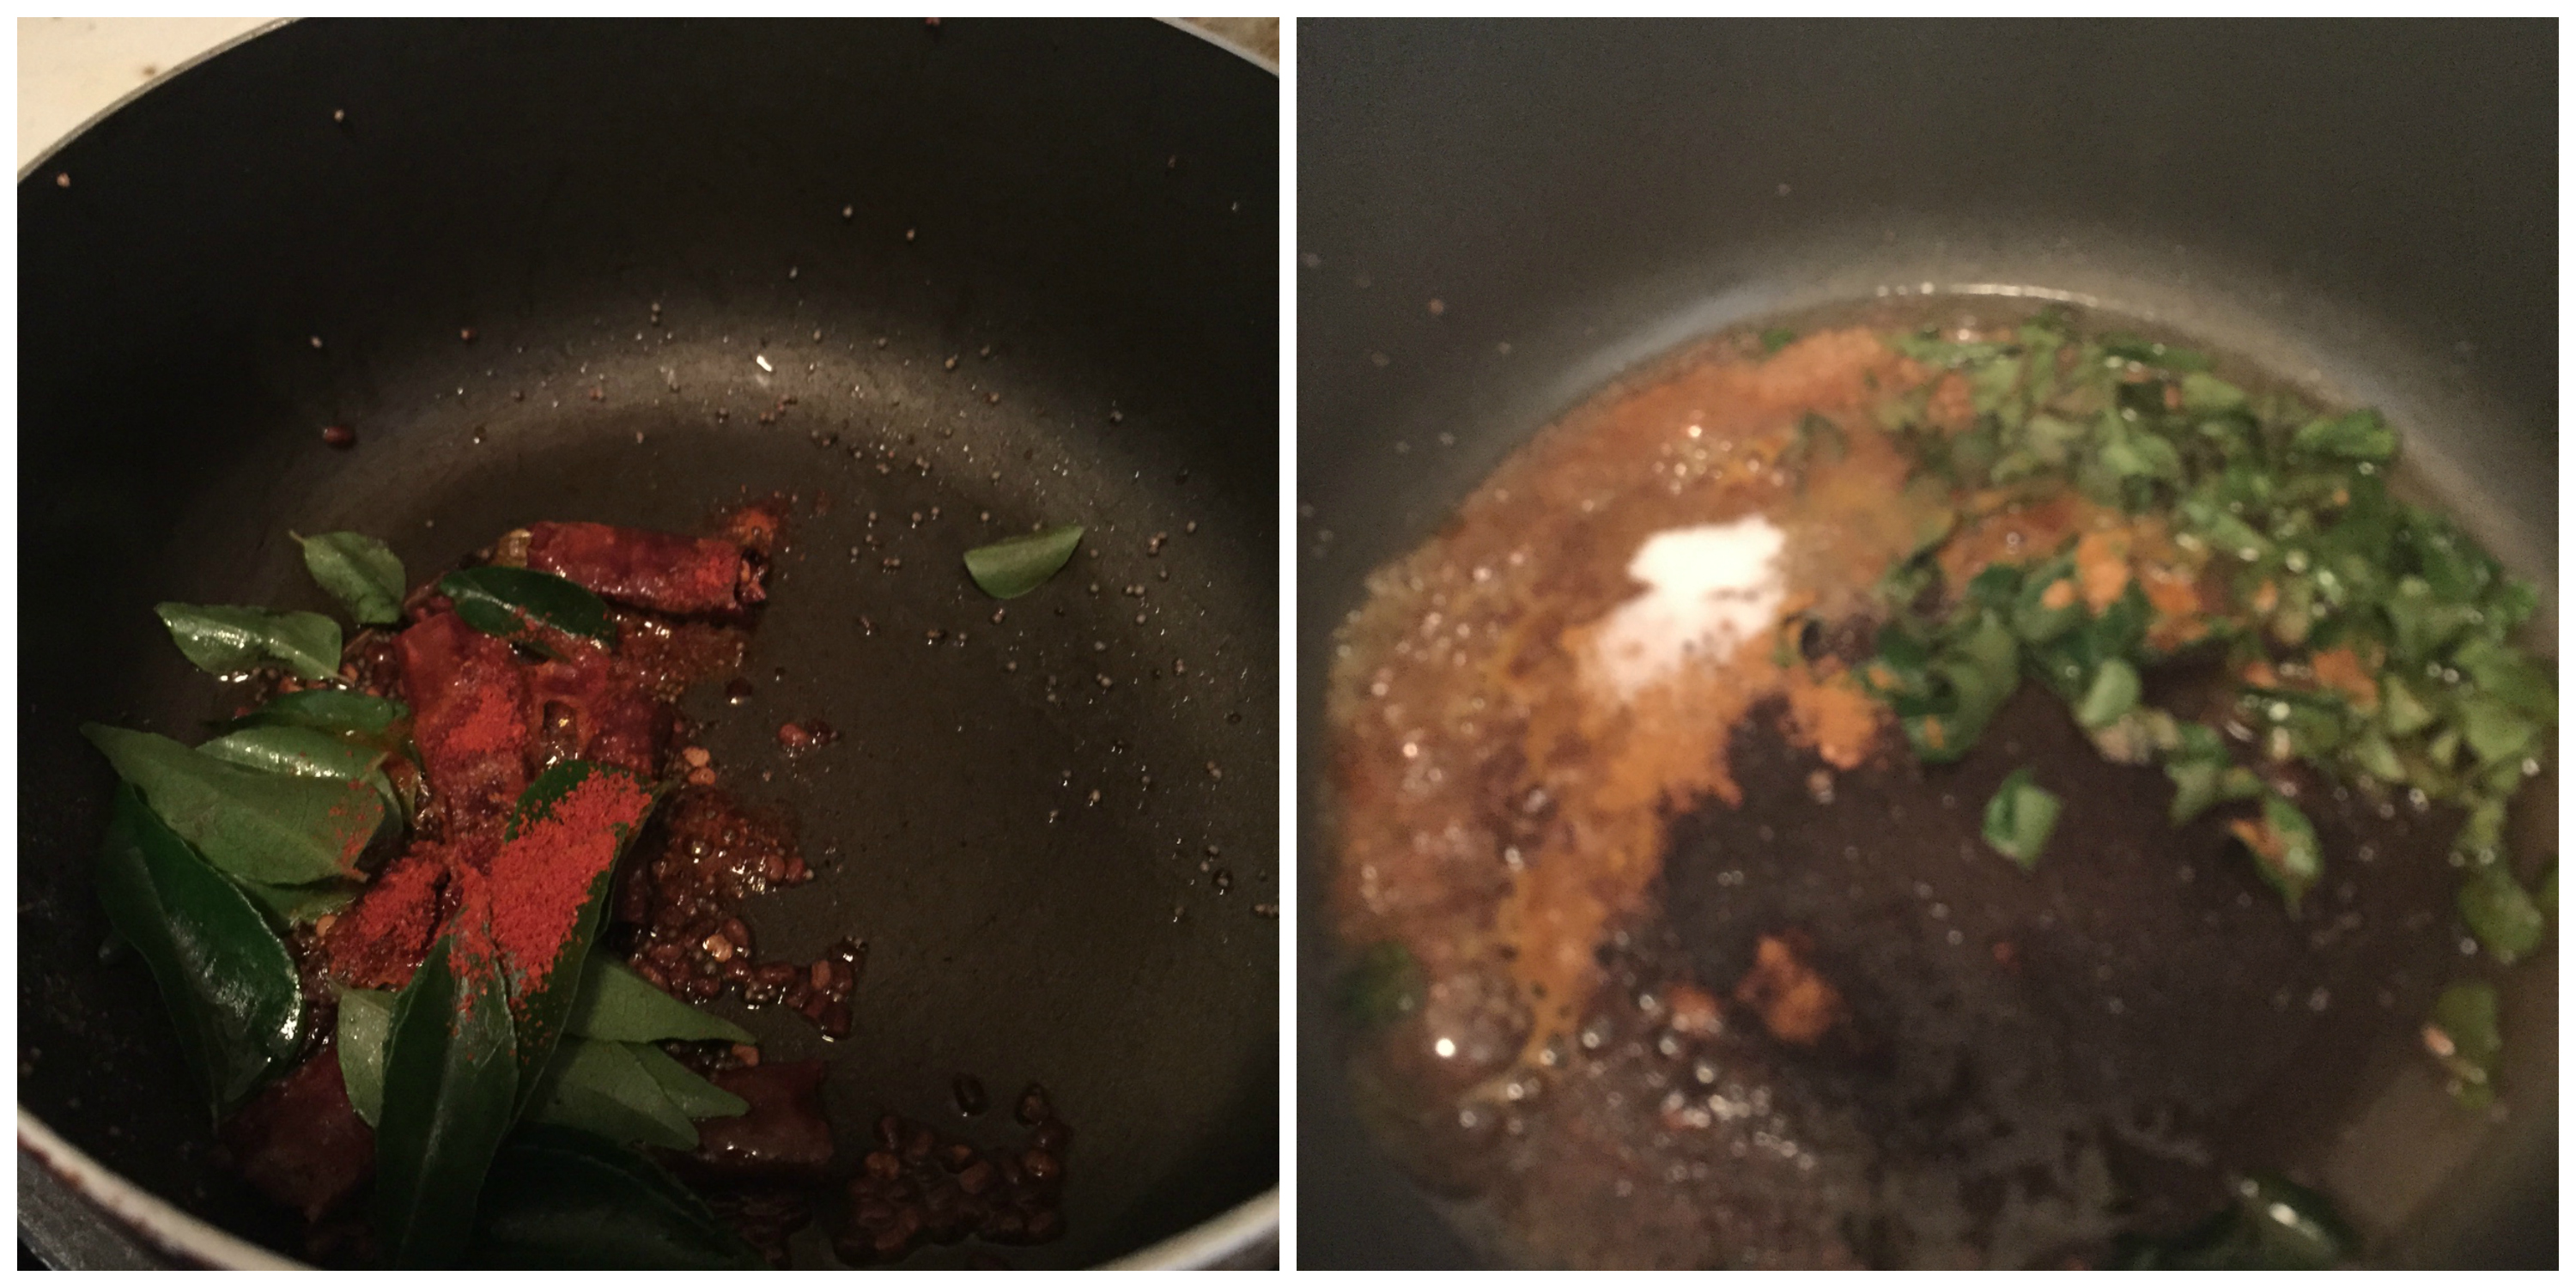
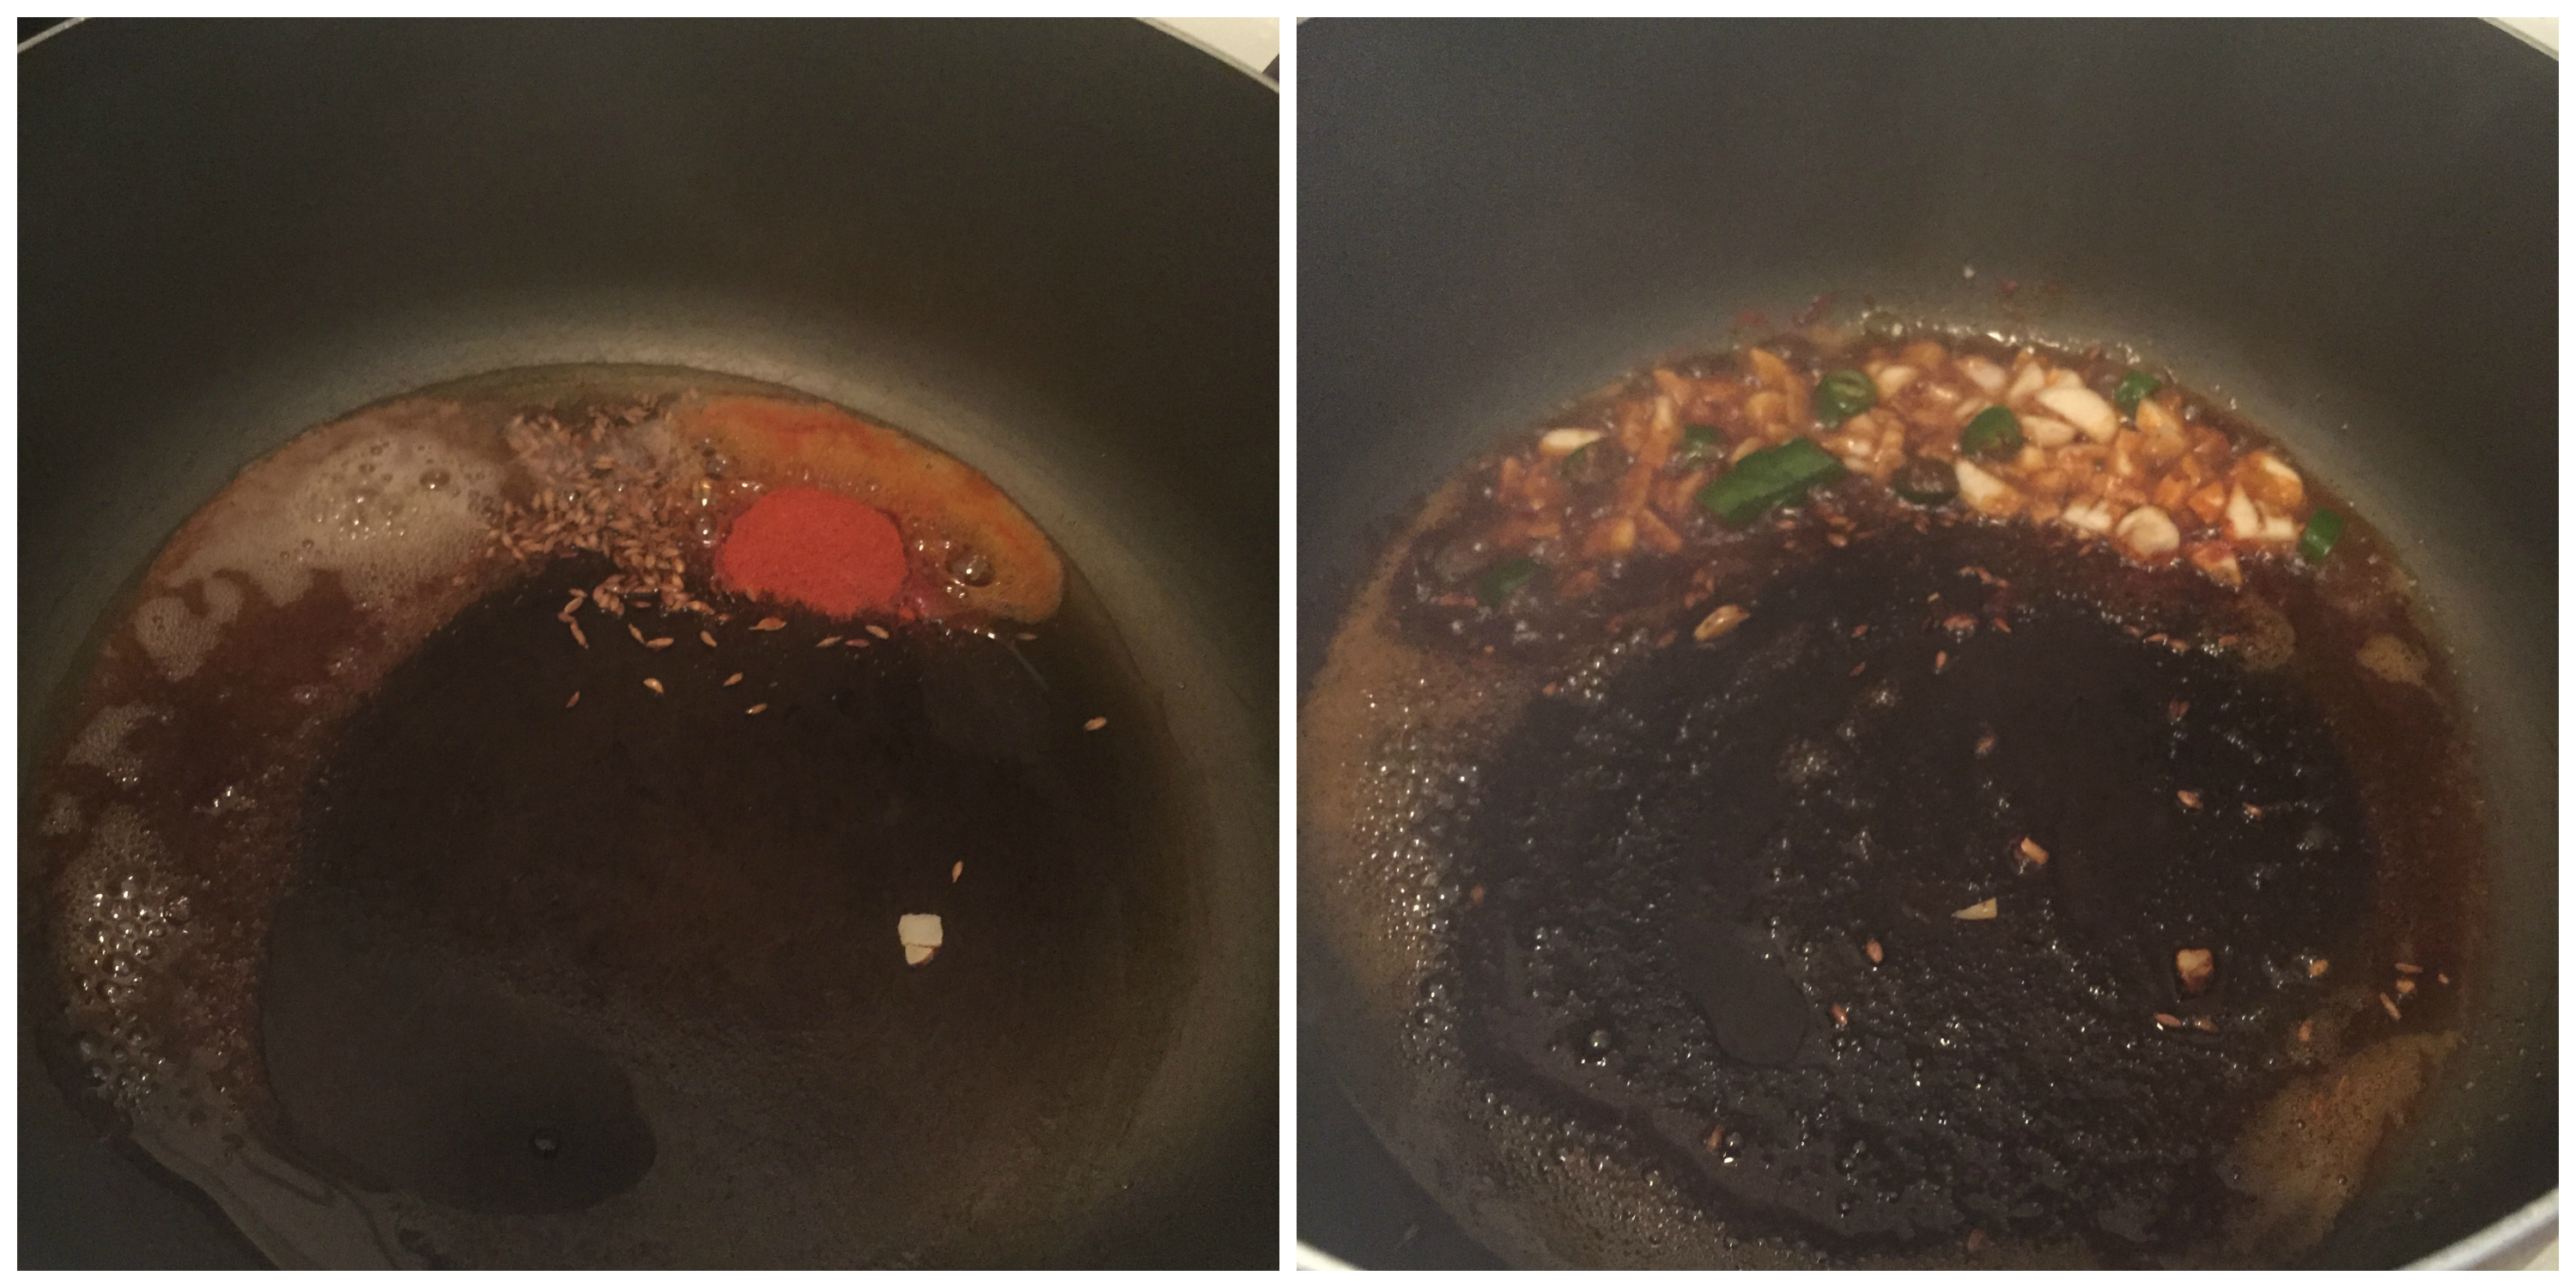
- Heat 1 tbsp of oil in a pan in medium heat, add mustard, after it crackles, add urad dal,curry leaves and jeera.
- Bring the heat to low, and add turmeric powder, sambar powder, chilli powder,salt and asafetida Stir well. But make sure not to burn them, so keep it in low heat.
- Now add the chopped raw banana and bring the heat to medium. Sprinkle 1 tbsp of water, close the lid and cook for 5-7 minutes.
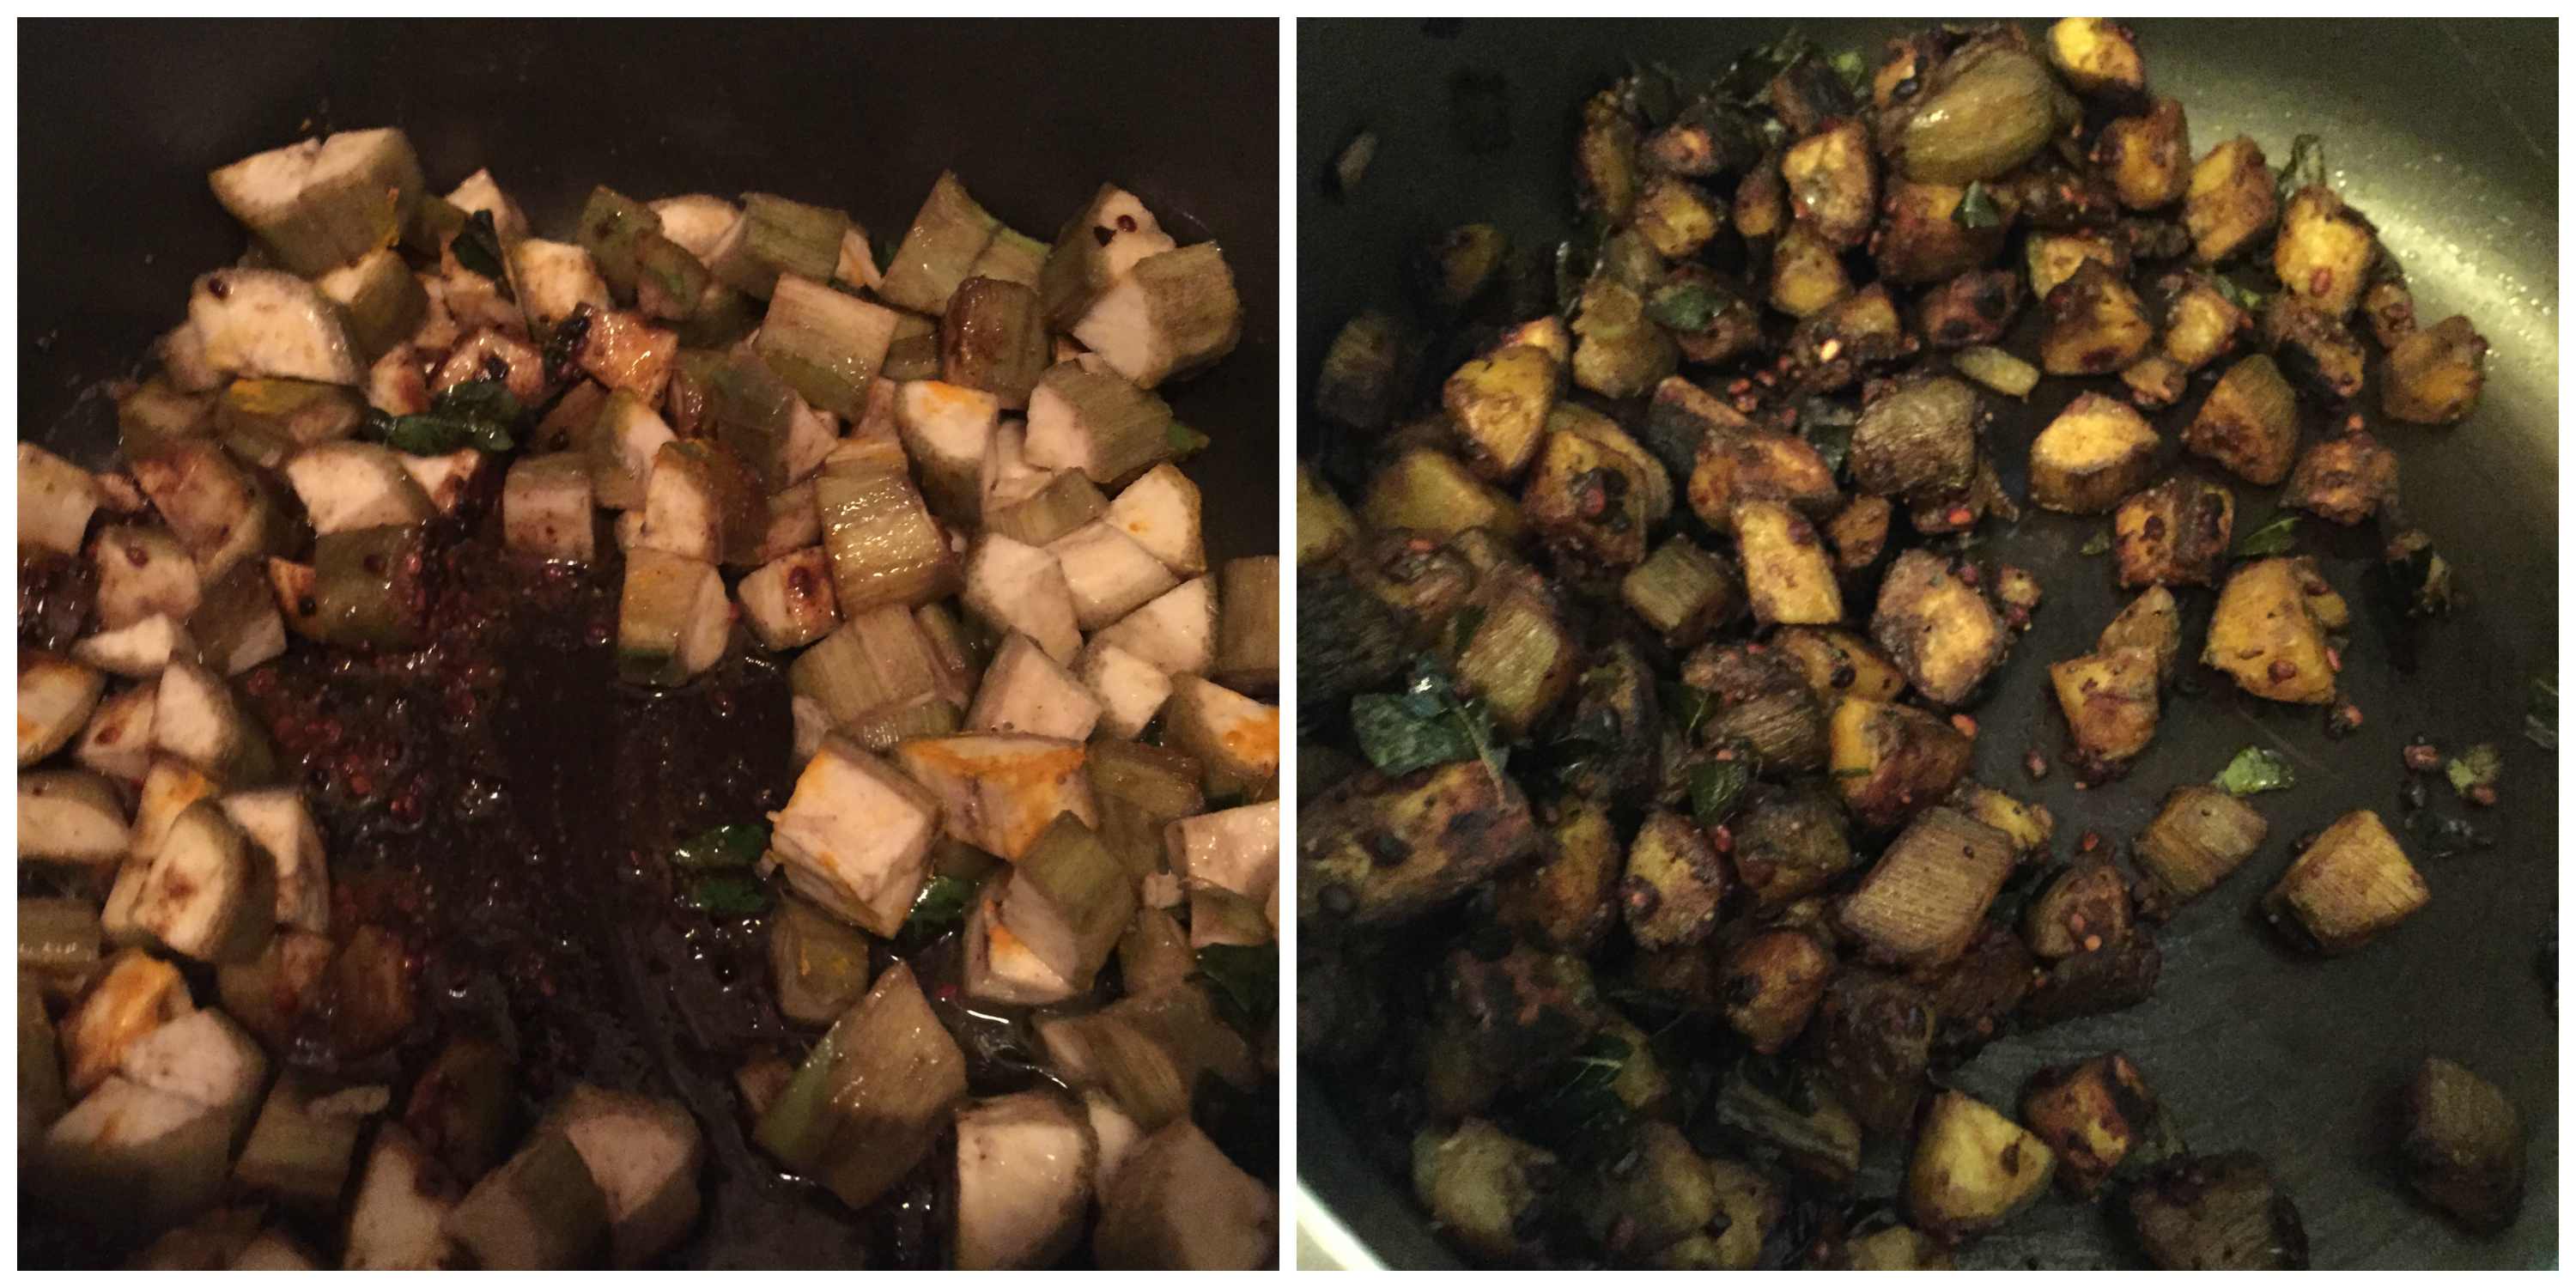
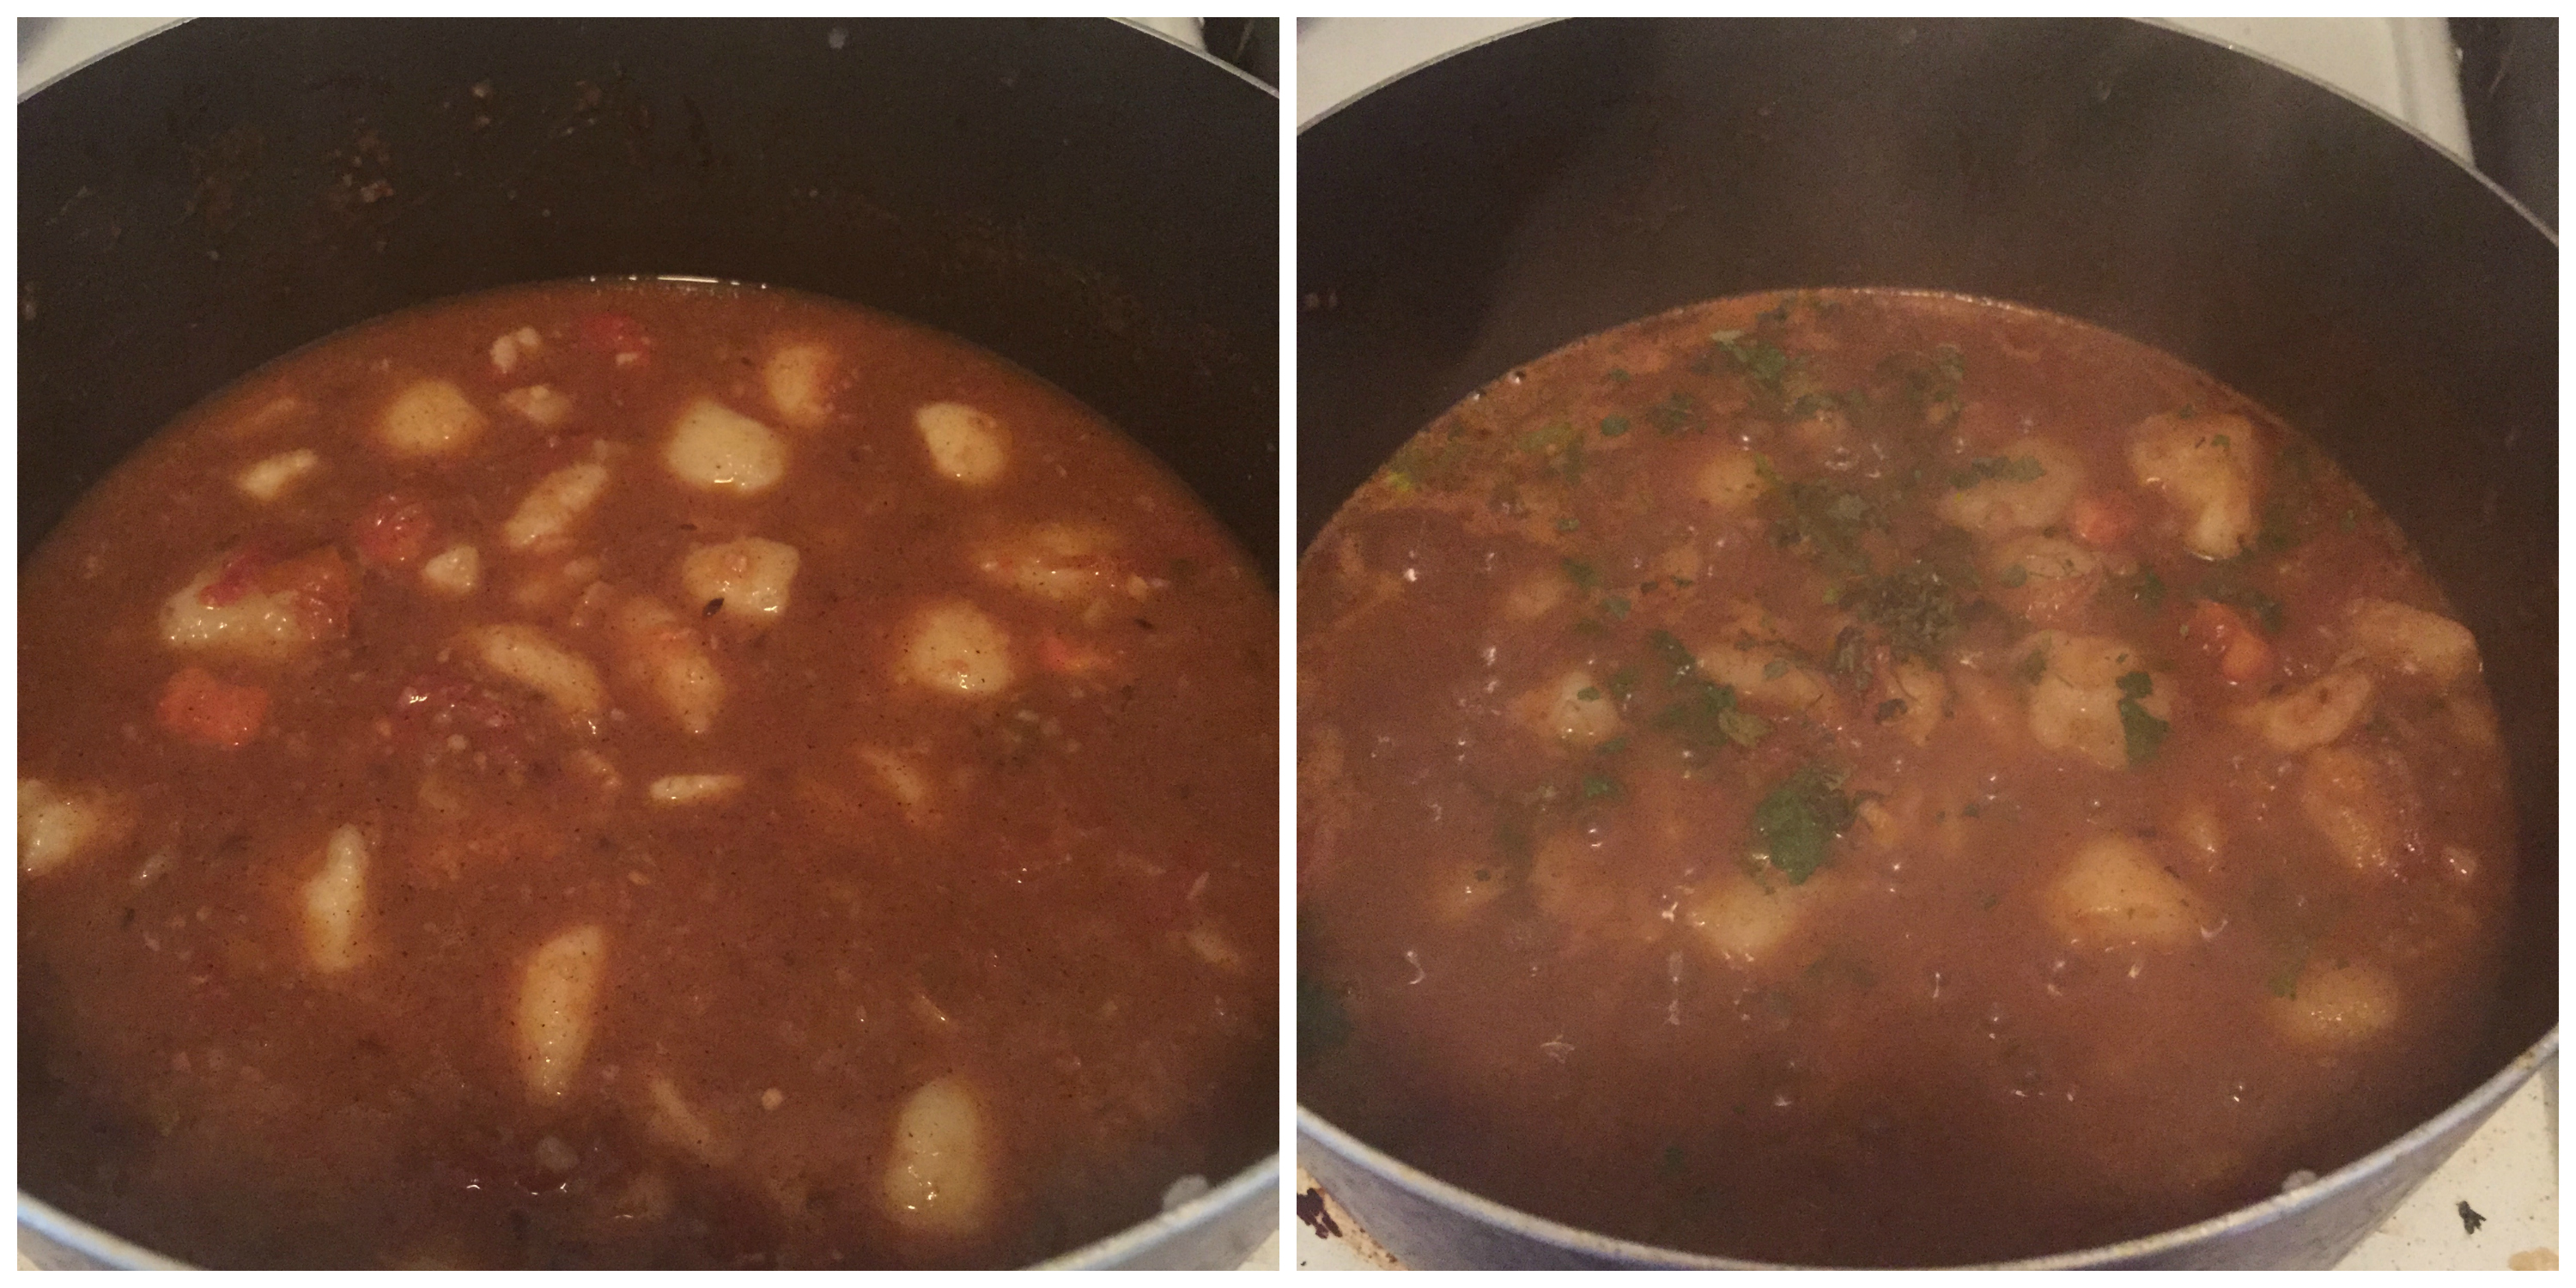
- Add 1 tsp of sugar and keep frying until the raw banana gets roasted here and there in color. Takes around 5-7 minutes again. Switch off the flame.
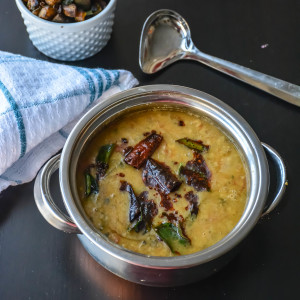
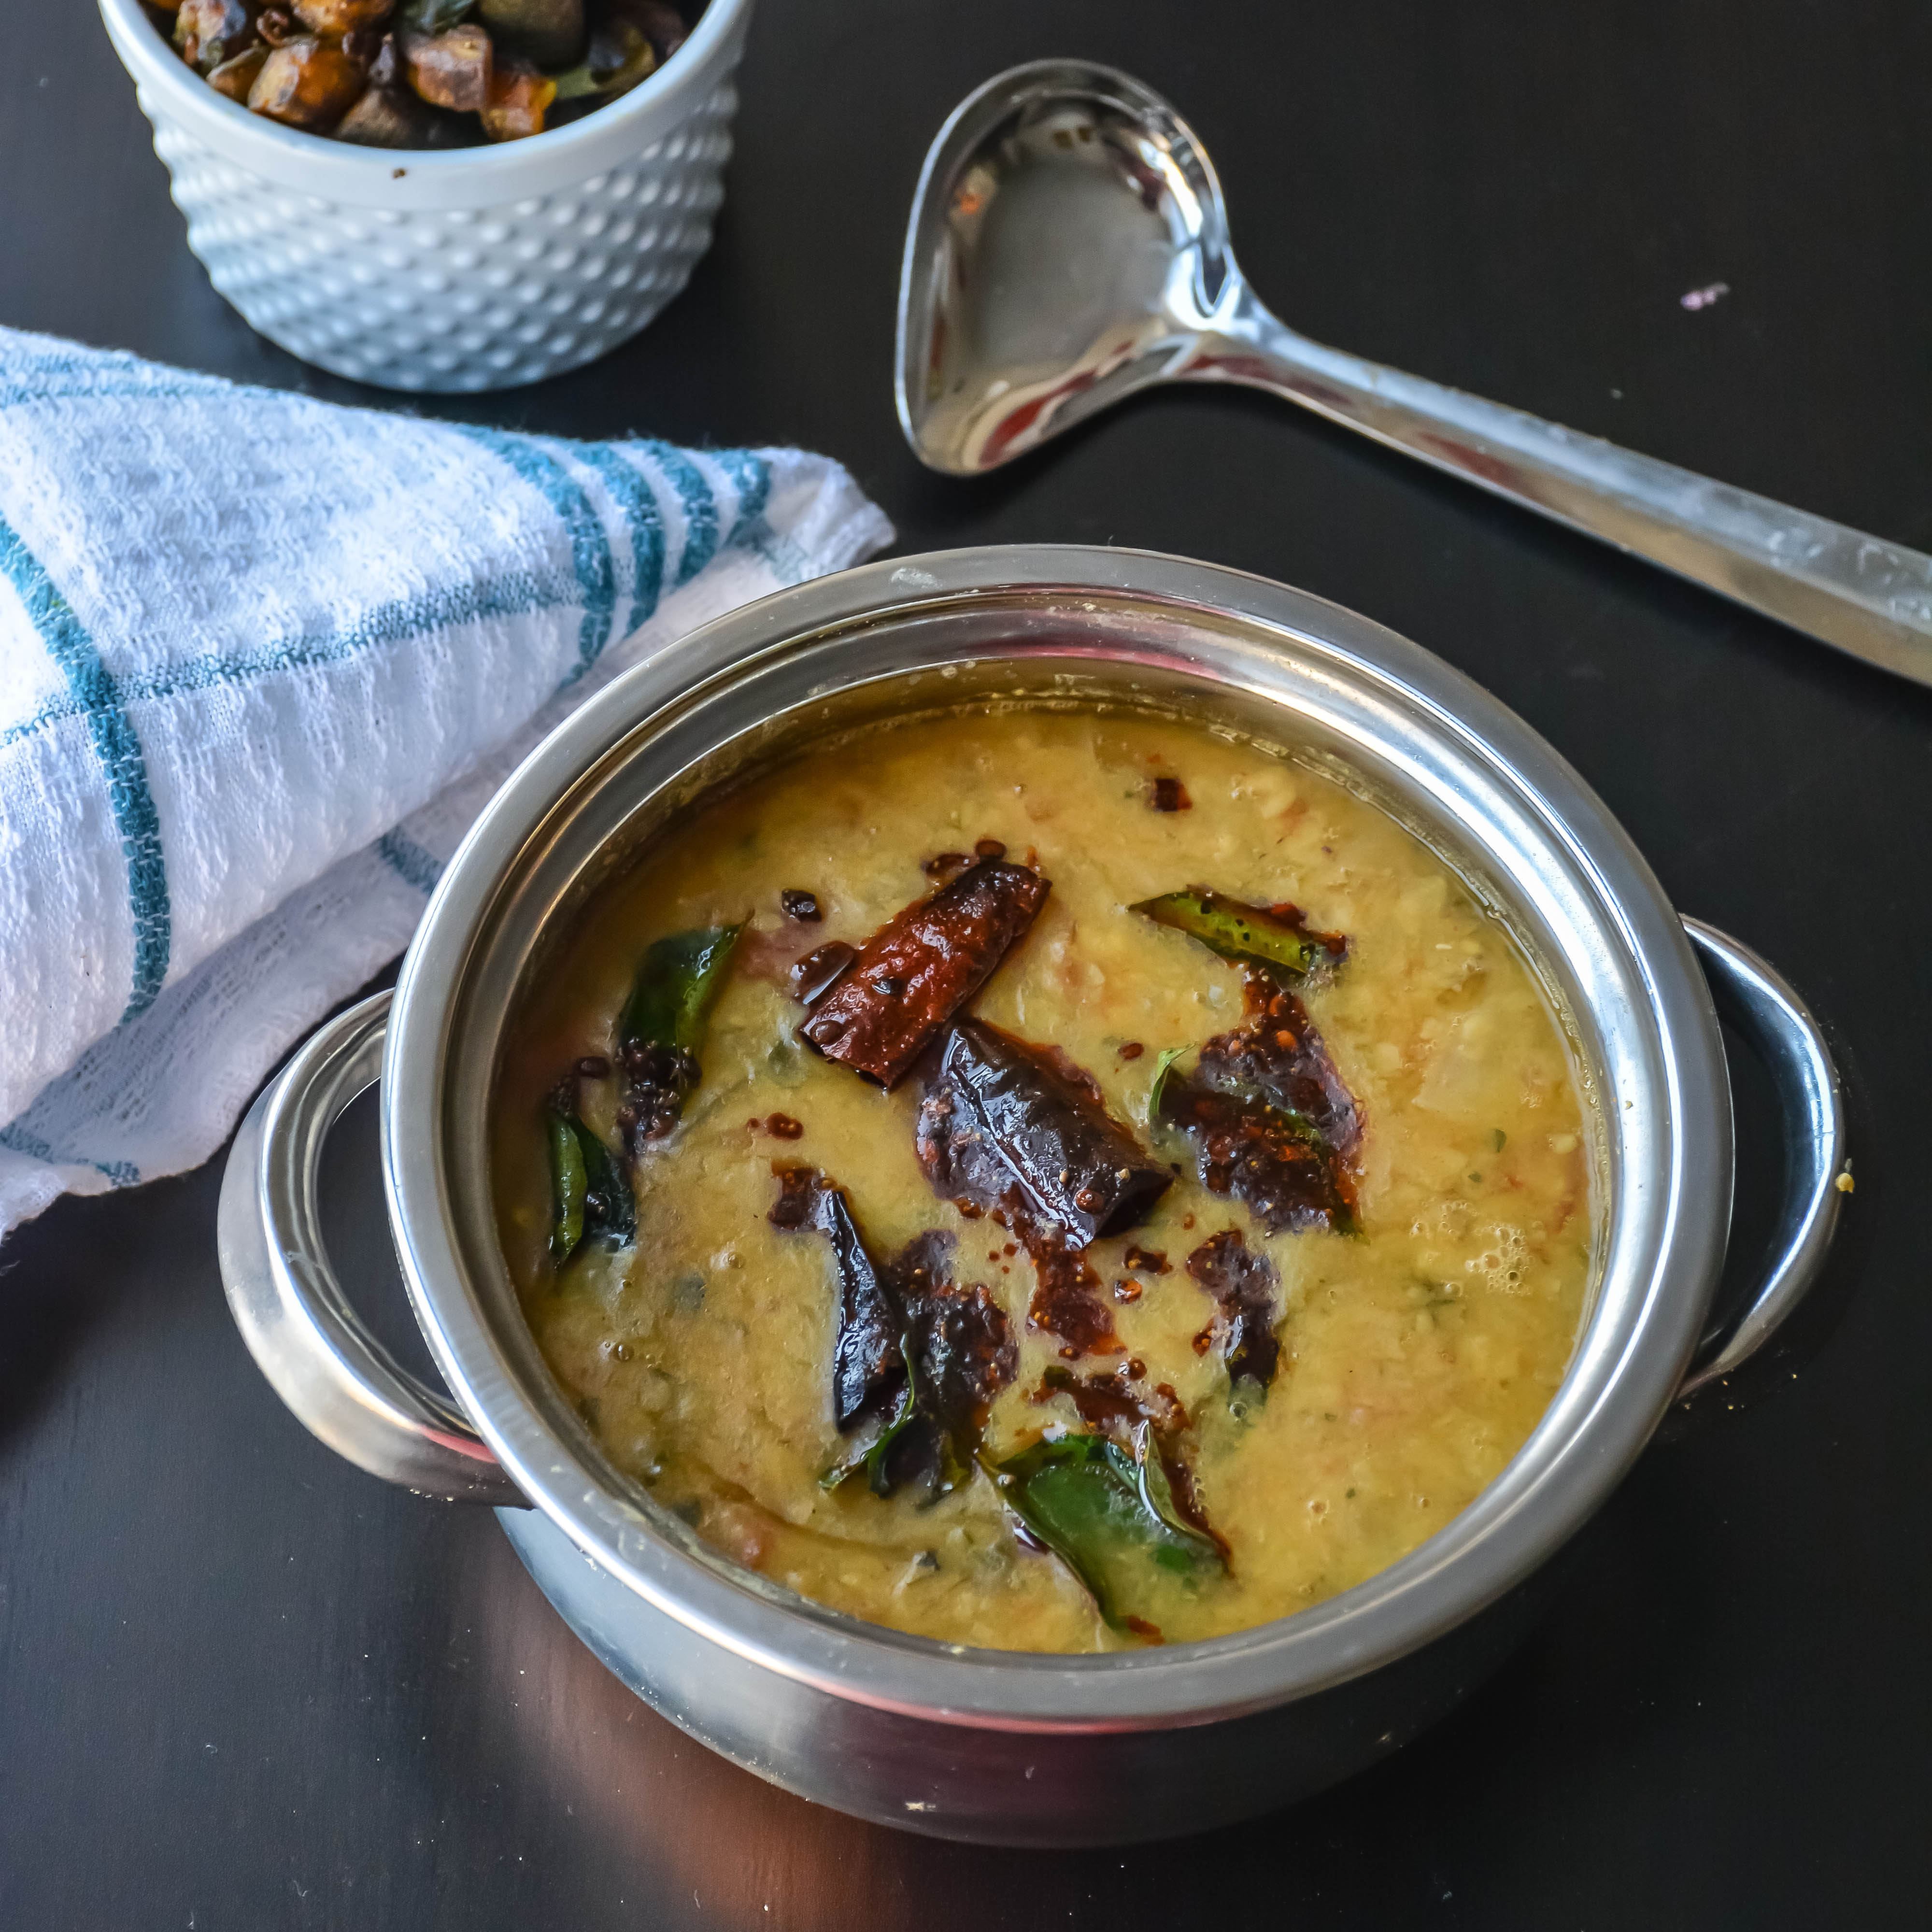
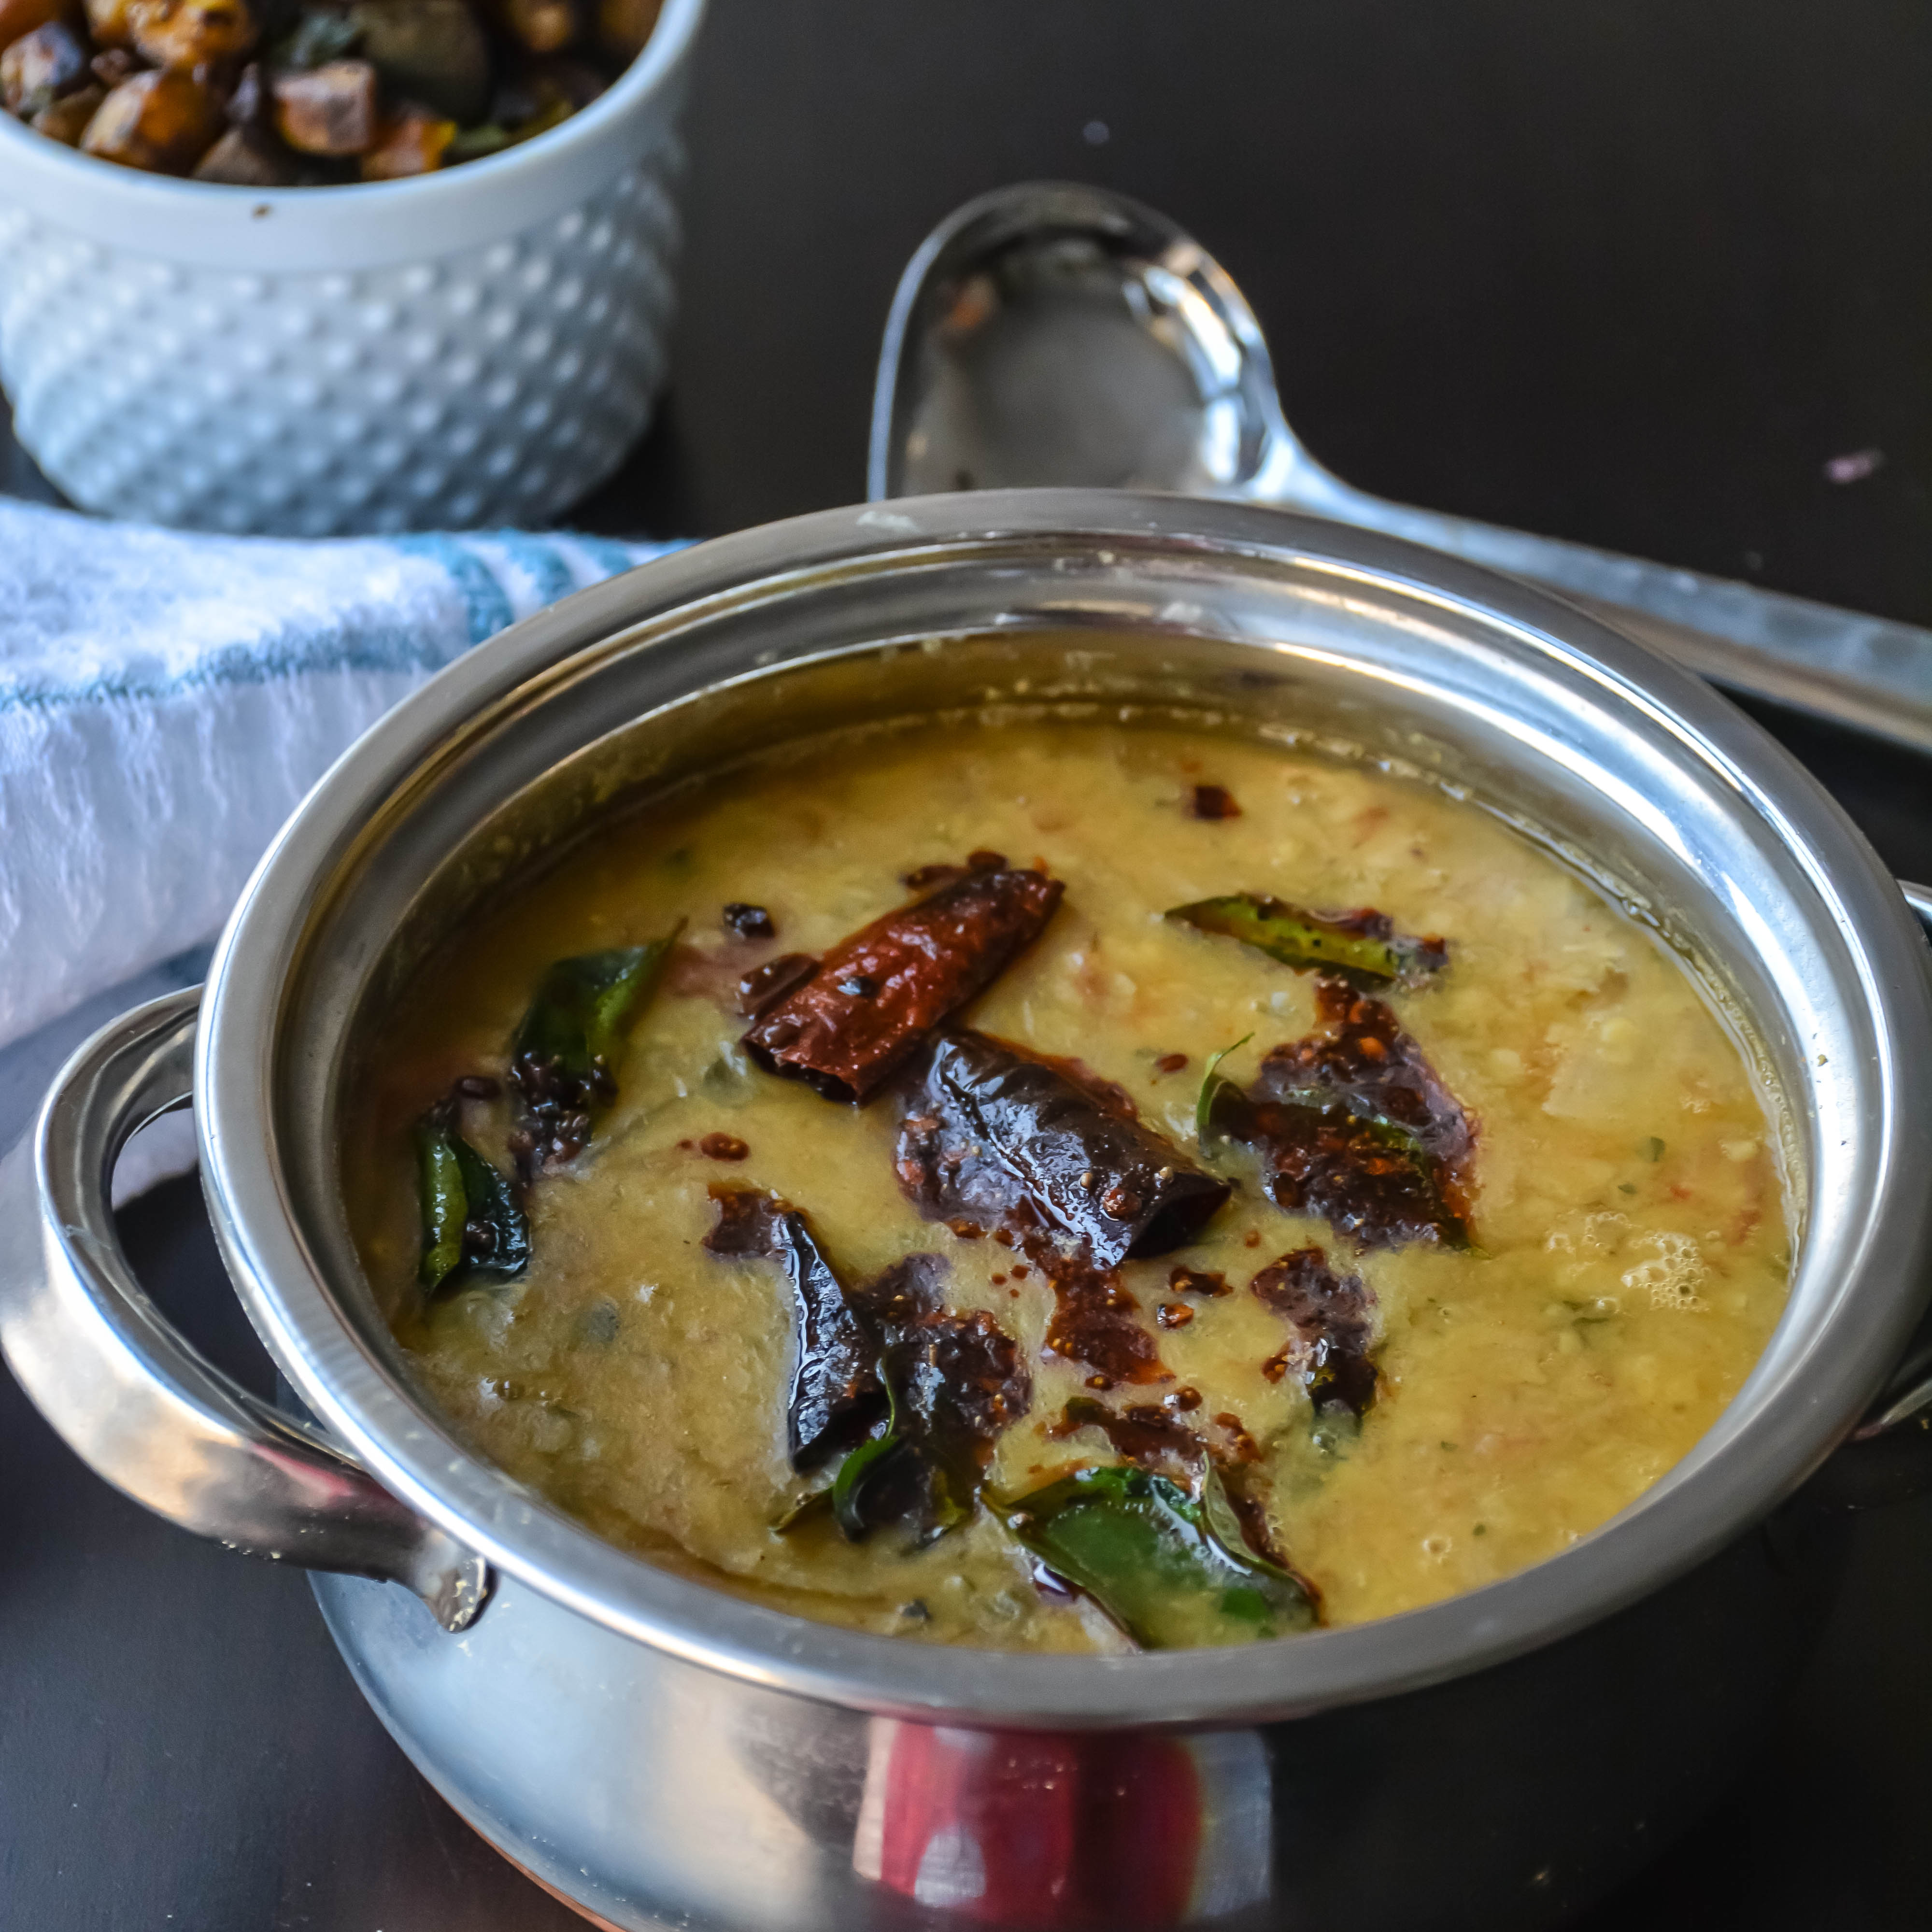
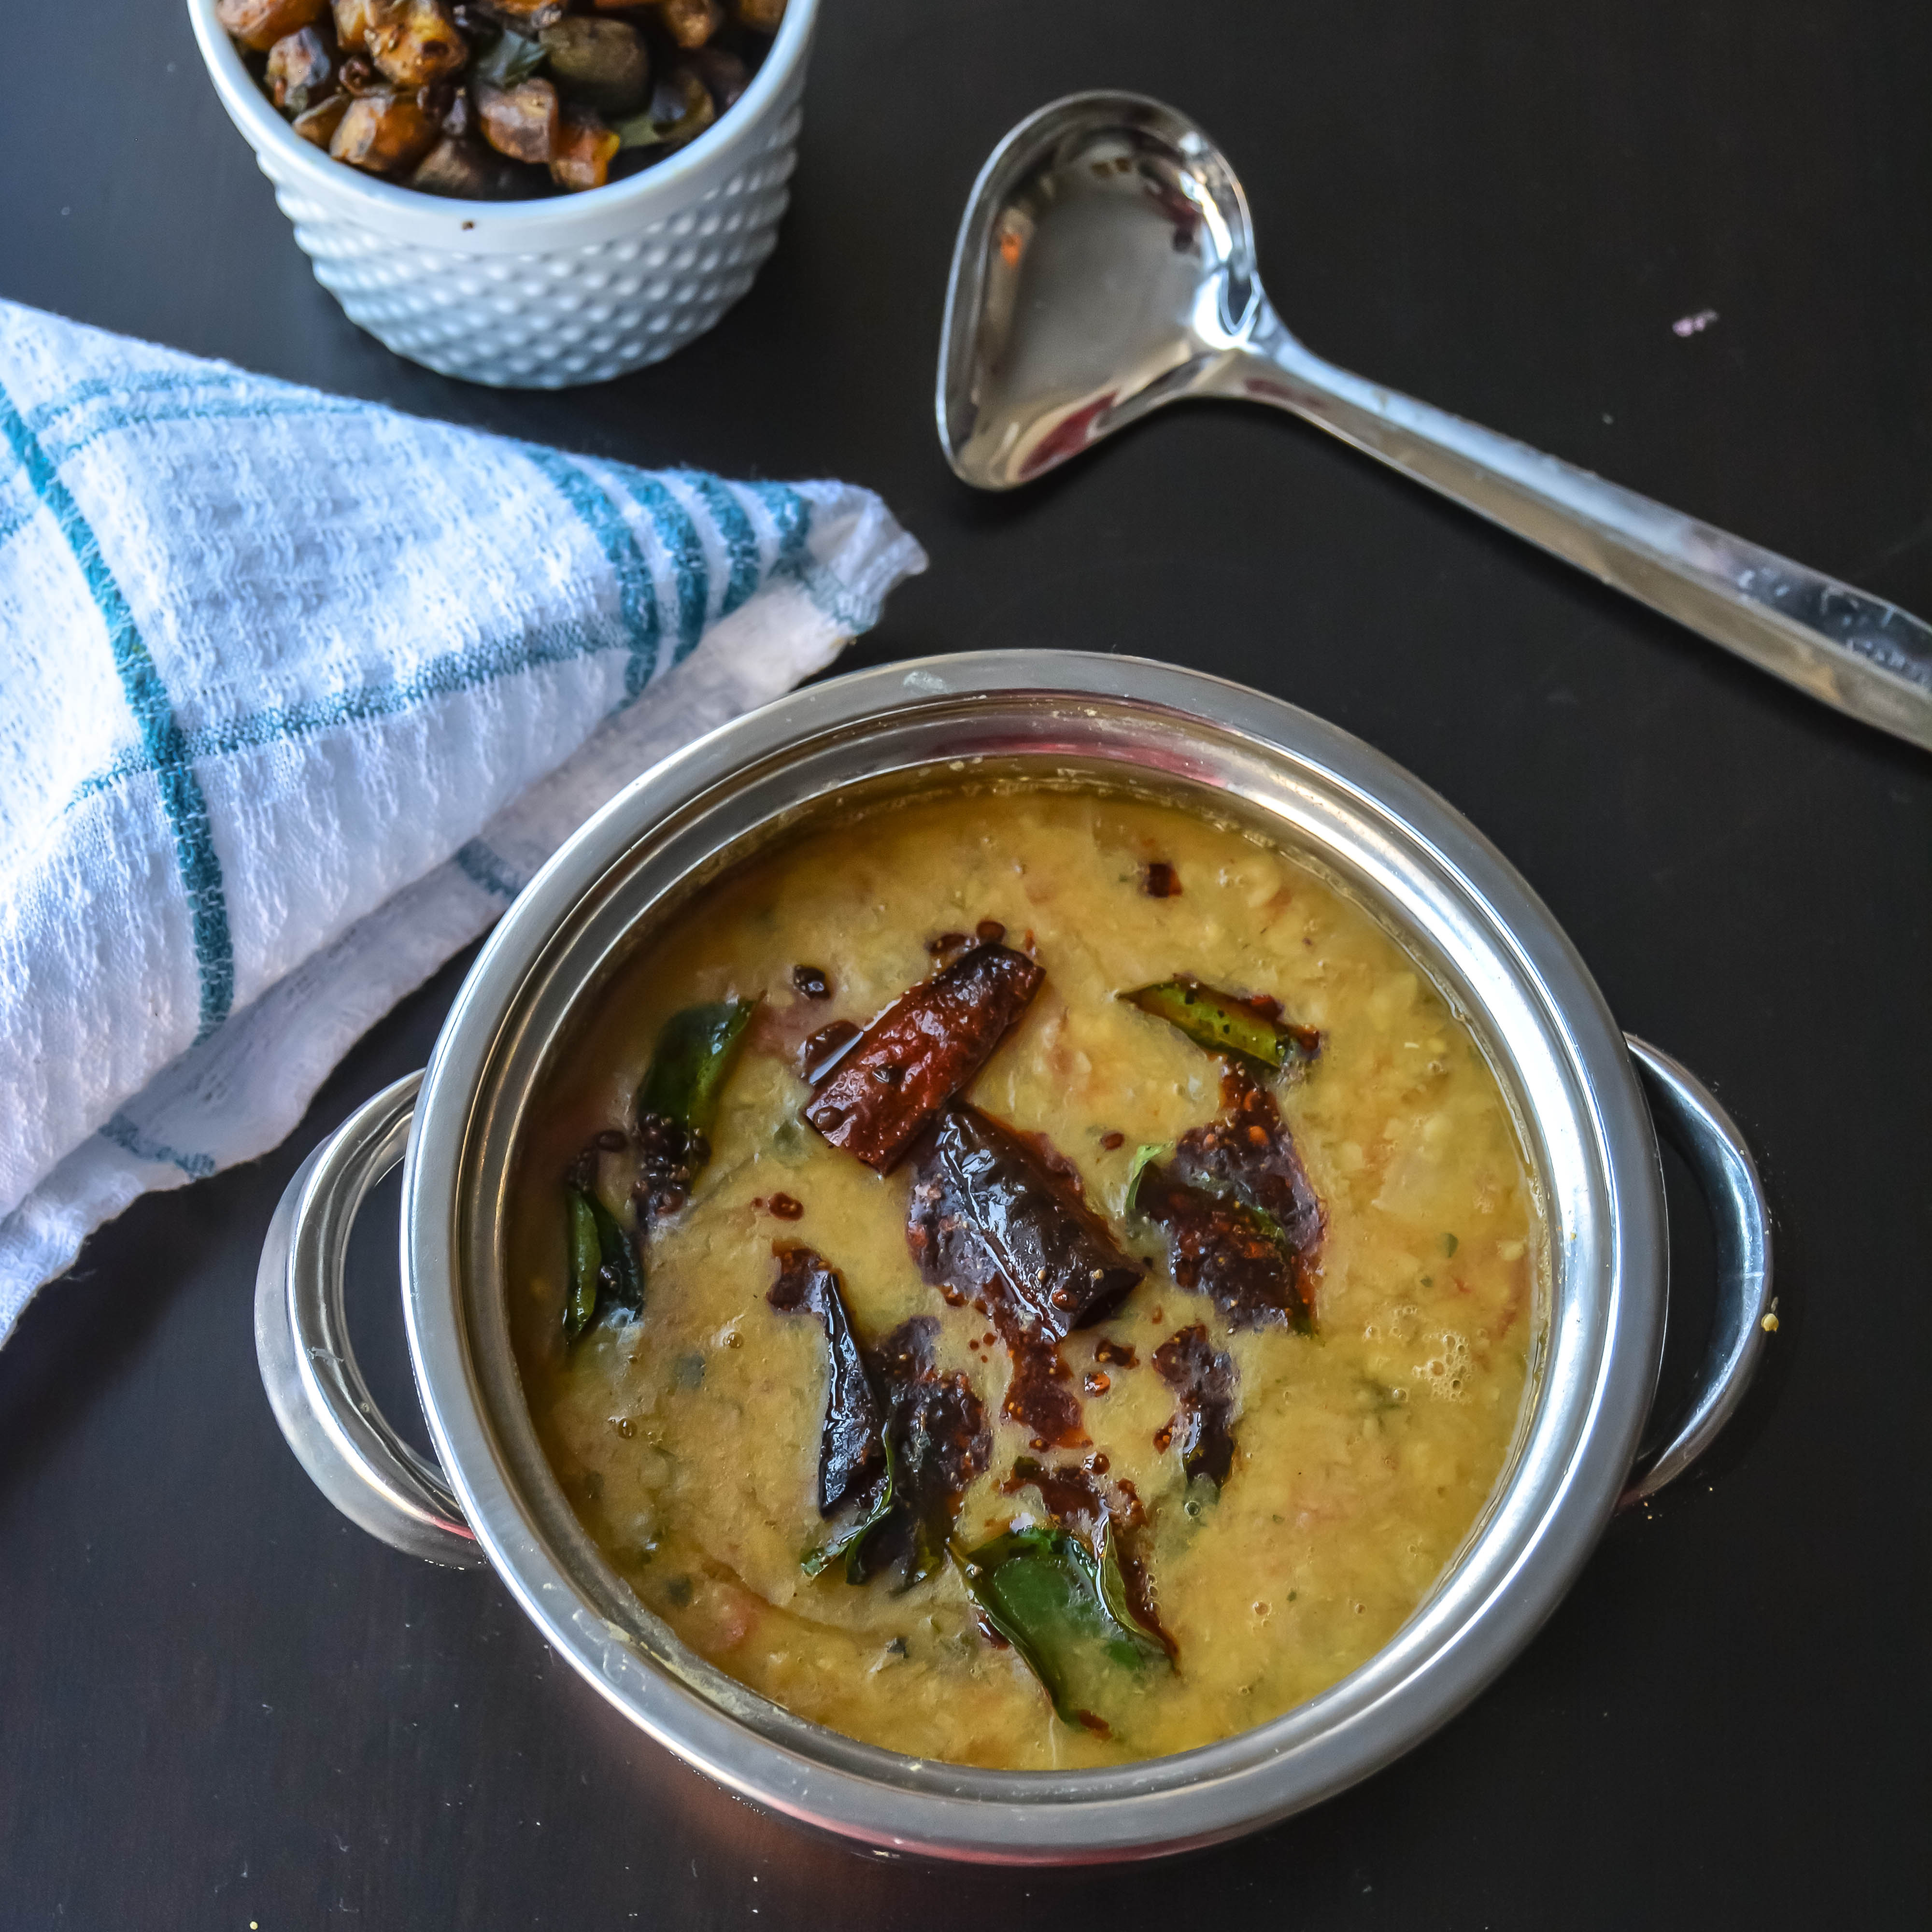
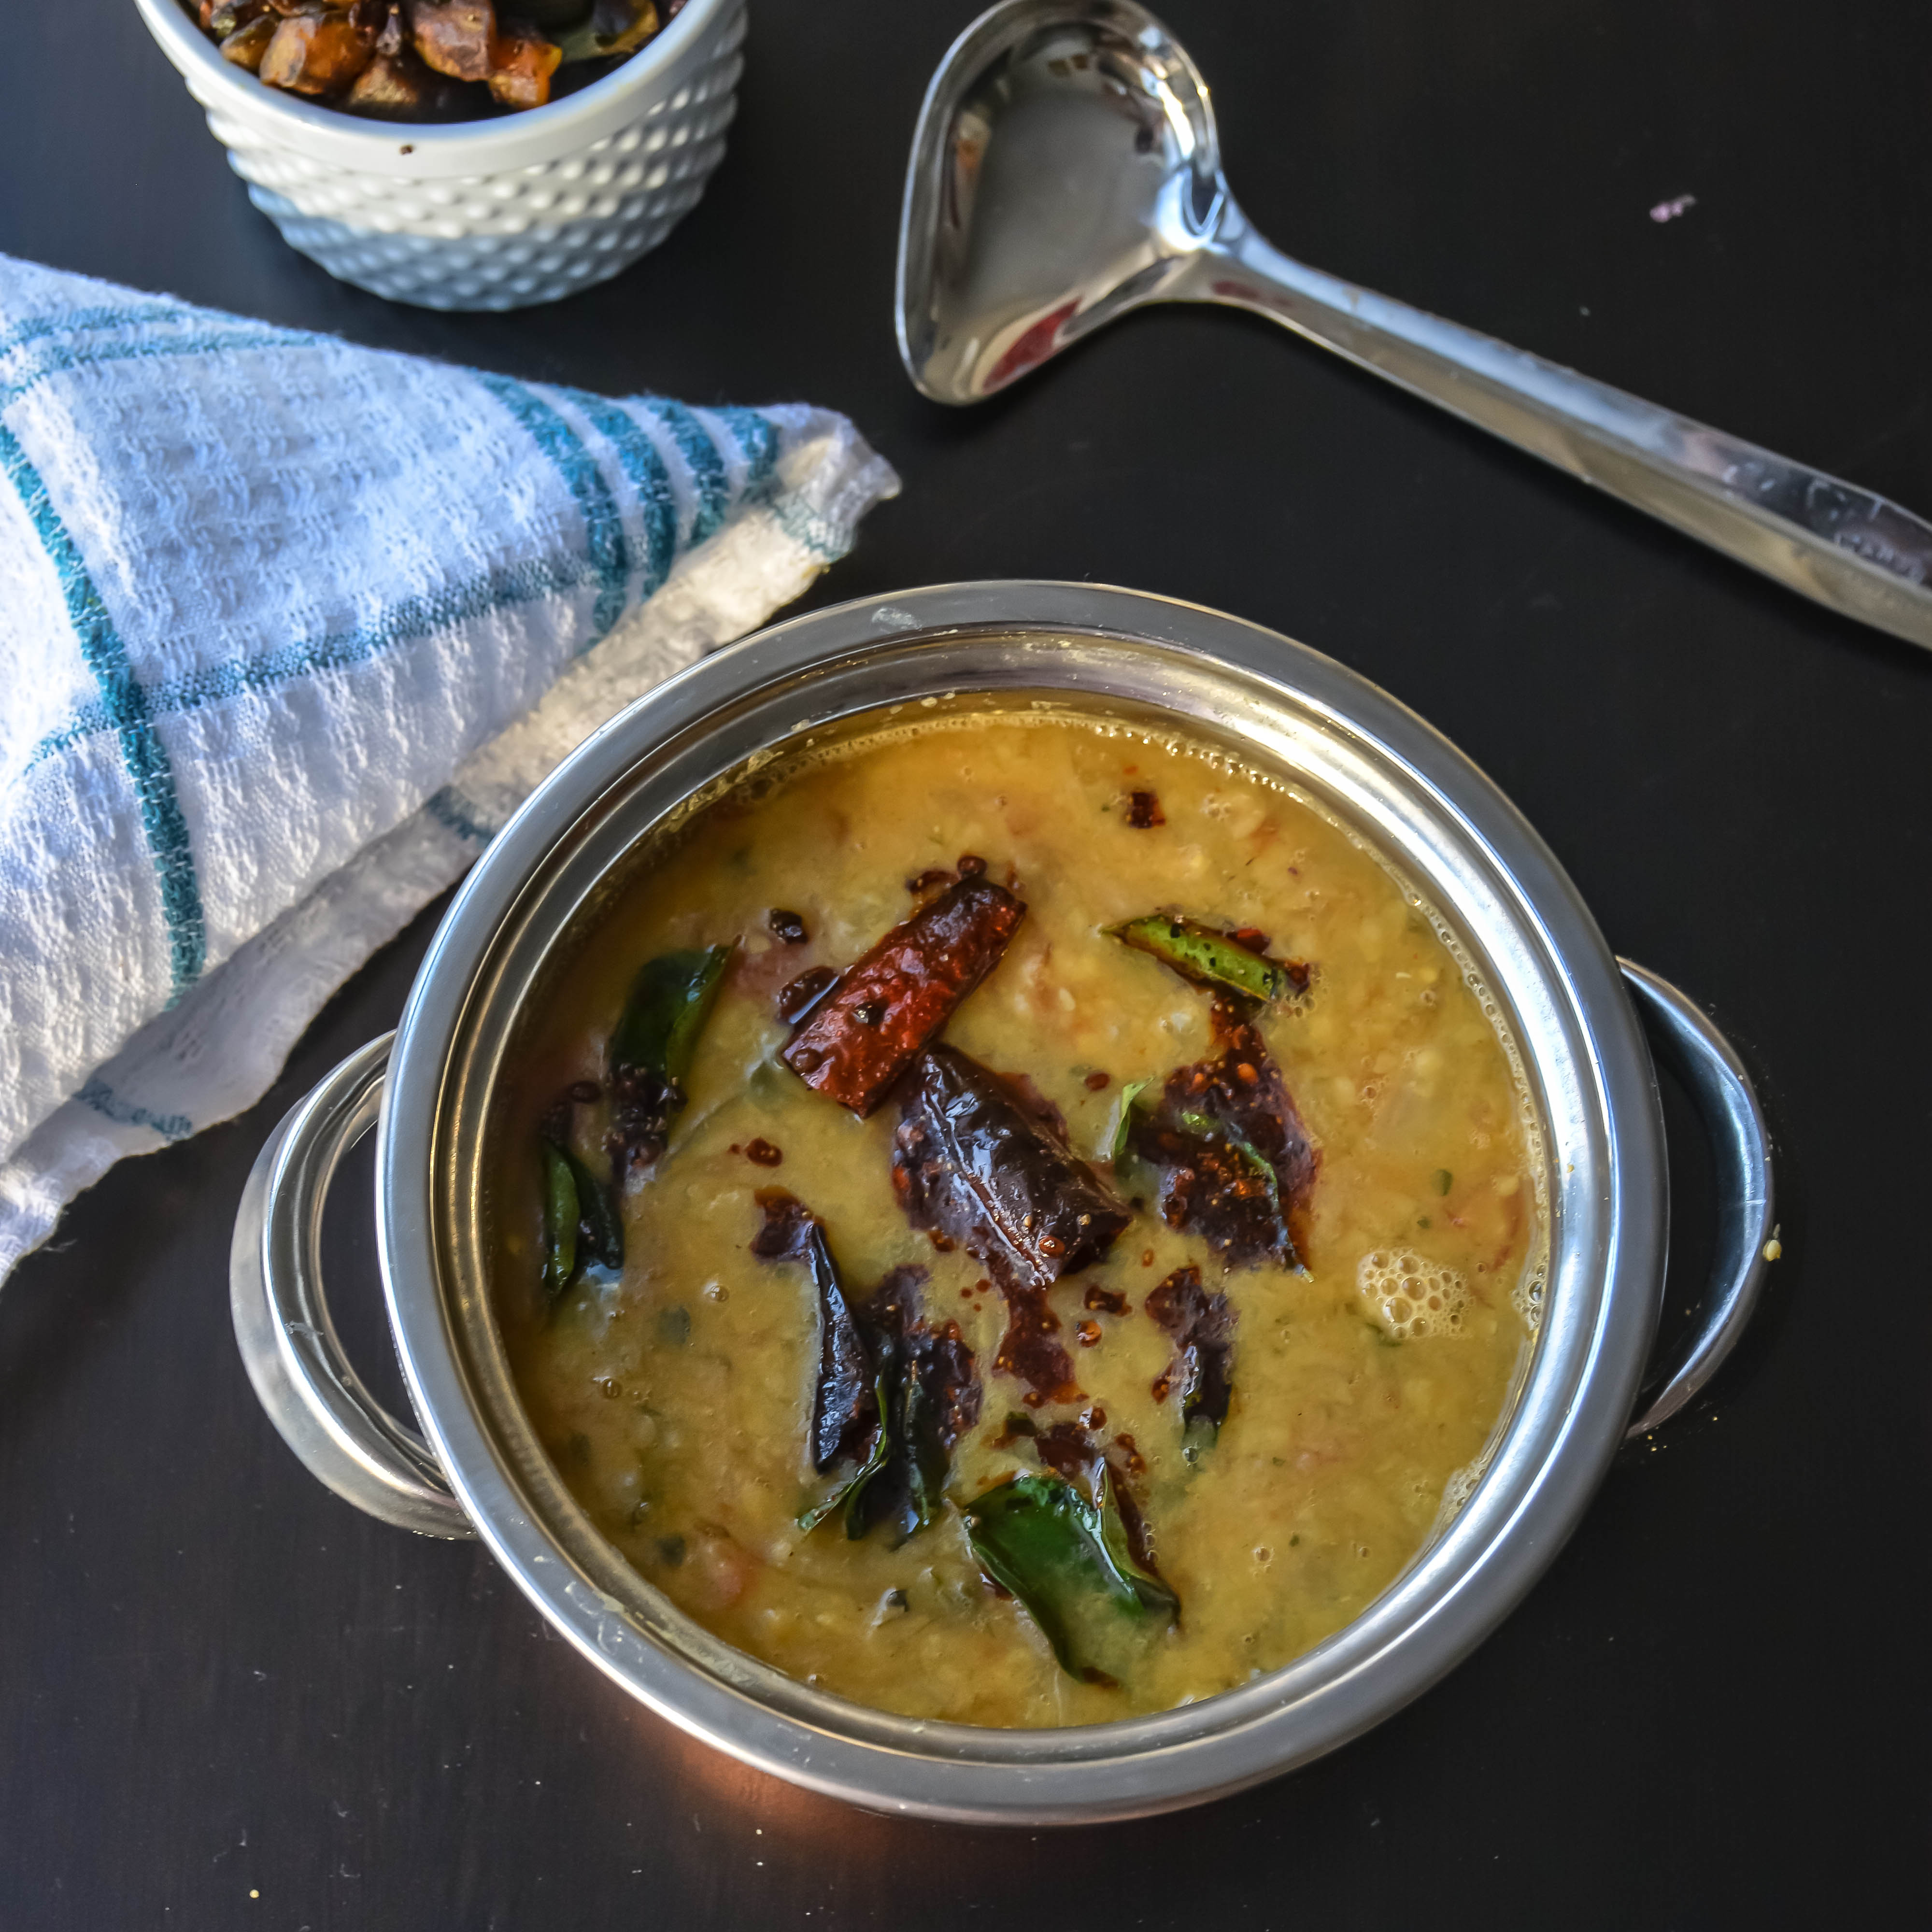
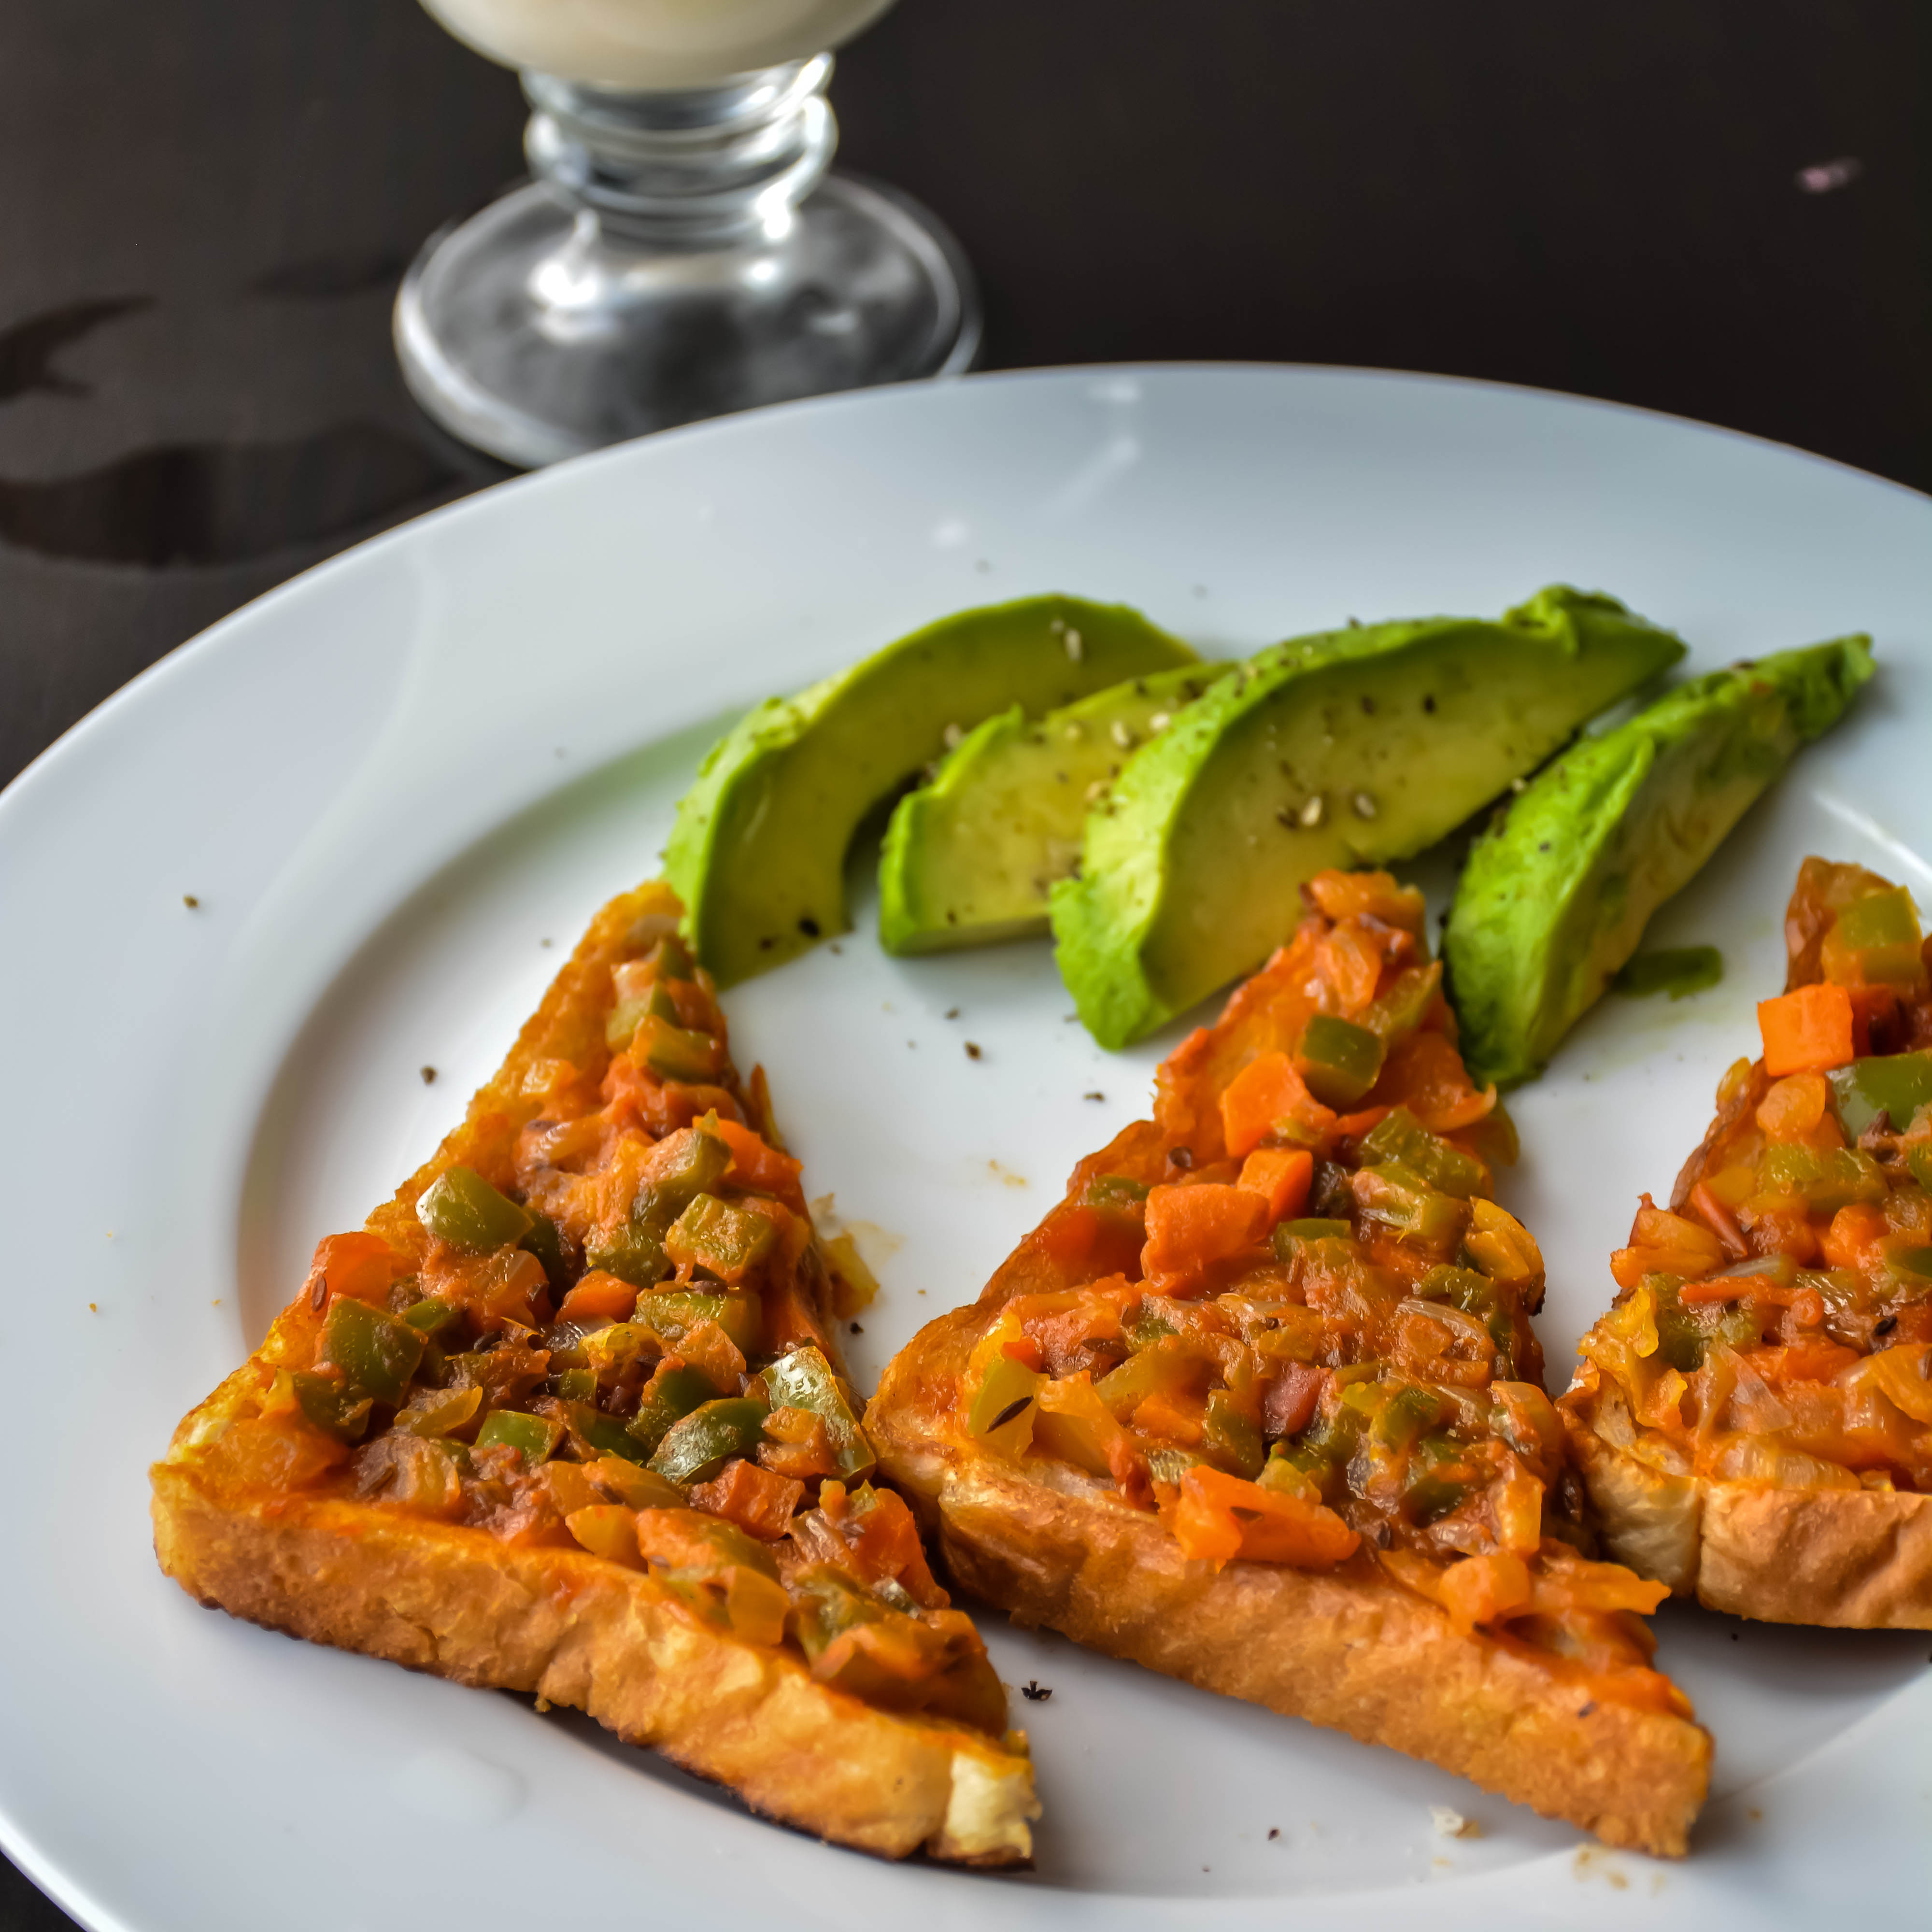
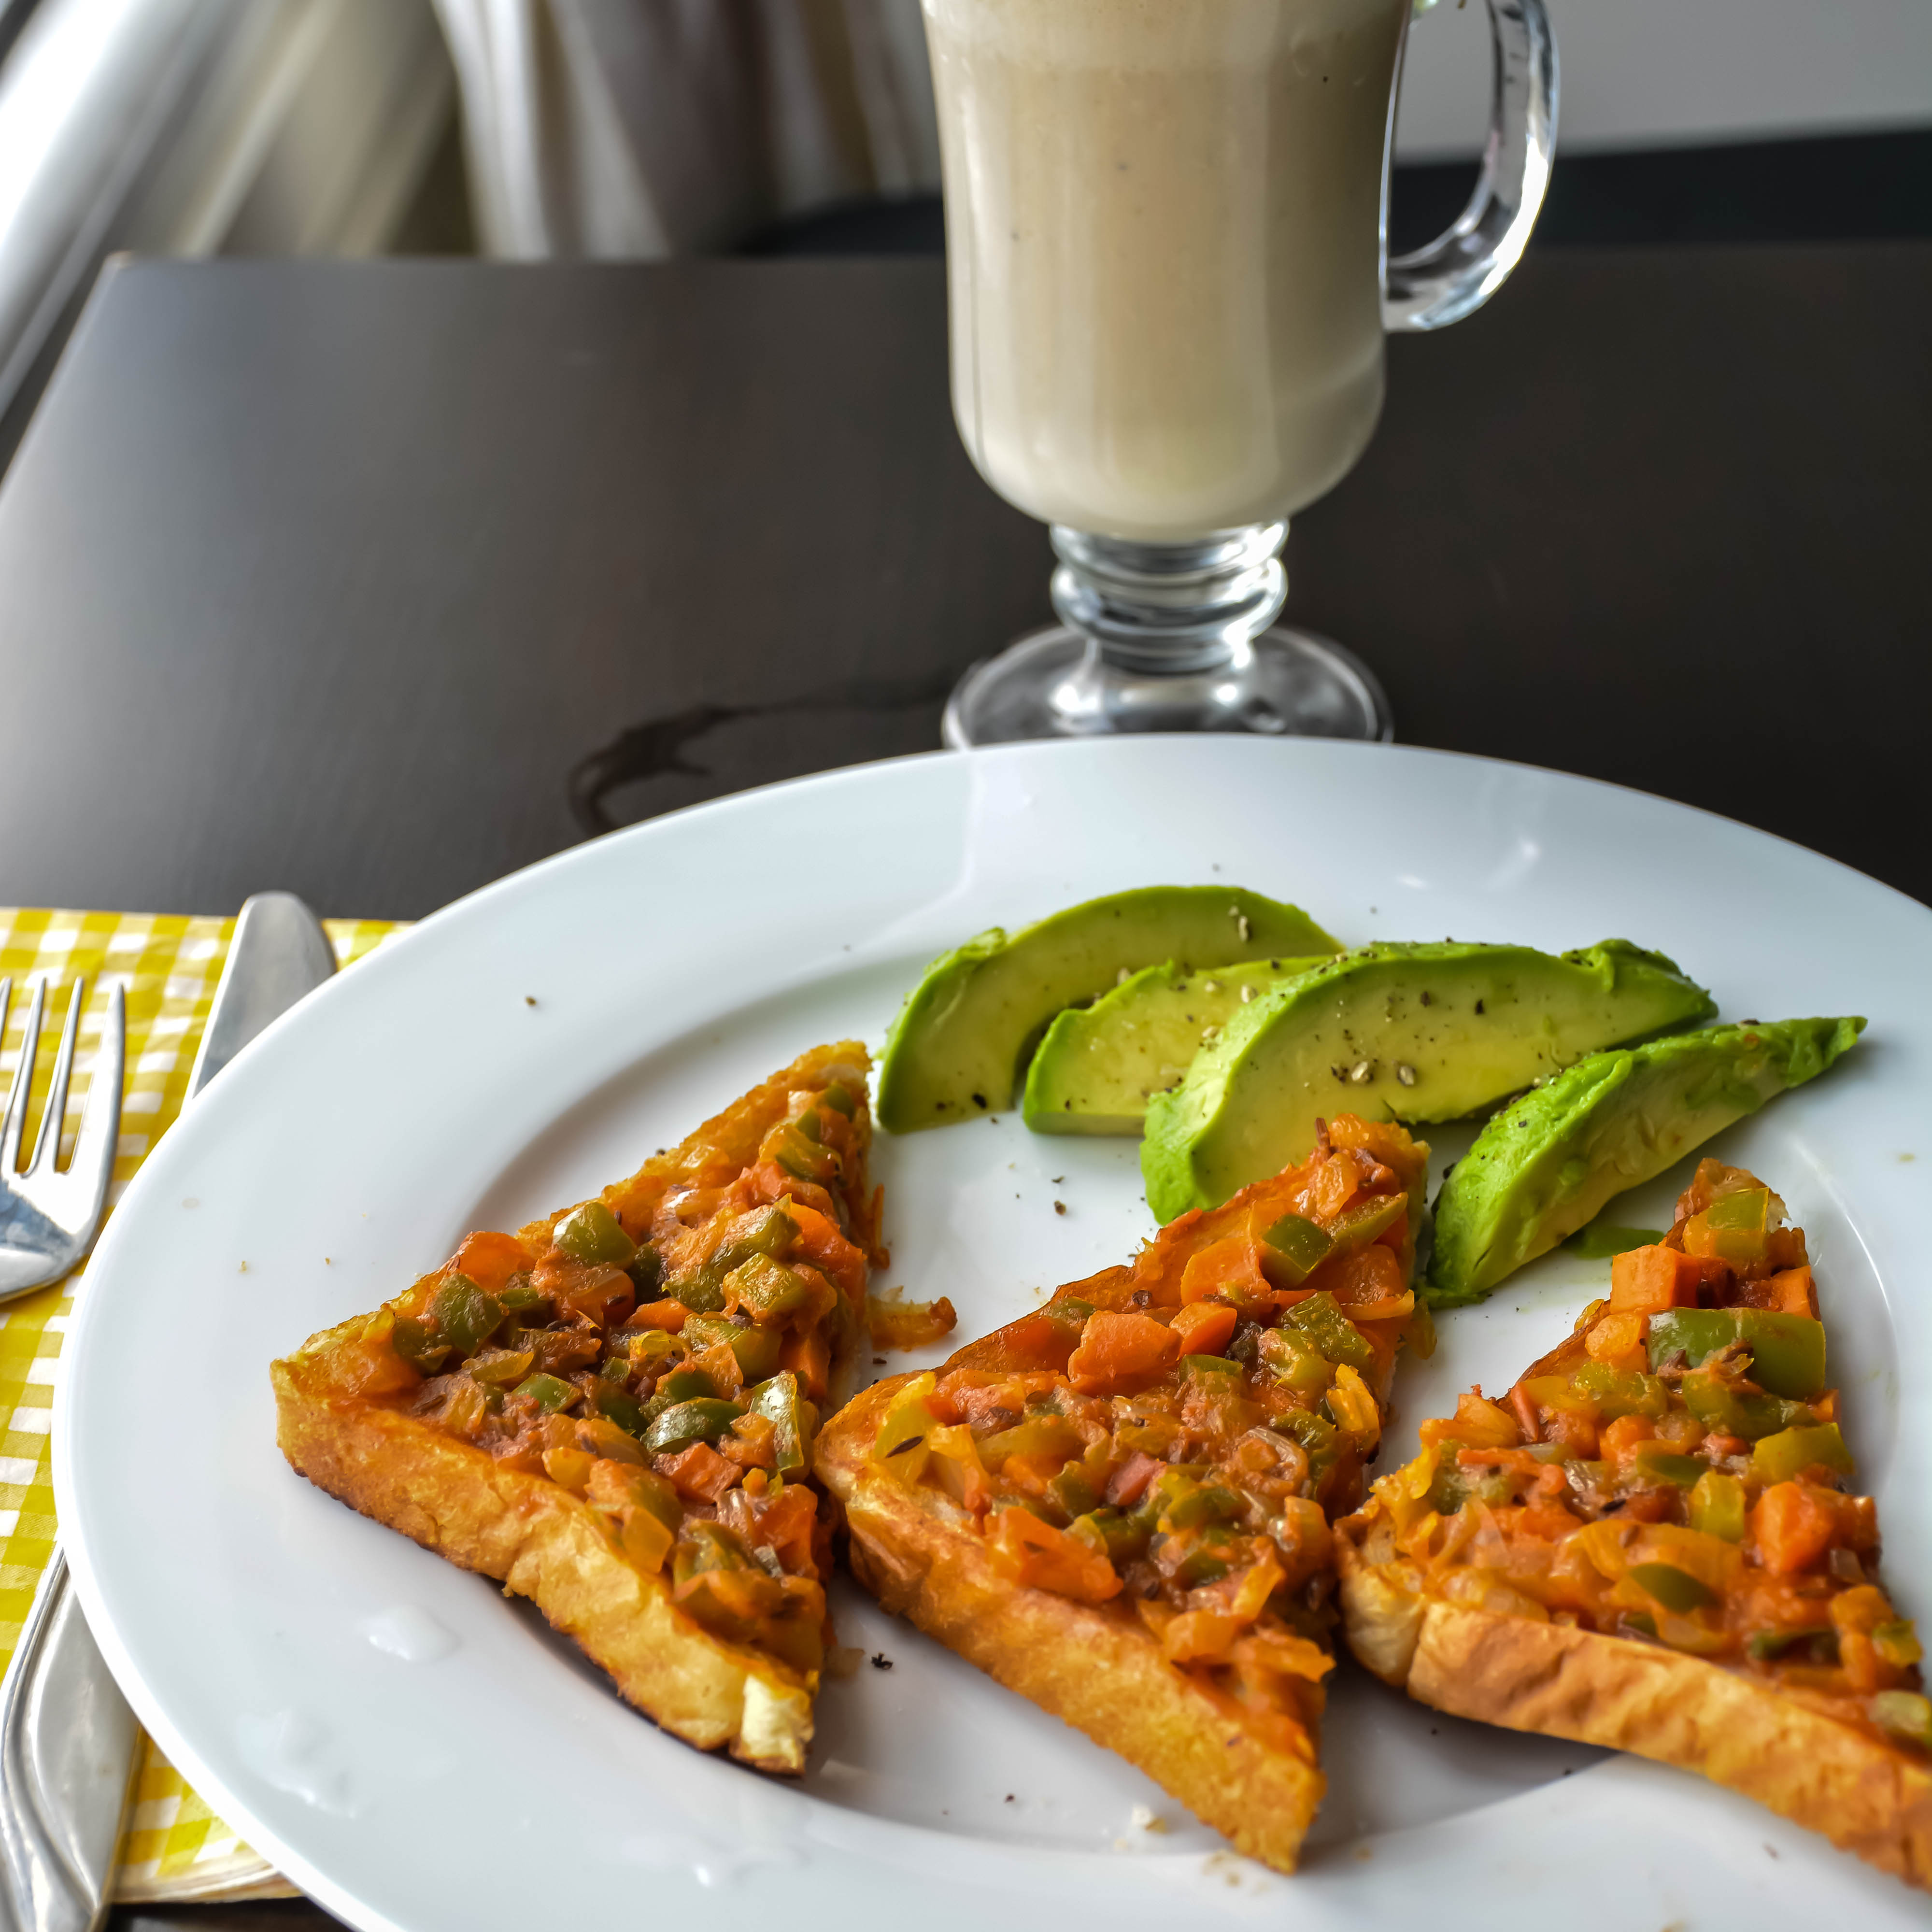
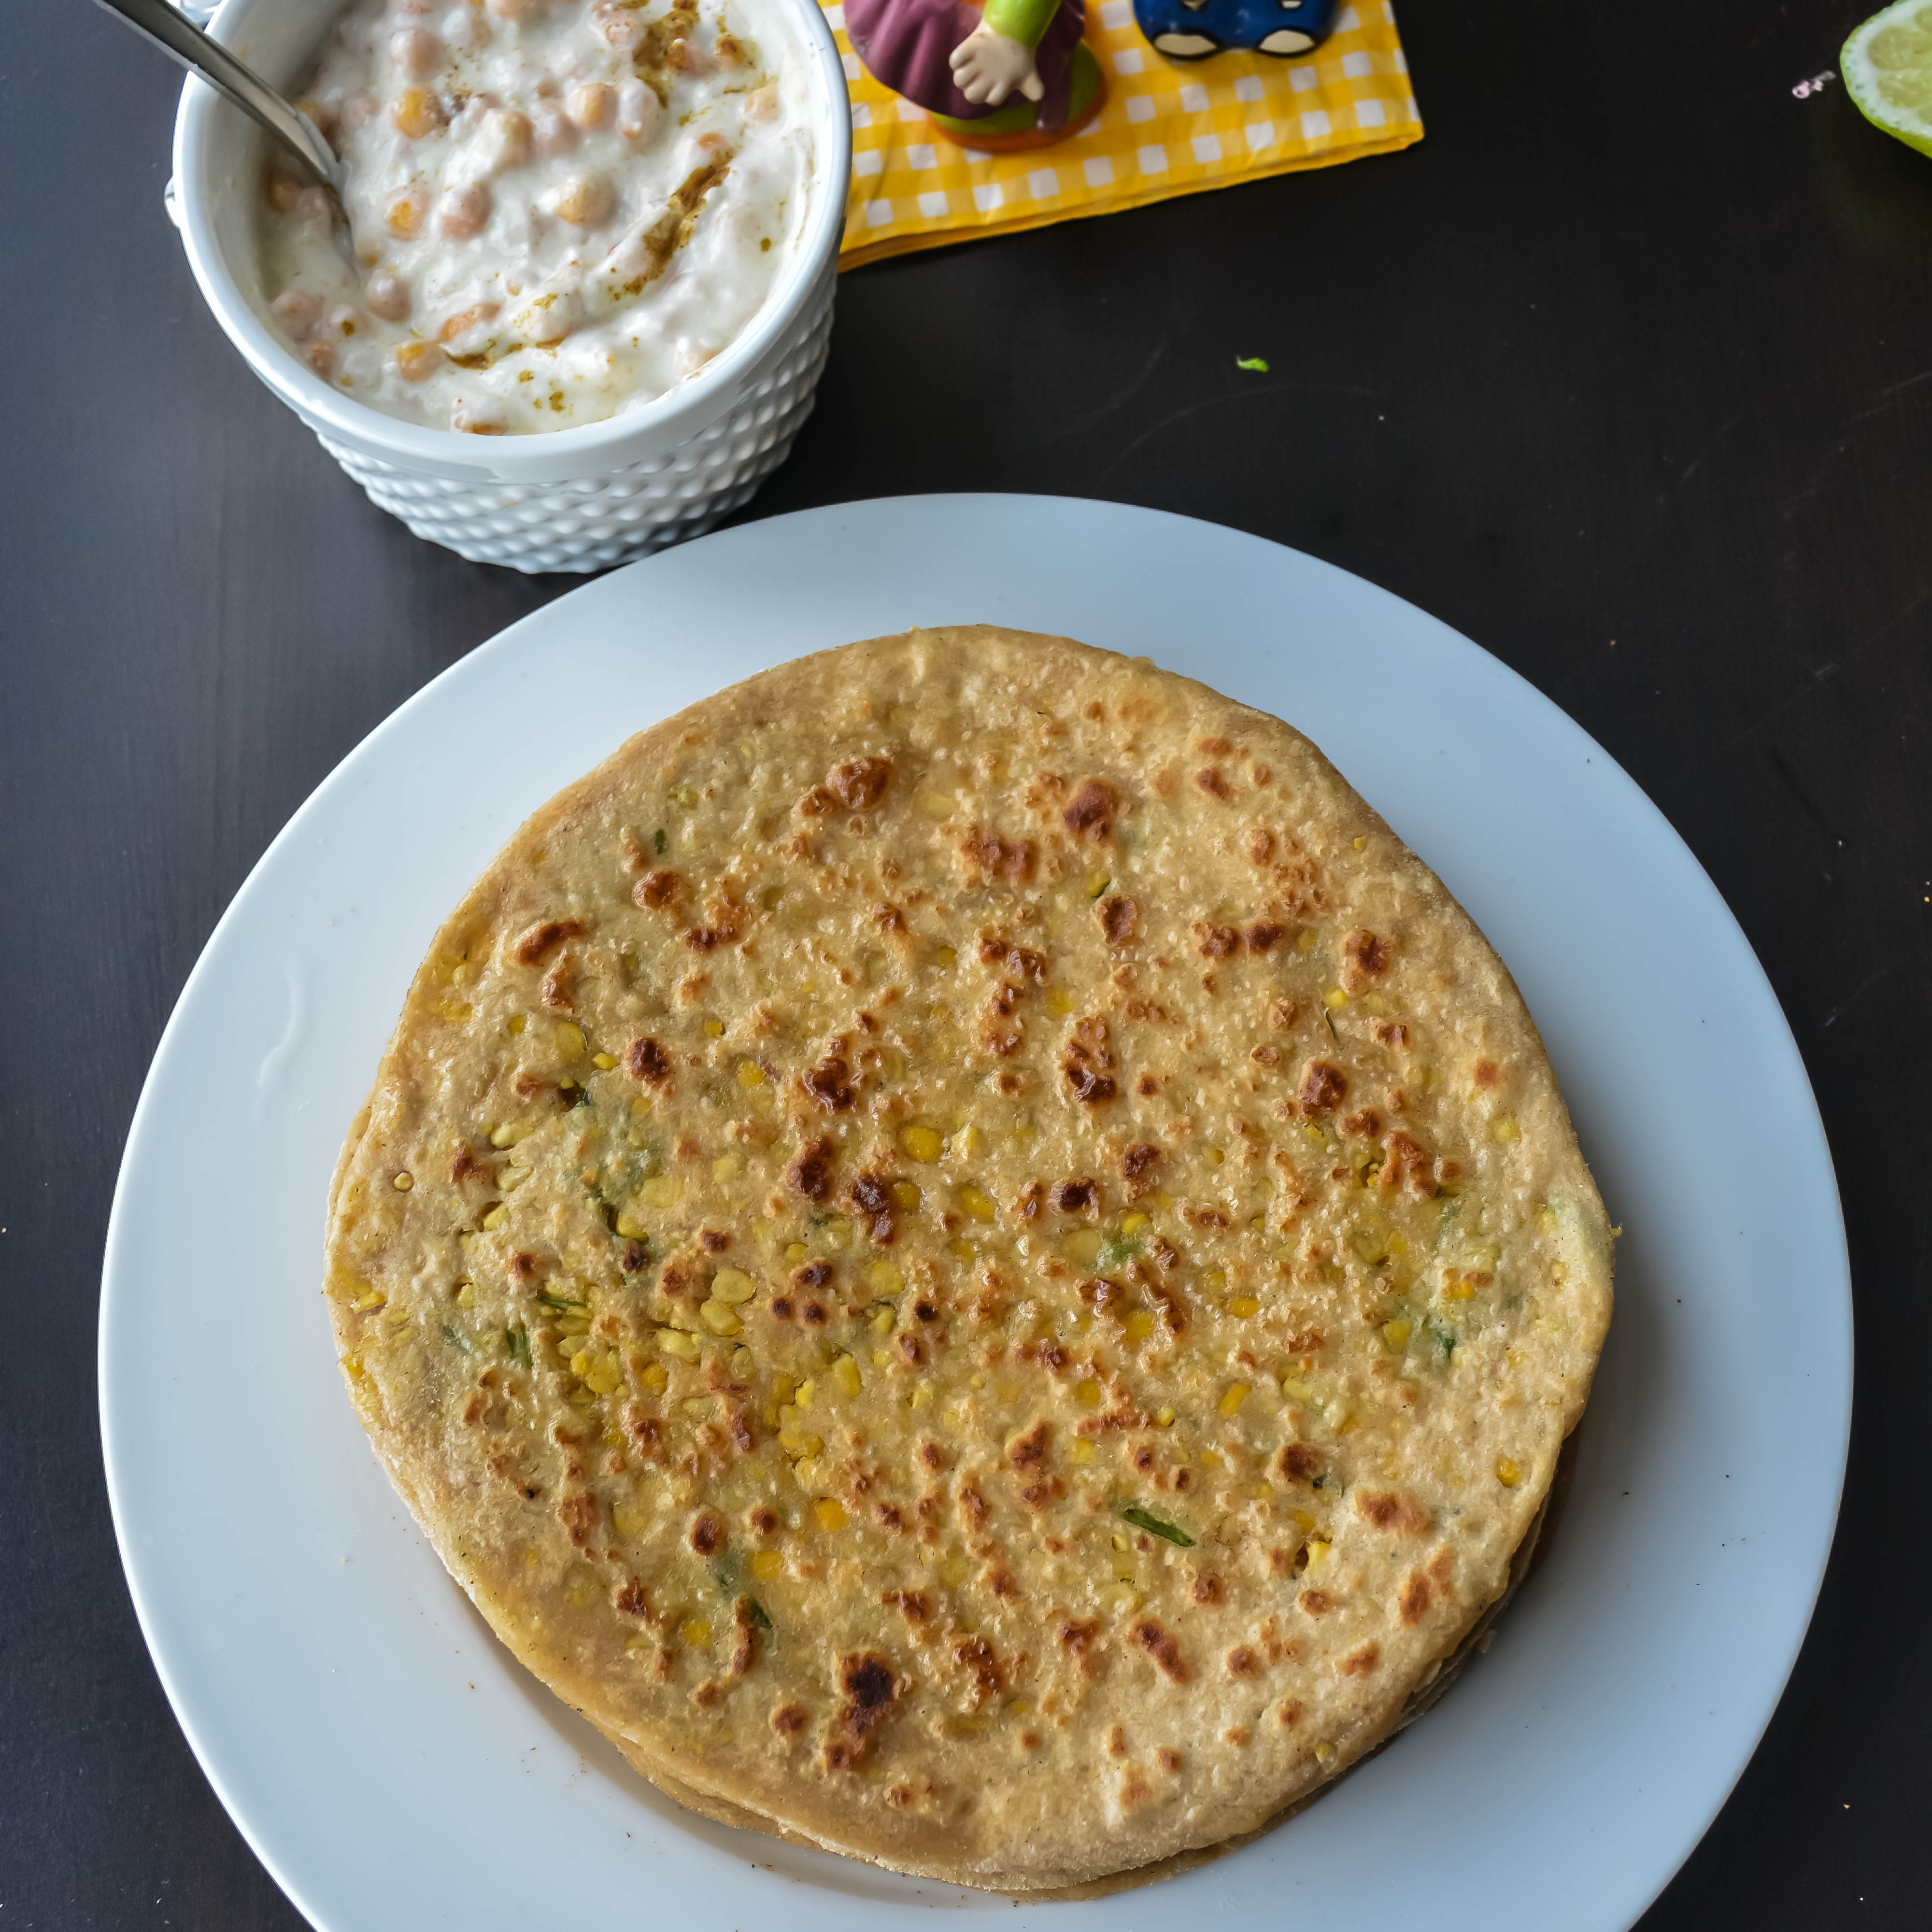
Taste great with rice and sambar or rasam or milagu kuzhambu or vengaya kuzhambu or dal fry. You can have them plain as snacks 🙂
 It is always that comments and love


 and it’s been 6 months! Wow!
  I am proud of myself! I am so happy that I started a food blog 🙂 and I am not regretting it at any minute! It keeps me busy and of course Happy :)! Many have asked me how I get time to cook so much each day and post. To be frank, weekdays it is more of quick dinner and quick lunch and not such heavy meals. I cook them on weekends and I post it that week or later. I type recipes when I get some time and I schedule it for later to post. Some days used to be so busy that I just doze off staring at my laptop after all the work at company and at home. (Only some days) But I am still happy about blogging! I can’t complain!