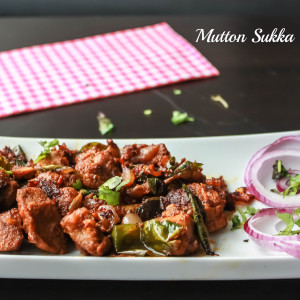
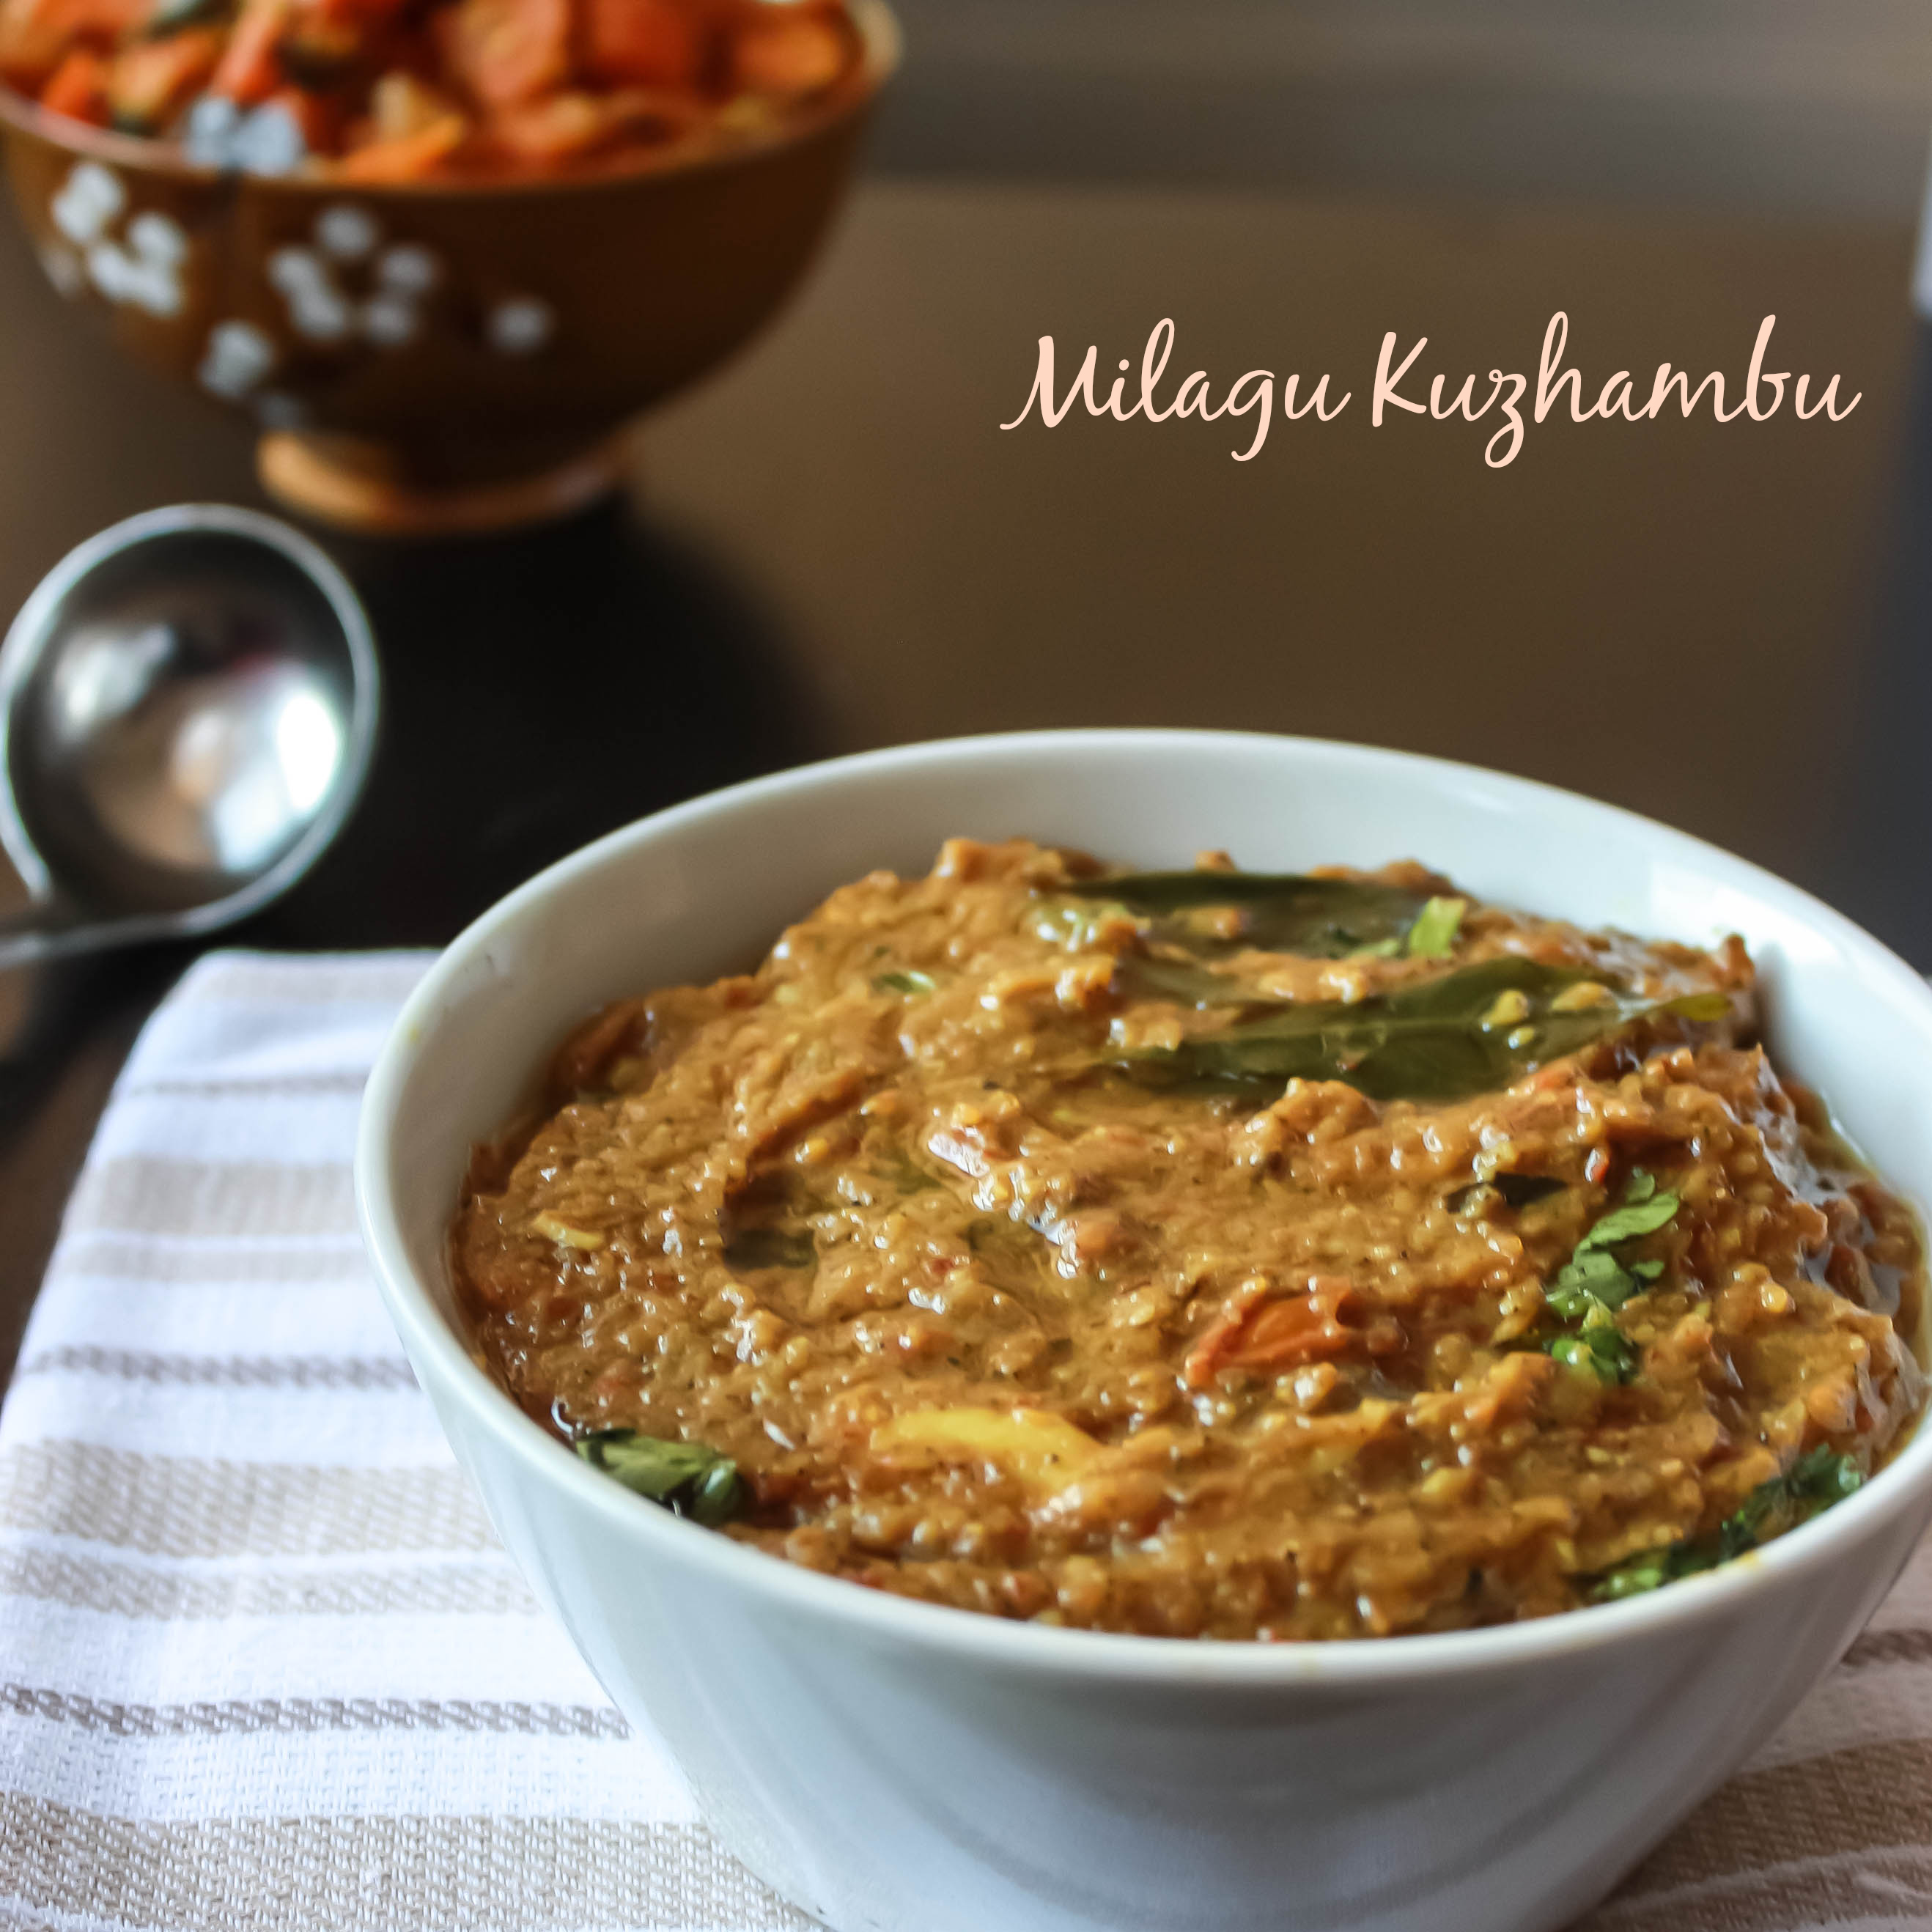
 It is a lip smacking mutton recipe with a palatable flavor of fresh peppercorns and garlic in every piece.
I am sure all meat lovers would love this recipe. It’s been a while since I posted a non-veg recipe. There were a lot of festivals going on, so whenever I go to kitchen, I tend to make some festival snacks or sweets. I finally got some time to make some yesterday. Mutton is rich in fat and carbohydrates and is a great source of protein. I made this with chicken curry and it took me just an hour to make both. It’s that easy to make. You can even serve it as starter or even as sides. Unlike chicken and prawn, mutton or beef must be cooked first and then fried or pan fried. I always like to cook anything with pepper. It makes the whole home with the pepper aroma. It is so good. When I made them and saw it in the plate, I just complimented myself saying “Beautiful”! 😀
I made this and chicken curry after coming home from work yesterday. It was already late. It just took an hour as I have made this many times. But it is fall here, so it was dark when I thought I can click some pictures. So I just clicked three pictures exactly. And here it is. I am really learning each day on how to click picture and I should say I am very amateur in photography. I should take up a course :D!
- Mutton – 200 gms
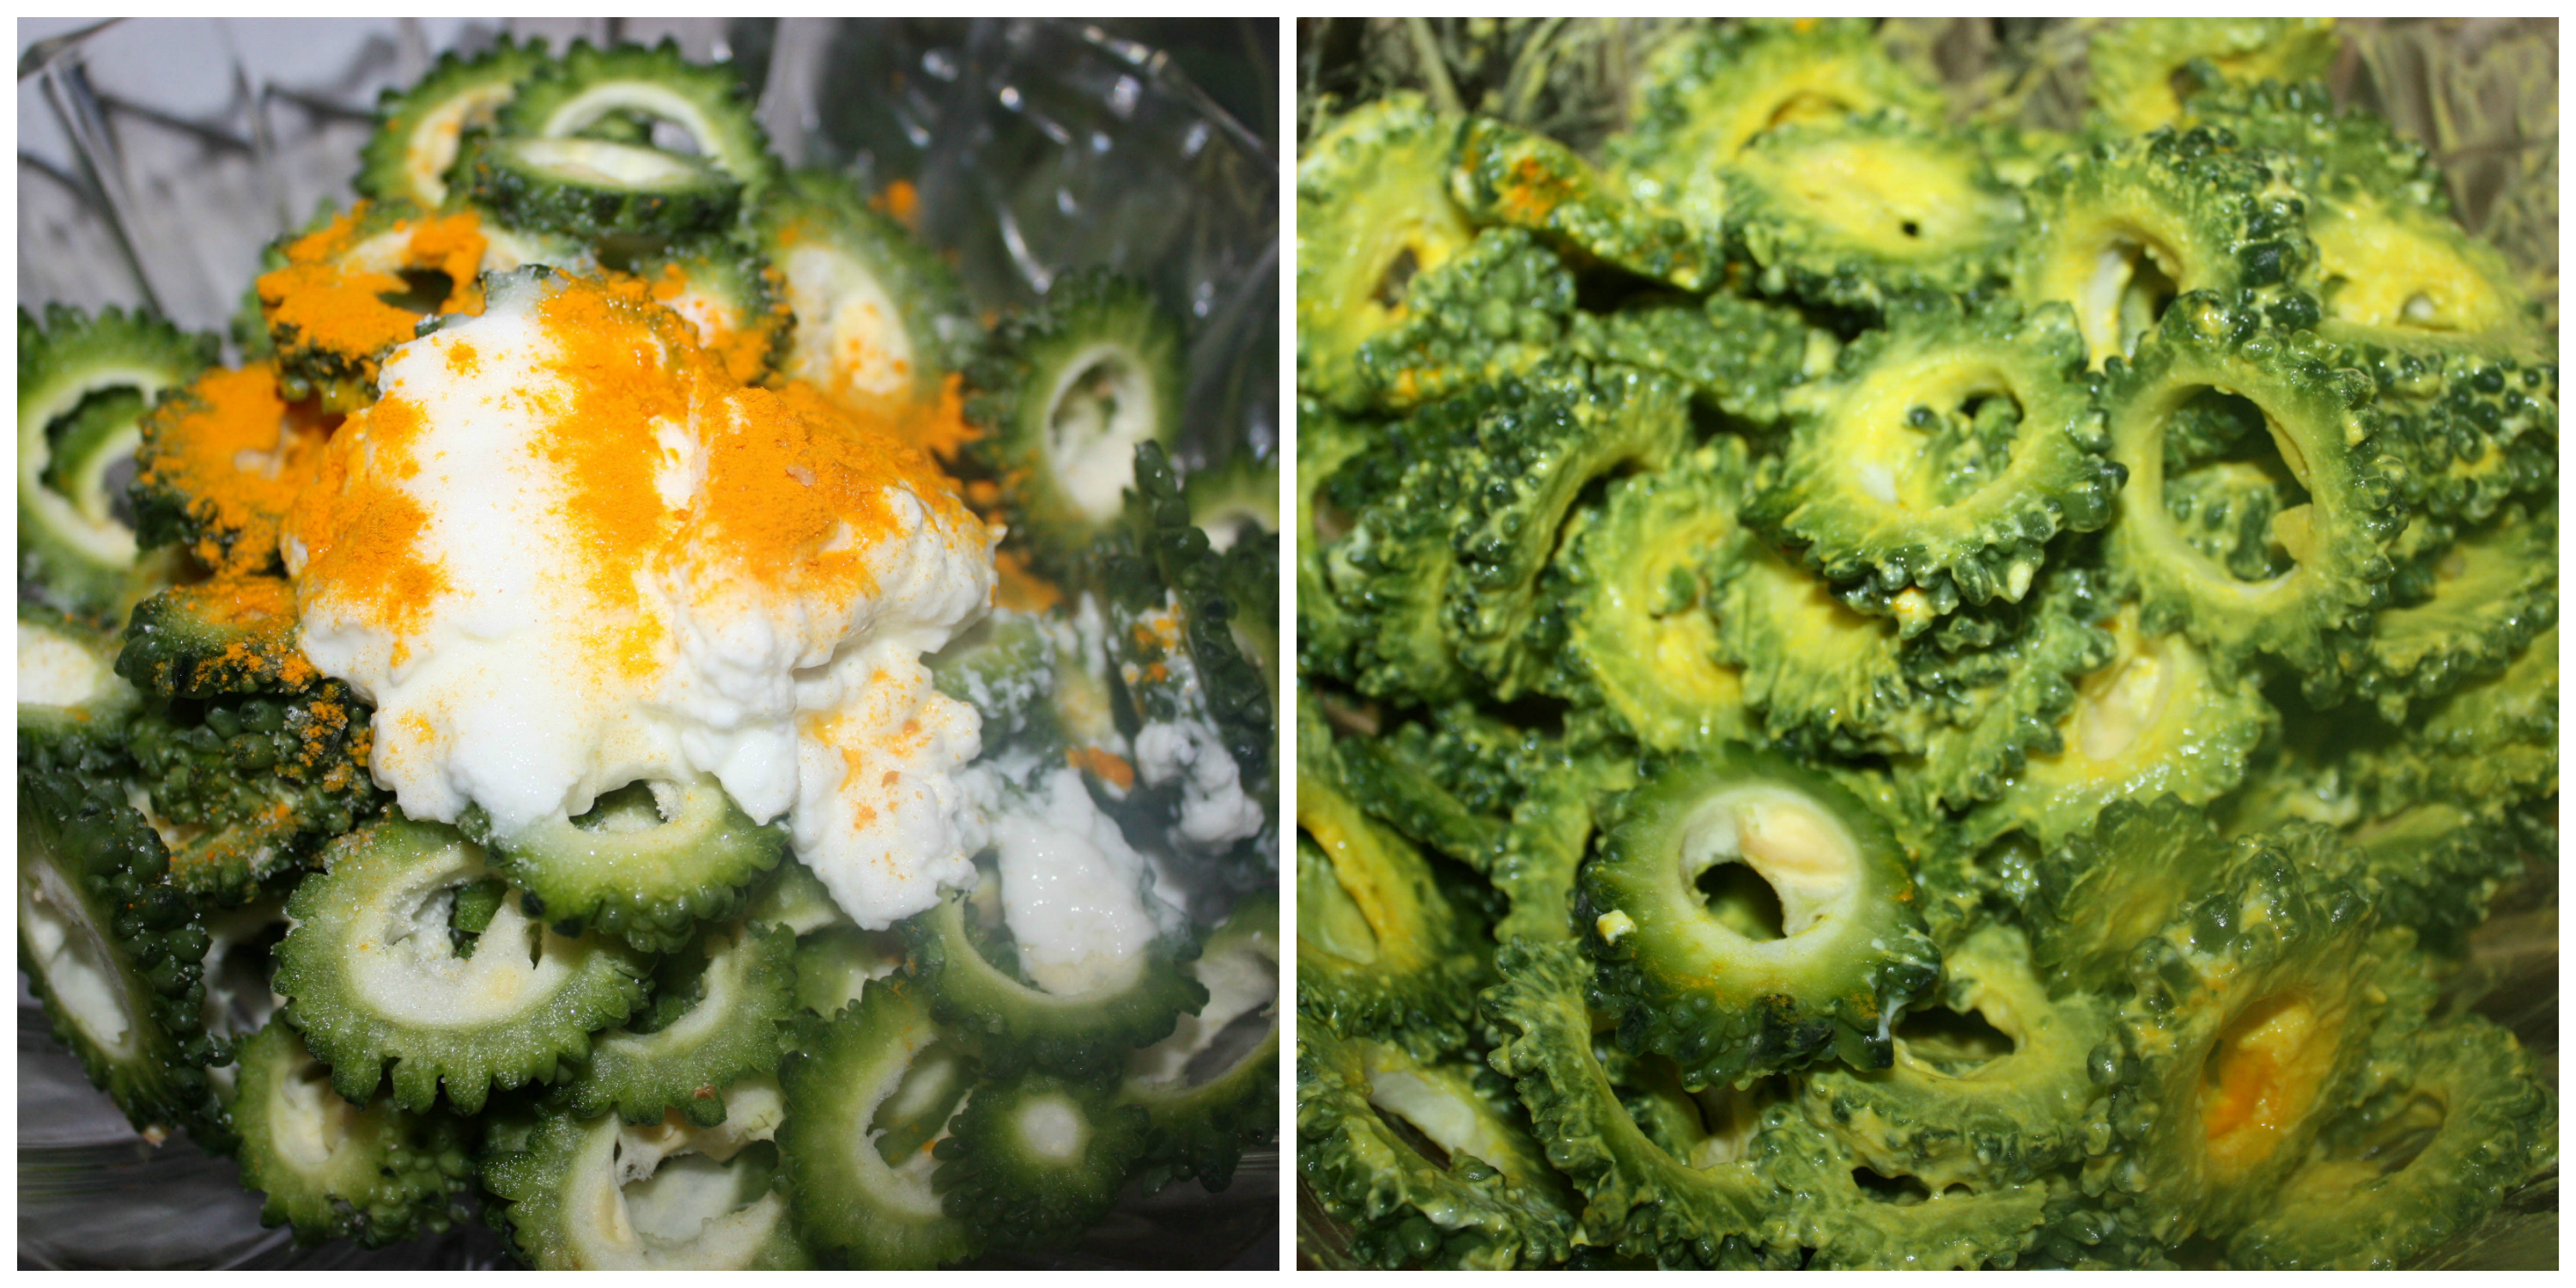
- Turmeric powder – ½ tsp
- Salt – to taste
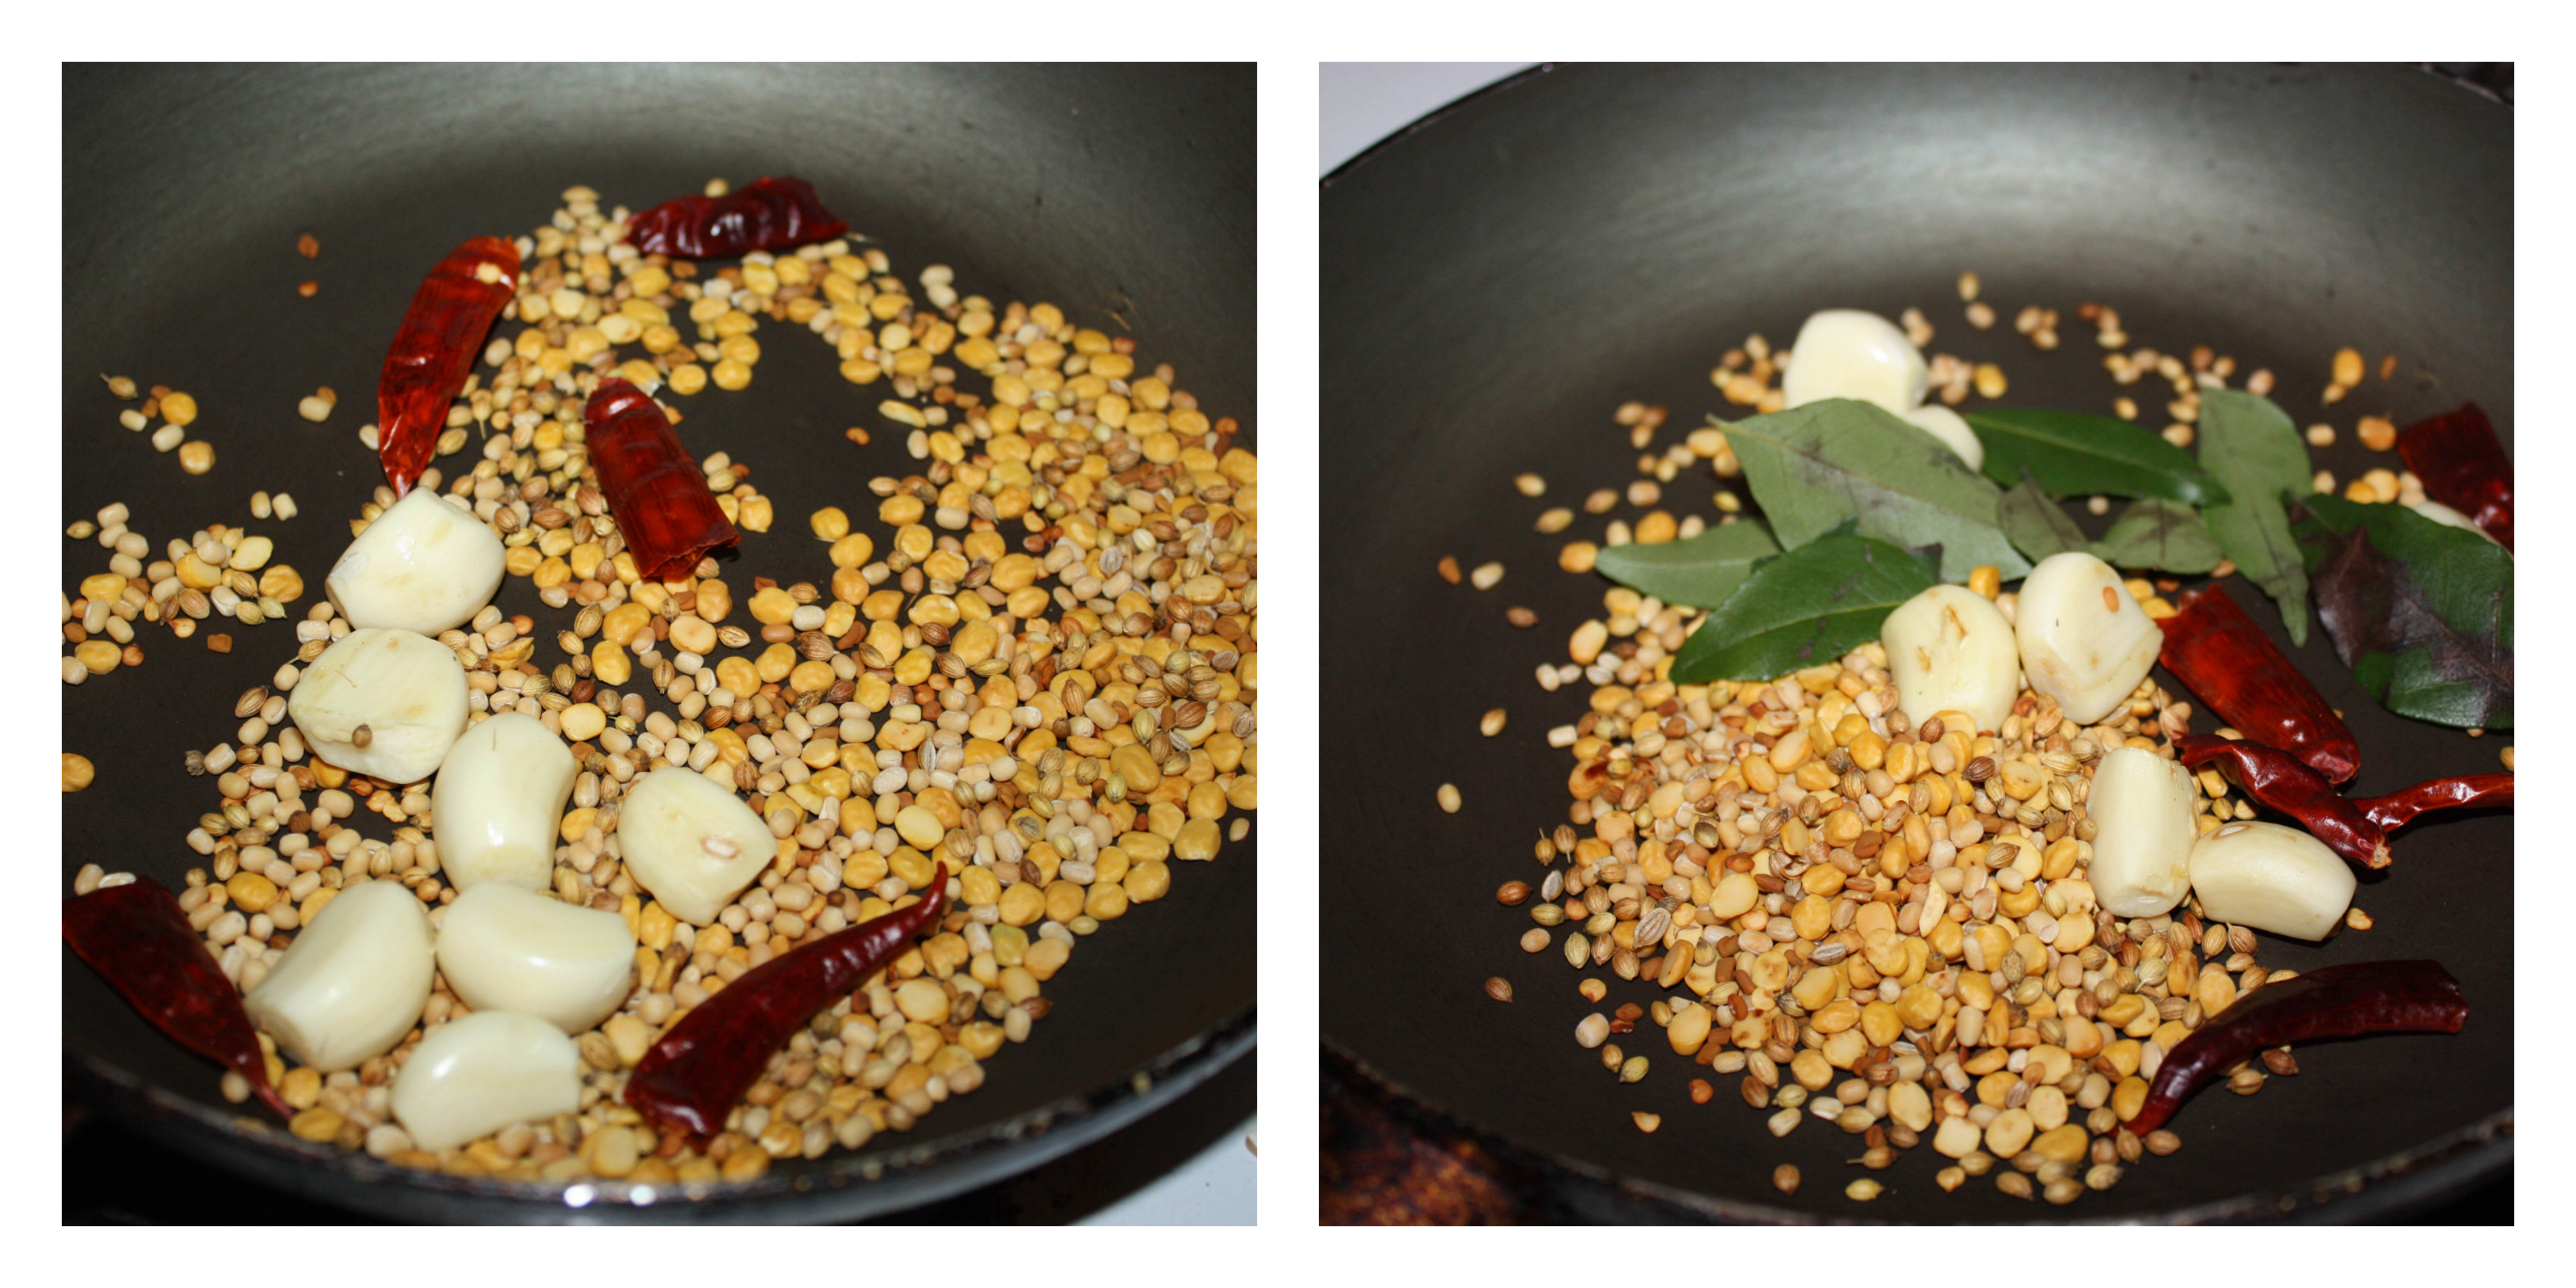
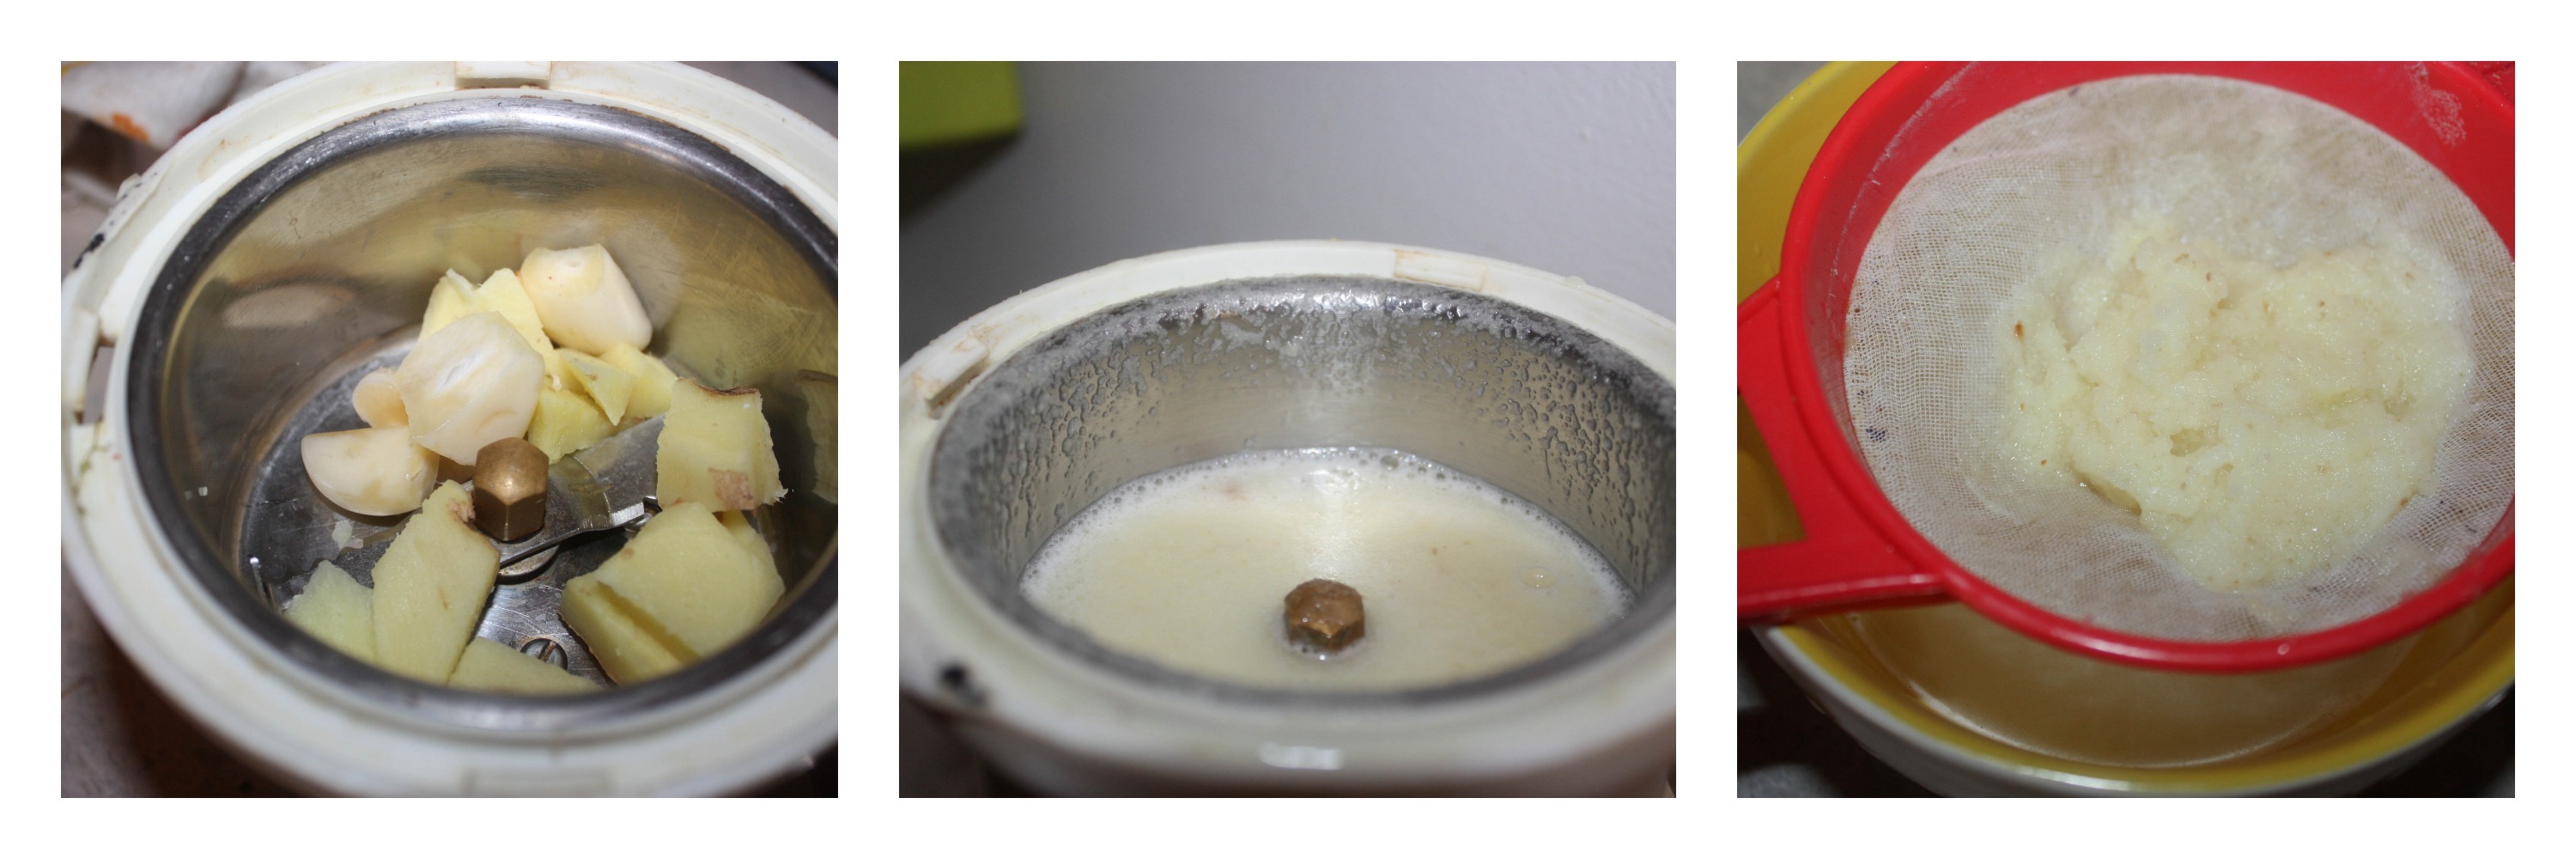
To crush: - Garlic – 5 pearls
- Pepper – 5
- Fennel seeds – ½ tsp
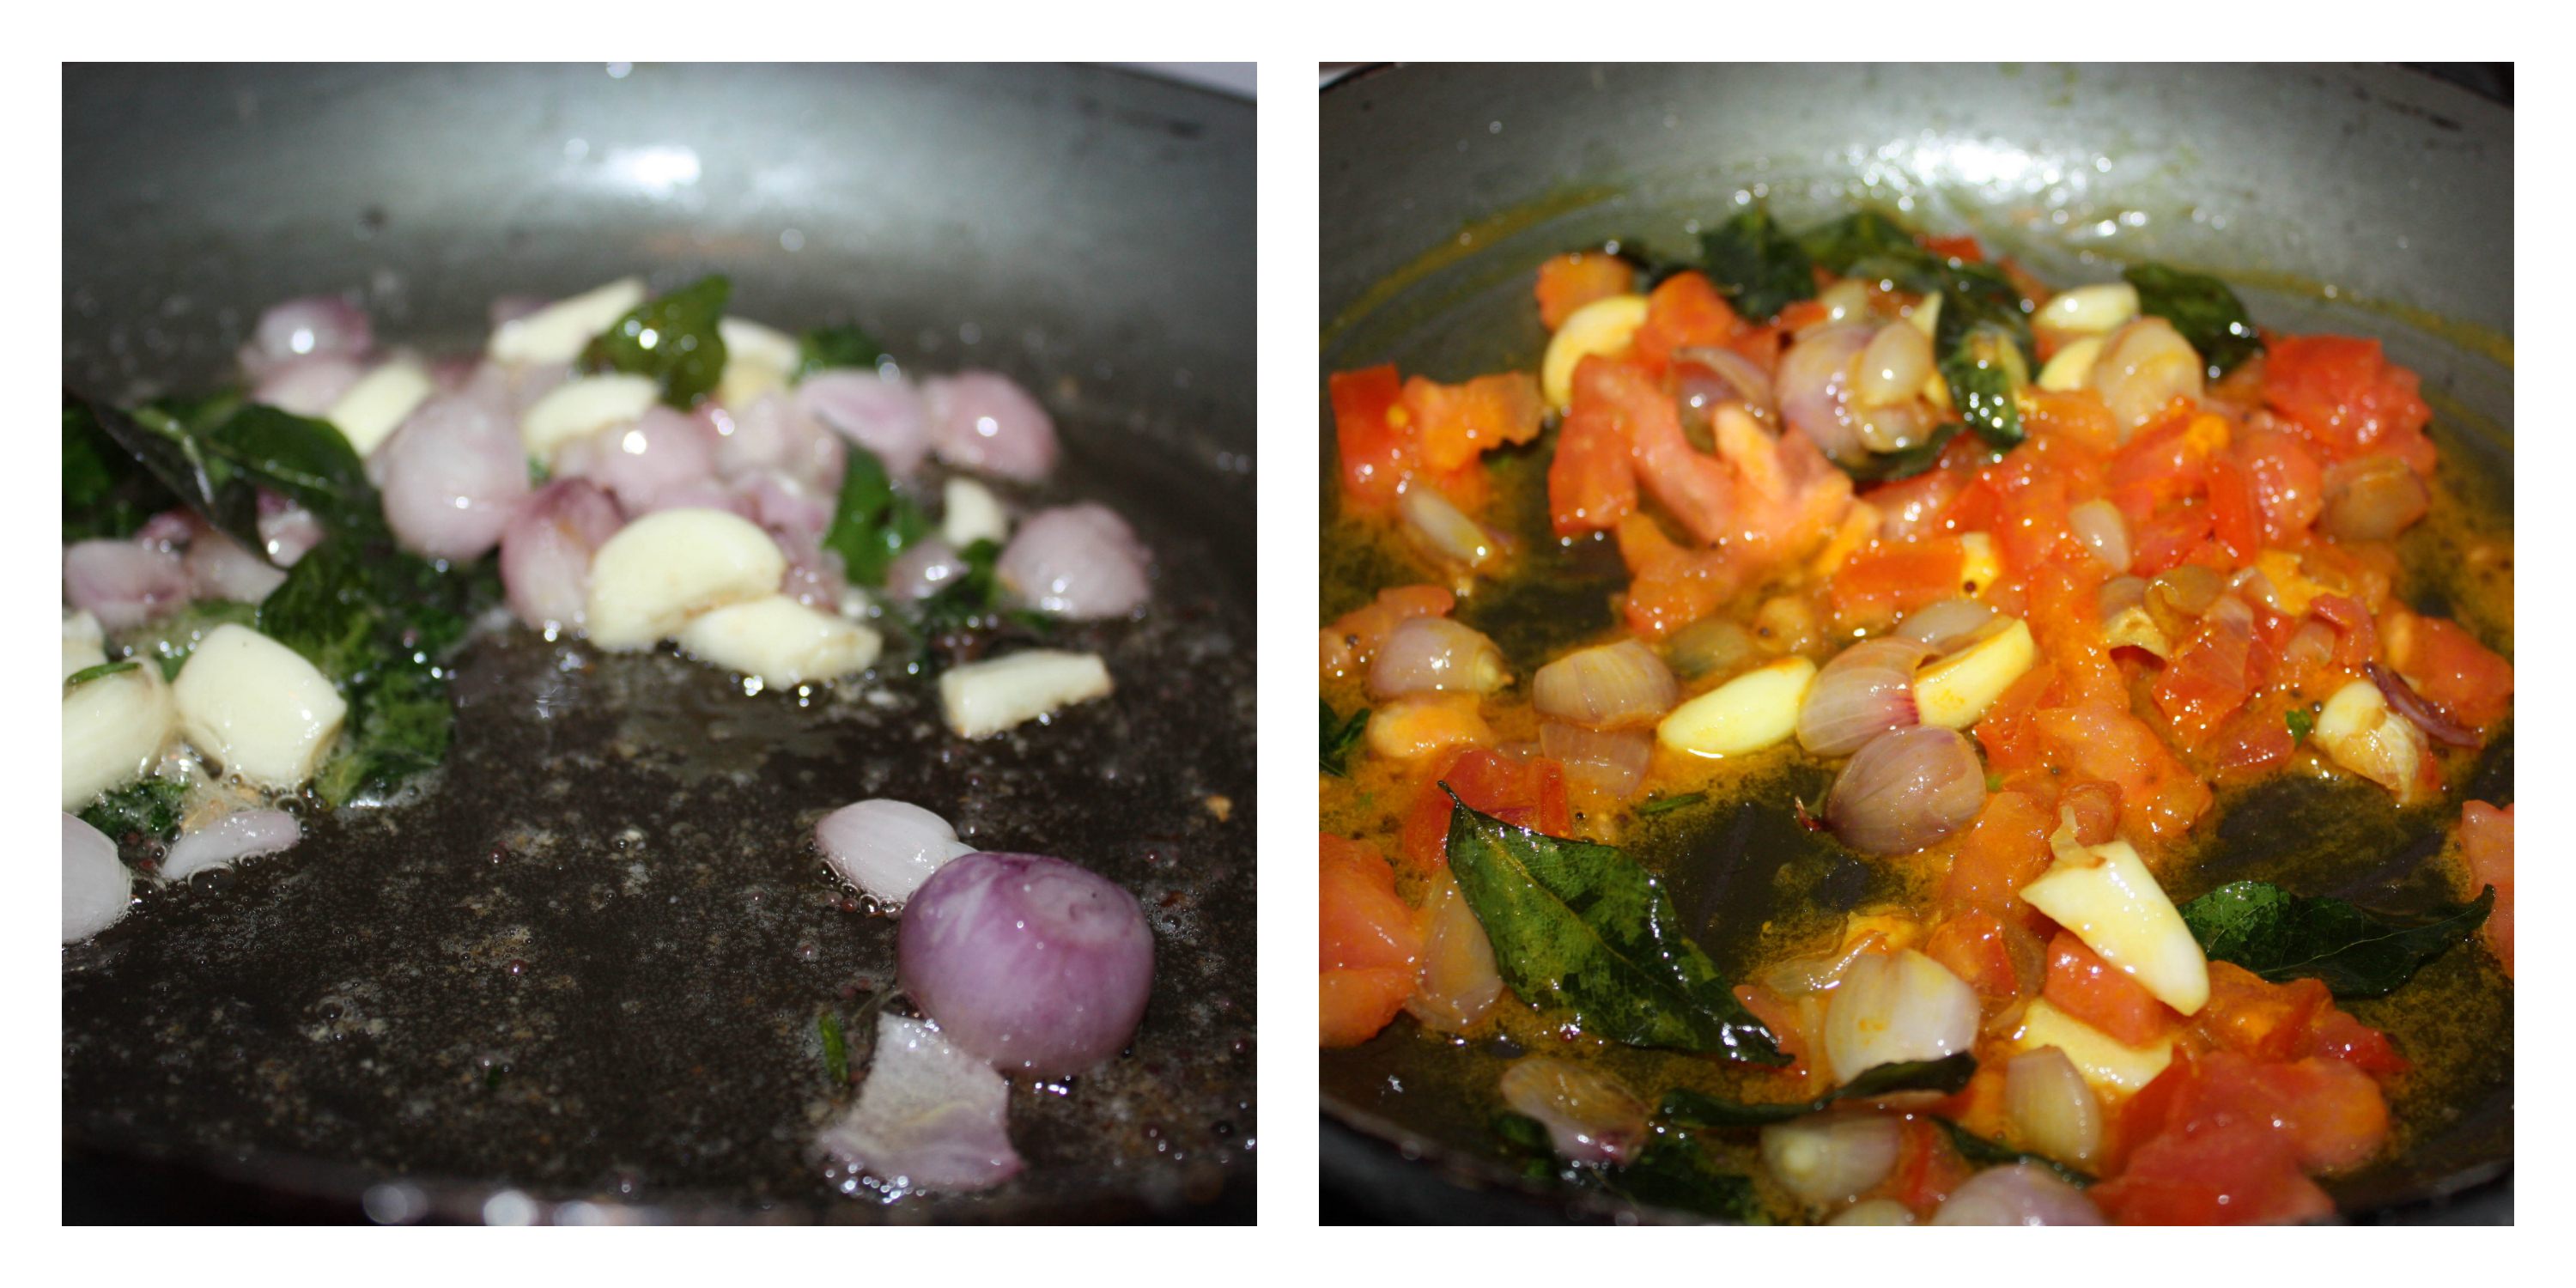
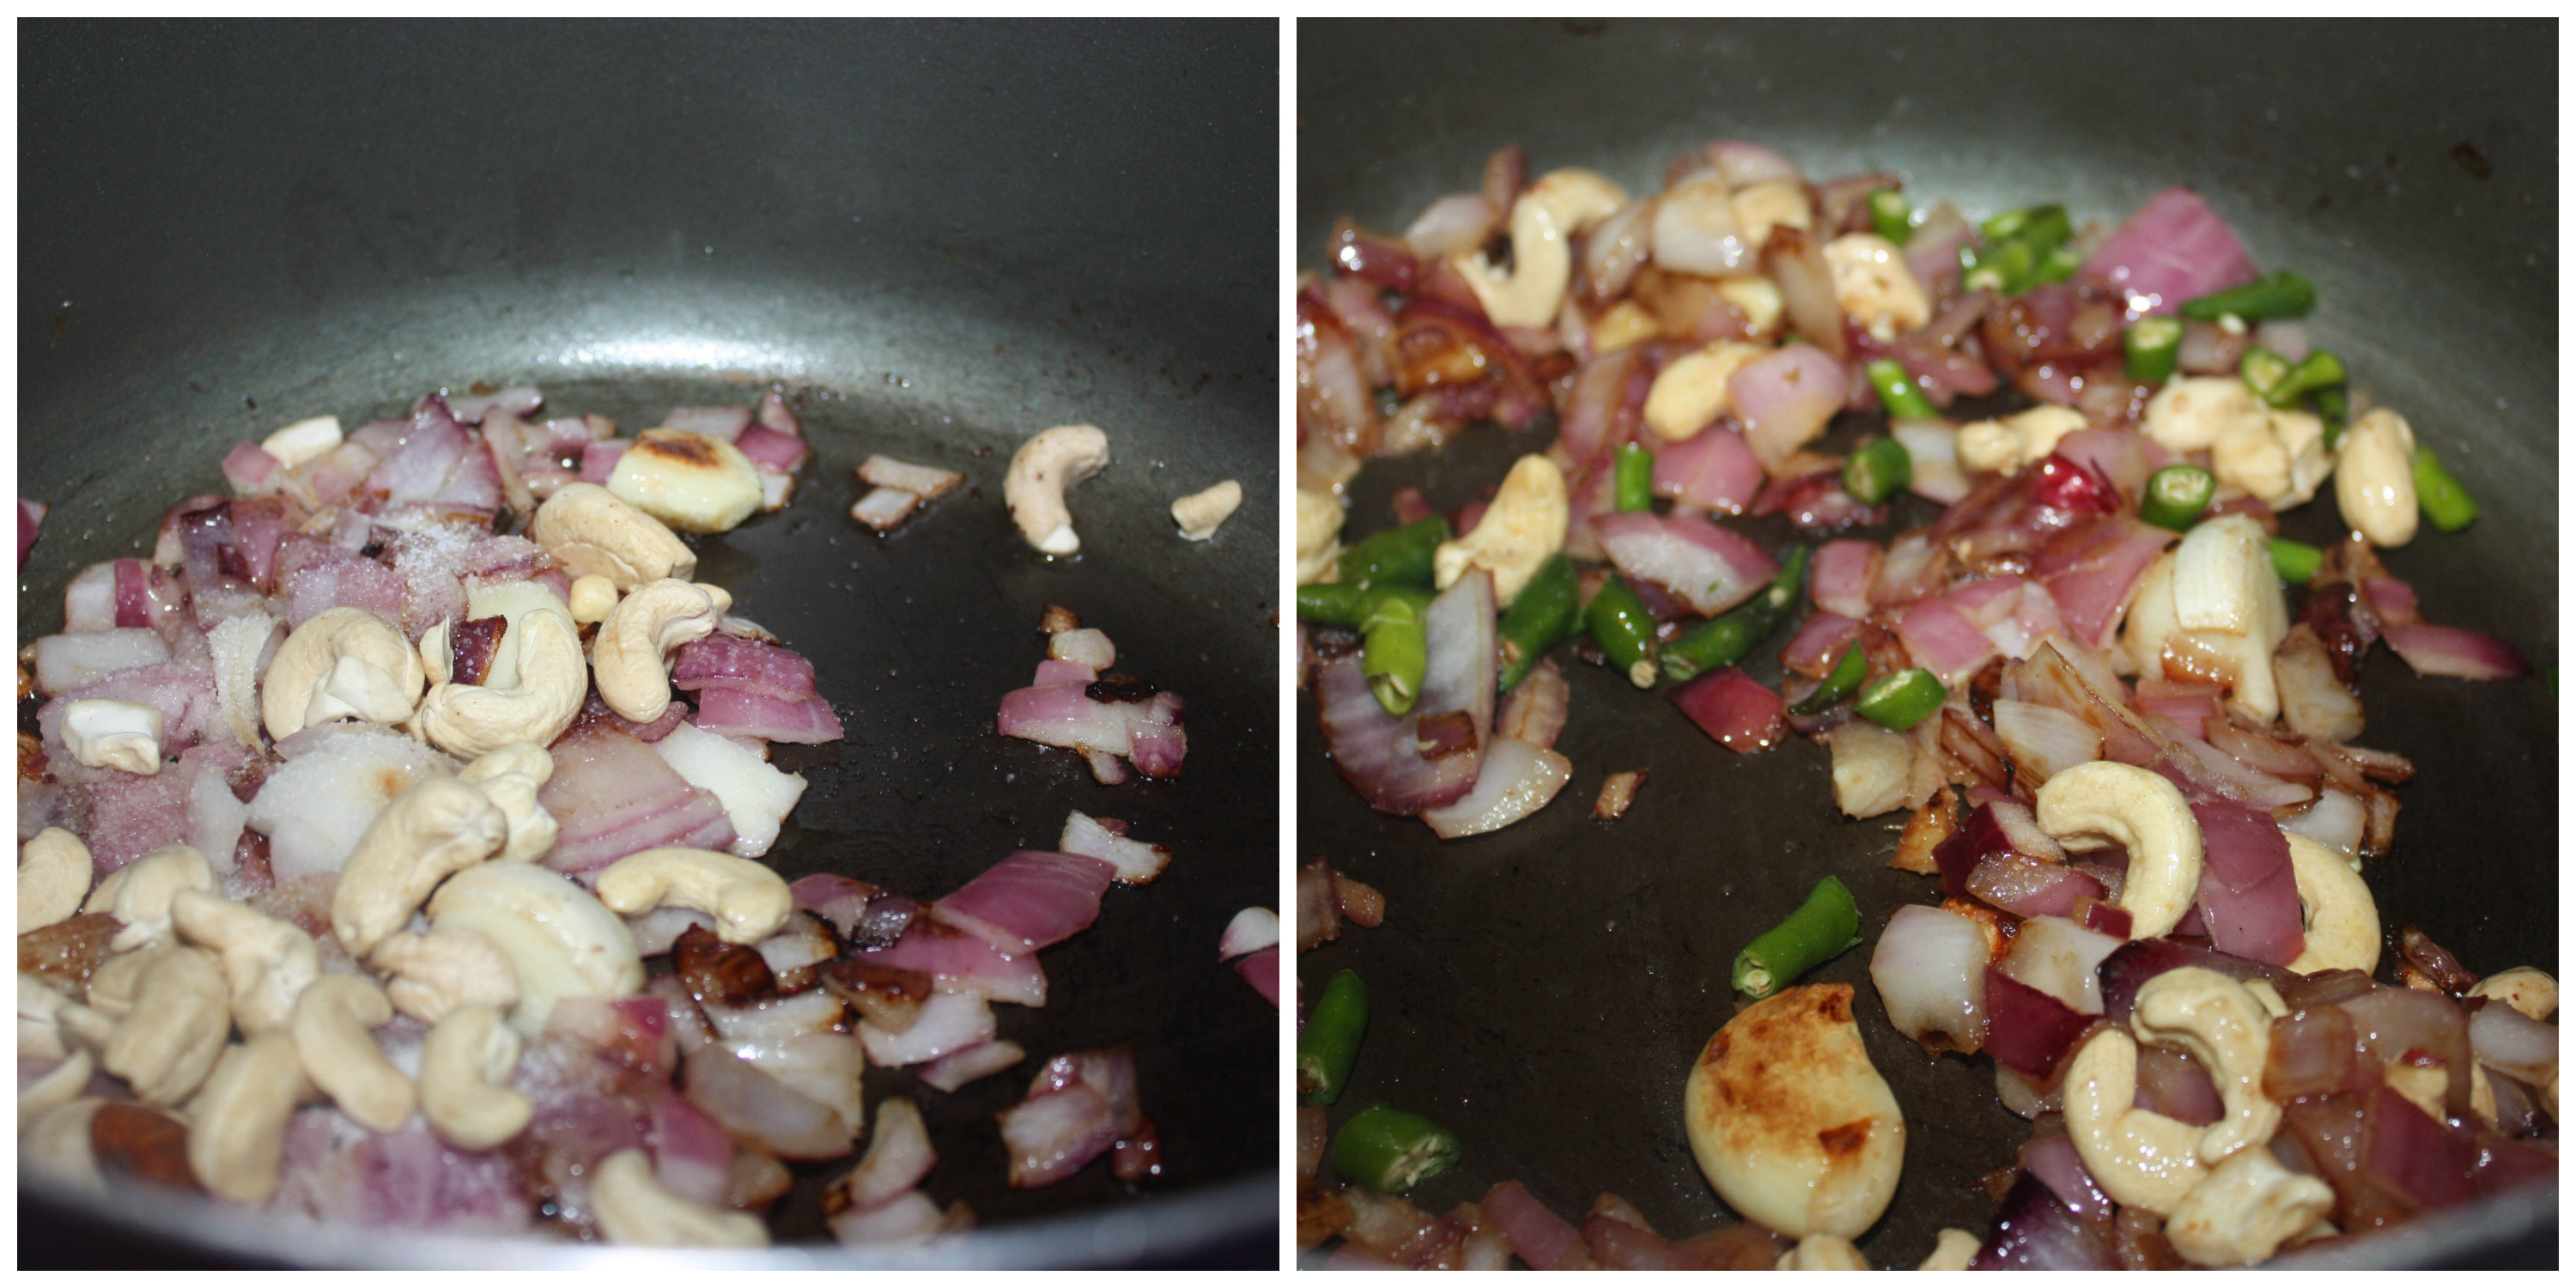
To temper - Small onion – ¼ cup, chopped roughly
- Curry leaves - Few
- Green chilli – 4, slit
- Chilli powder – 1 tsp
- Coriander powder – 1 tsp
- Cumin powder – 1 tsp
- Salt – little
- Oil – 2 tsp
- Lime juice & coriander – to Garnish
- In a pressure cooker add the mutton pieces with turmeric powder, salt and water to a line below it covers the mutton. More water can make it boil more. Cook for 5 to 6 whistles in medium low flame. You can also boil it without pressure cooker for 20-30 minutes.
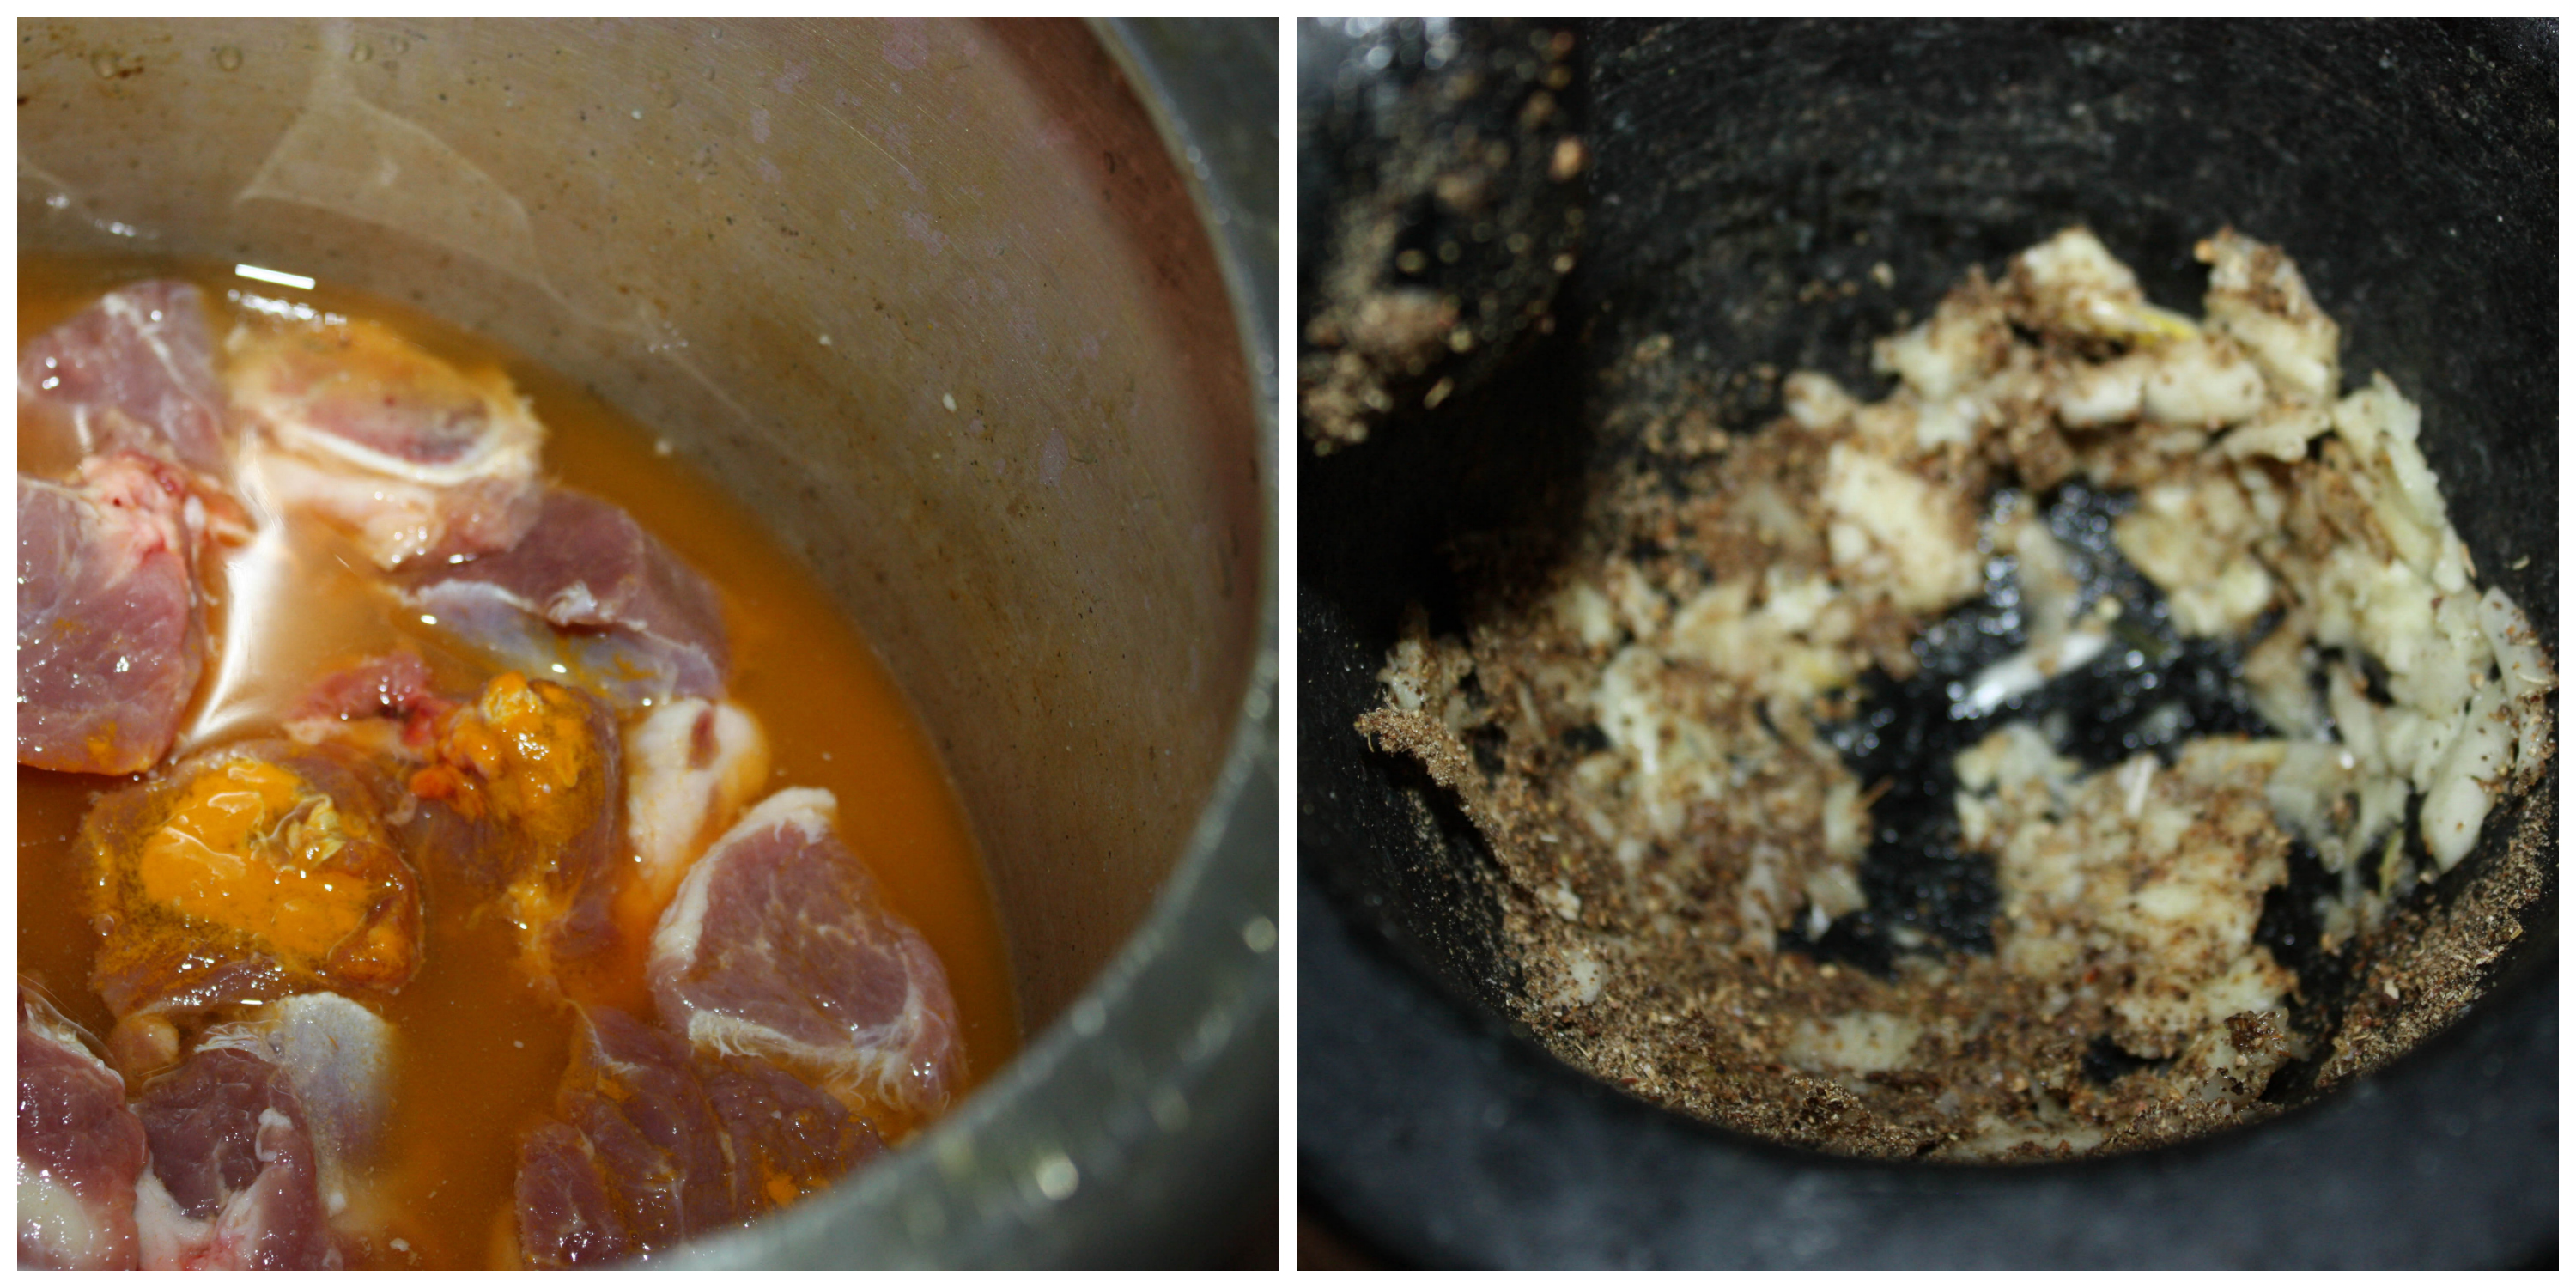
- Once mutton is cooked, keep it aside with the water.
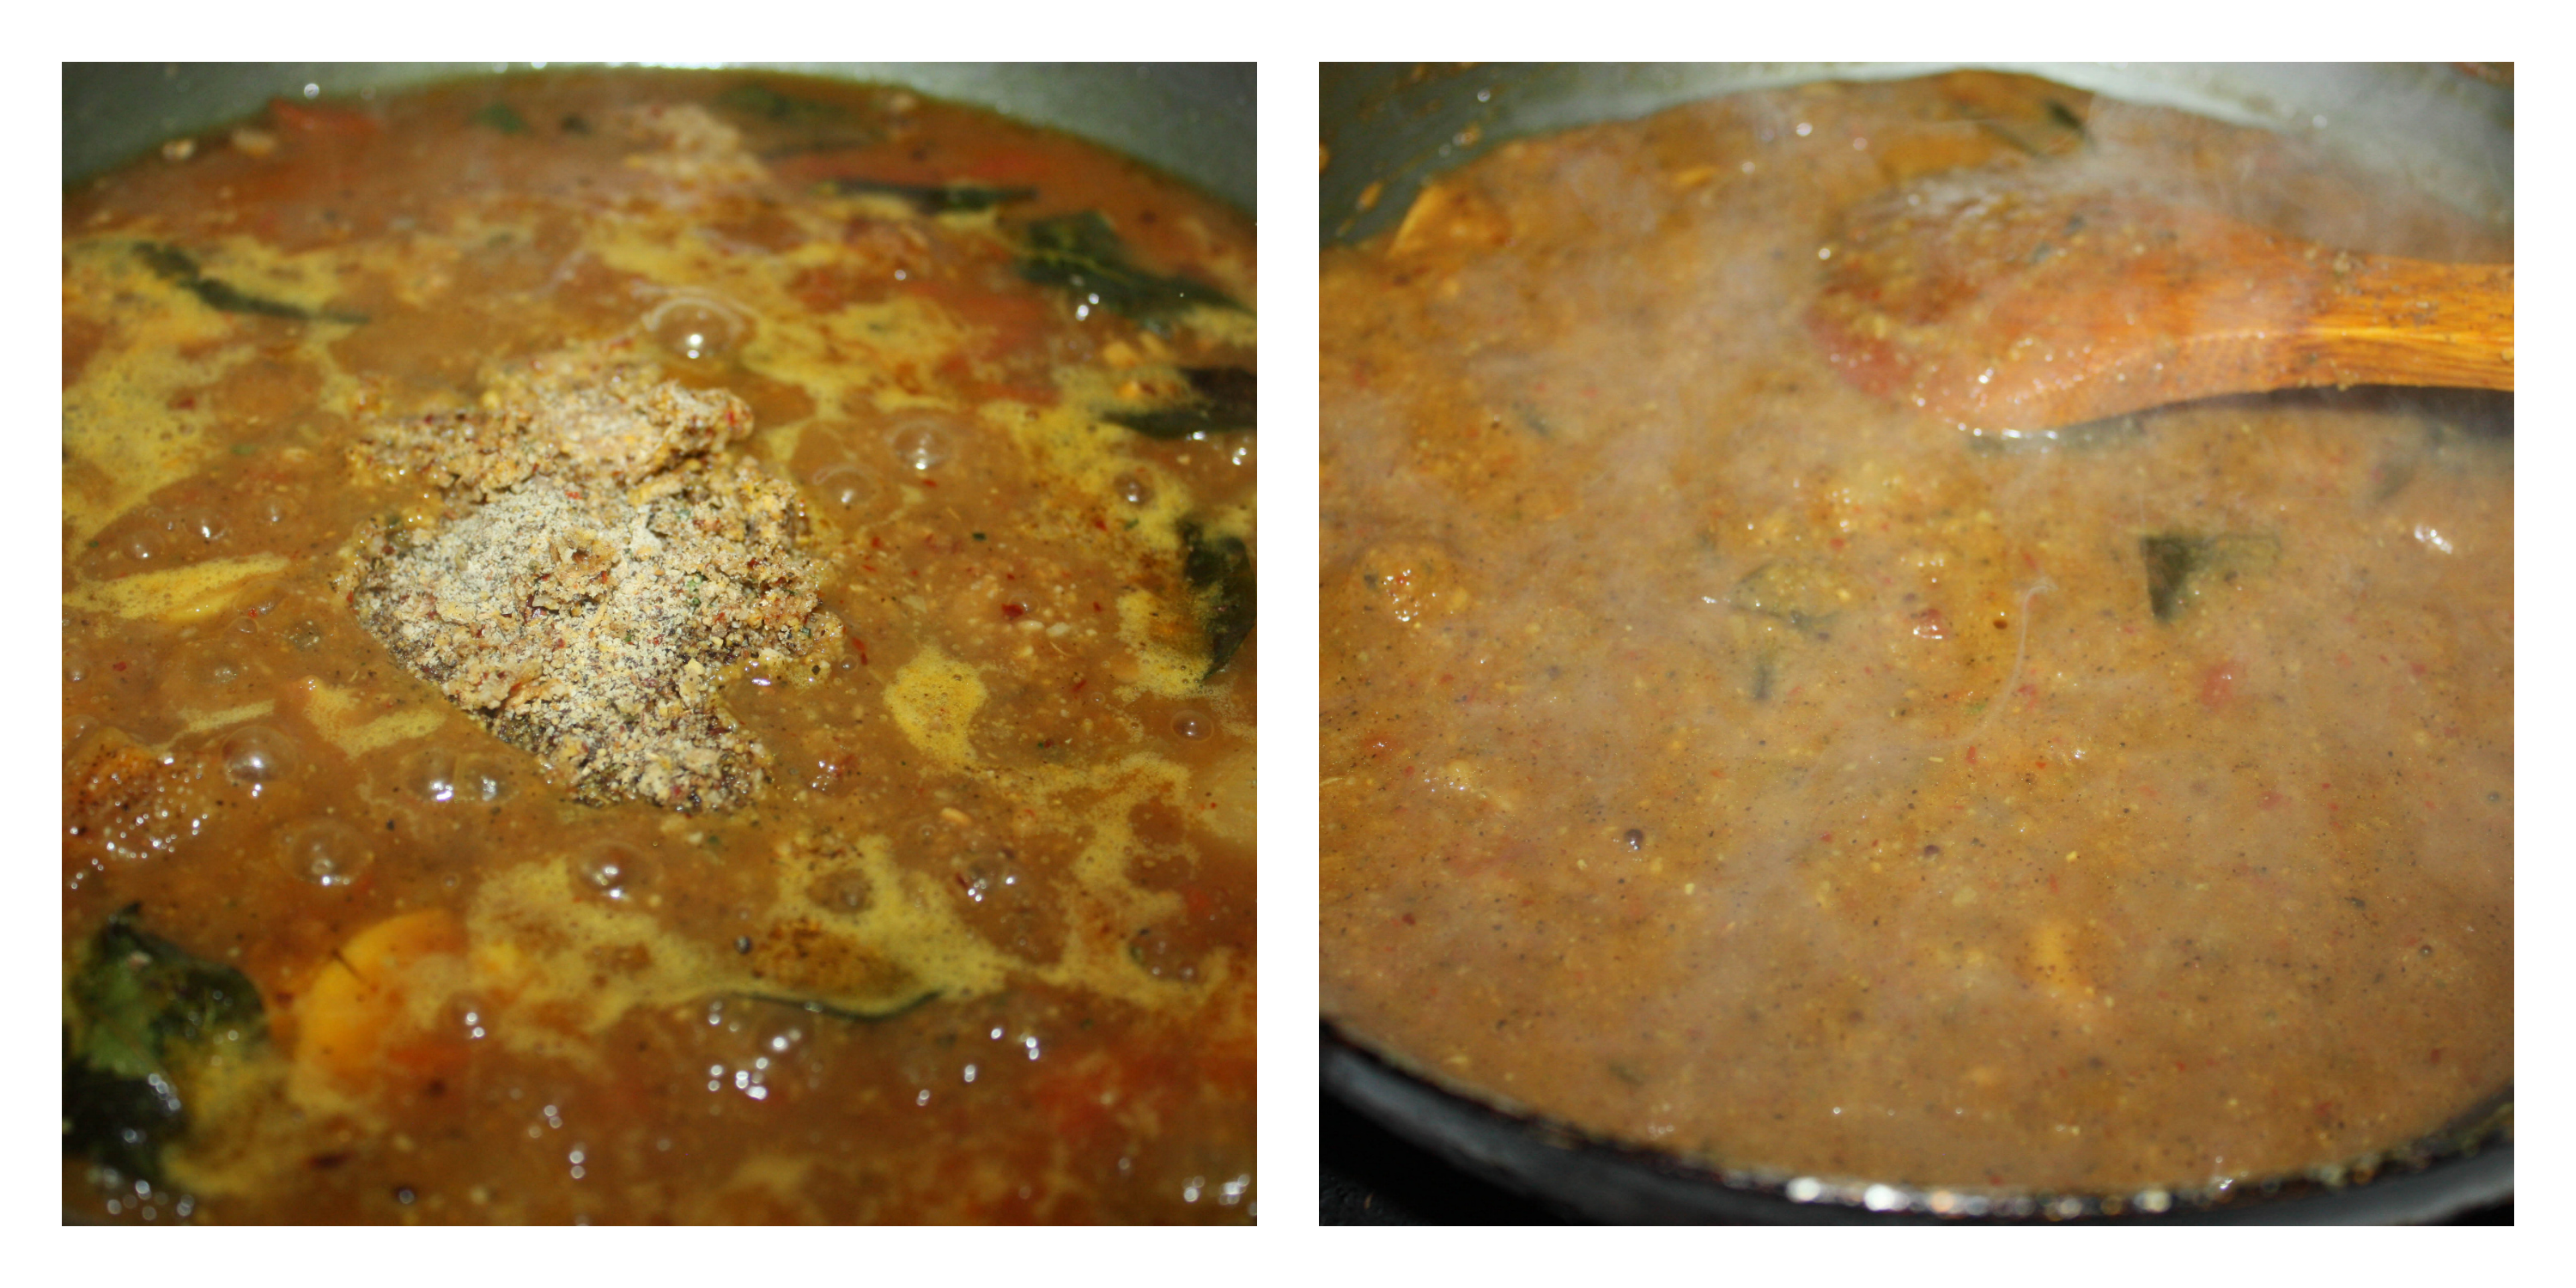
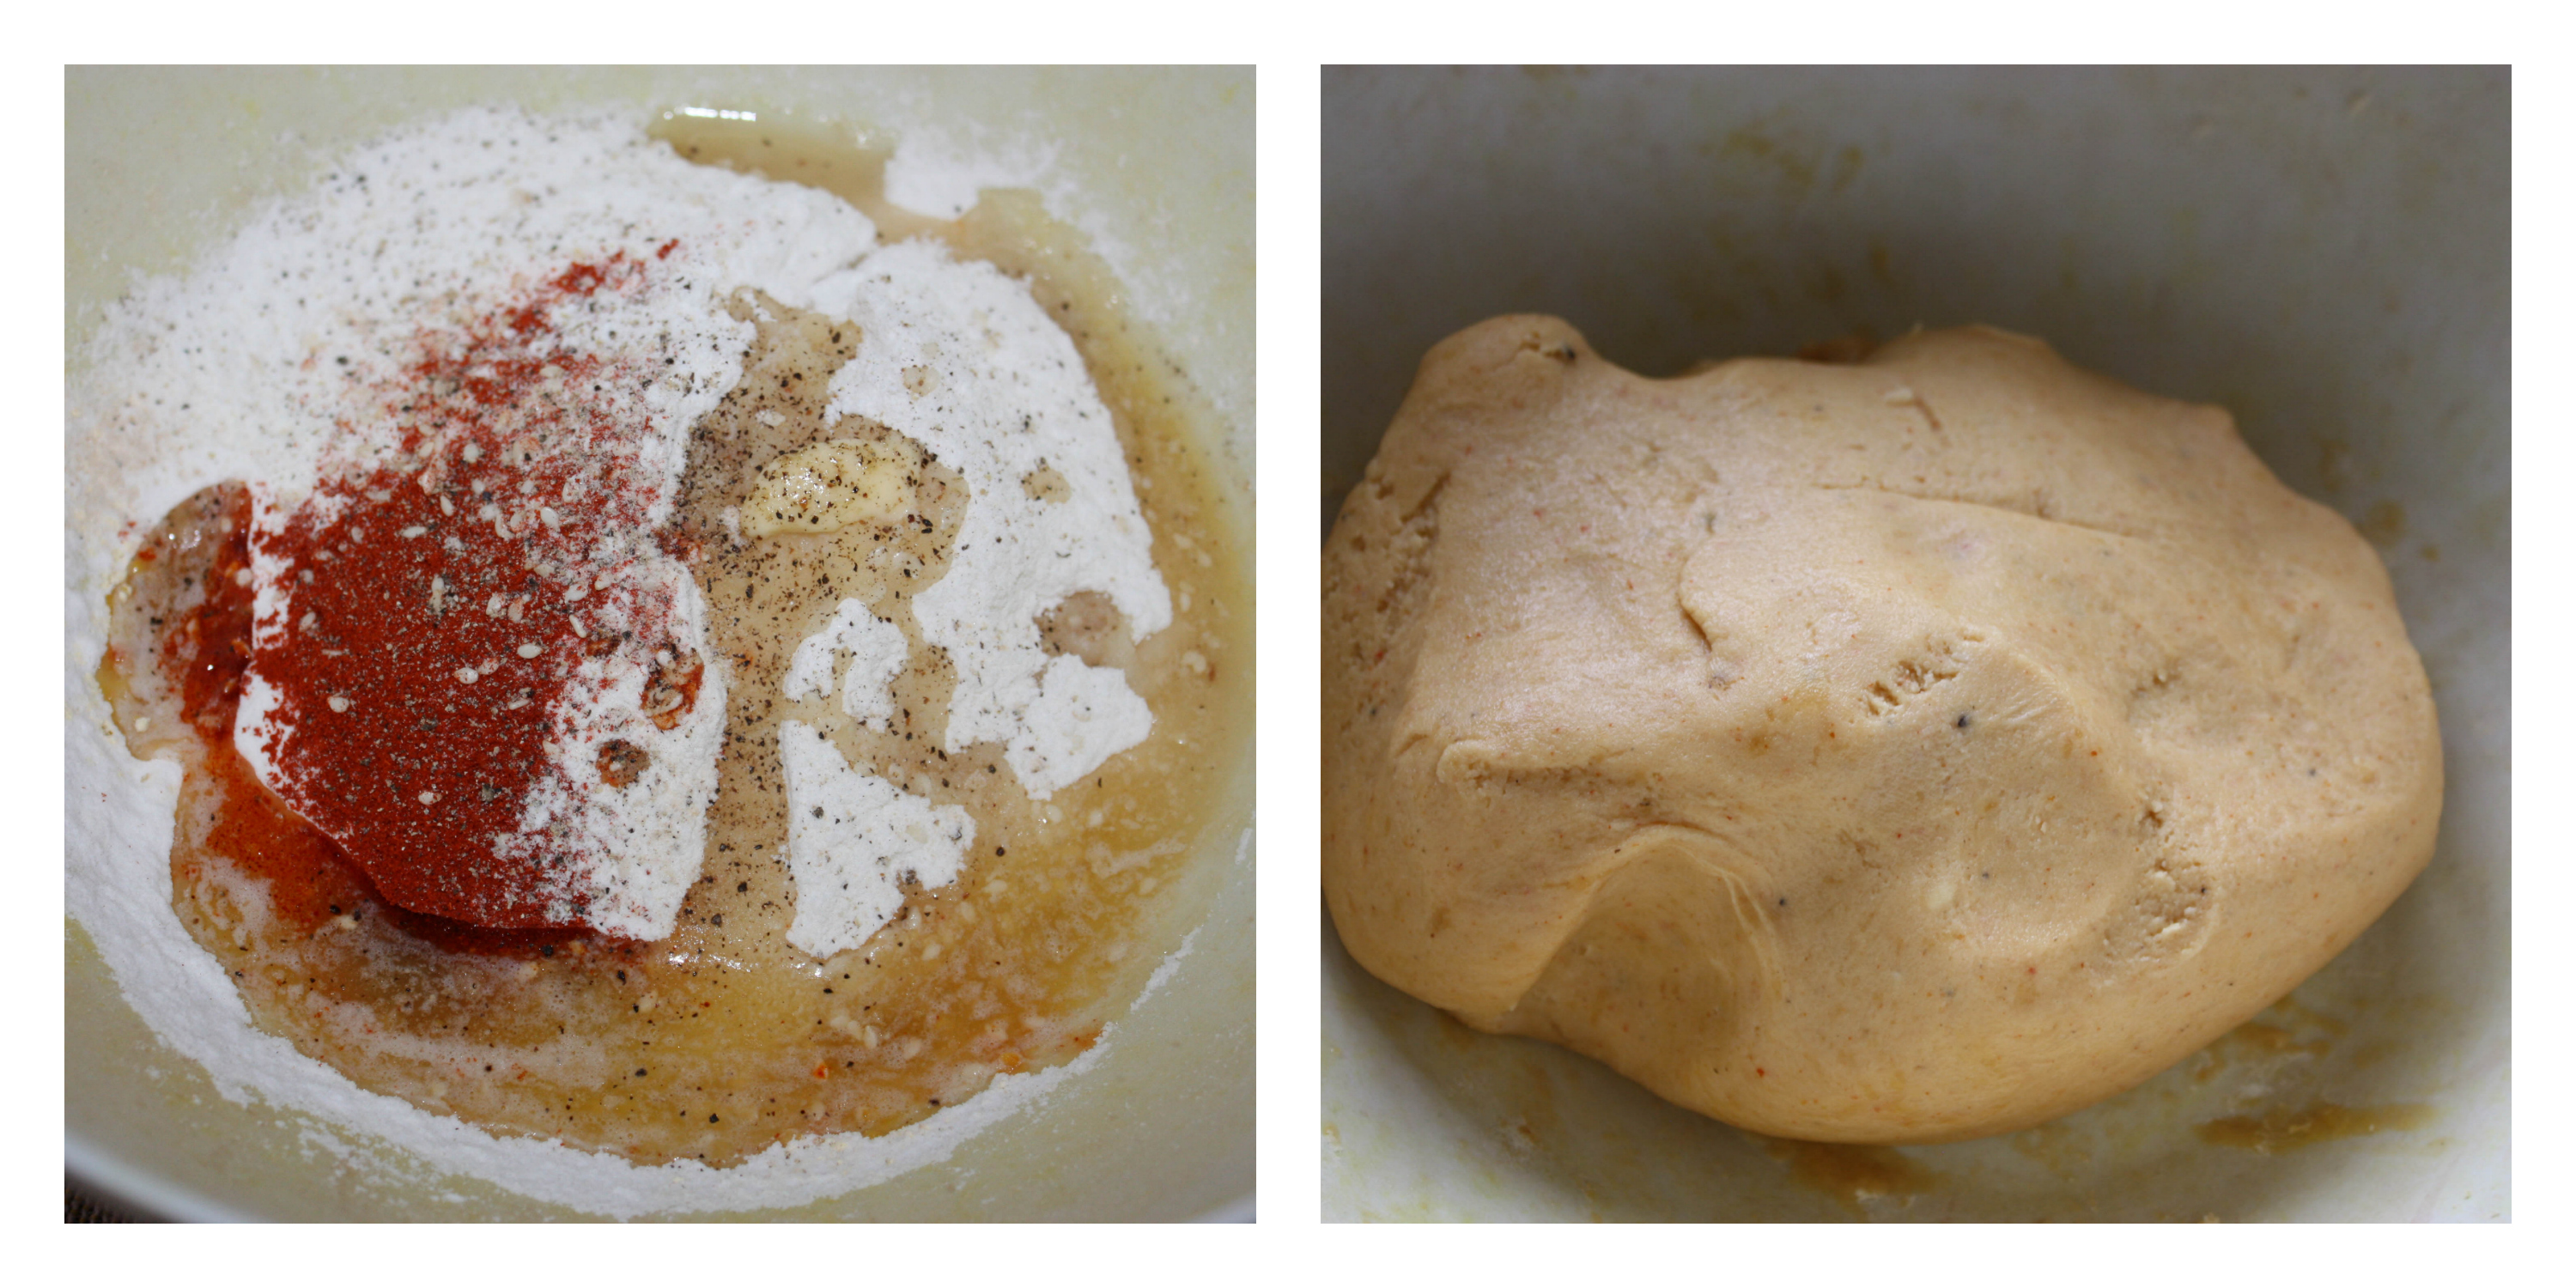
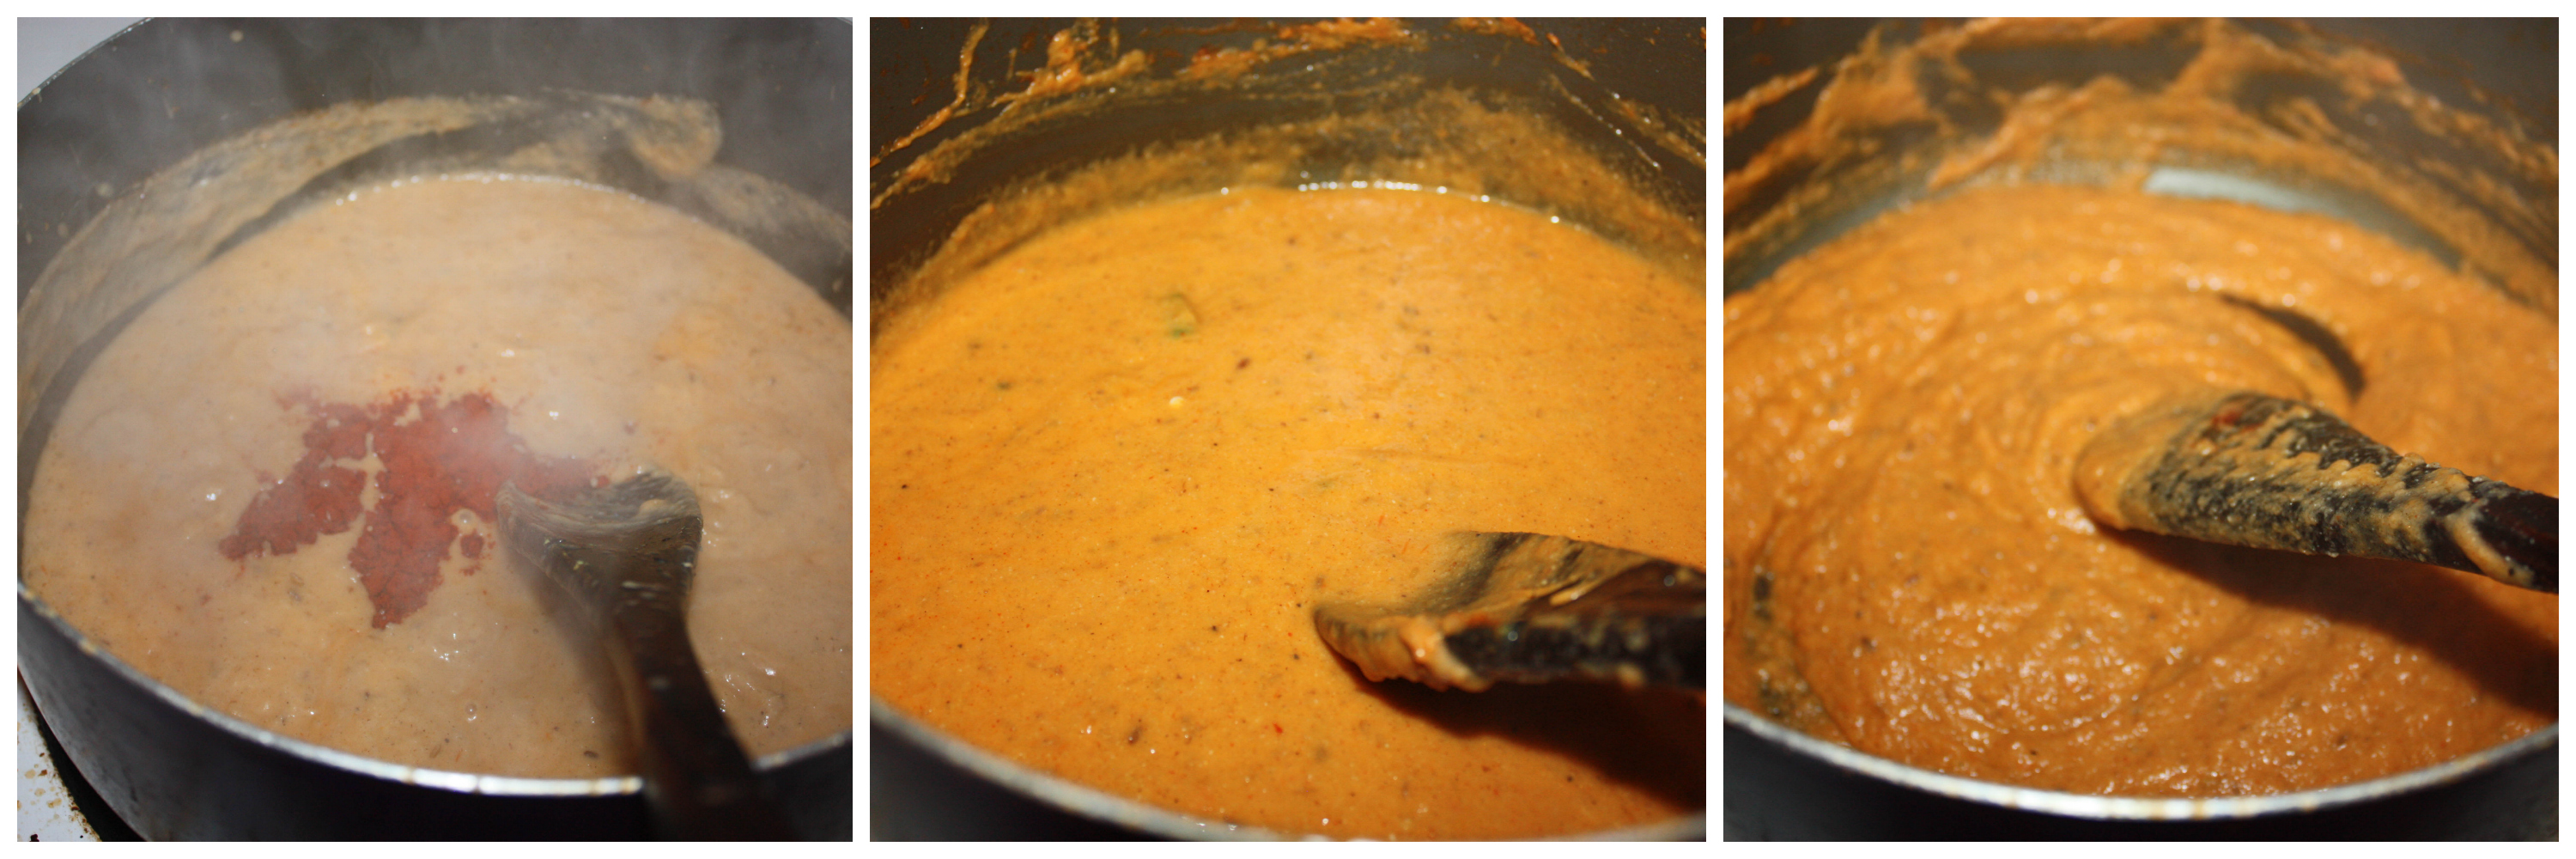
- Meanwhile crush the ingredients under “to crush” using mortar and pestle or a blender. Keep it aside.
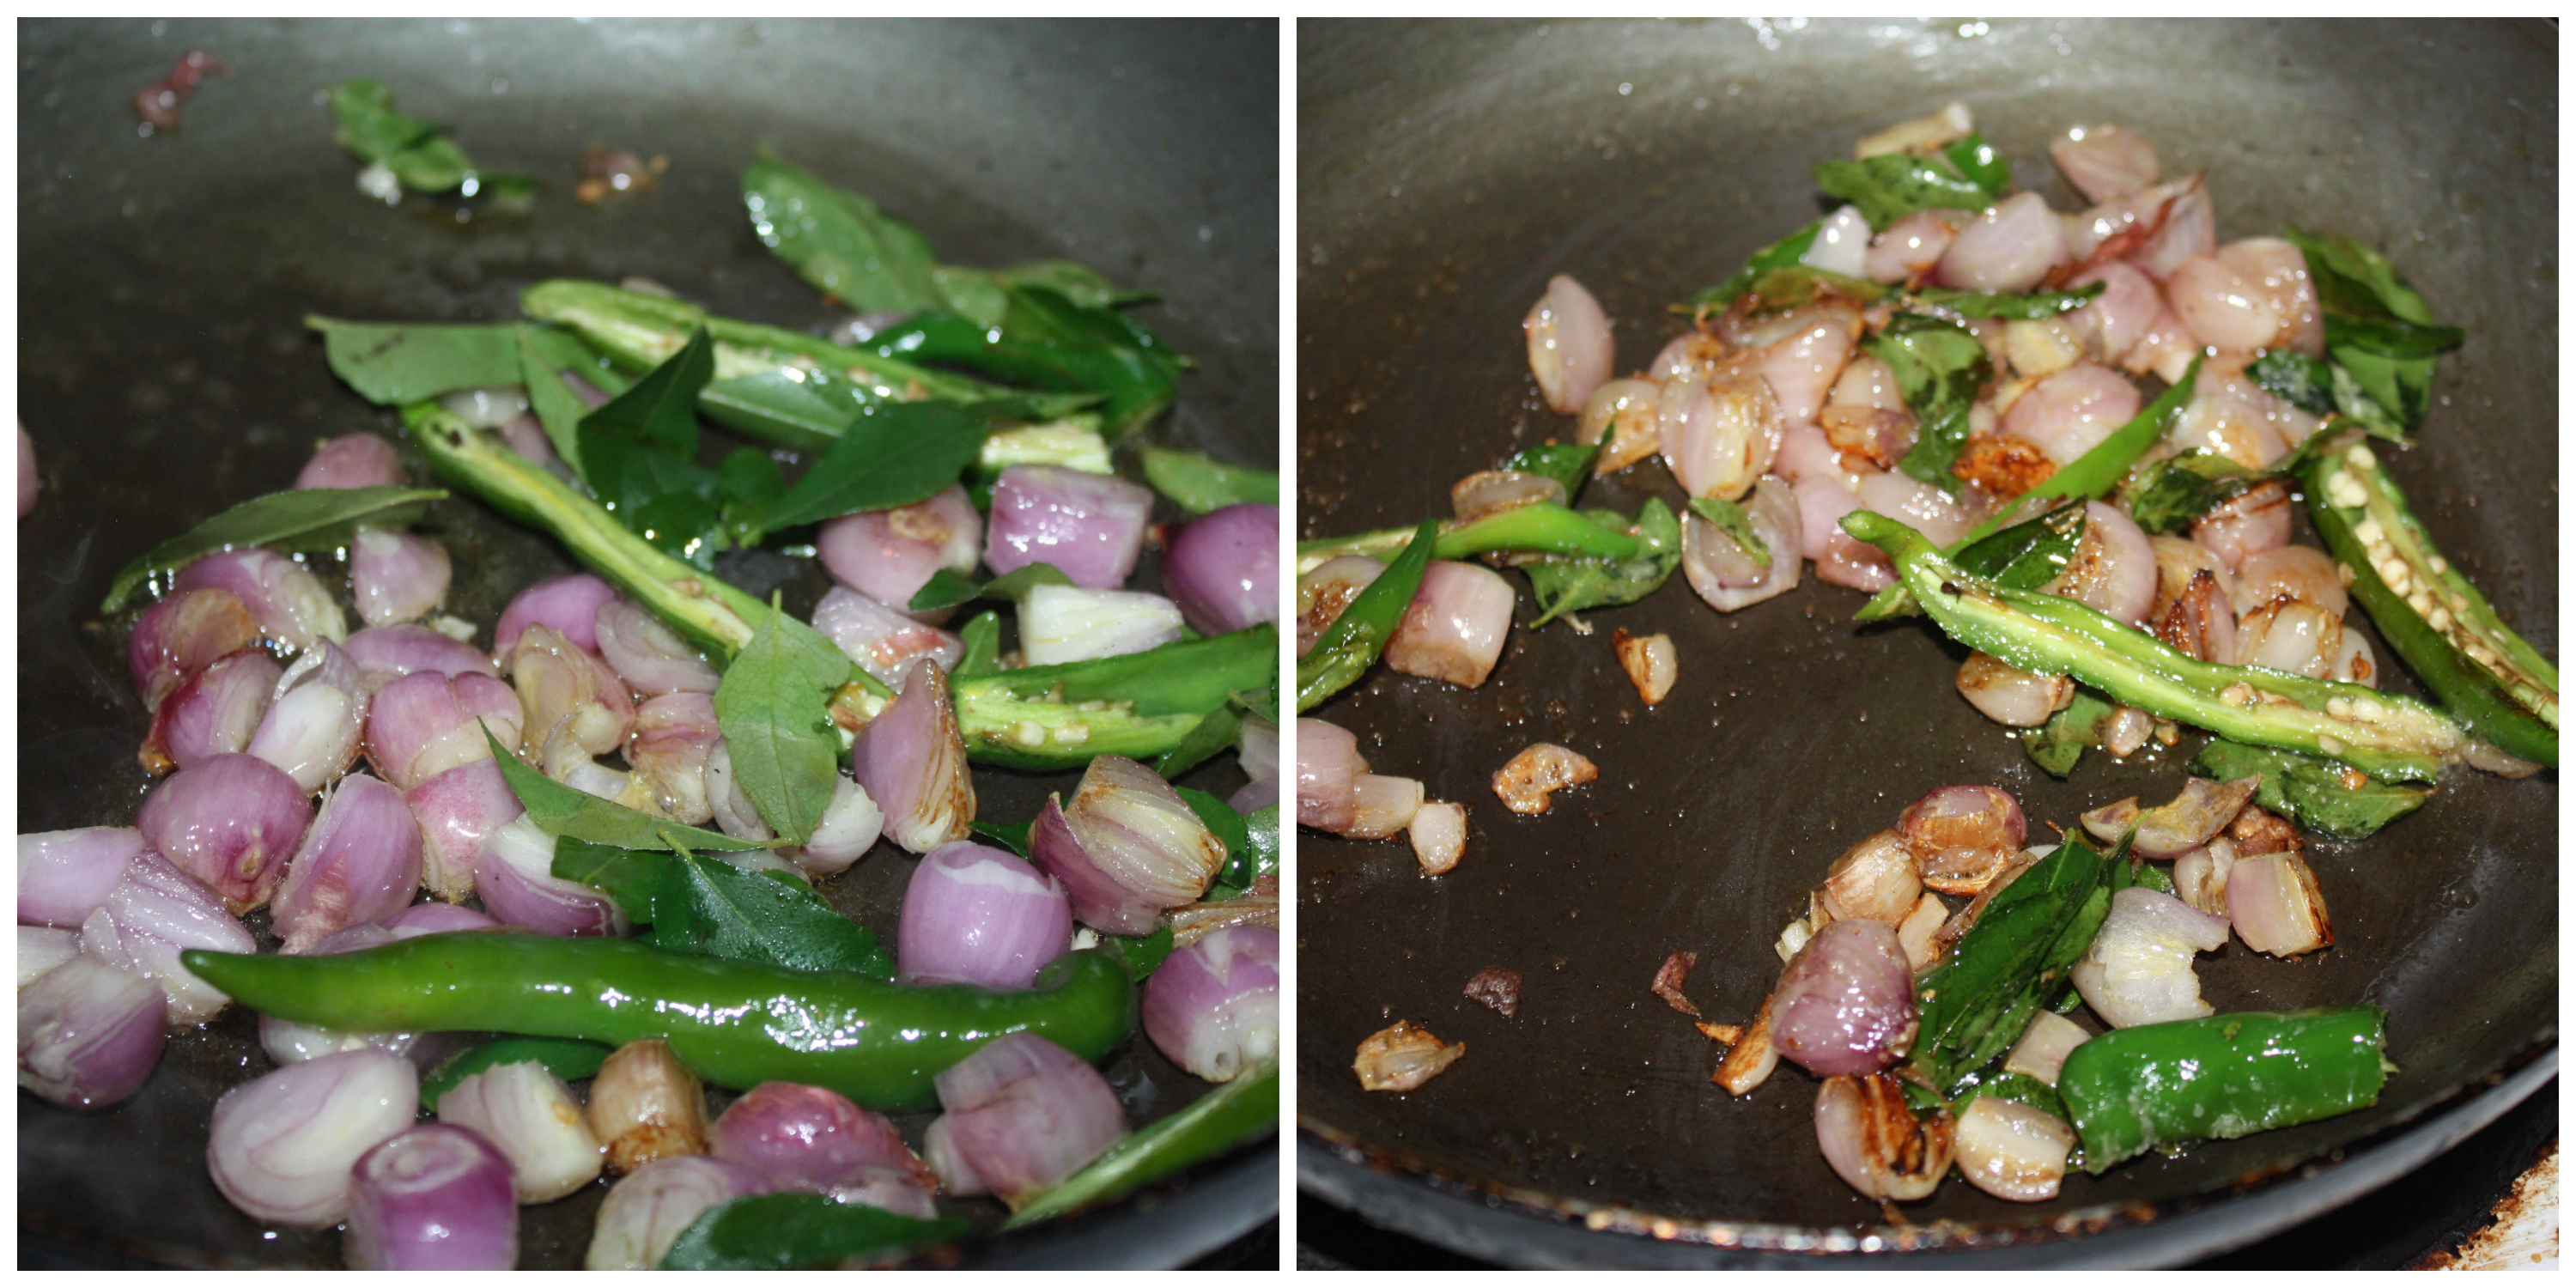
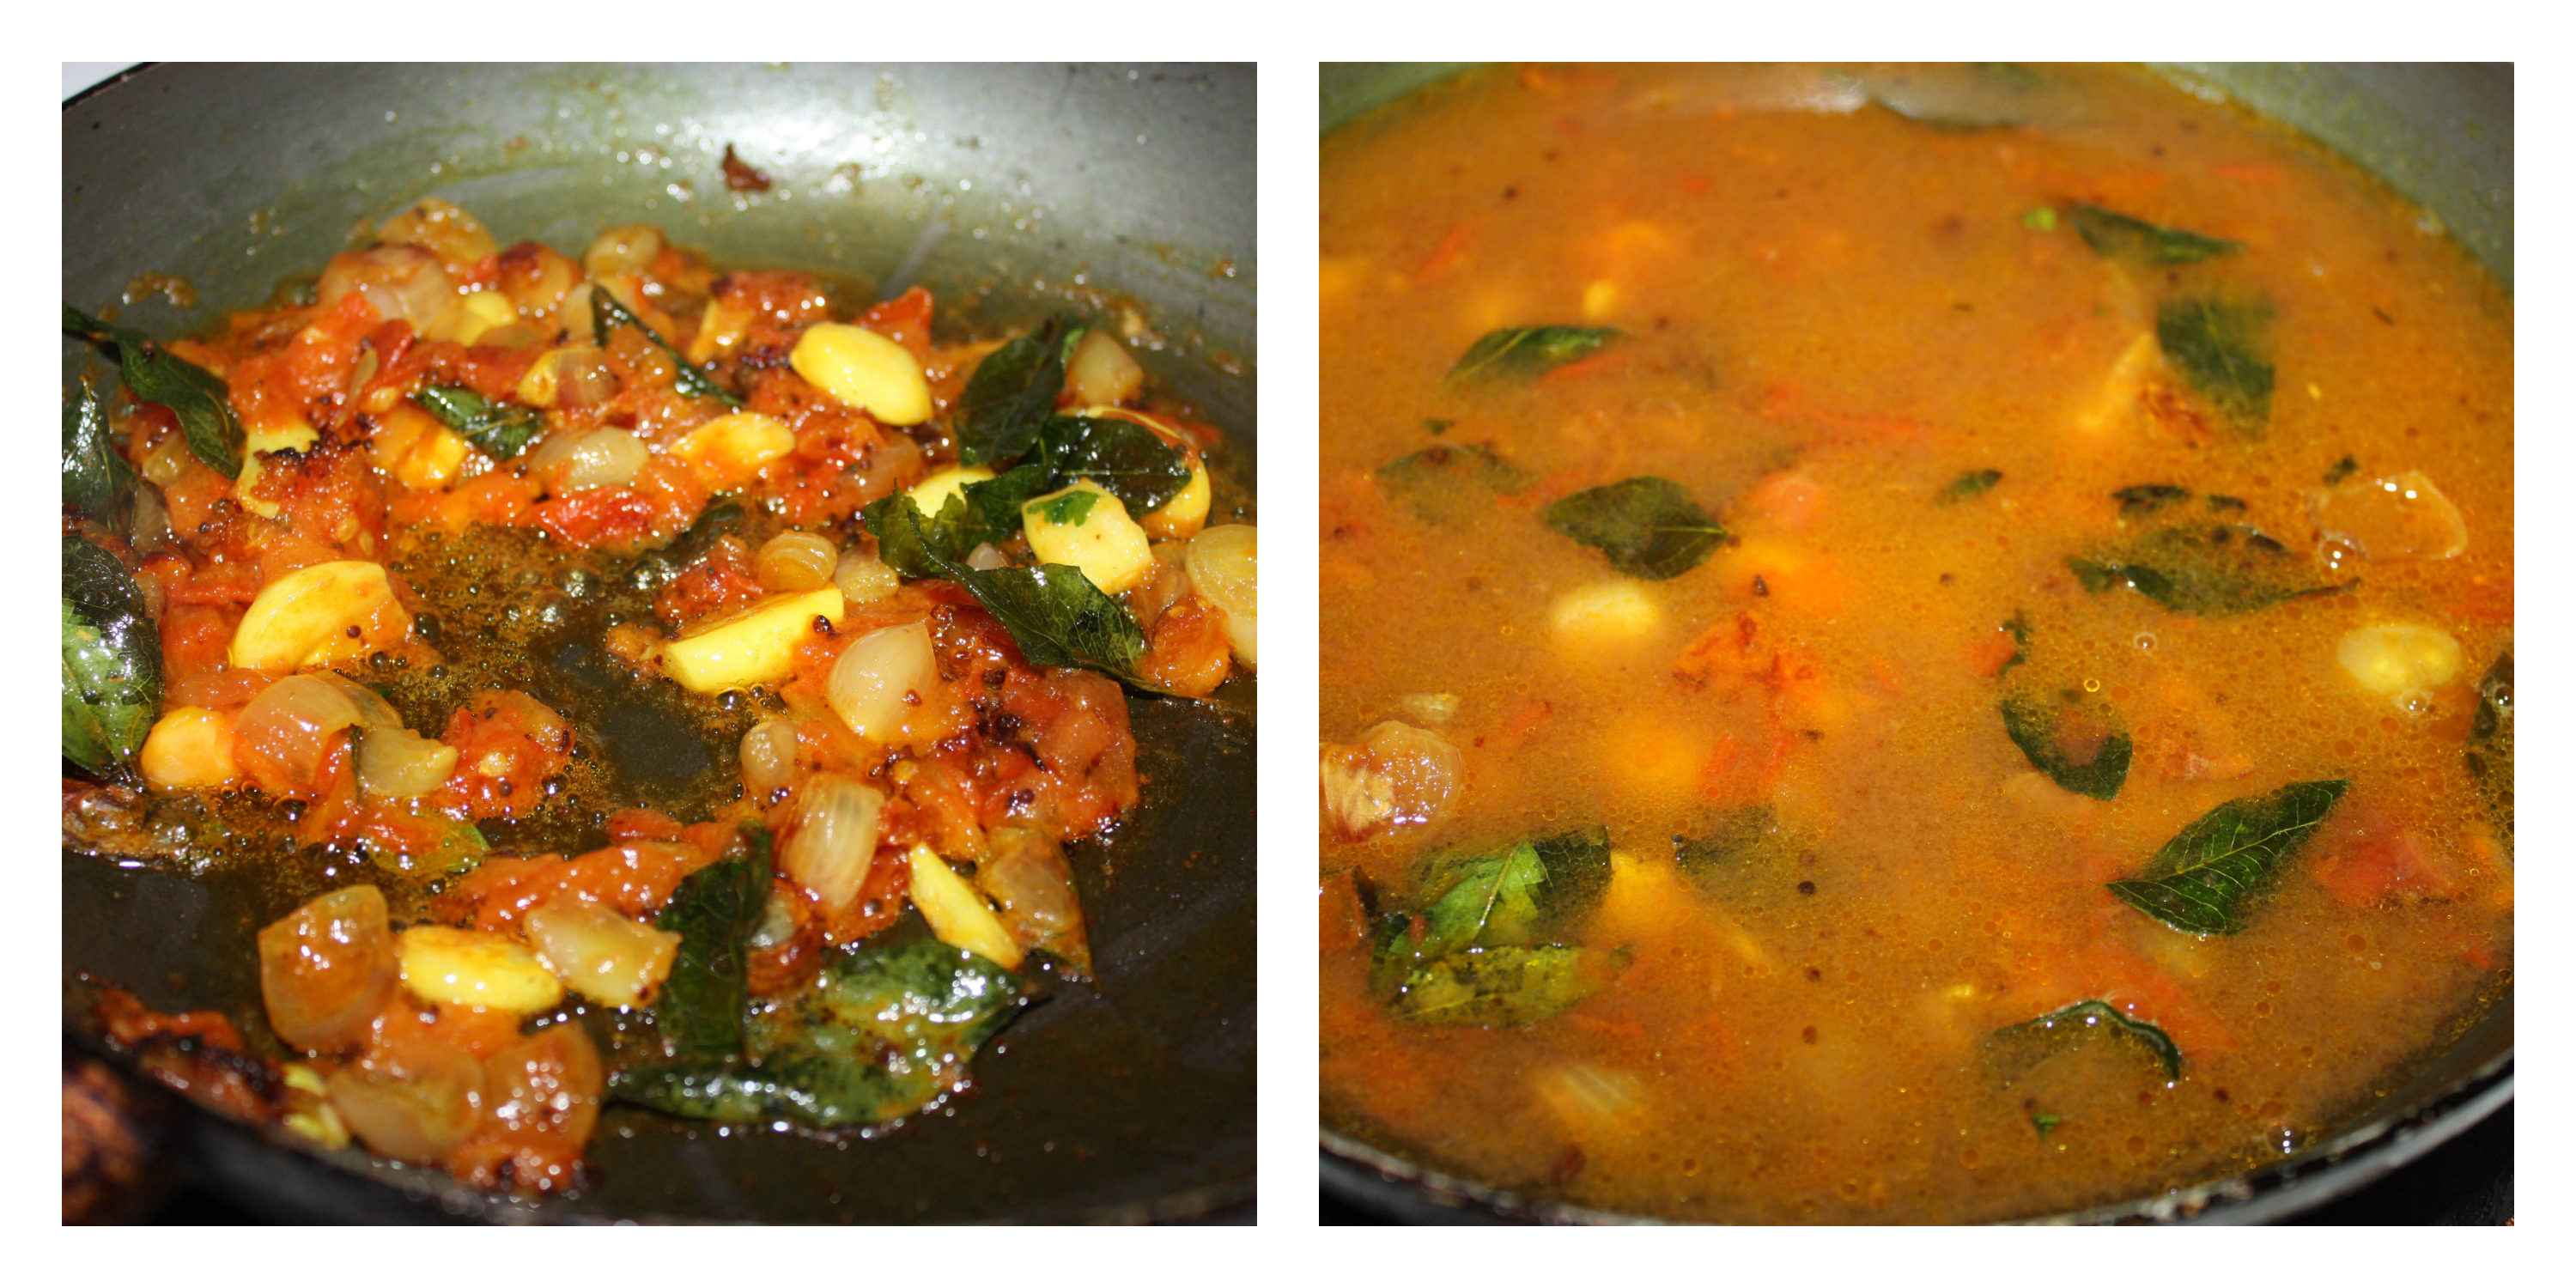
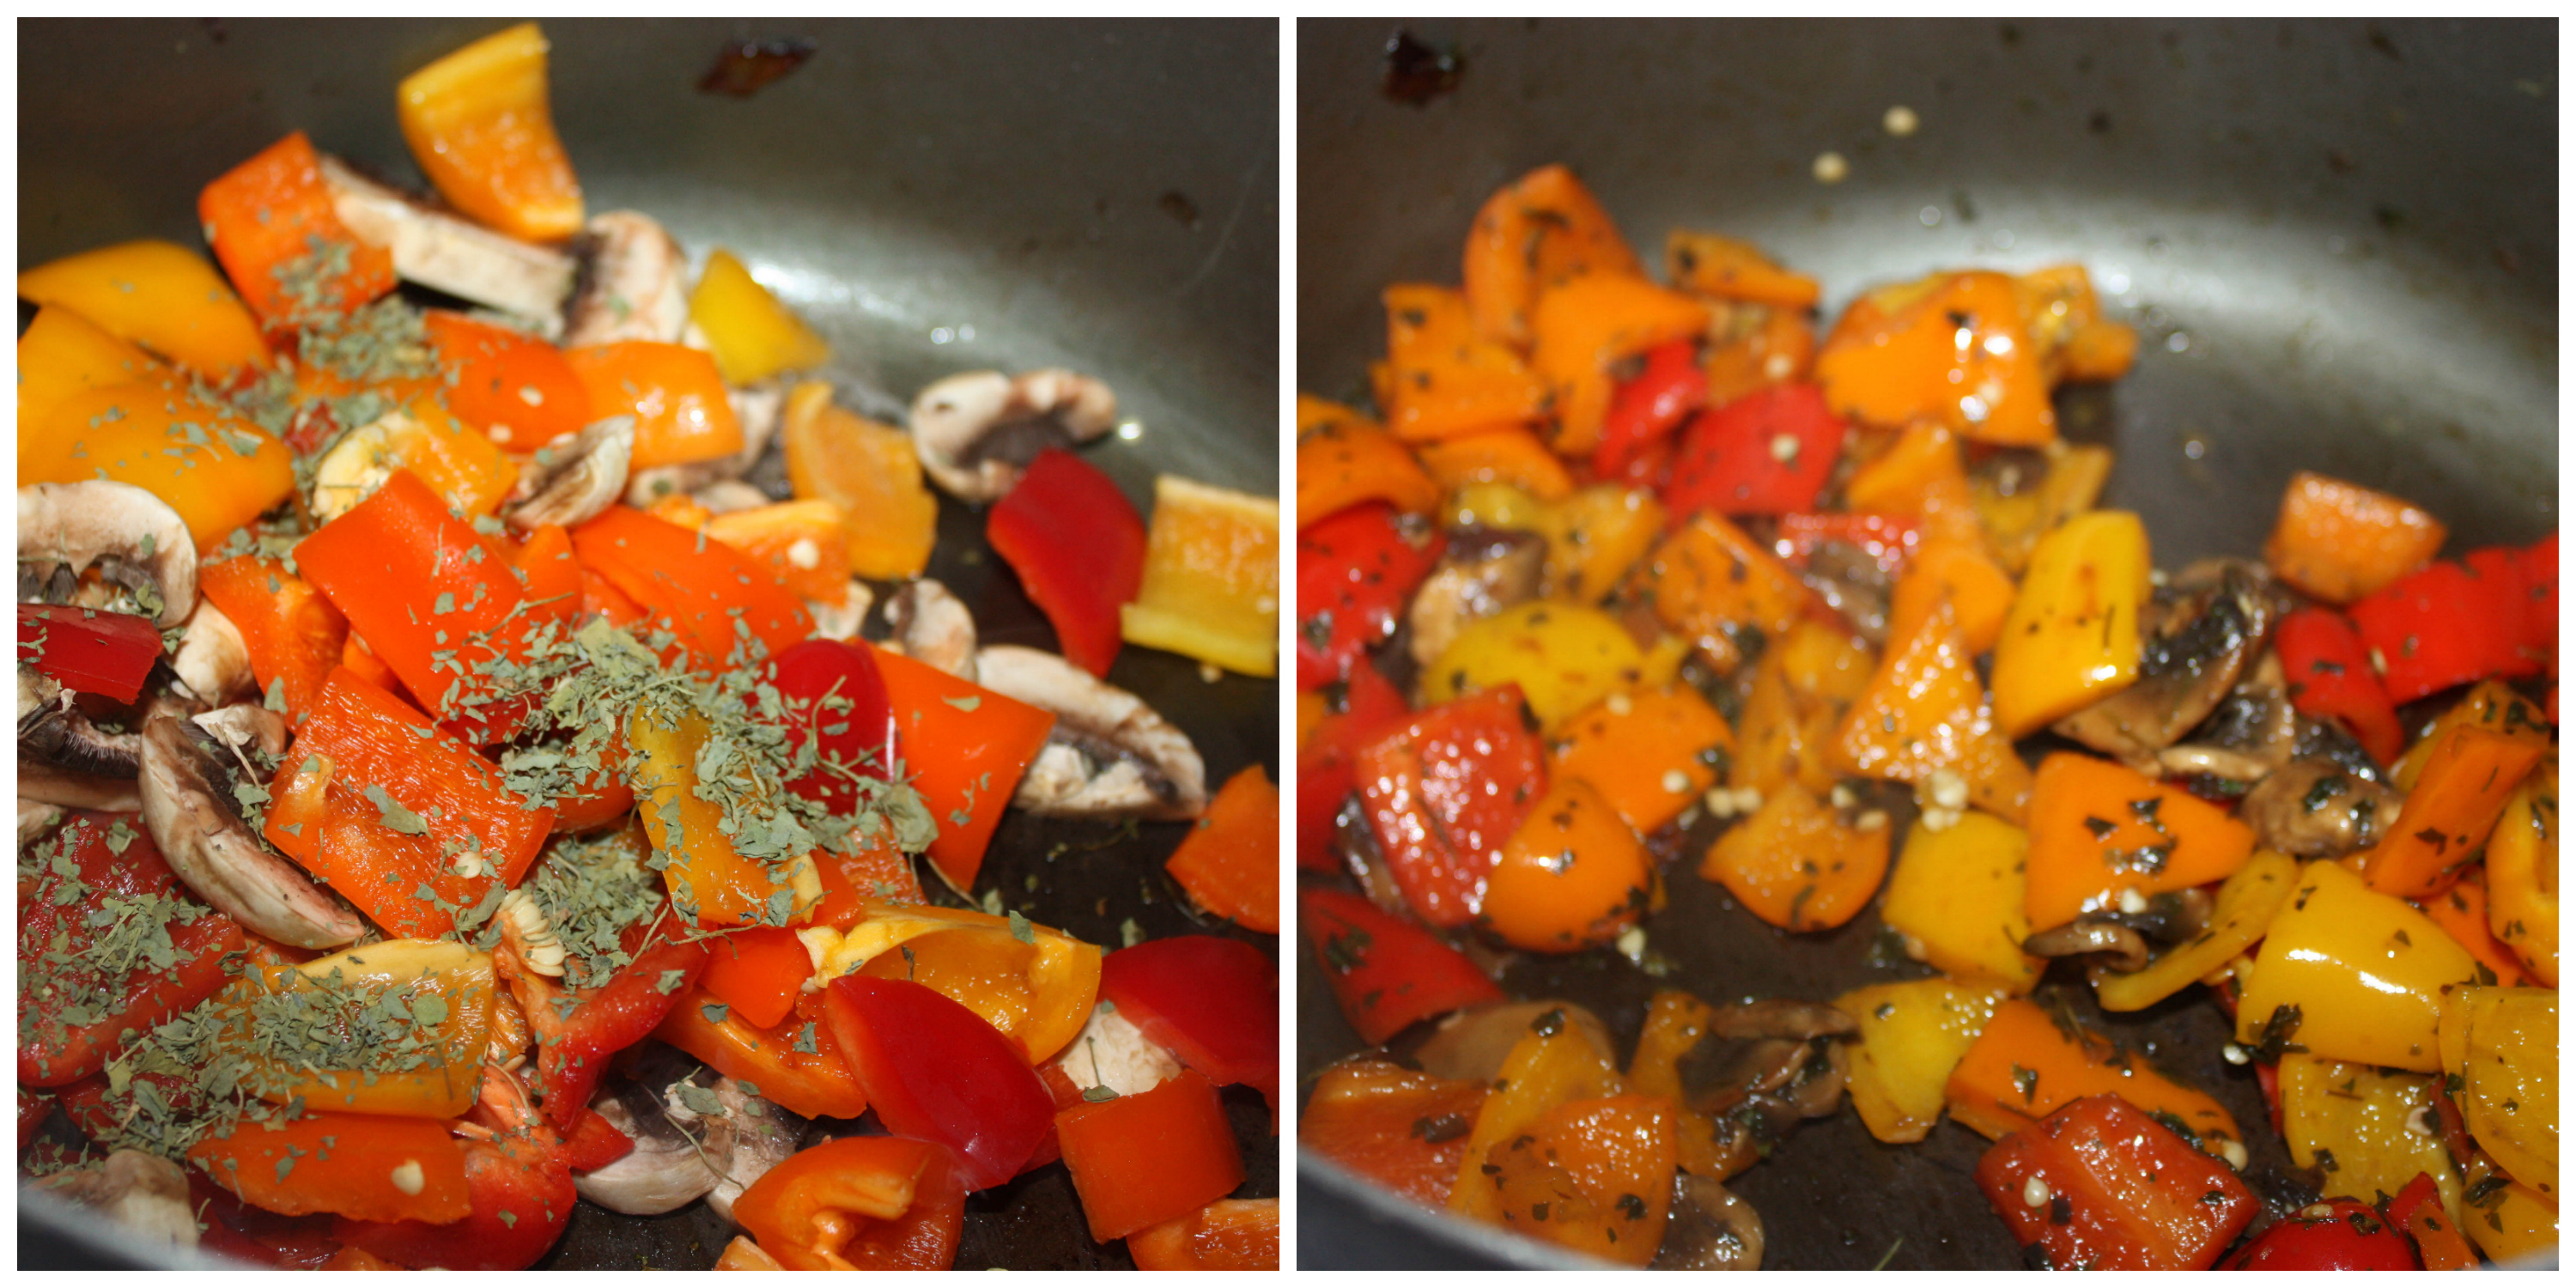
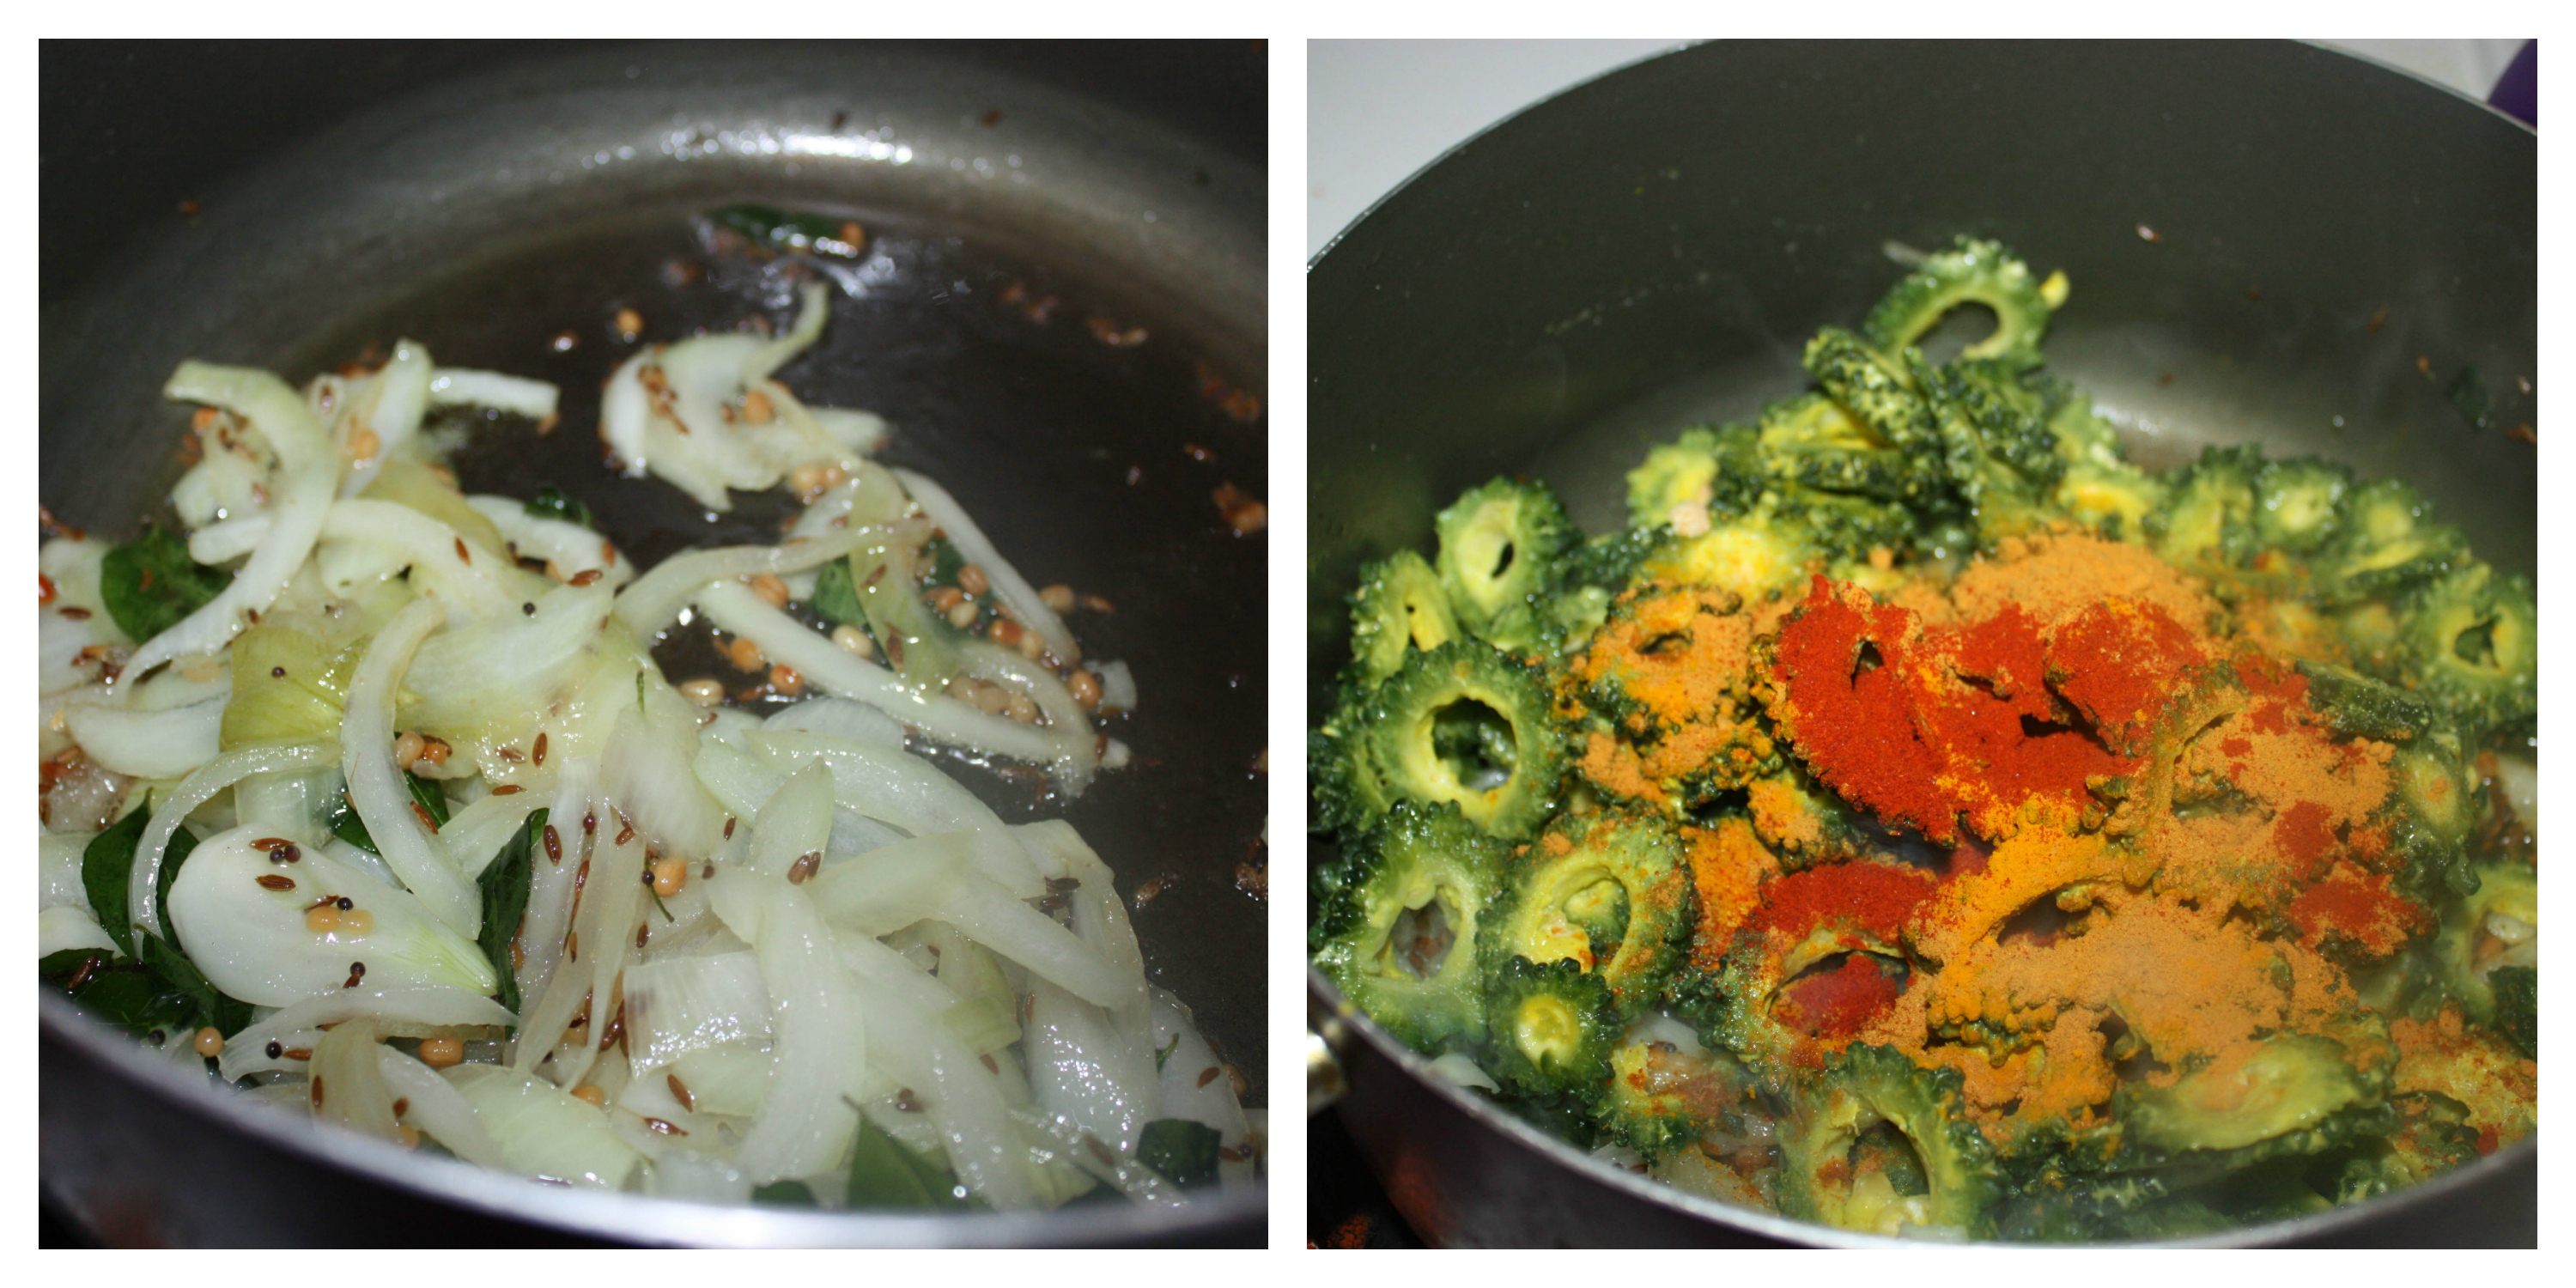
- In a pan, add the onions, green chillies and curry leaves. Sauté for few seconds. Then the crushed pepper garlic, red chilli powder, coriander powder and cumin powder. Sauté well.
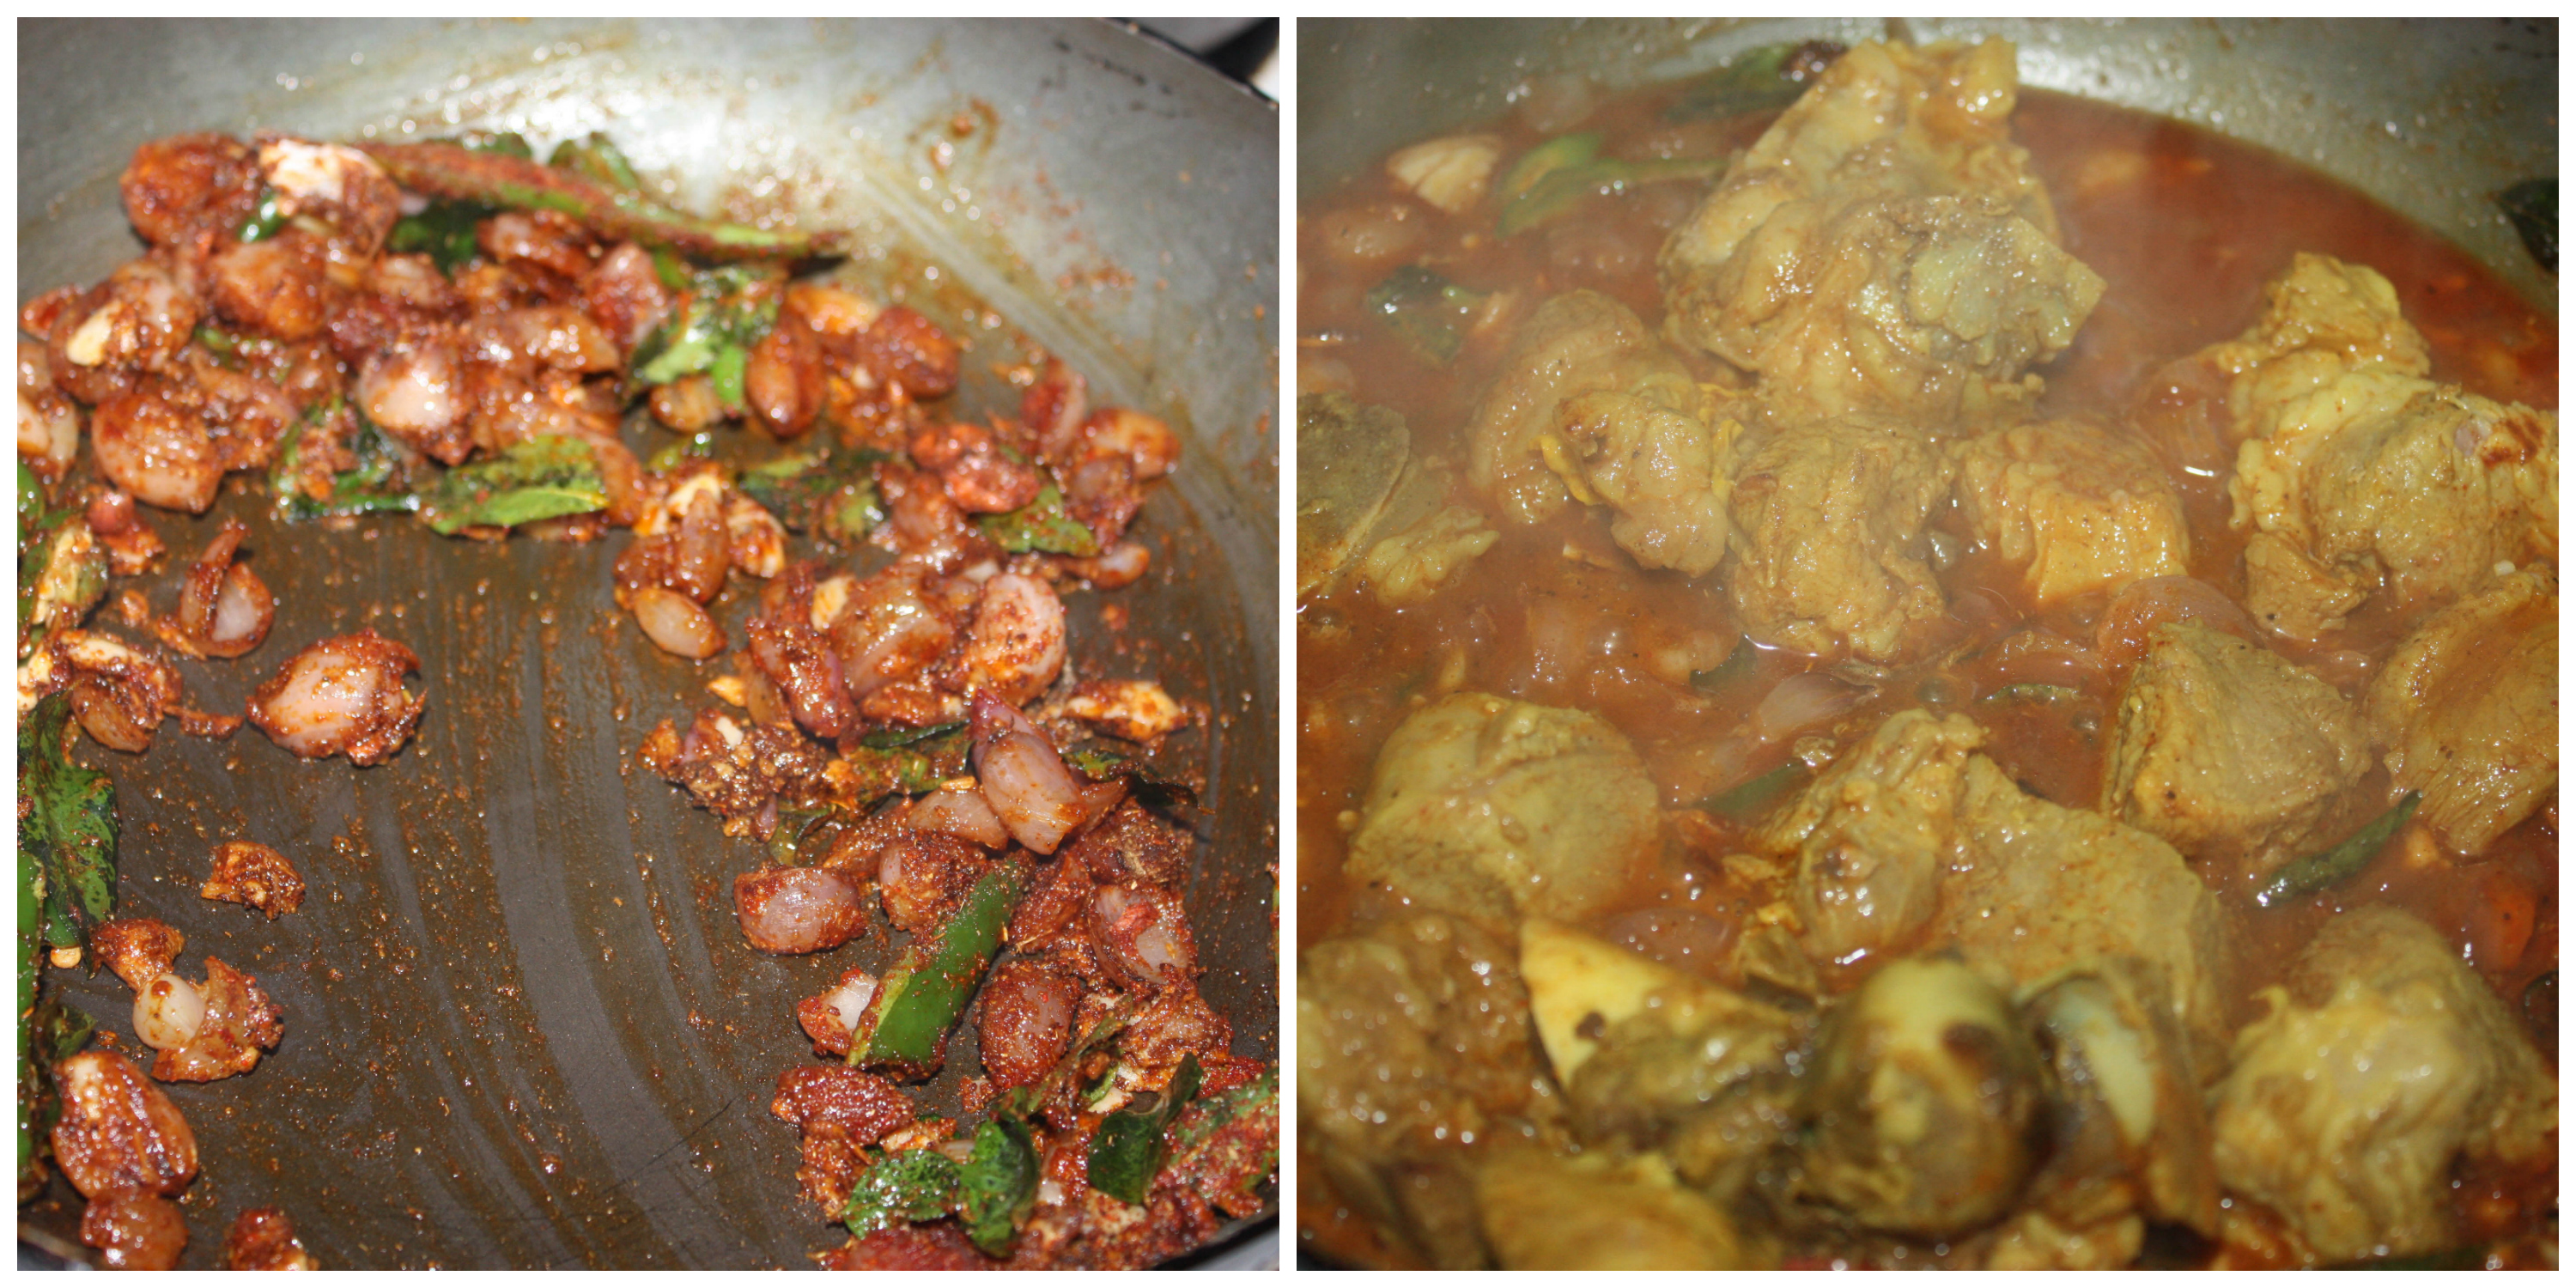
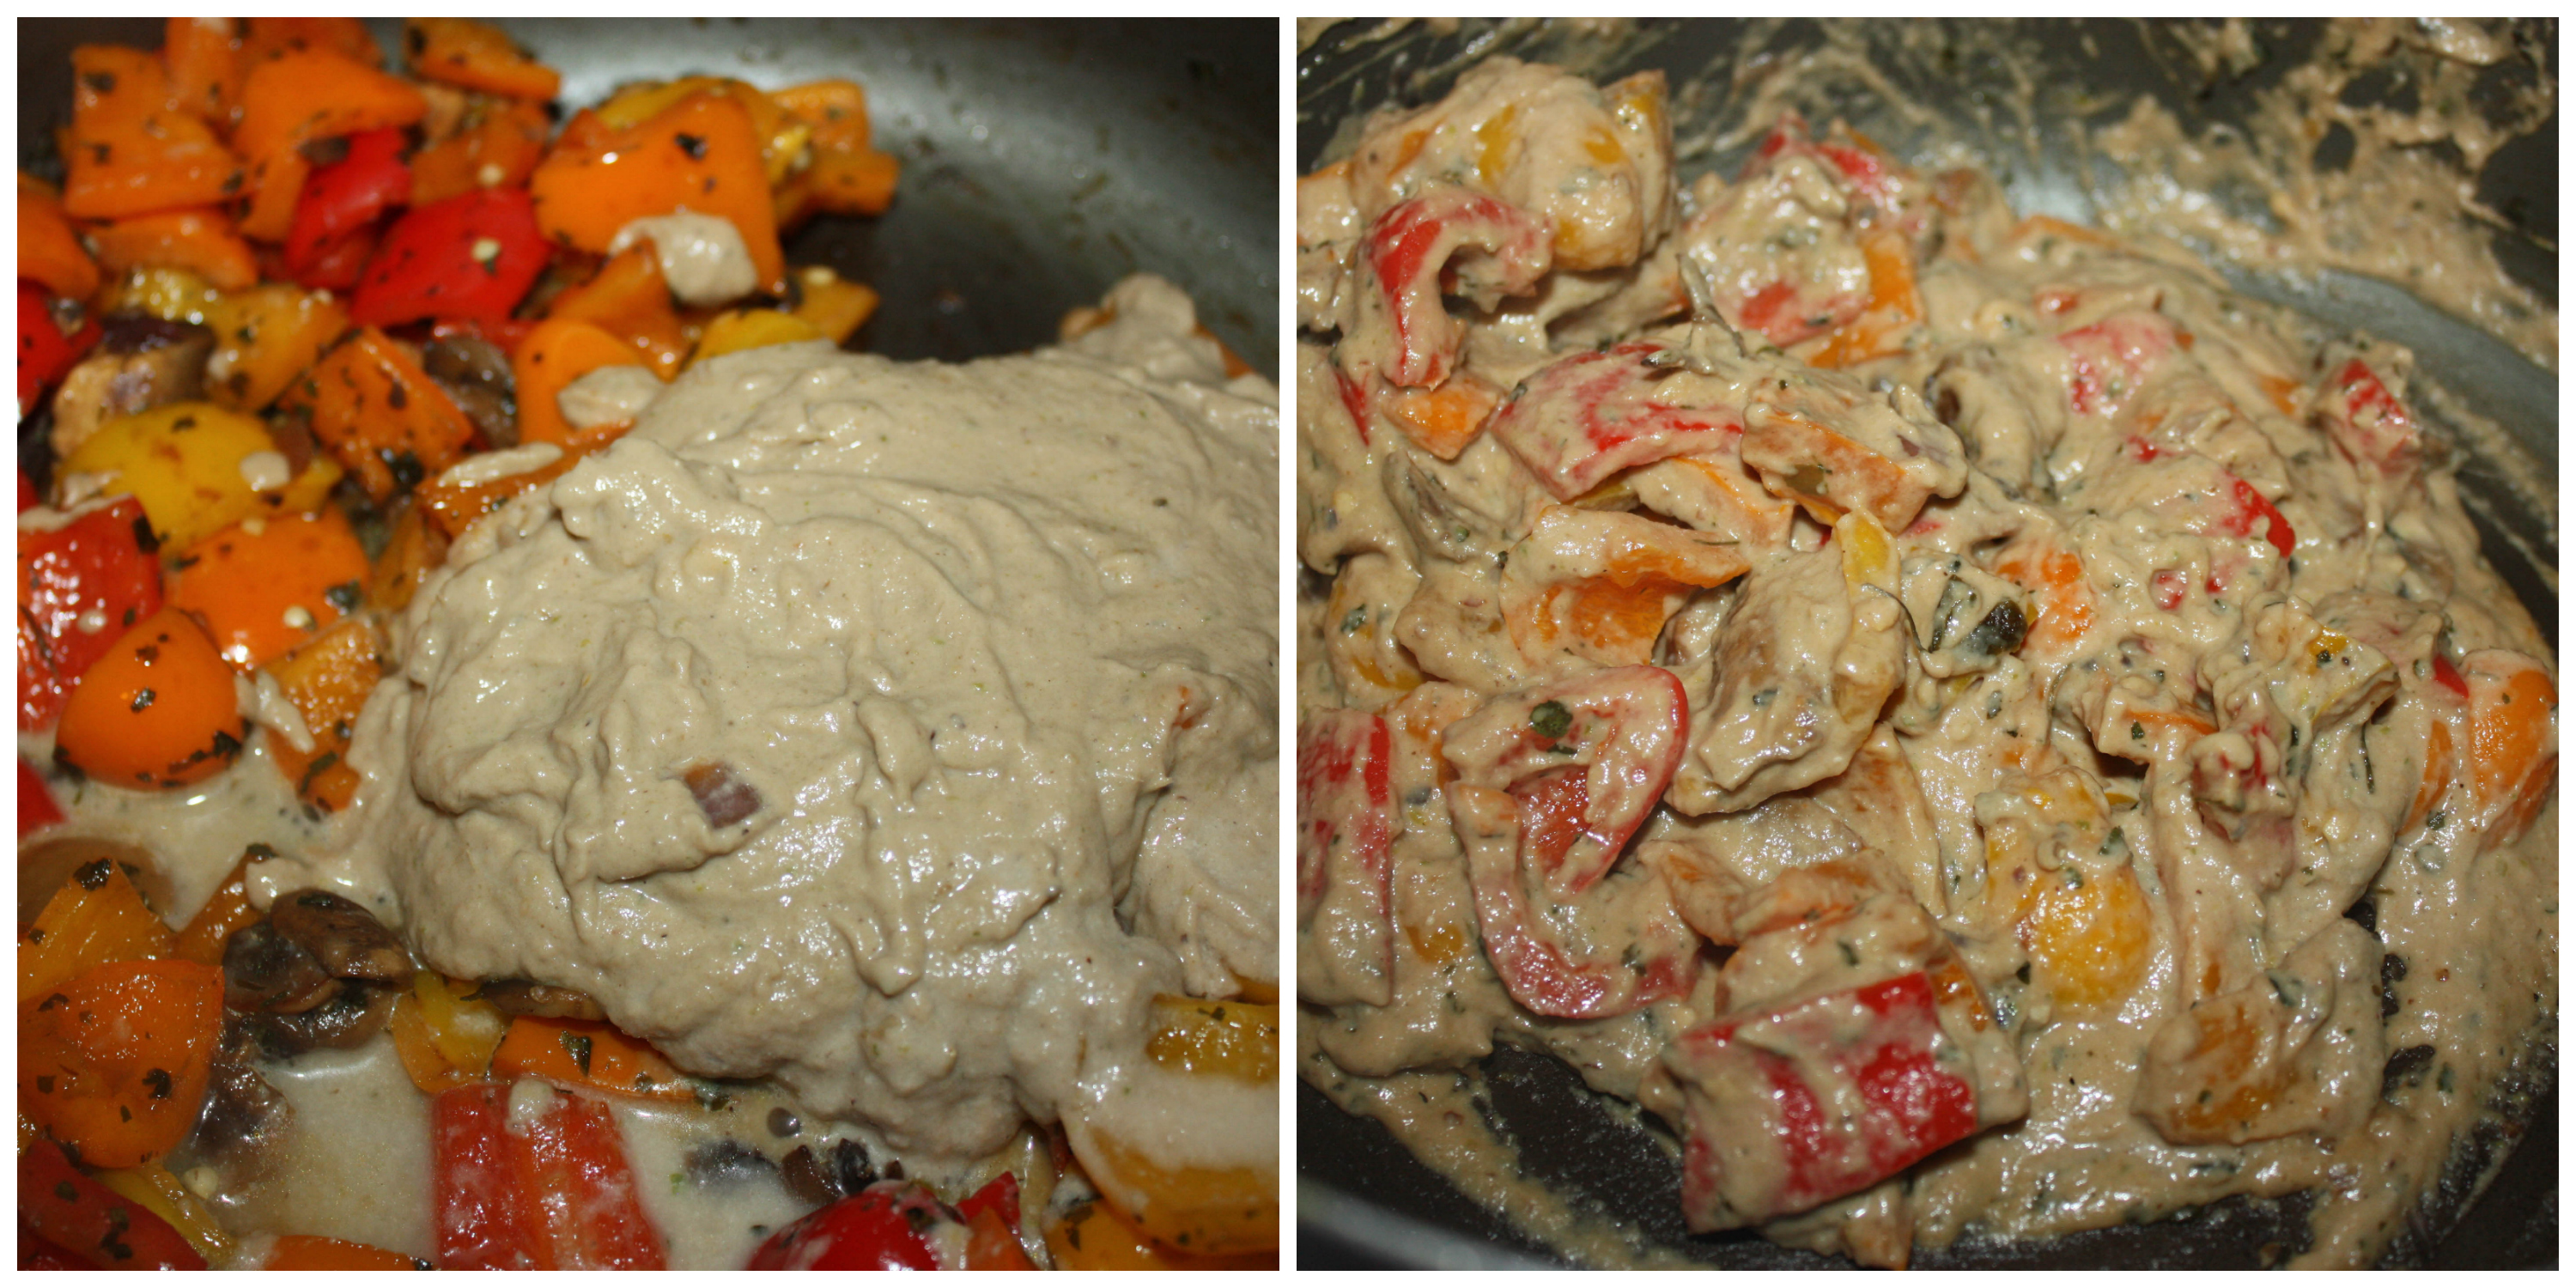
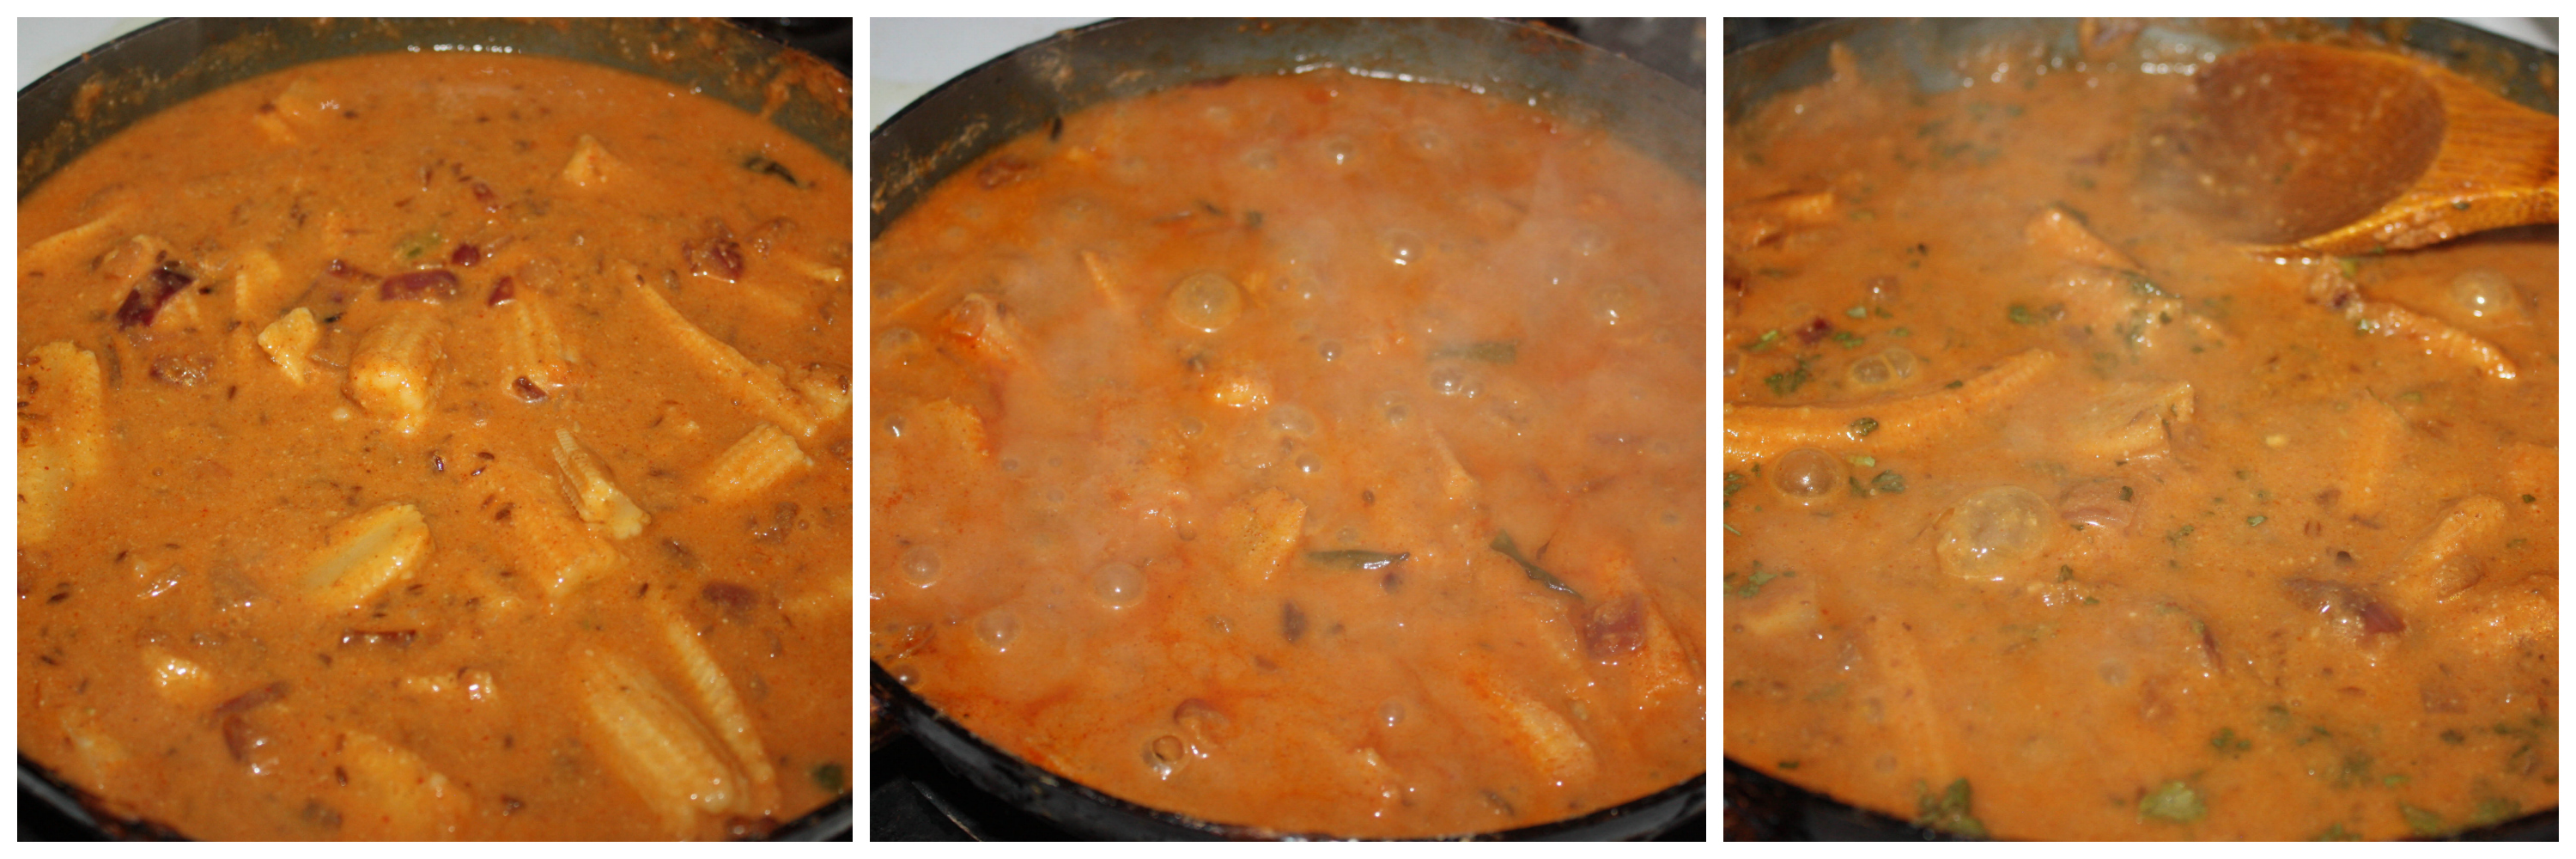
- Now add the mutton pieces with water and let it get cooked till it gets dried.
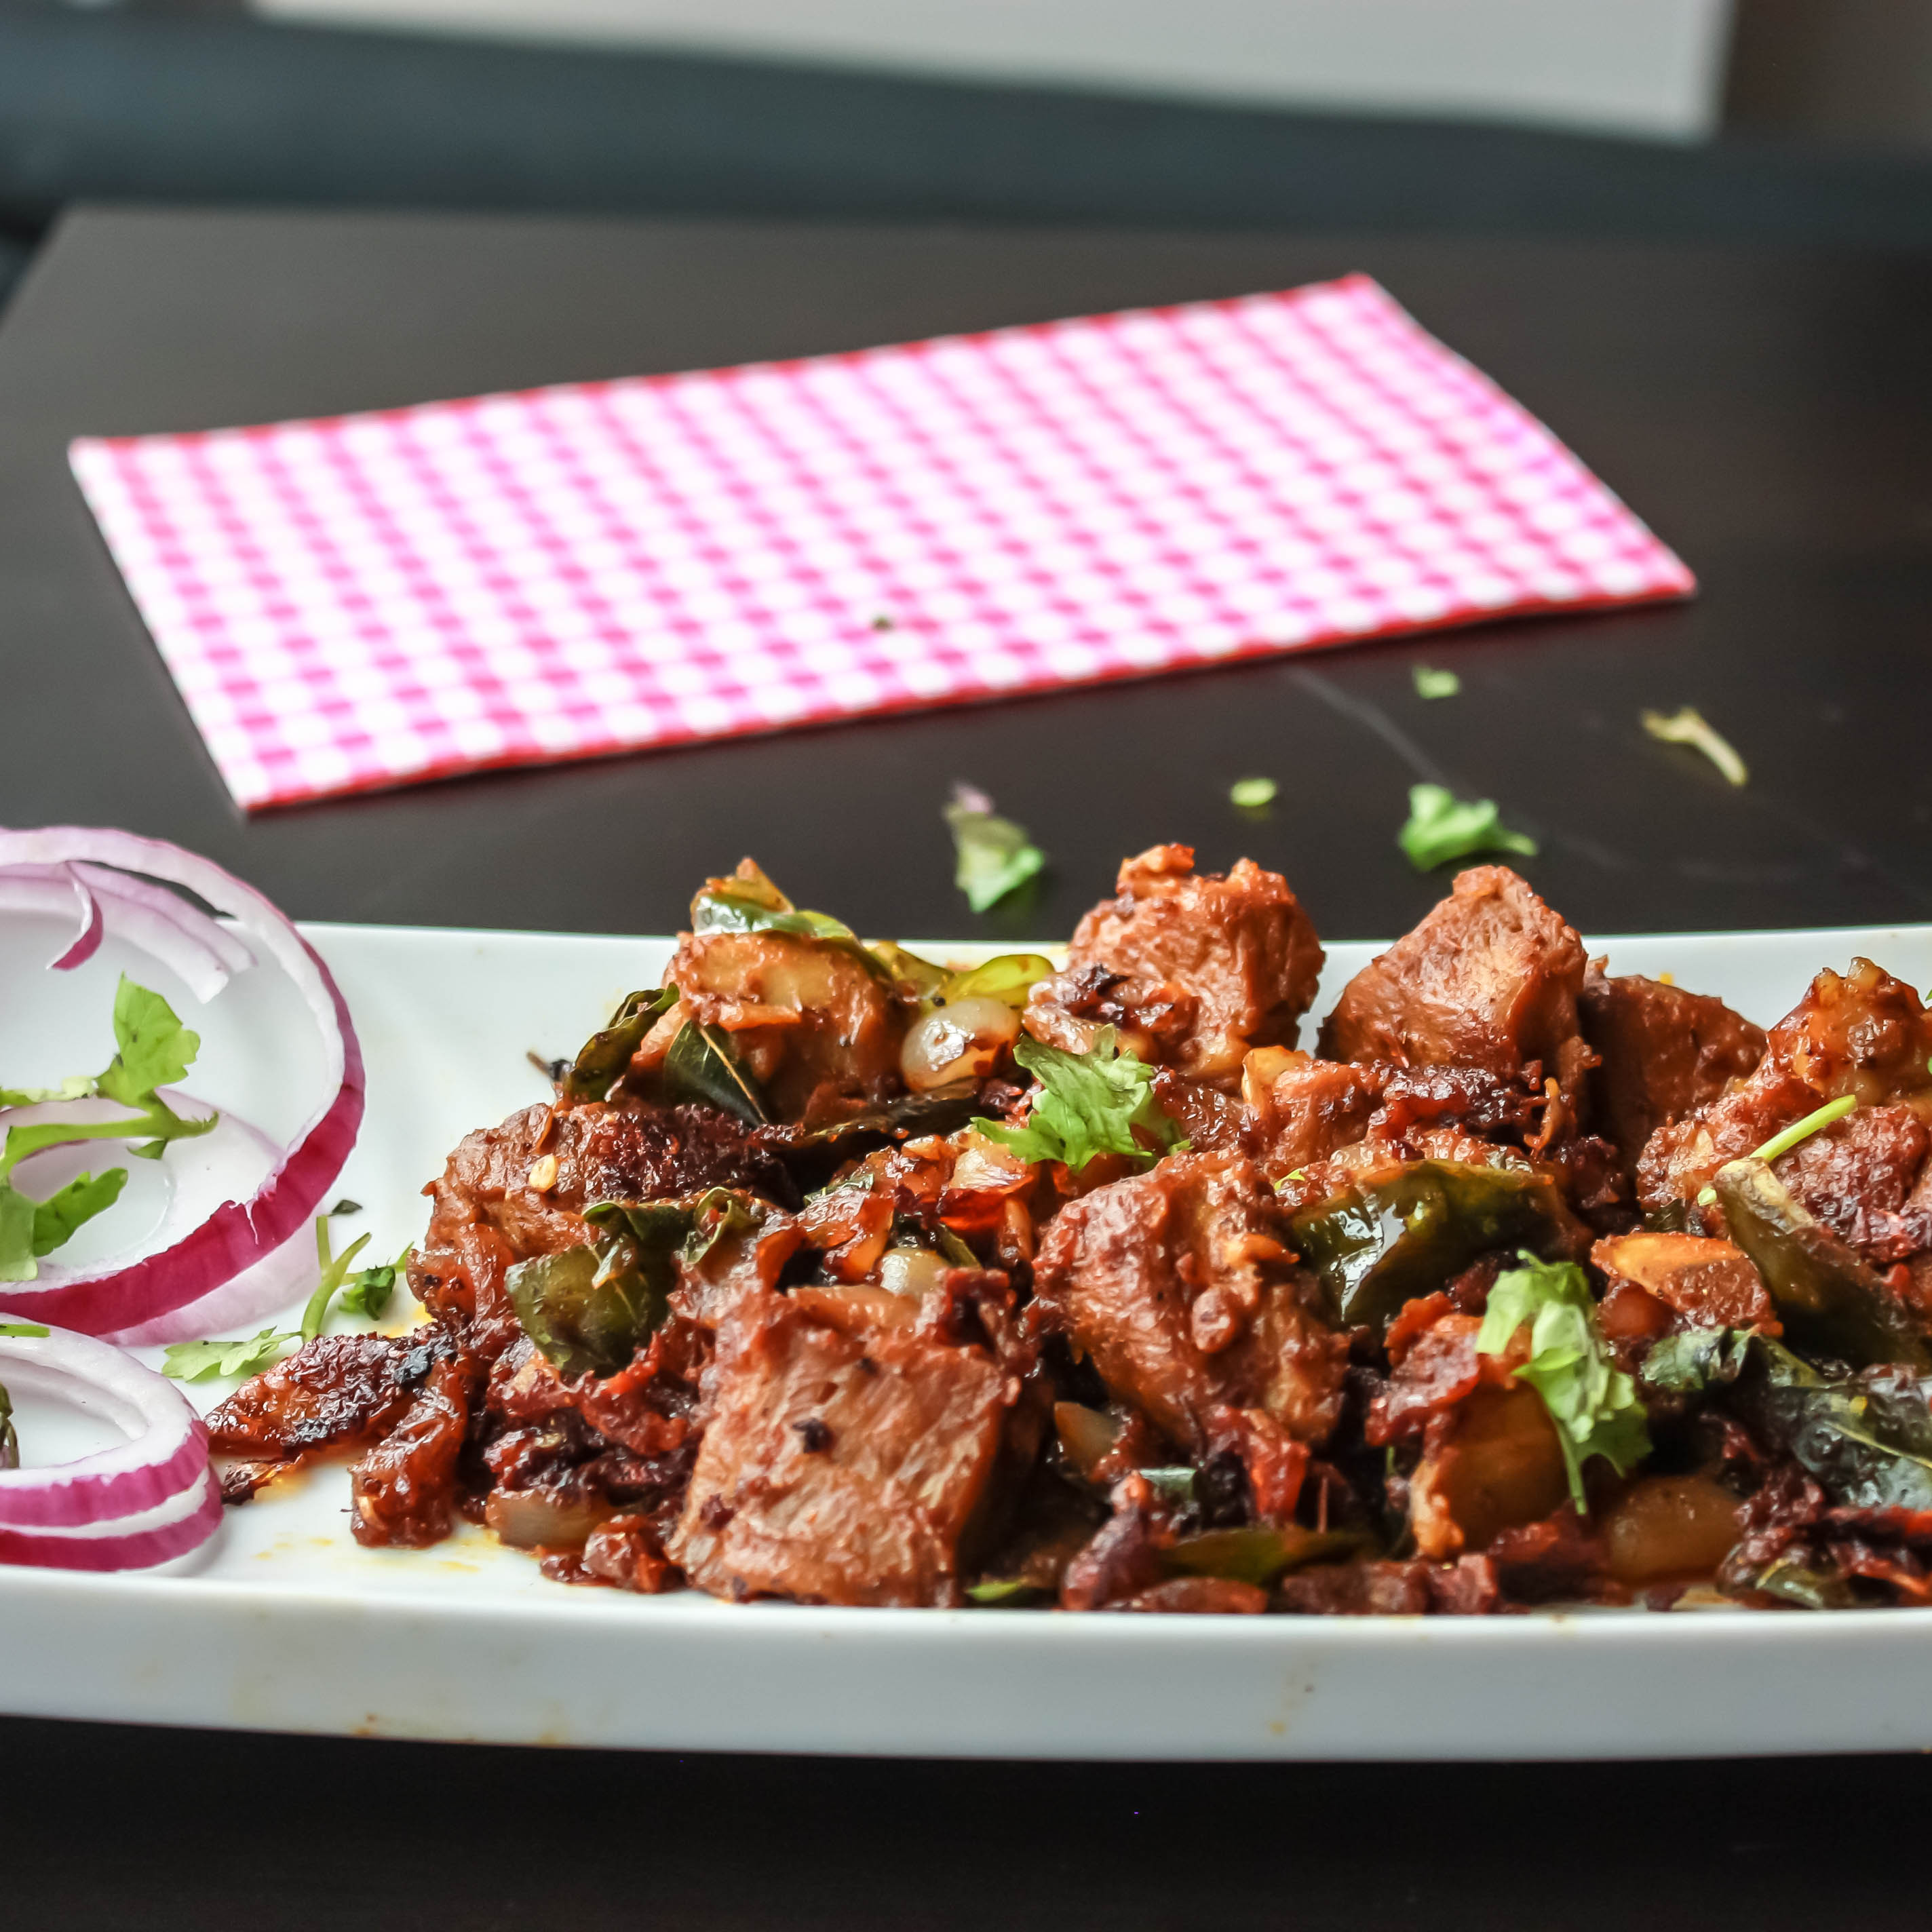
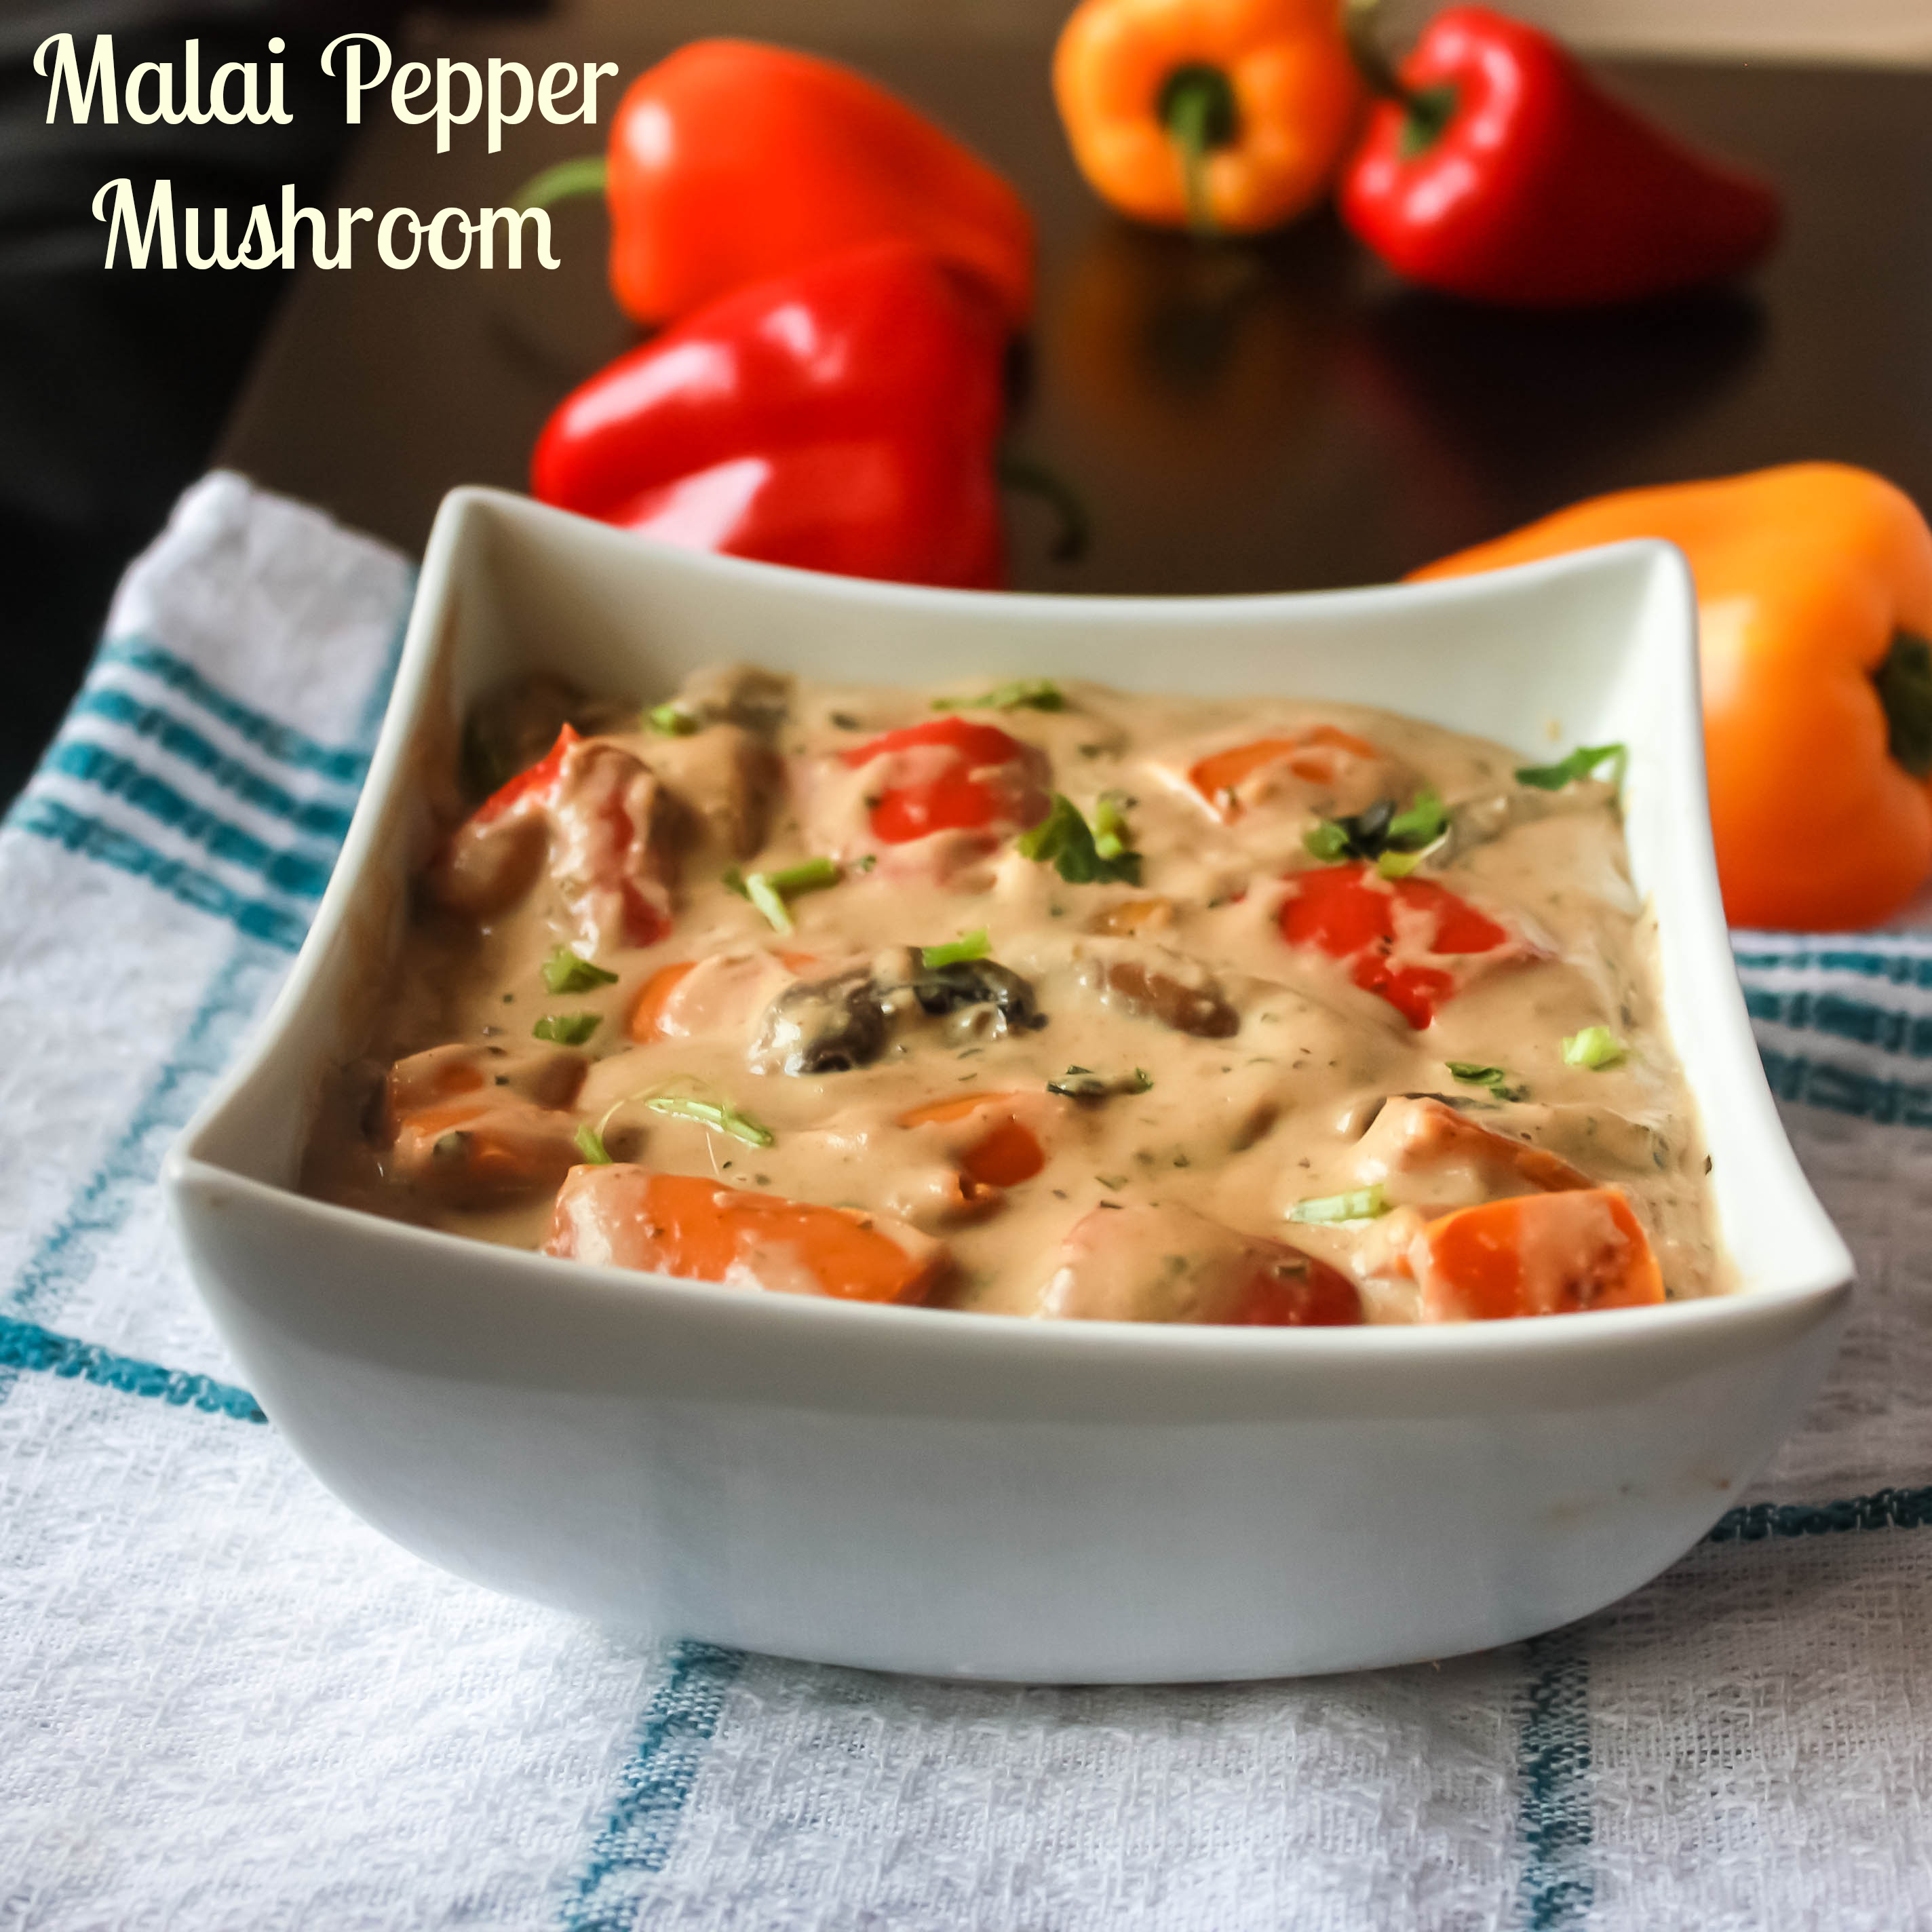
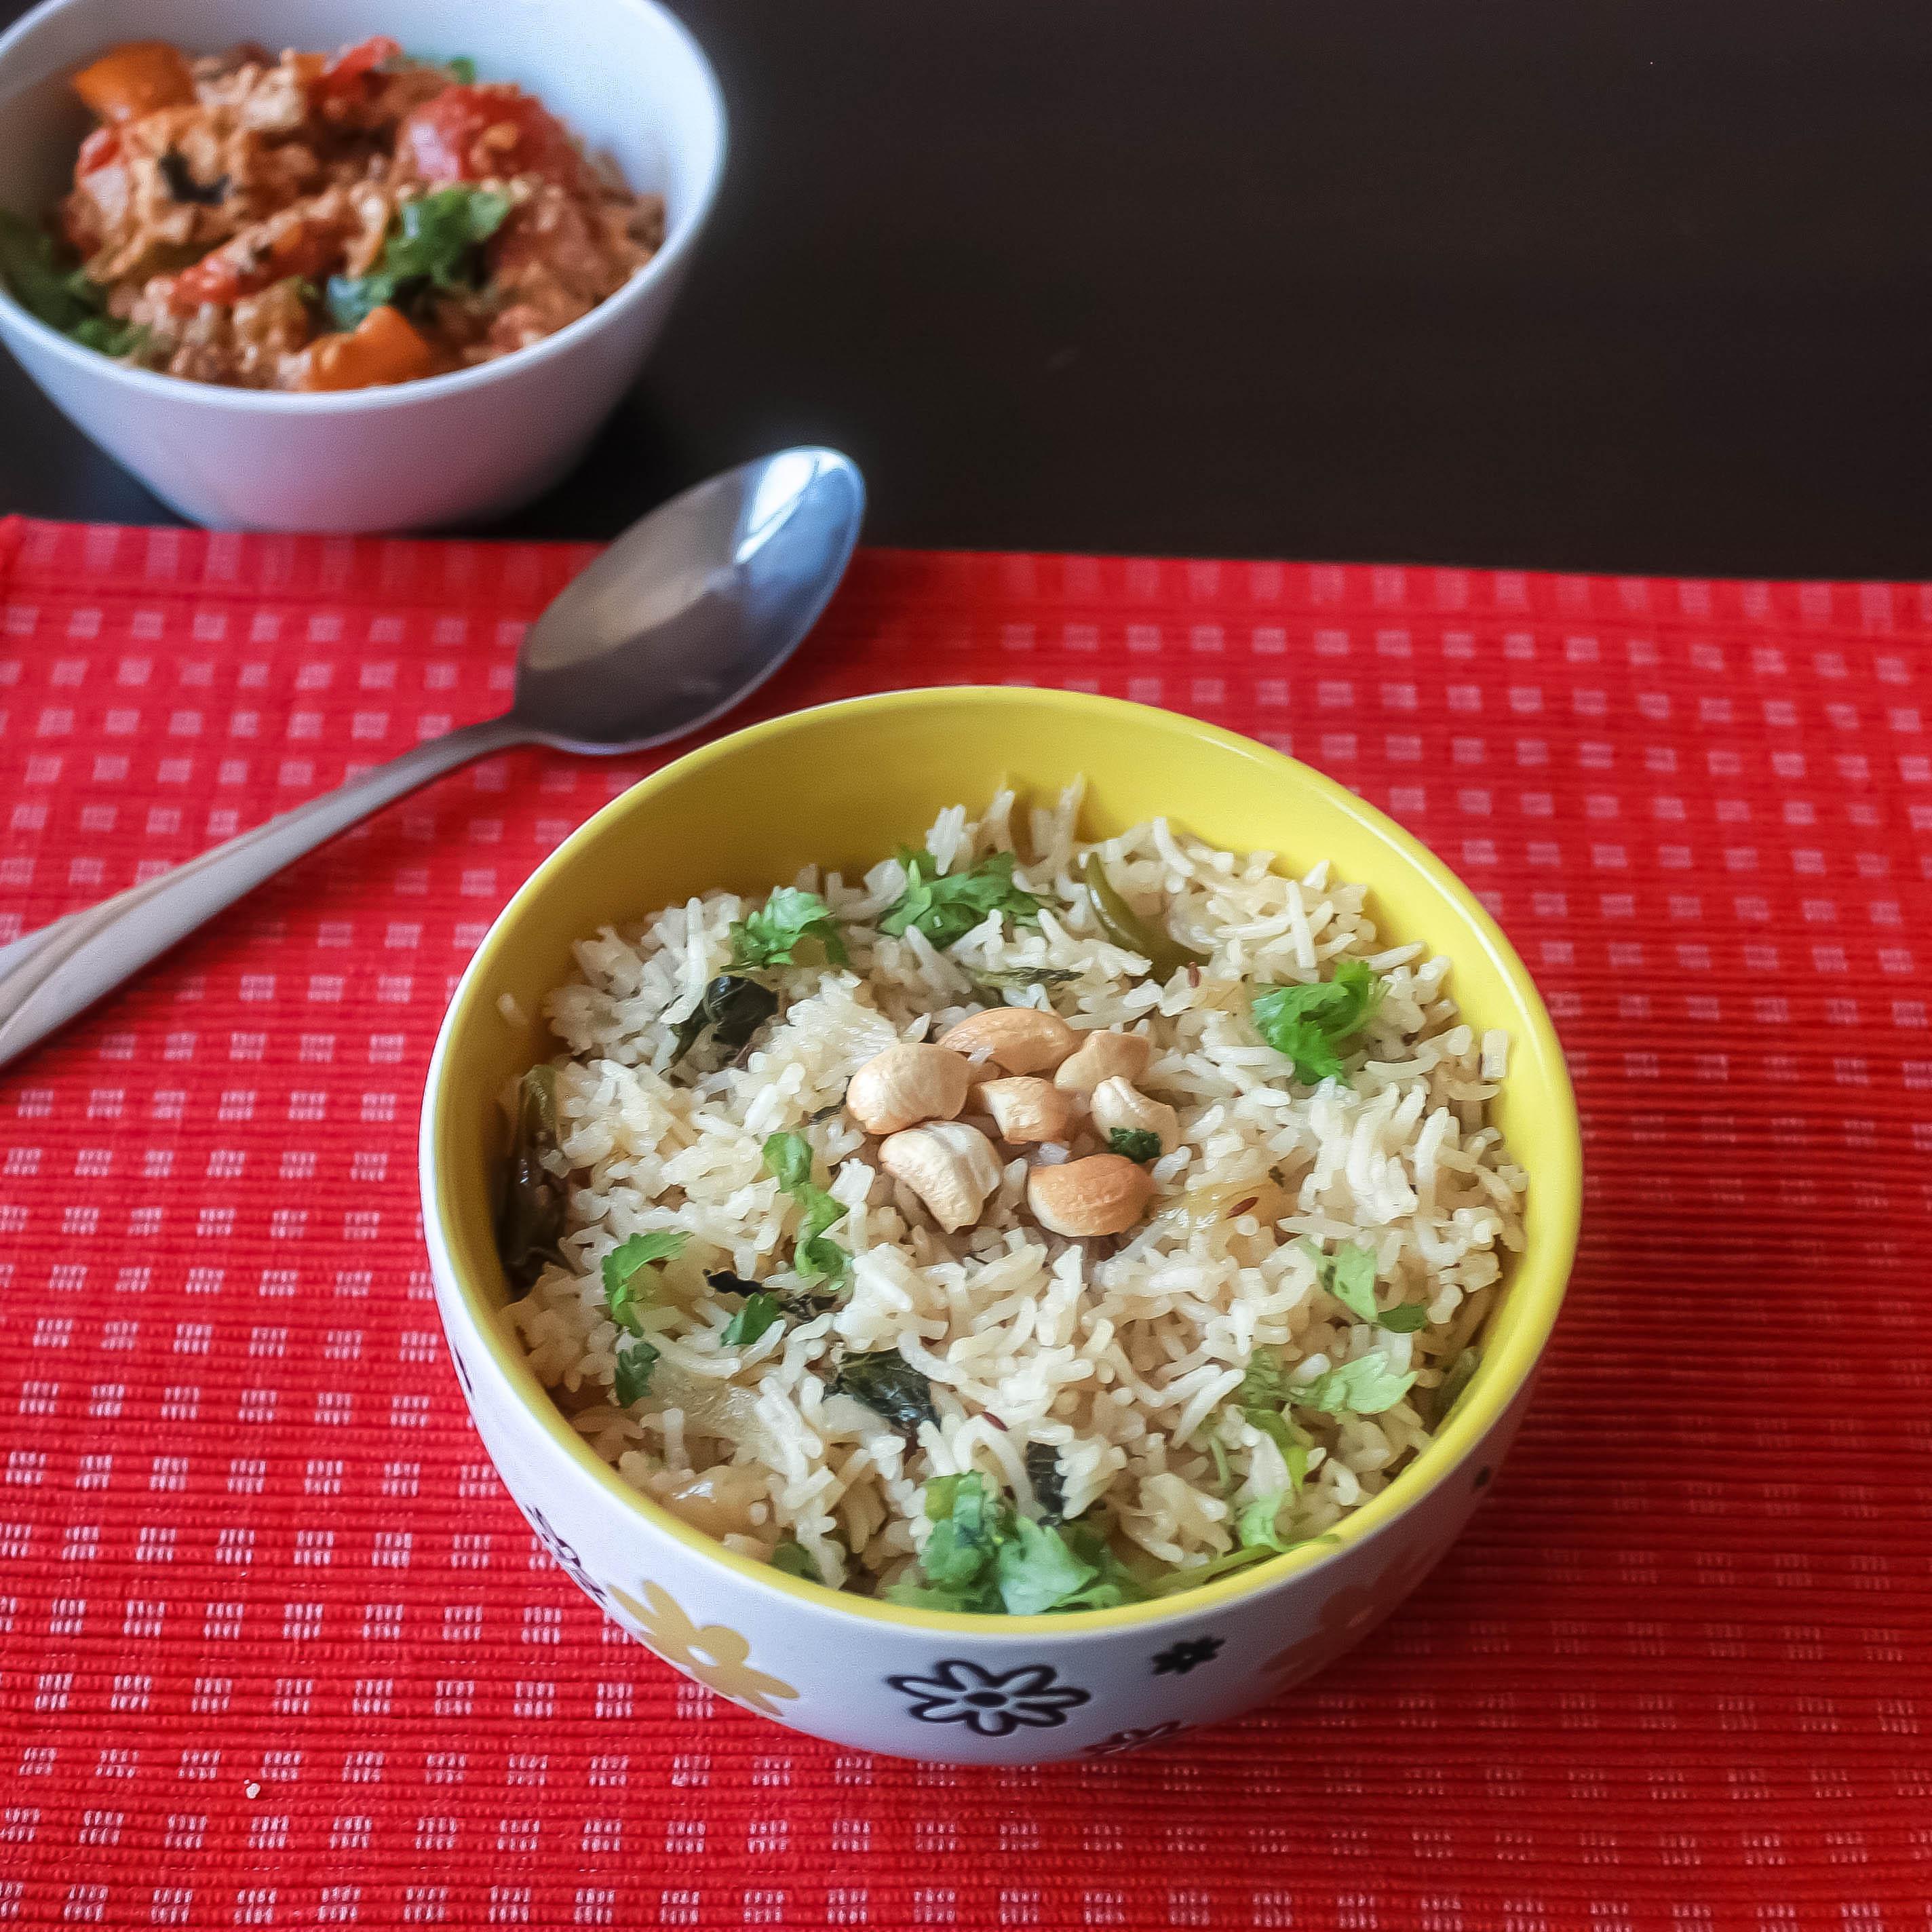
- Drizzle some lime juice and garnish with coriander leaves. Serve with onion slices.
2. Do not add more water when you boil the mutton. It may spoil the whole dish.
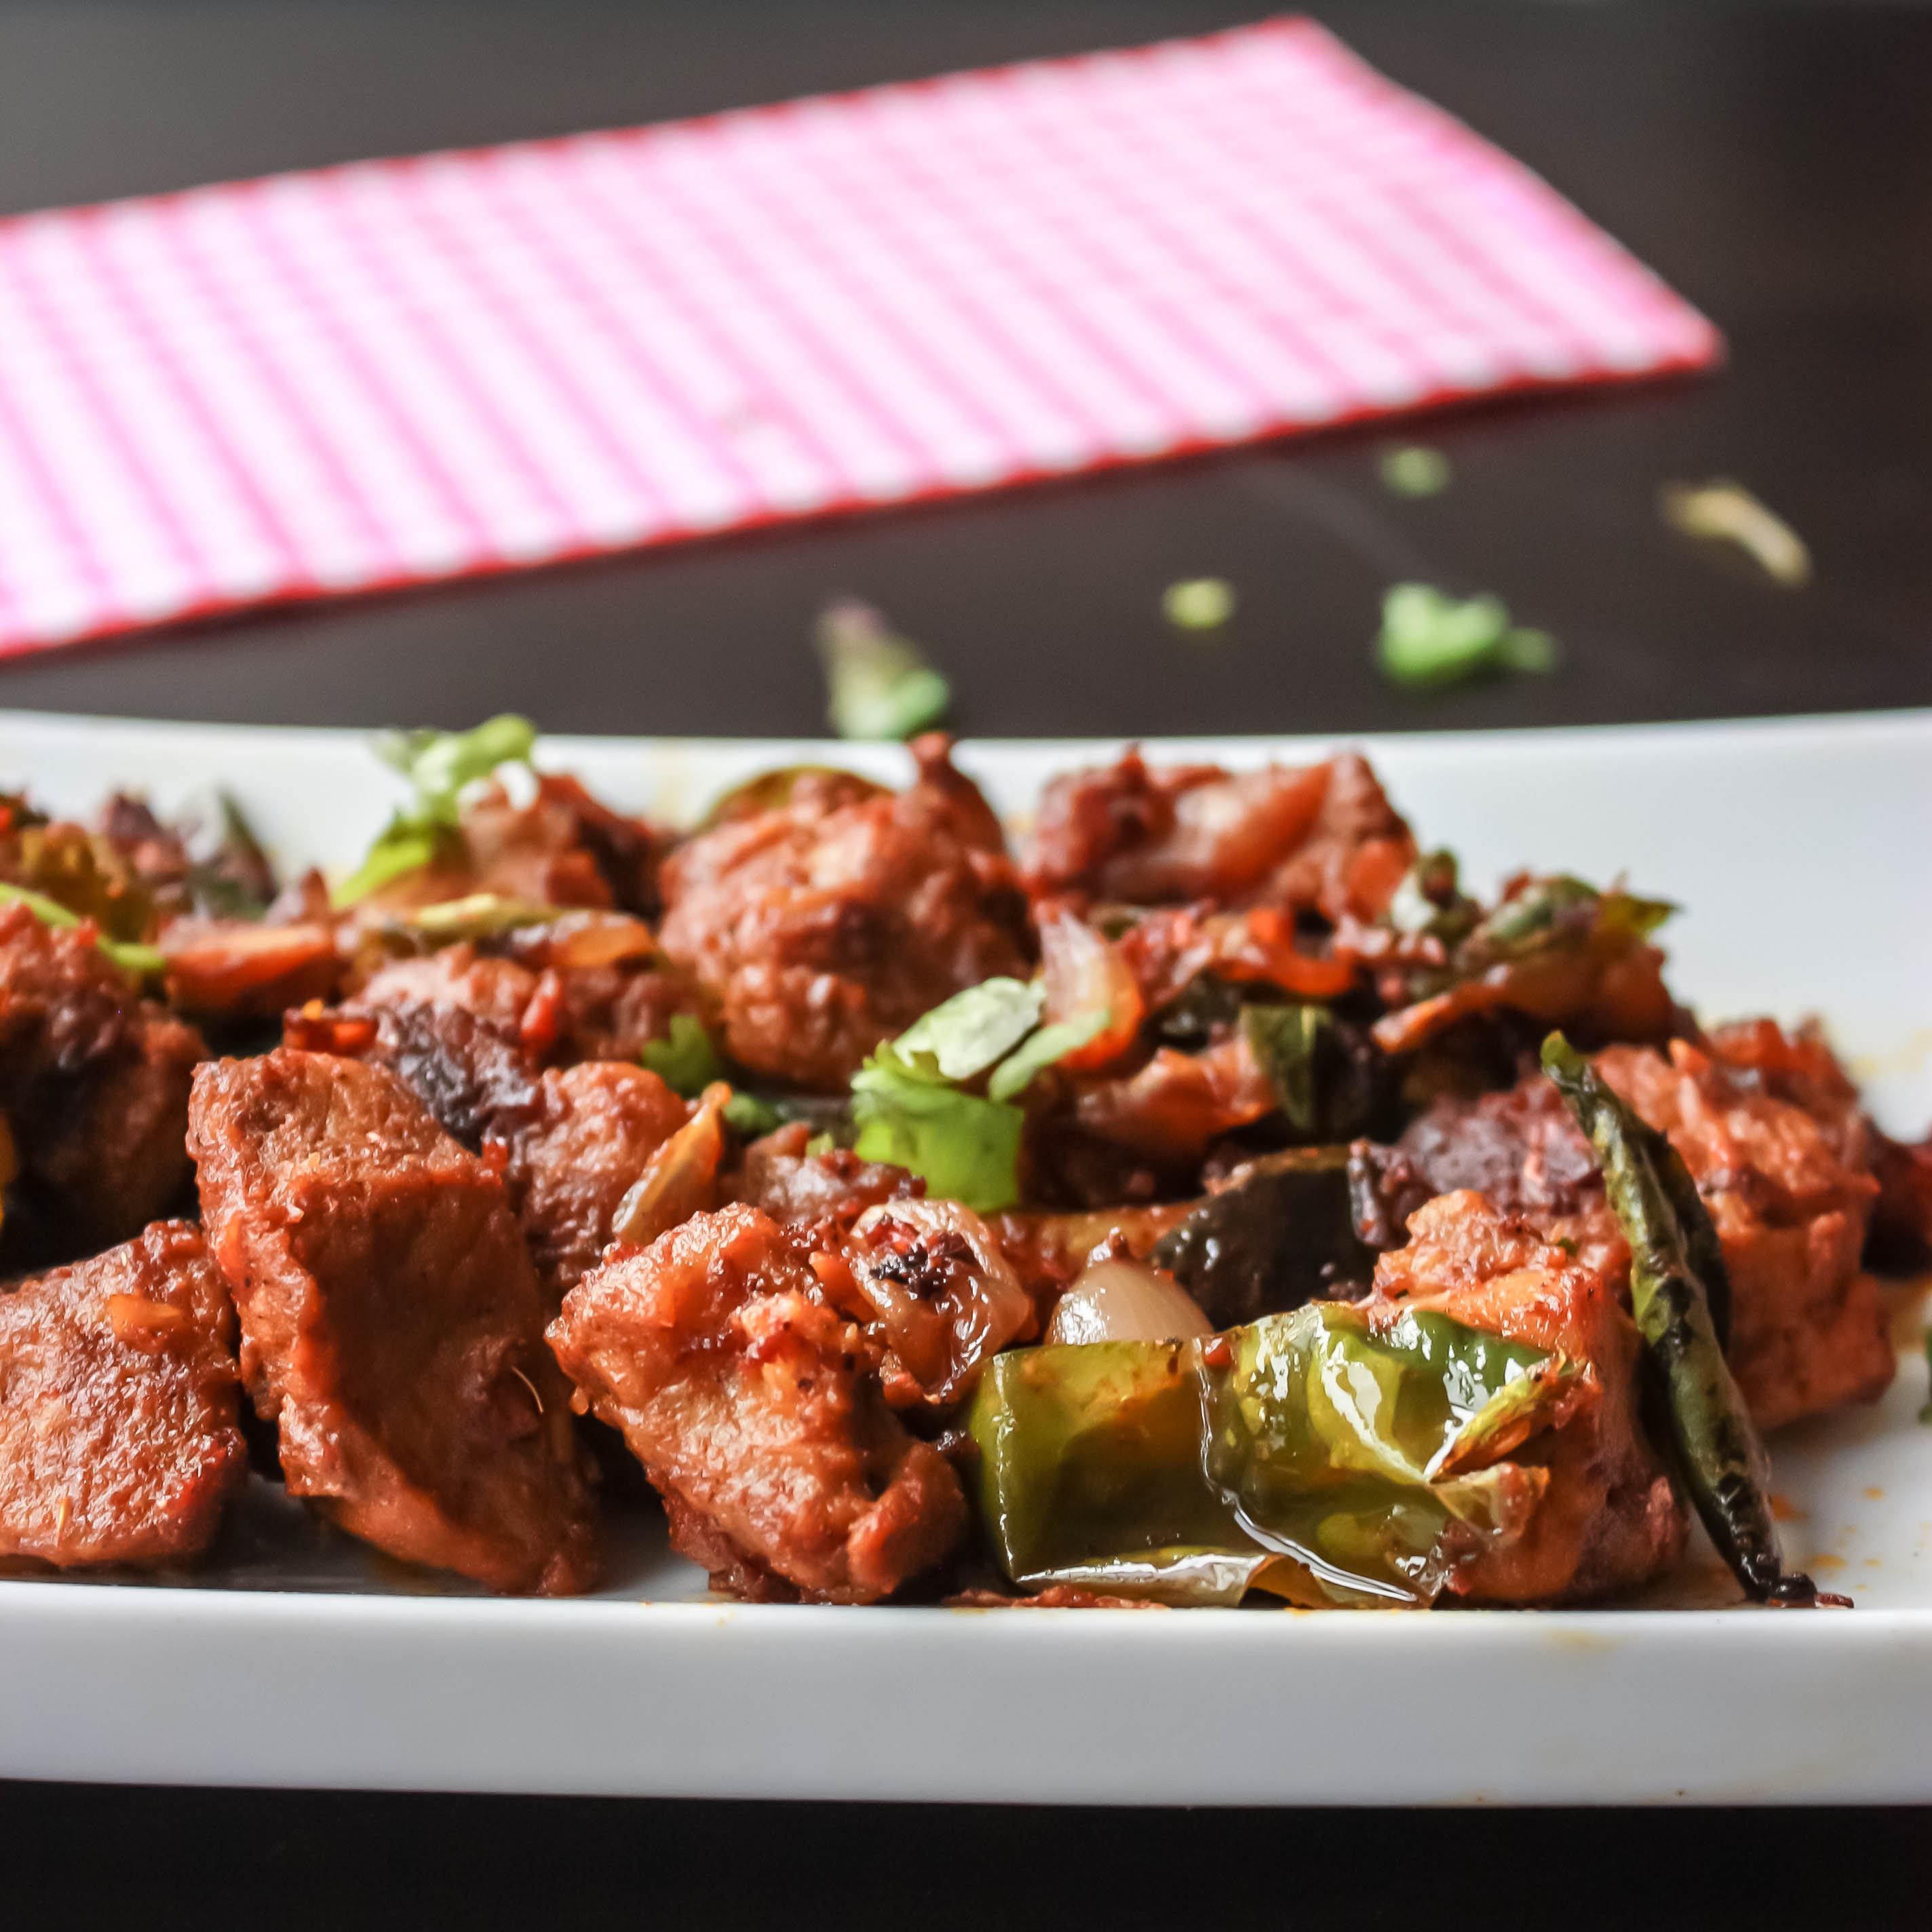
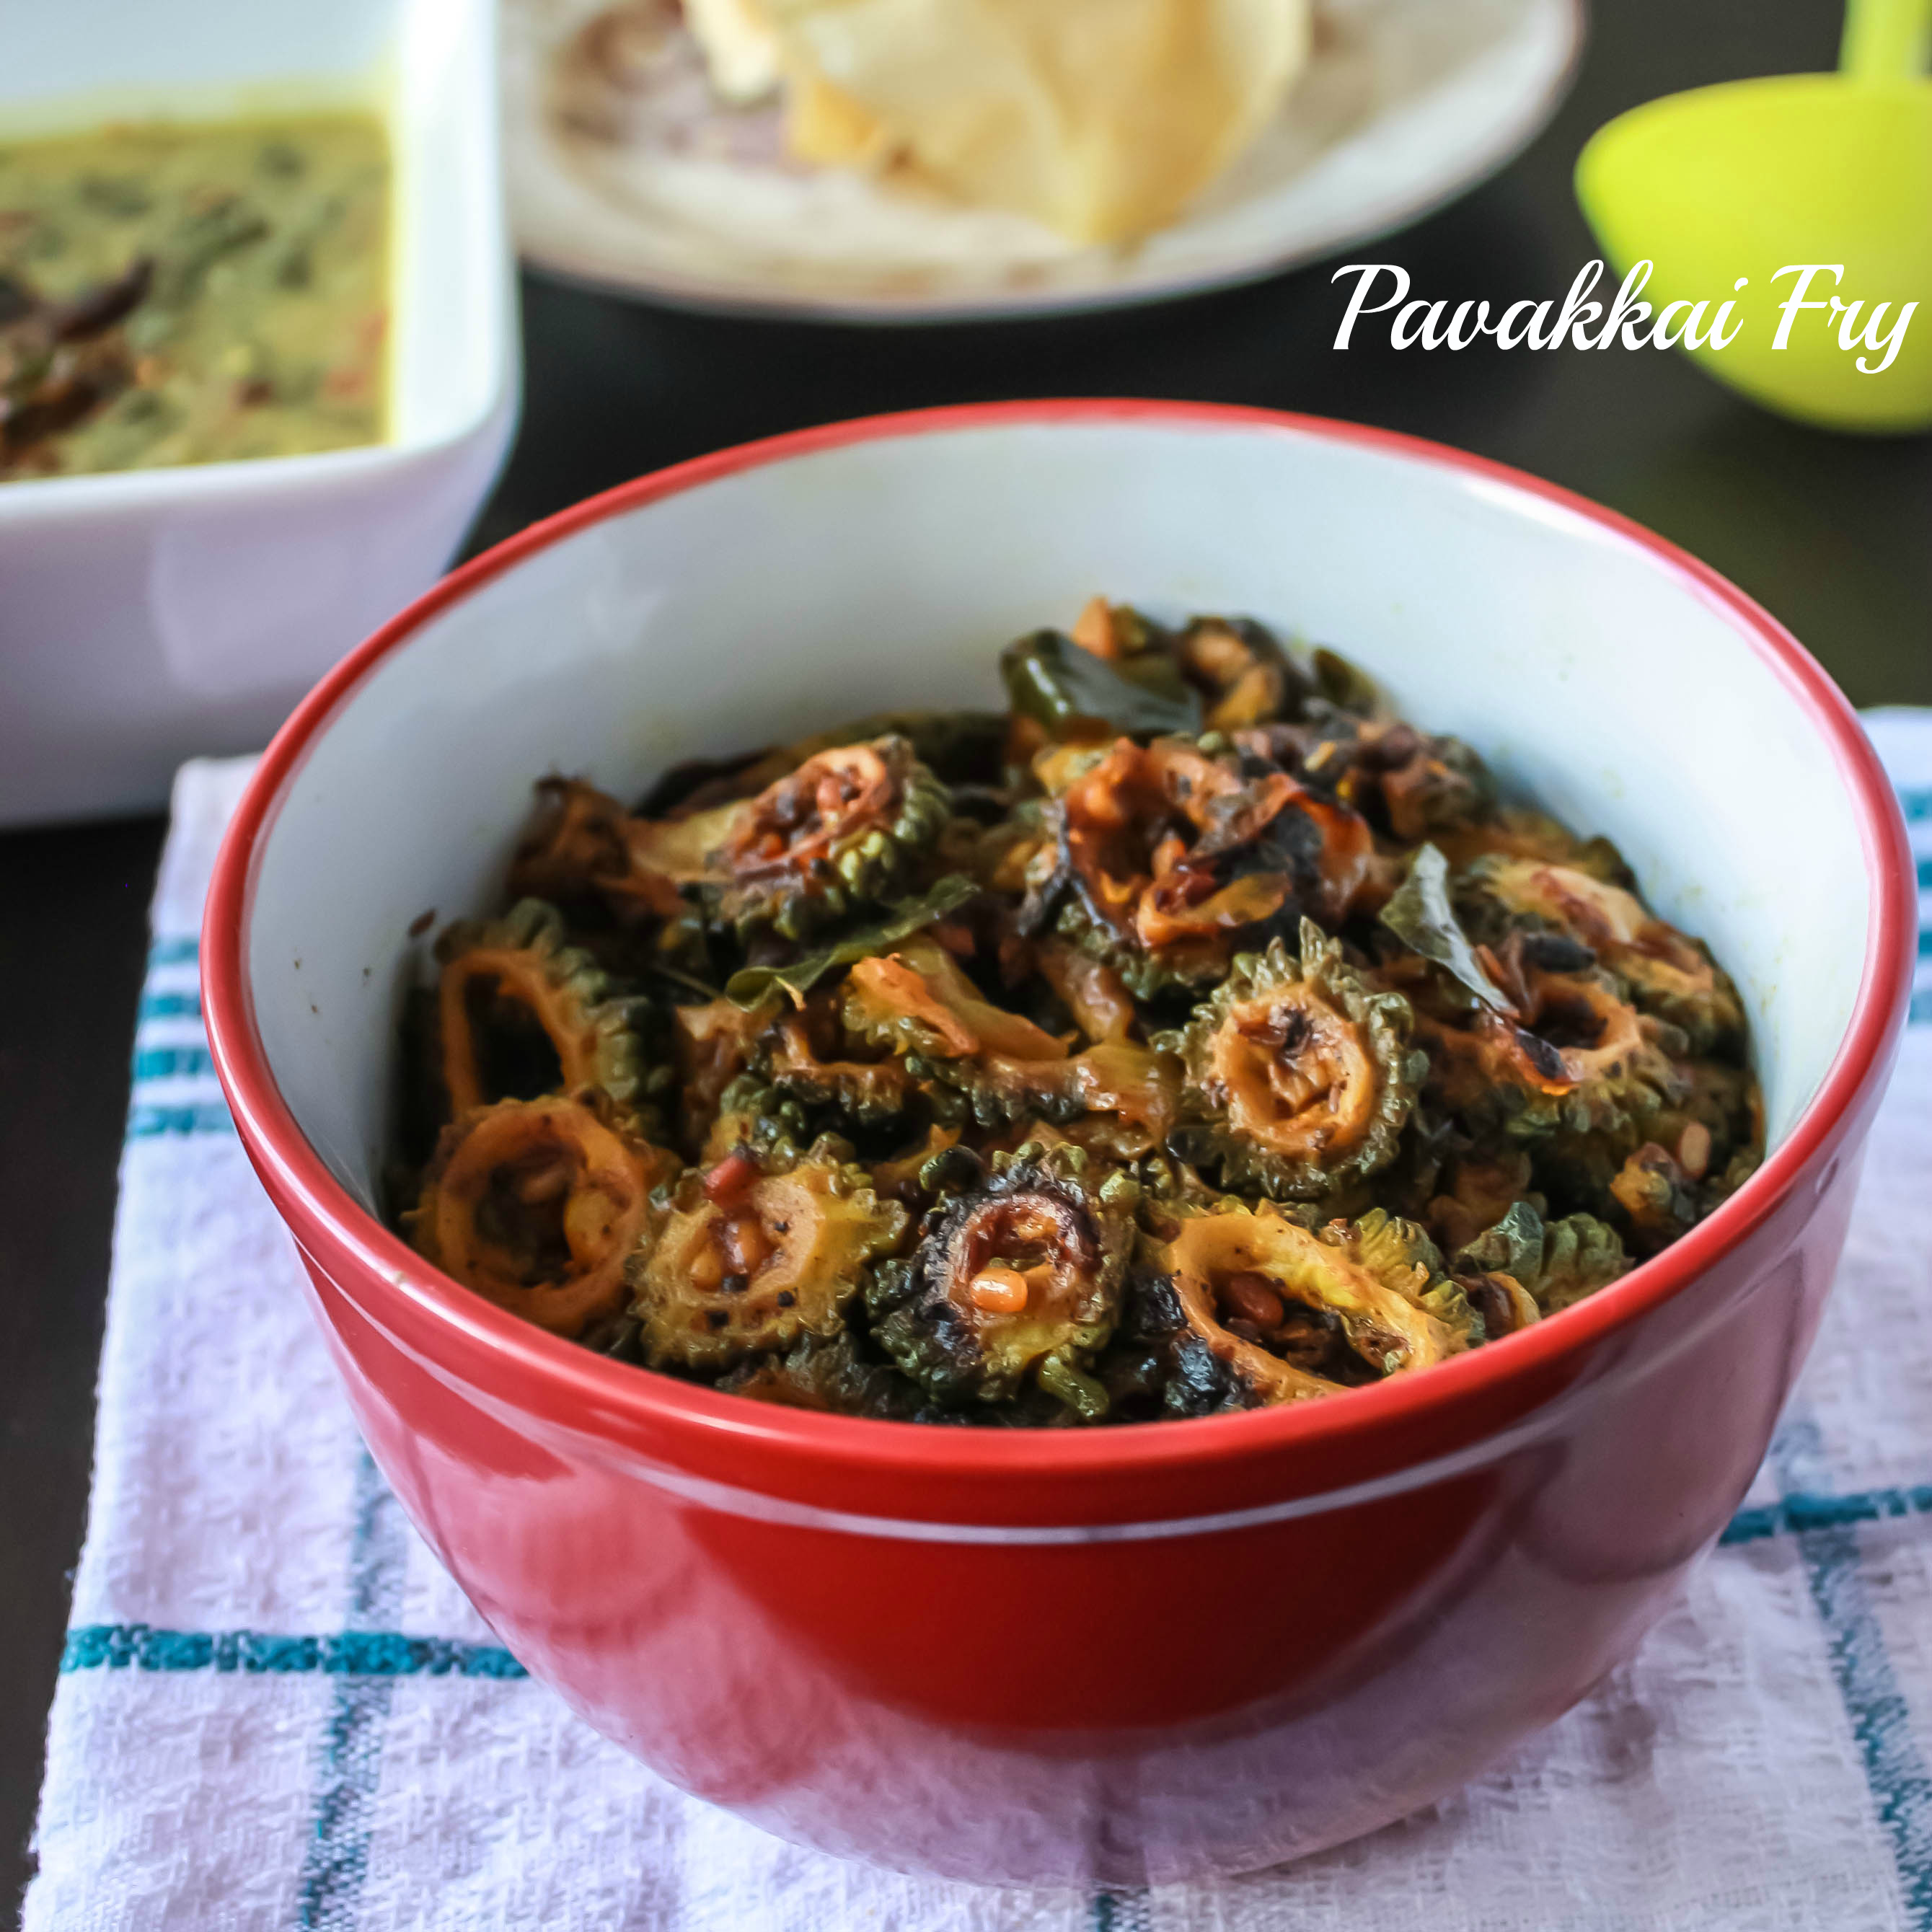
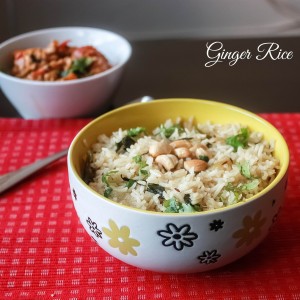
Serve it as an appetizer or with rice or any kind of bread you fancy!


 ]
]


 ]
]