 I am naming this biryani as ‘Nurtured’!
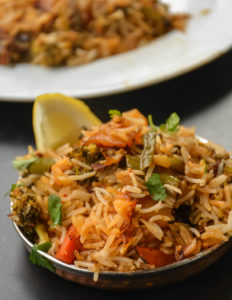
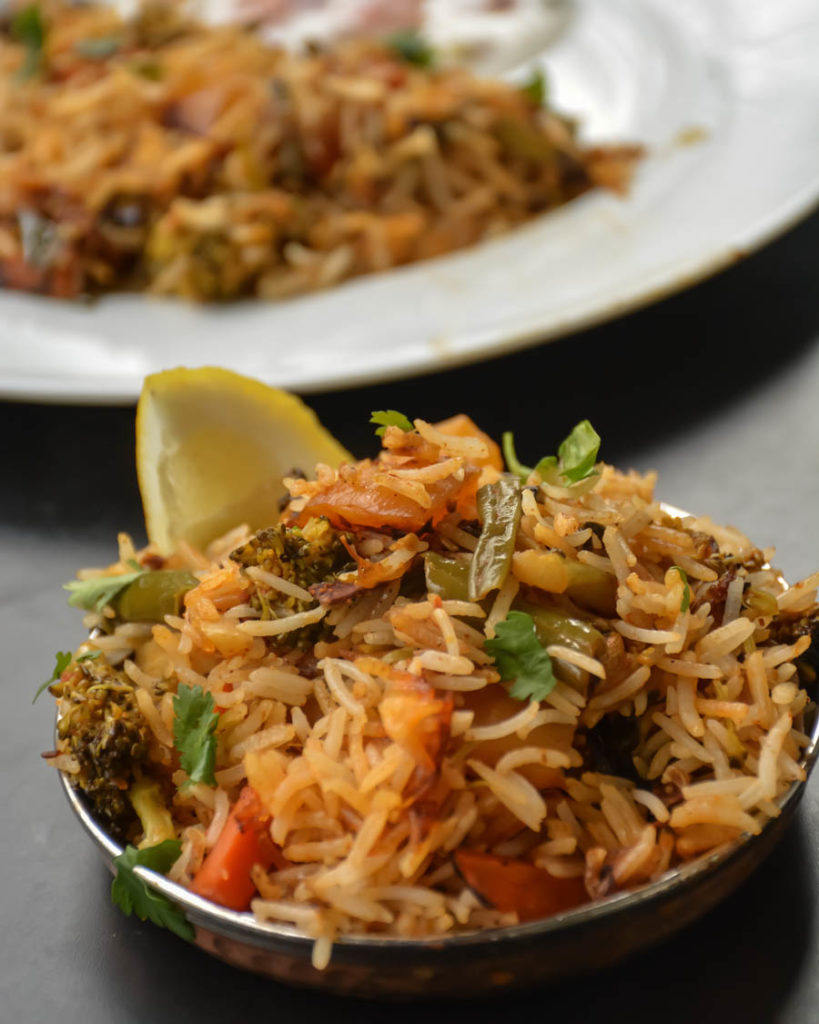
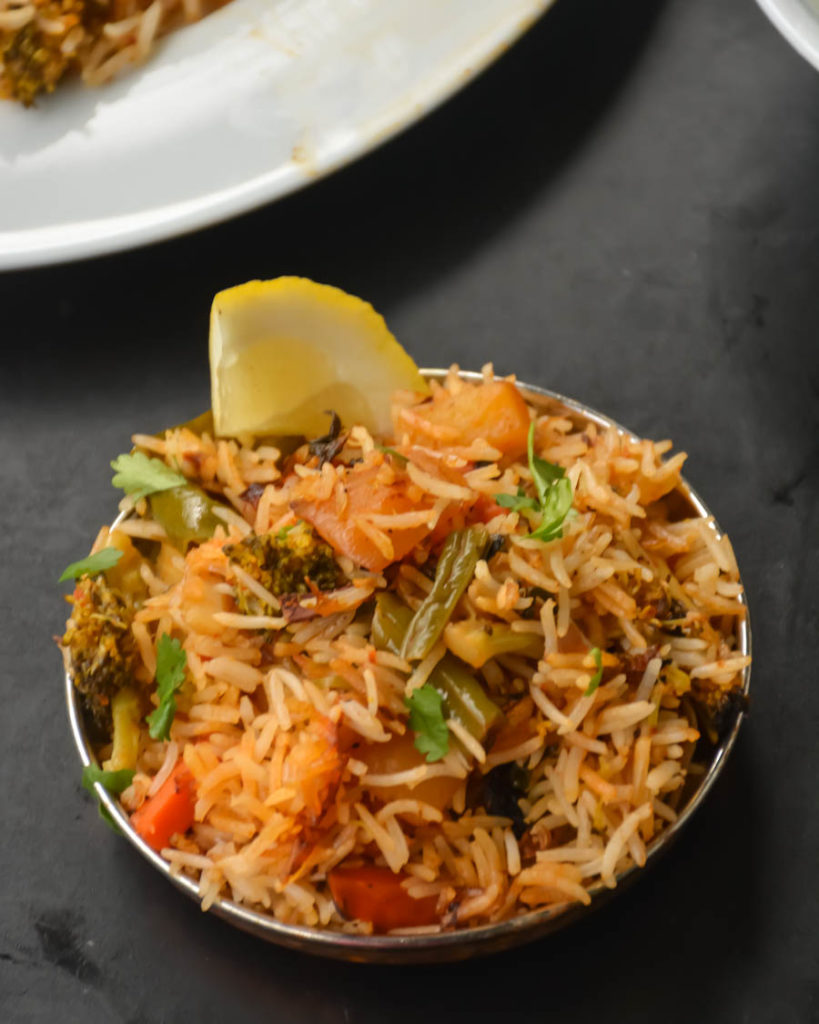
This delicious layered biryani is fragrant, flavorful, and filling. Carrot, beans, broccoli and potatoes cooked in spicy gravy and basmati rice.
Why do I call this Nurtured? – Biryani surely takes a bit of time. However, all the hard work in the kitchen will be well worth the end result. An authentic vegetable biryani is always slow cooked on “dum”. It is an ancient technique of cooking on dum as they believe it brings out its uniqueness and originality. This is done by cooking the rice and veggies under steam by not allowing the steam to pass. The food gets cooked on its own steam and juices on slow fire and infuses the flavors and aroma of the herbs and spices in the food.
I made this biryani last week. I usually make a lot of vegetable biryani. I know meat eaters always mention if biryani it should be only Lamb! Who cares? I like it this way and I am making it as vegan biryani! 😀
I think the only difference between vegetable biryani and vegan biryani I make is the ghee..ah actually even sometimes I add yogurt!
You can always add the vegetables you like to it like edamame, cauliflower, peas or anything you fancy.
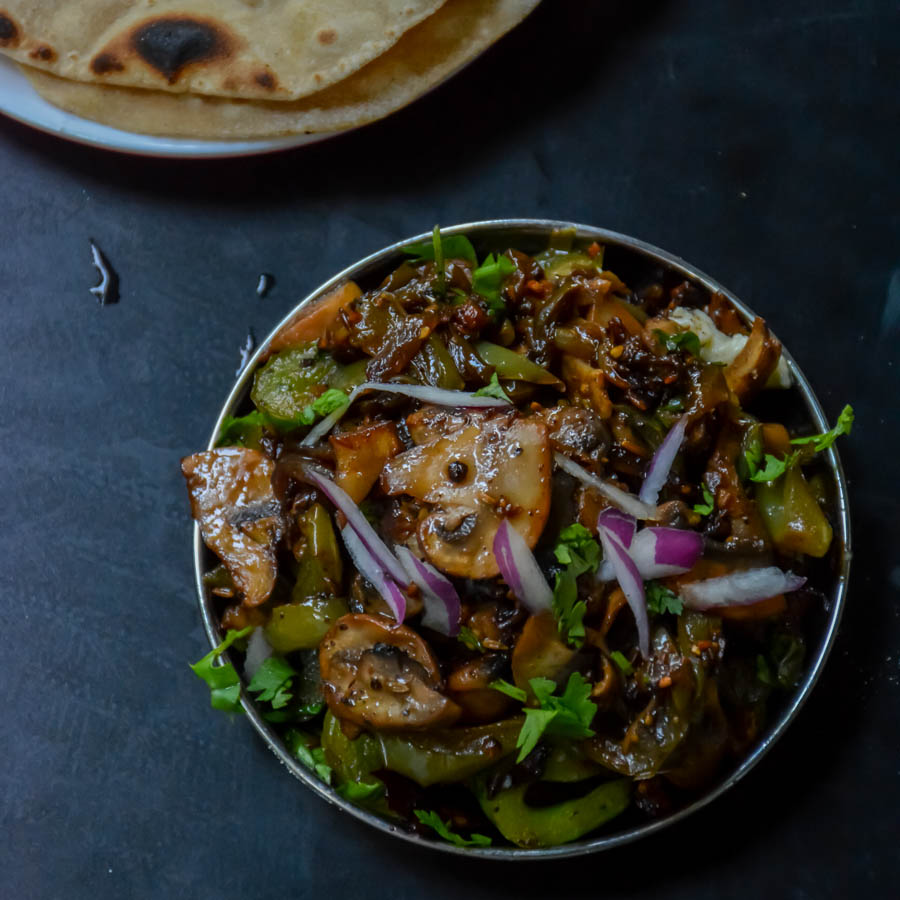
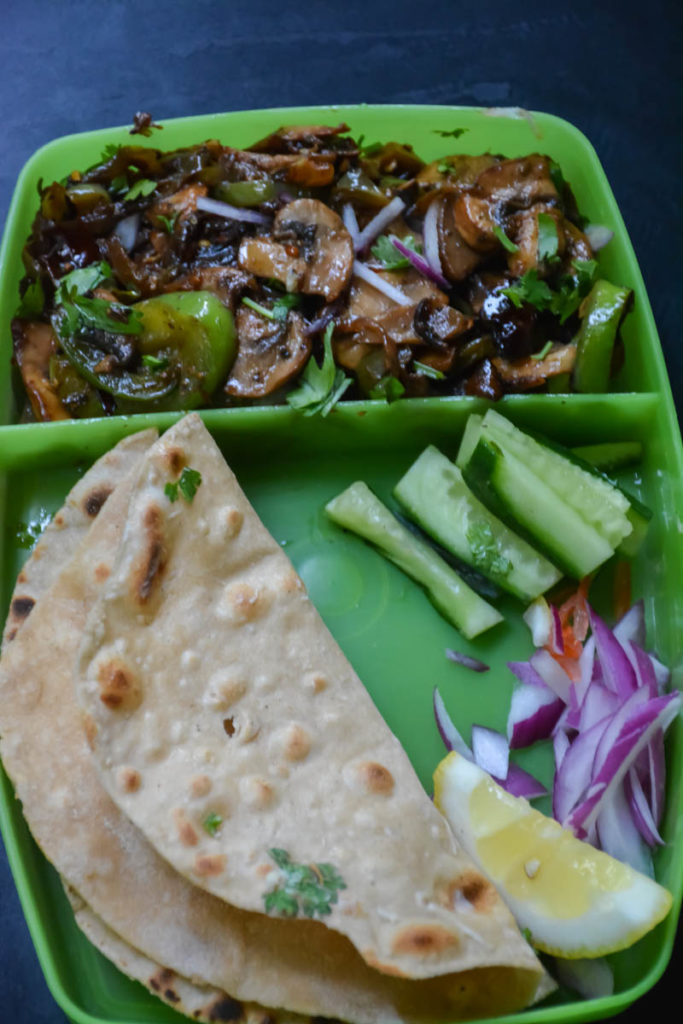
Other favorite rice recipes: cauliflower biryani, mushroom biryani, peas pulao, mushroom fried rice, Indian style veg rice, ginger rice
Other favorite vegan recipes: lentils with caramelized shallots, hot spicy lentil rice, 30 minute spicy eggplant, mini samosas
- For the rice:
- • Basmati rice – 3 cups
- • Oil – 1 tsp
- • Water – 8 cups
- • Salt – 1 tbsp
- • Cumin Seeds/ Jeera – 2 tsp
- • Cardamom
- For the vegetables:
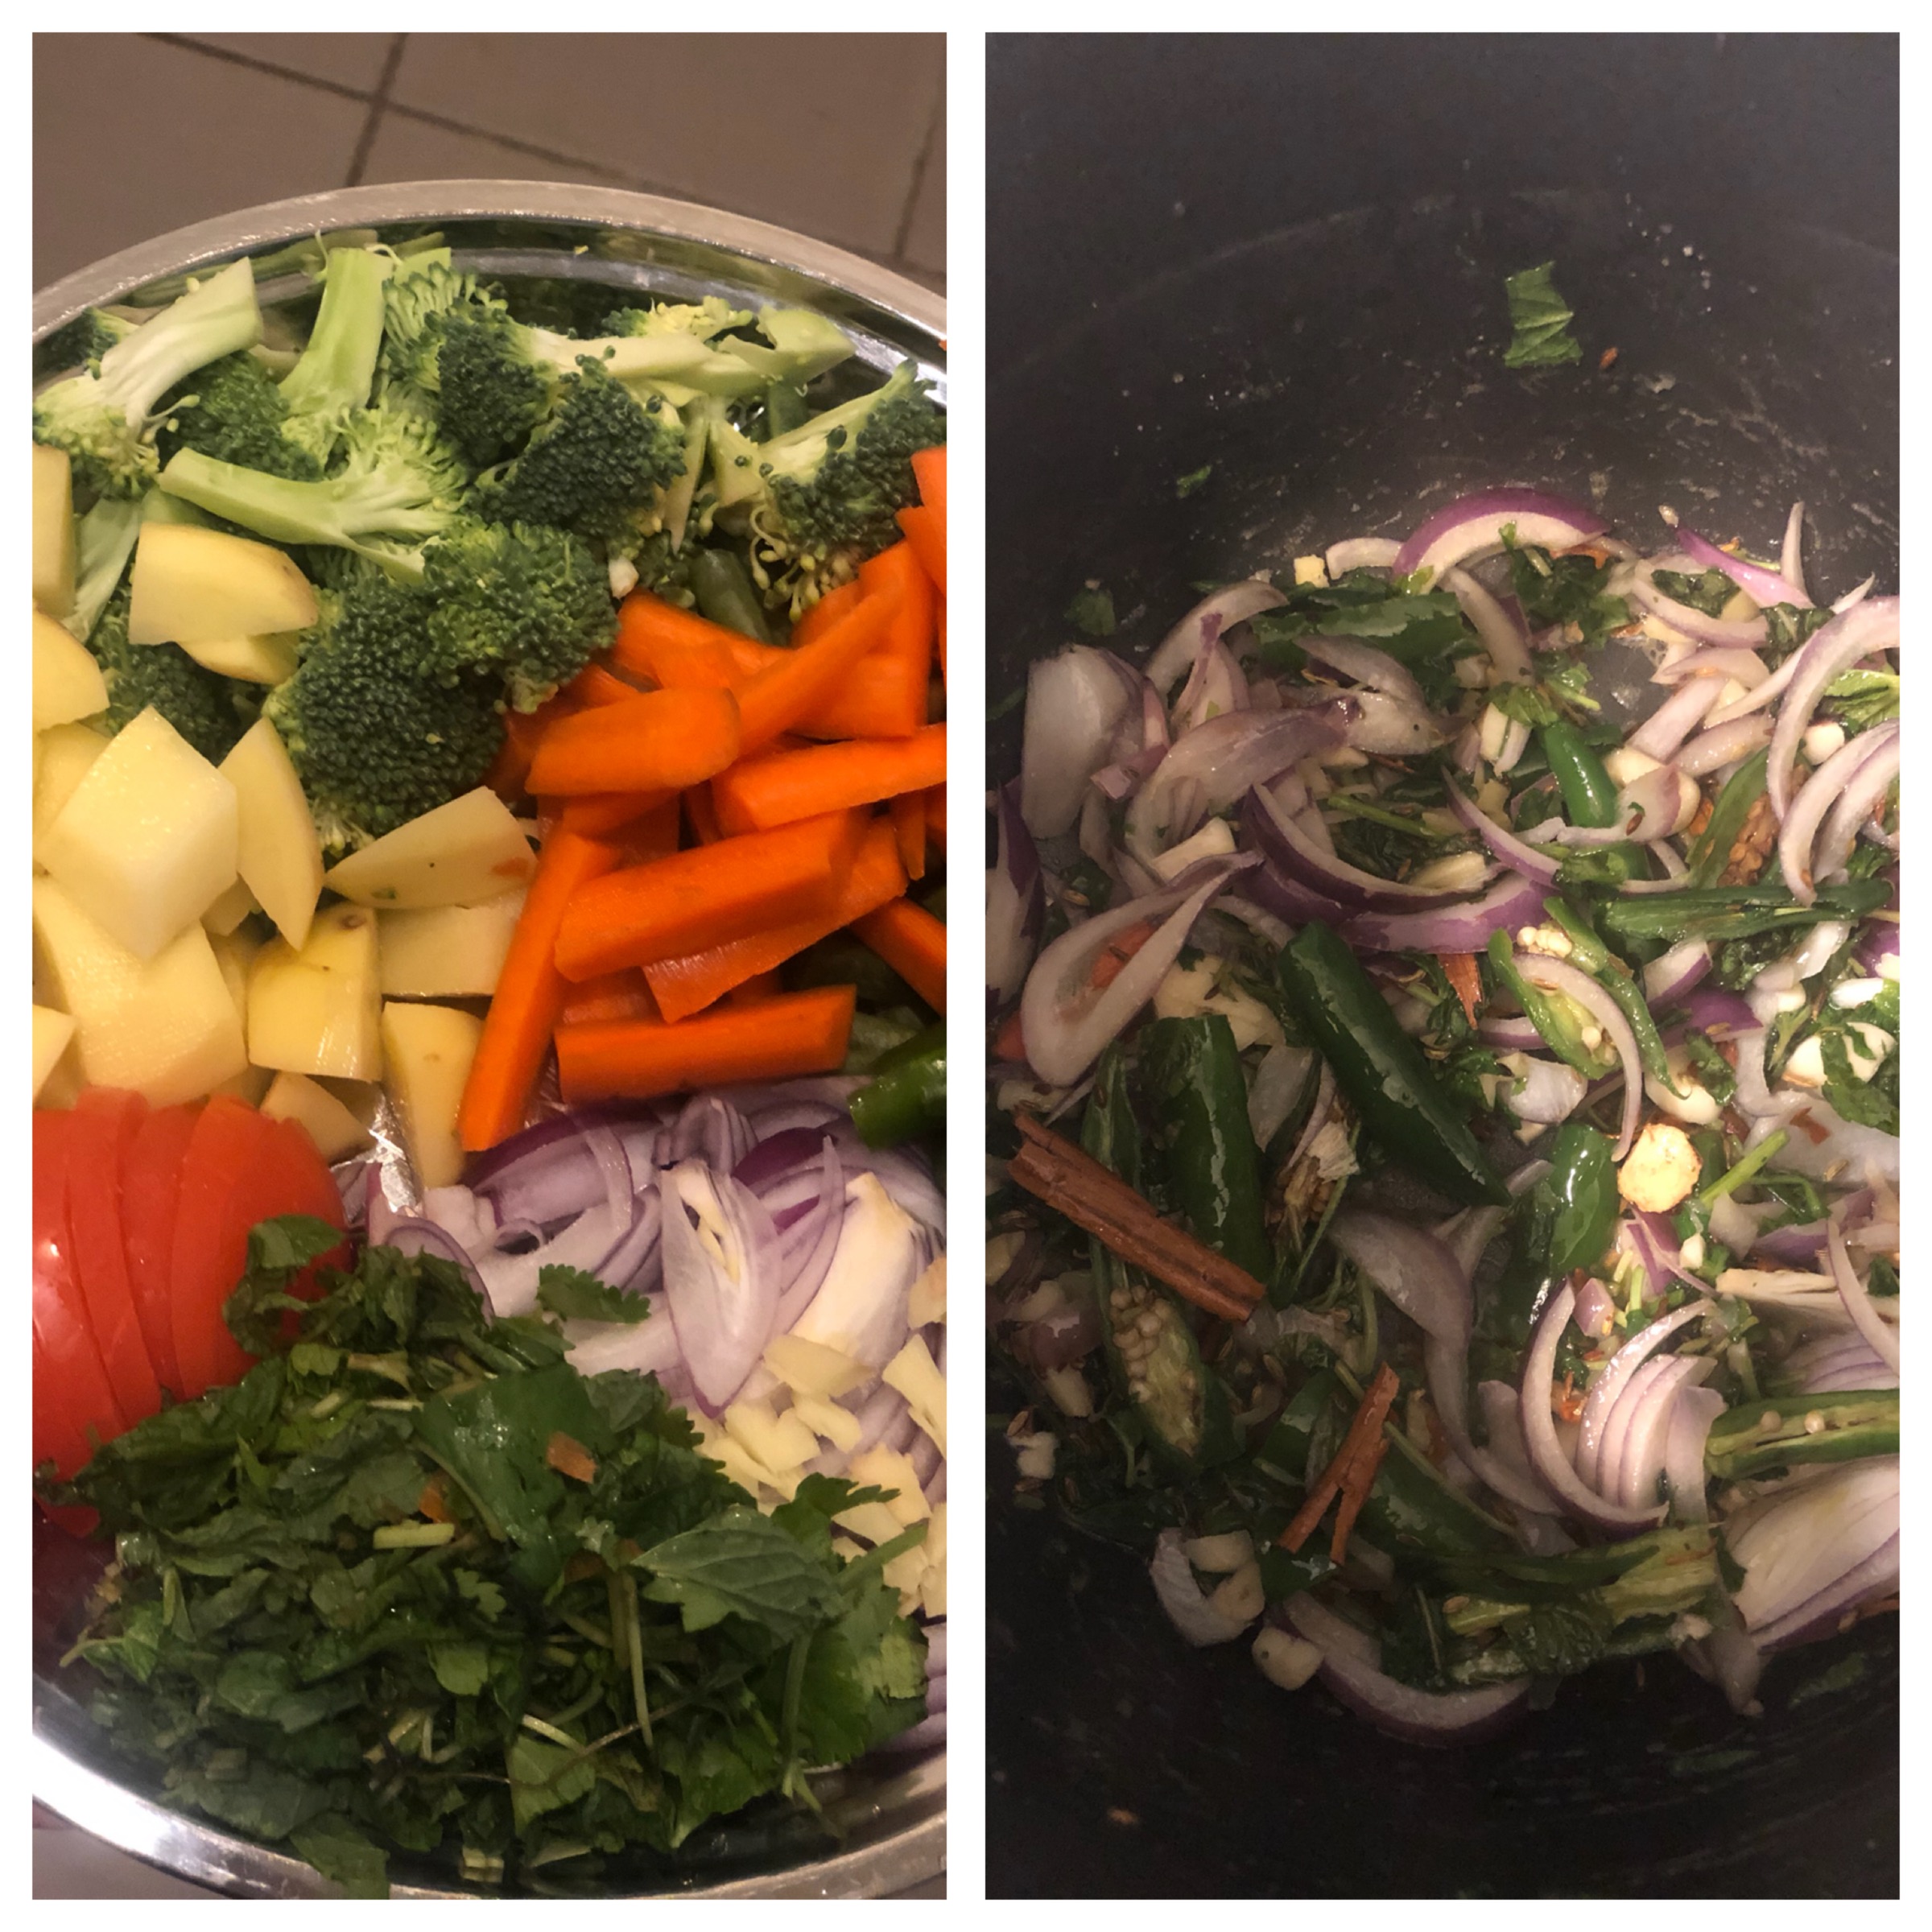
- • Oil – 2 tbsp
- • Bay leaf – ½
- • Cinnamon – 1 thin piece
- • Cloves – 3
- • Cardamom pods – 2
- • Onions – 1, big, sliced thinly
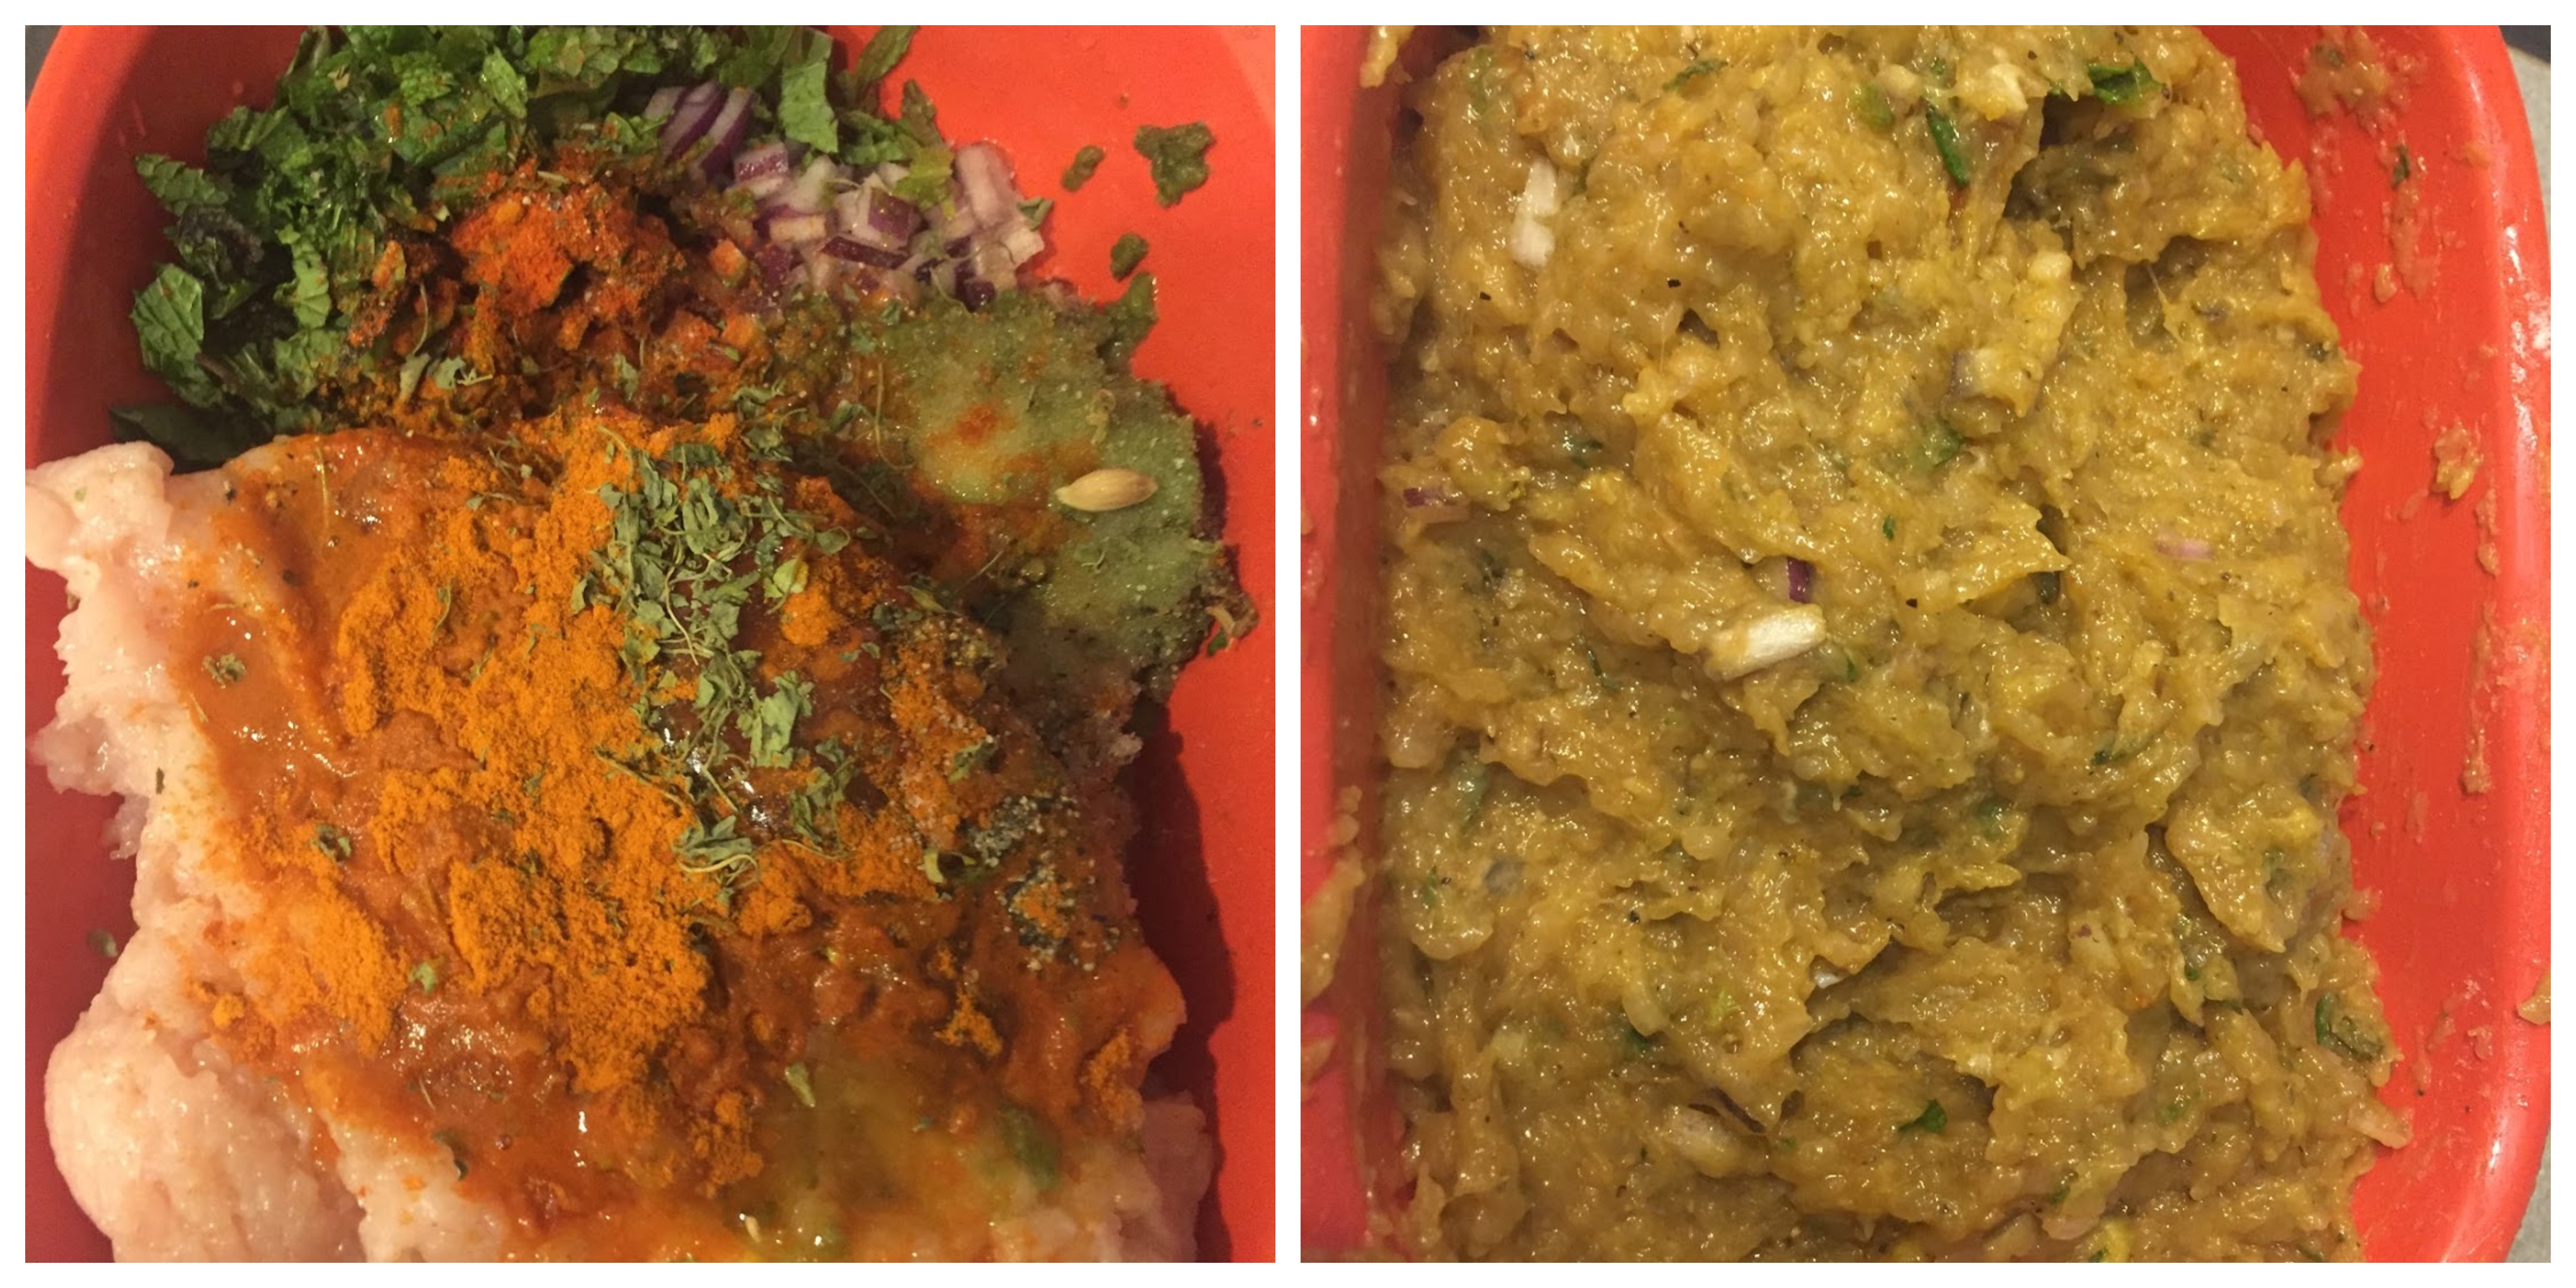
- • Mint – 1 cup, chopped finely
- • Coriander leaves – 1 cup, chopped finely
- • Garlic – 6, very finely chopped
- • Ginger – 2 inch, finely chopped
- • Green chilli – 8, slit
- • Tomato – ½, sliced
- • Turmeric powder – ¼ tsp
- • Biryani masala – 1 tsp
- • Red Chilli powder –1 tbsp
- • Fresh beans – ½ cup, Chopped 1 inch thin
- • Carrot – 1 cup, chopped 1 inch thin
- • Broccoli – 8 florets
- • Potato – 2, chopped as cubes
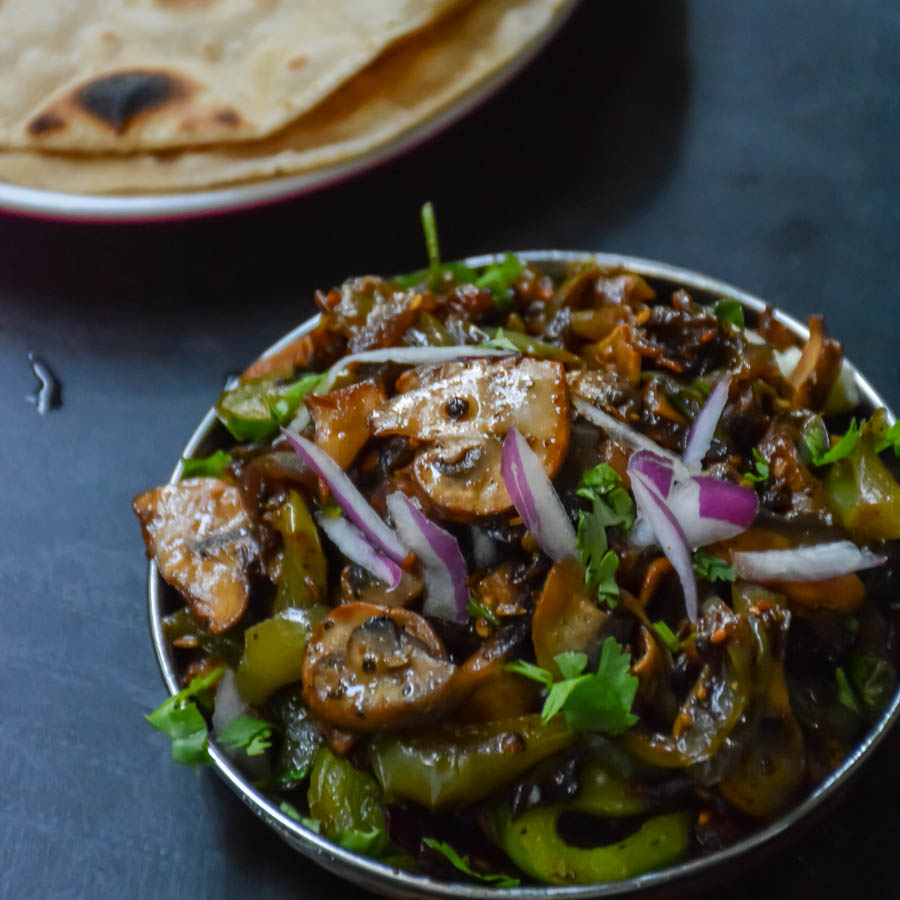
- To garnish:
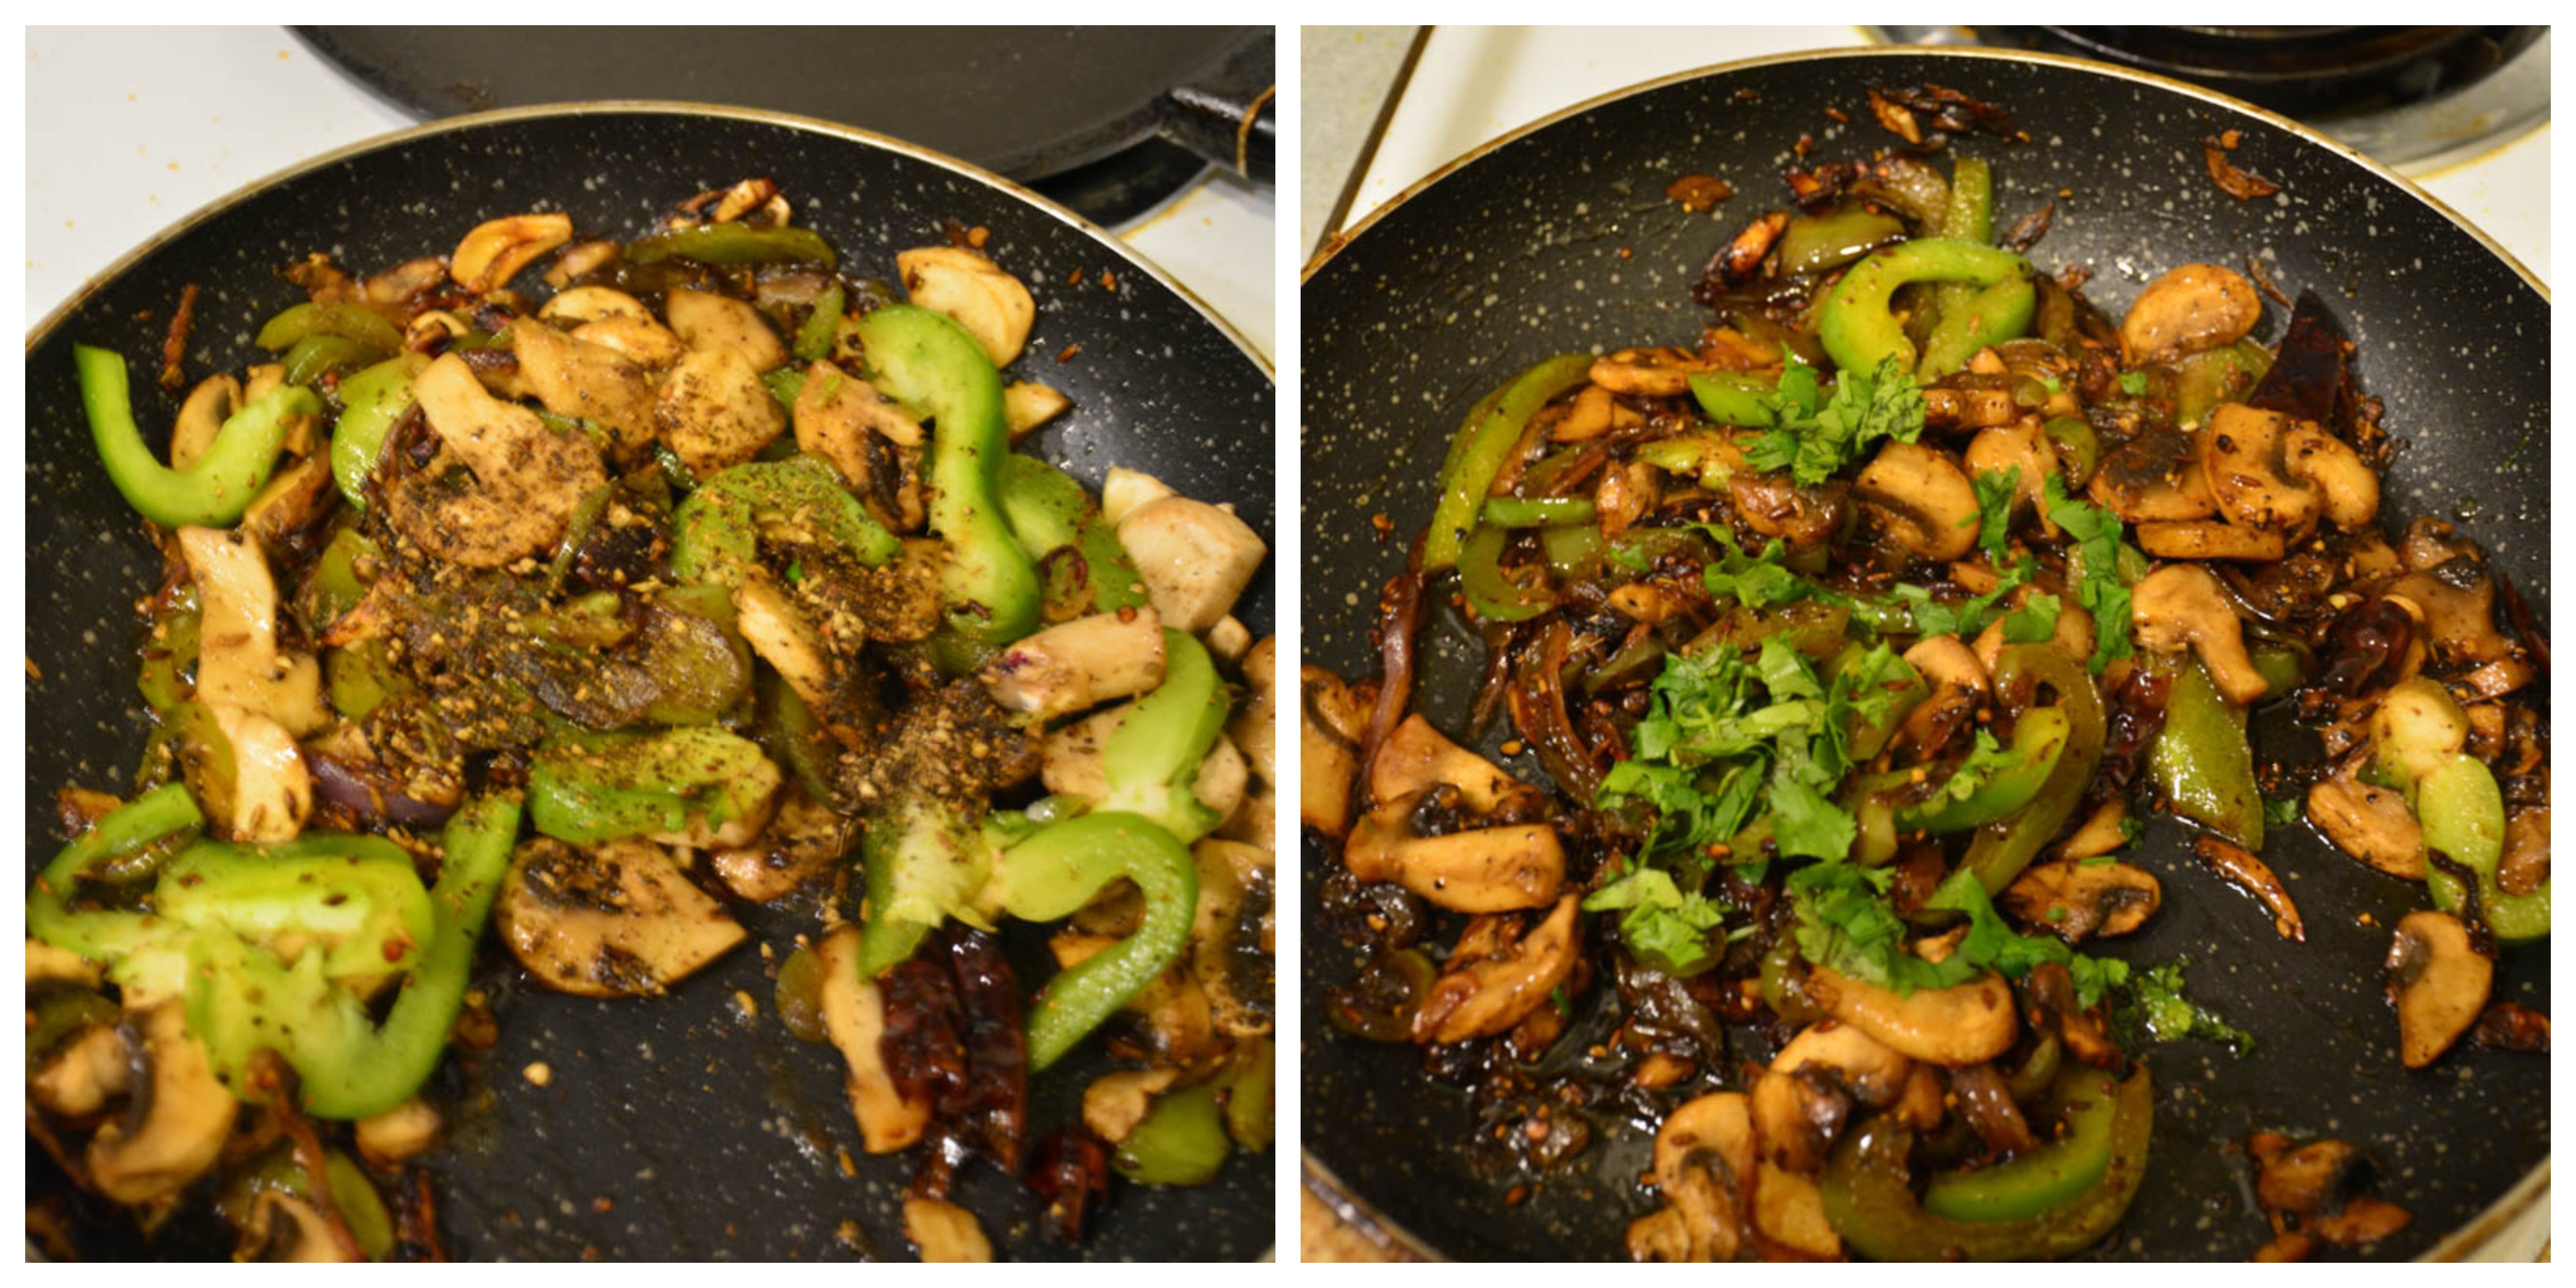
- • Coriander leaves – 1 tbsp, chopped
- • Lemon juice – 1 tbsp
- Wash the rice and soak in water for ten minutes.
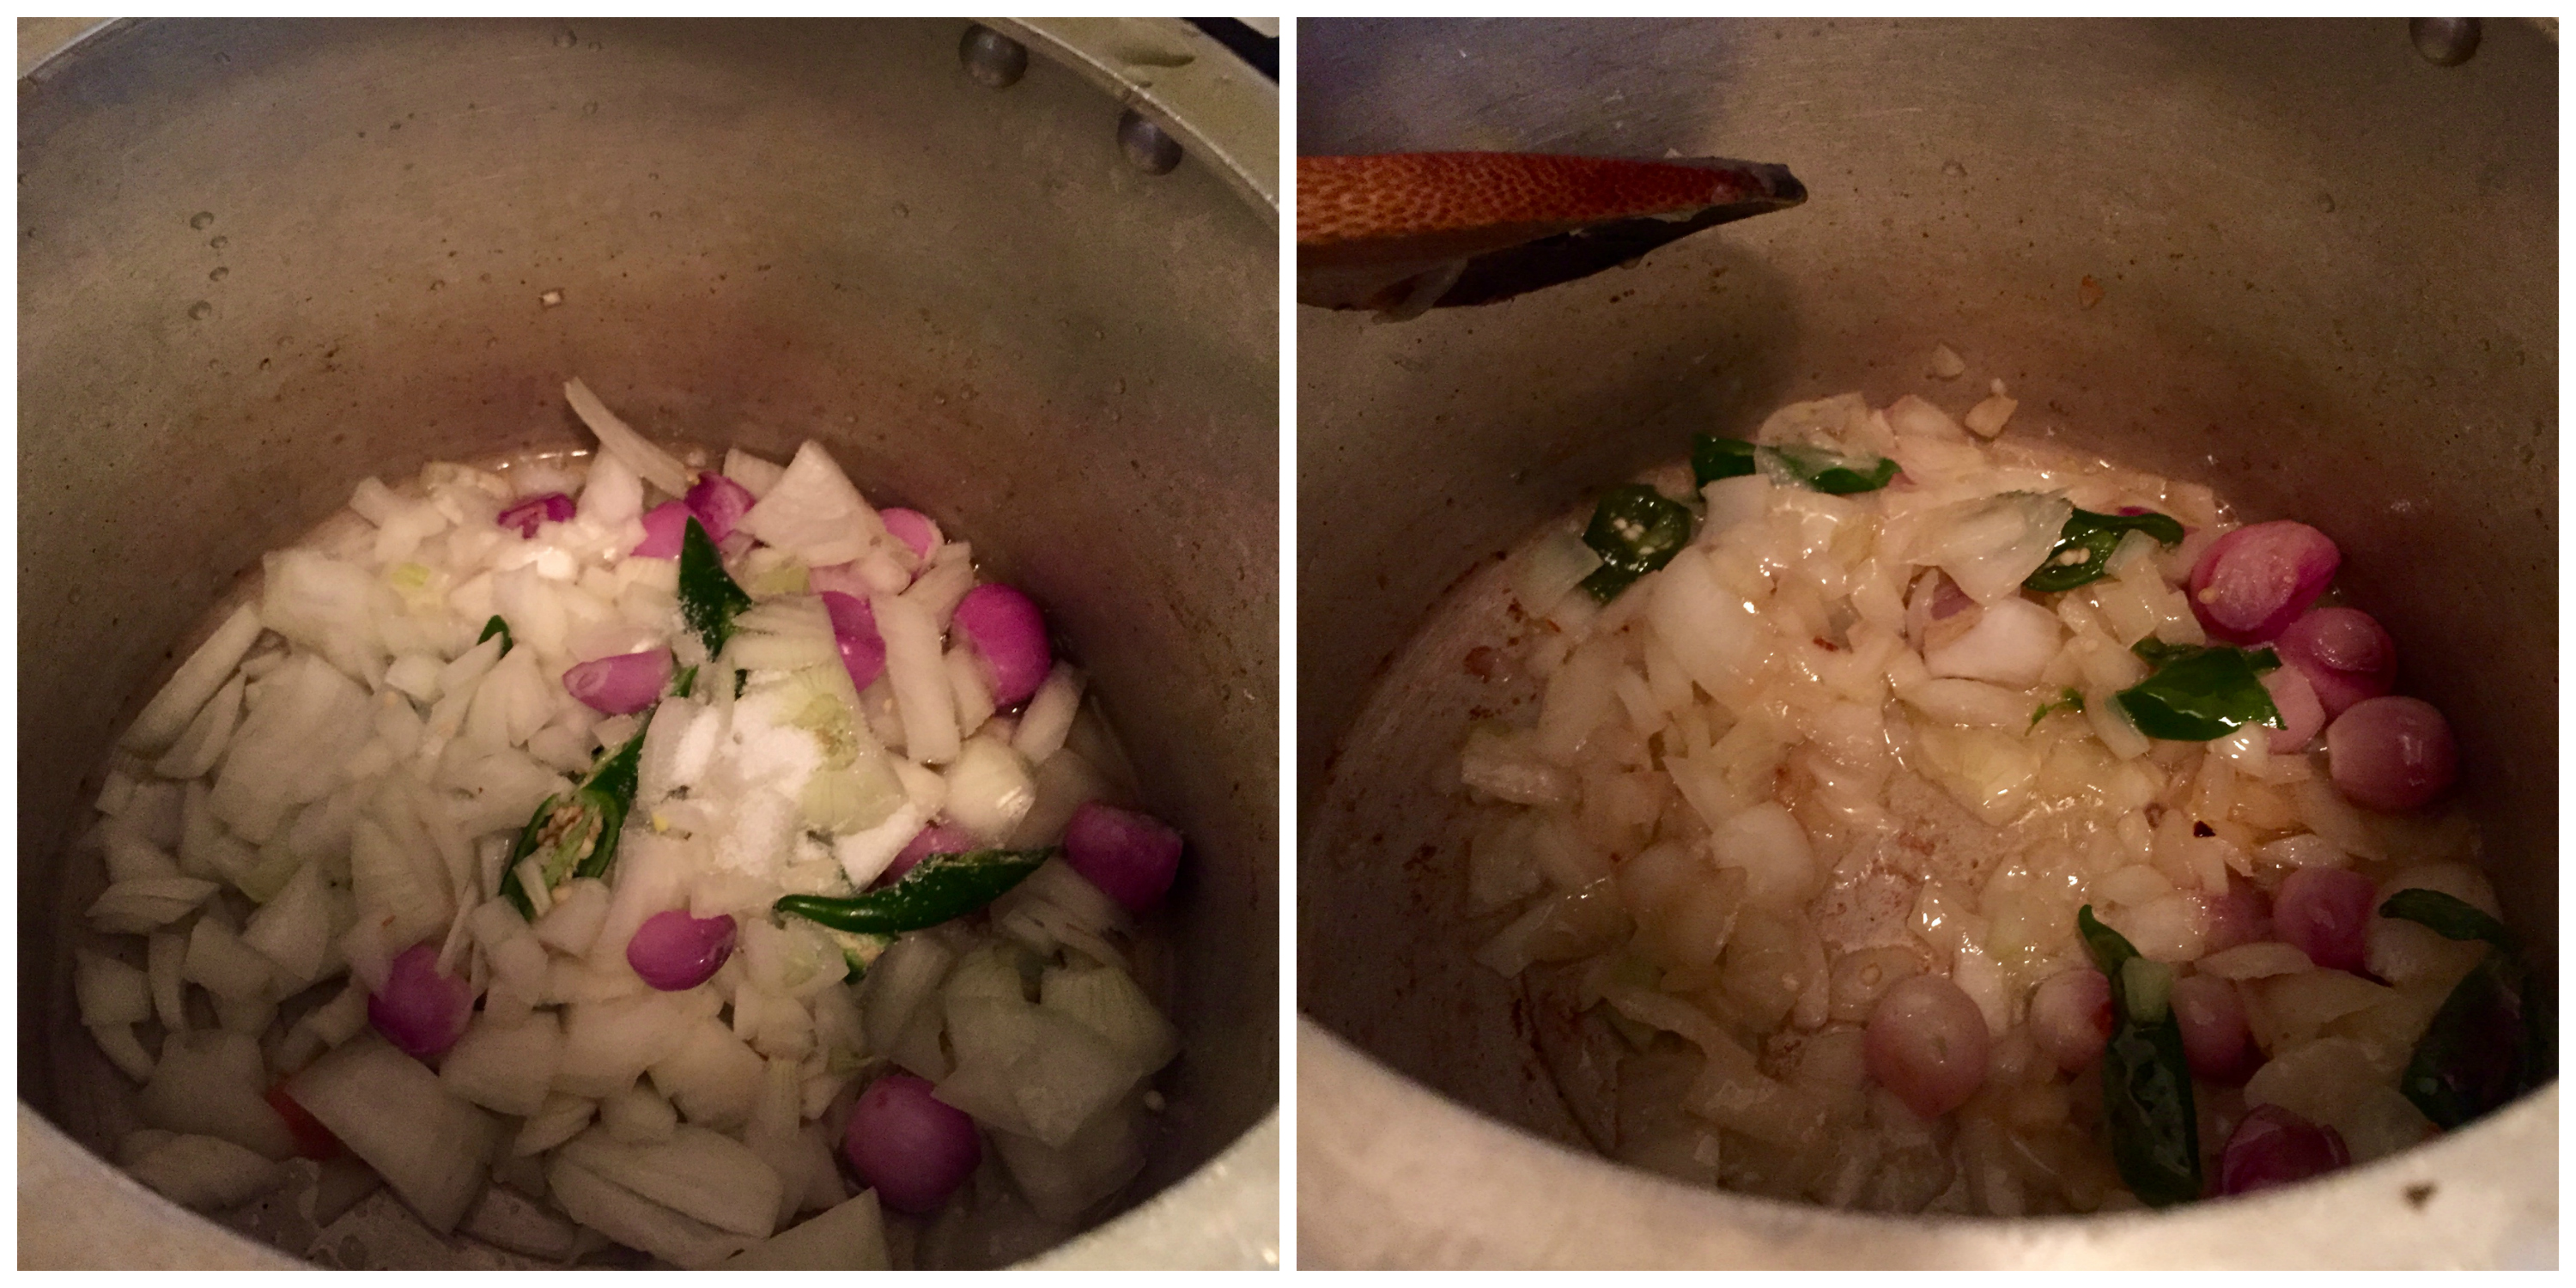
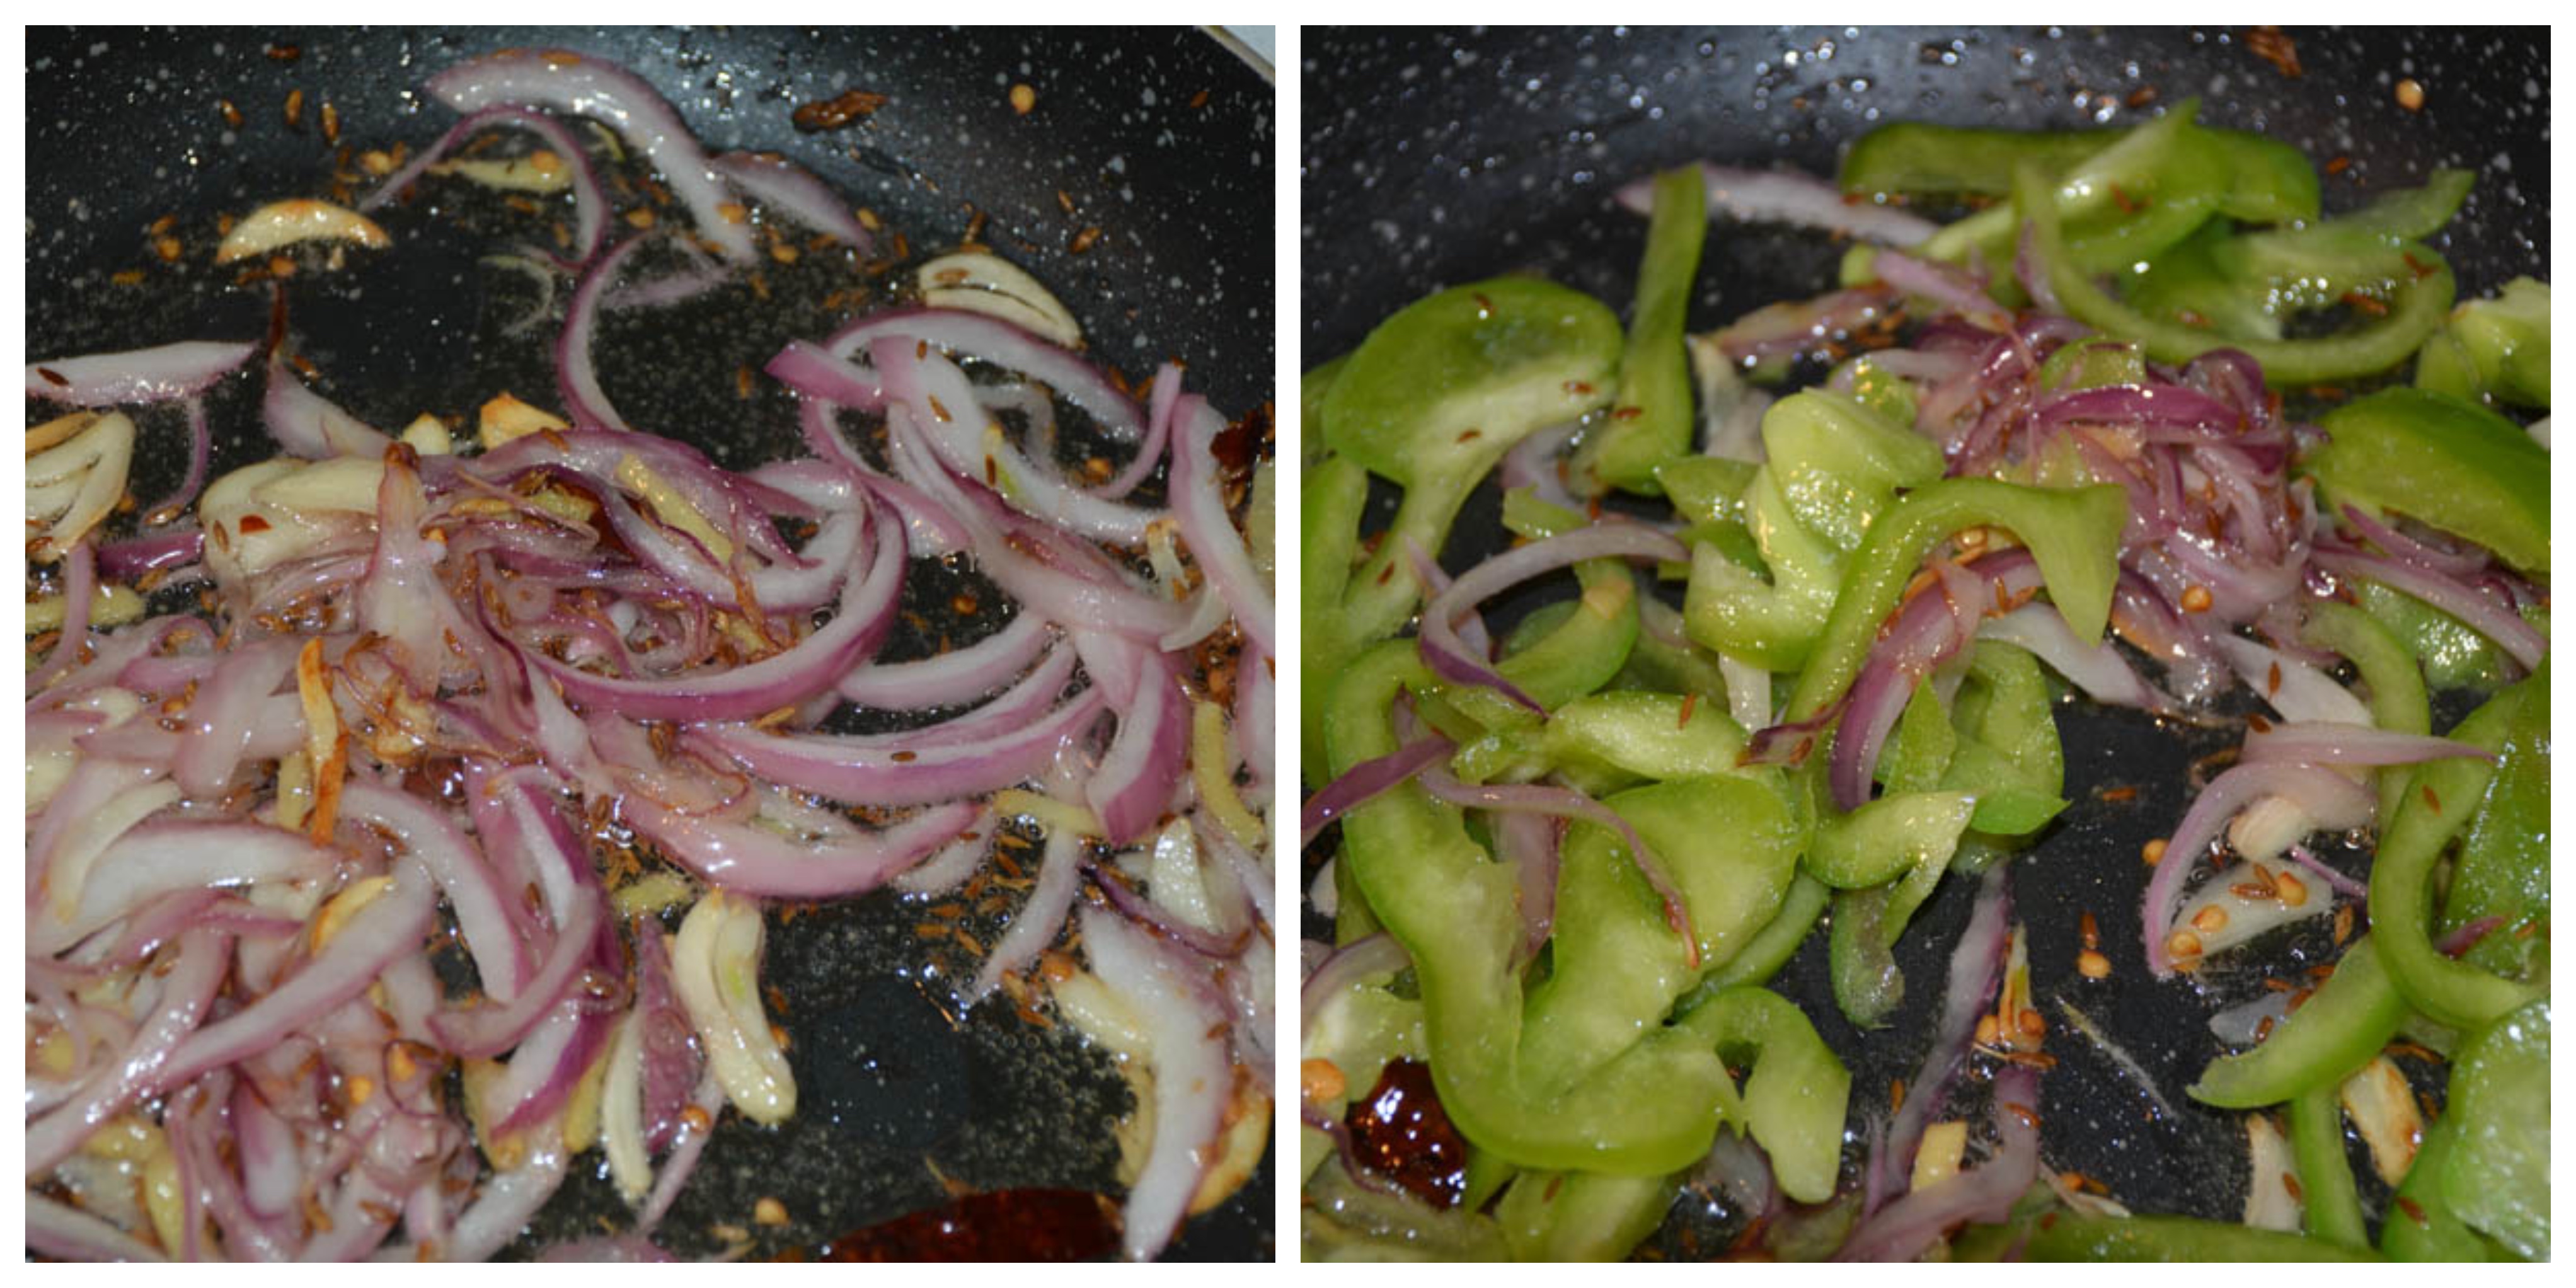
- Meanwhile, take a big wide pan, add oil in medium heat, and add the spices like Bay leaf, Cinnamon, Cloves, Cardamom pods, and sauté for a minute. Add the cumin seeds, then the onions, mint, coriander leaves, ginger, garlic, green chilles and fry for two minutes with a bit of salt.
- When onions are sautéing in the pan, Take another pan with water, salt and boil it. When it is boiling (which takes around 2 minutes, add the rice, cardamom, cumin seeds). Let it boil for 6-7 minutes exact or when the rice is 80% done.
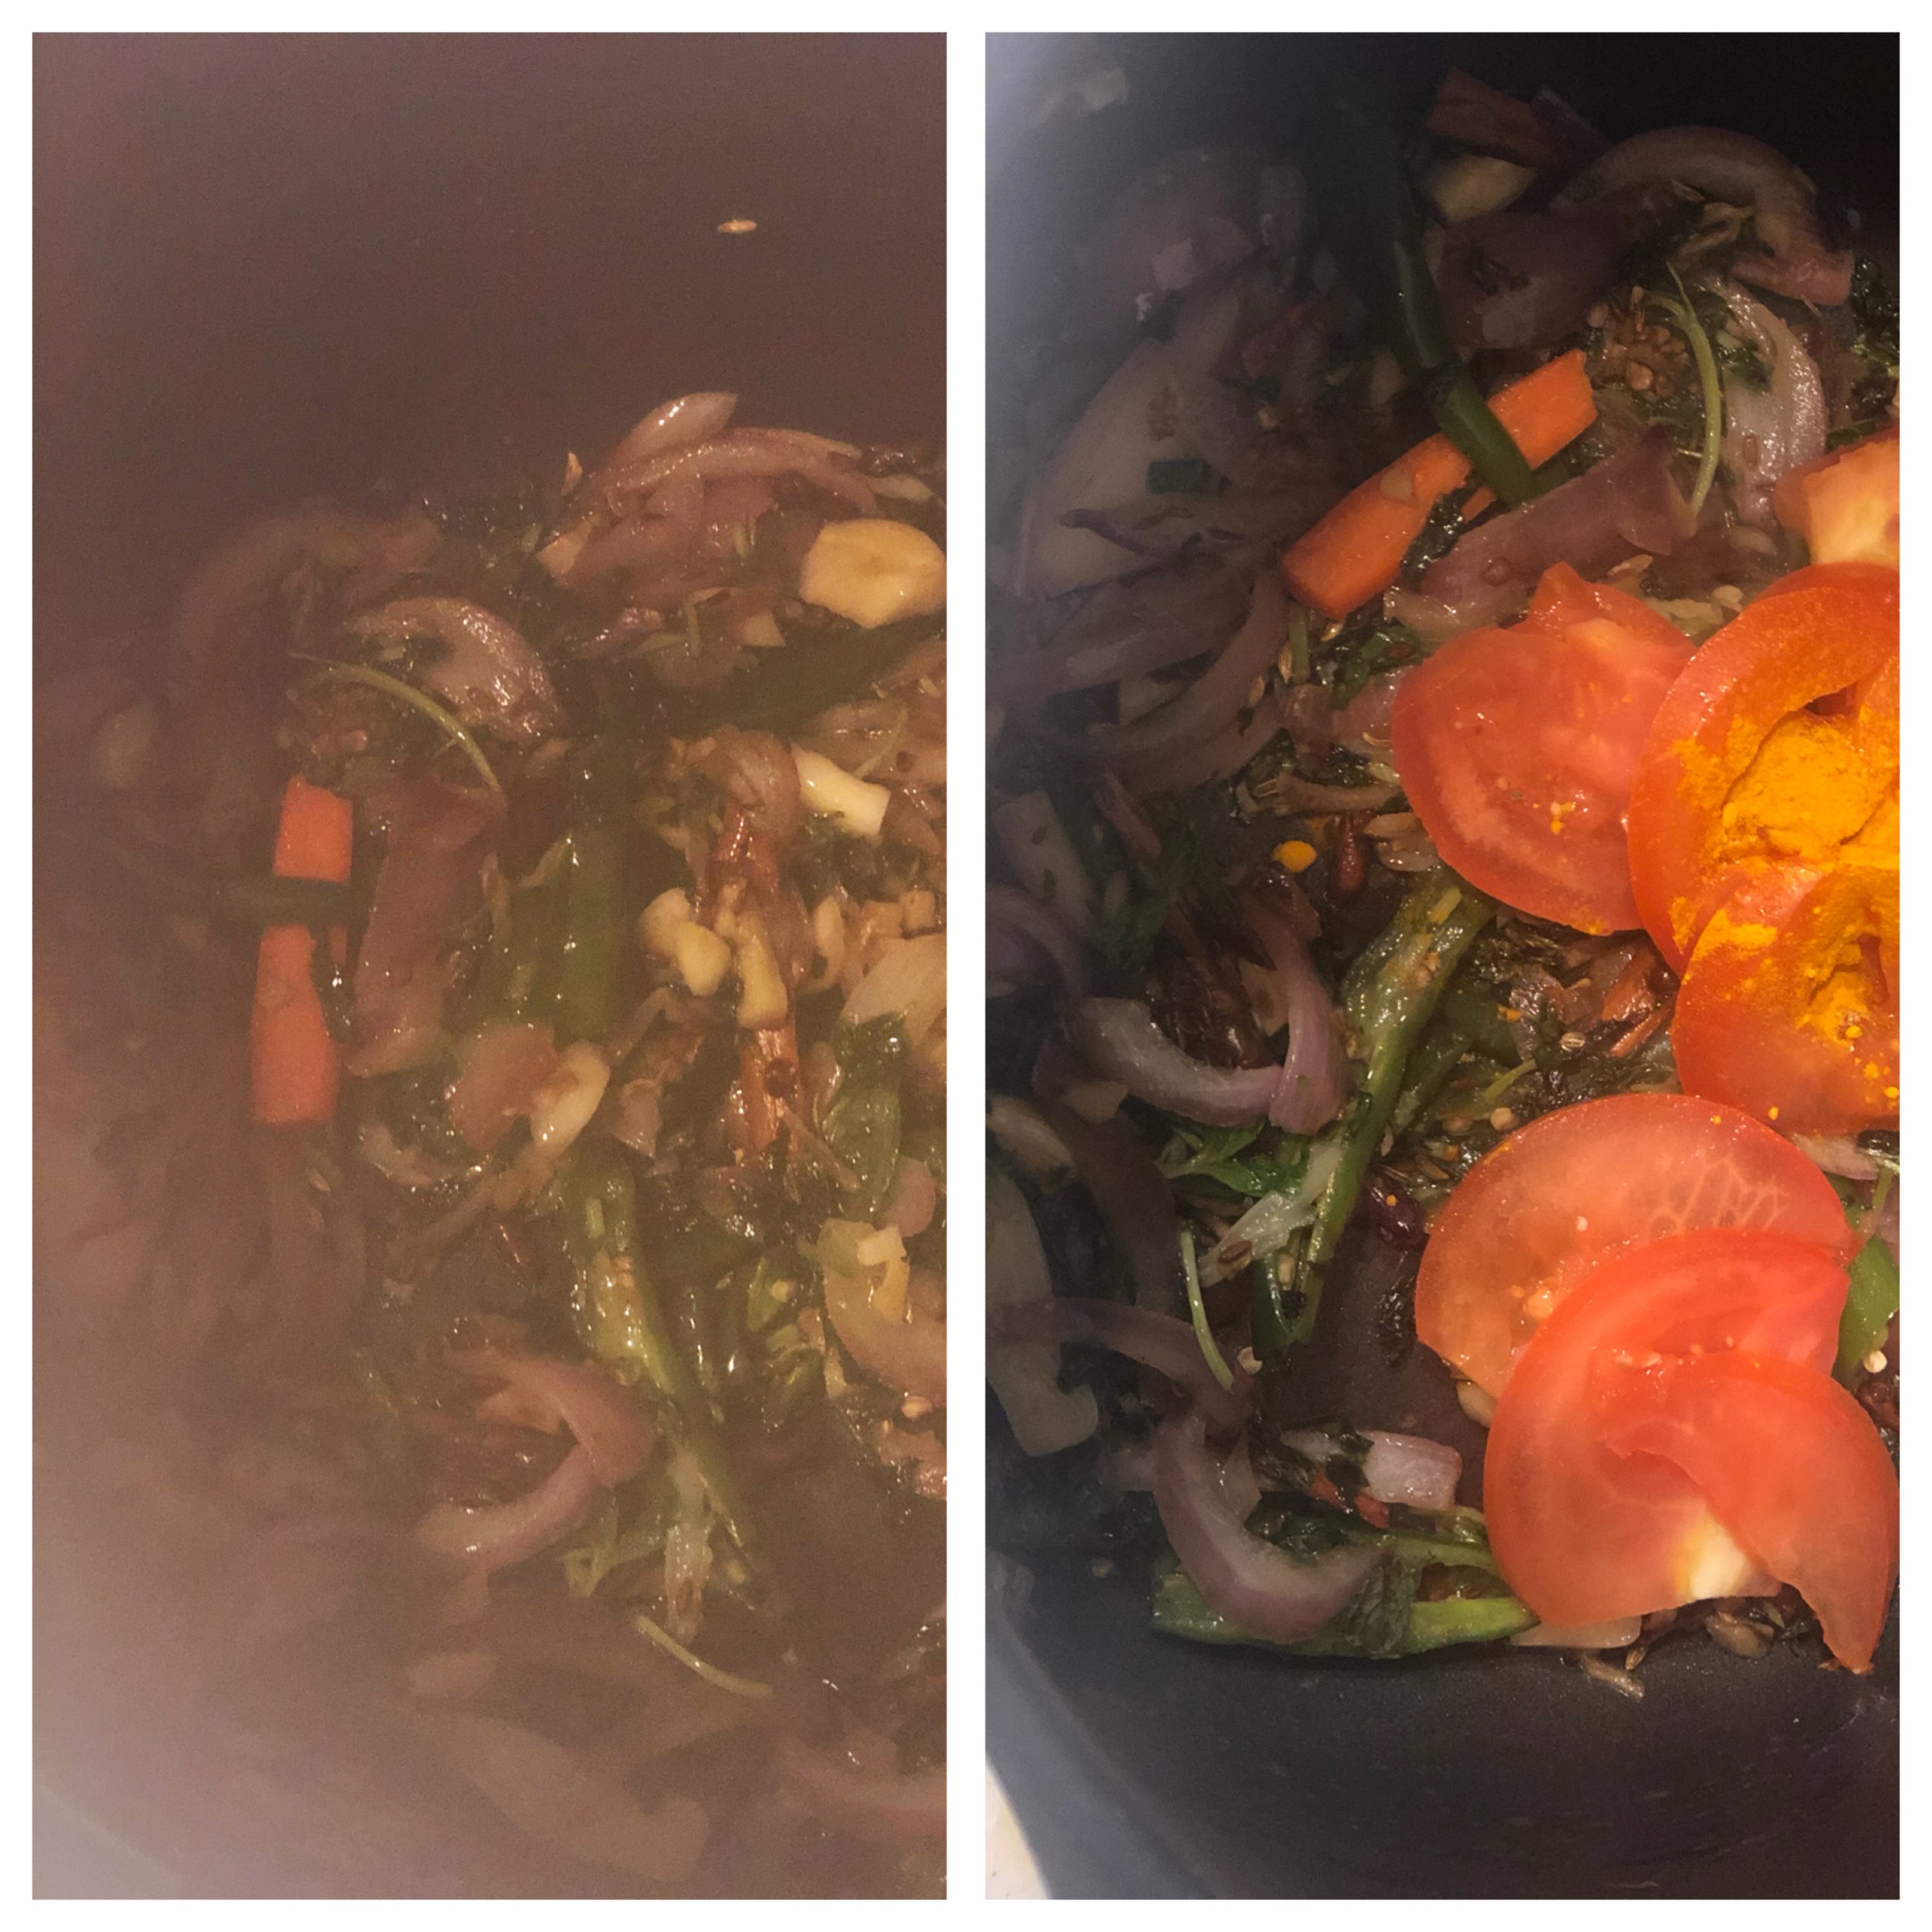
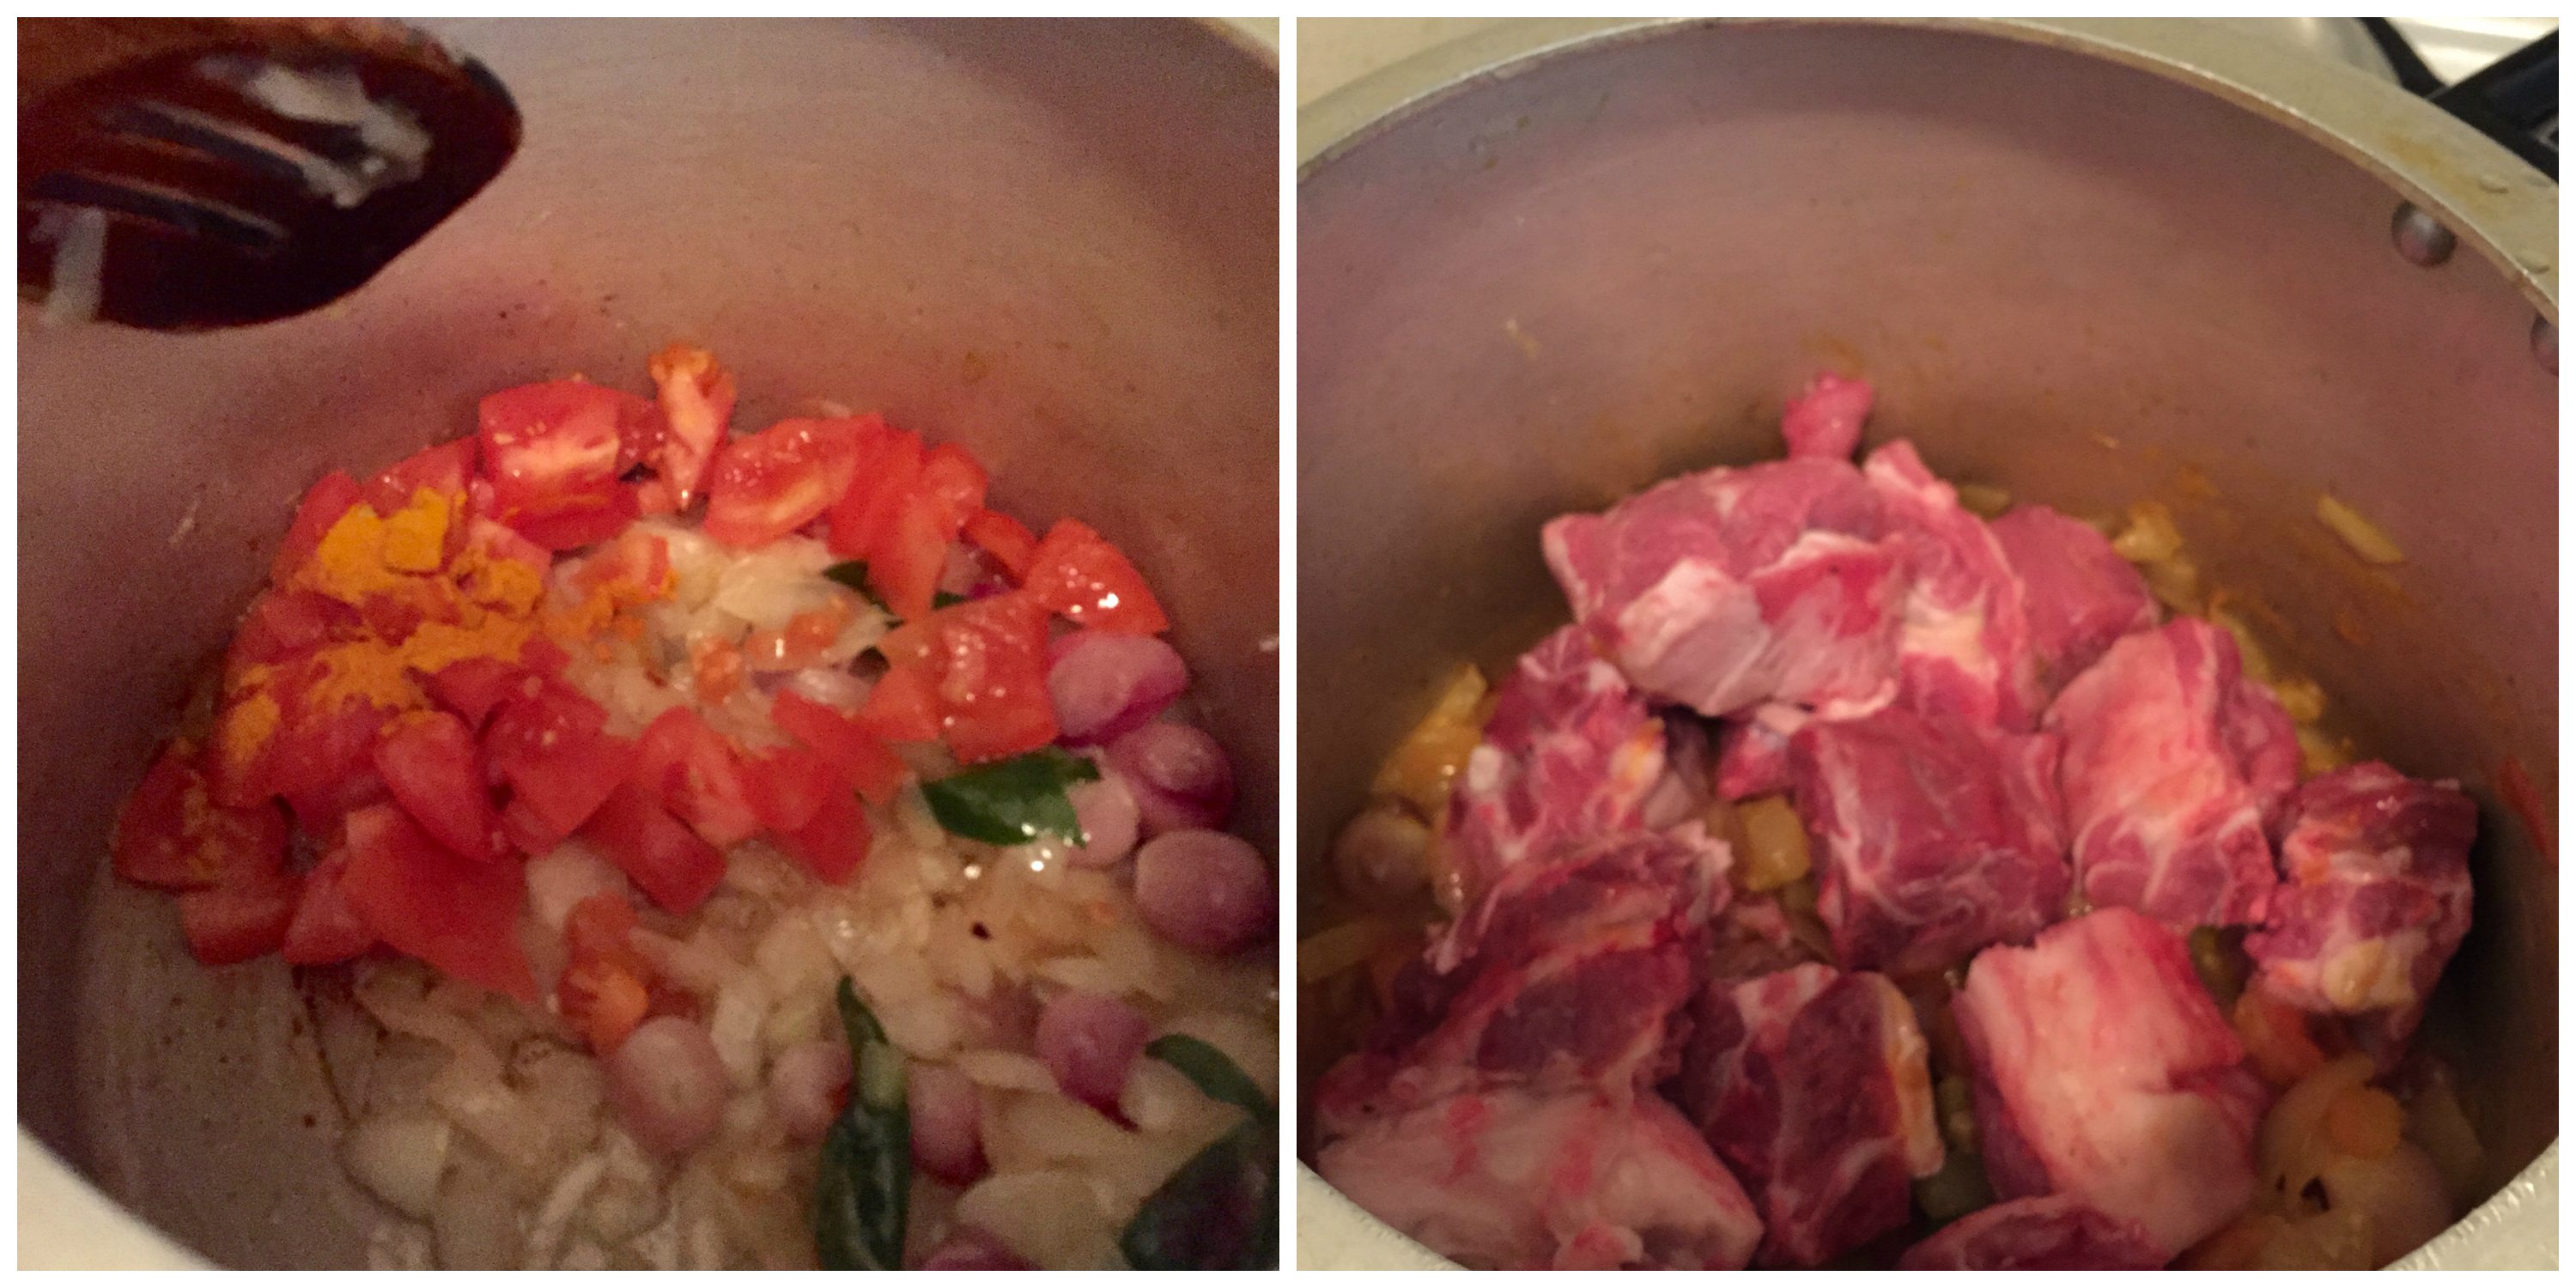
- Meanwhile on the biryani pan, when onions are well sautéed, add tomatoes and turmeric powder. Sauté for a minute.
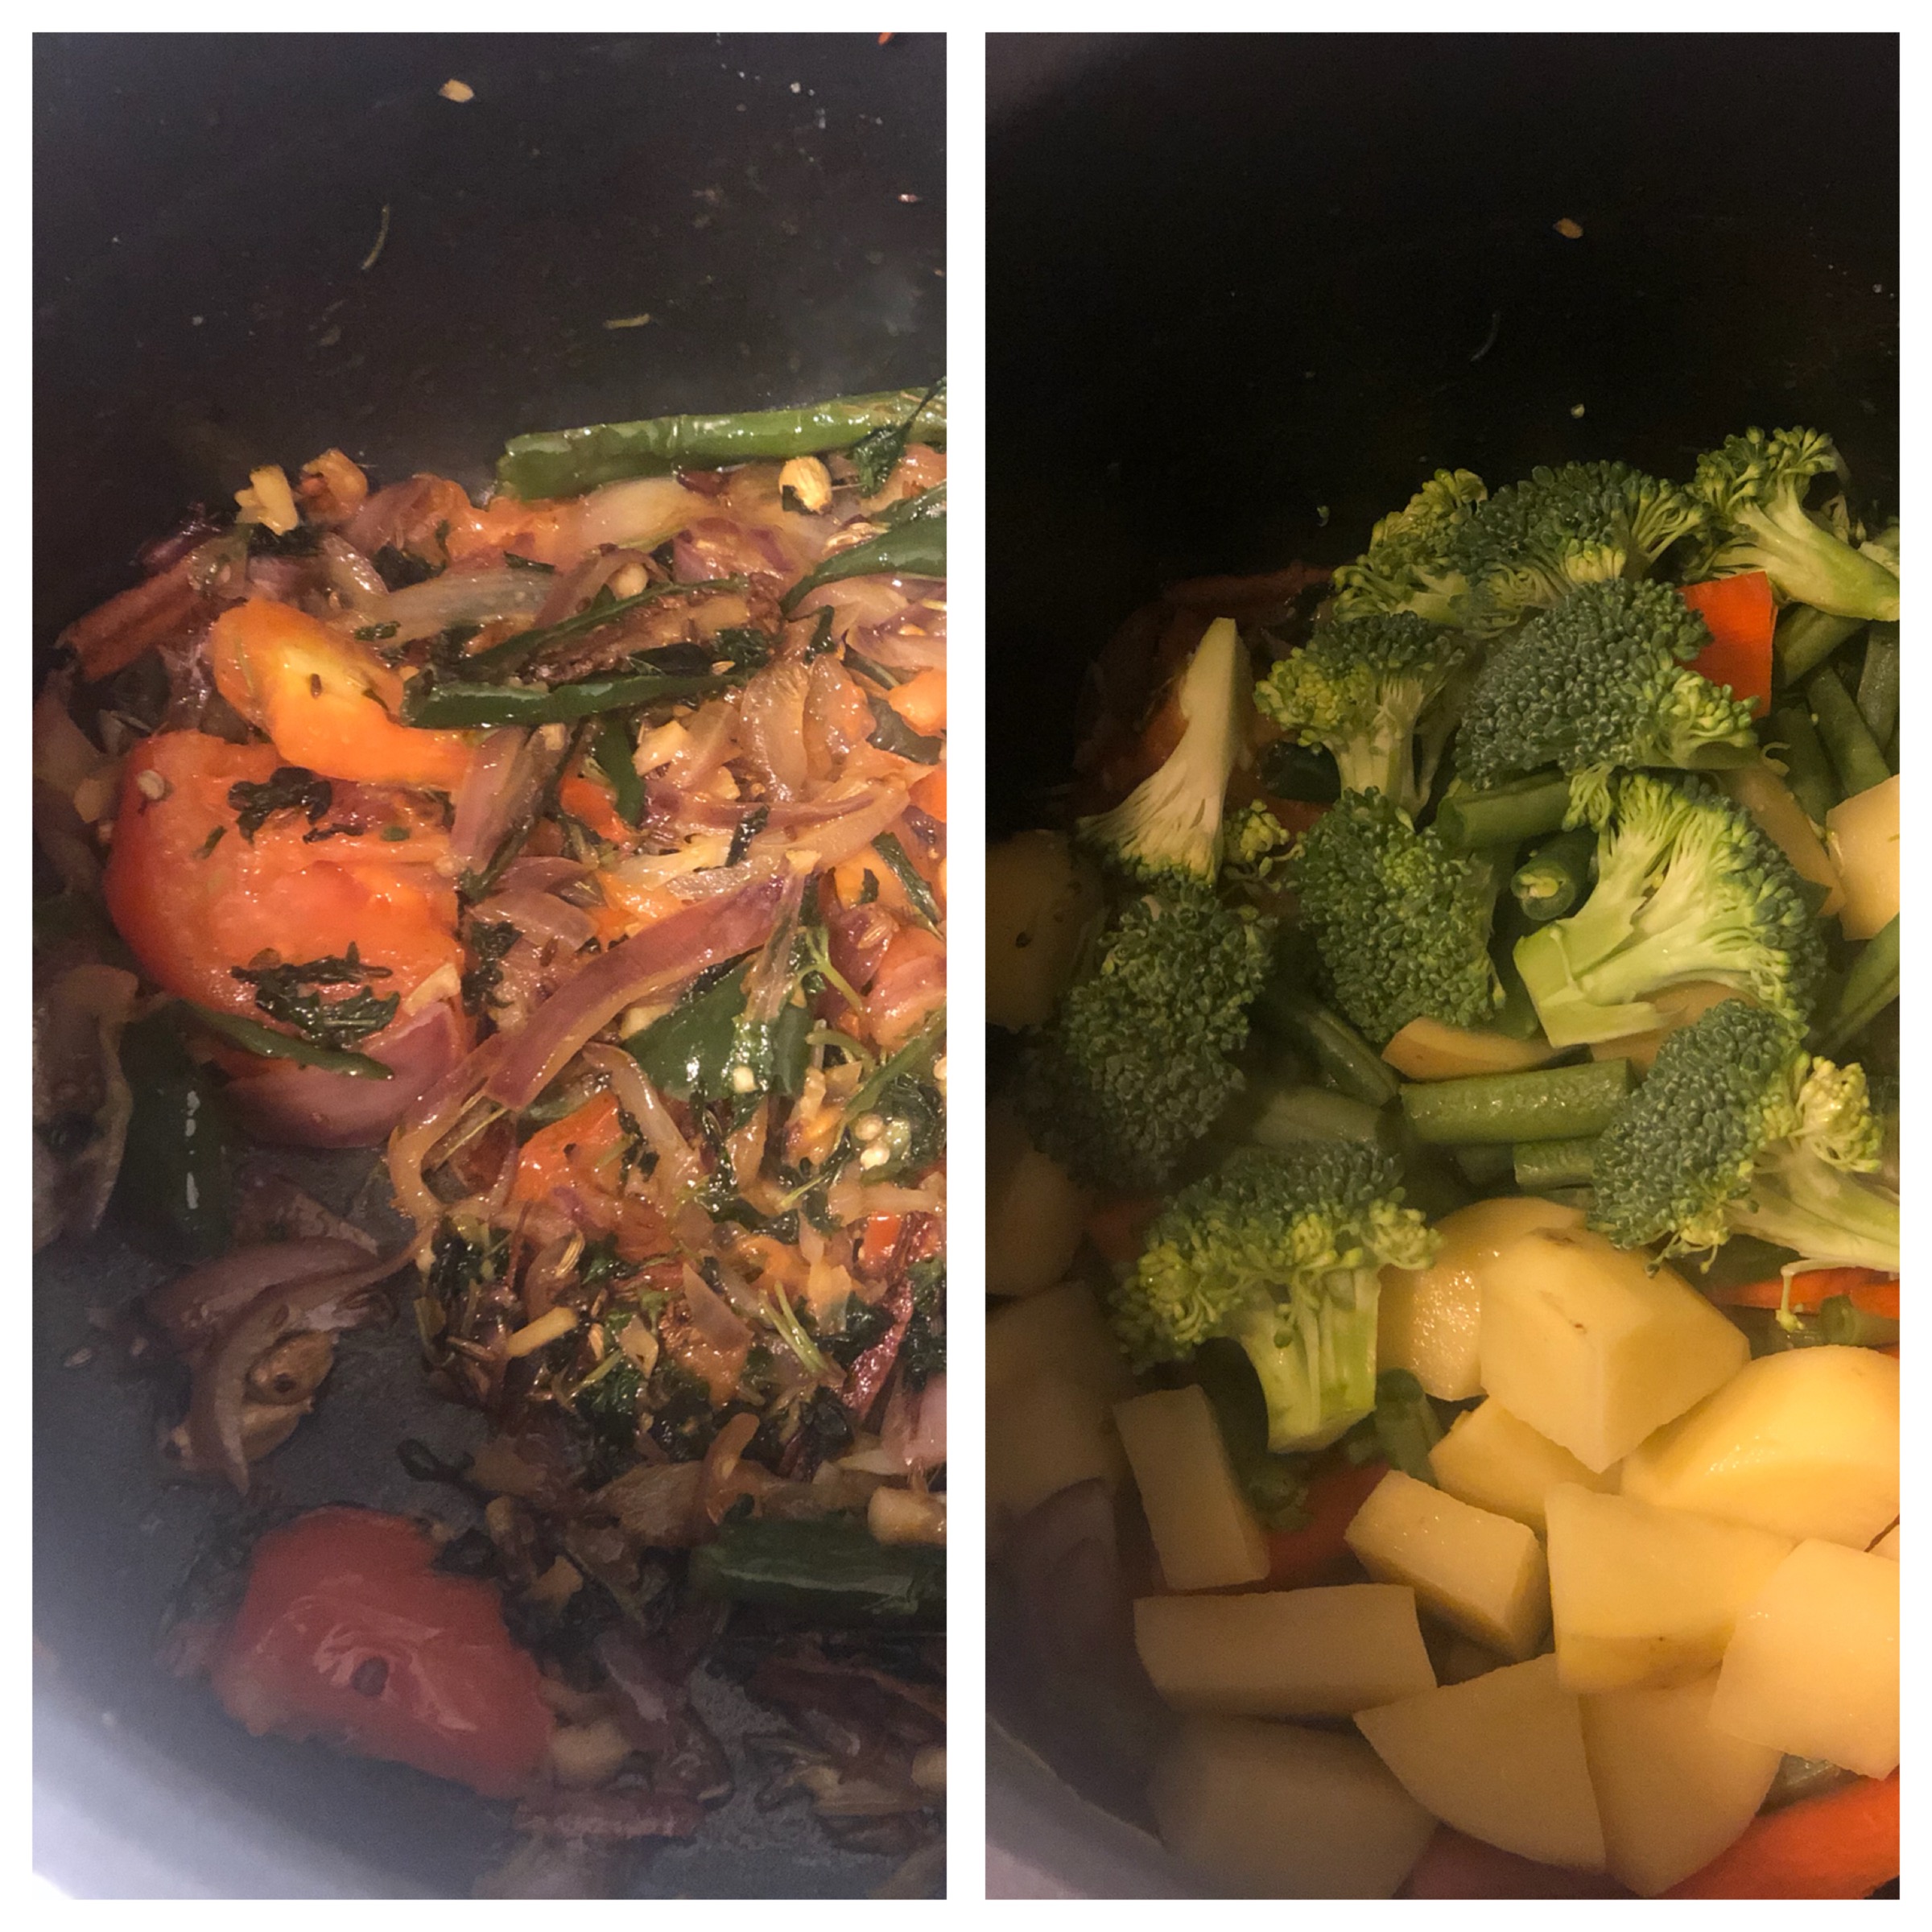
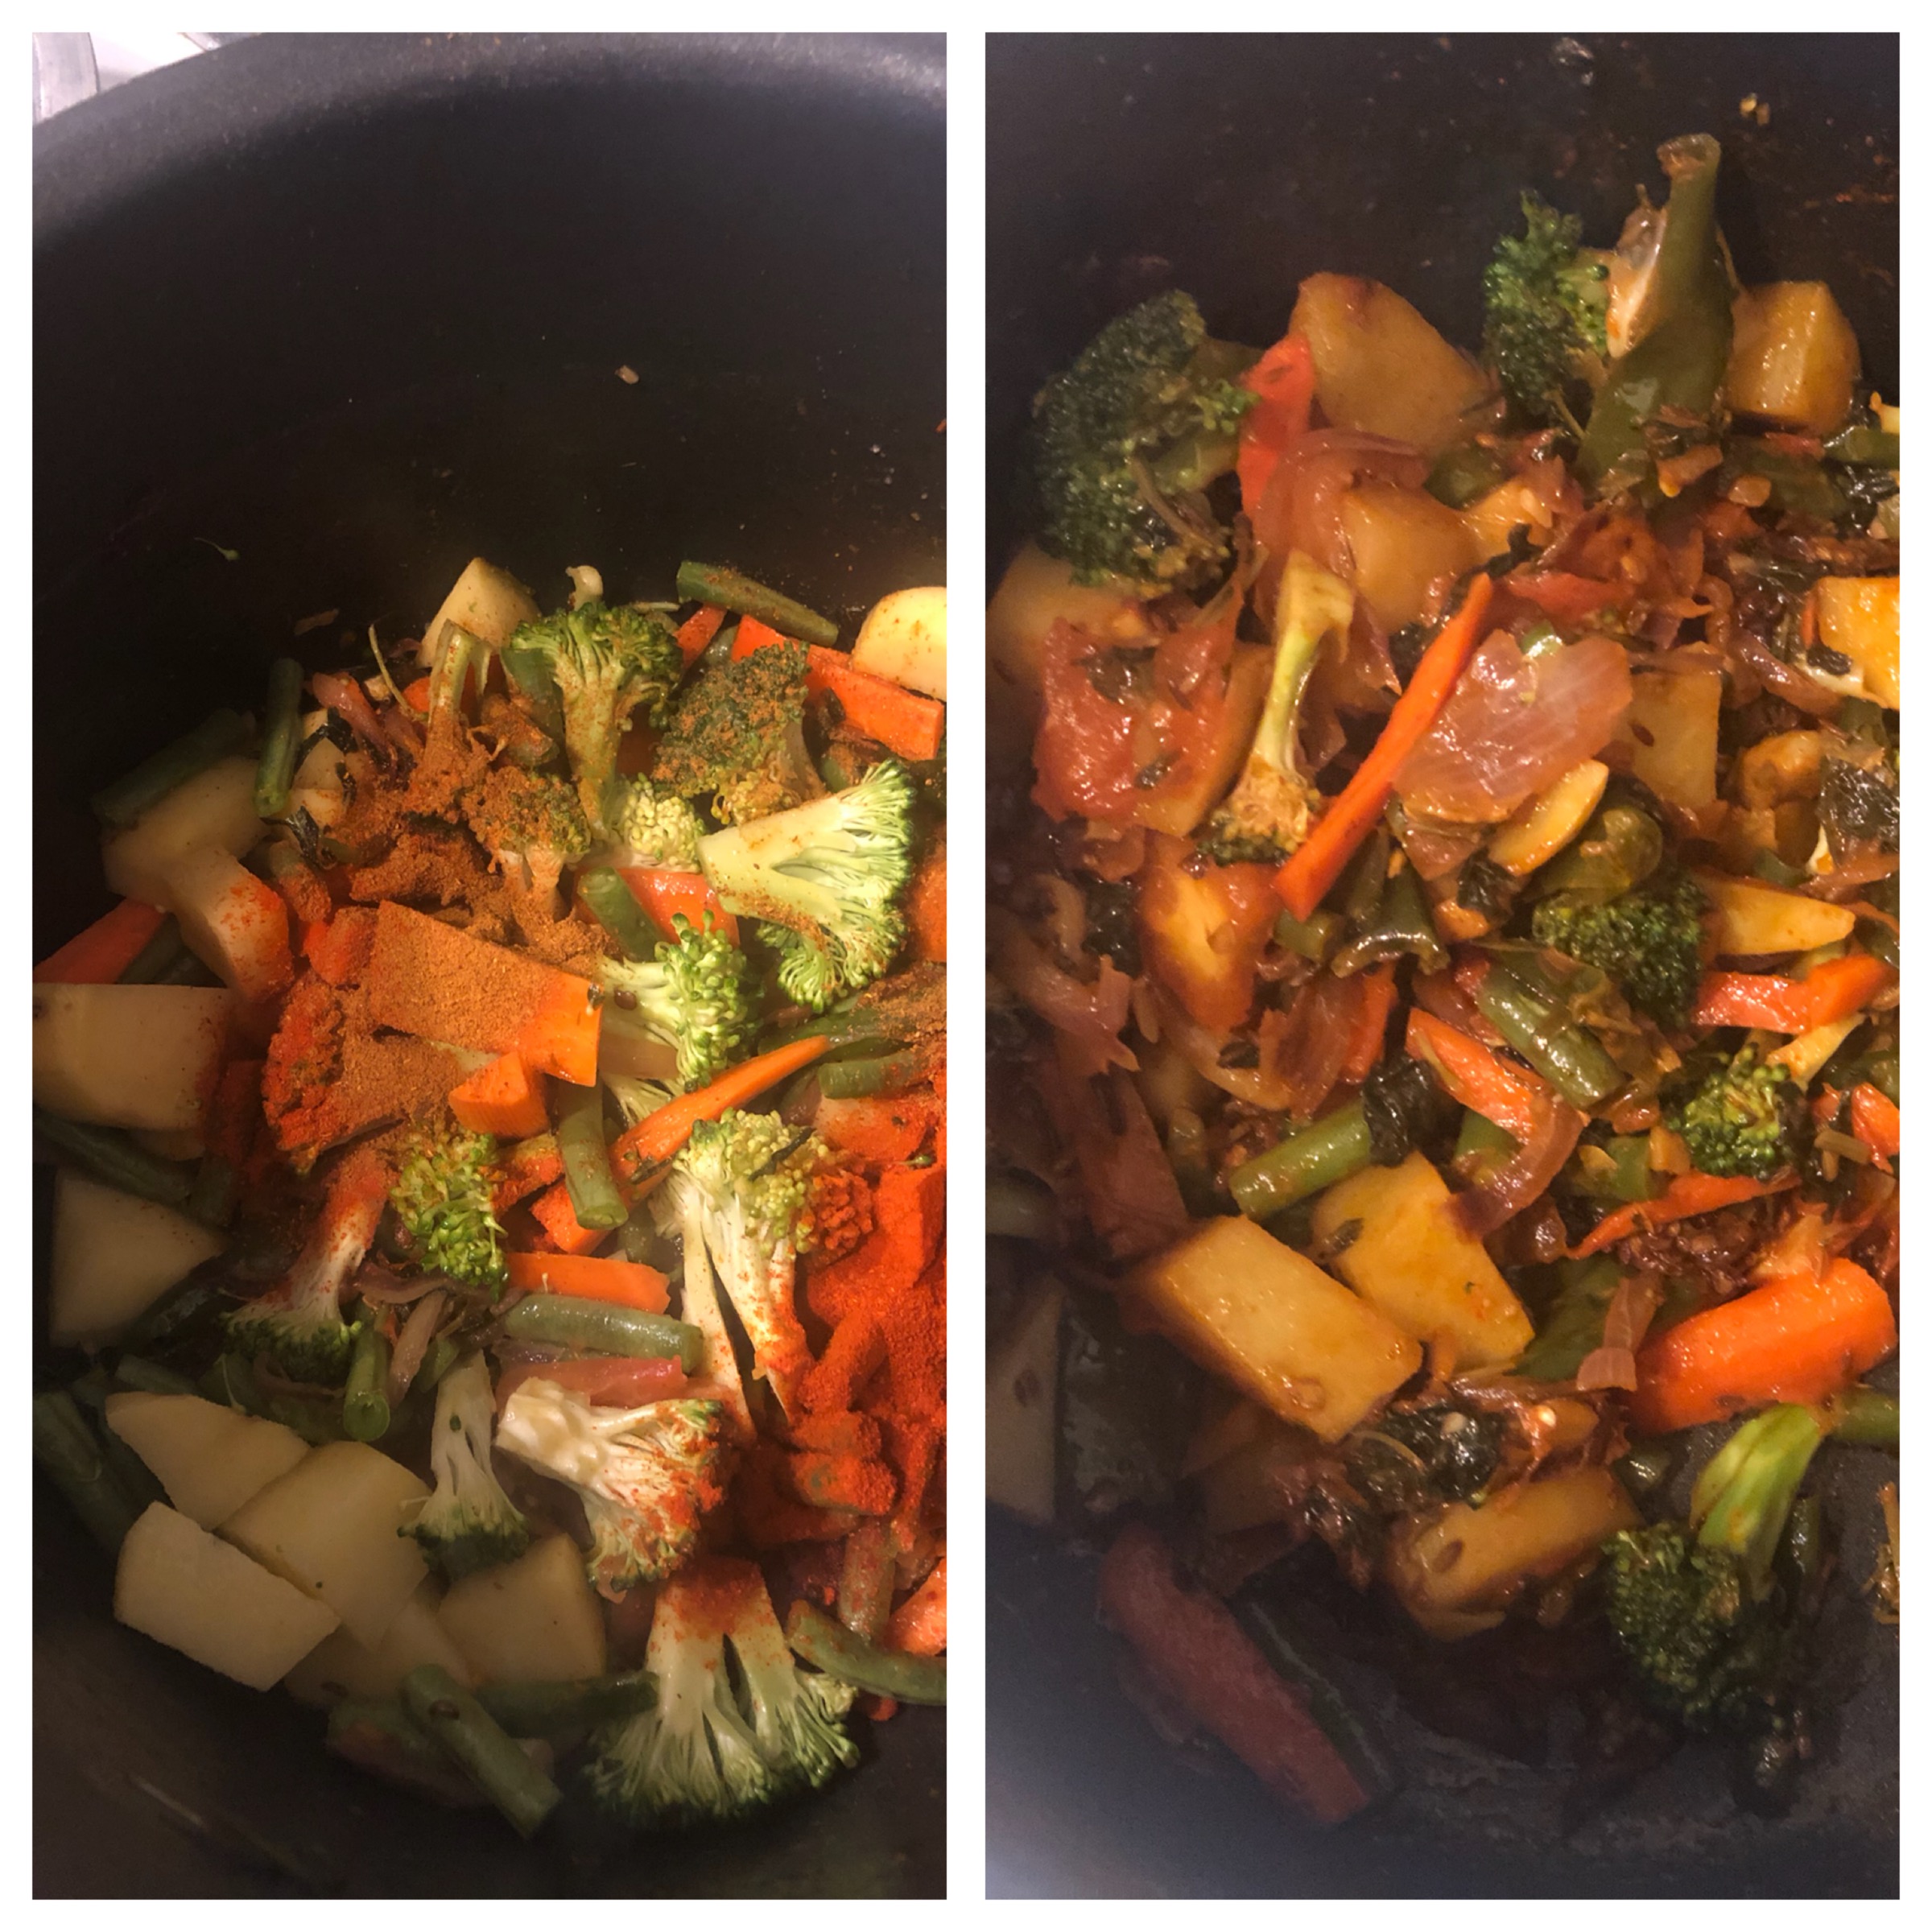
- Then to it, add the vegetable, red chilli powder, biryani powder, salt and sauté them well for 4-5 minutes.
- The vegetables would have been slightly cooked by now.
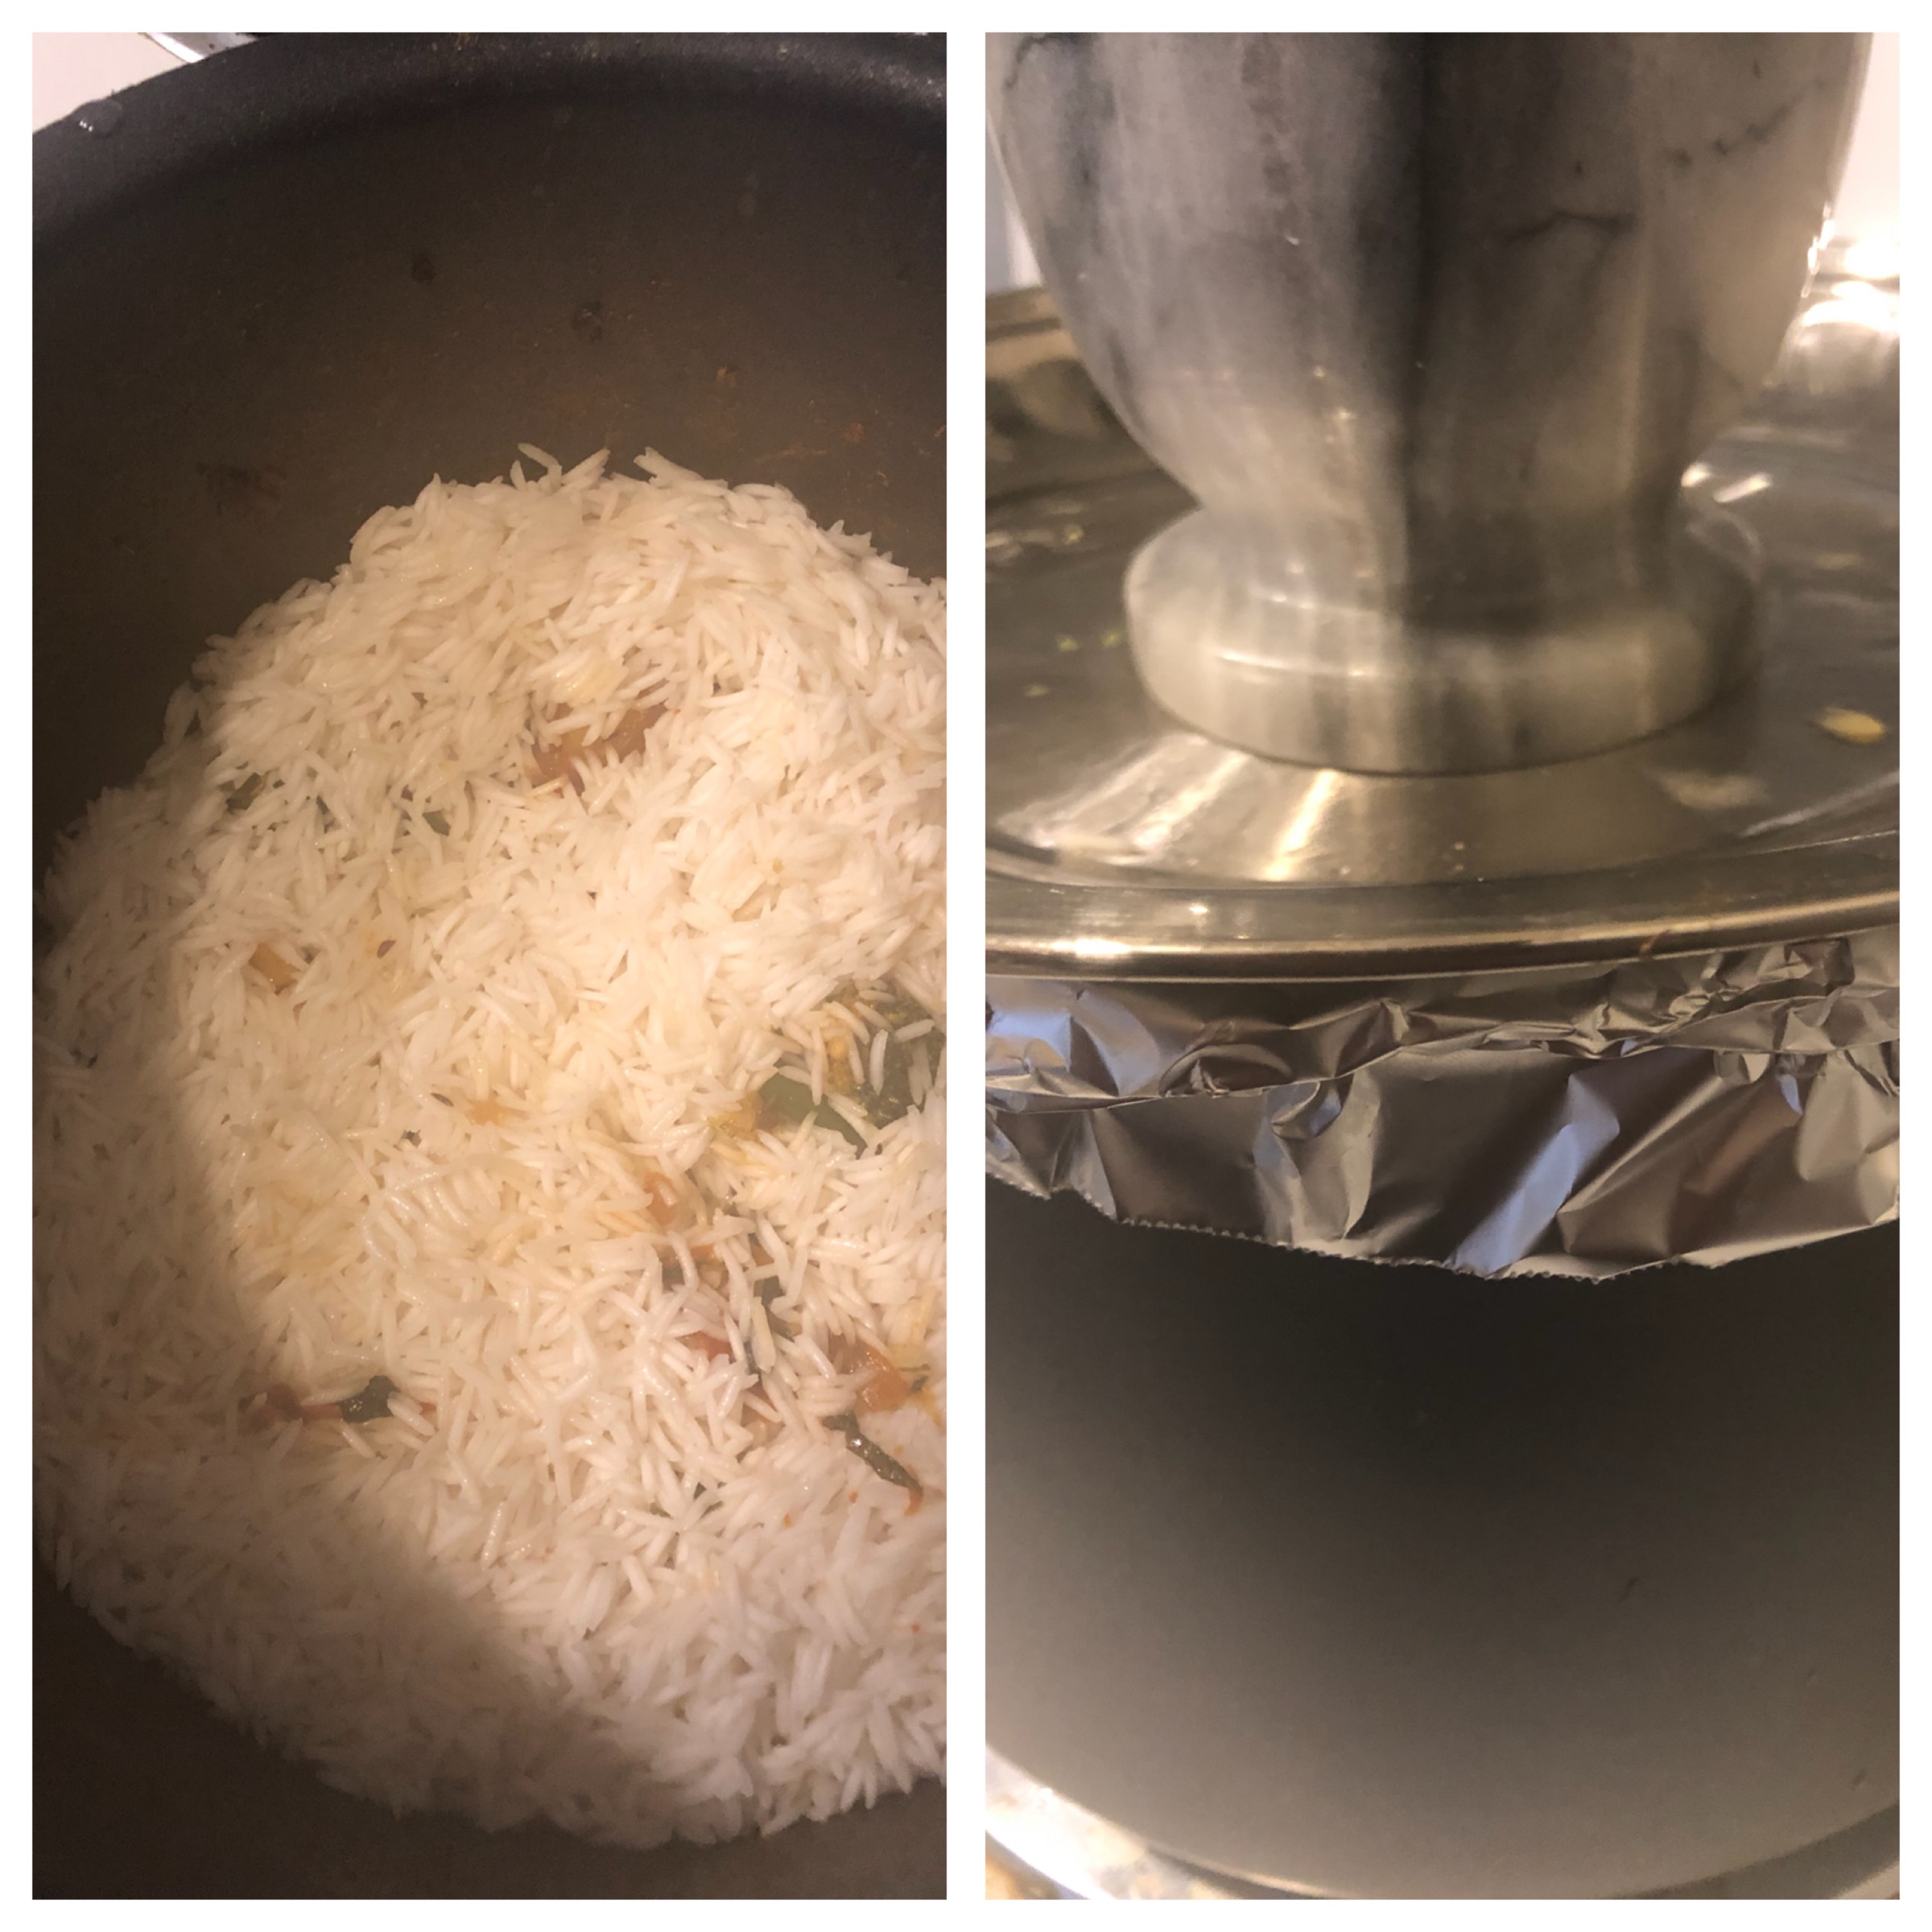
- Now, the layering starts. To the vegetables, pat and level it. Drain the rice and add the drained hot rice on the top of it.

- Stove top: I cook in stovetop, cover the pan with aluminium foil, add a weight to it (like mortar and pestle) and cook in 6 minutes in medium flame. Then turn into medium low heat for 35 minutes. Switch off and add coriander leaves to garnish with some lemon juice when it is served.
- (Or)
- Oven method: Cover the dish and bake in a 350f oven for 15 minutes or till the cooked but not mushy. Or cook in the stove medium heat for 12 minutes and lowest heat for 5 minutes. And switch off. Mix and serve hot!
2. You can skip biryani masala if you don’t have and add just garam masala (1 tsp and red chilli powder – 3 tsp instead of 1 tsp)
3. If it is spicy in the end, squeeze some lemon, it will reduce the heat and enhance the flavors also.
 HAPPY NEW YEAR 2019! 🙂 Let this year bring you all happiness, health, love, time and hope.
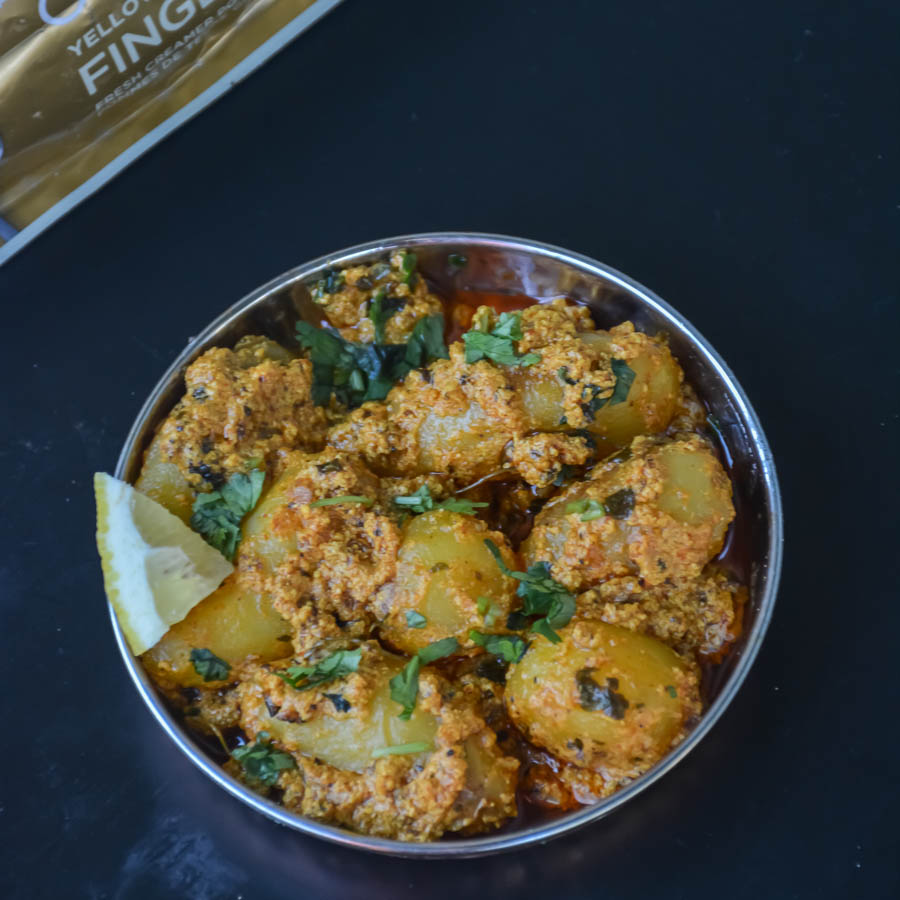


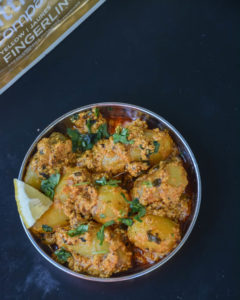
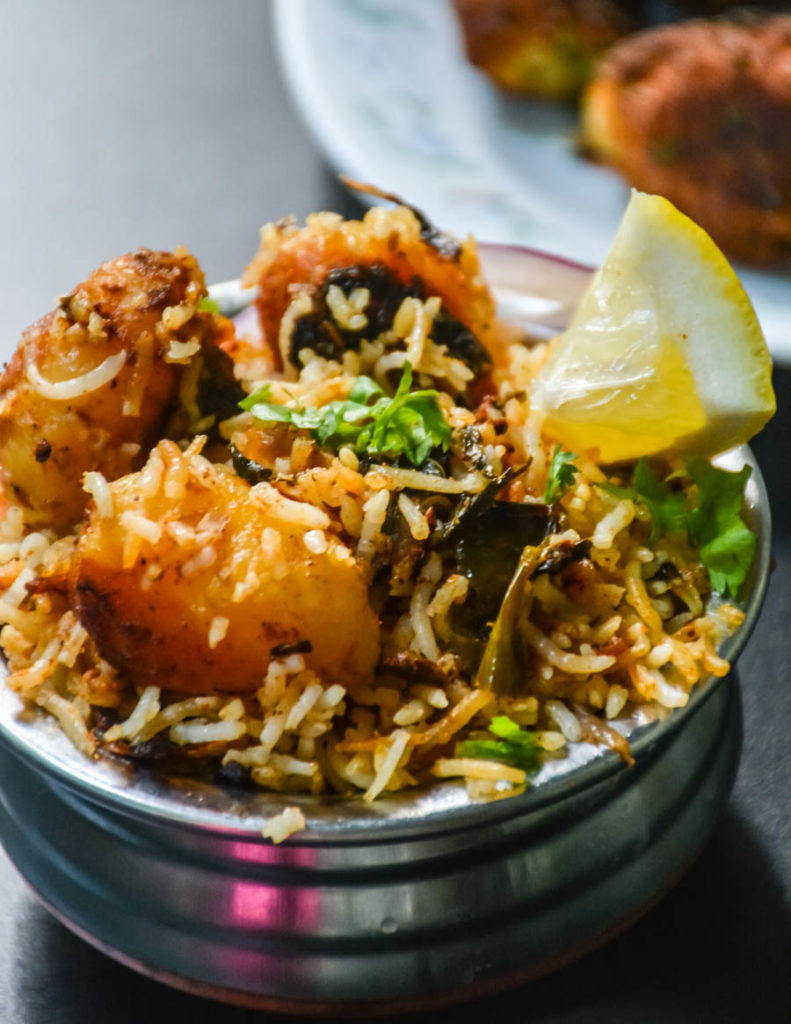
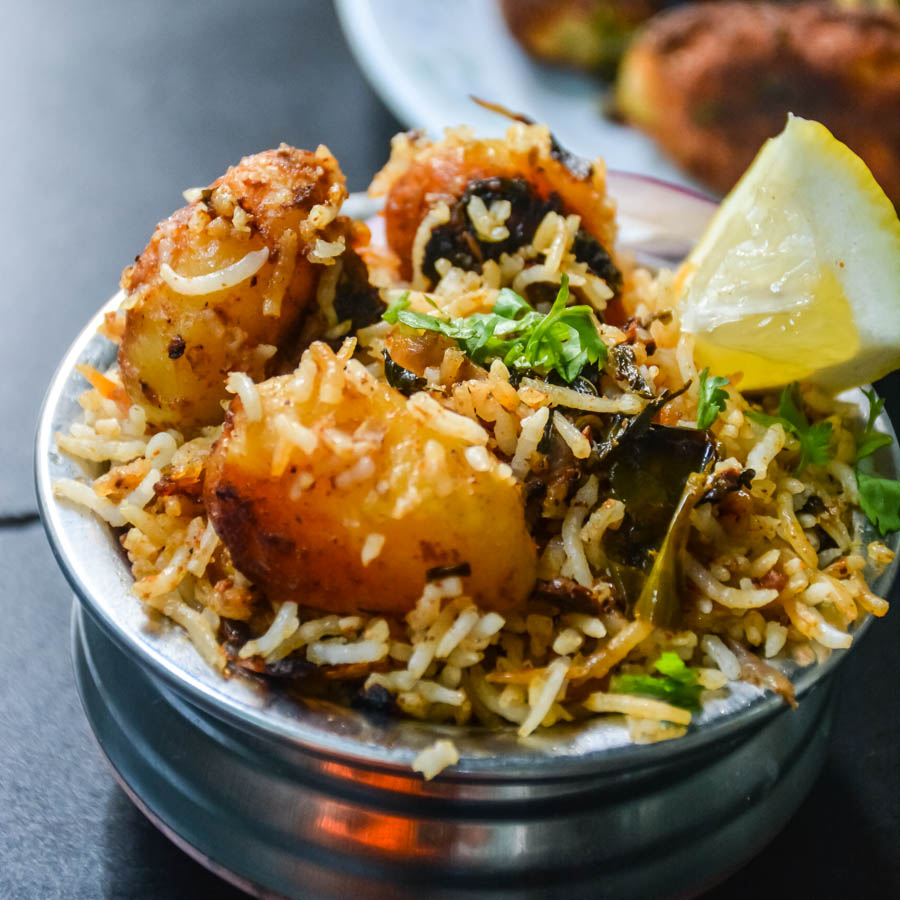 Rich and flovorful biryani made with potatoes. It is surely a festive dish and this is perfect to cook when you have guests over or make it for dinner parties. You are going to love this rice flavorful rice. This is an exotic Indian potato biryani in a restaurant style. Who does not love the exotic fragrant biryani? Just the name “biryani” will make many drool. I posted
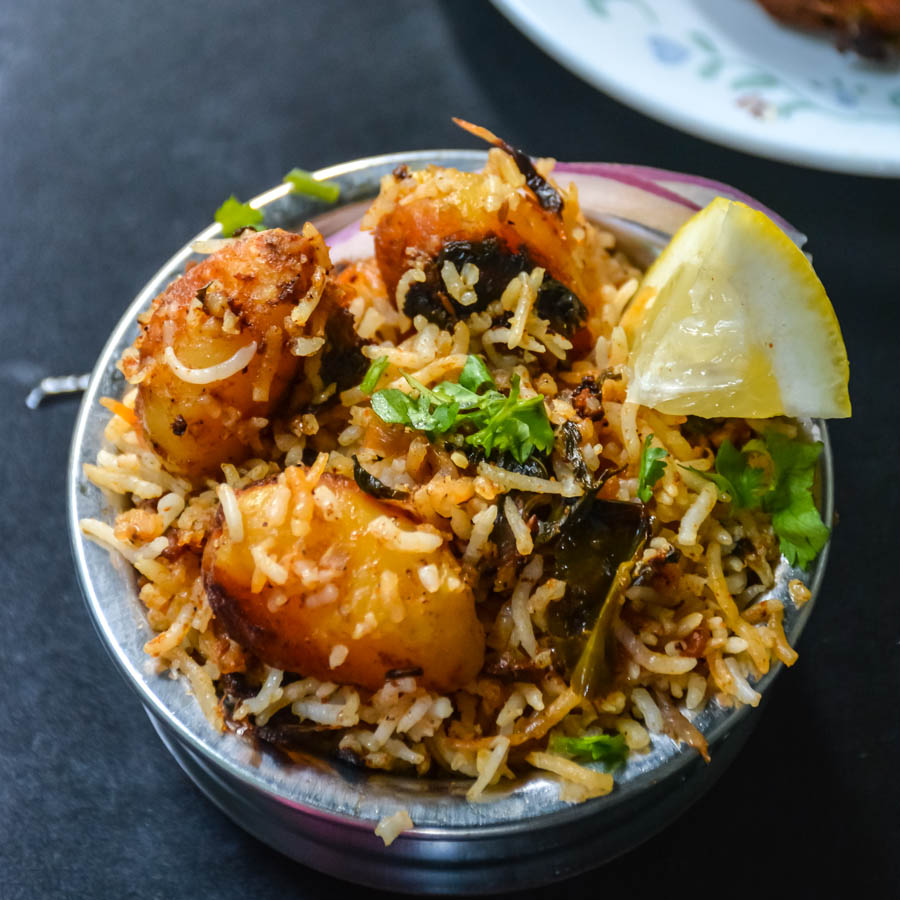

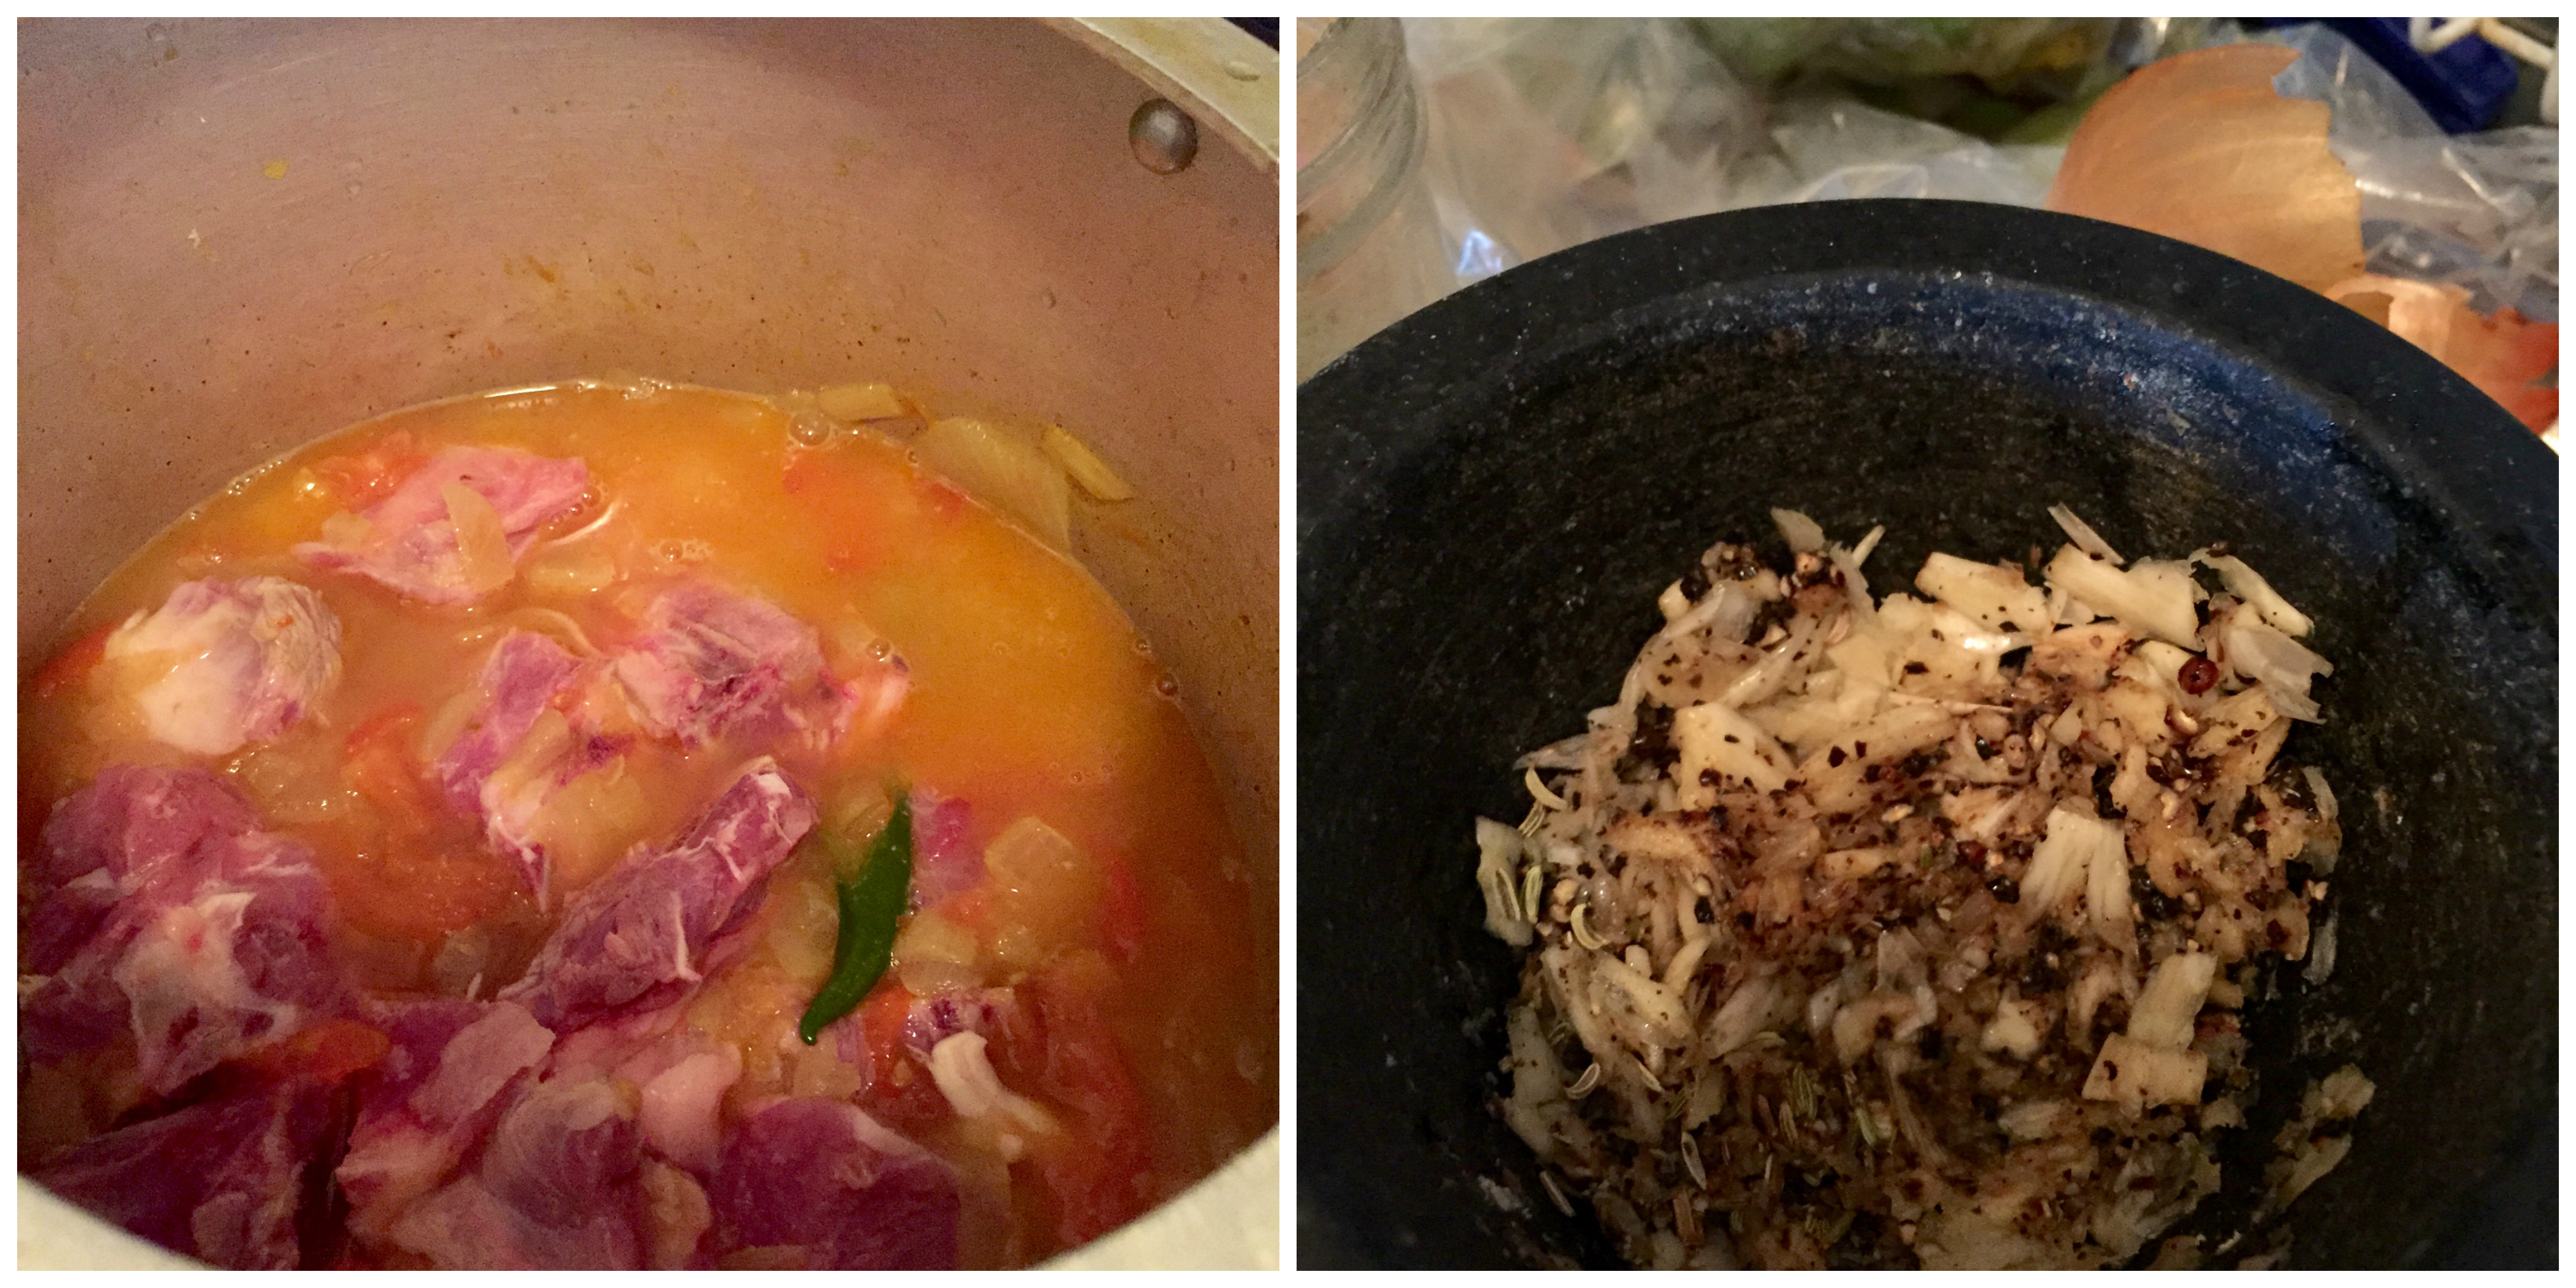
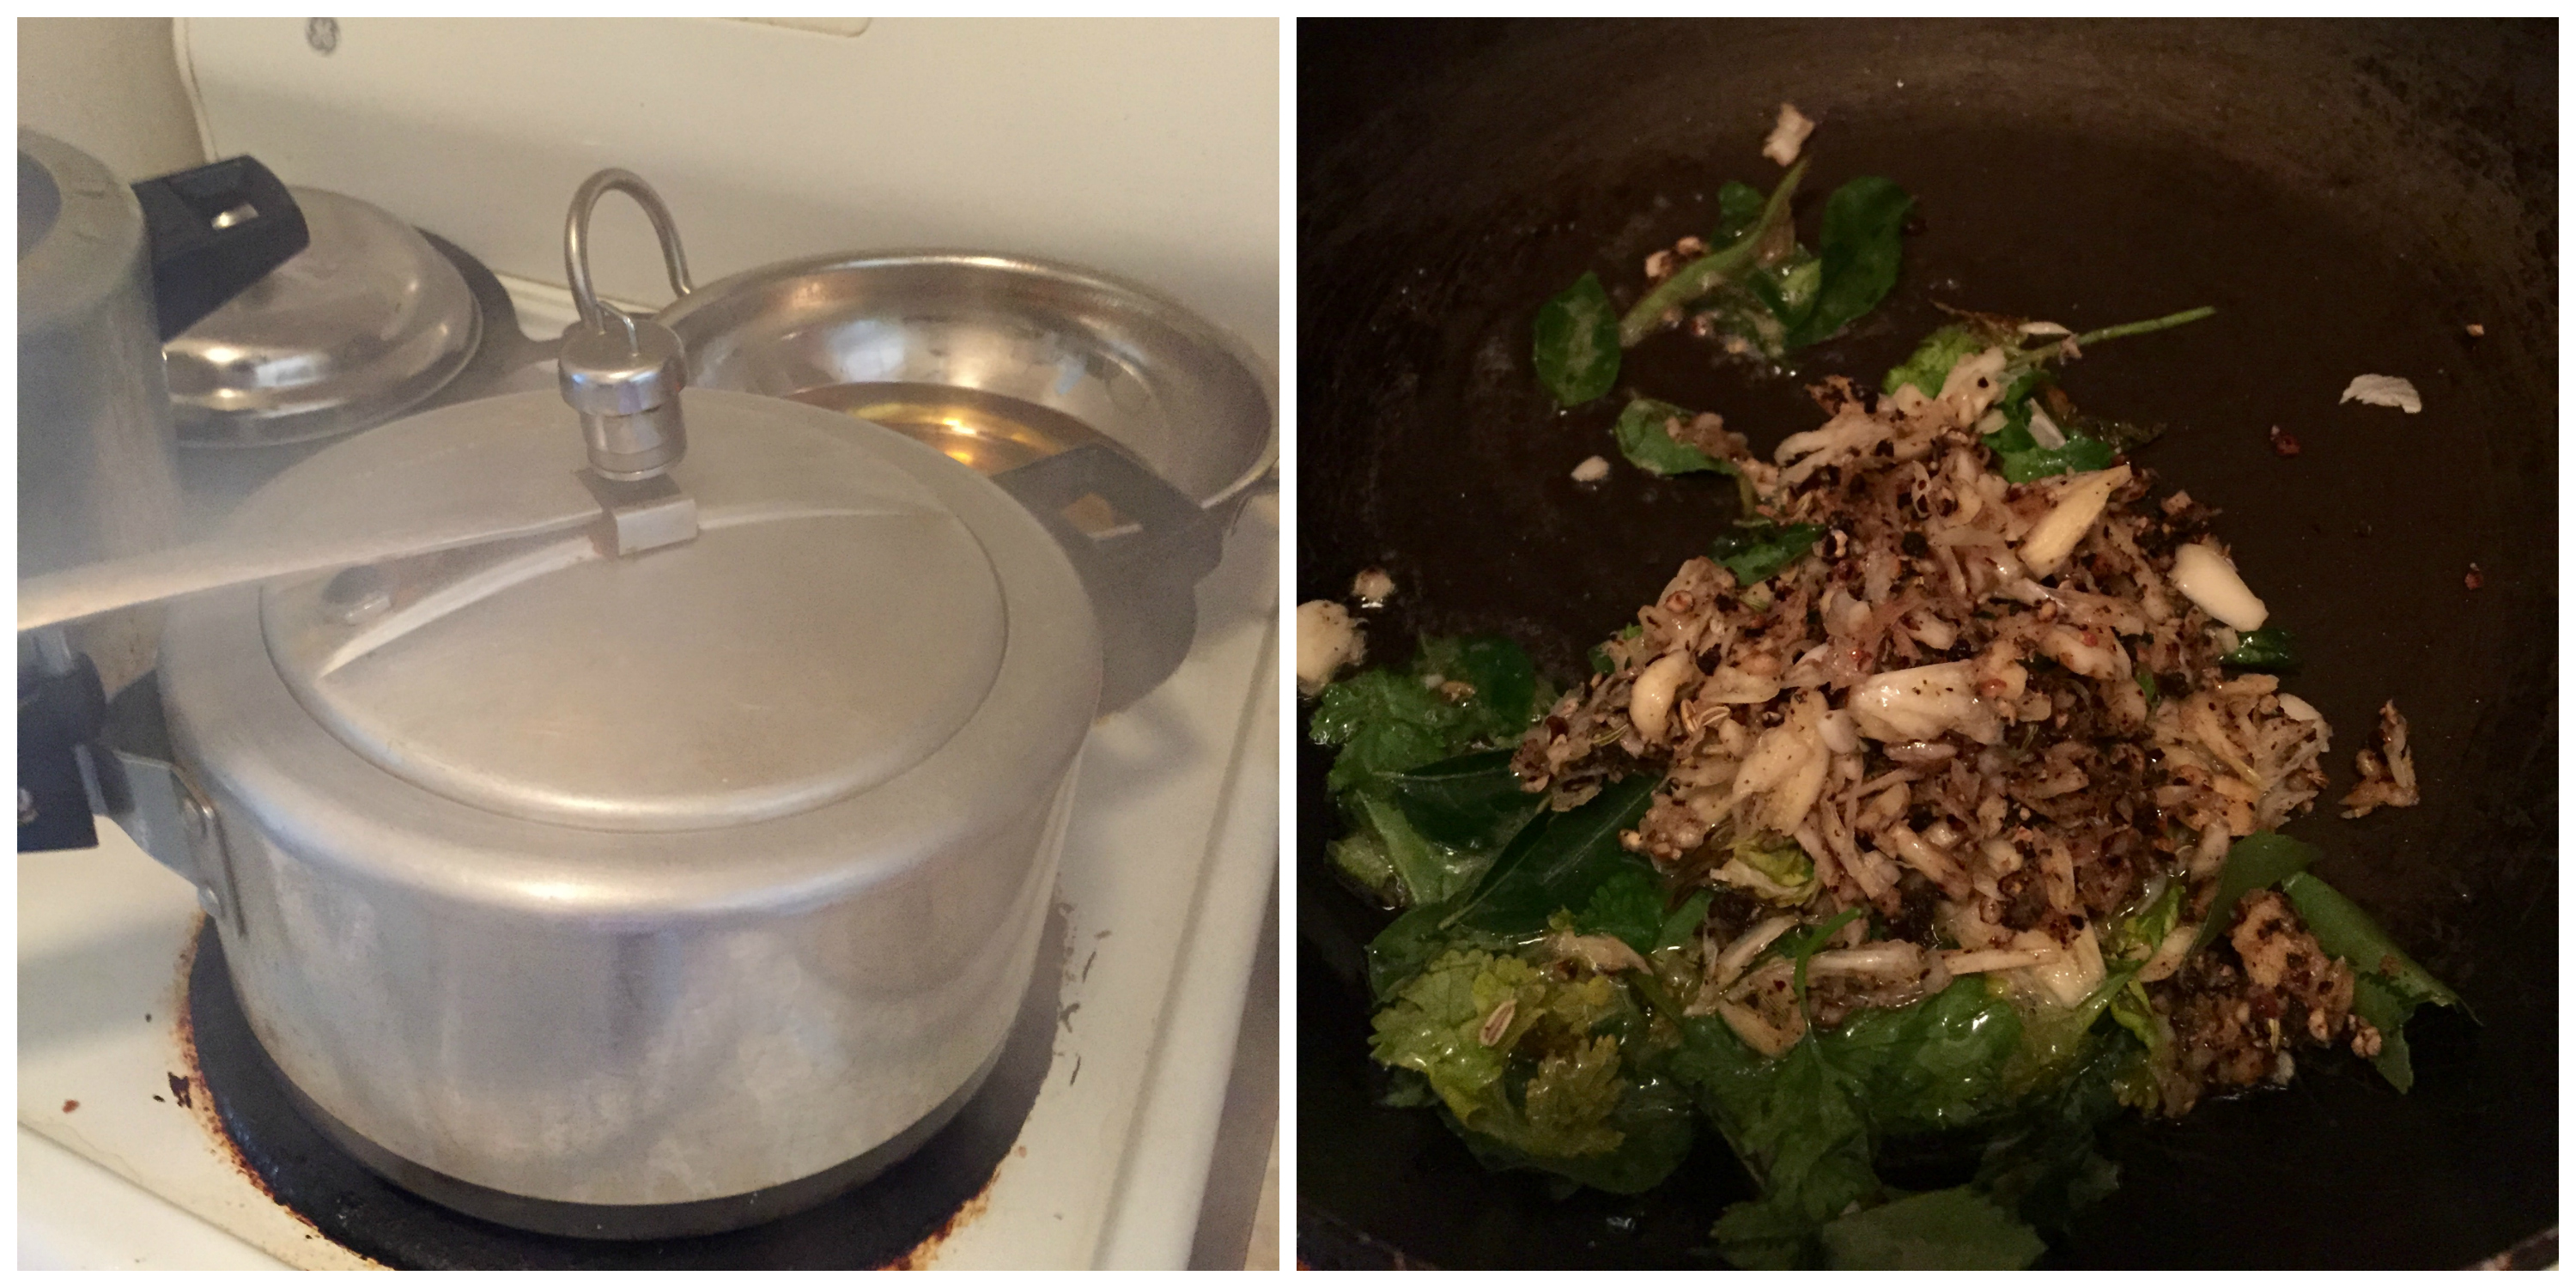
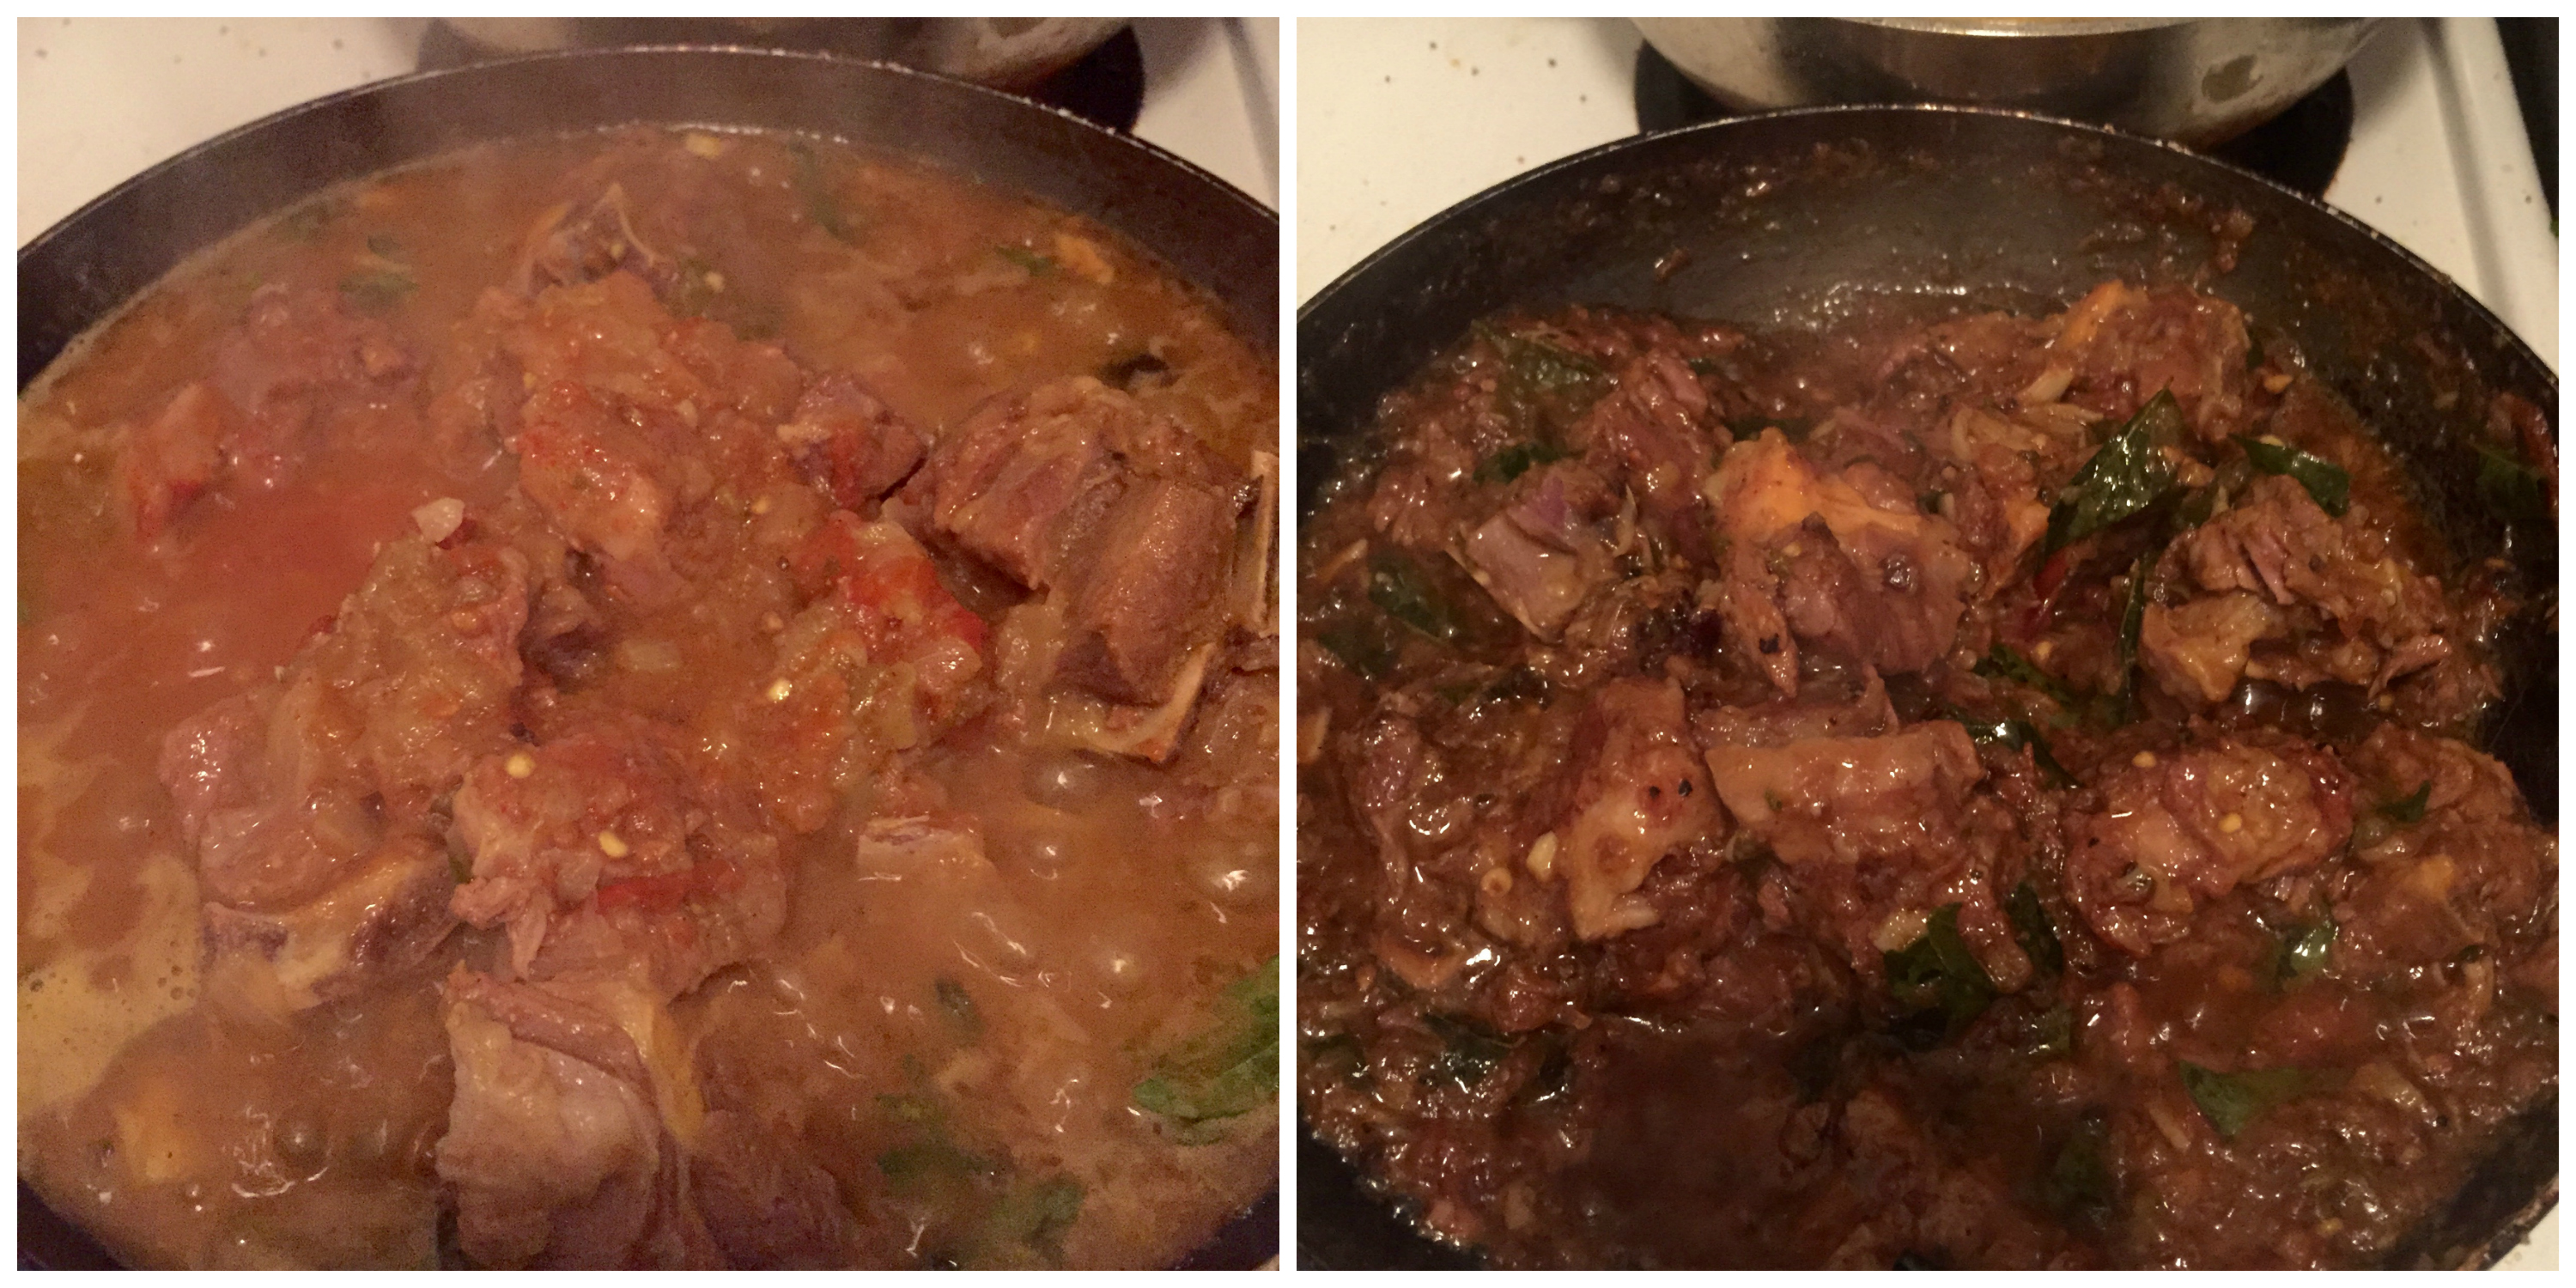
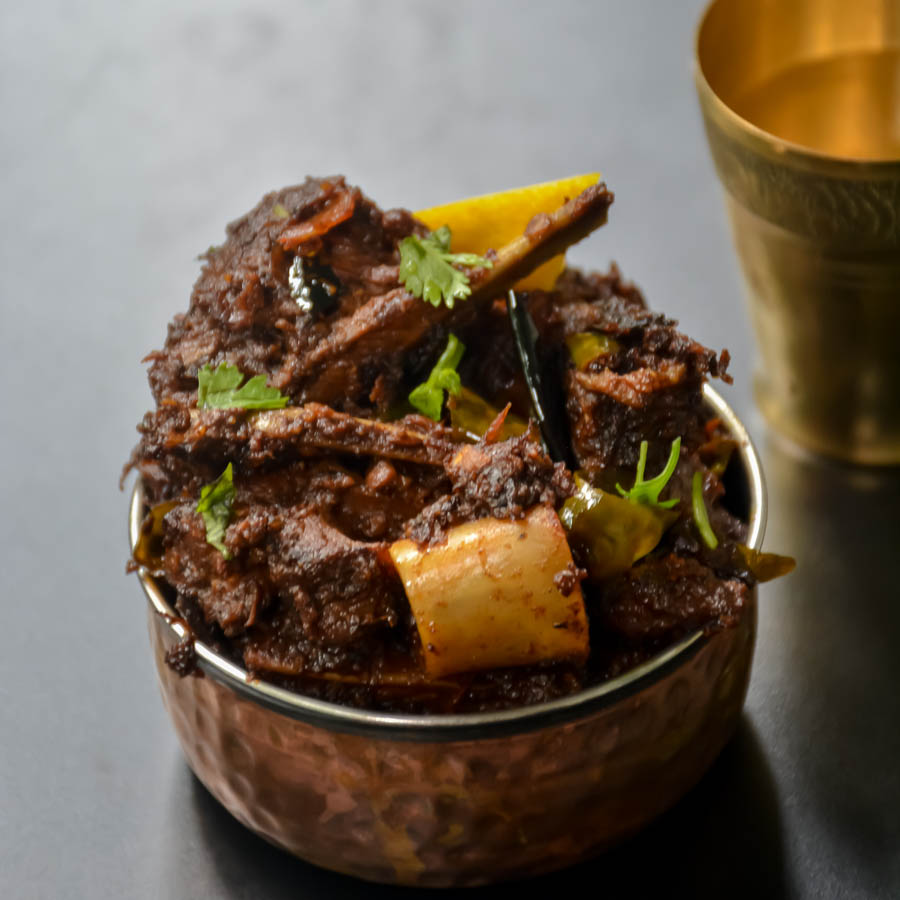
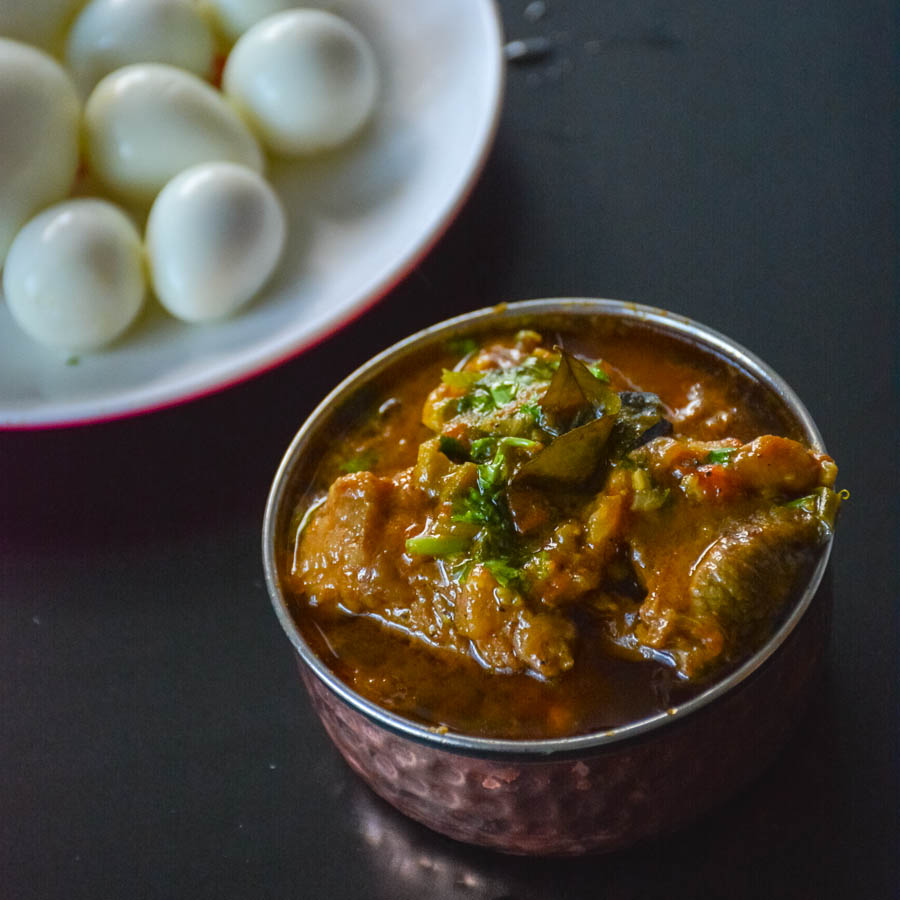
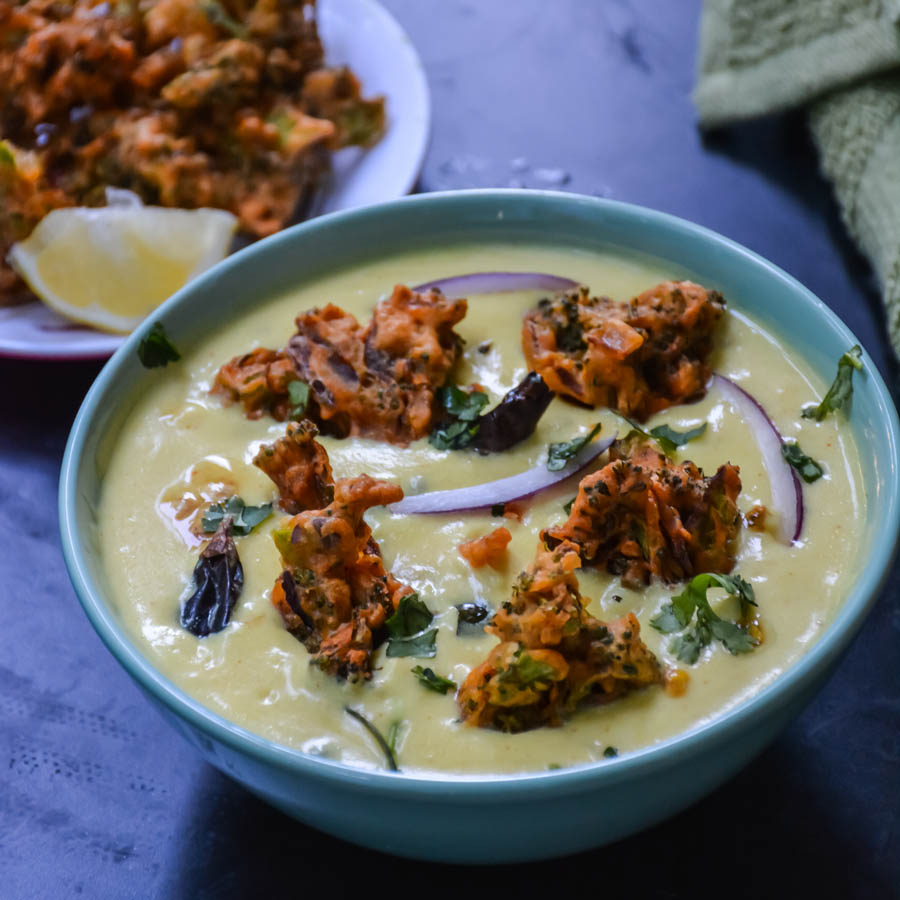
 It’s a South Indian soup -peppery and hot, sour and nourishing and clears the head.It can be enjoyed in a mug or served as is over a bowl of hot basmati rice.
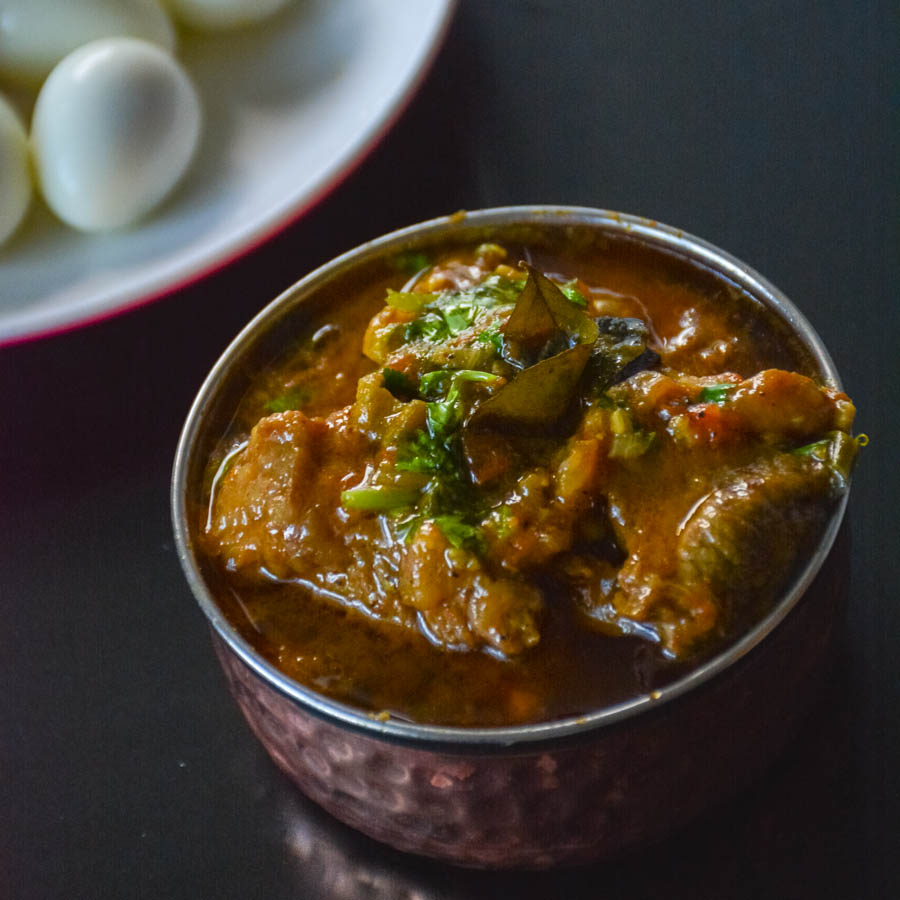


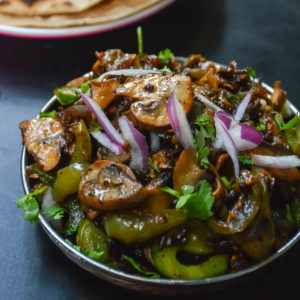
 Crispy paneer kebabs placed in grilled tortilla with some yogurt dressing! Rich & perfect for dinner, lunch or any party! This combination makes the dish juicy and crunchy.

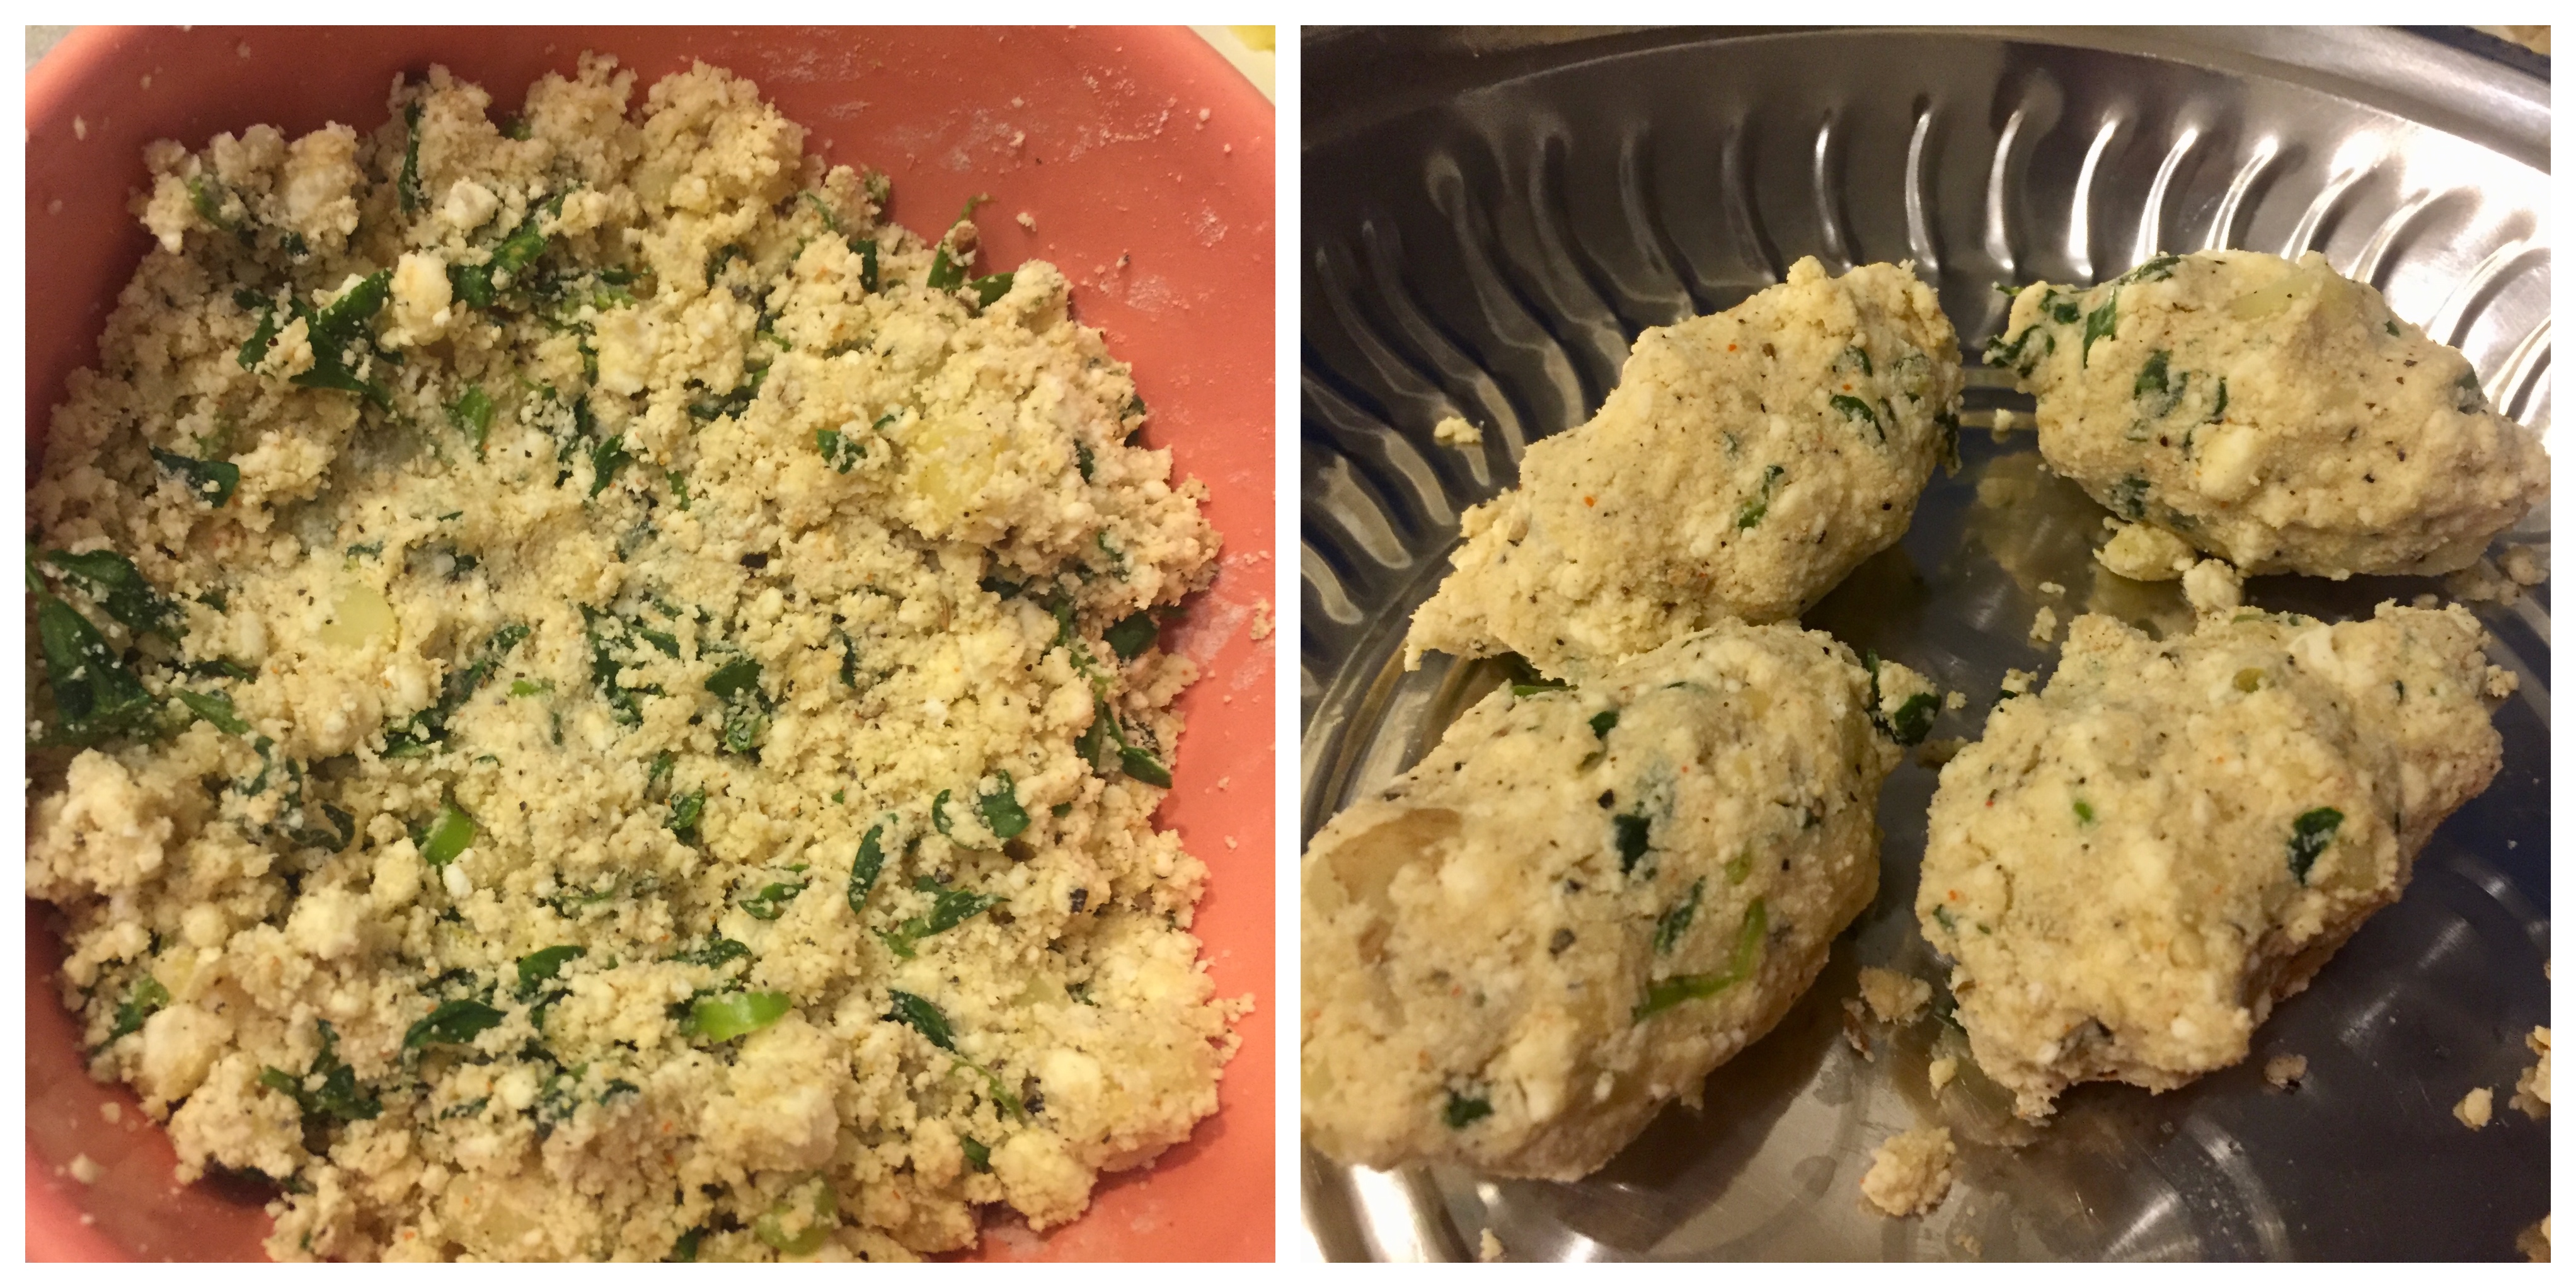


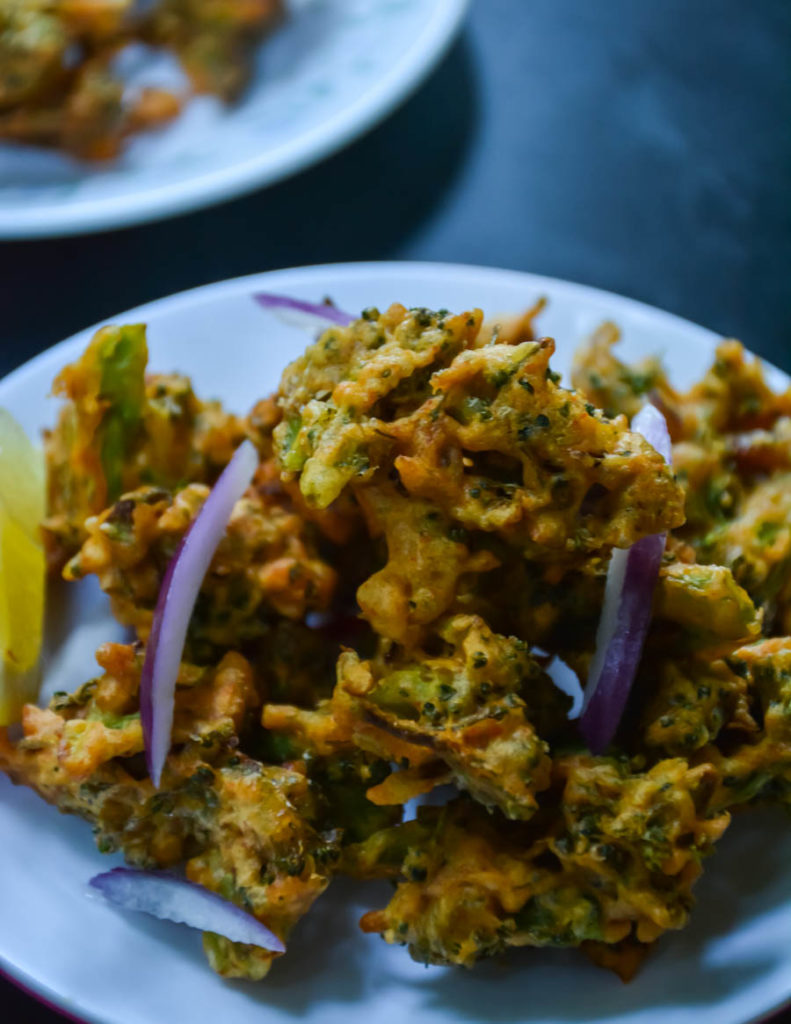
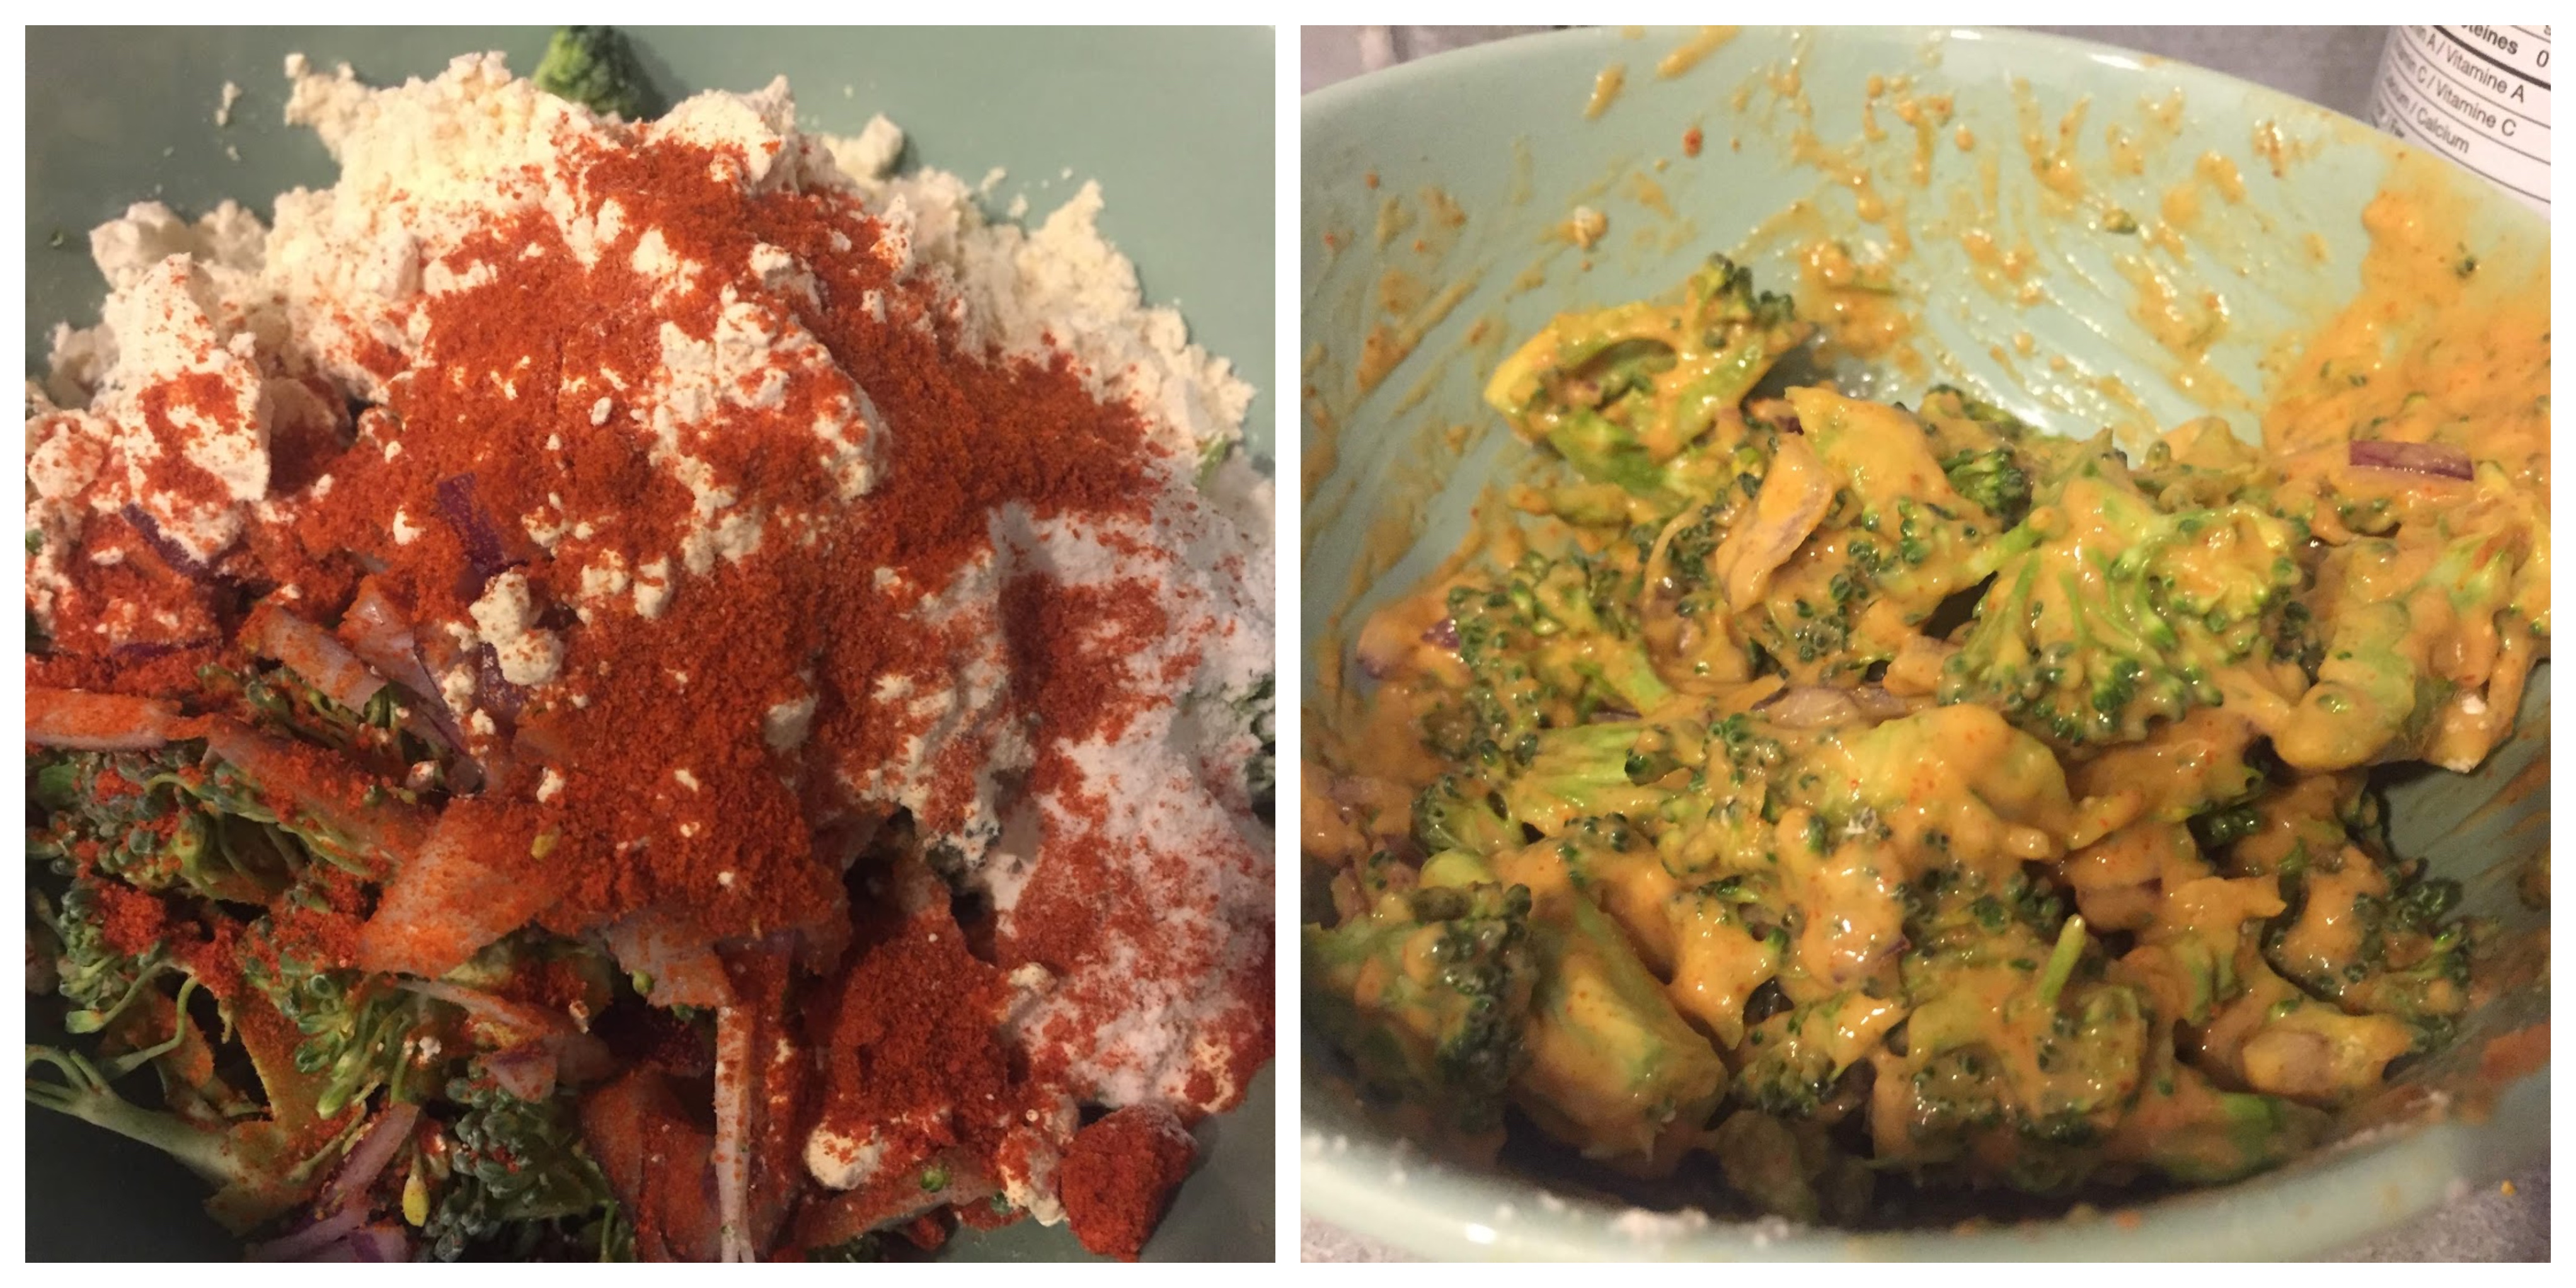
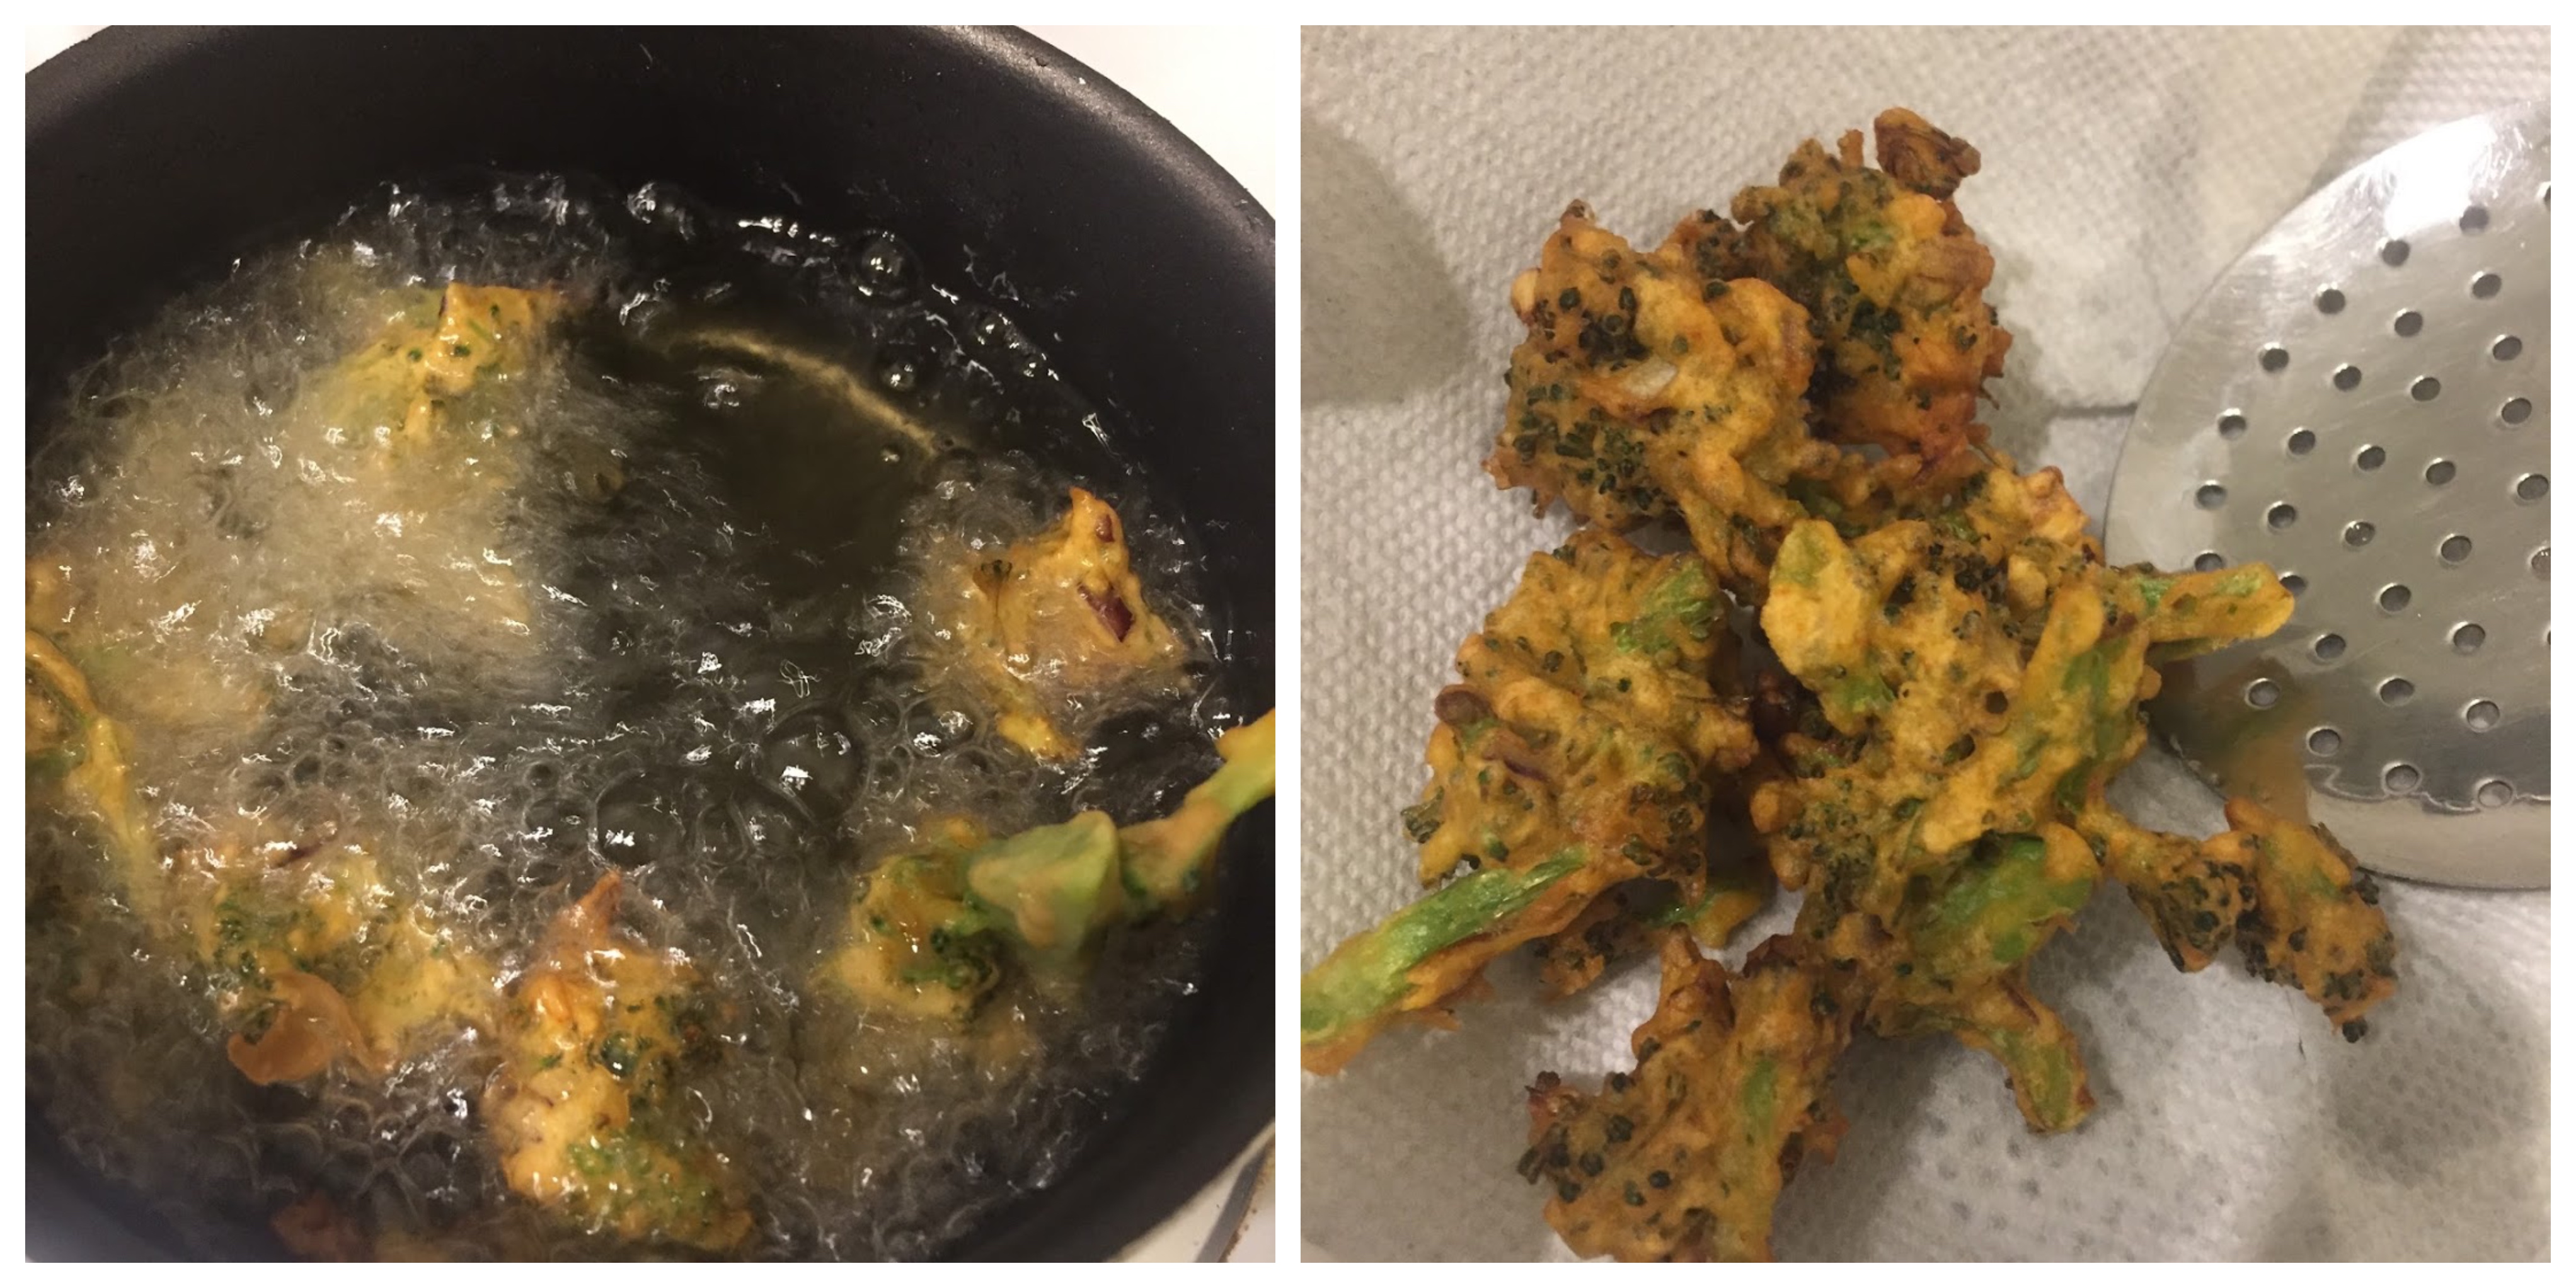
 Soft, spicy, flavorful baked little treats for appetizers packed full of goodness! Perfect protein snack! I am sure this is one of the finger foods that are finger licking good.


 Traditional Indian Frozen treat – similar to icecream but is denser and creamier. A sweet treat to beat the heat! It is always great to beat the heat with these creamy indian popsicles with almonds!
