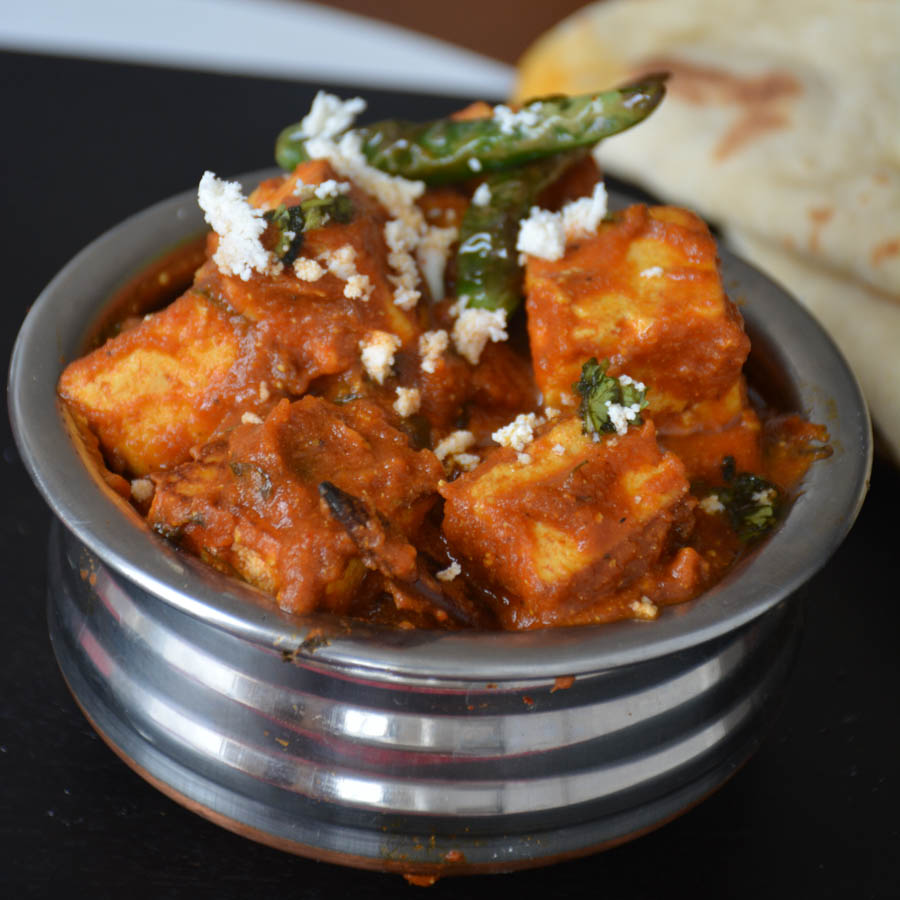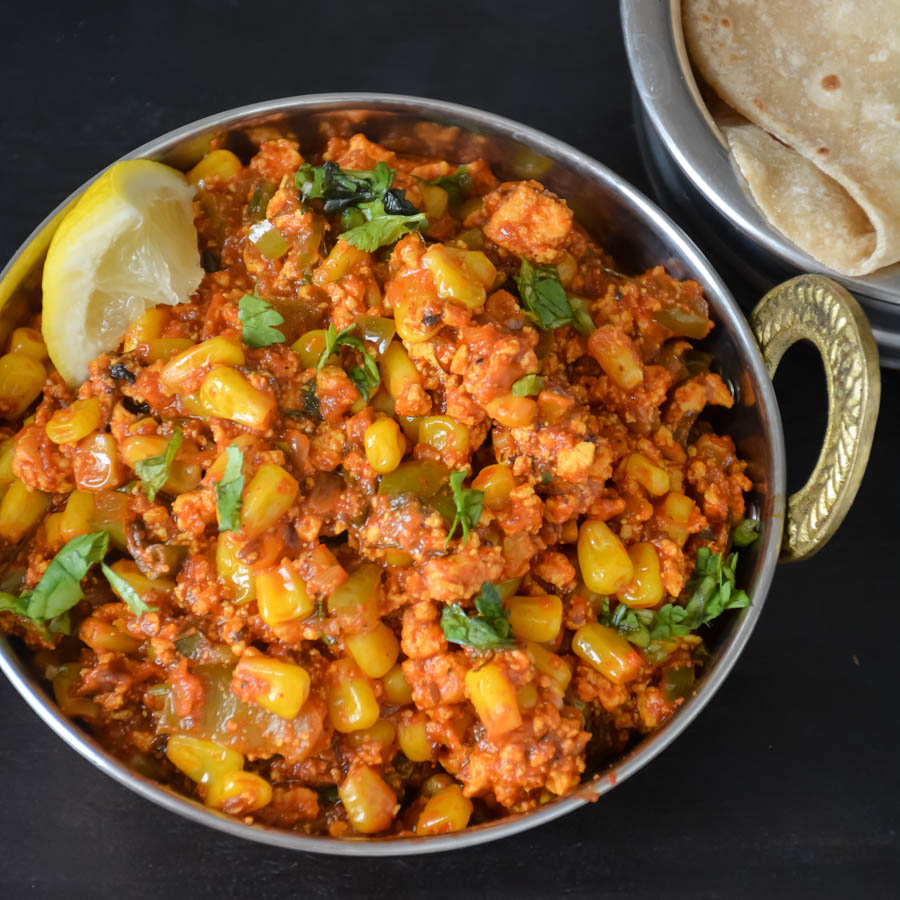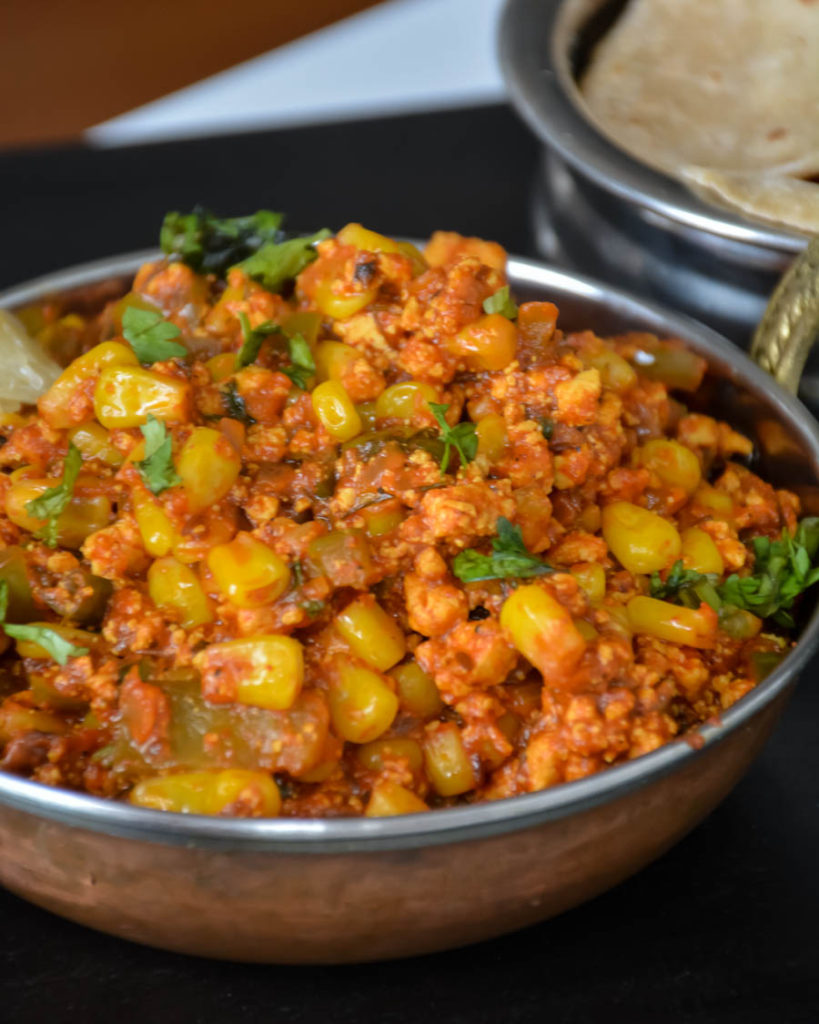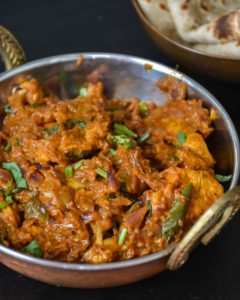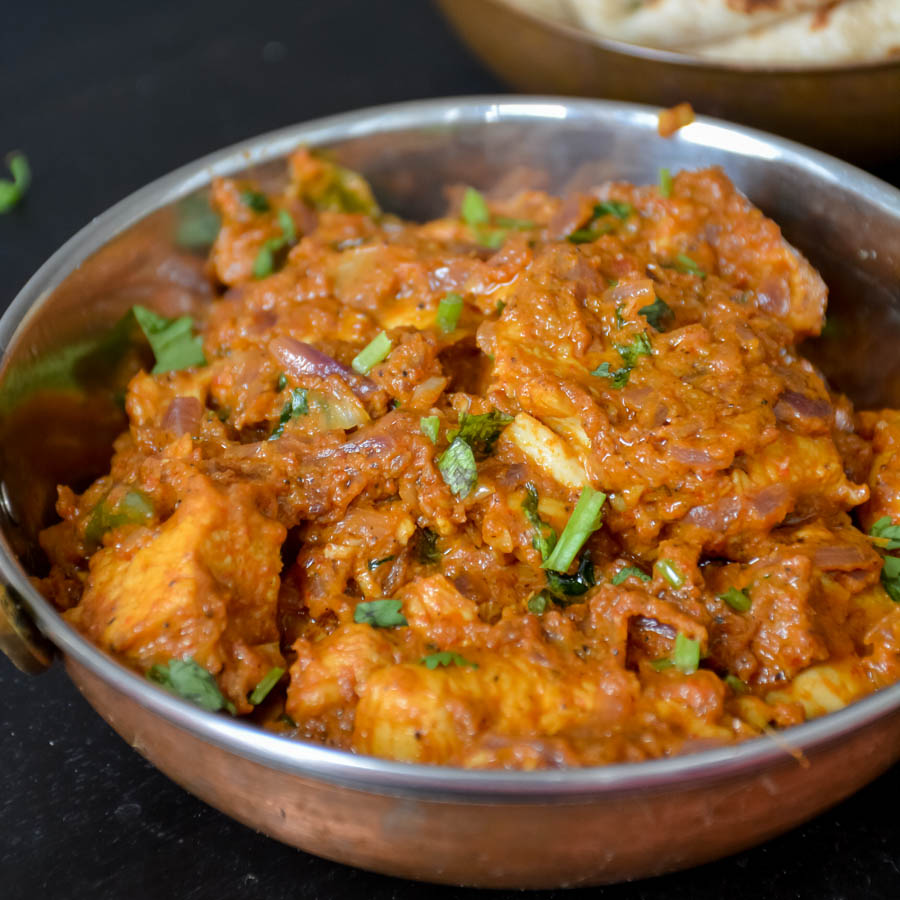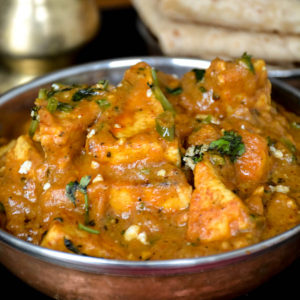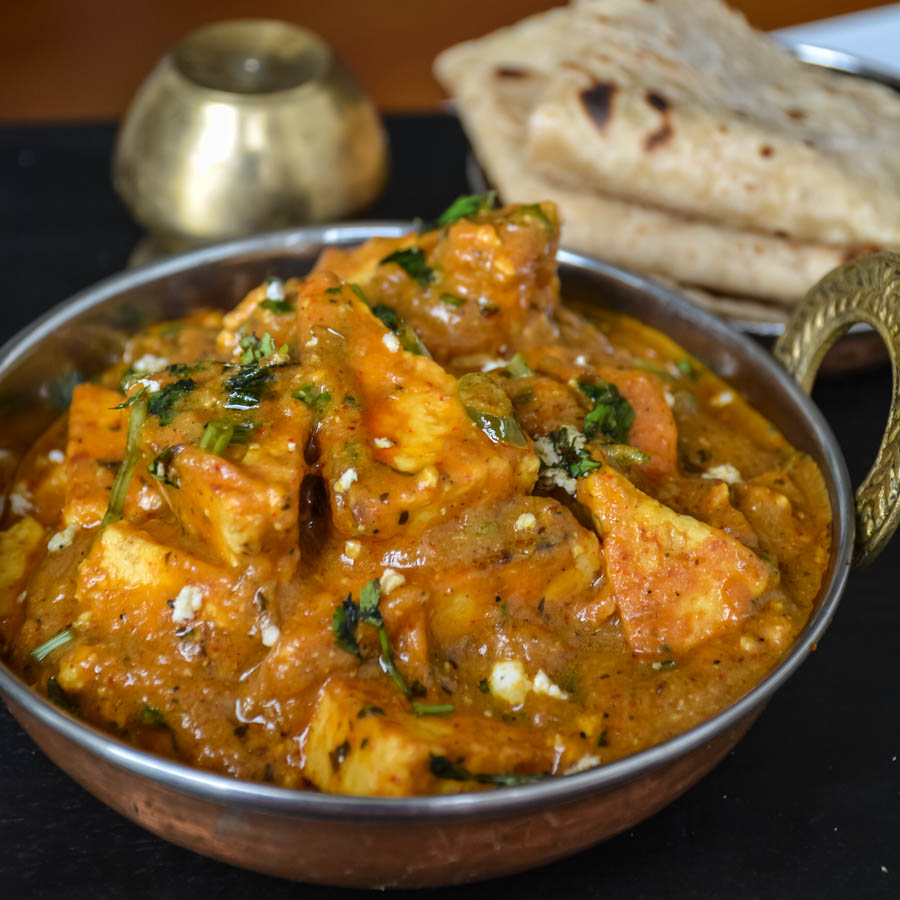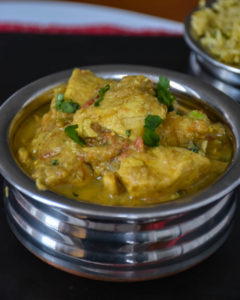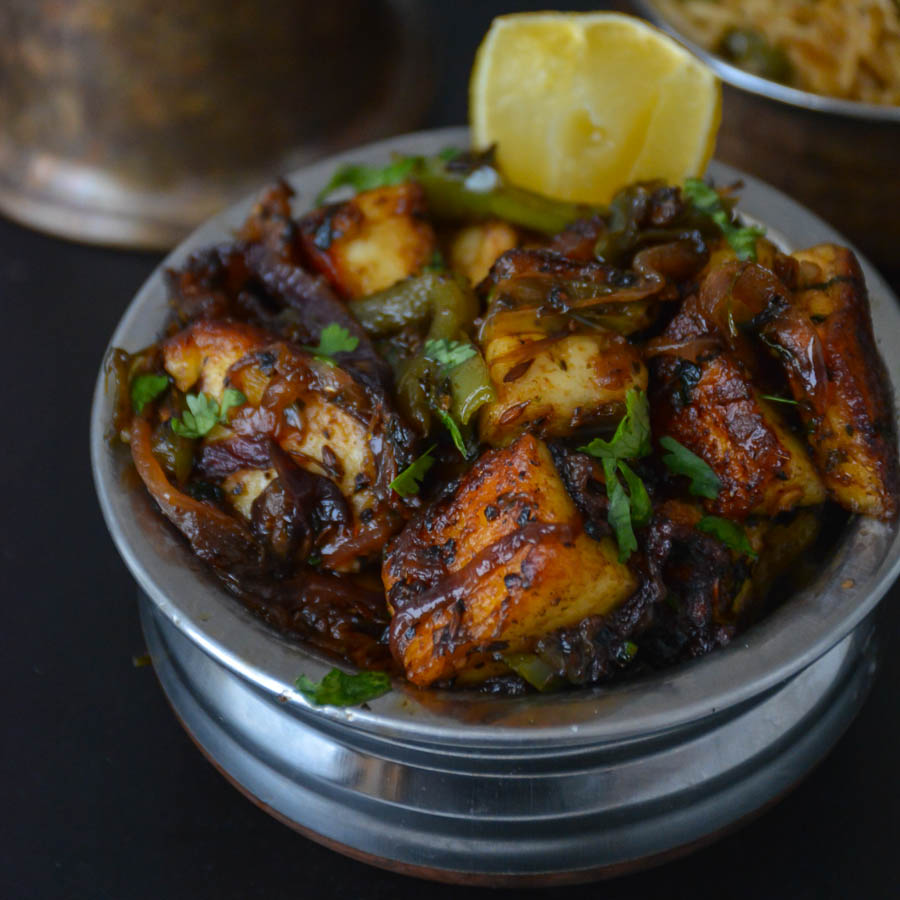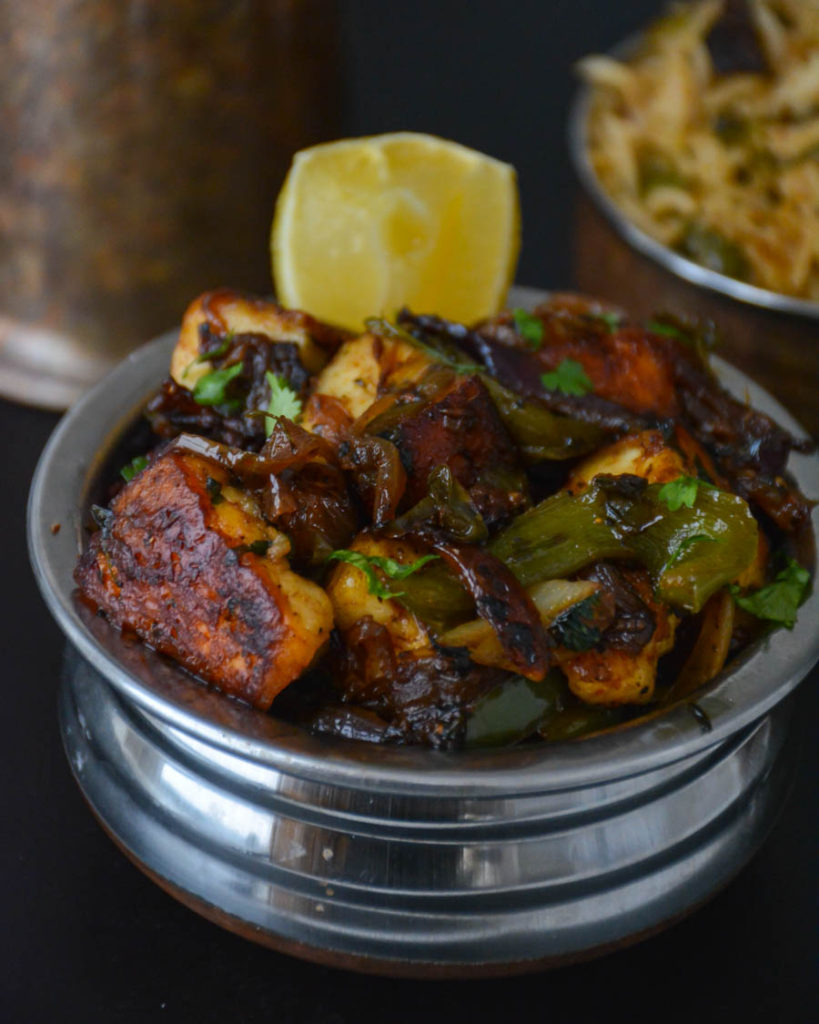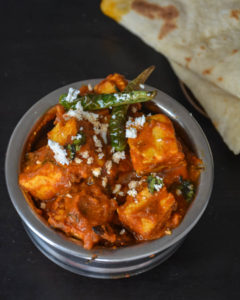
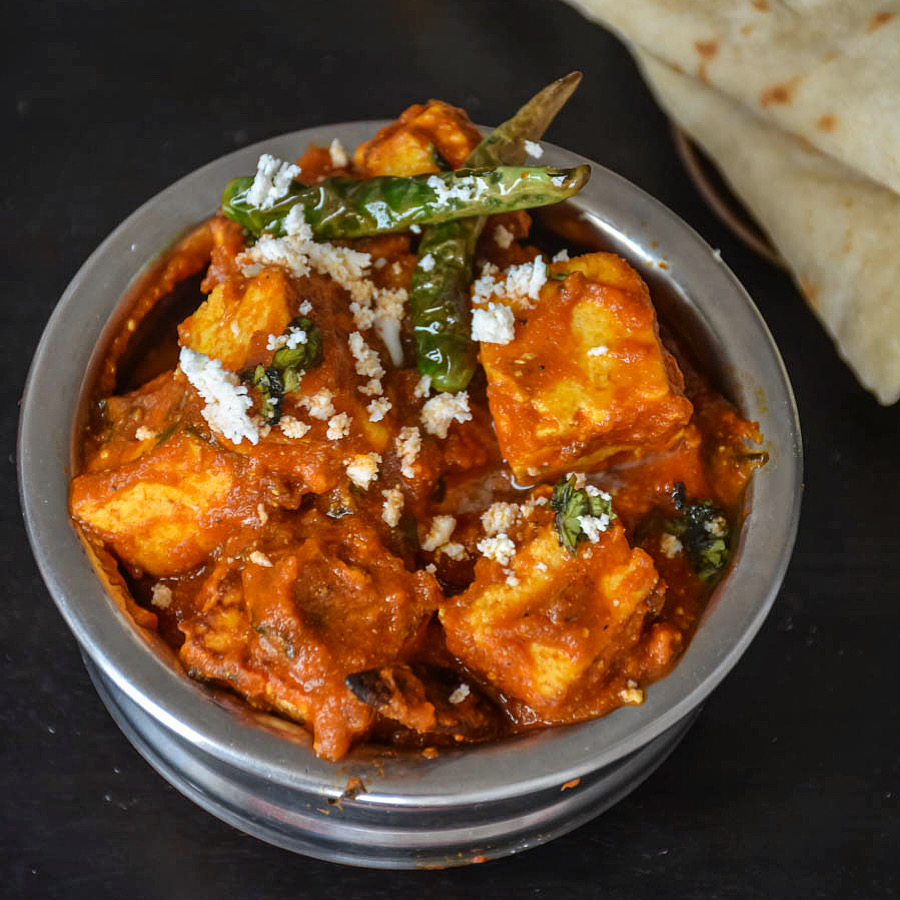
Sour sweet spicy tangy paneer (Indian cottage cheese) curry!
People ask me how on earth you have so much time and energy to cook?
Answer: I started learning to cook for a loved one and now cooking is my therapy. It really helps my mood and life. Whatever you decide to do, make sure it makes you HAPPY! Enough of my gyan and here you go with the recipe!
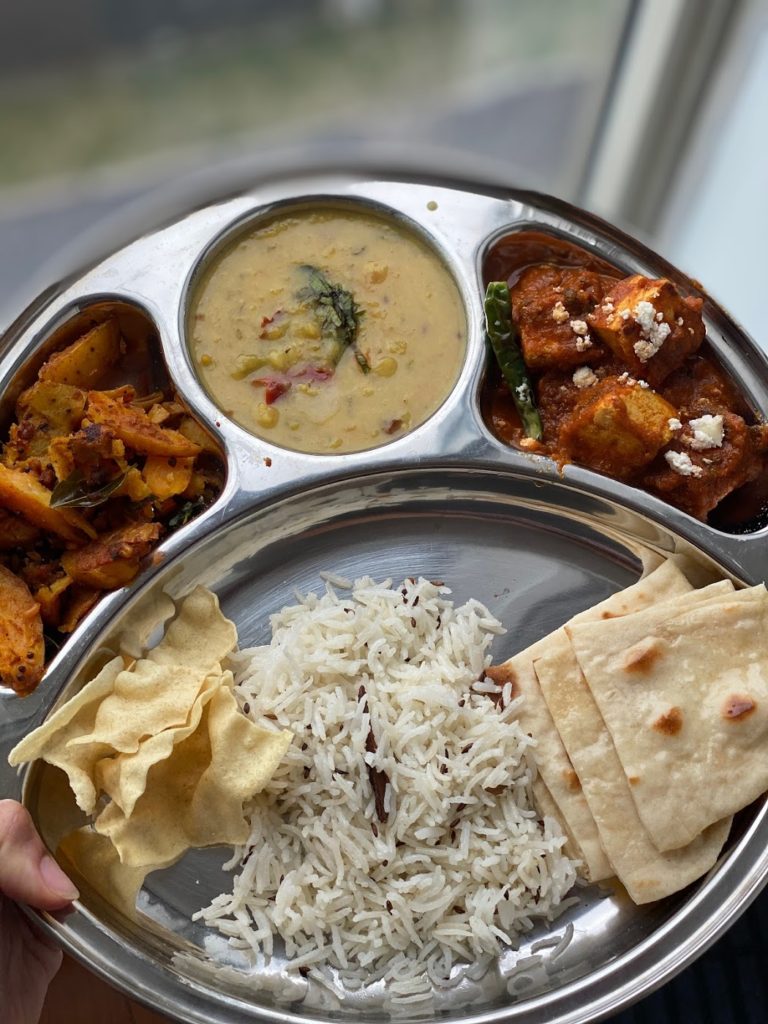
Made this few weeks back and I had this with homemade naan and jeera rice made by my mom. I really loved the combo. Made some triveti dal too. This paneer chatpata is one quick recipe you can make any day. Chatpata means when you put this into your mouth, you can feel hot, sweet, spicy, tangy, sour taste with the paneer.
Other Paneer favorite recipes:
- Paneer Dum Mirch
- Paneer Veg Biryani
- Simmered corn paneer masala
- Palak Paneer
- Pepper paneer in 30 minutes
Paneer Chatpata Curry
Author: Suganya Hariharan
Recipe type: Main
Cuisine: Indian
Prep time:
Cook time:
Total time:
Serves: 5
Ingredients
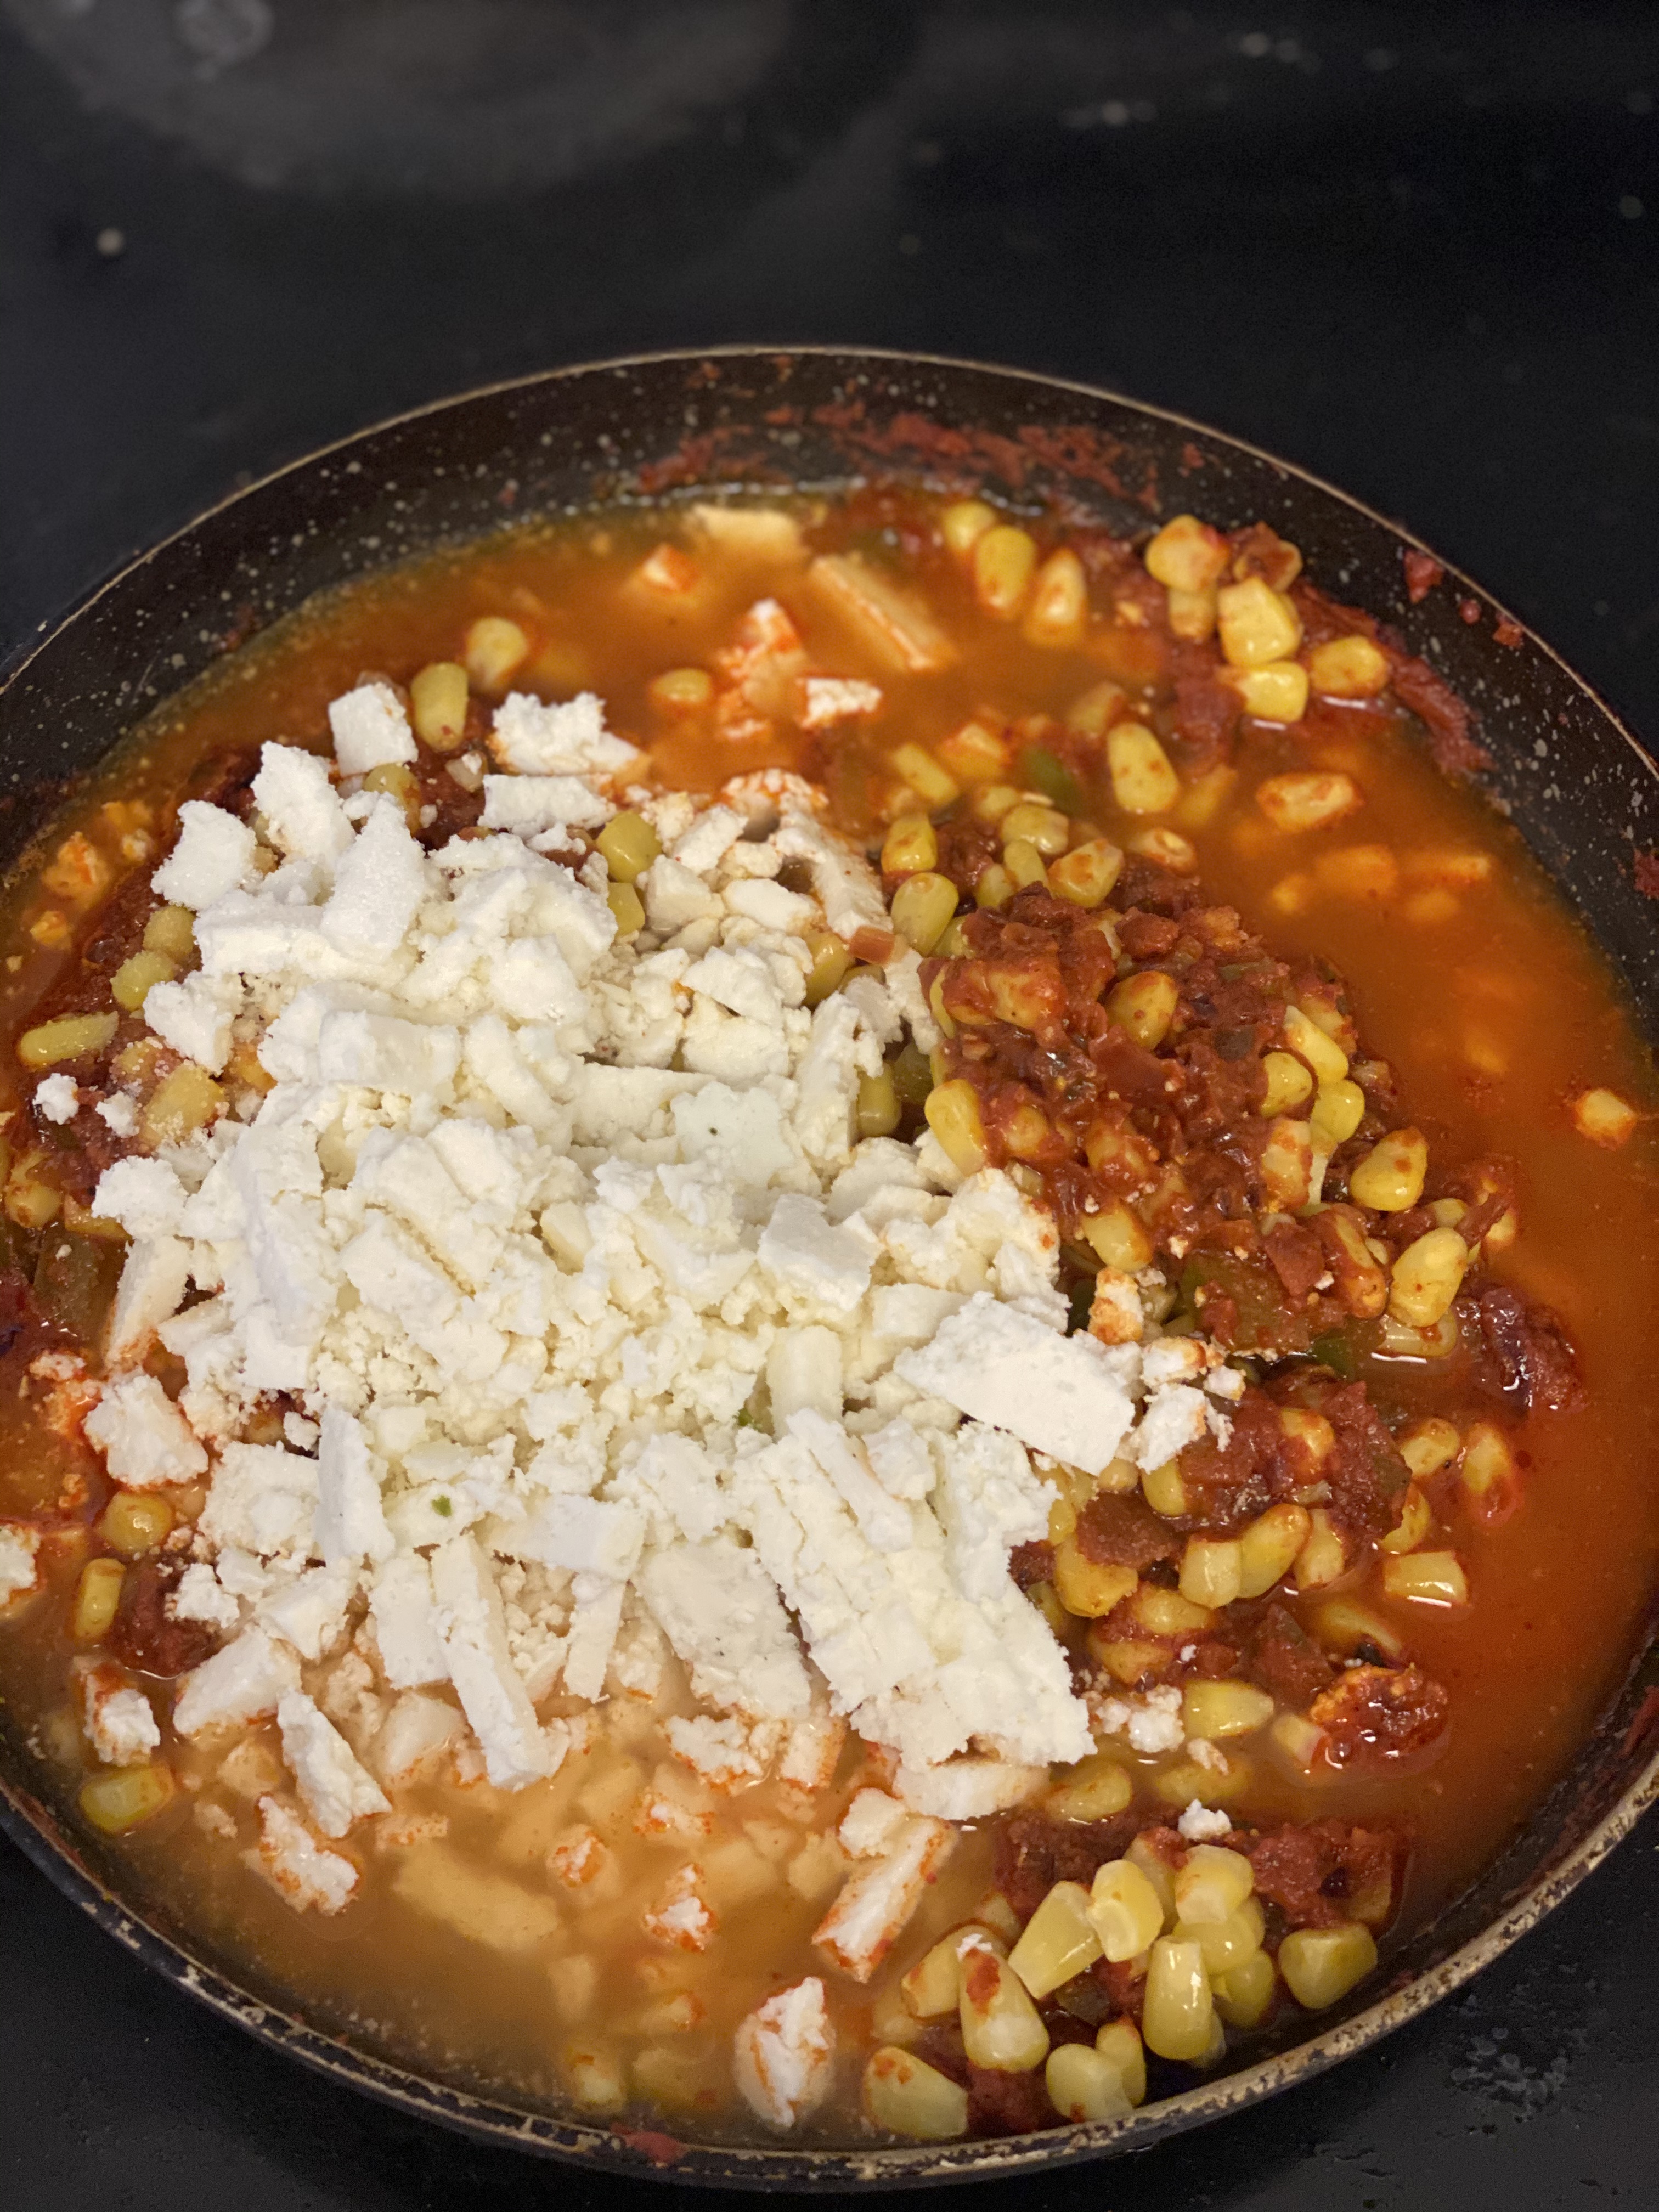
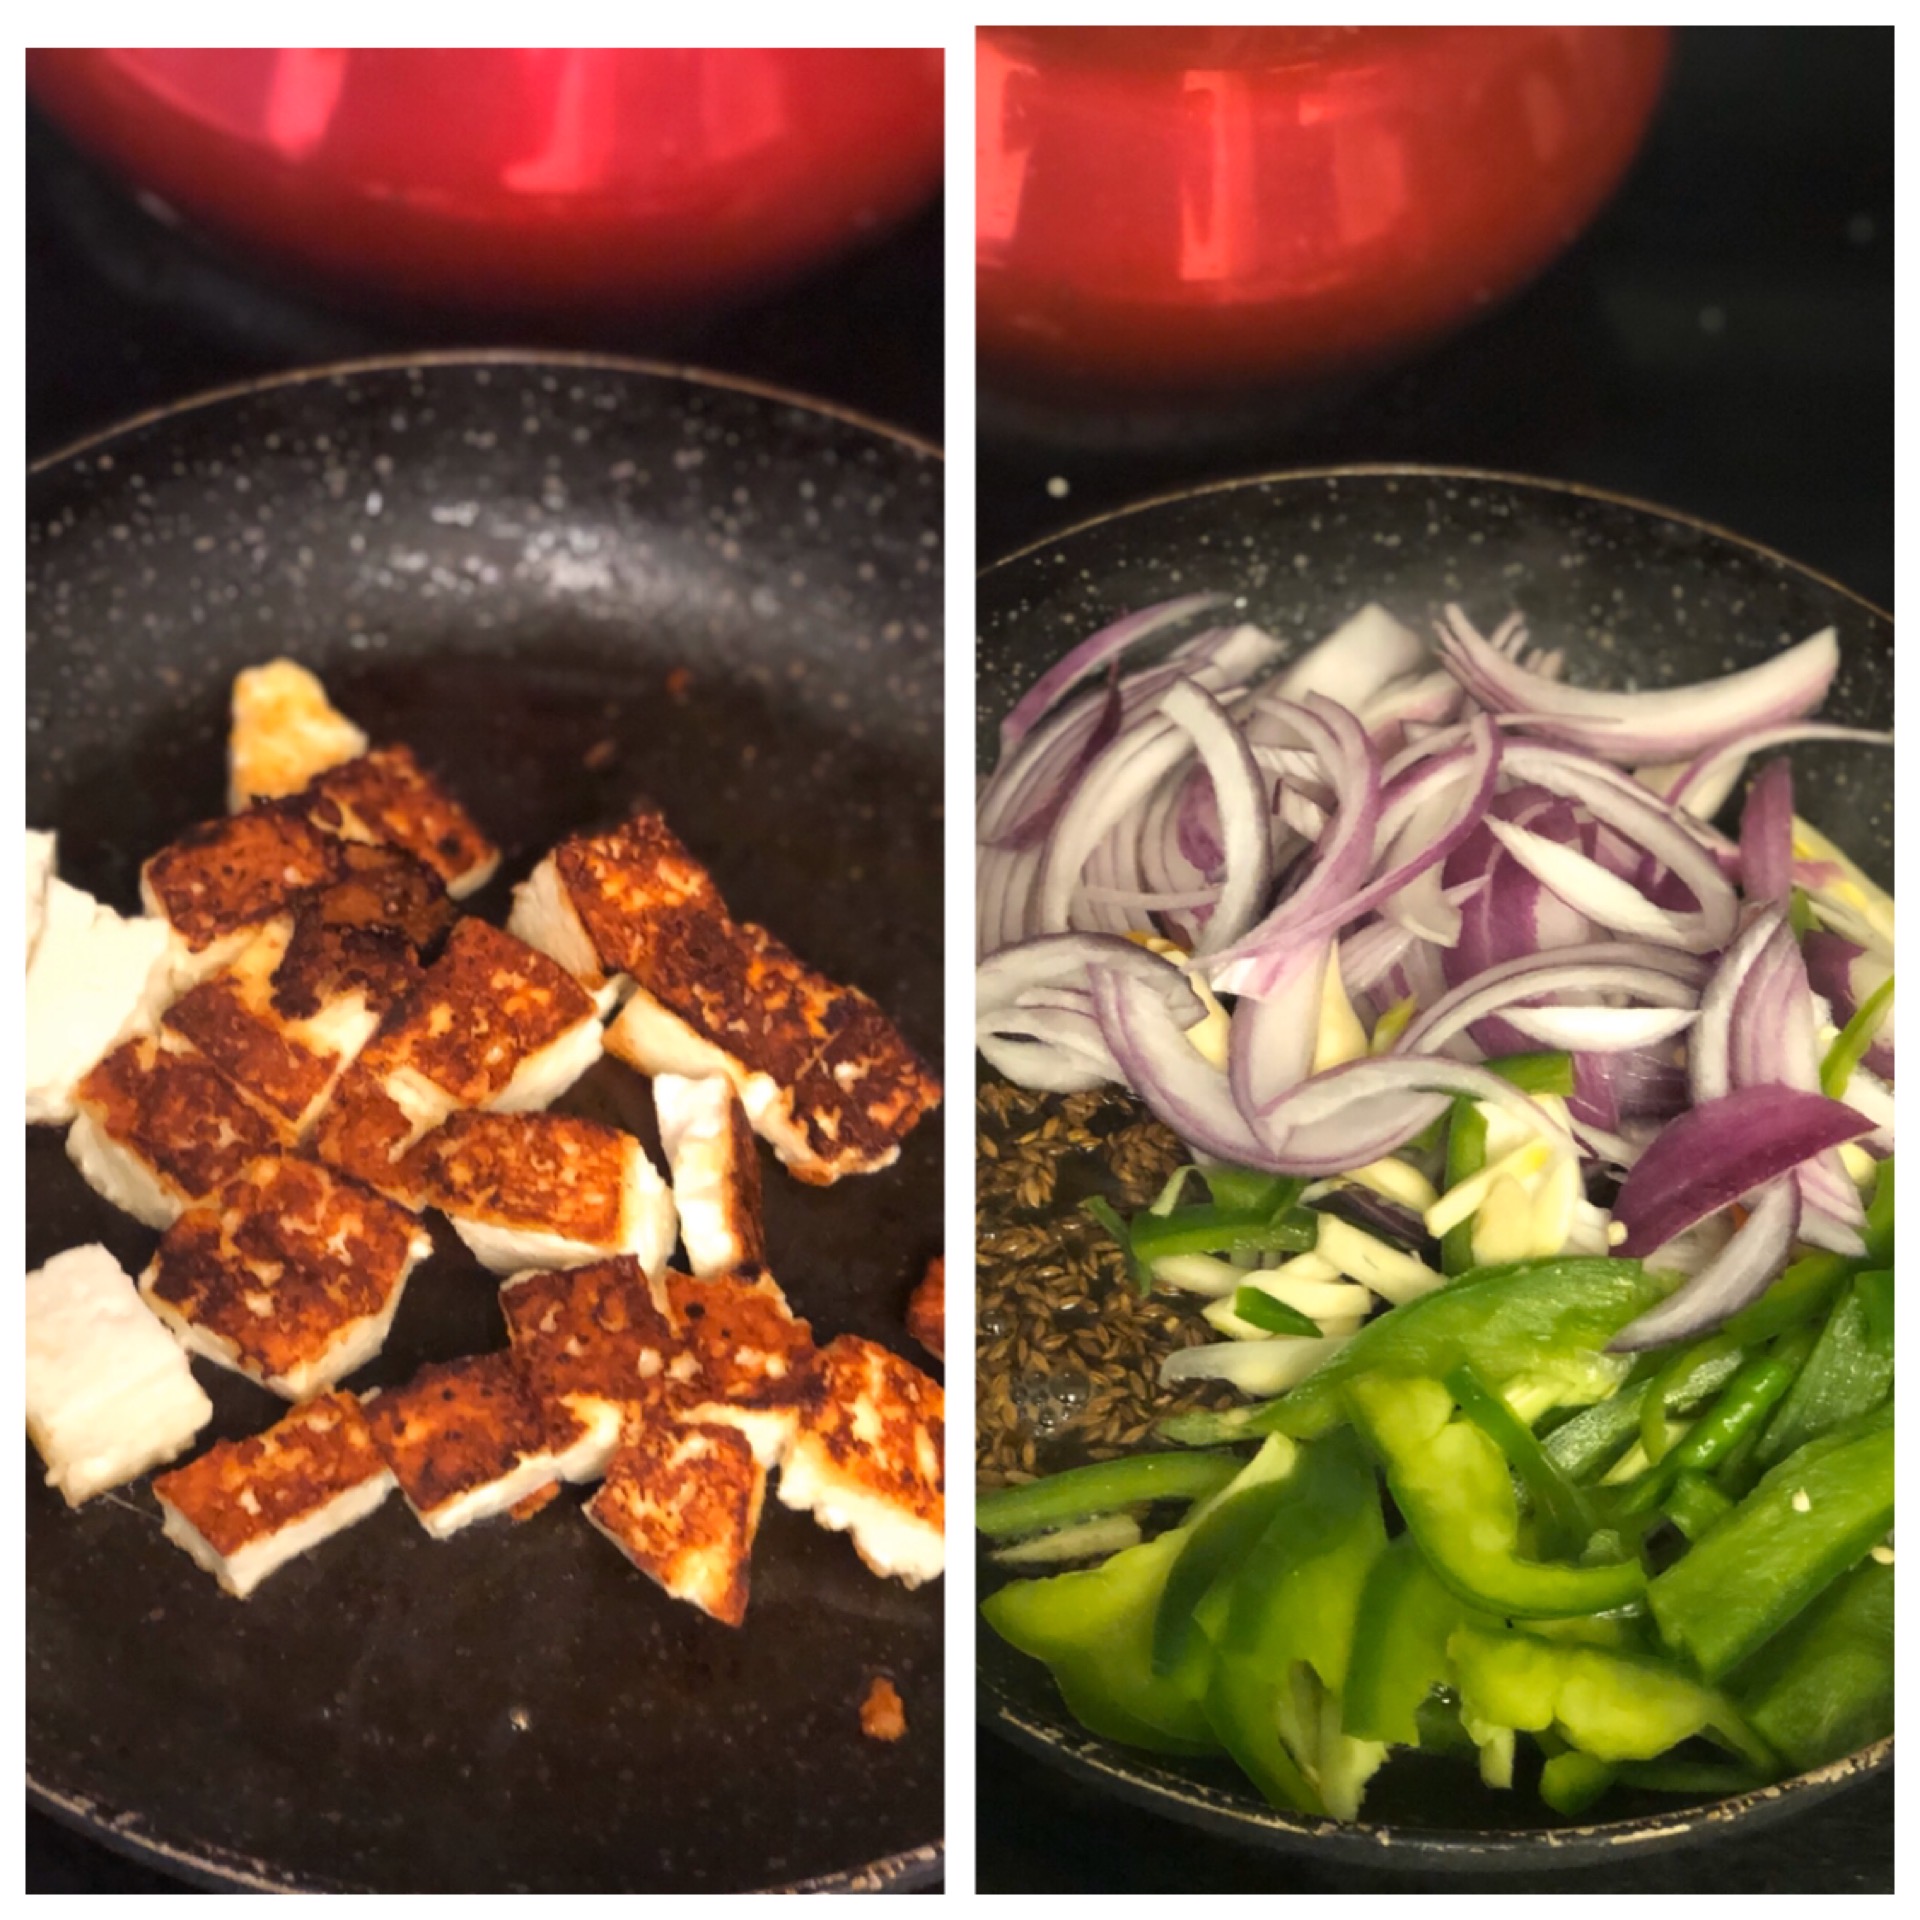
- • 300 gms - Paneer Cubes
- • 2 tbsp – Paneer crumbs
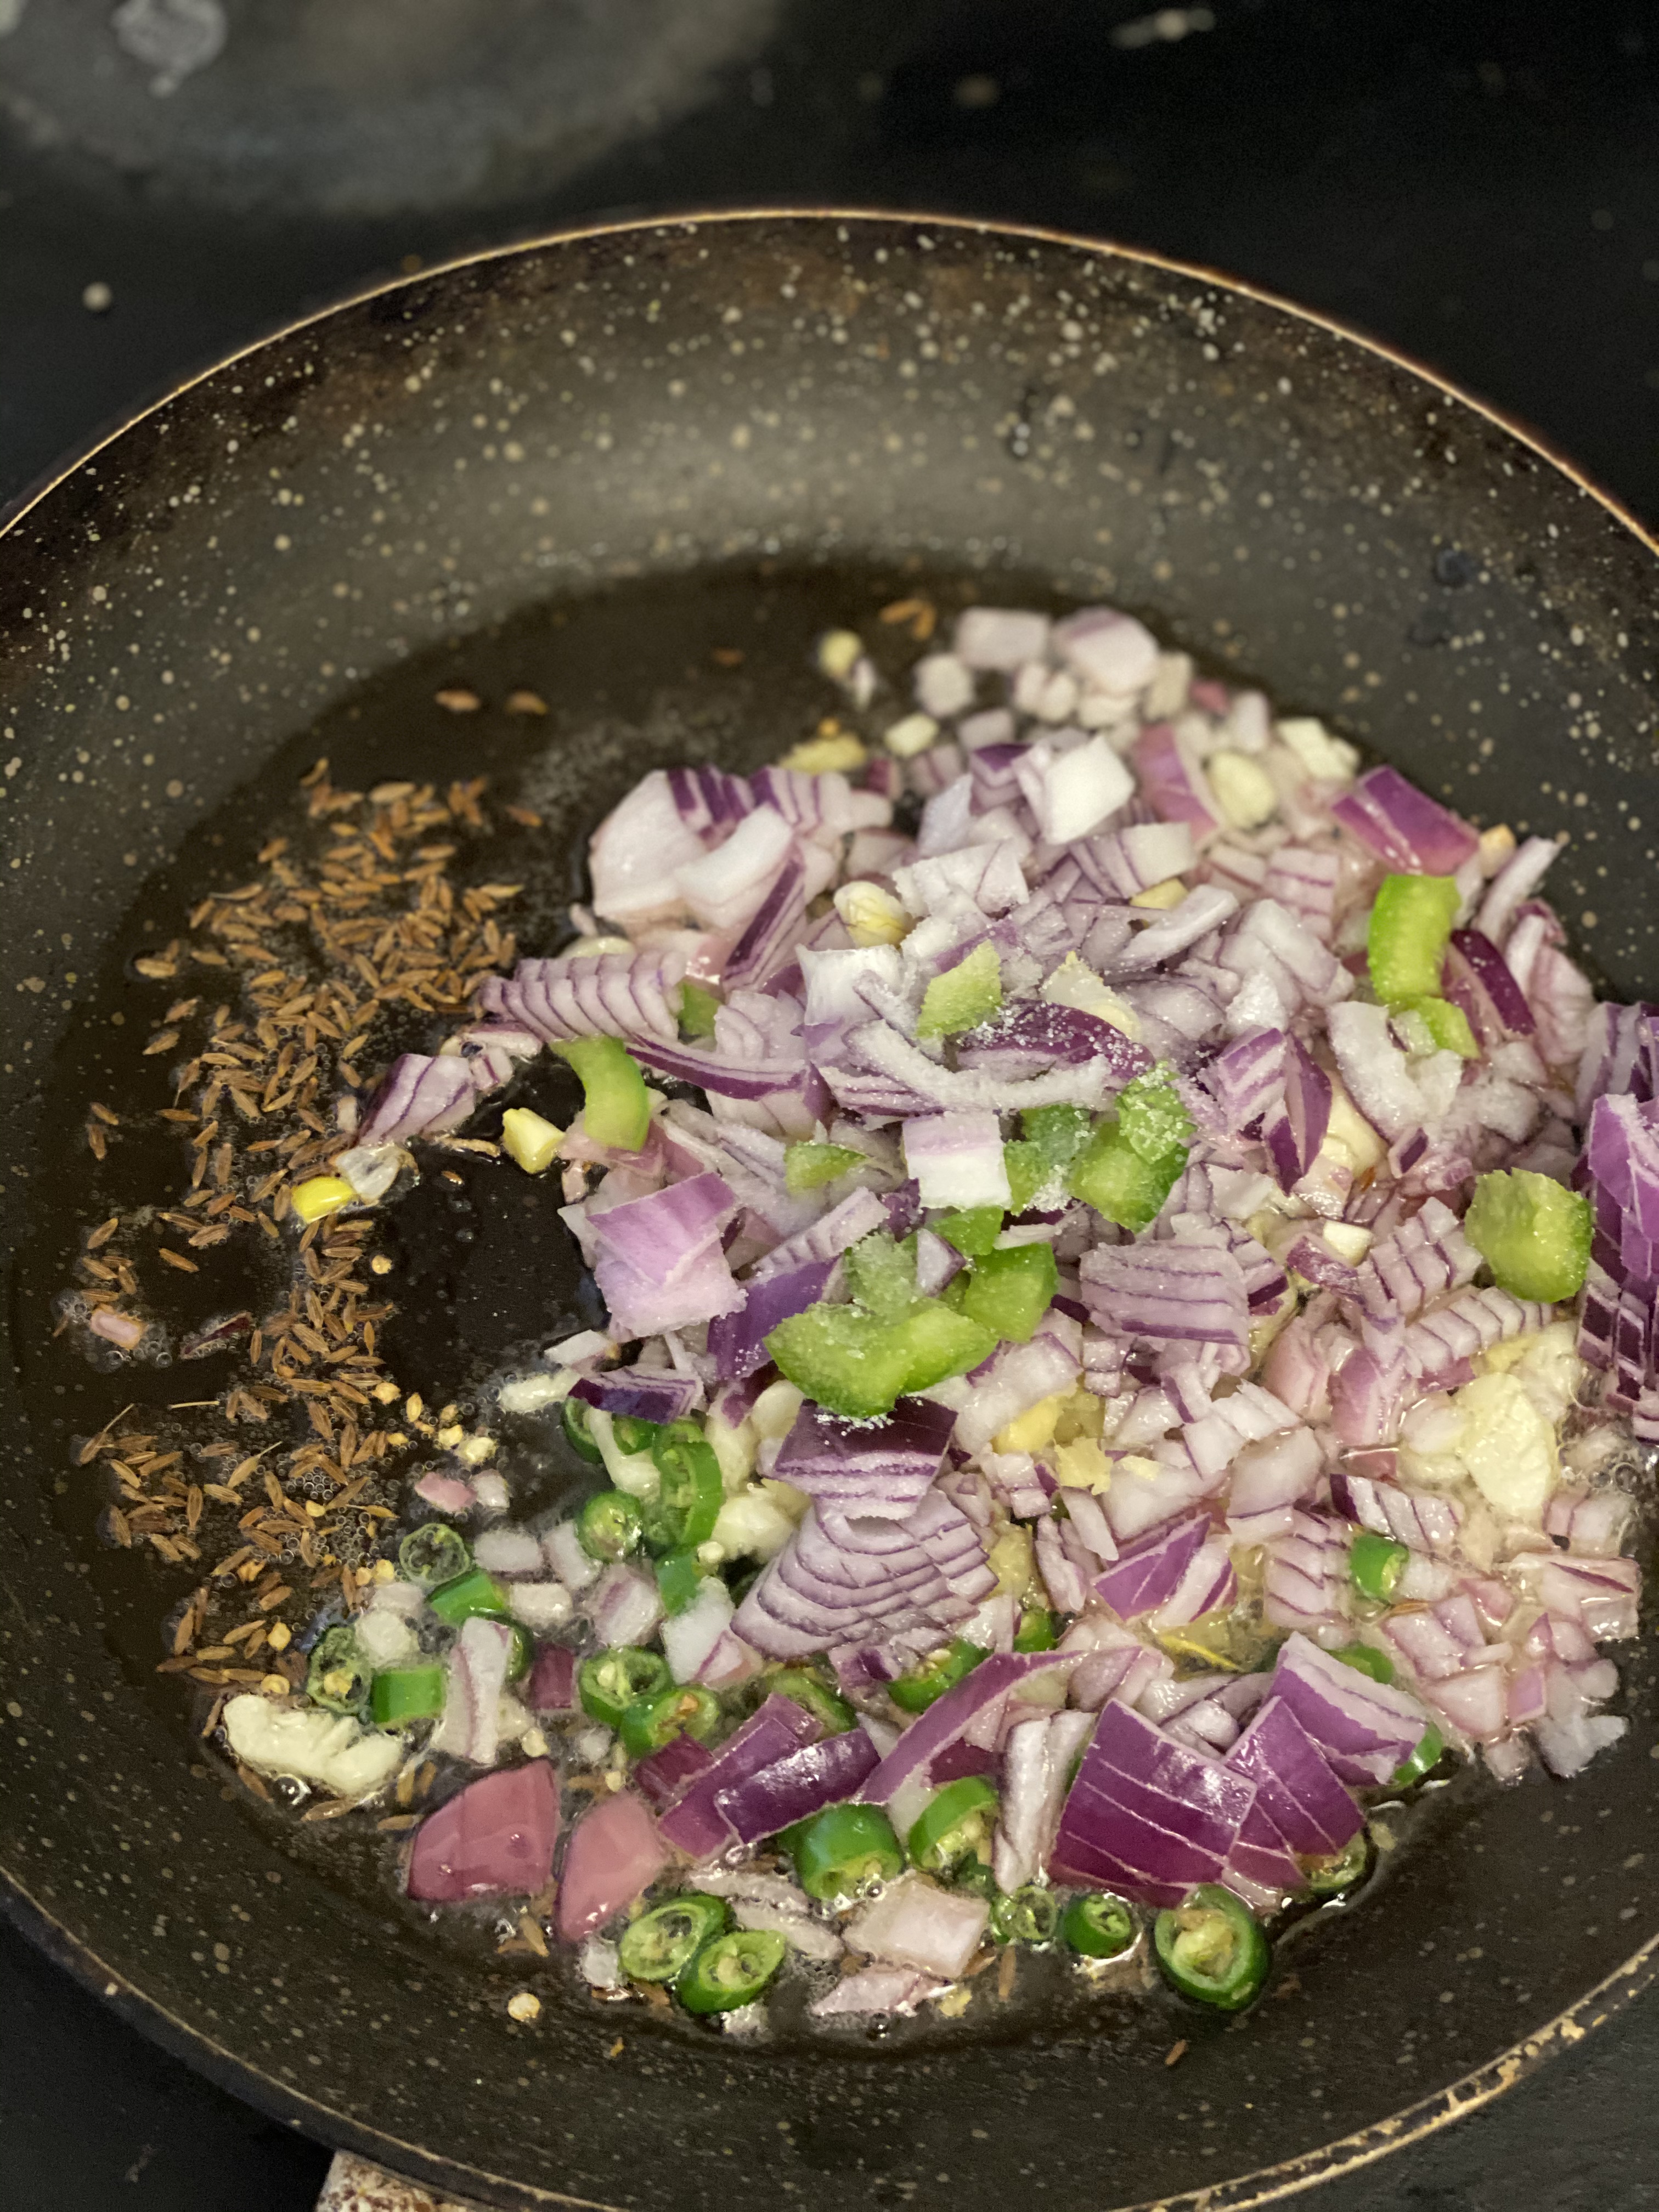
- • 1 tbsp - Oil
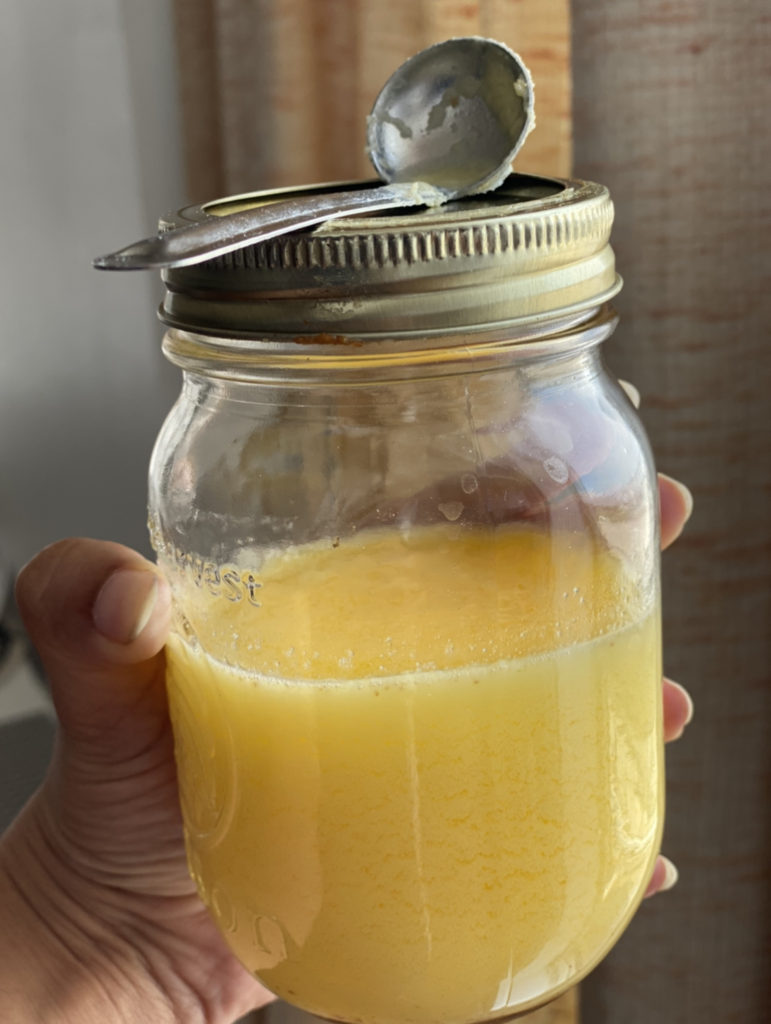
- • 2.5 tbsp – Ghee
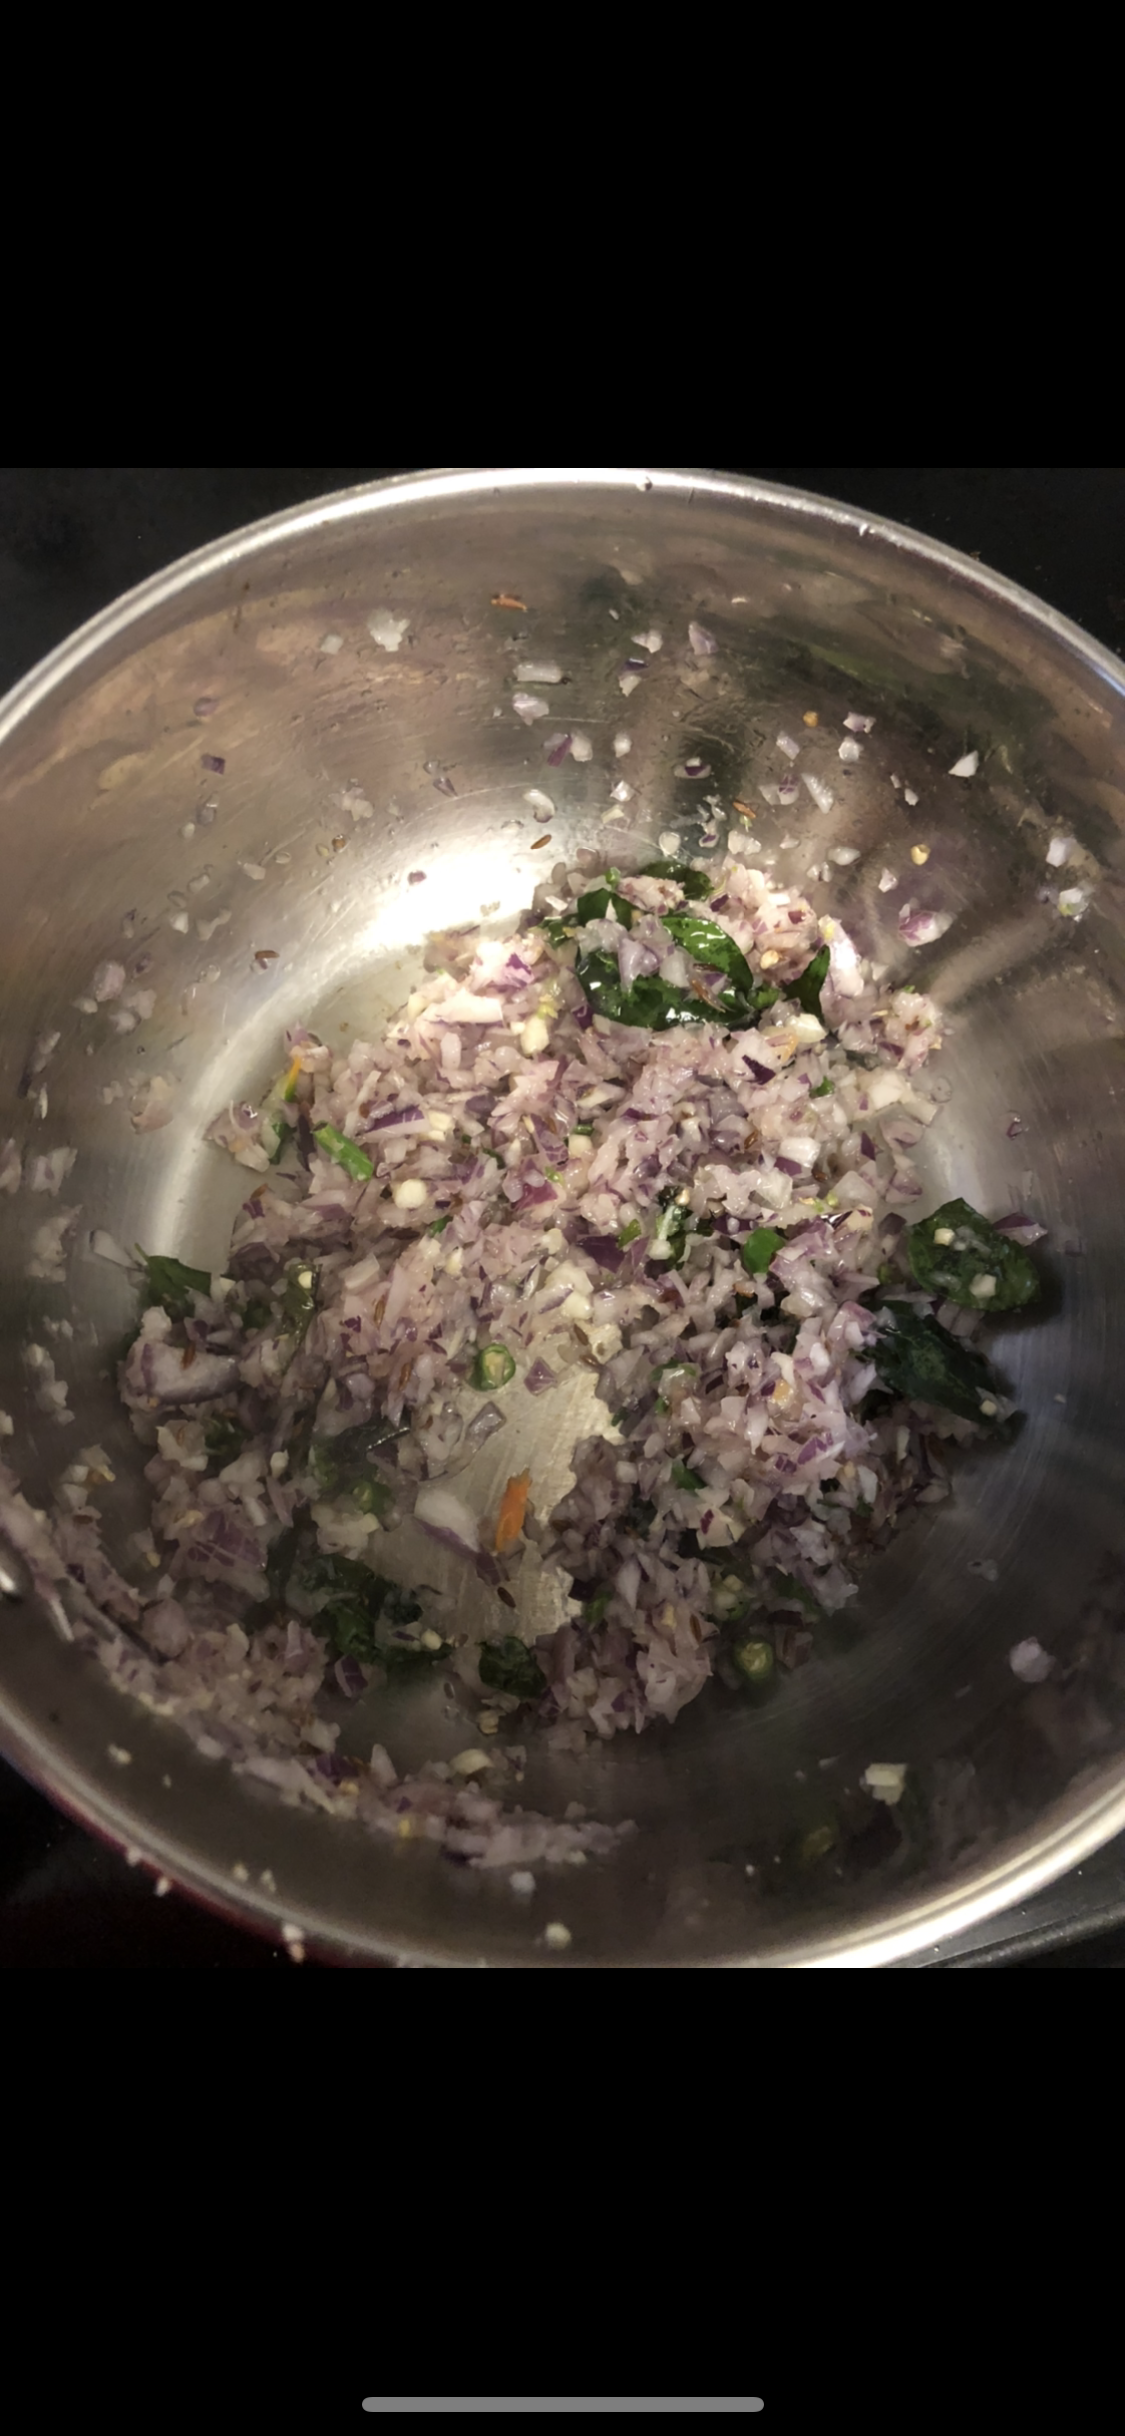
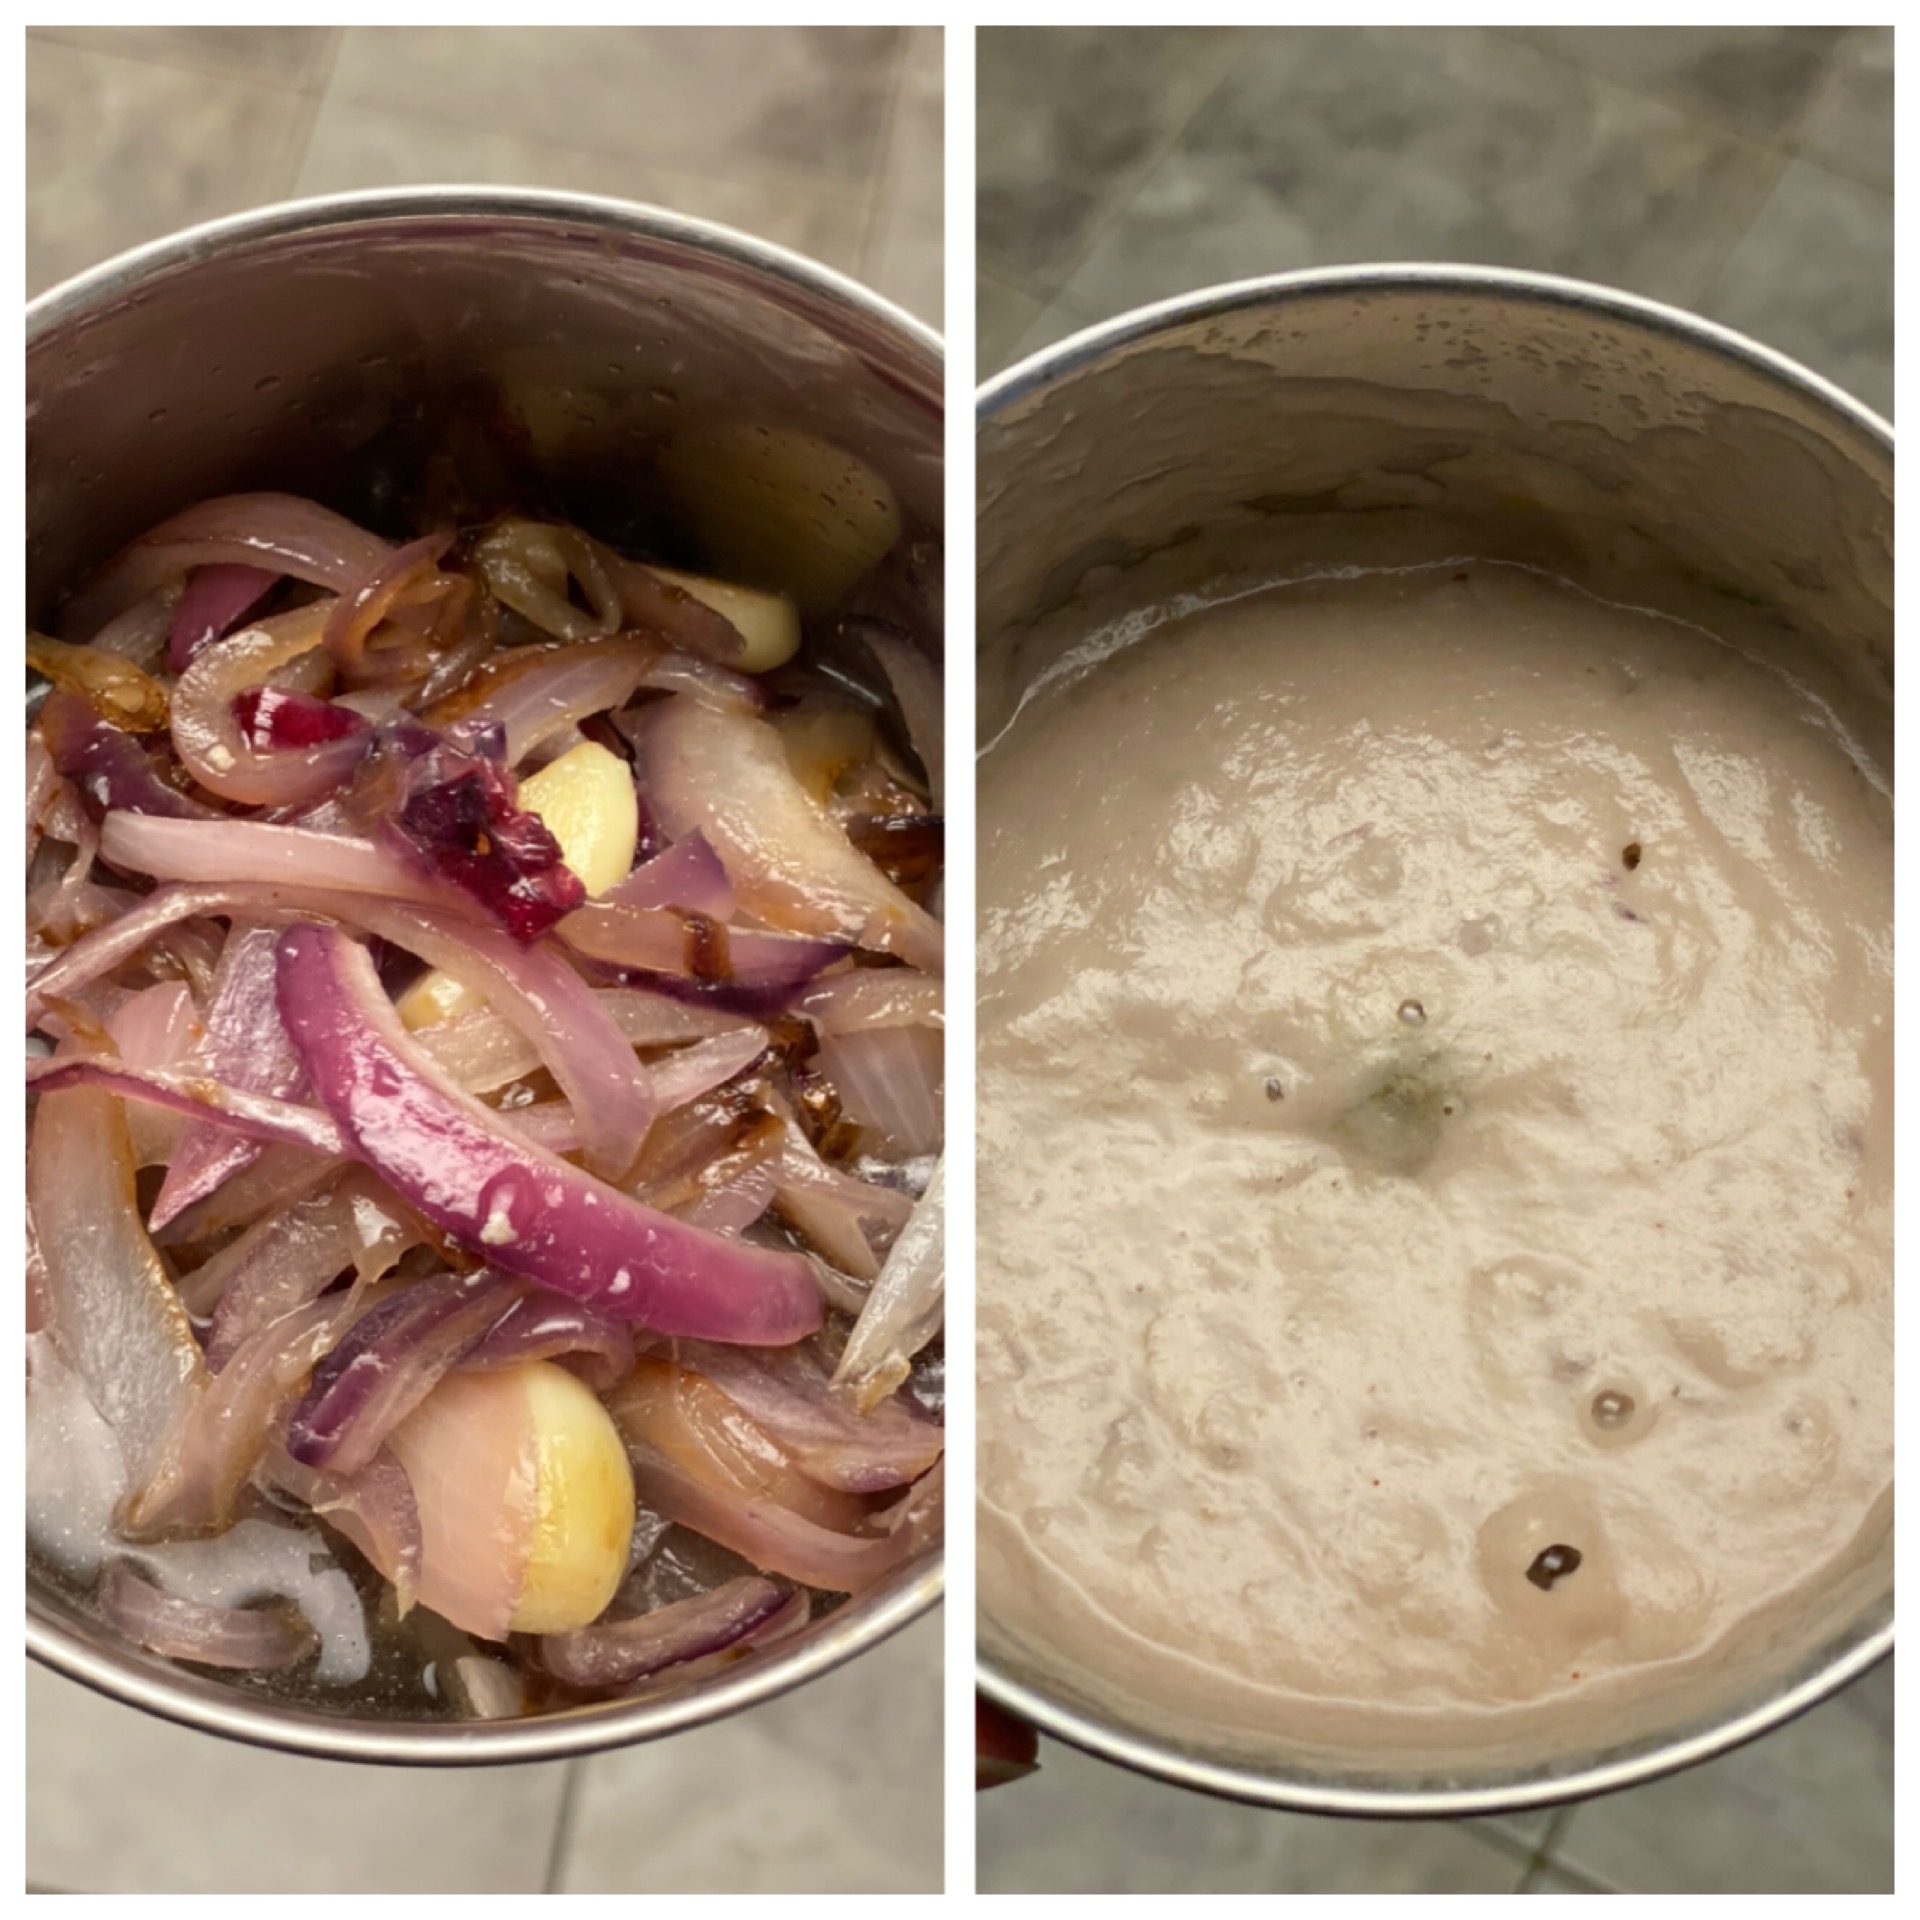
- Onion Paste:
- • 1 – Onion, chopped finely
- • 3 – Green chilli, Chopped finely
- • 4 – Garlic , chopped finely
- • 1 inch – Ginger, chopped finely
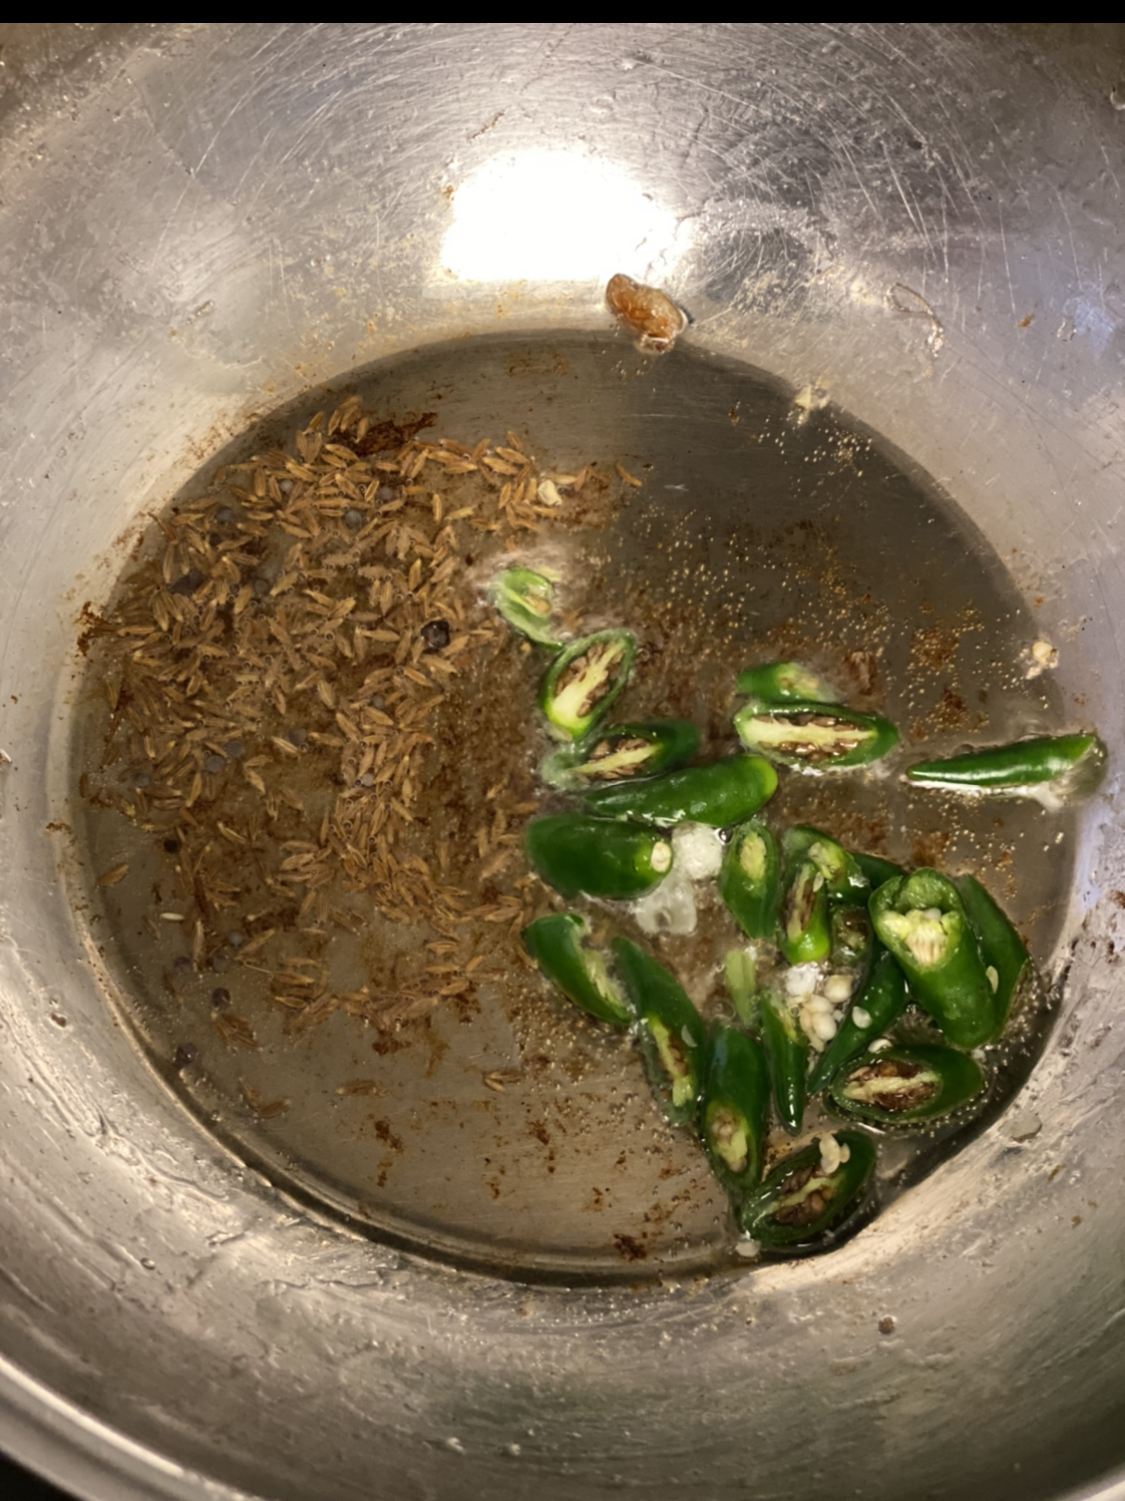
- • 1 tsp – cumin seeds
- • 1 – bay leef
- • 2 – cloves
- • 2 - green Cardamom
- Curry:
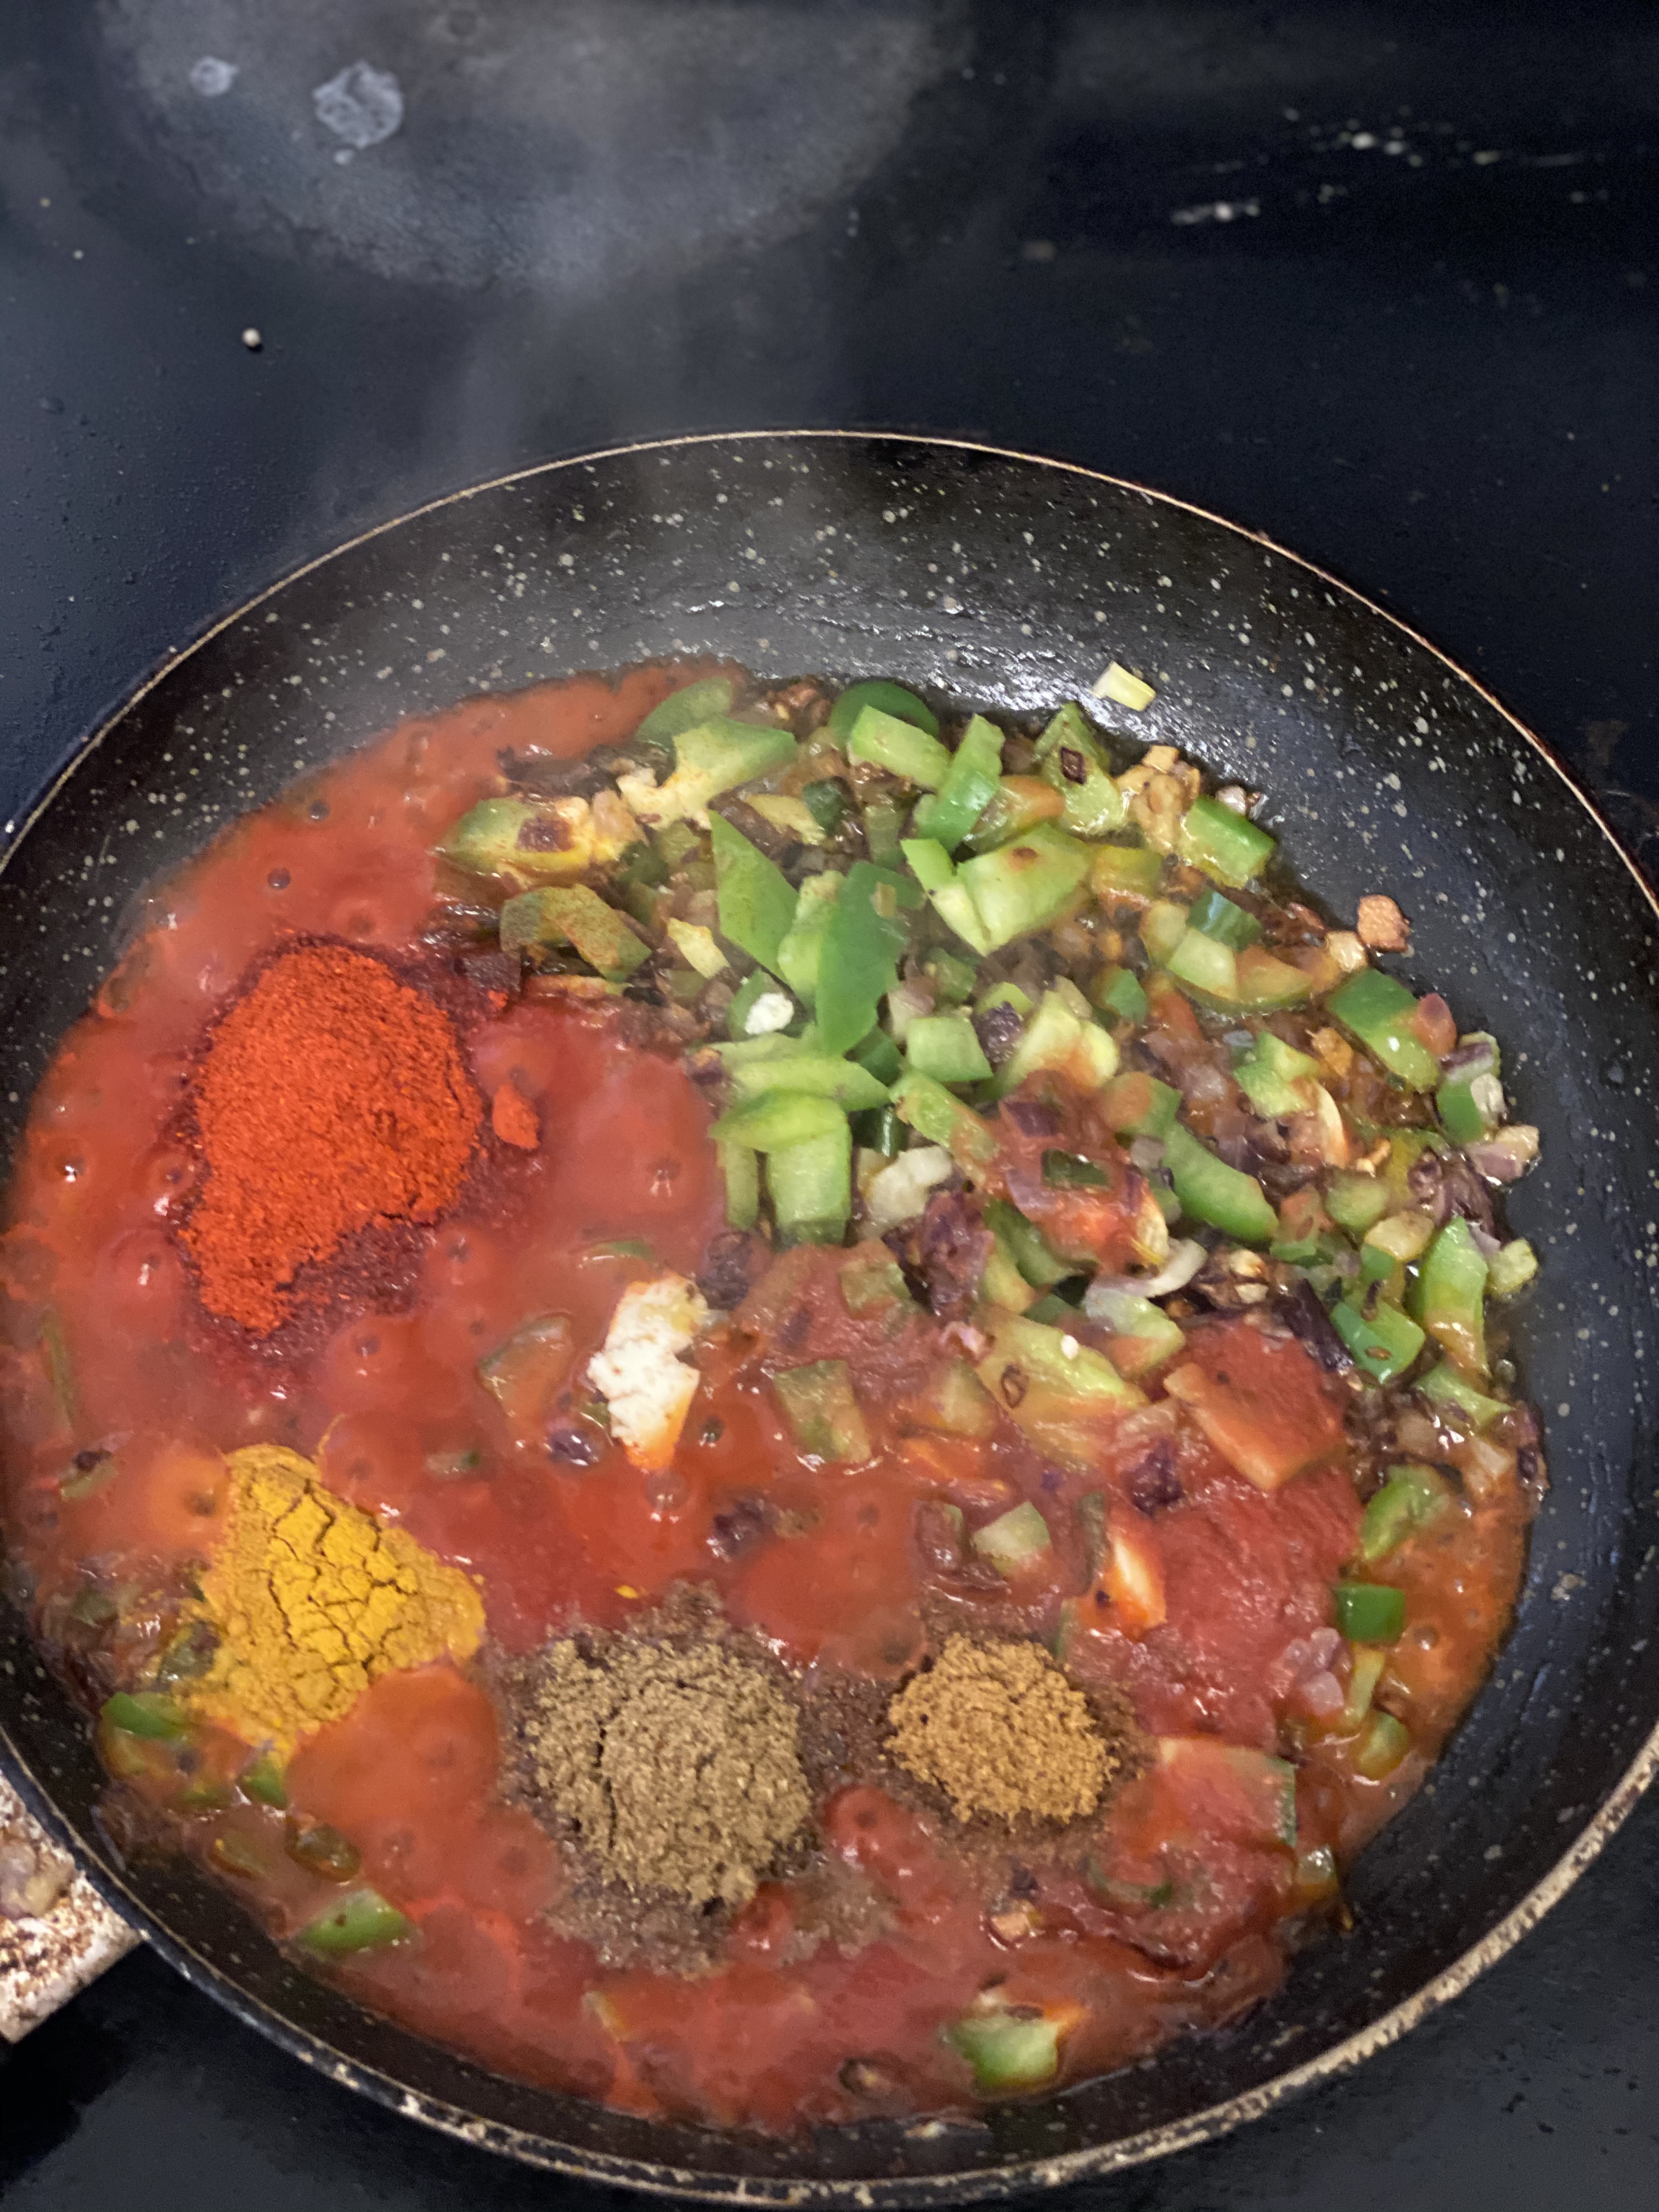
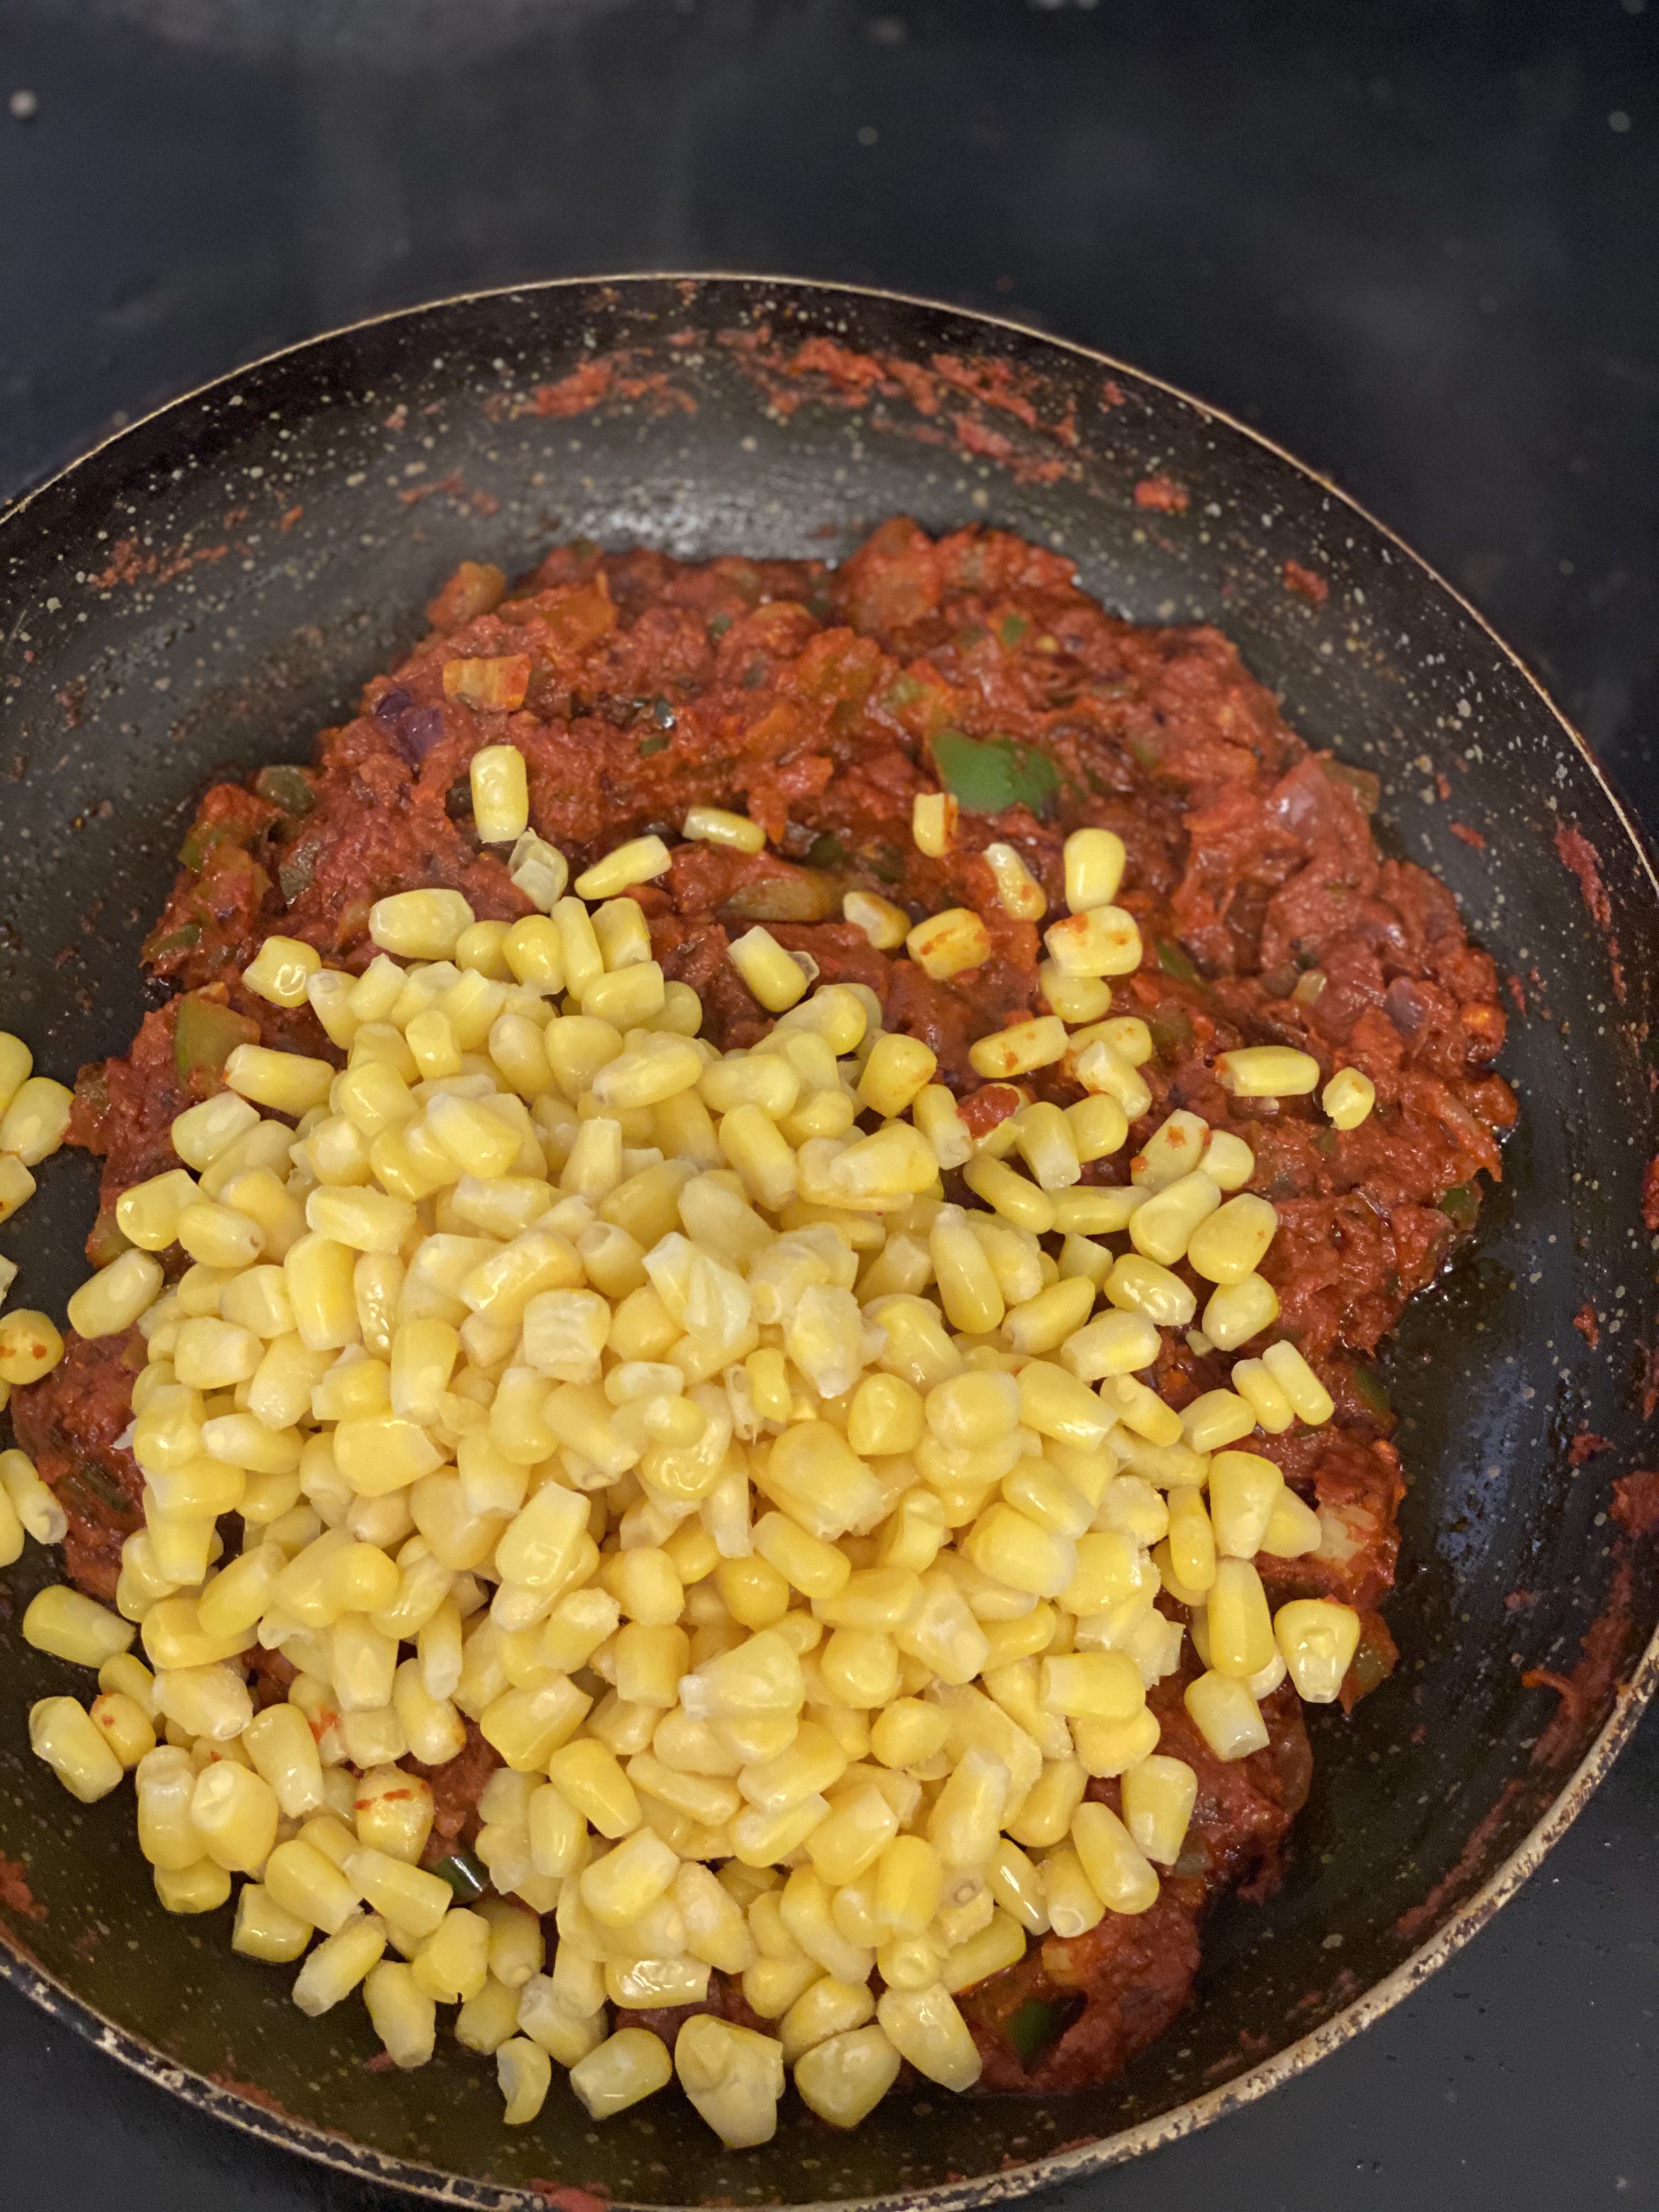
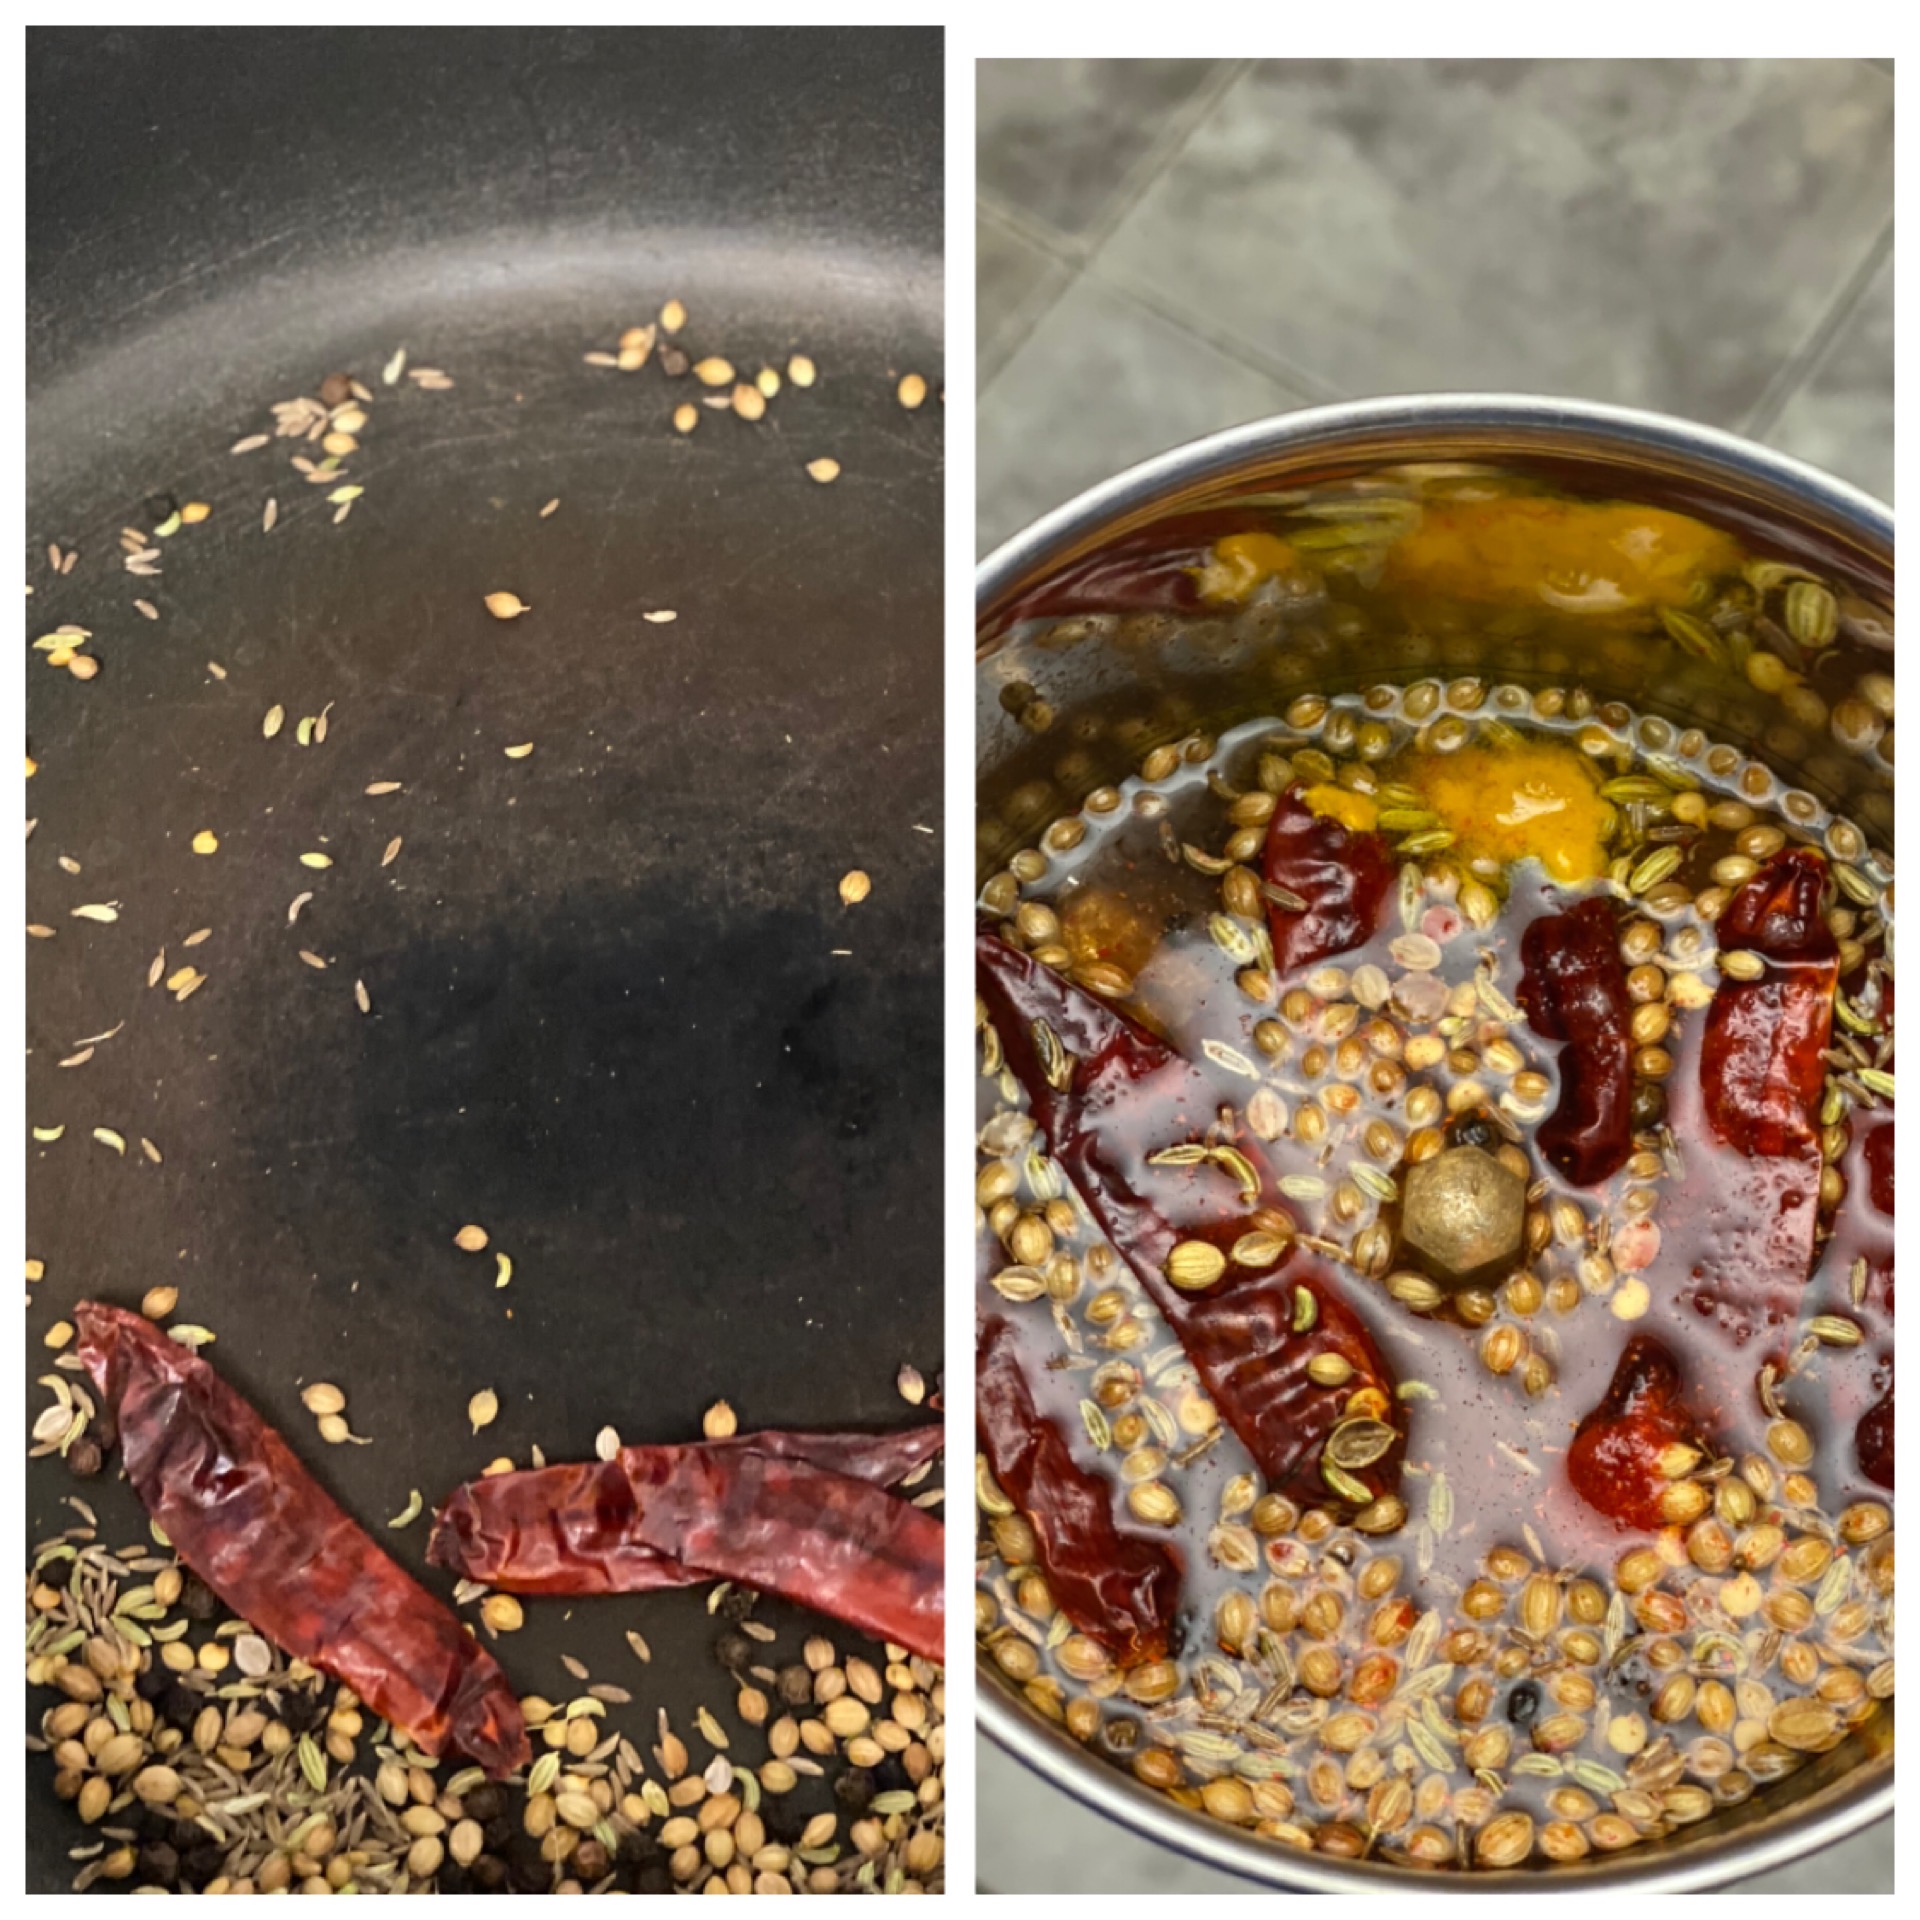
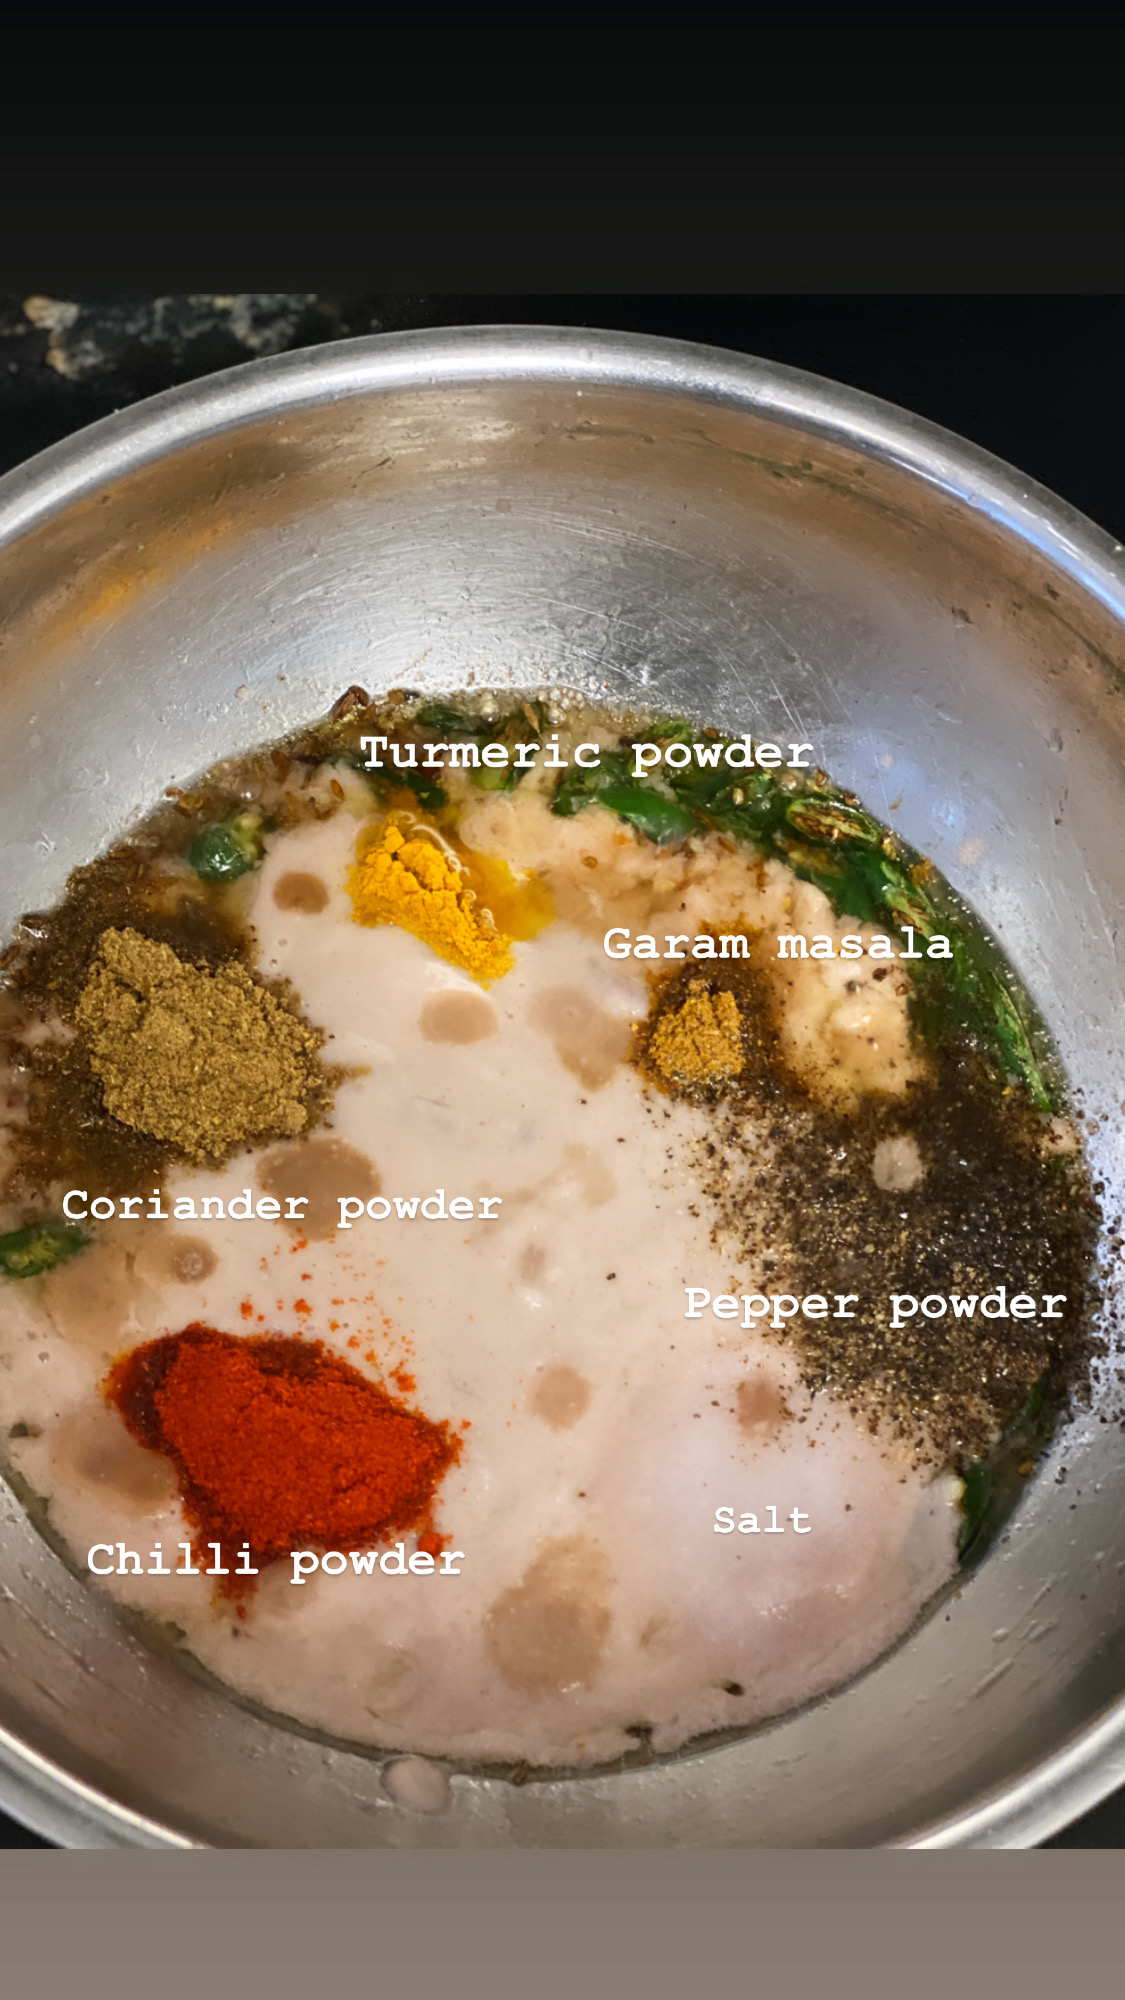
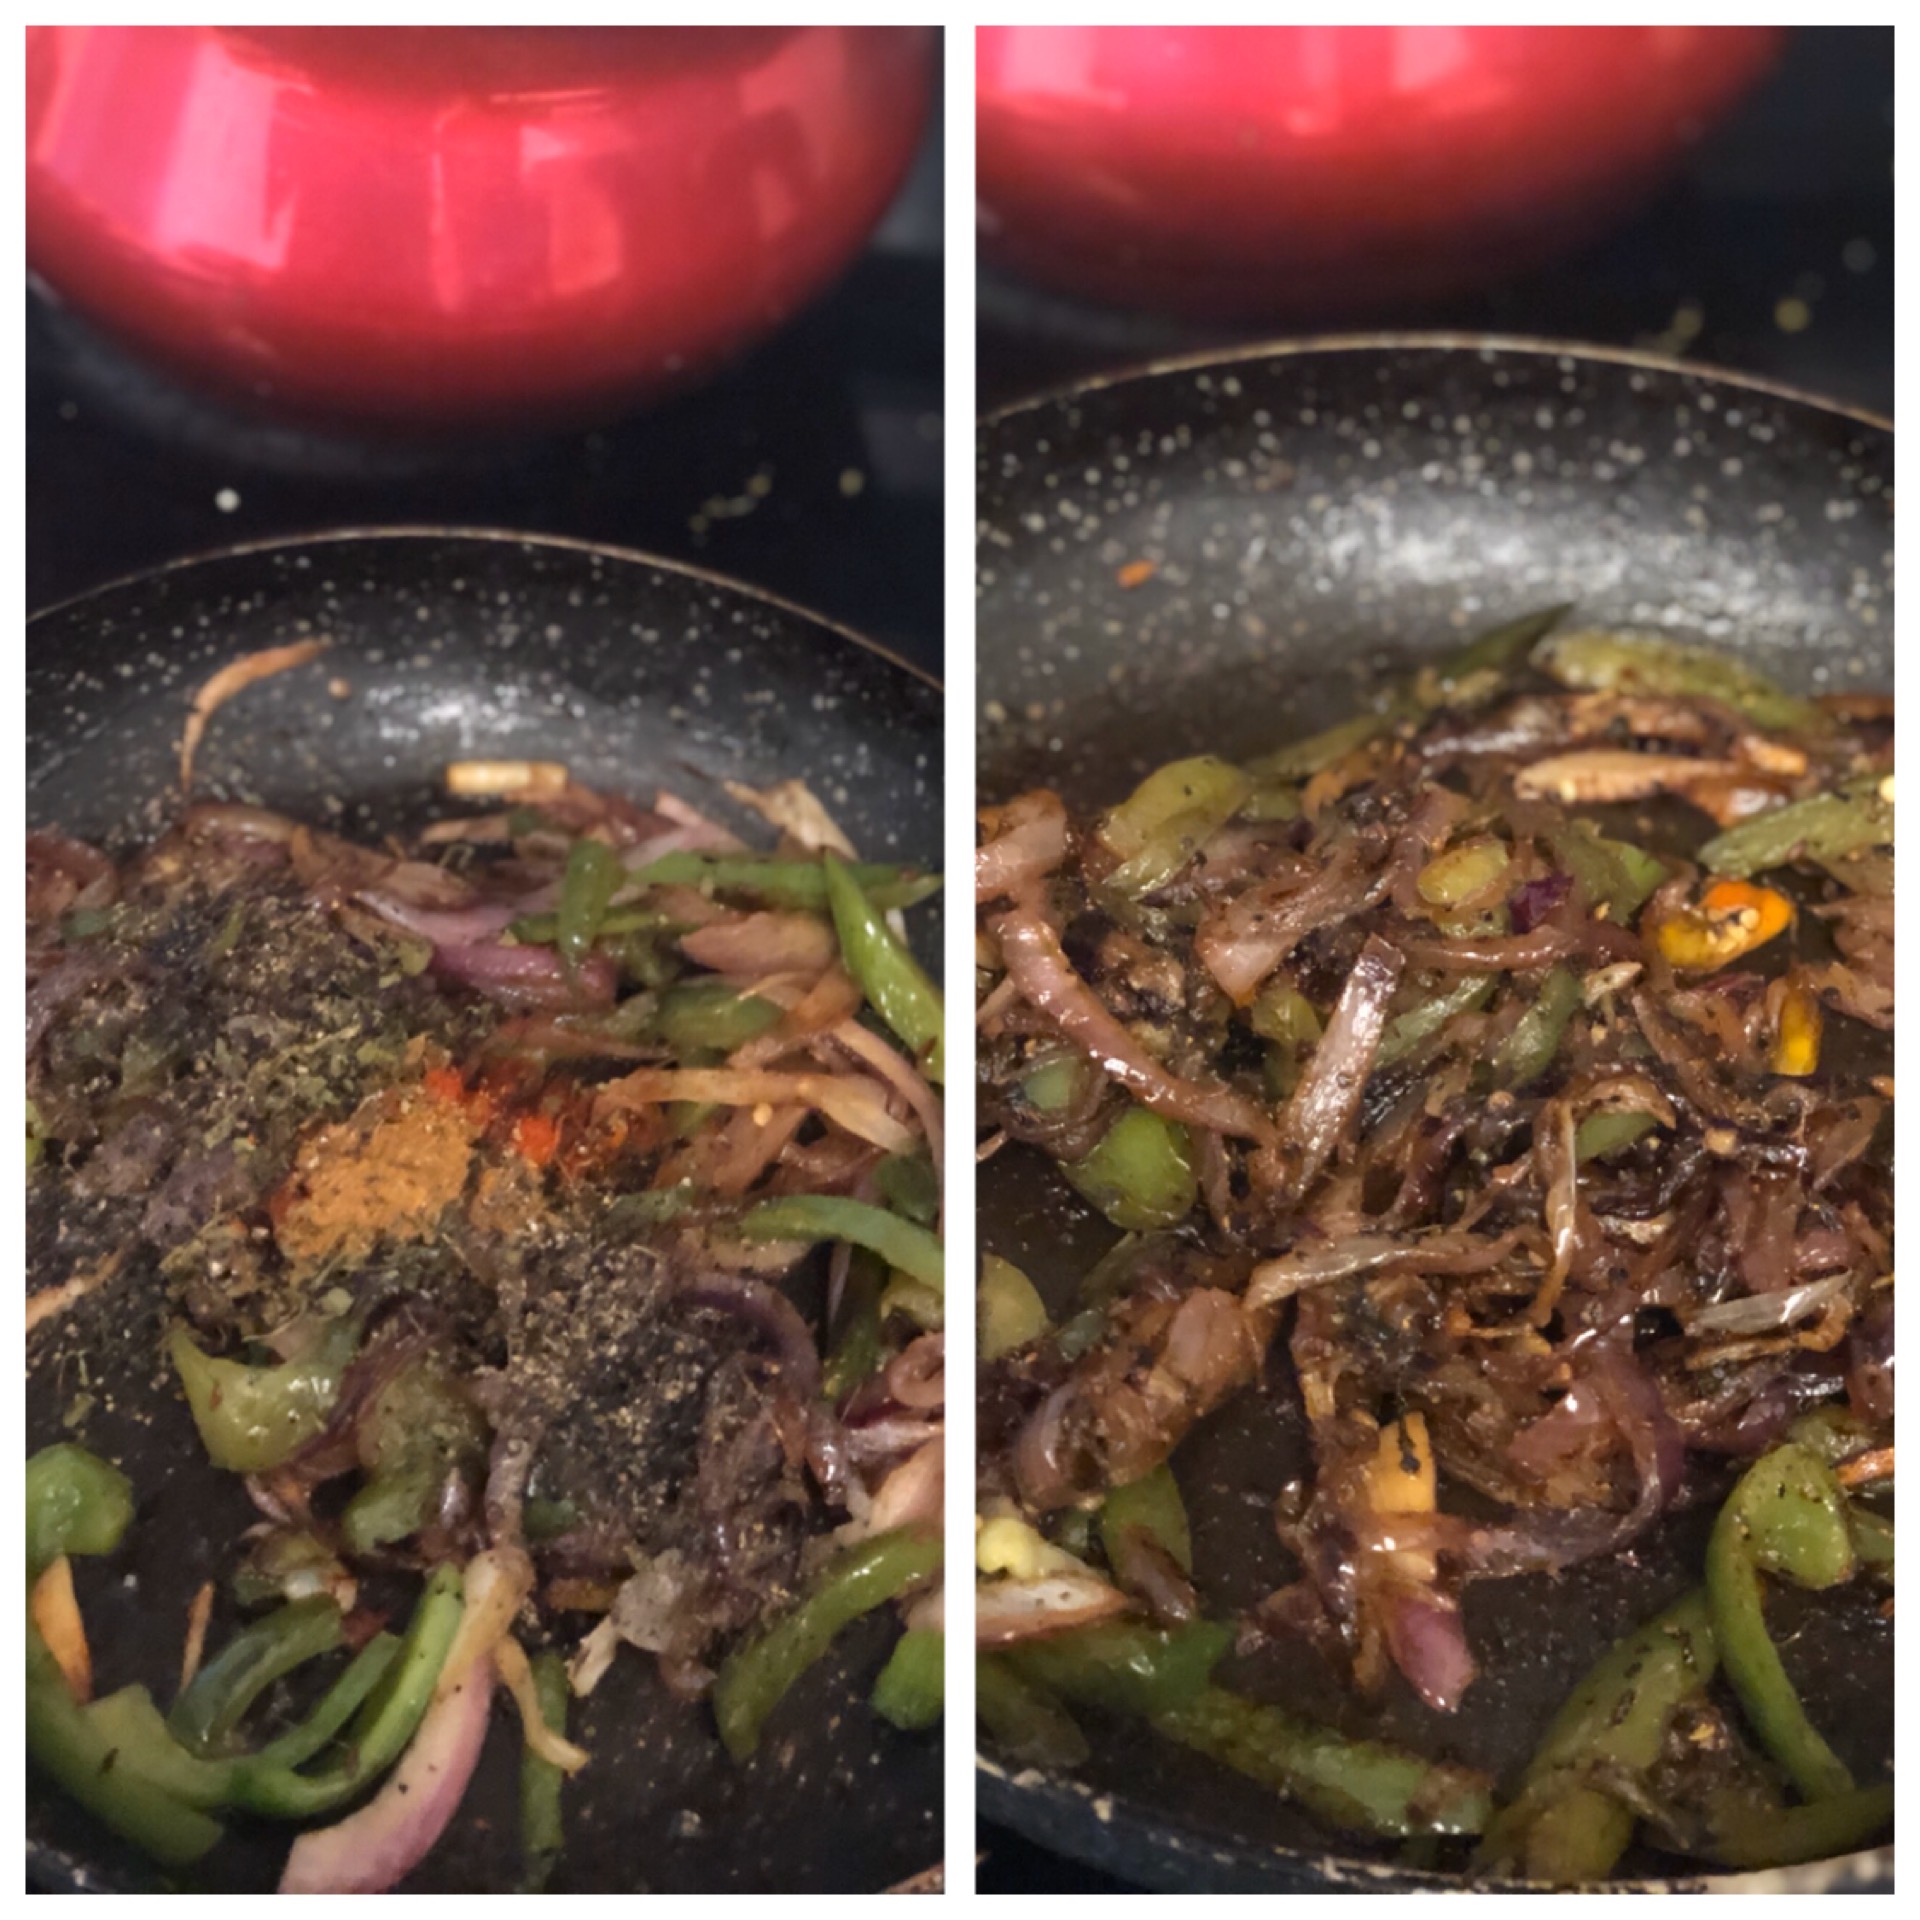
- • 1 tsp - Turmeric powder
- • 6 tbsp – tomato paste or 2.5 tomatoes blended into puree.
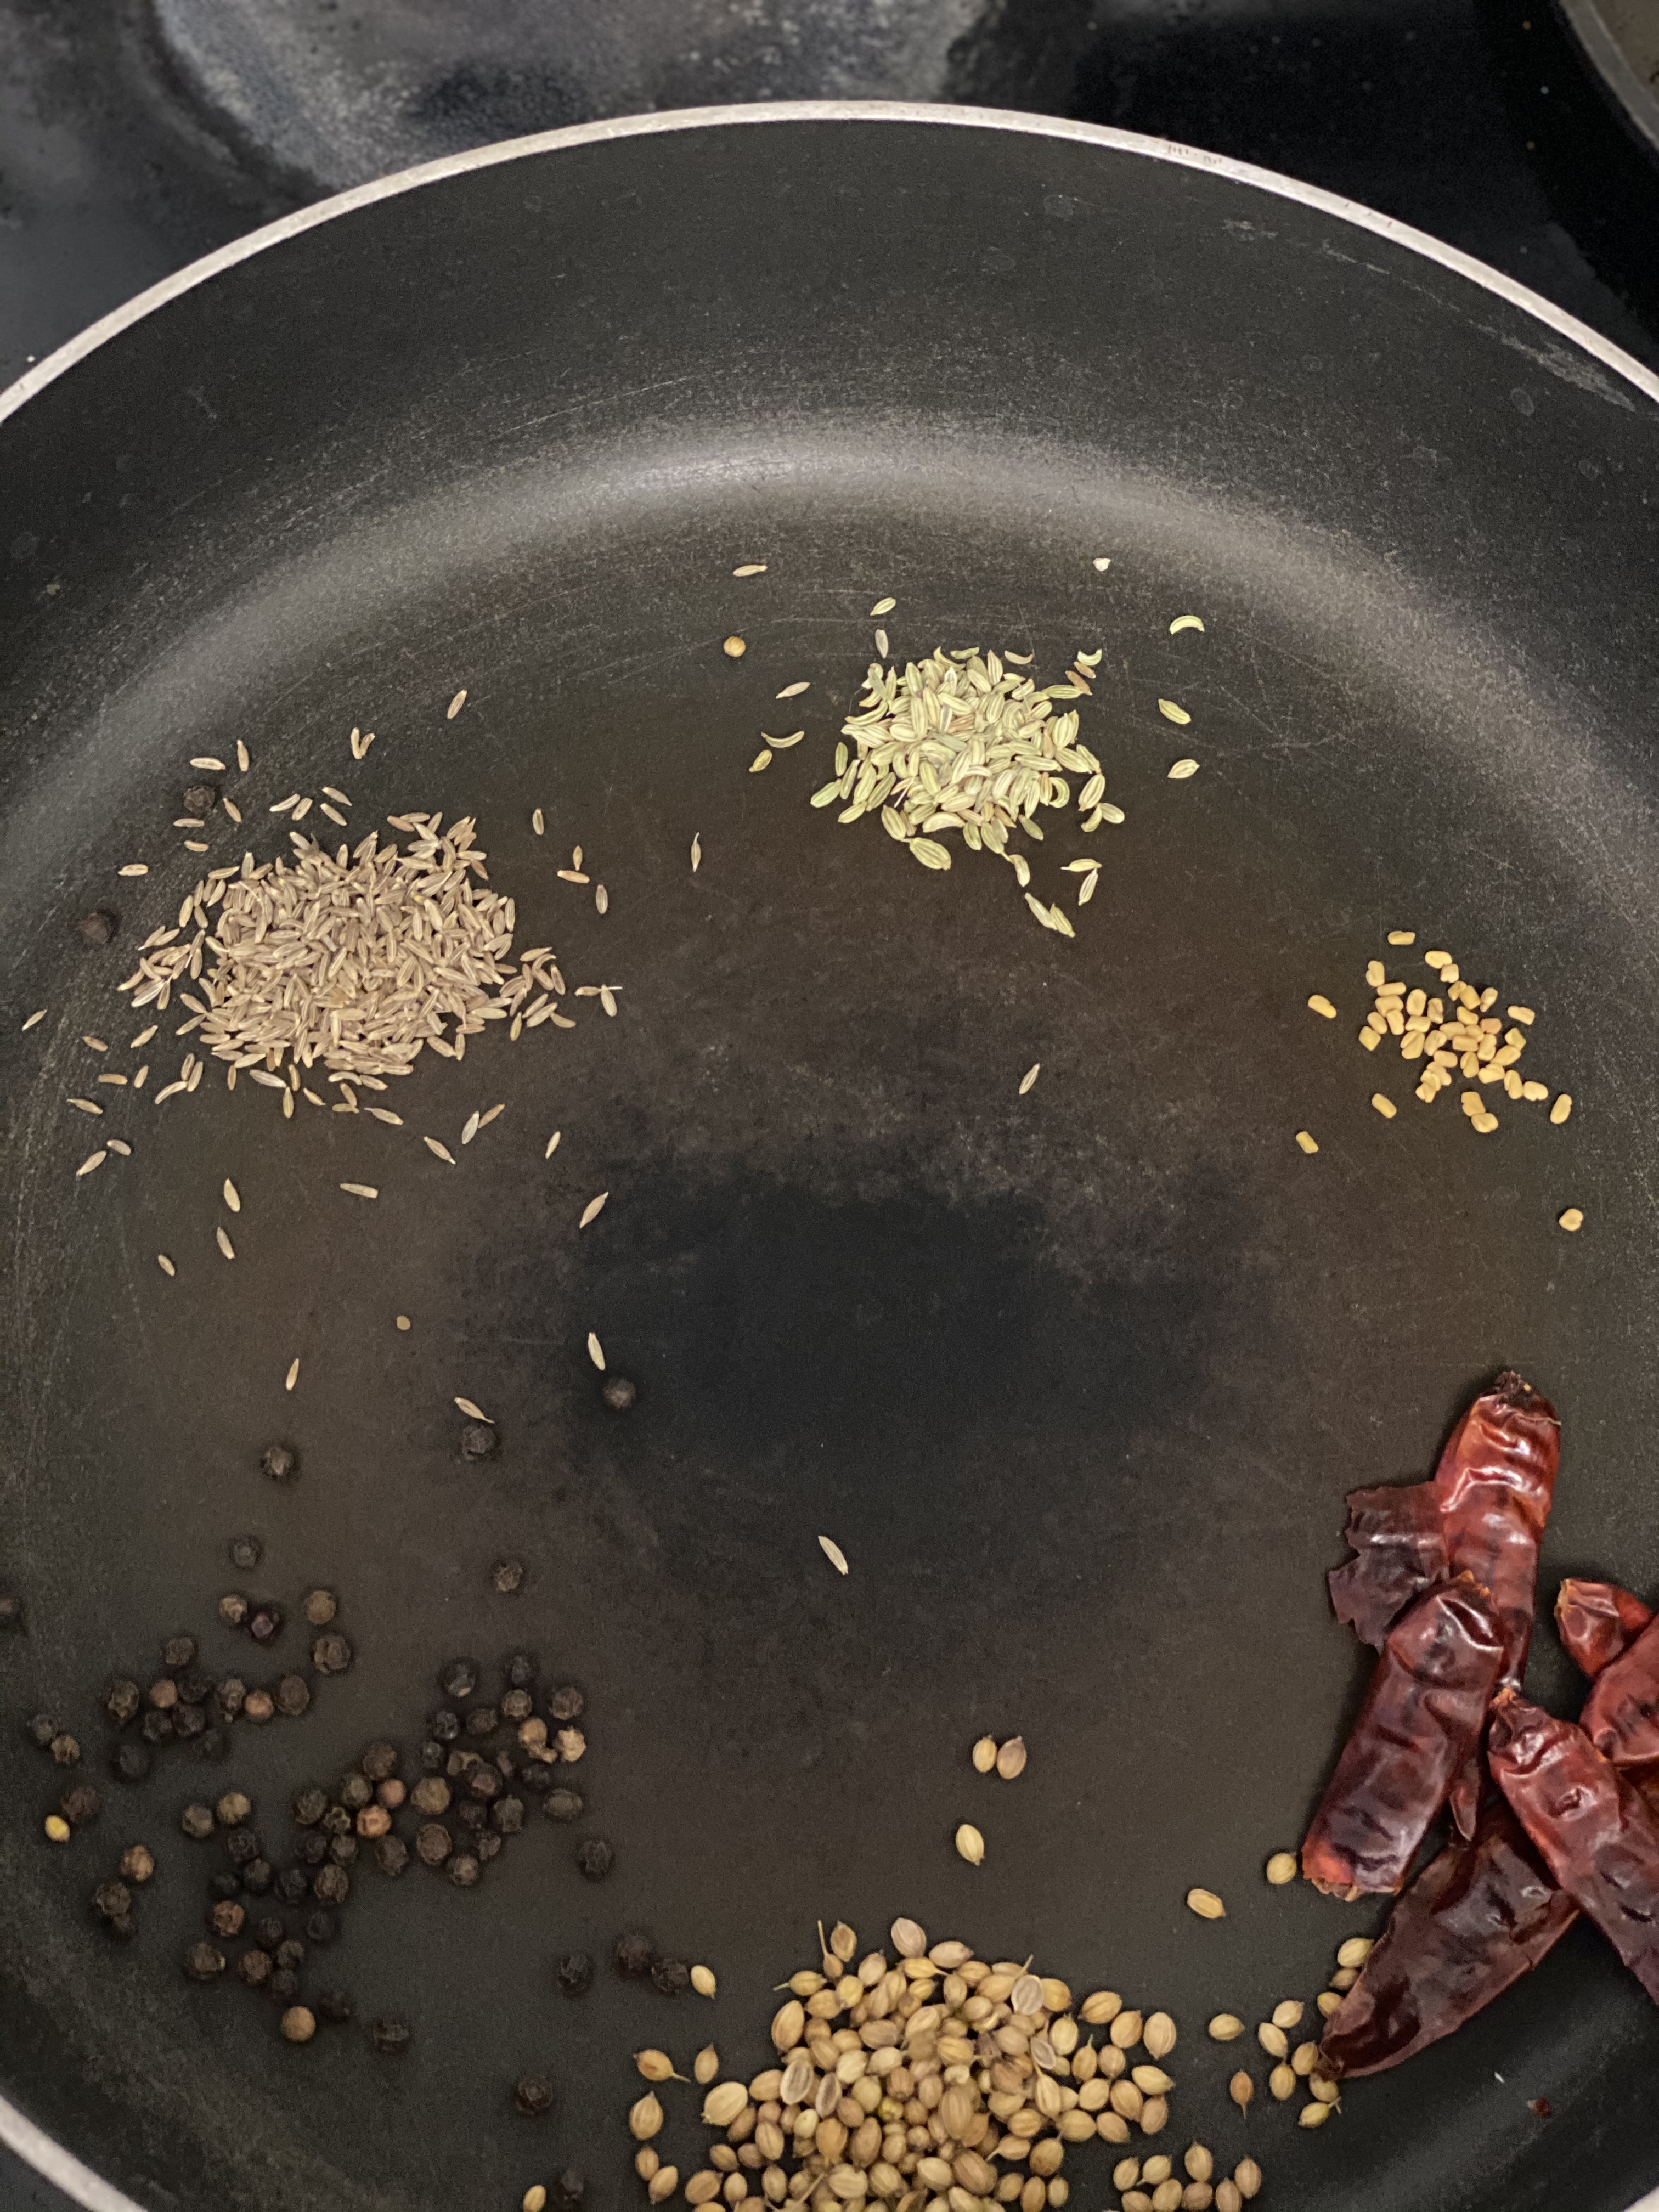
- • 1 tsp – Coriander powder
- • 1 tsp – Cumin Powder
- • 1 tsp – Chaat masala powder
- • 1 tsp - Kashmiri Chilli powder
- • ¼ tsp – Mango (Amchur) powder
- • ½ tsp – Kasuri Methi (Dry Fenugreek leaves)
- • 3 tsp – Salt
- • ½ cup – water
- • ½ tsp - sugar
- • 1 tsp – lemon juice
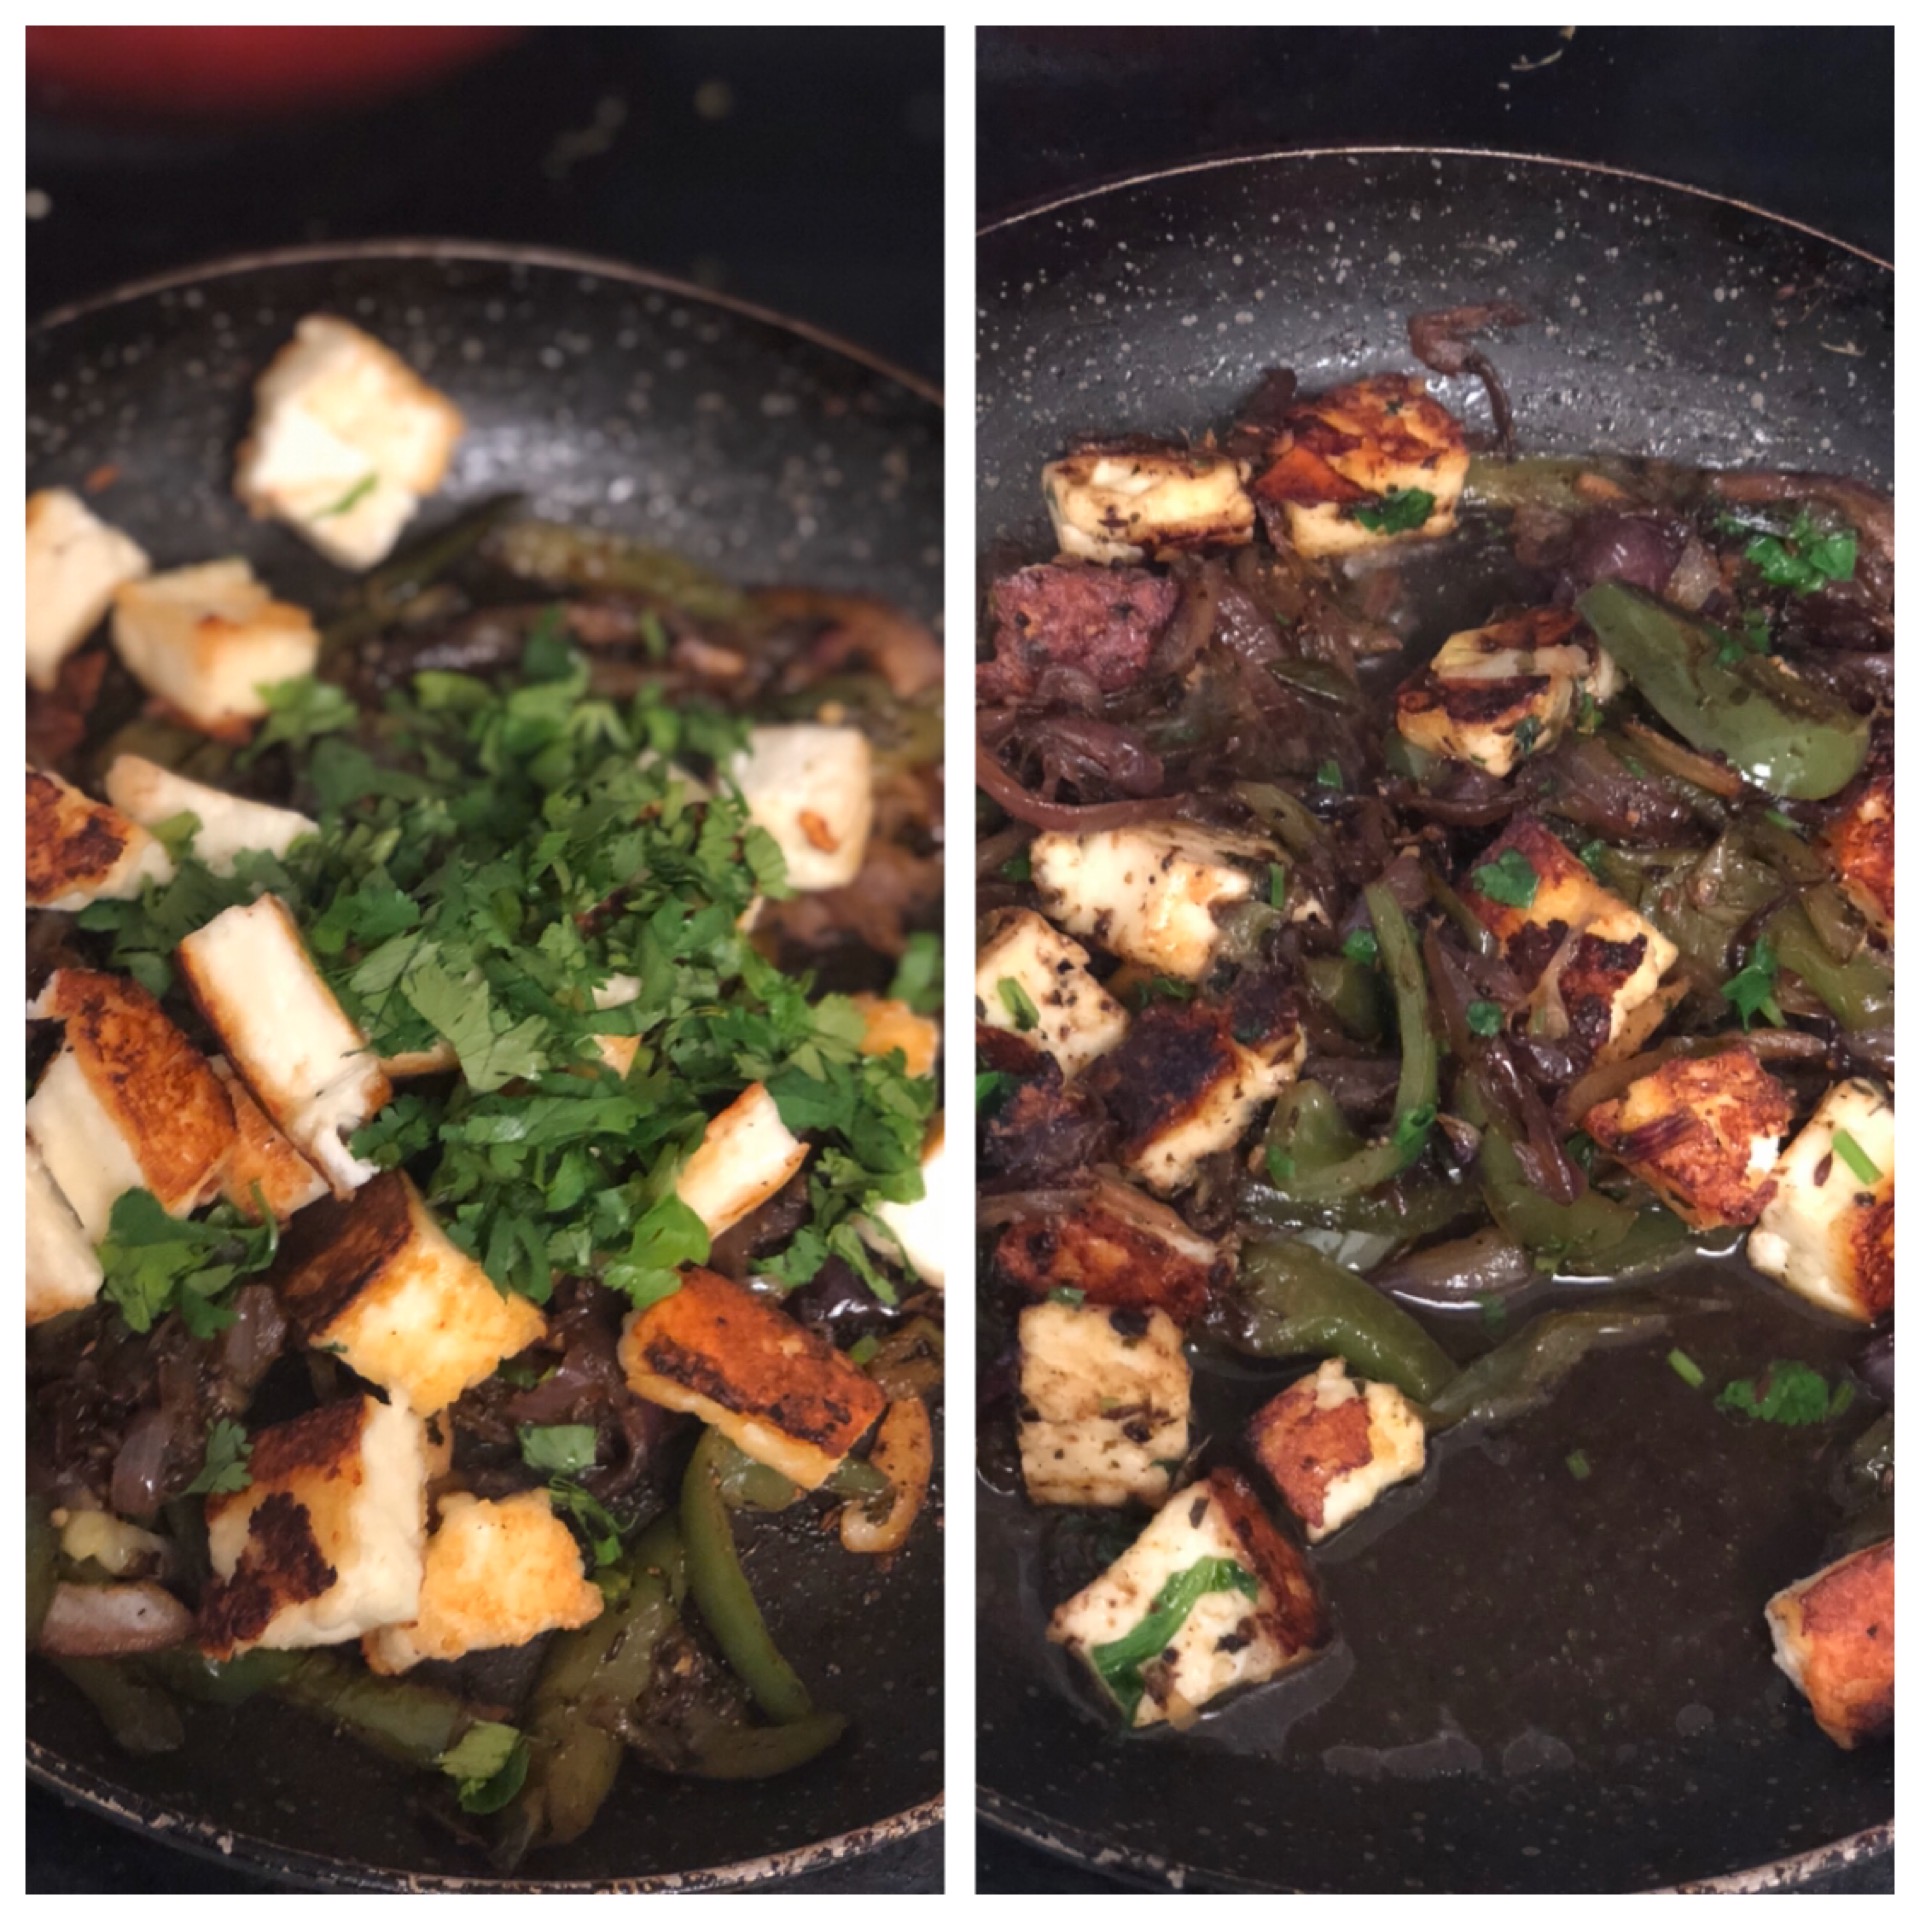
- • 1 tsp – coriander leaves, chopped finely.
- • 2 green chillies sauté in a tsp of oil for garnish.(optional
Instructions
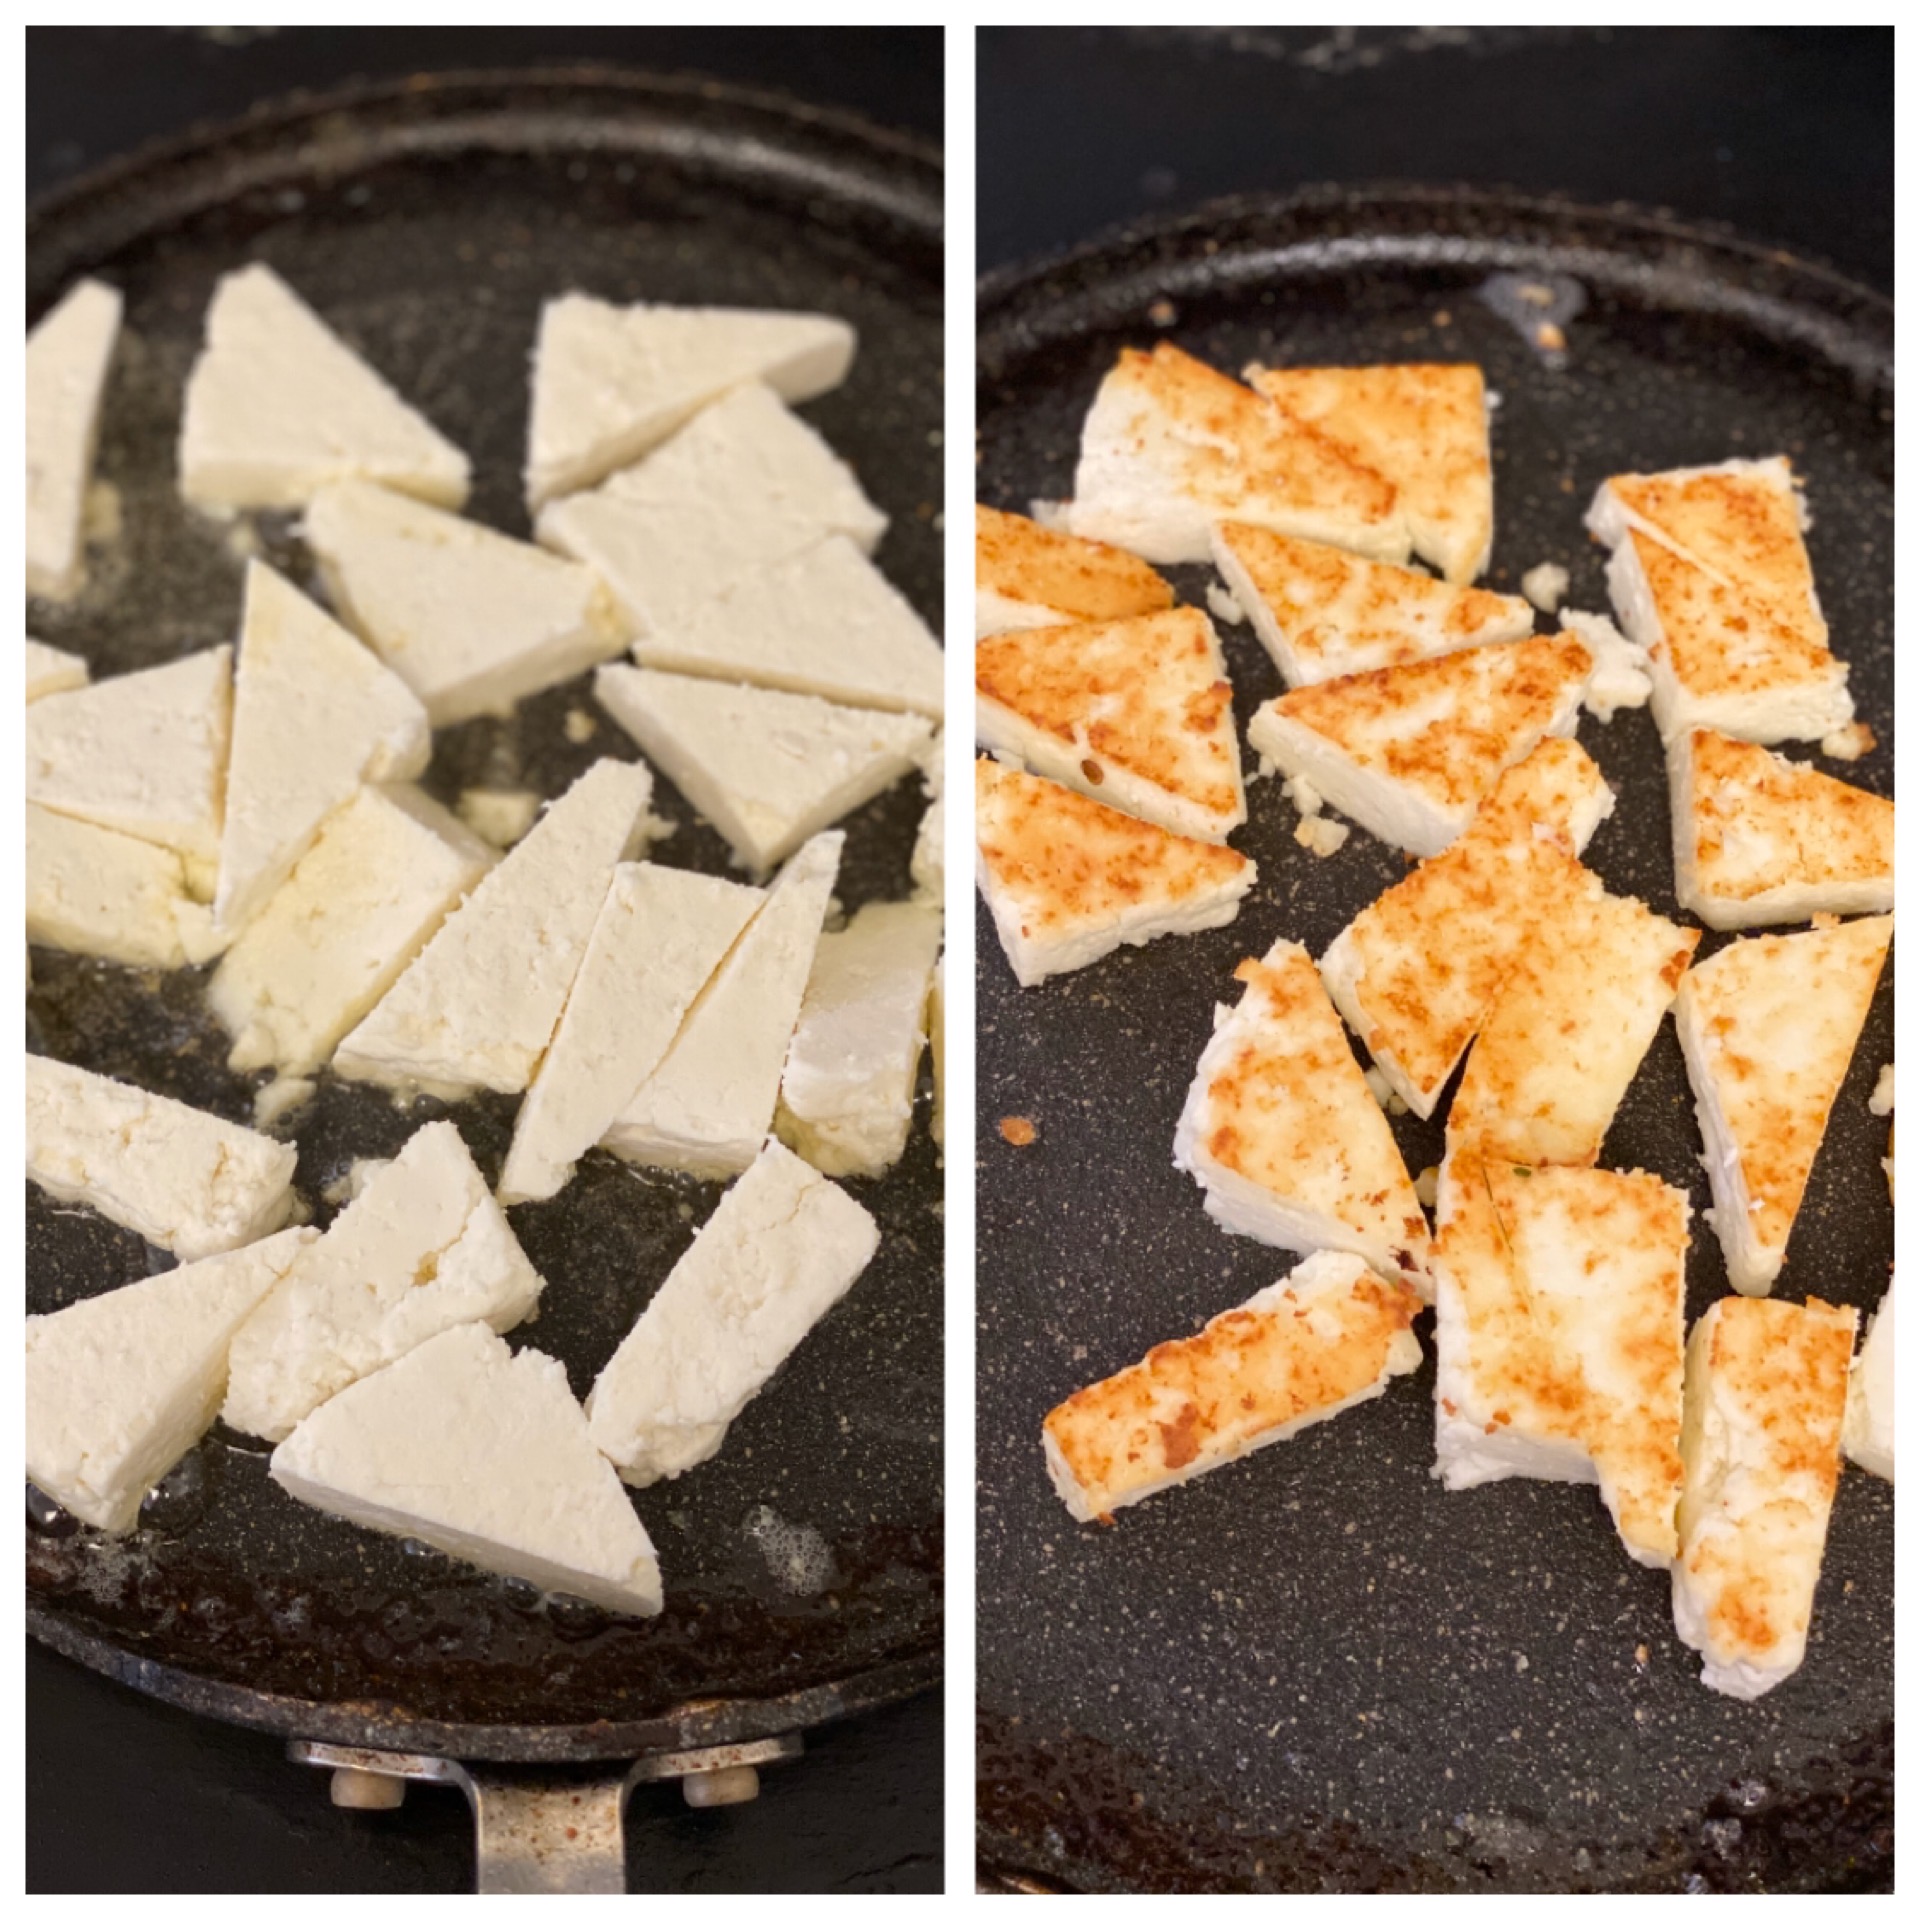
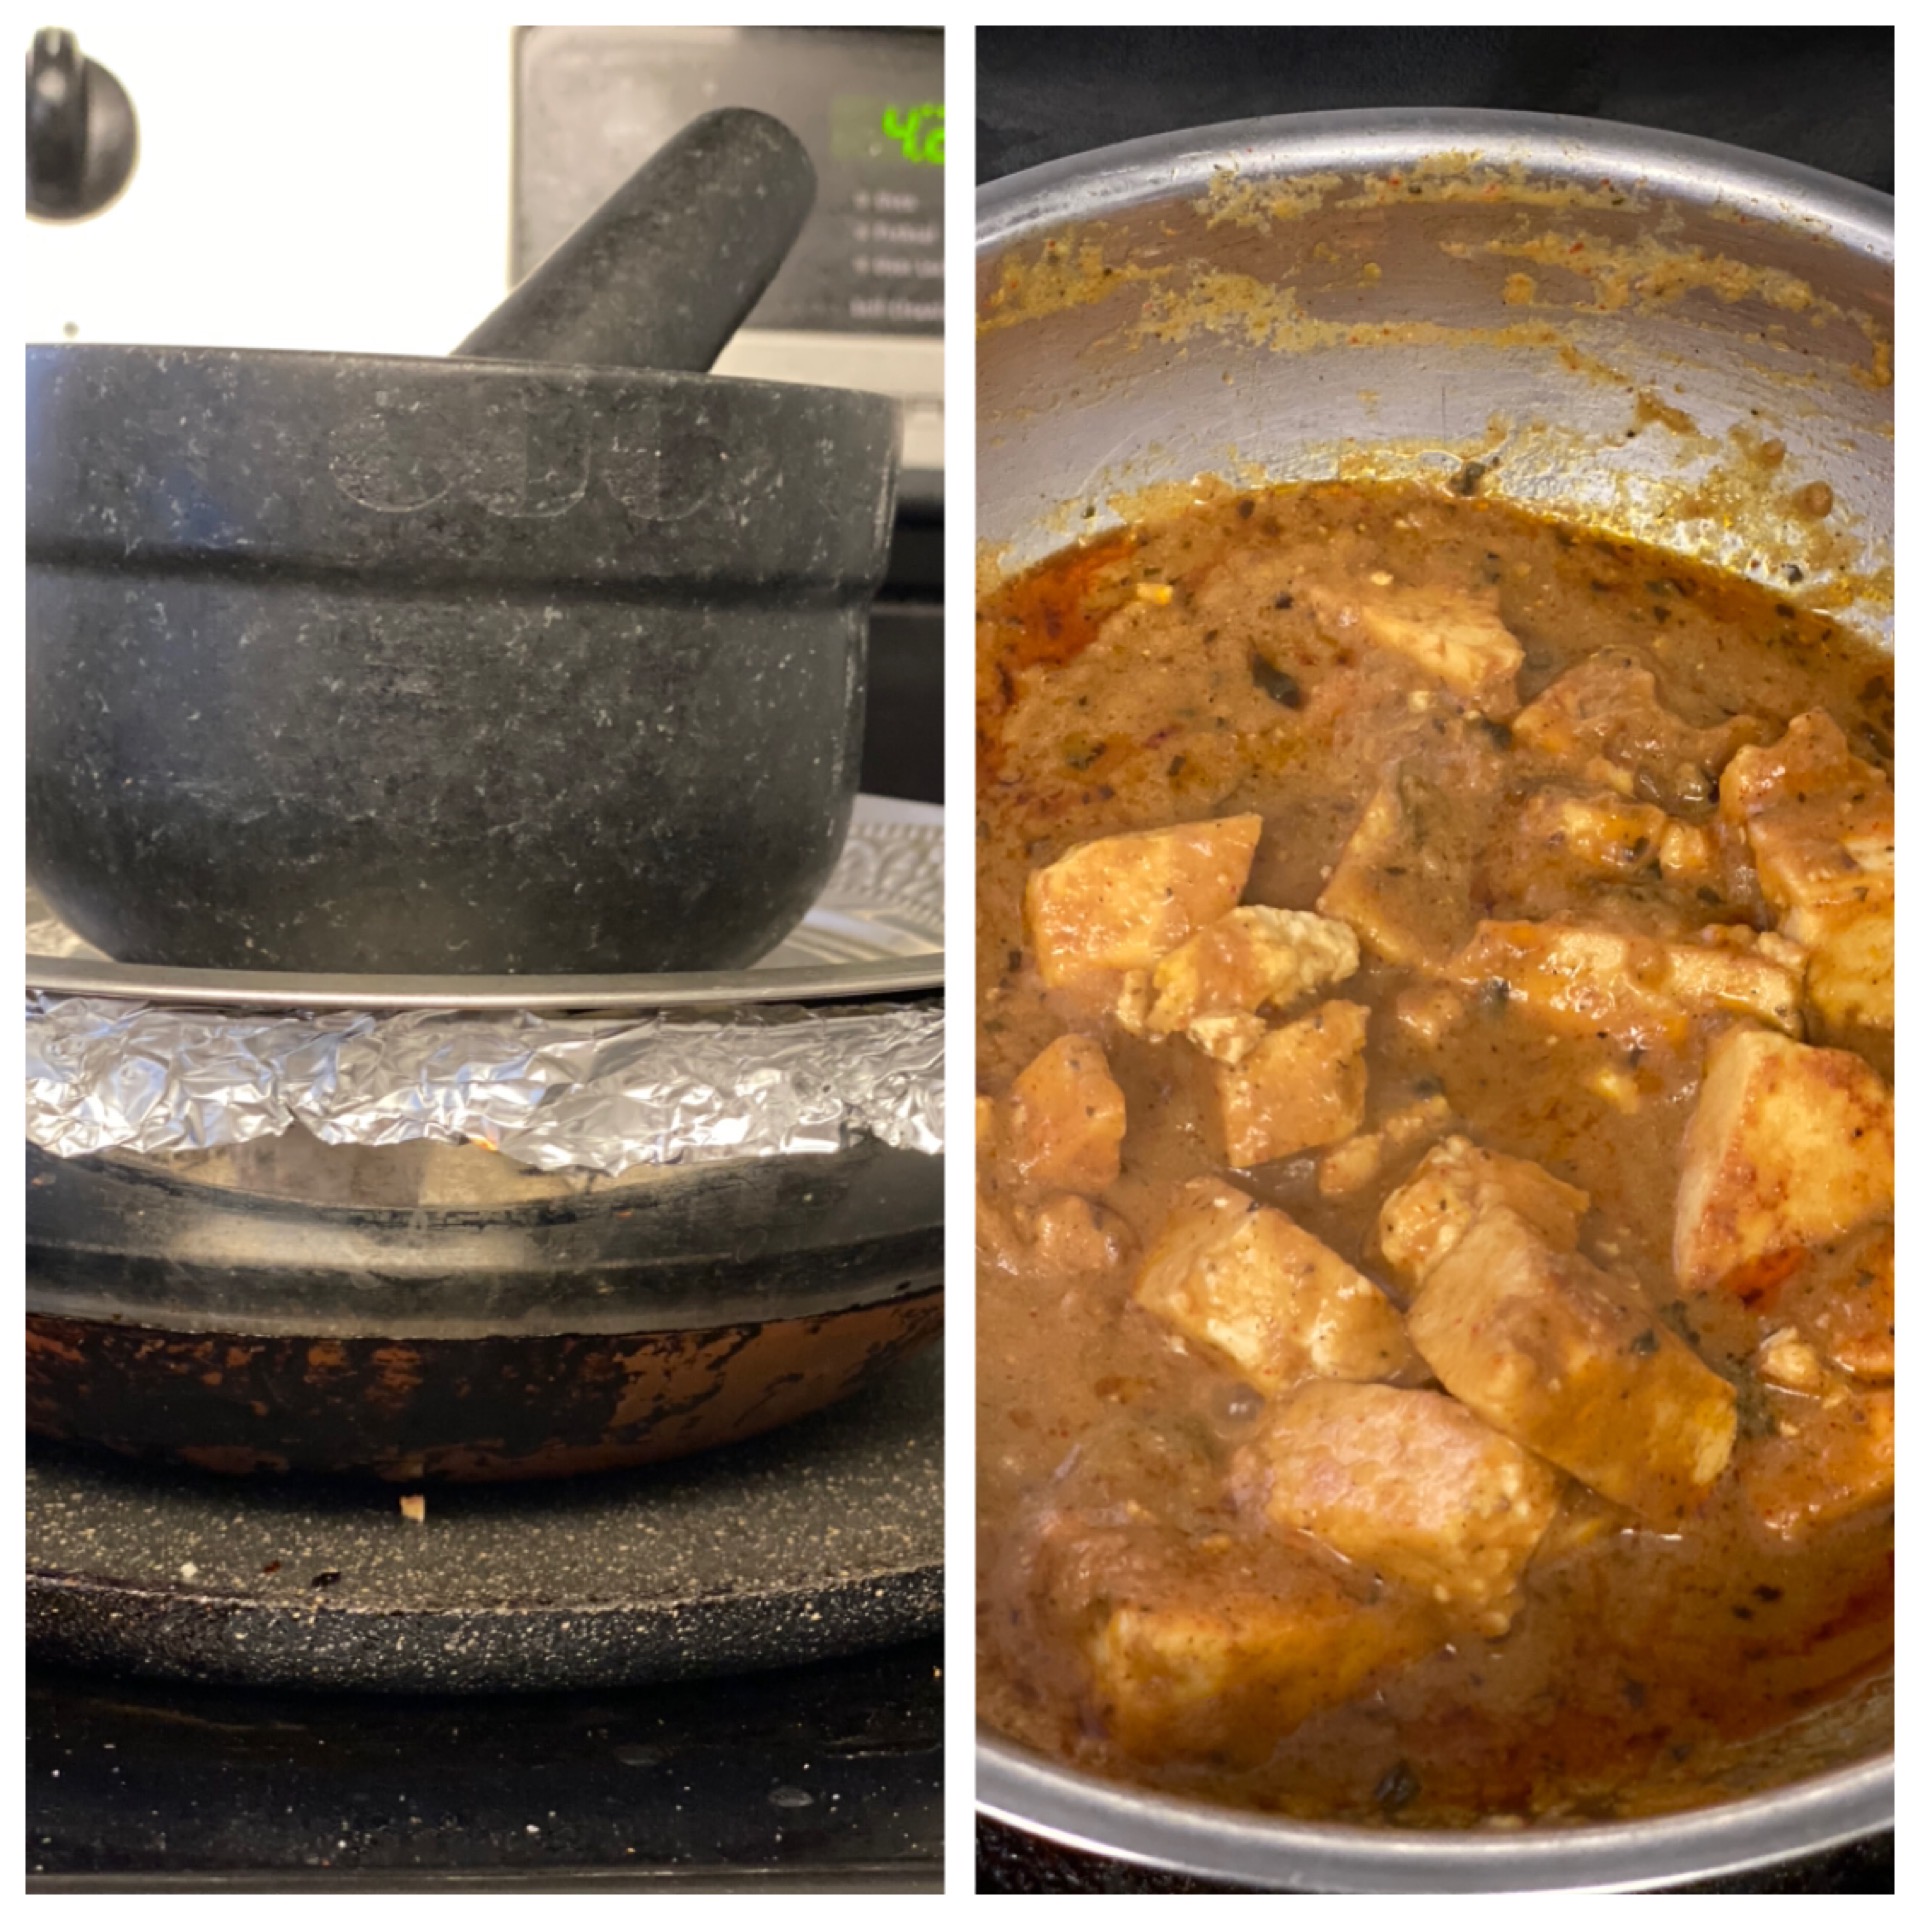
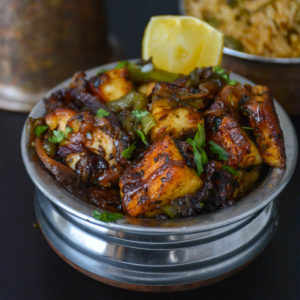
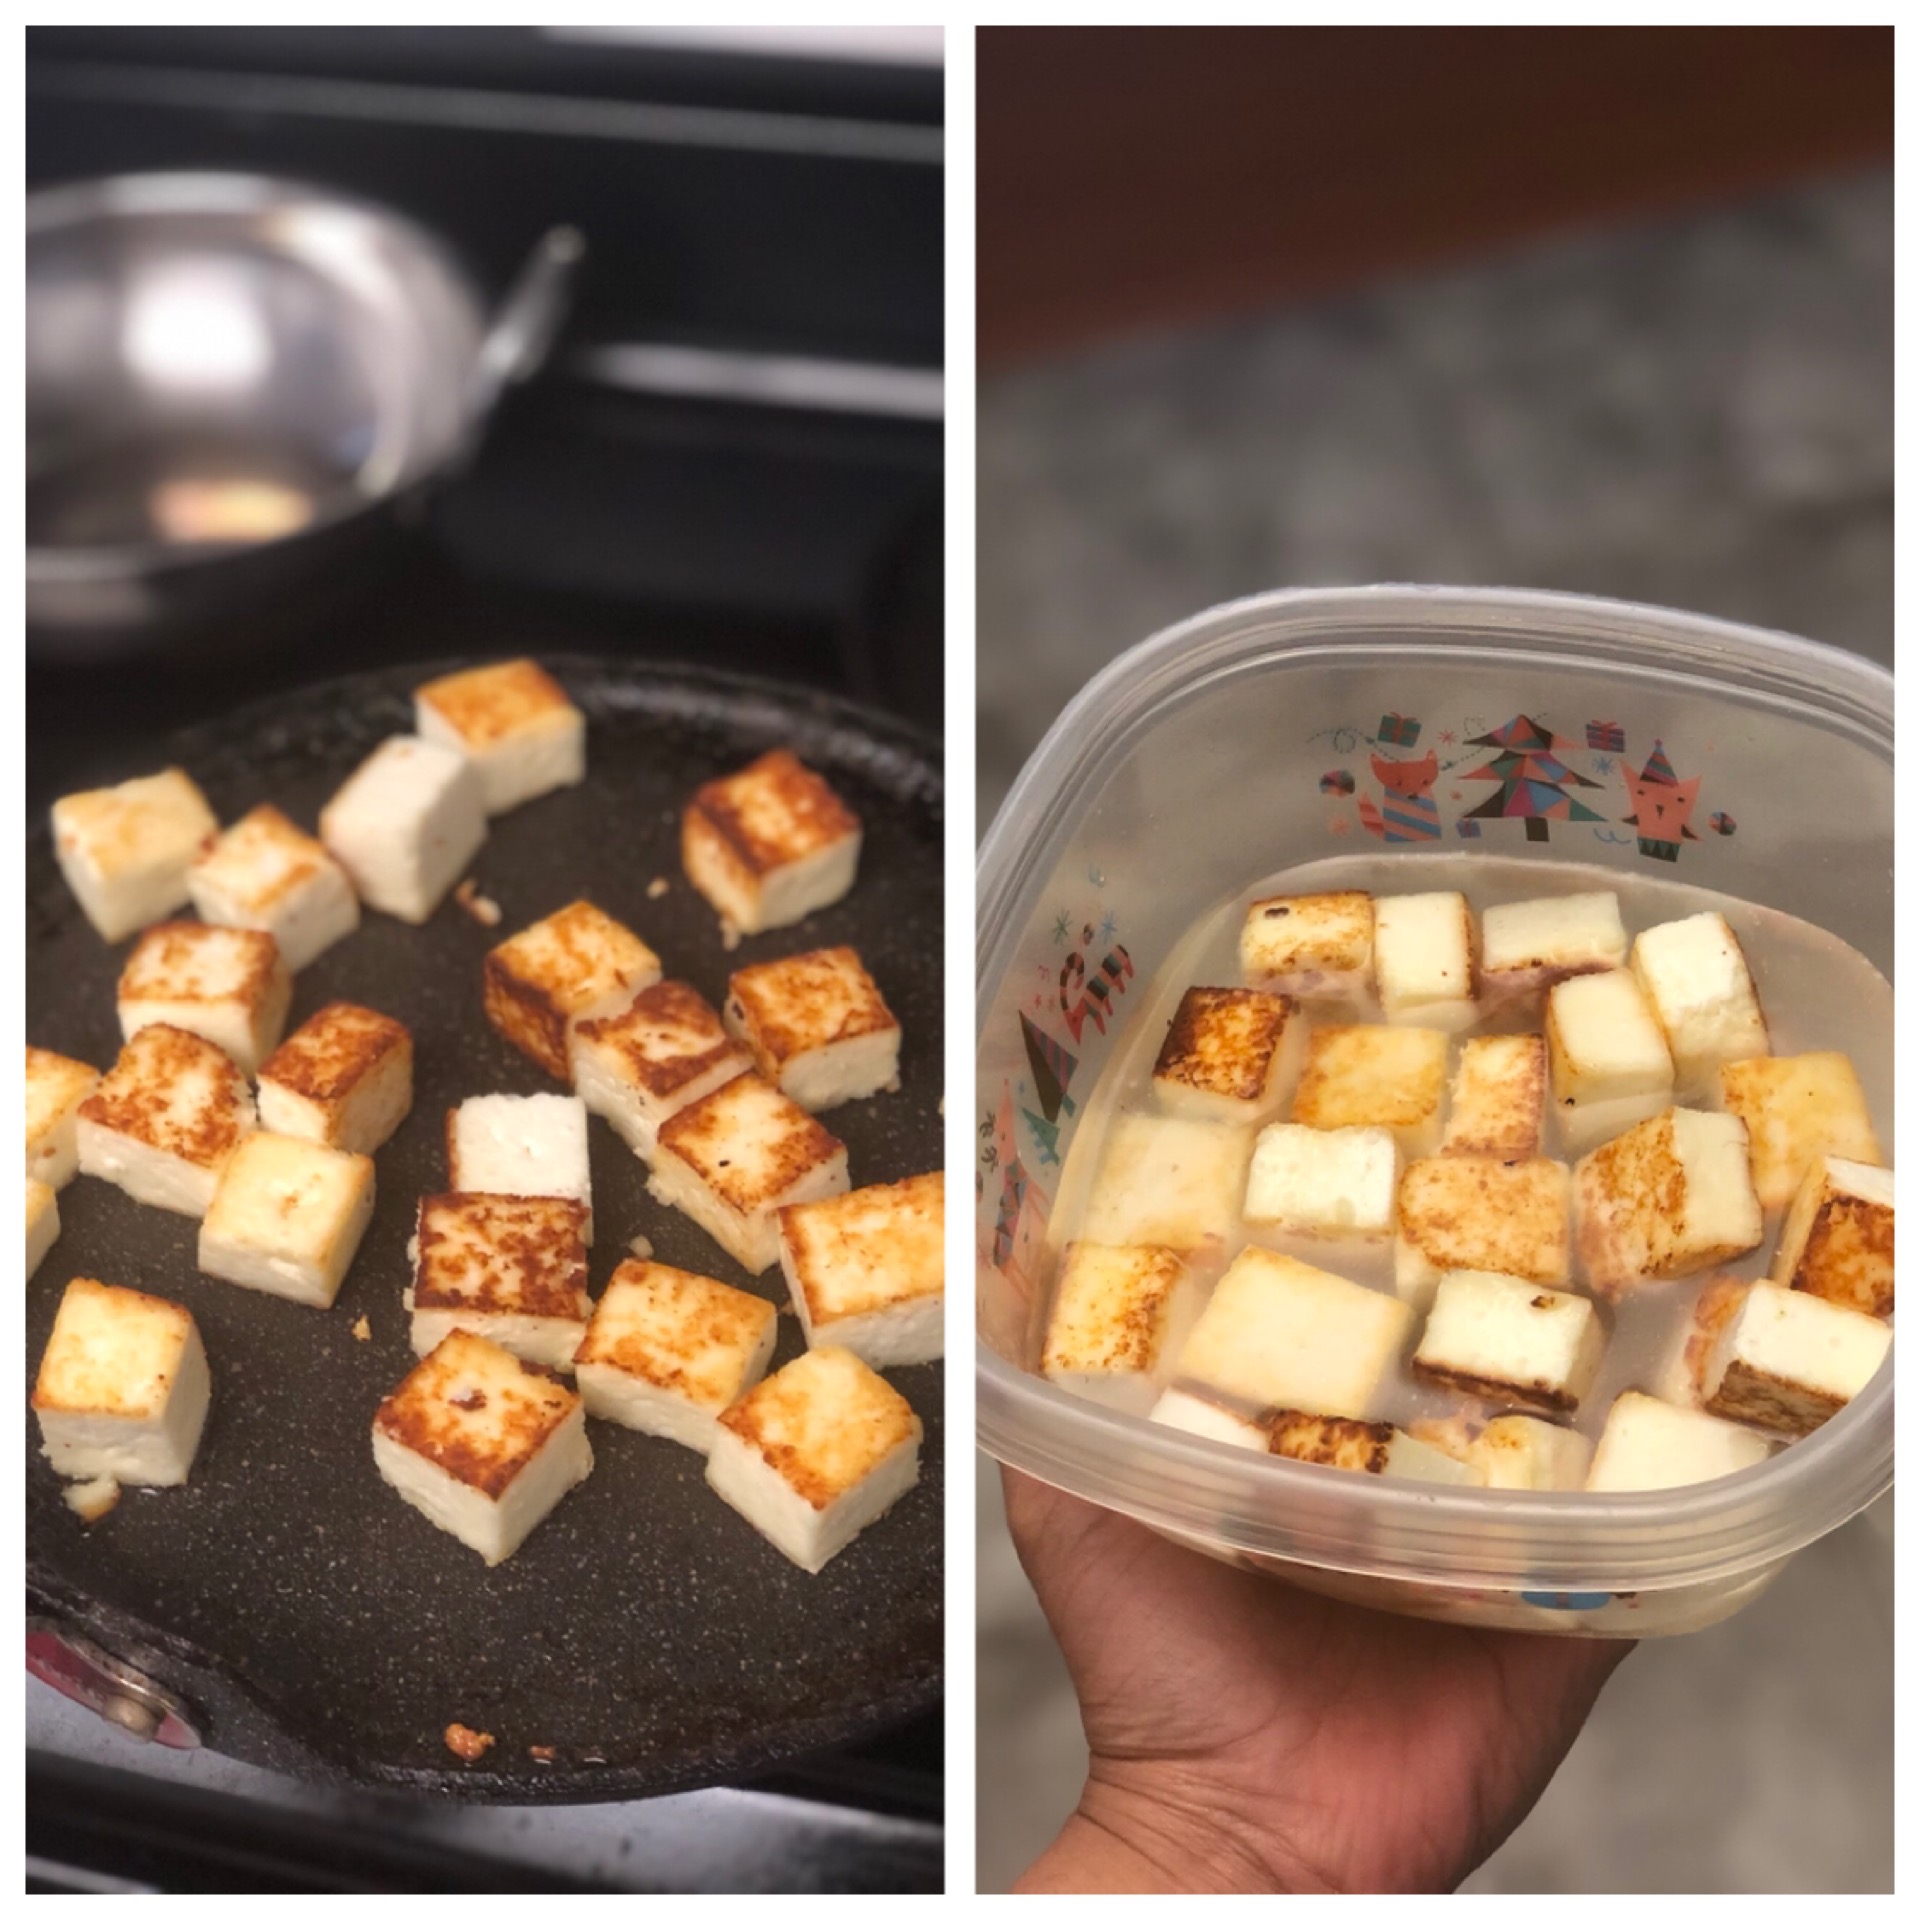
- PANEER ROAST:
- Heat a pan, add butter to it in a medium to low flame, add the paneer cubes to it and roast it until its golden brown both sides. Put them in cold water, this will help them to be soft.
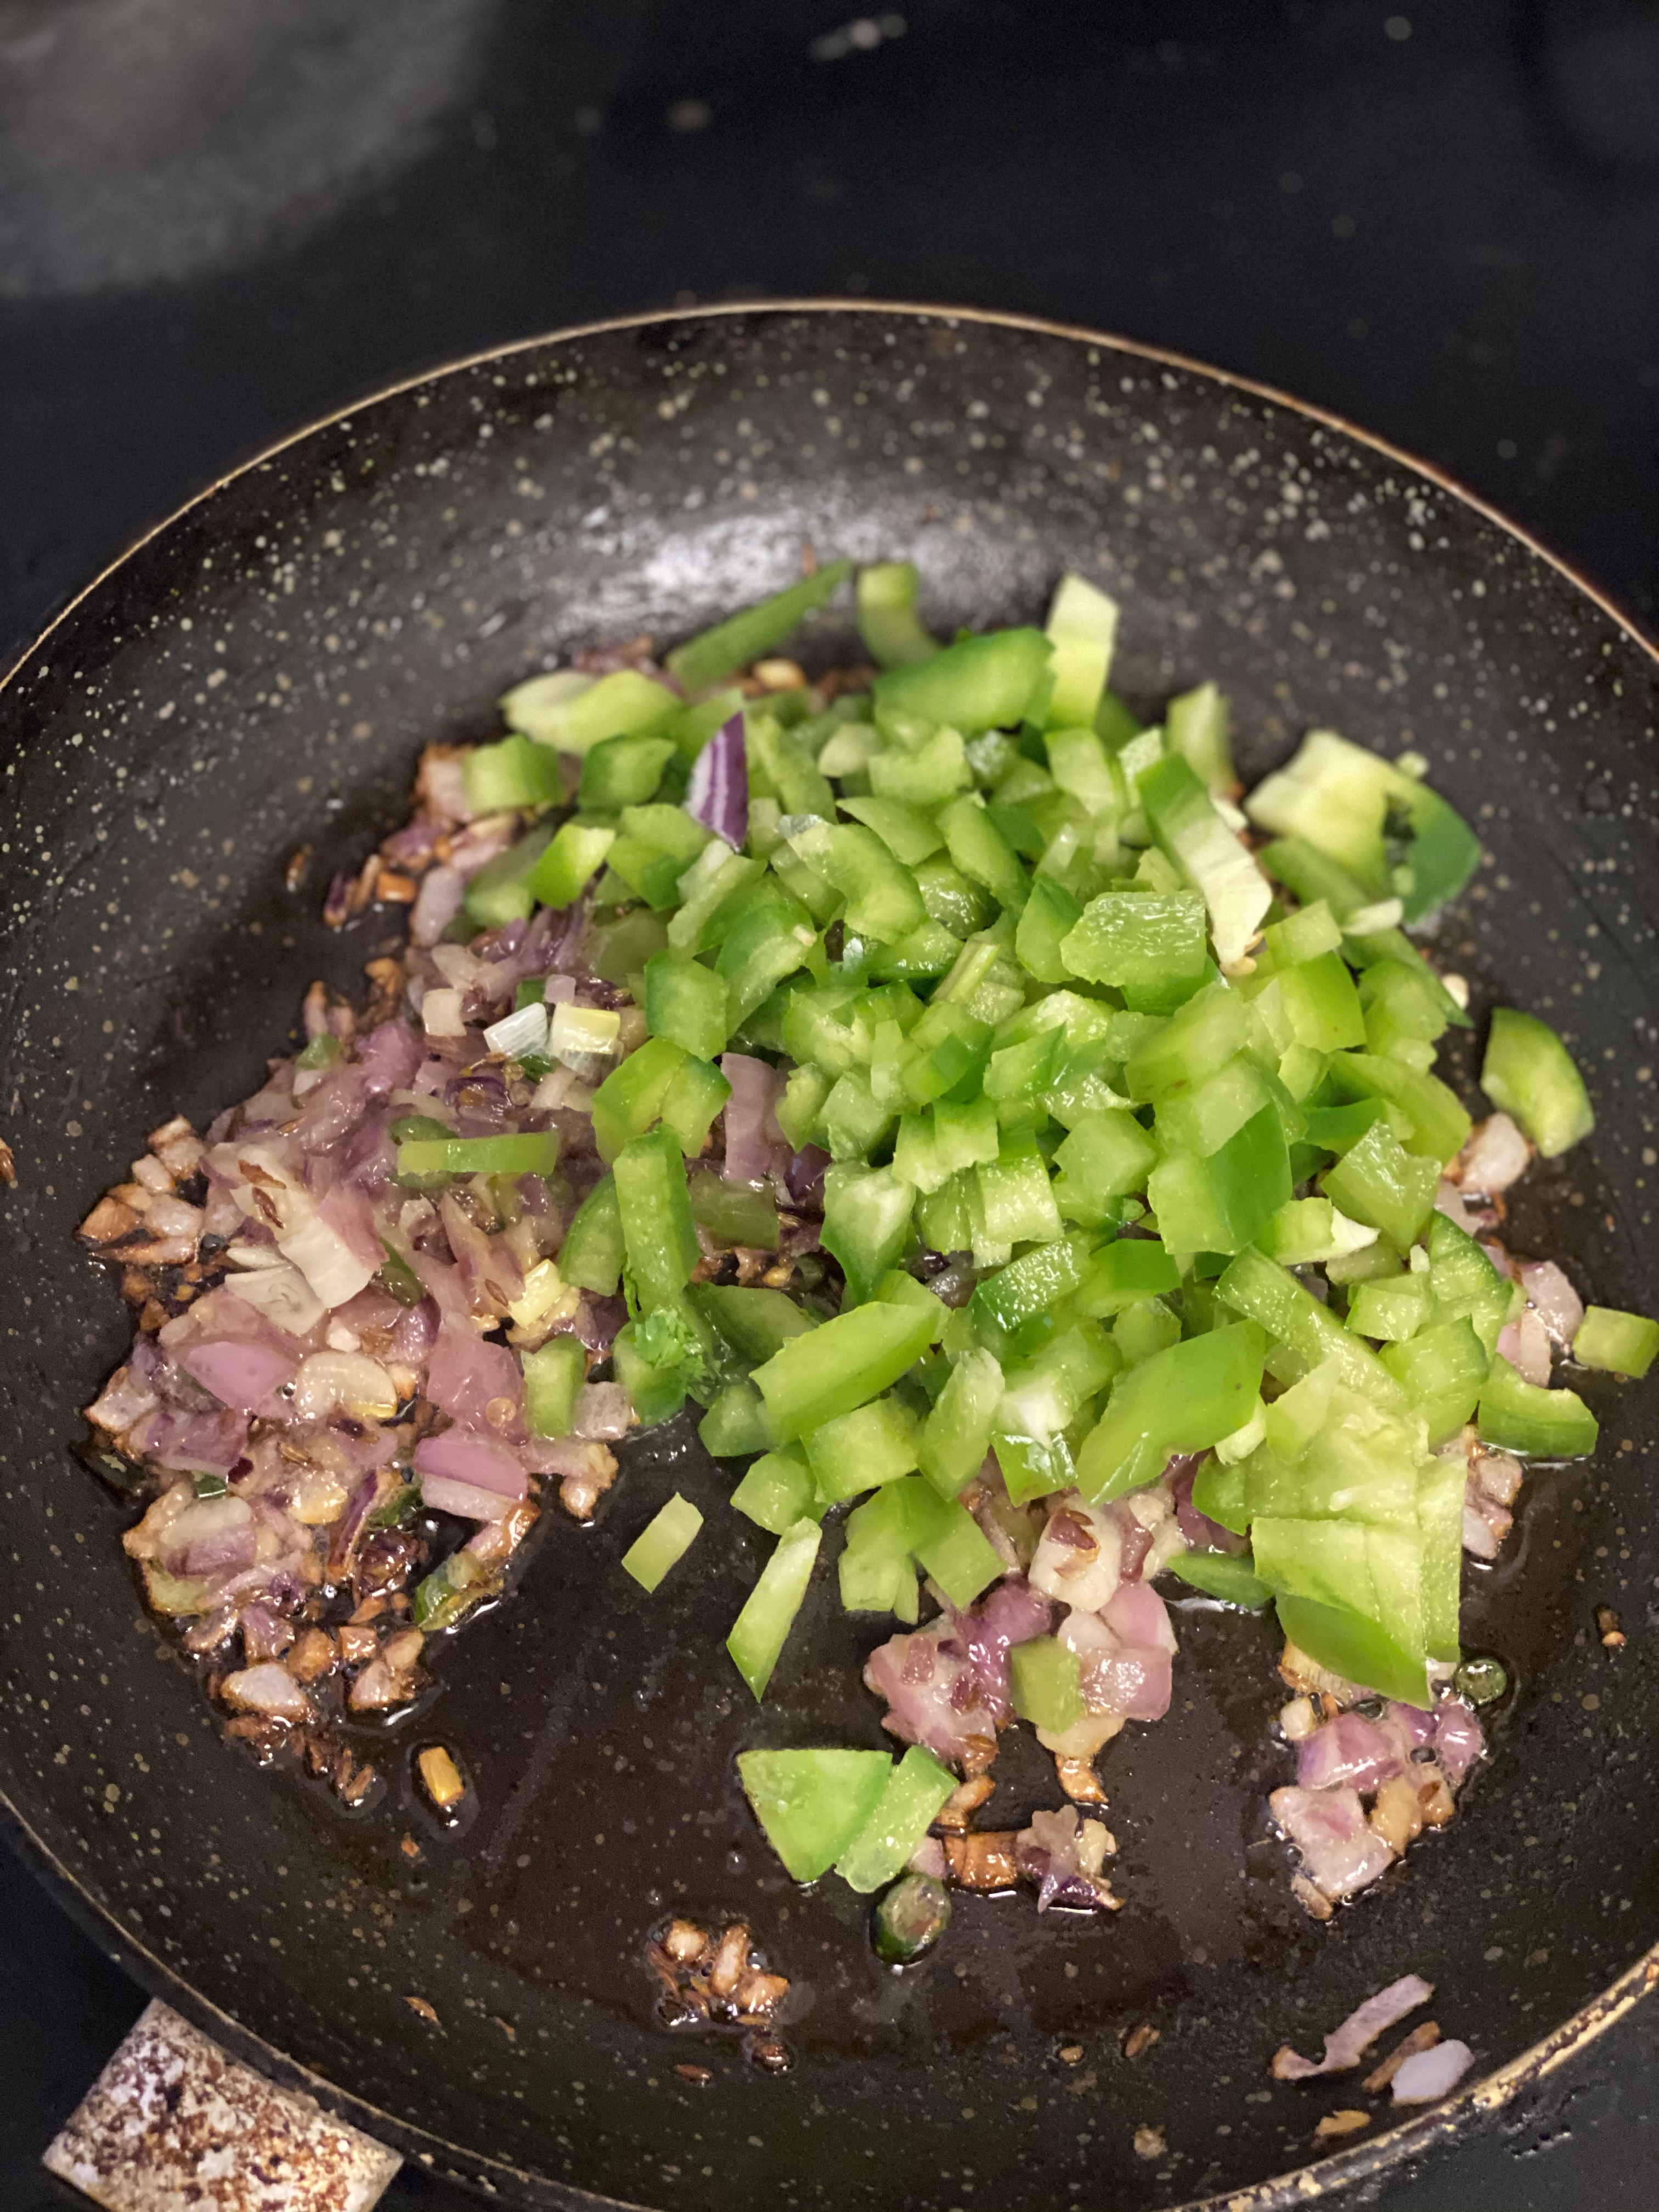
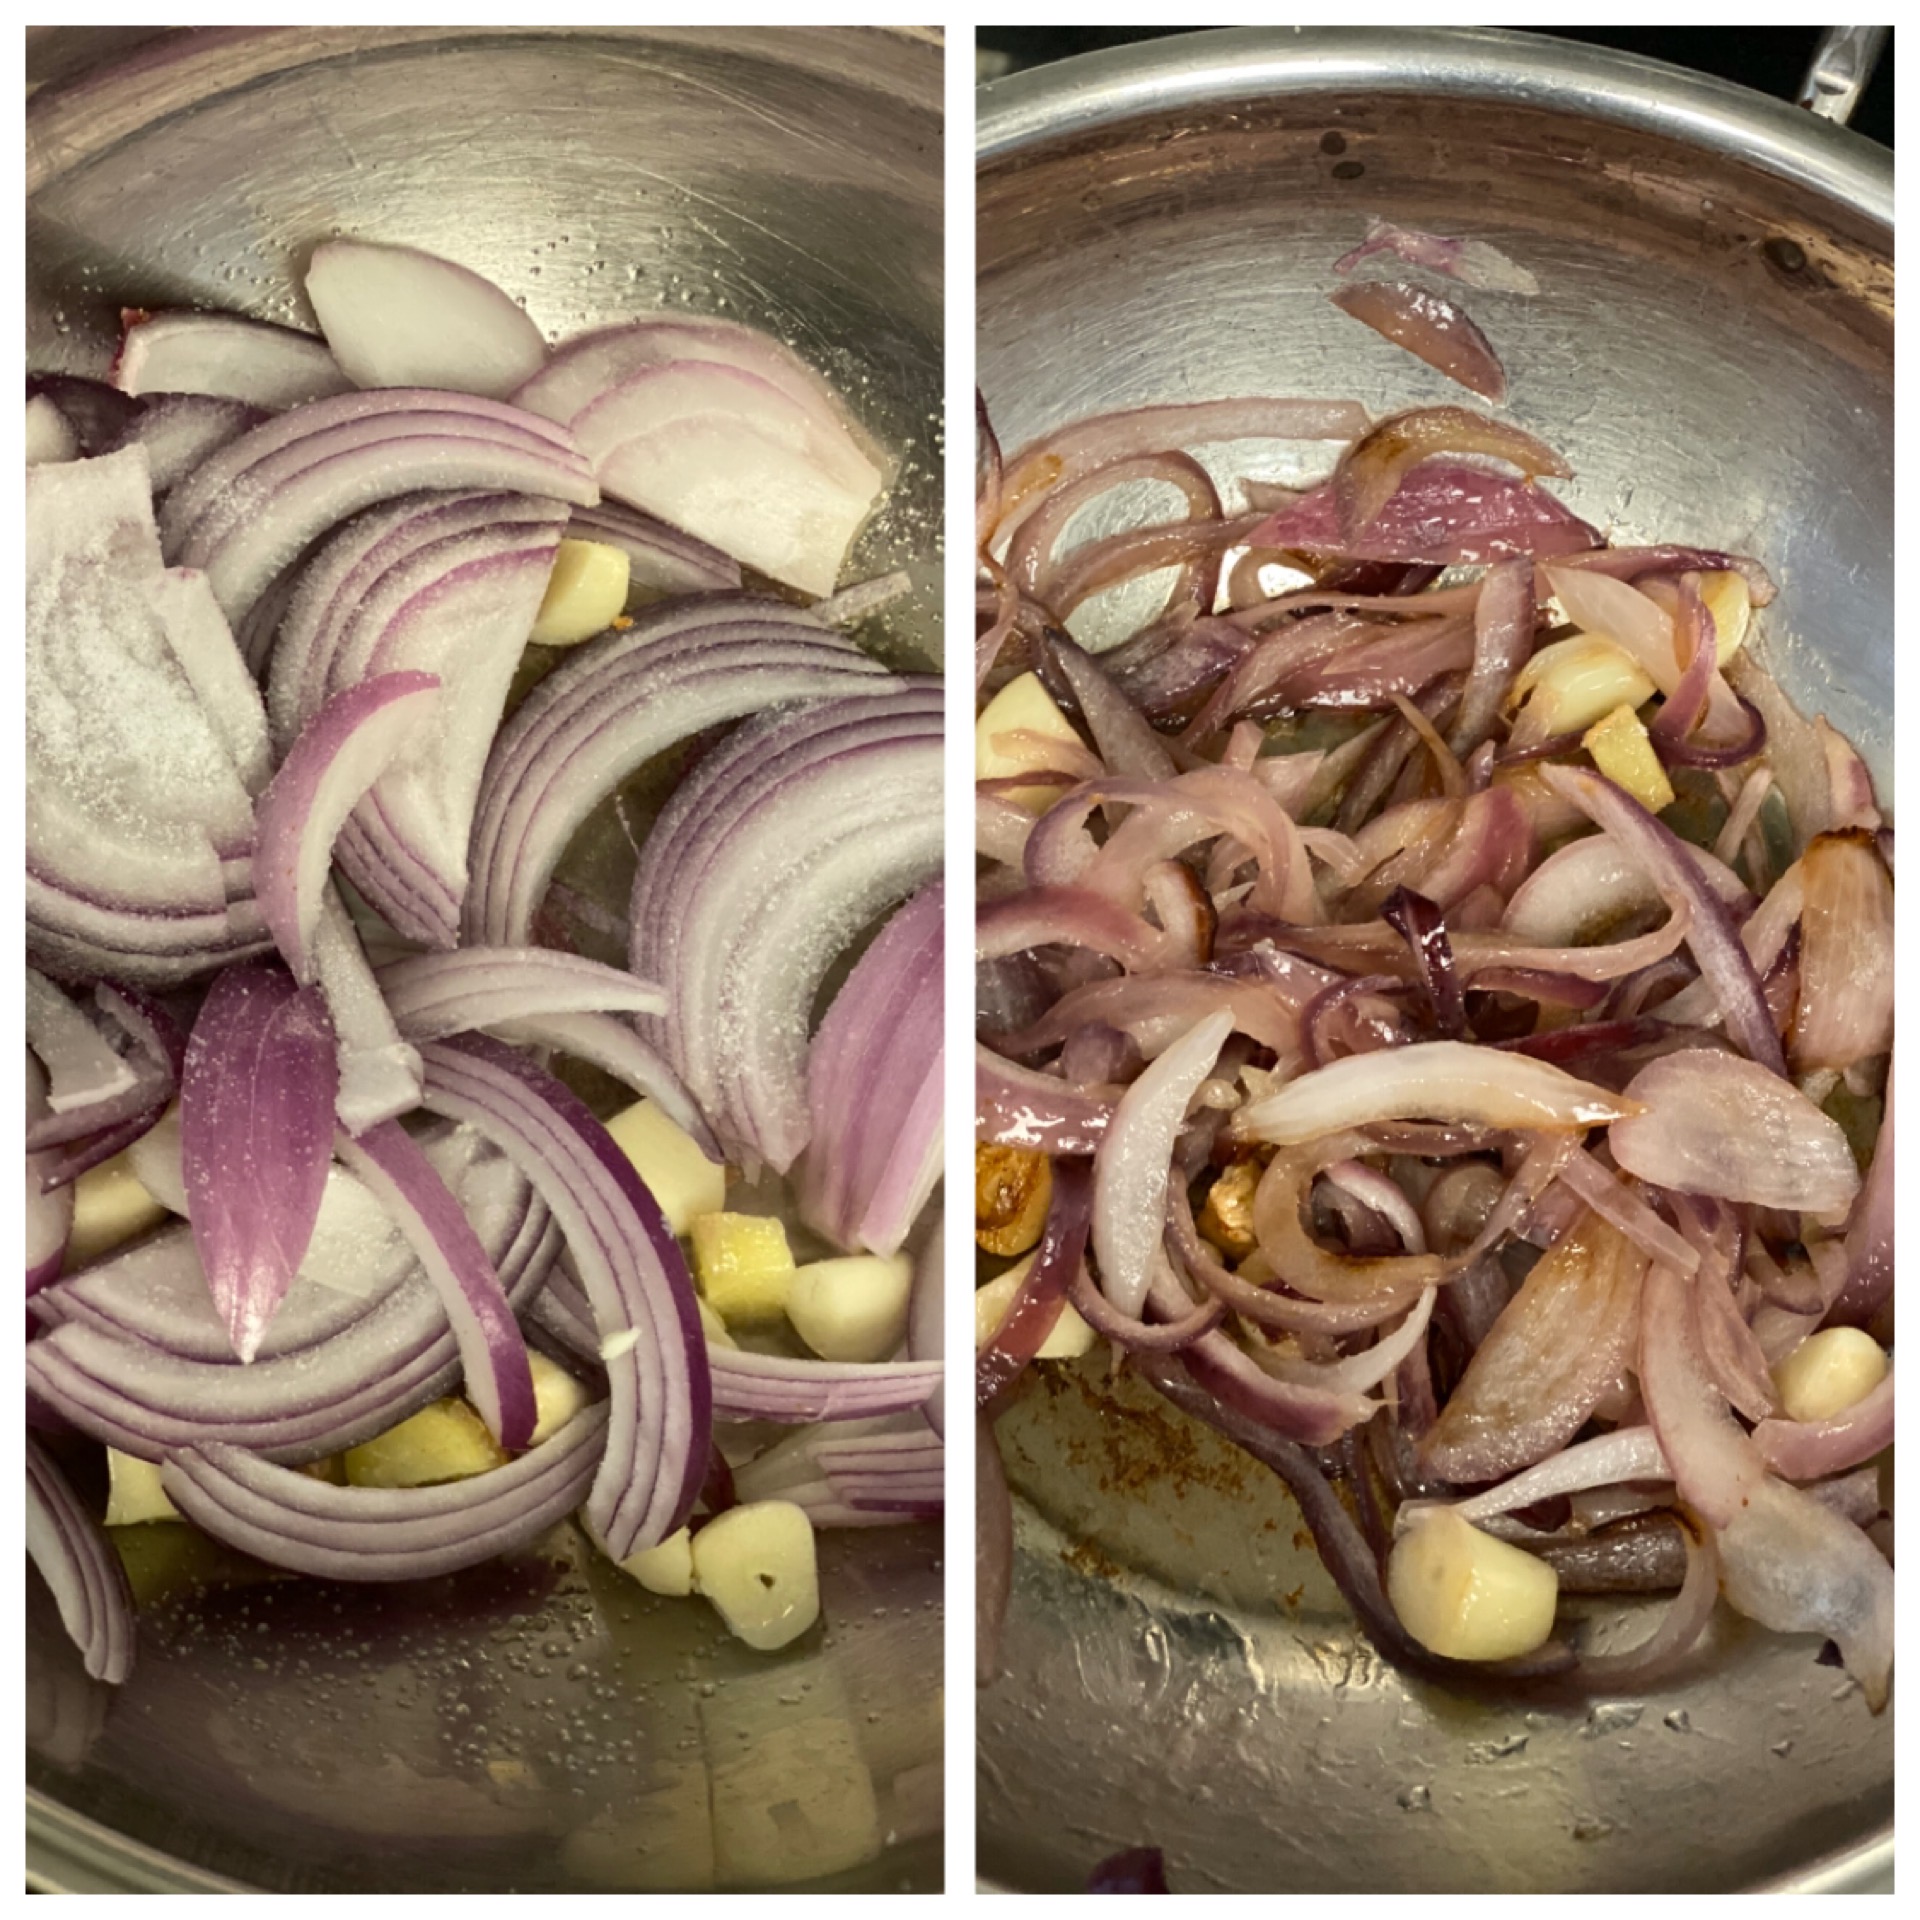
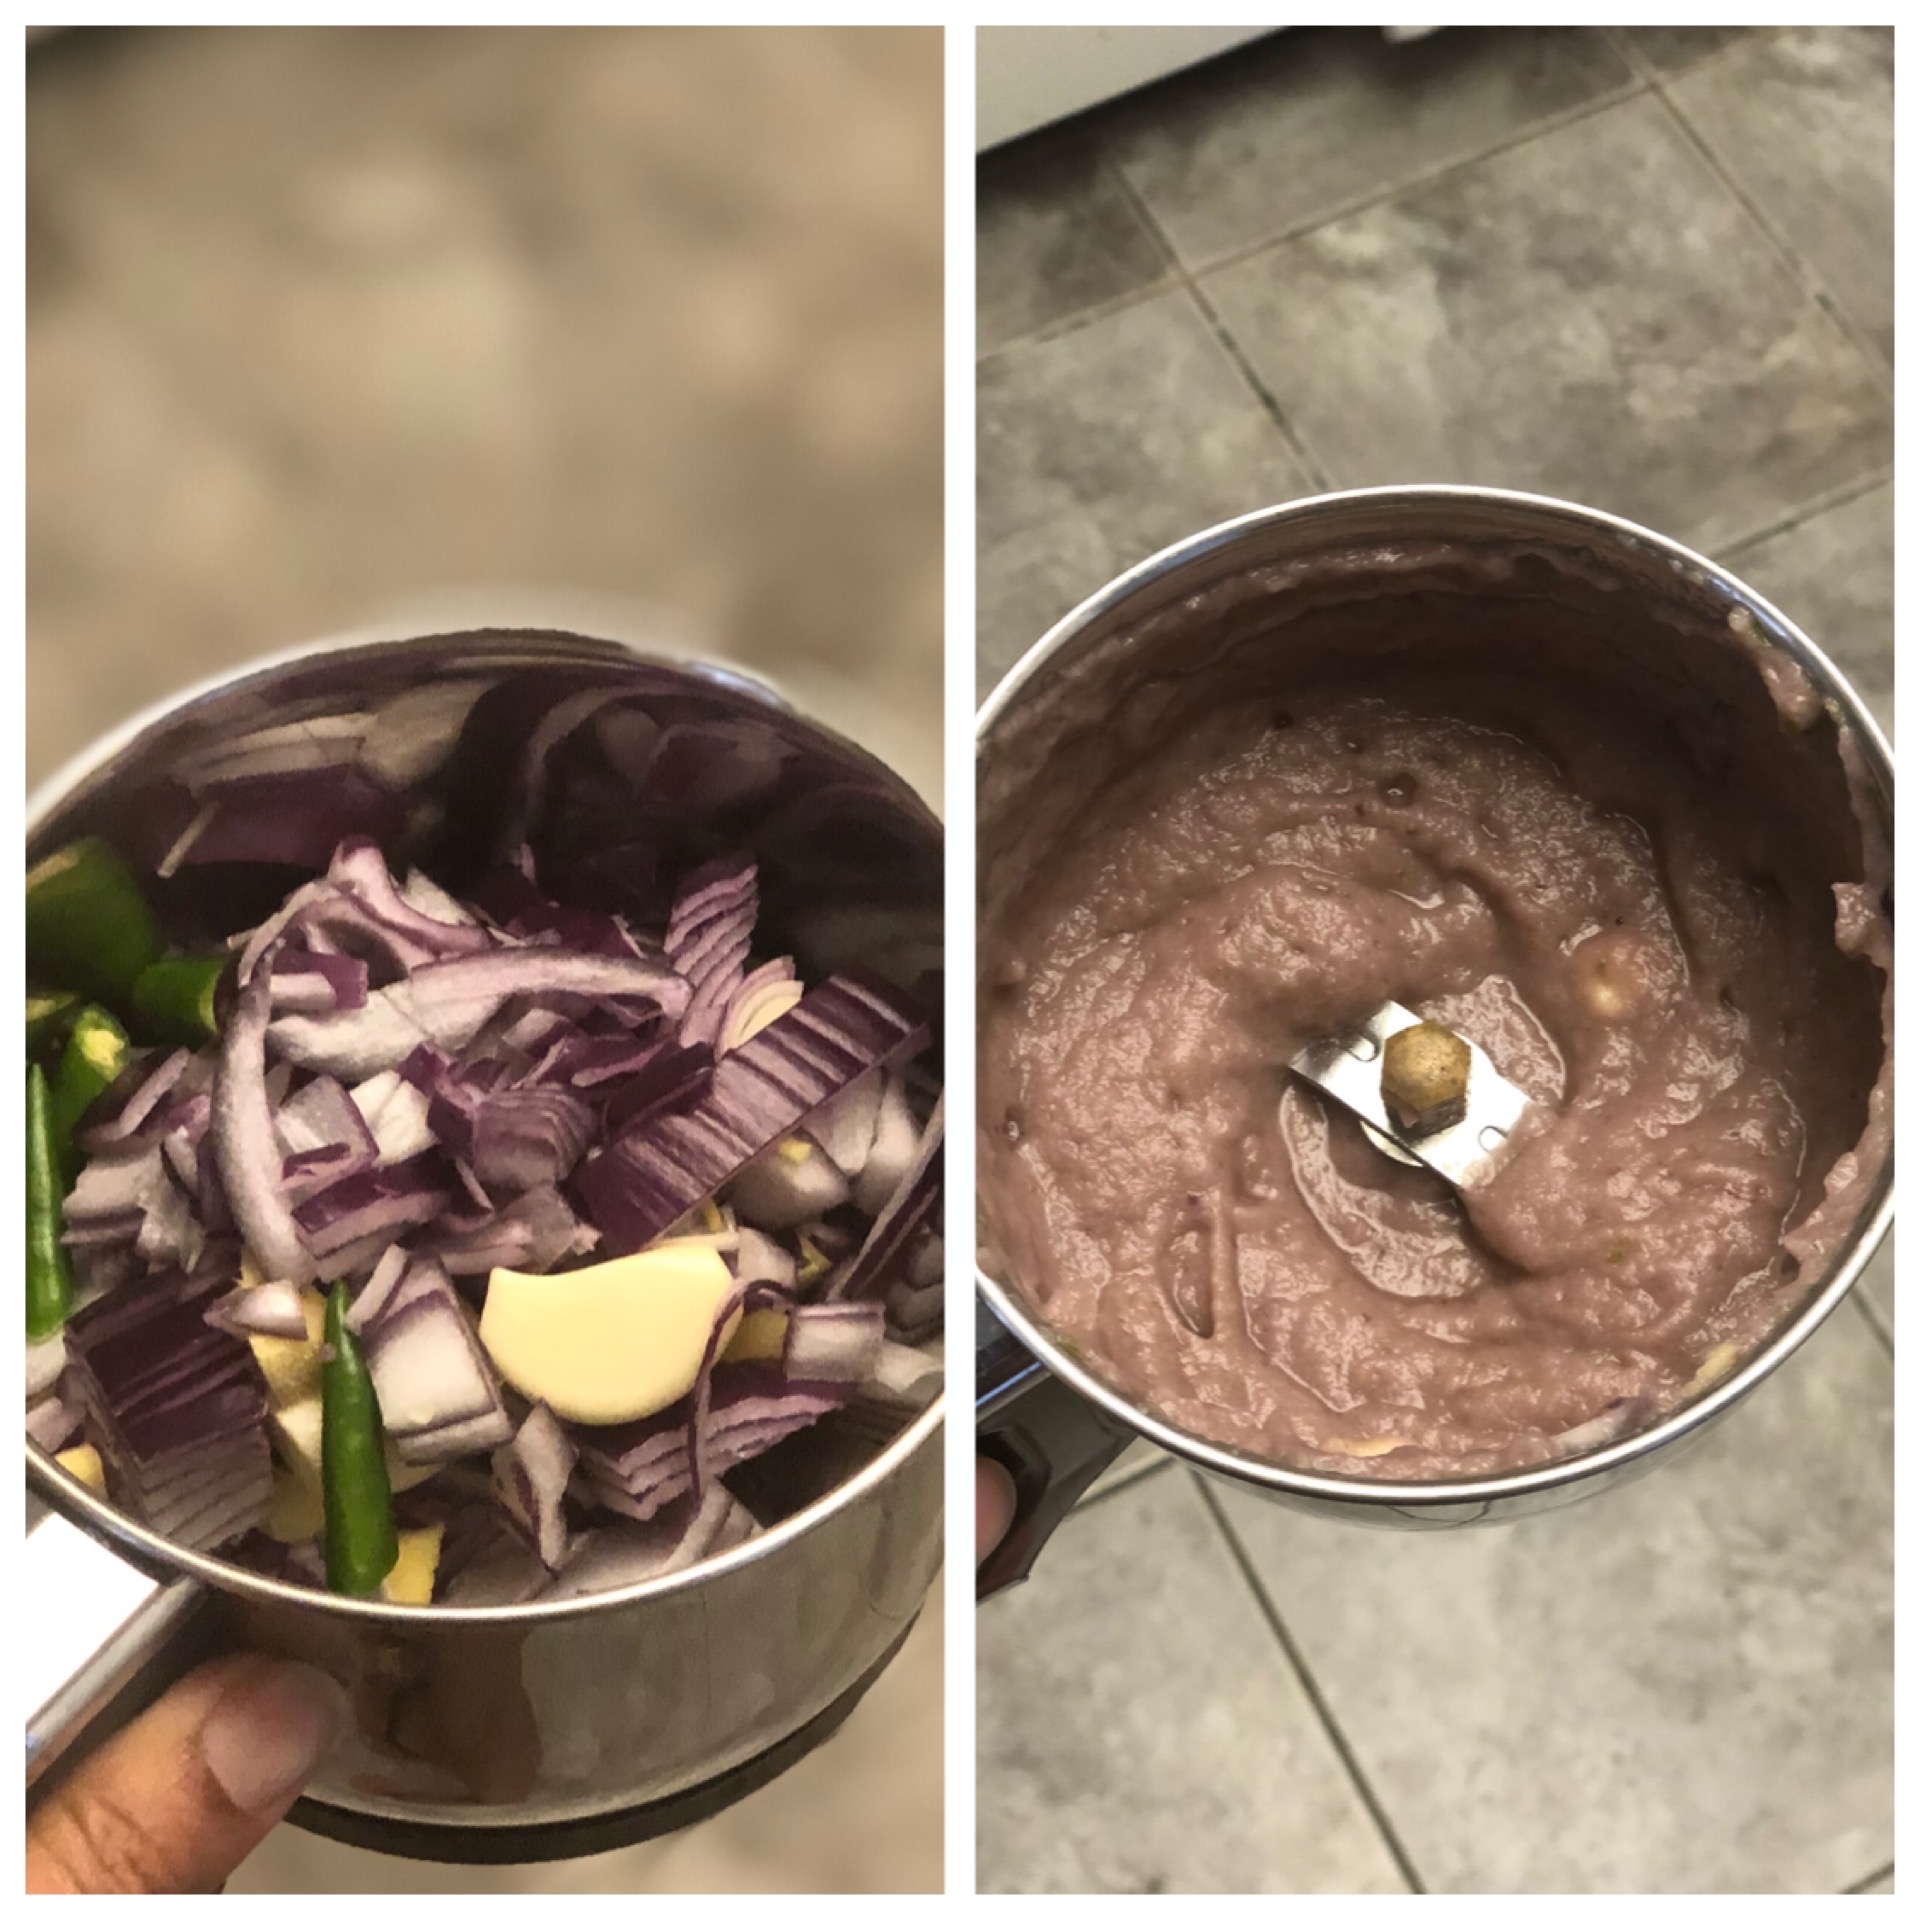
- ONION PASTE:
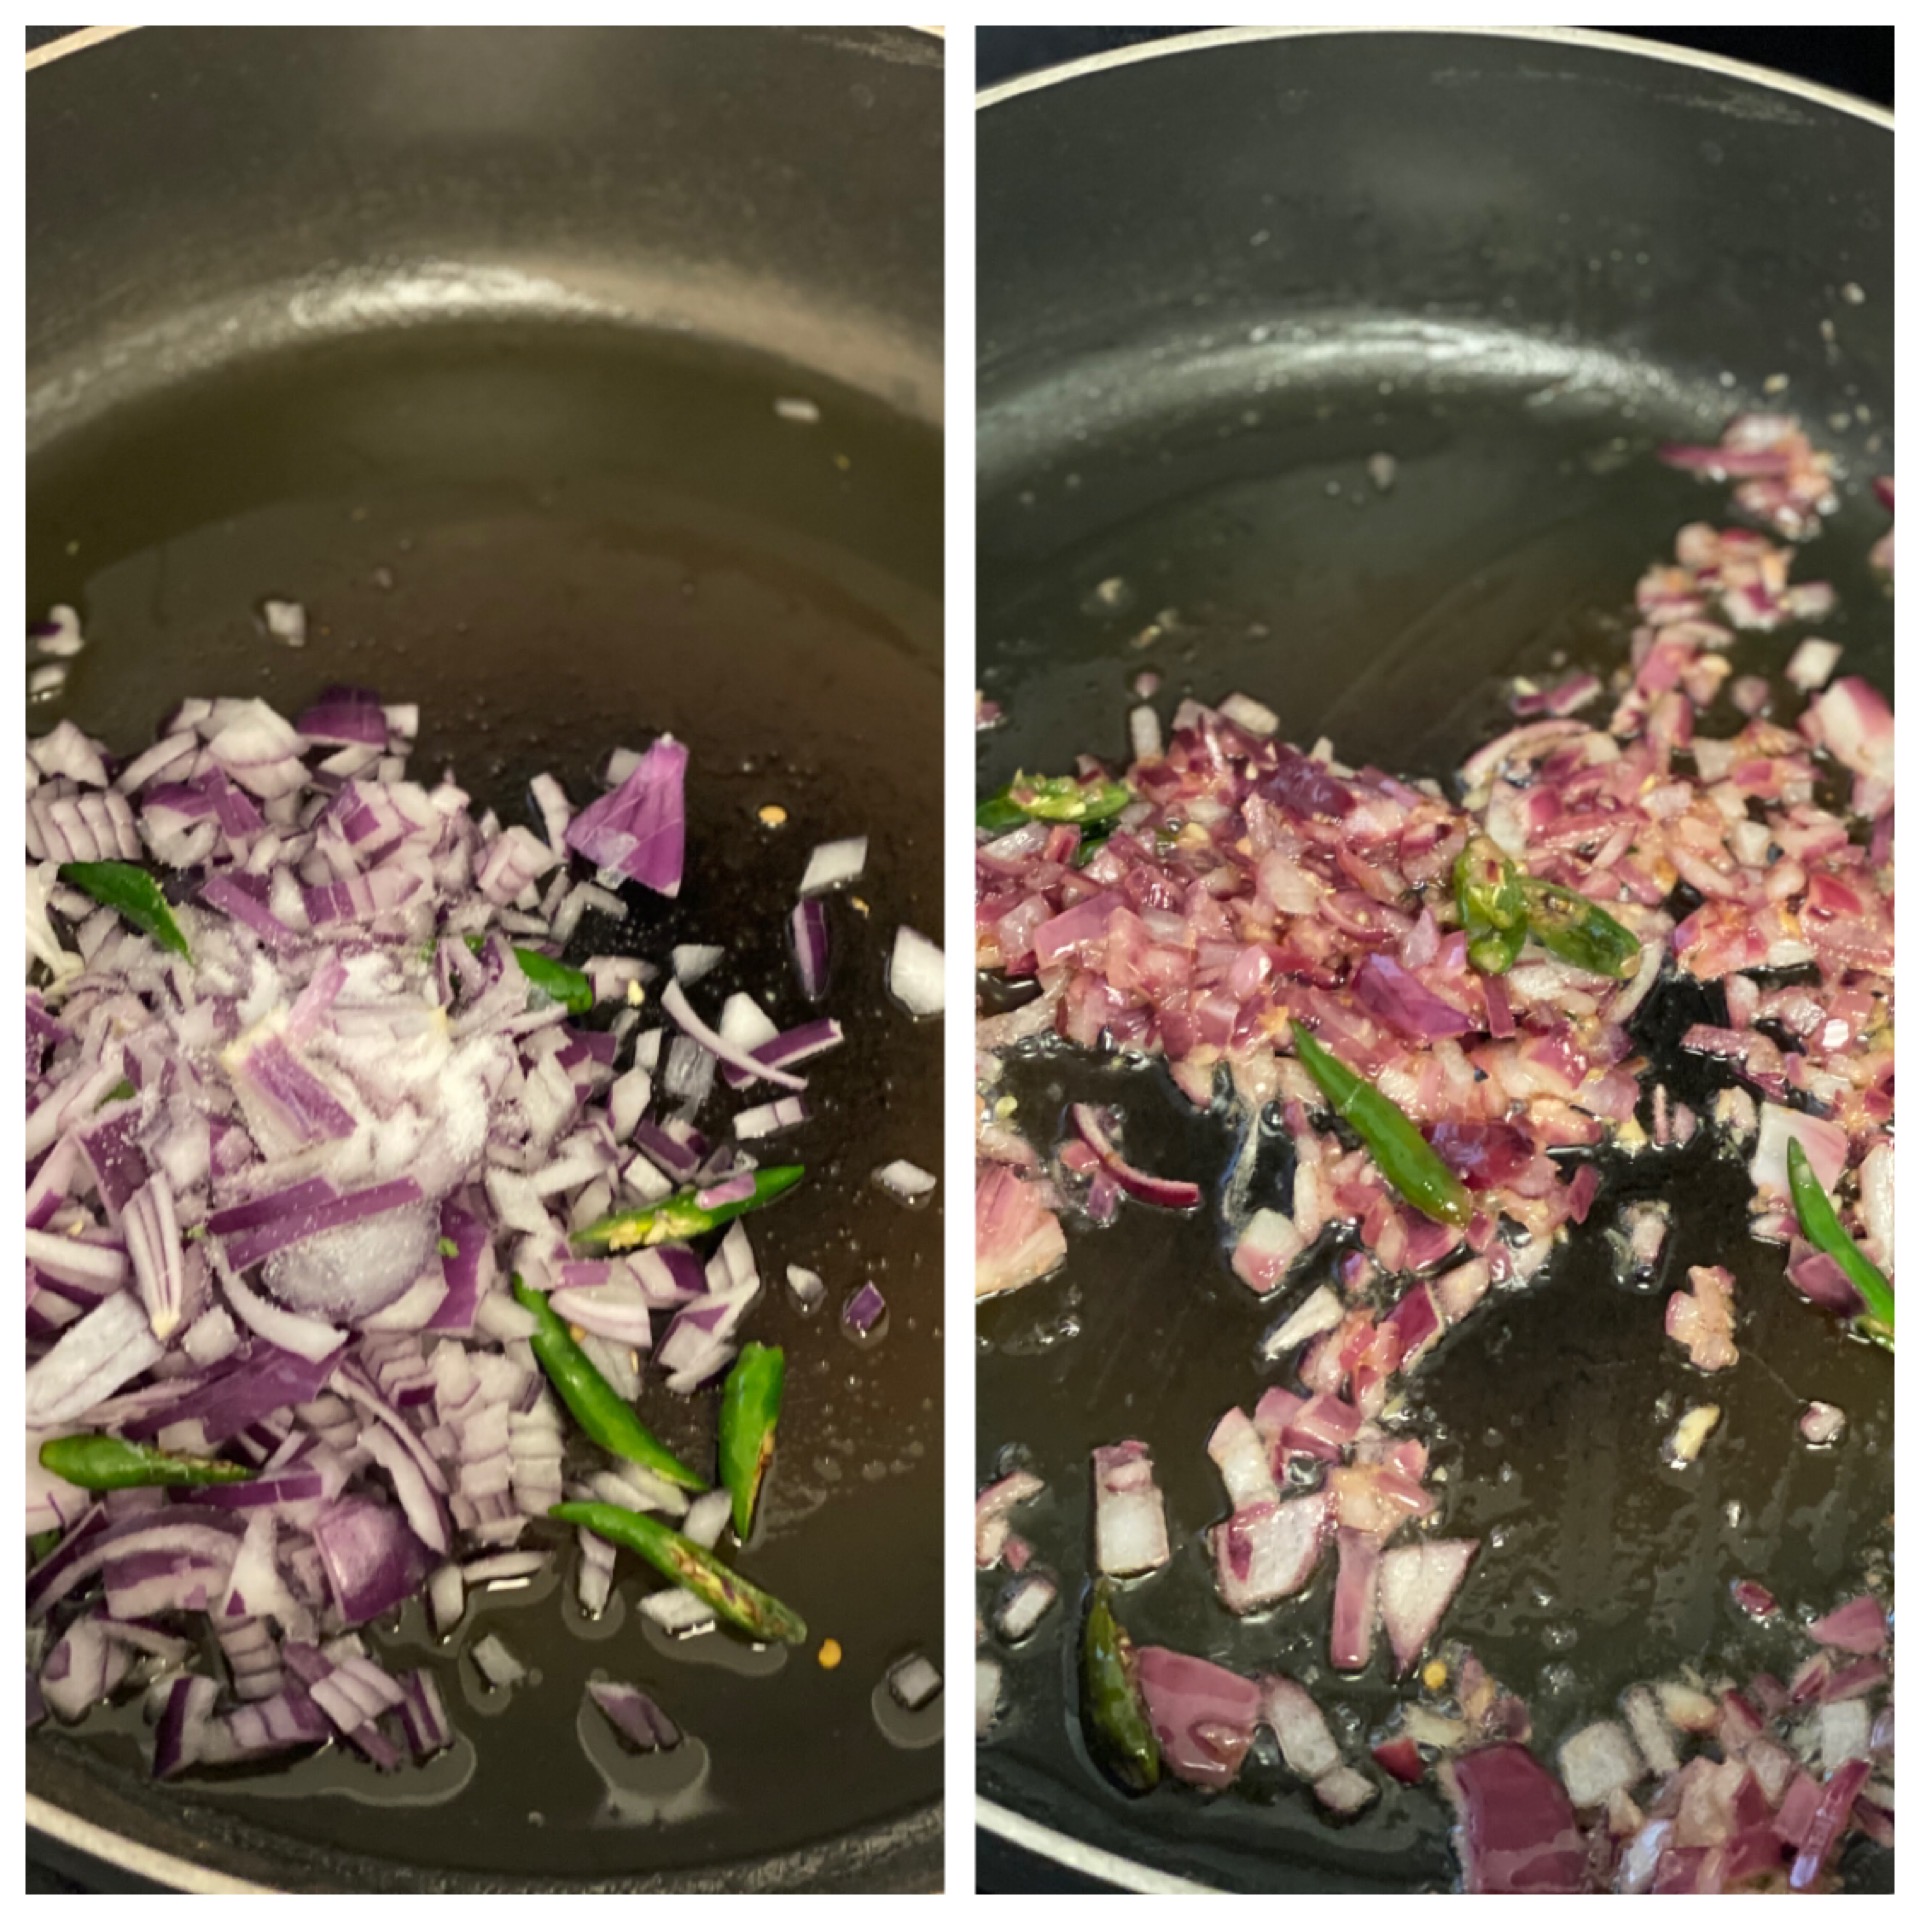
- Add the chopped onion, green chilli, garlic and ginger with a bit of salt in a blender and blend them into a fine paste.
- CURRY:
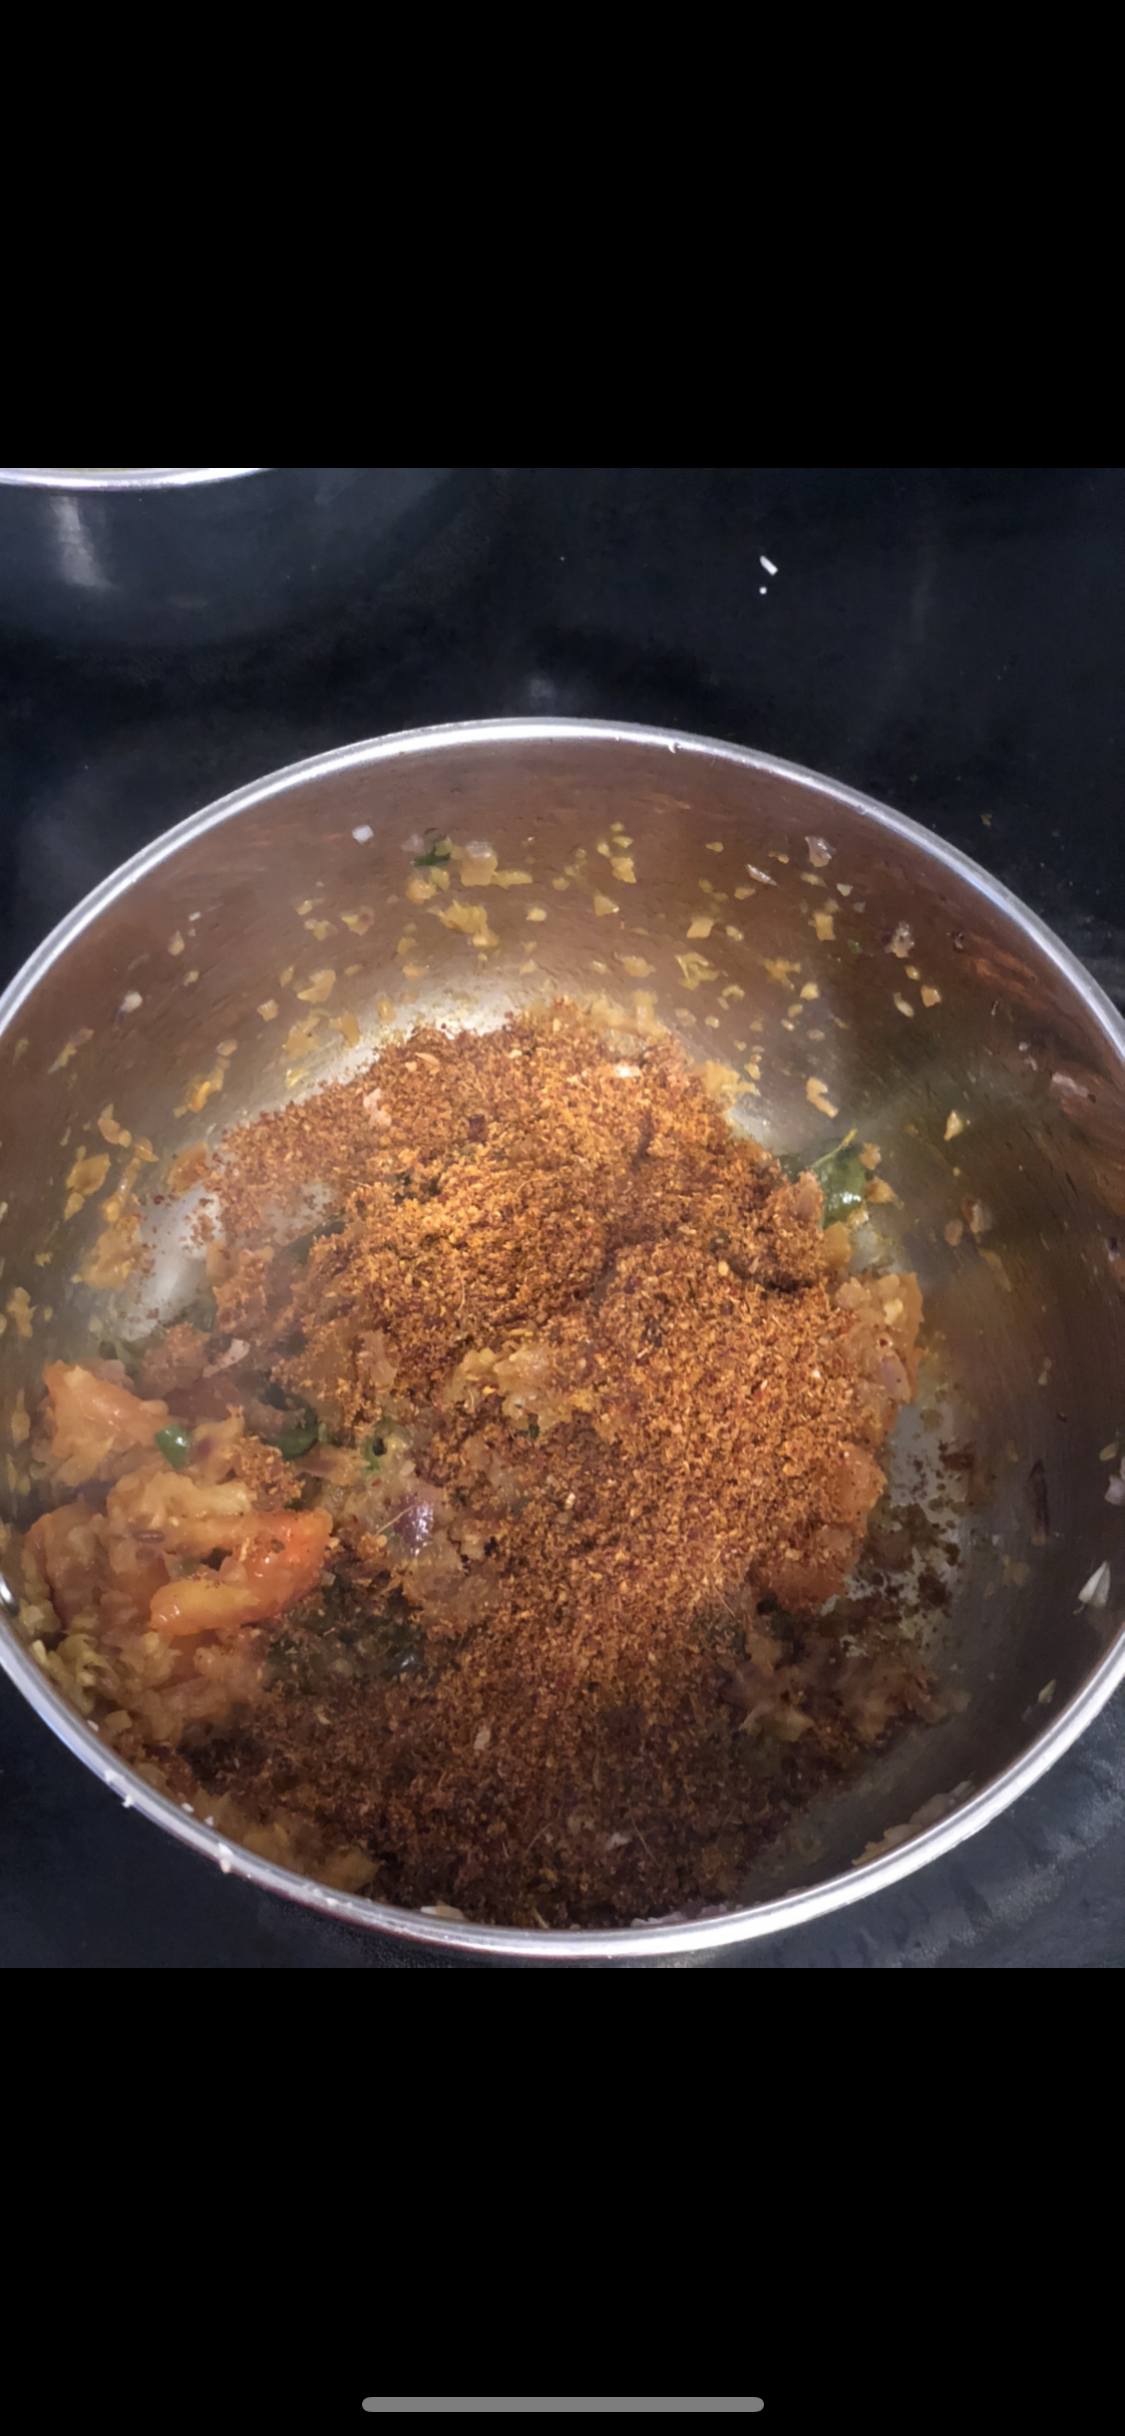
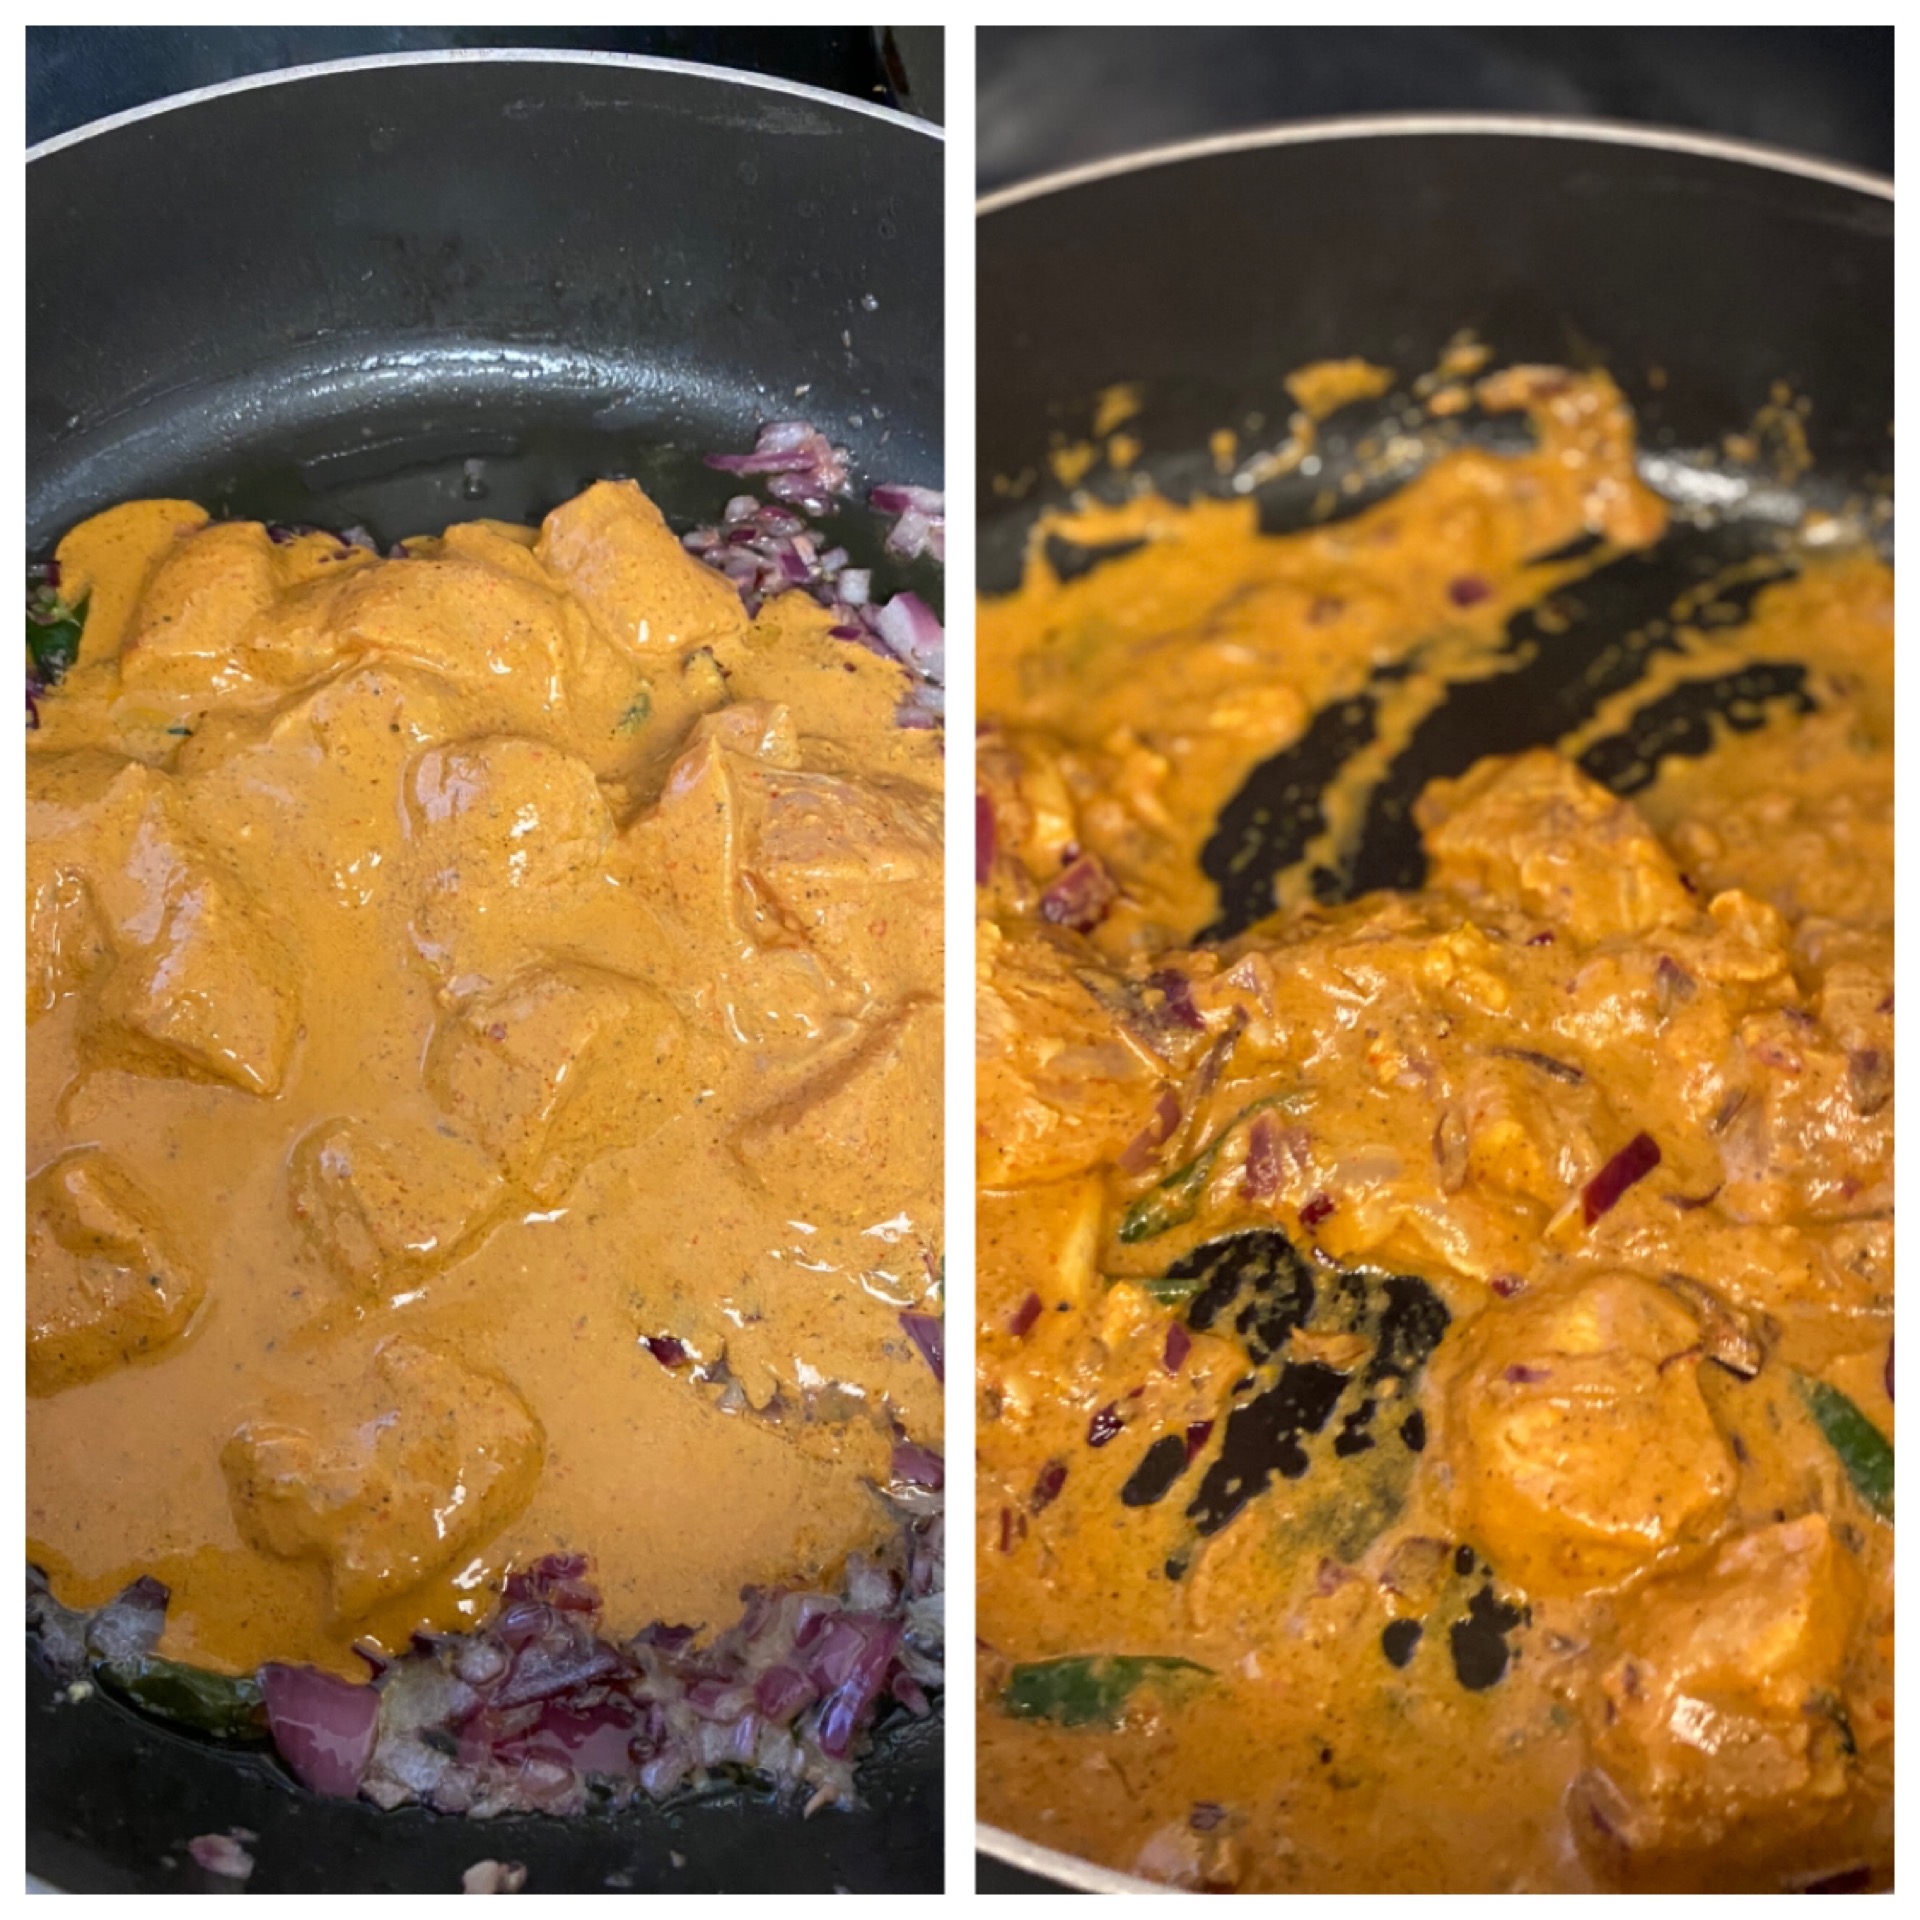
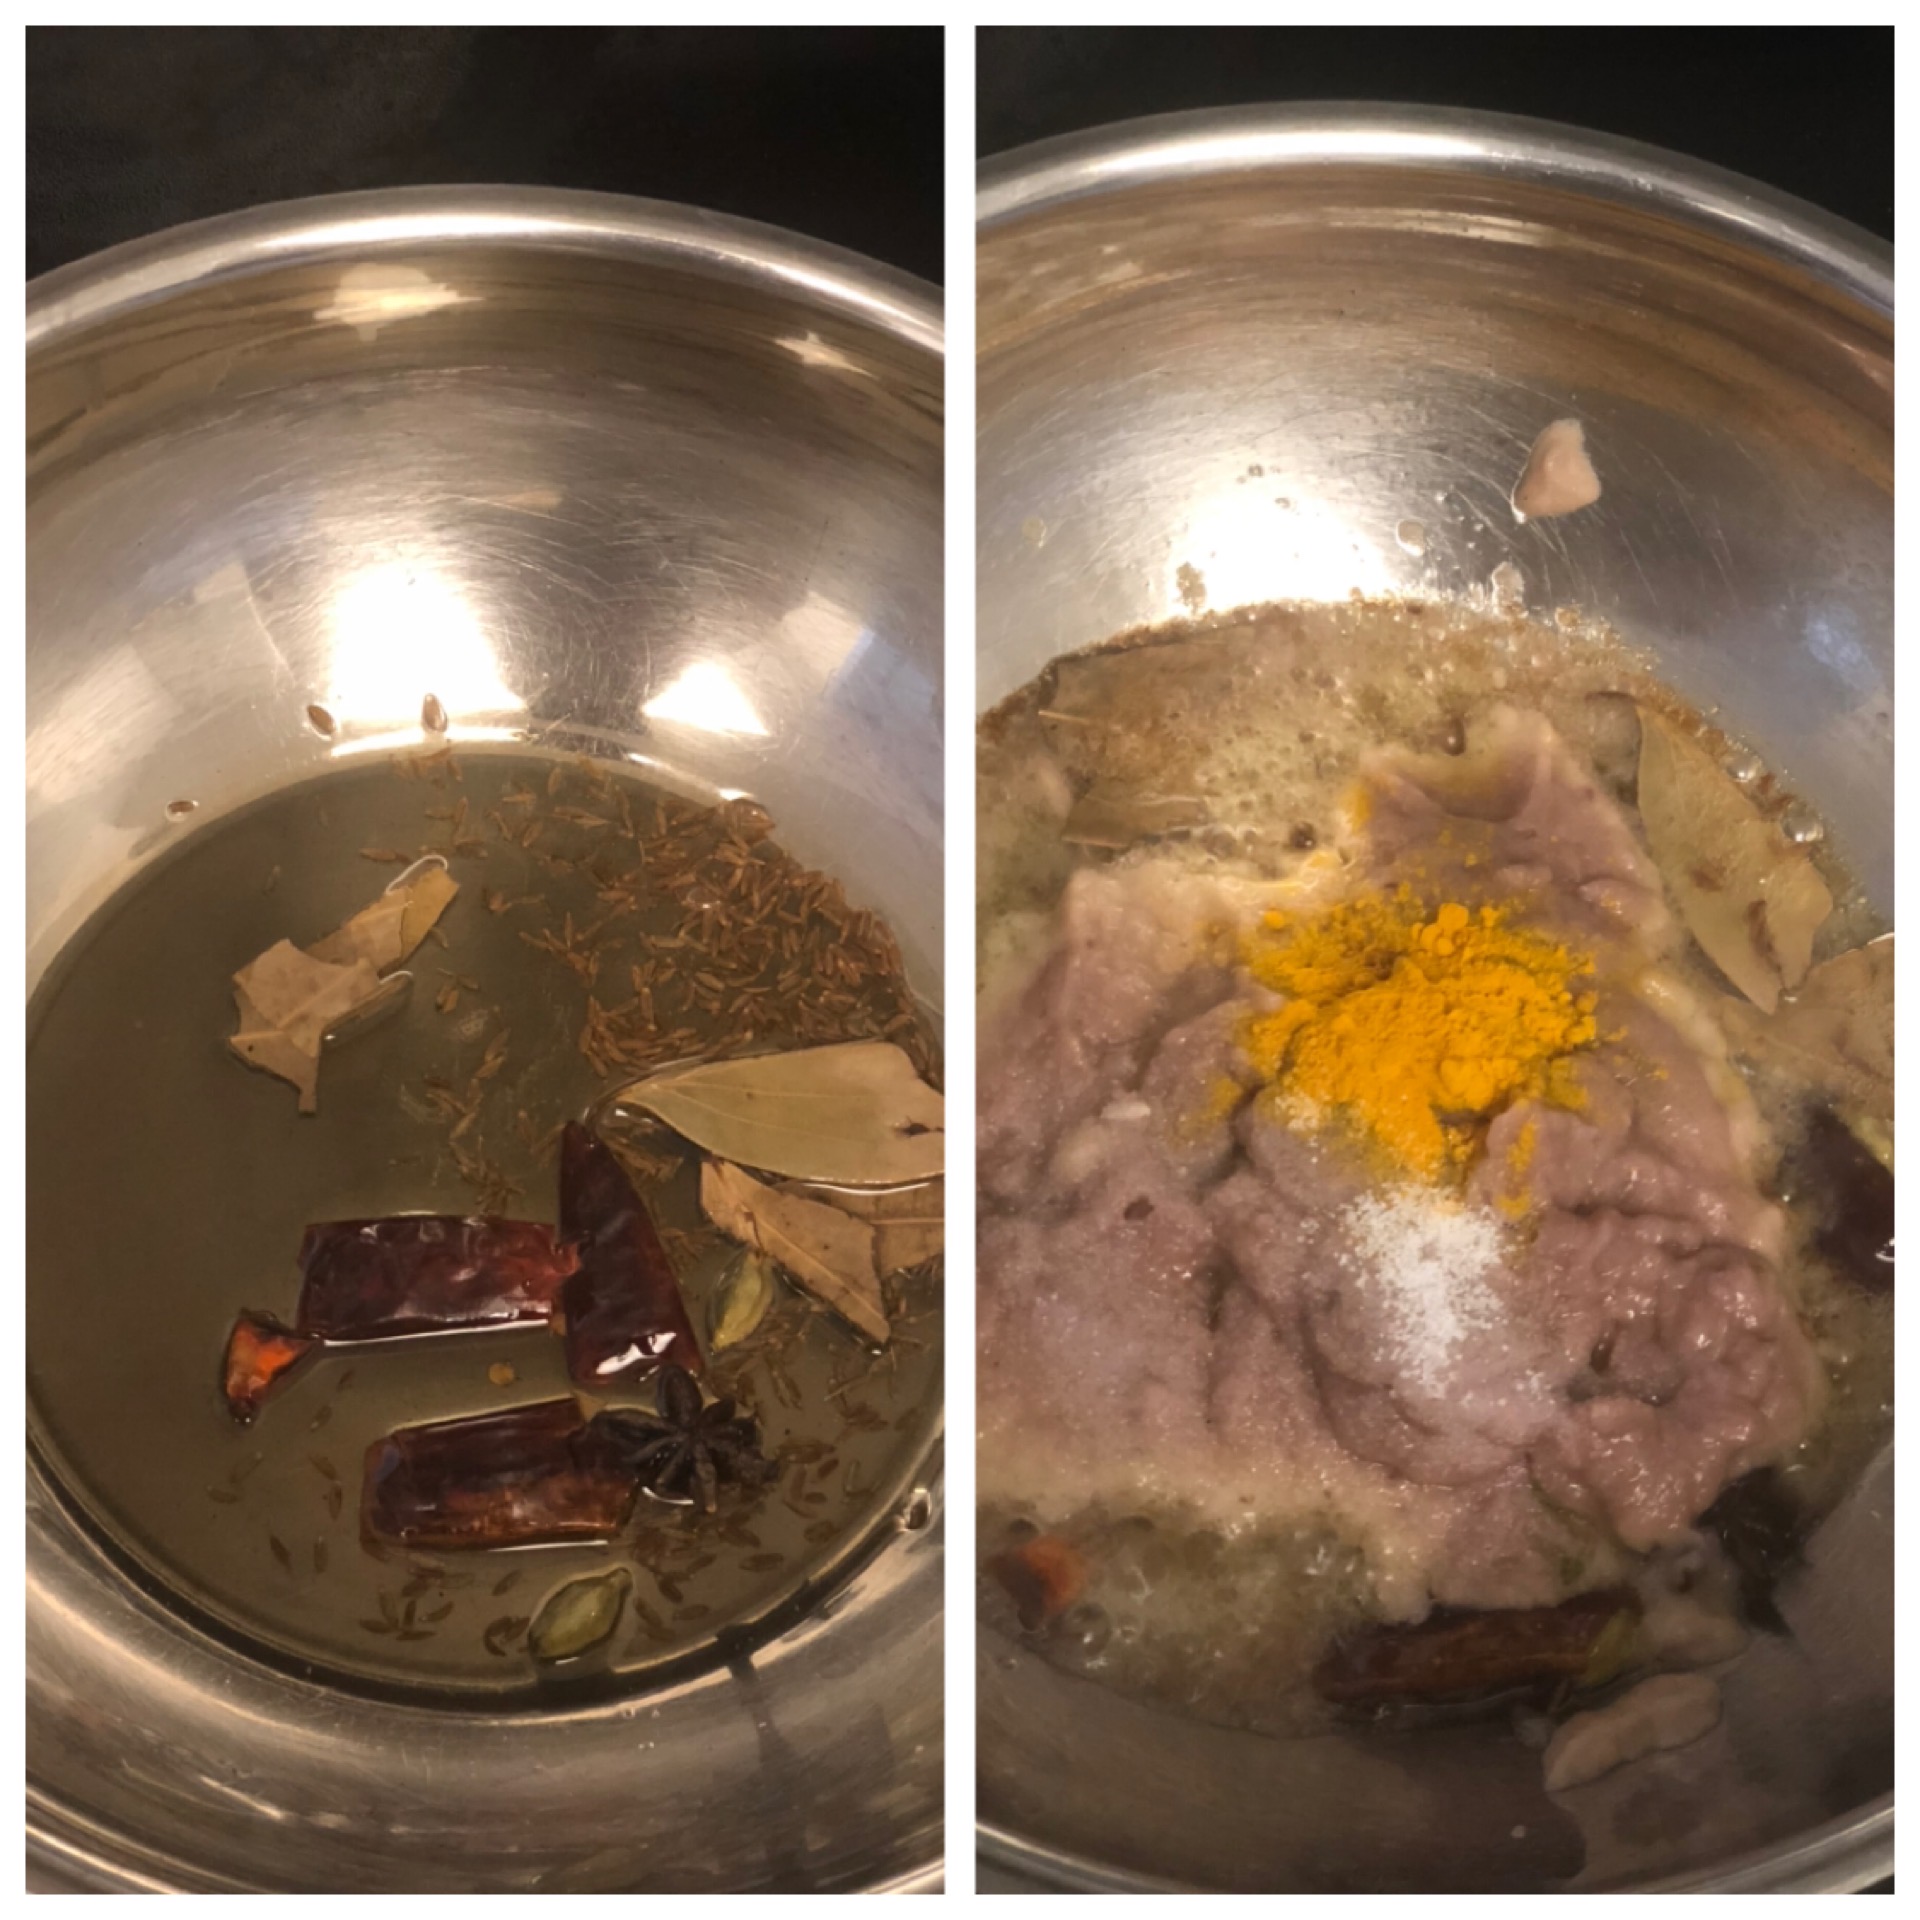
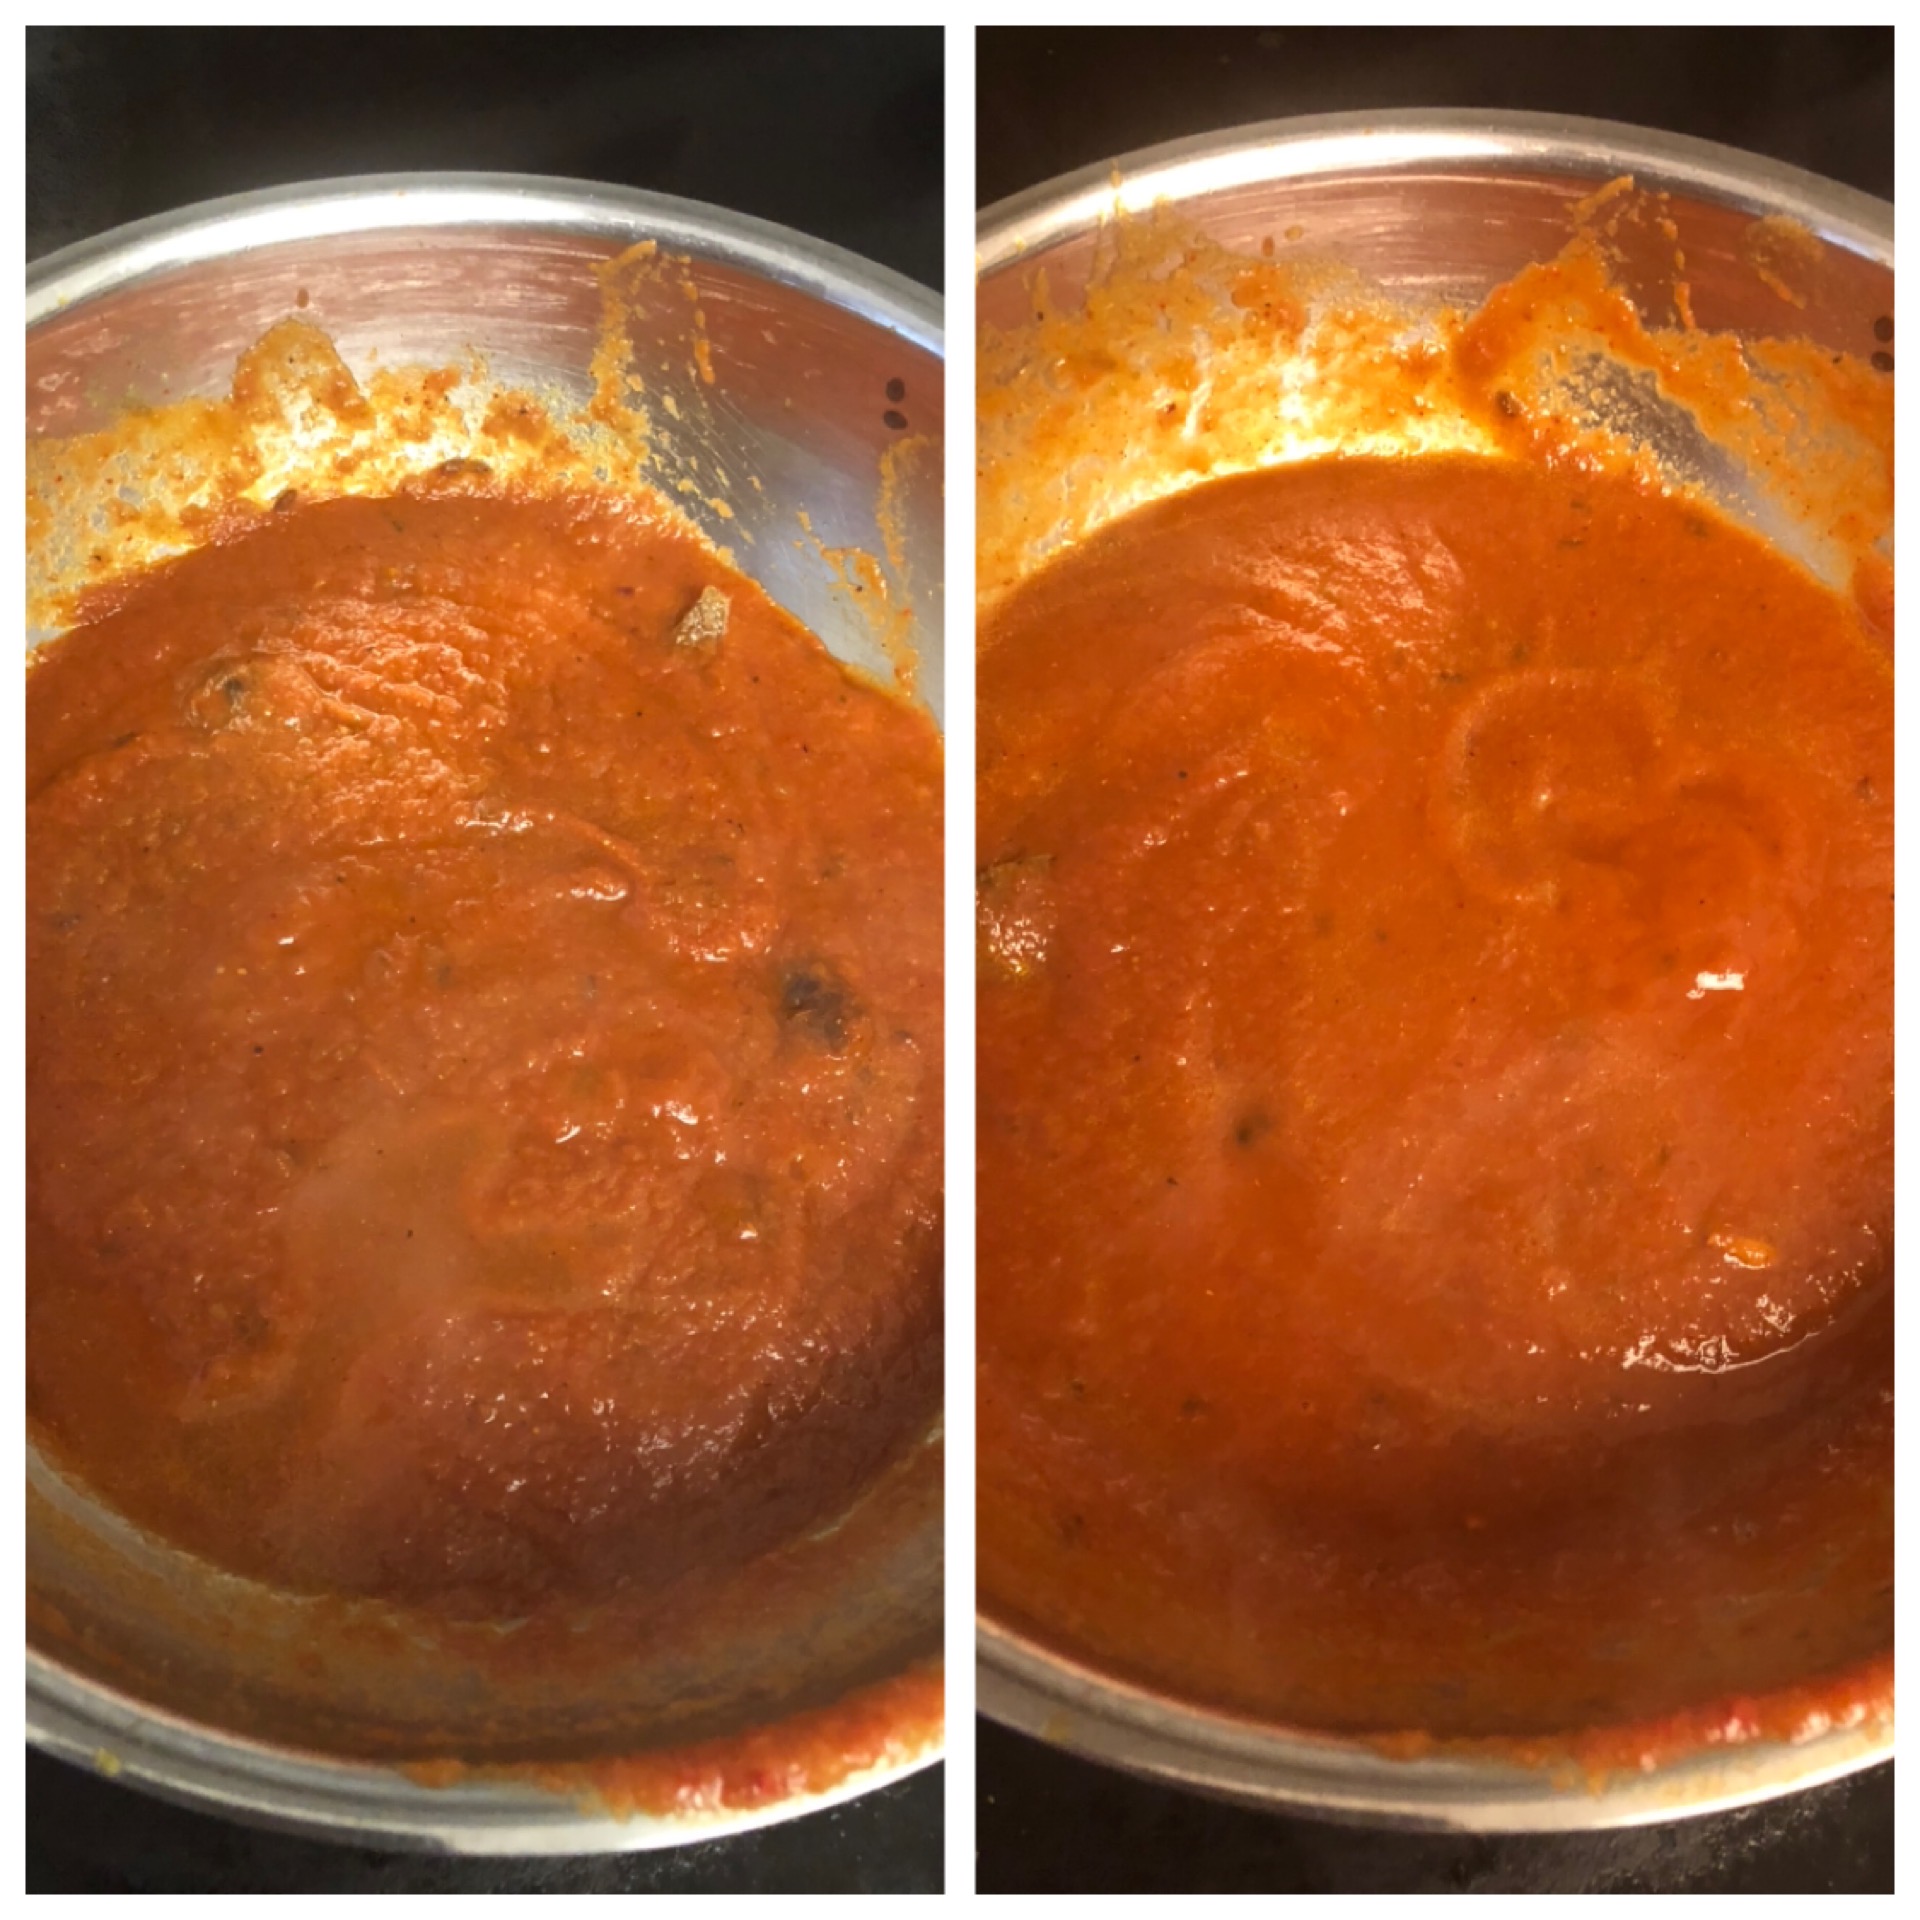
- Add ghee in a pan with cumin seeds, bay leaf, cloves and cardamom. Then add the onion paste, turmeric powder and sauté for 3 minutes.
- Add the tomato paste with coriander powder, cumin powder, chaat masala powder, chilli powder, and mango powder with the salt.
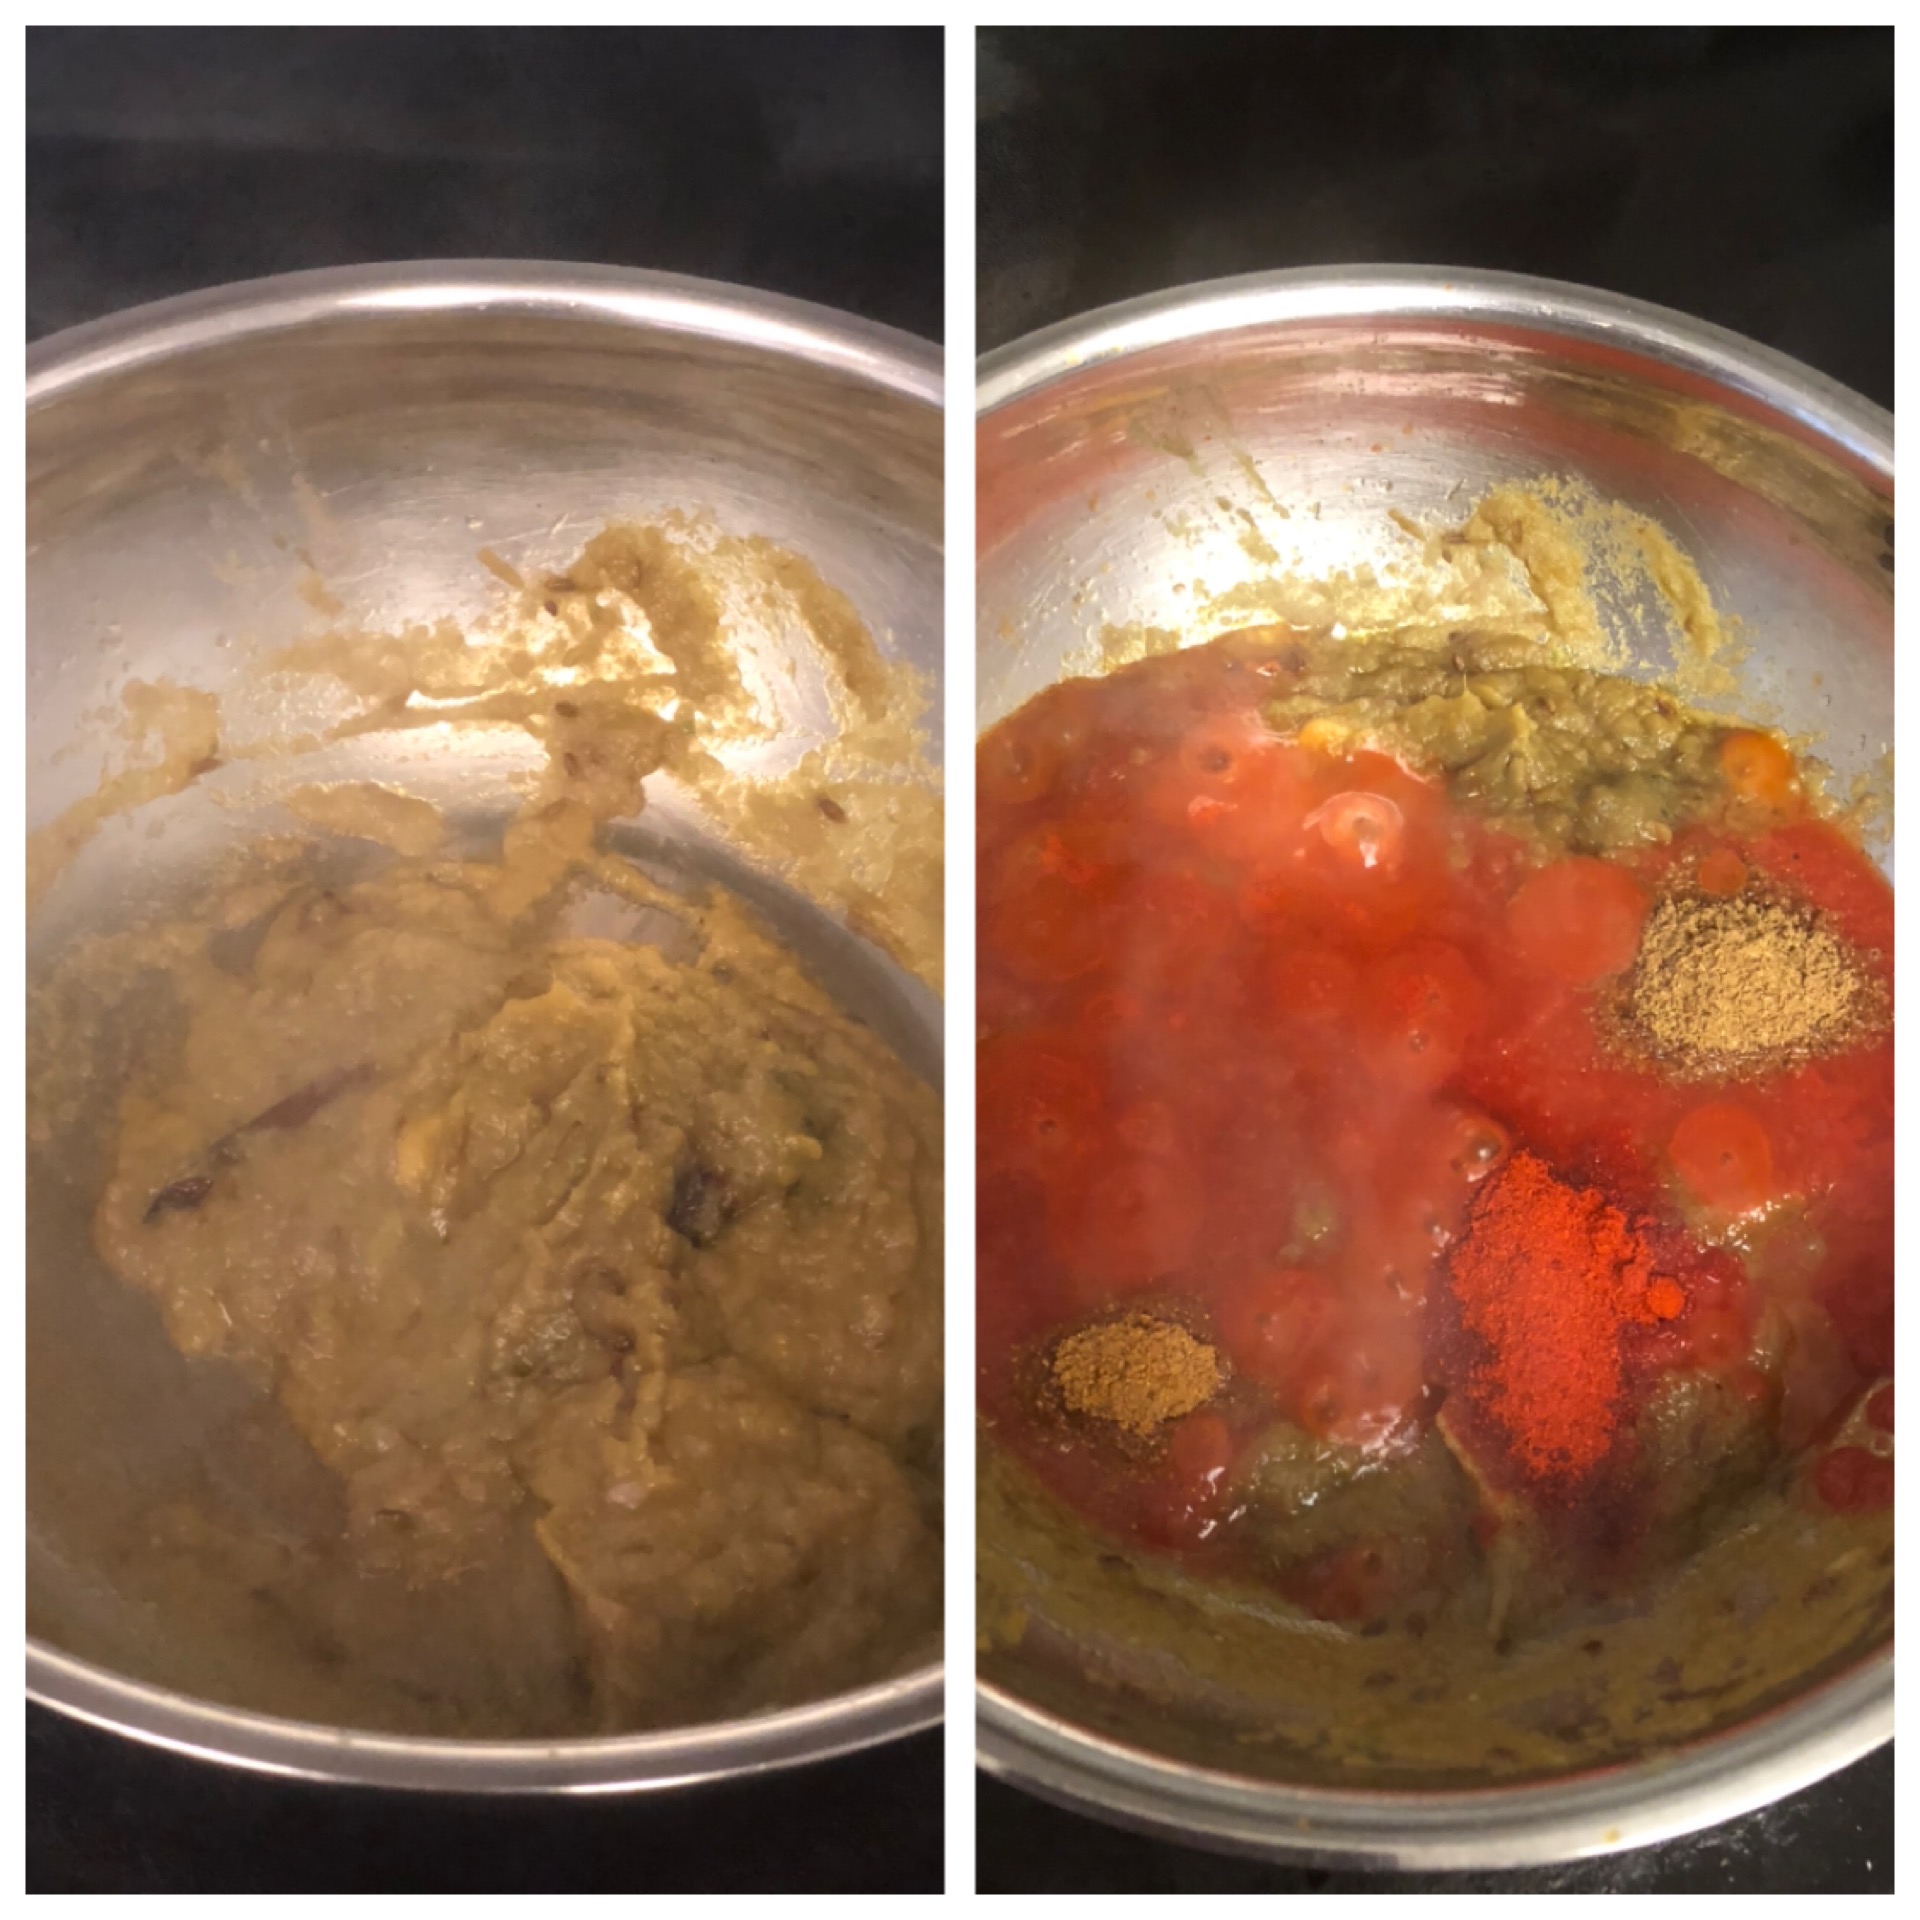
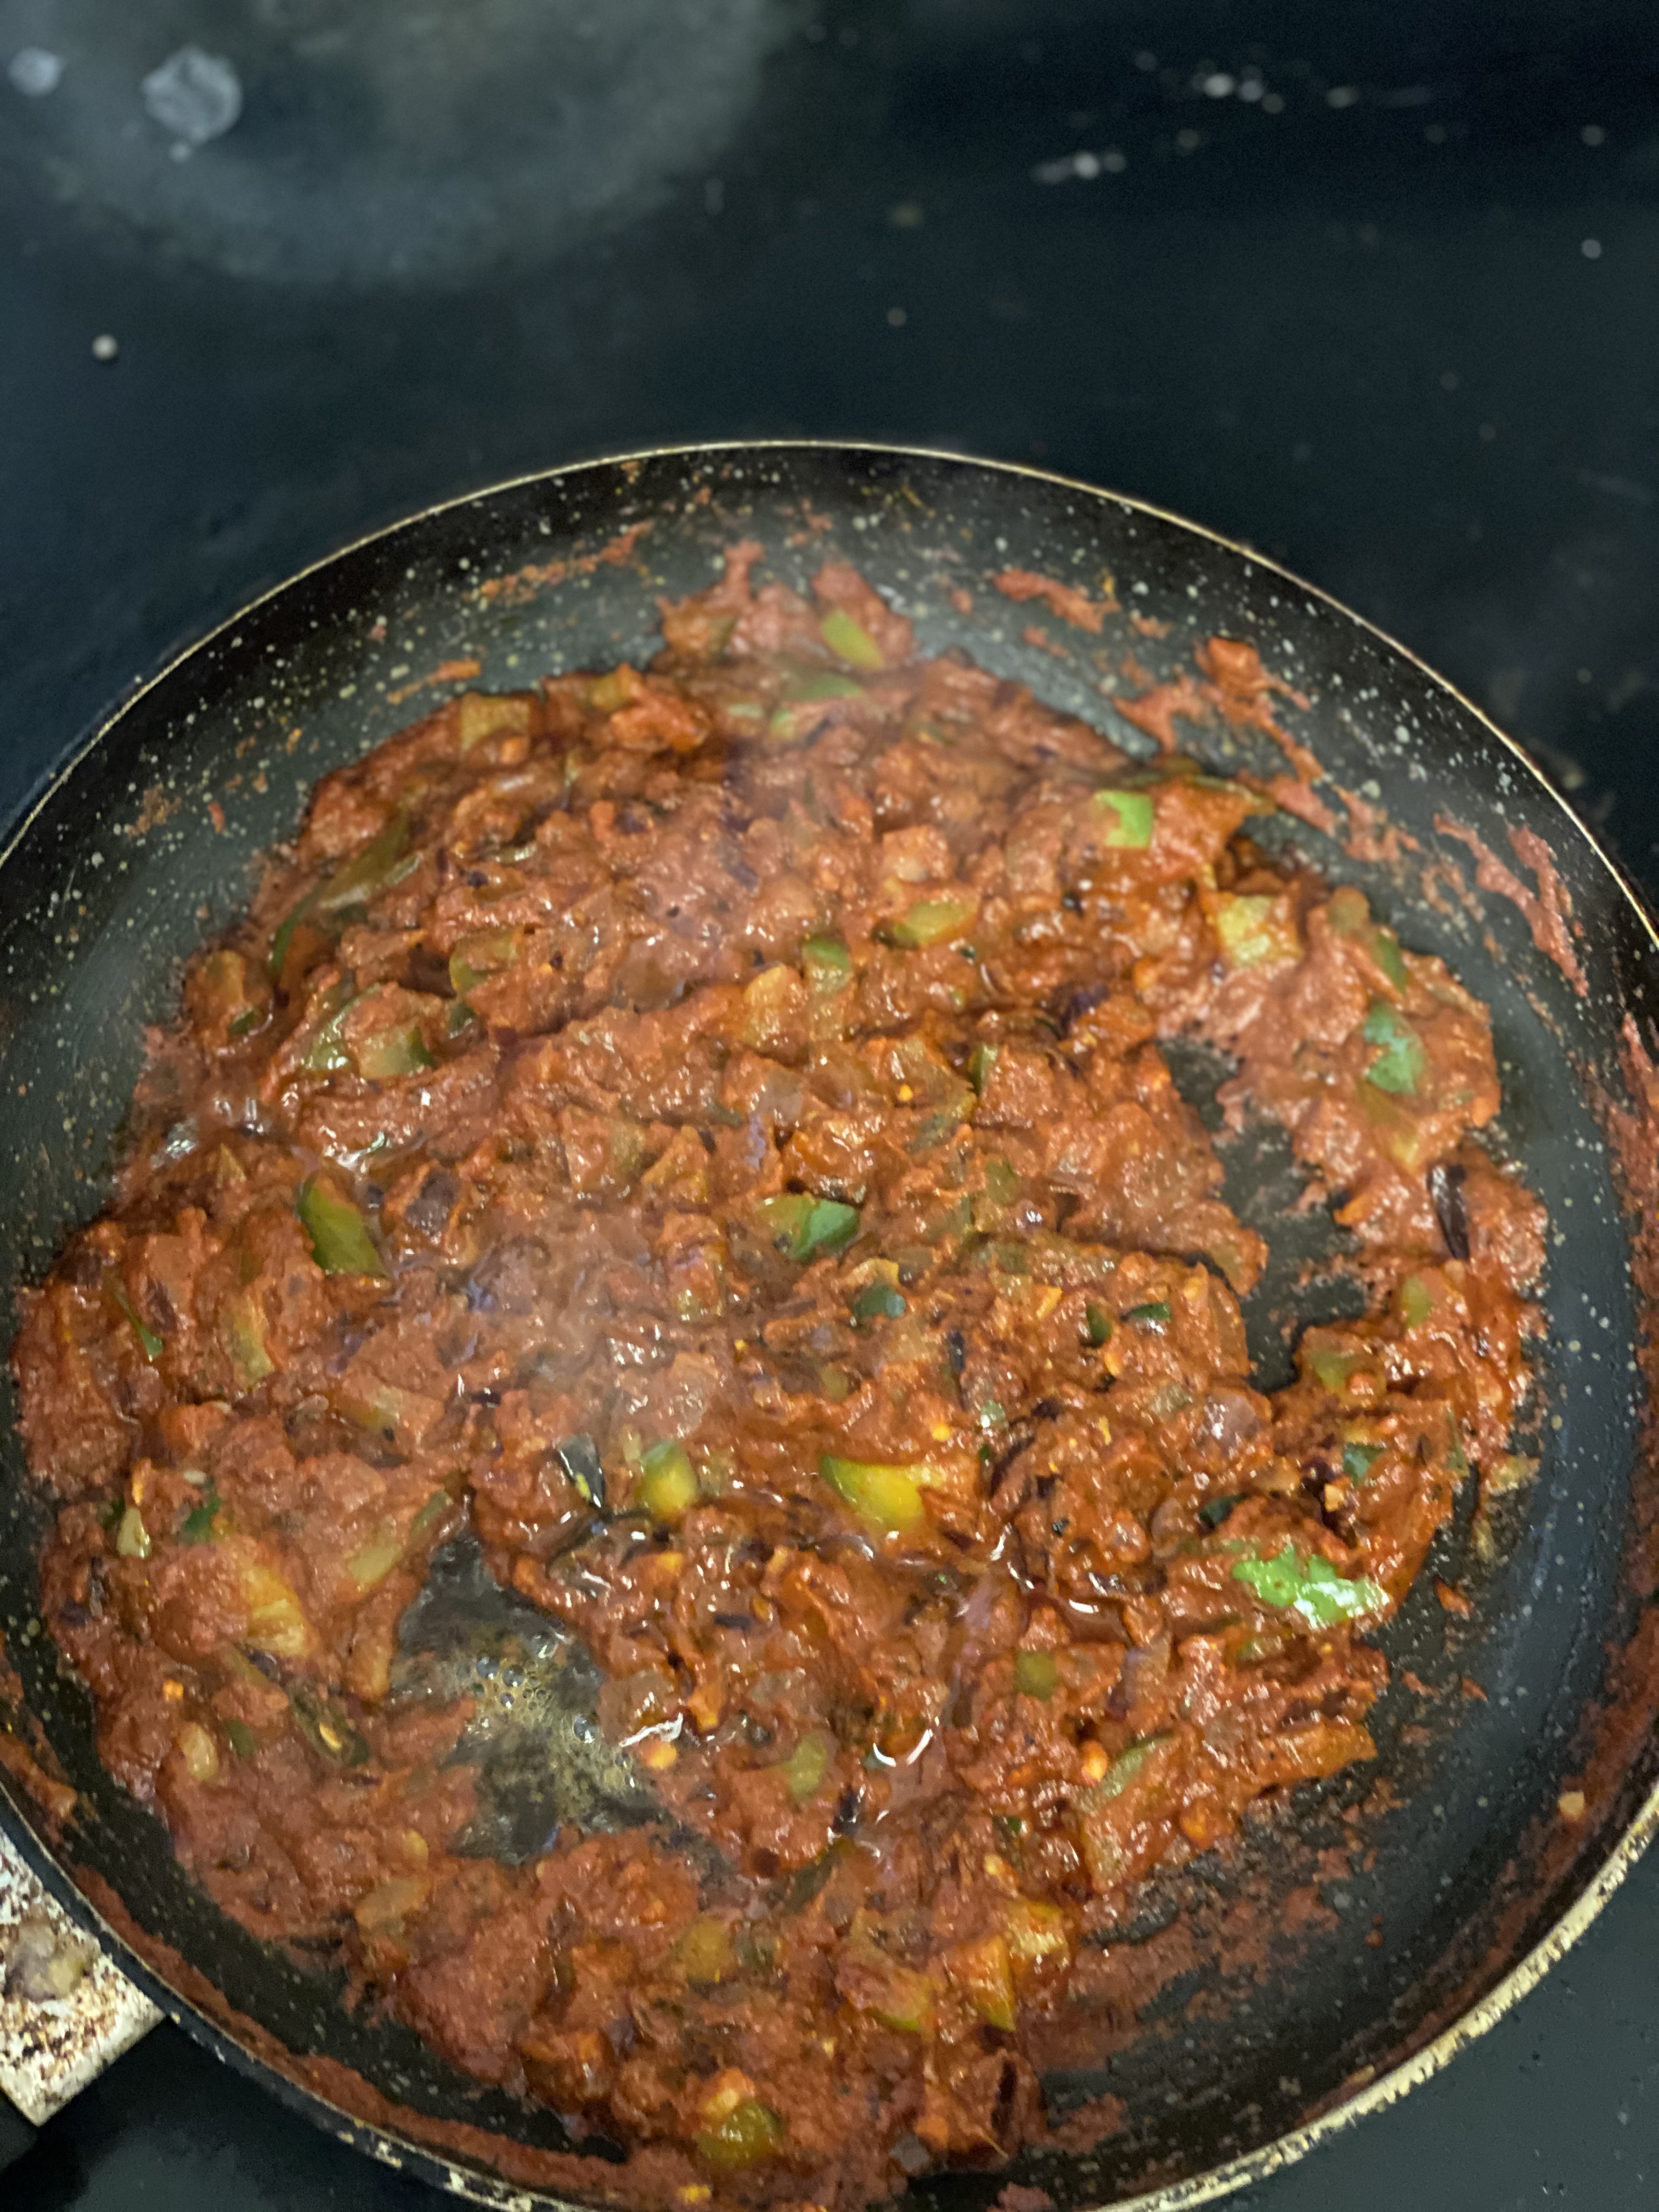
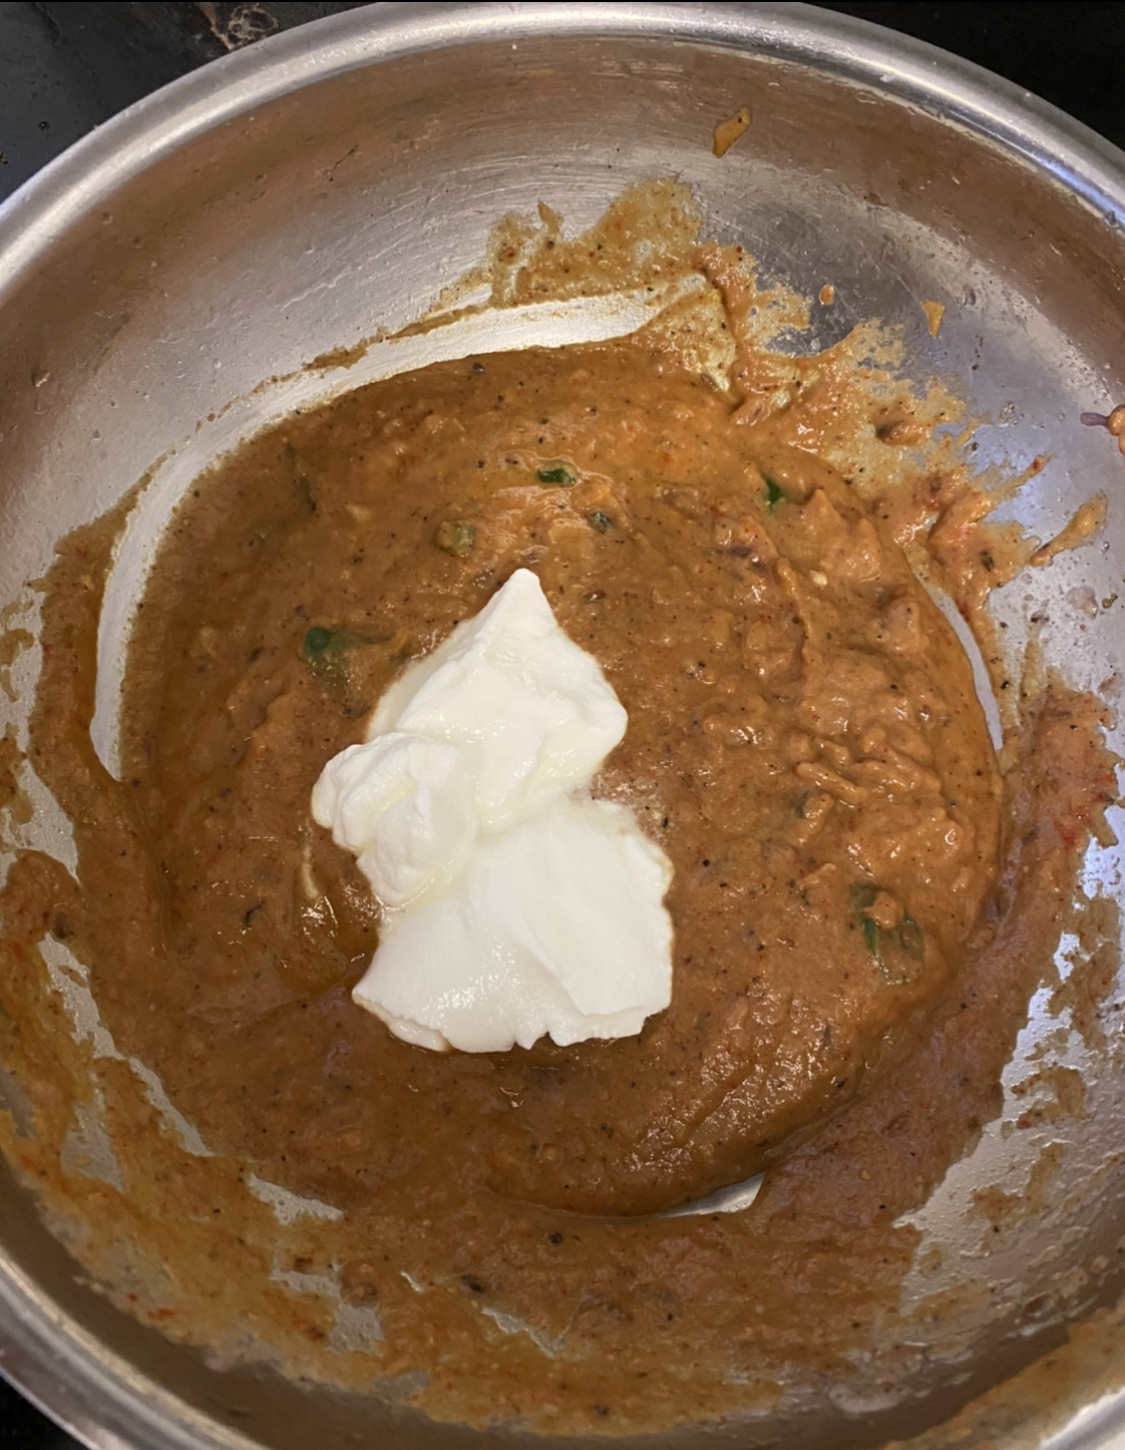
- After sautéing for 5 minutes, add ½ cup of water and keep it low heat for 5 minutes.
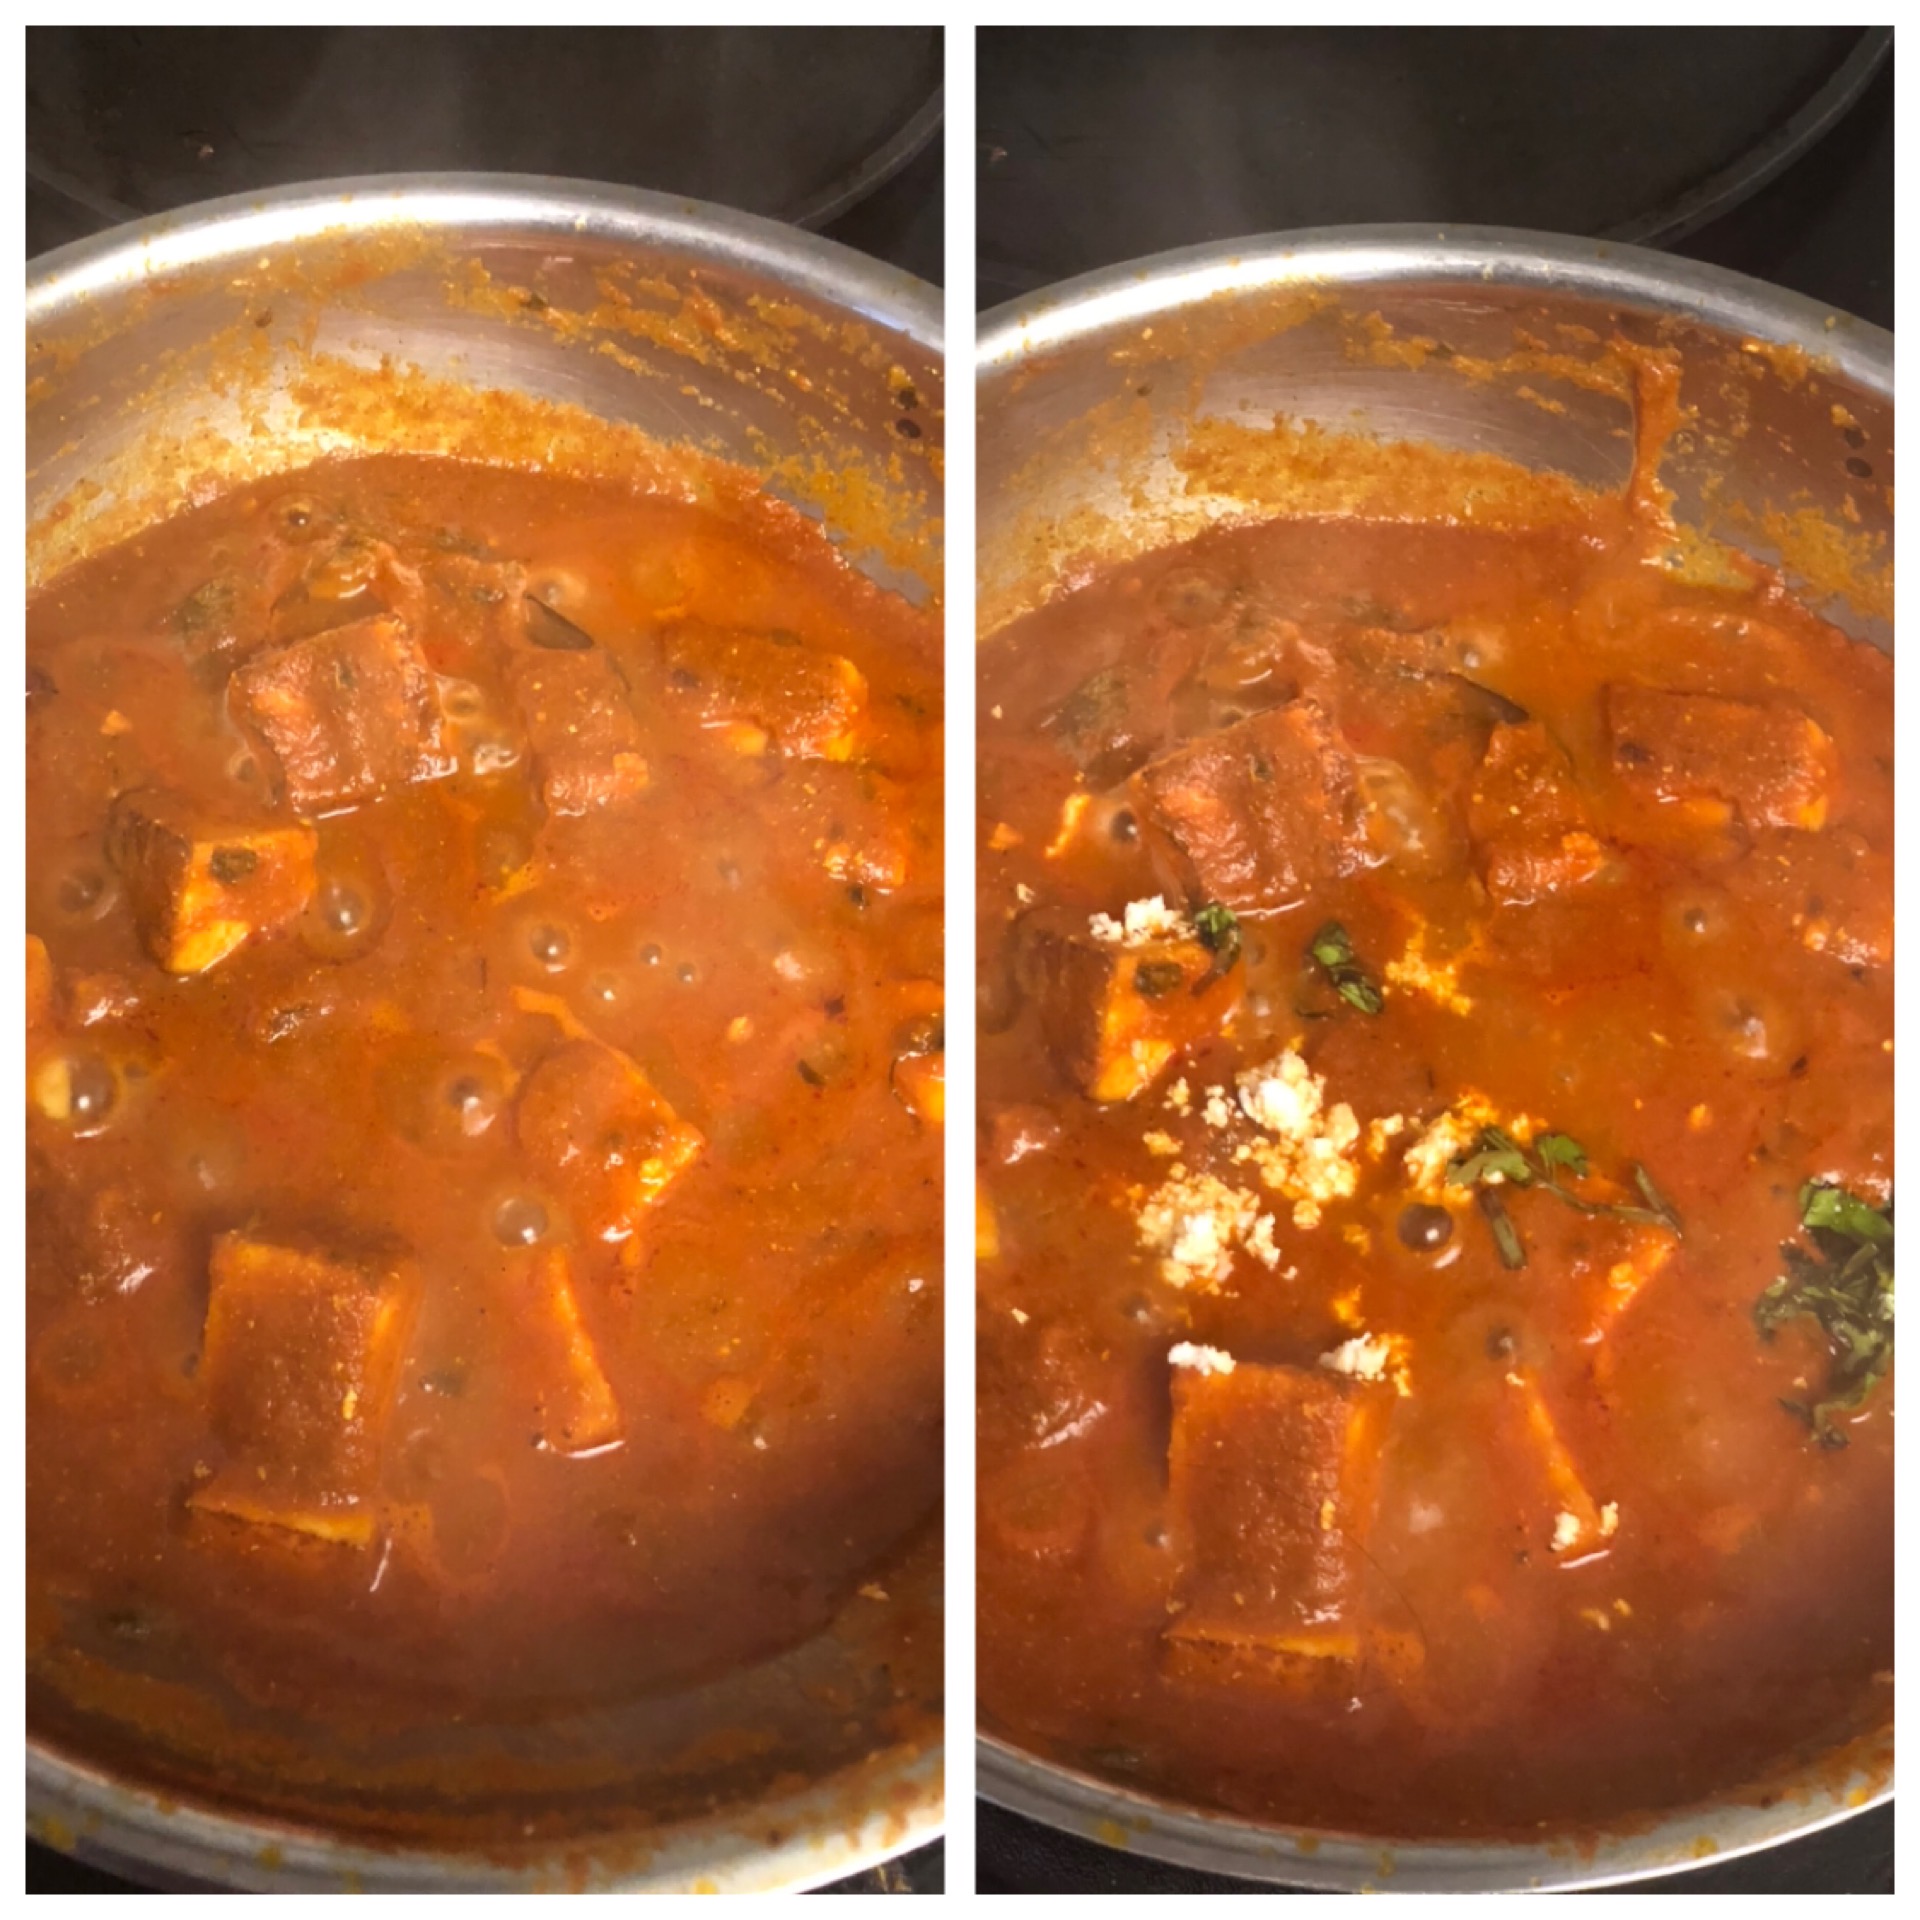
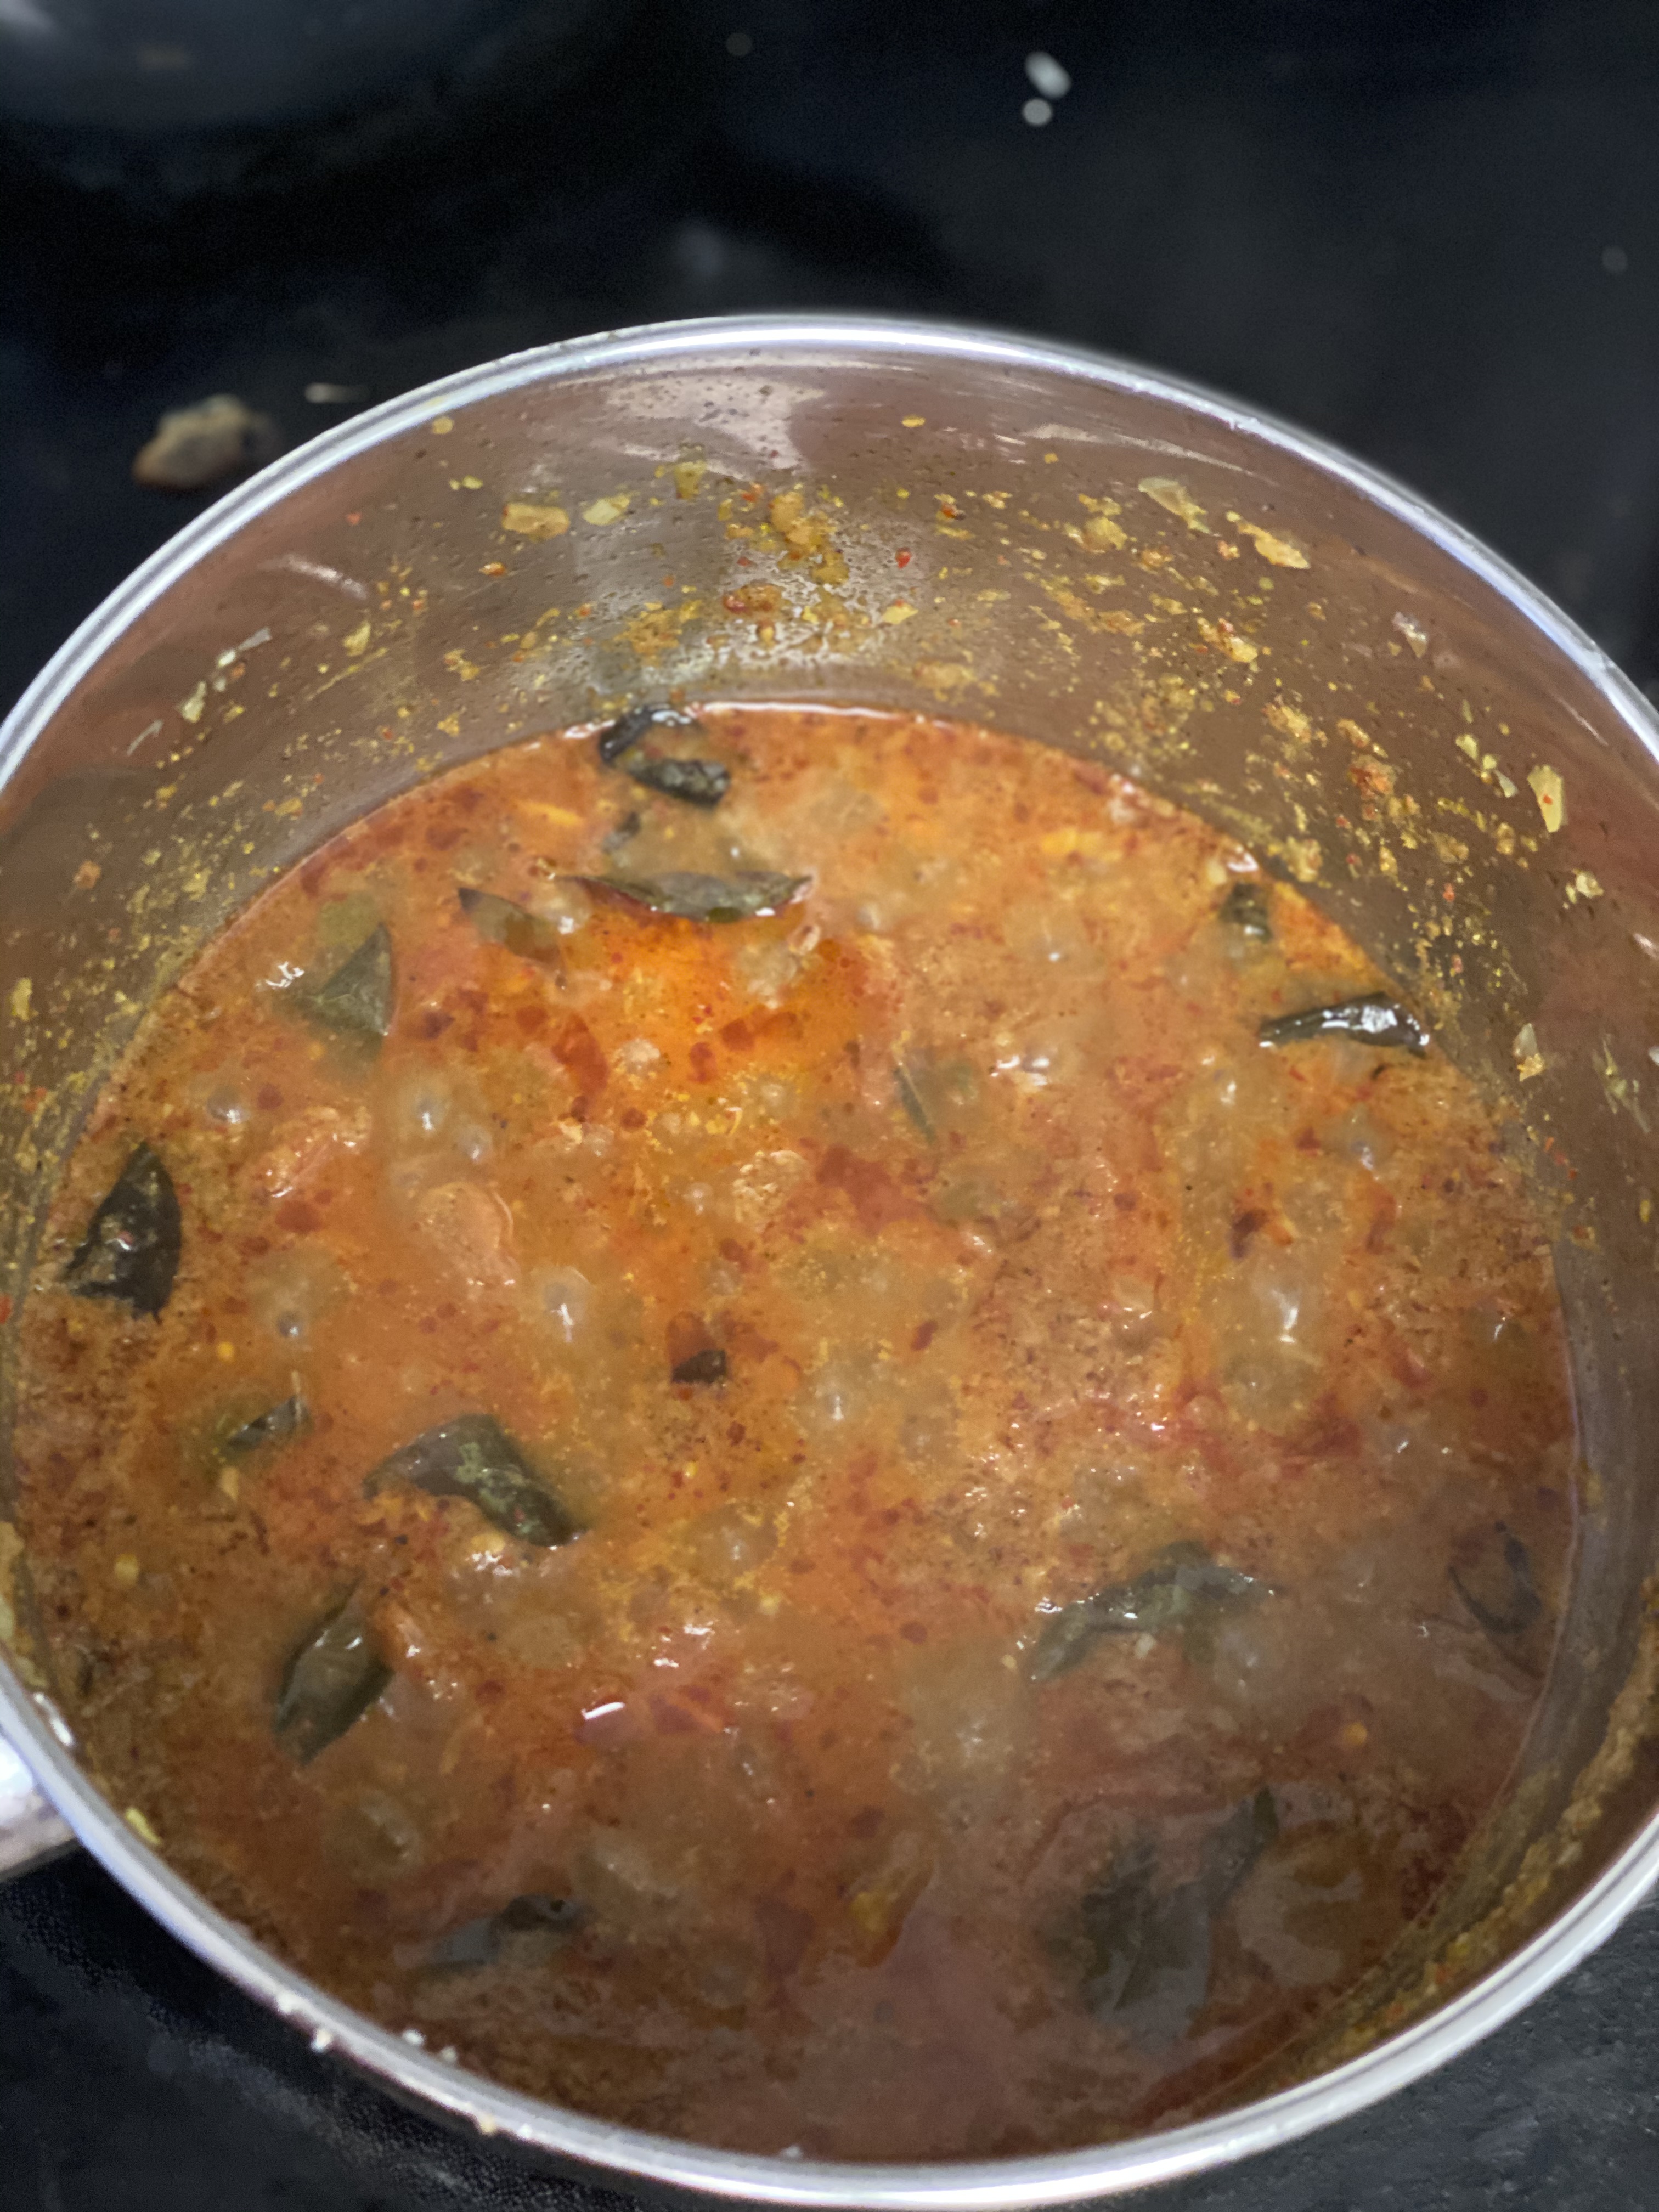
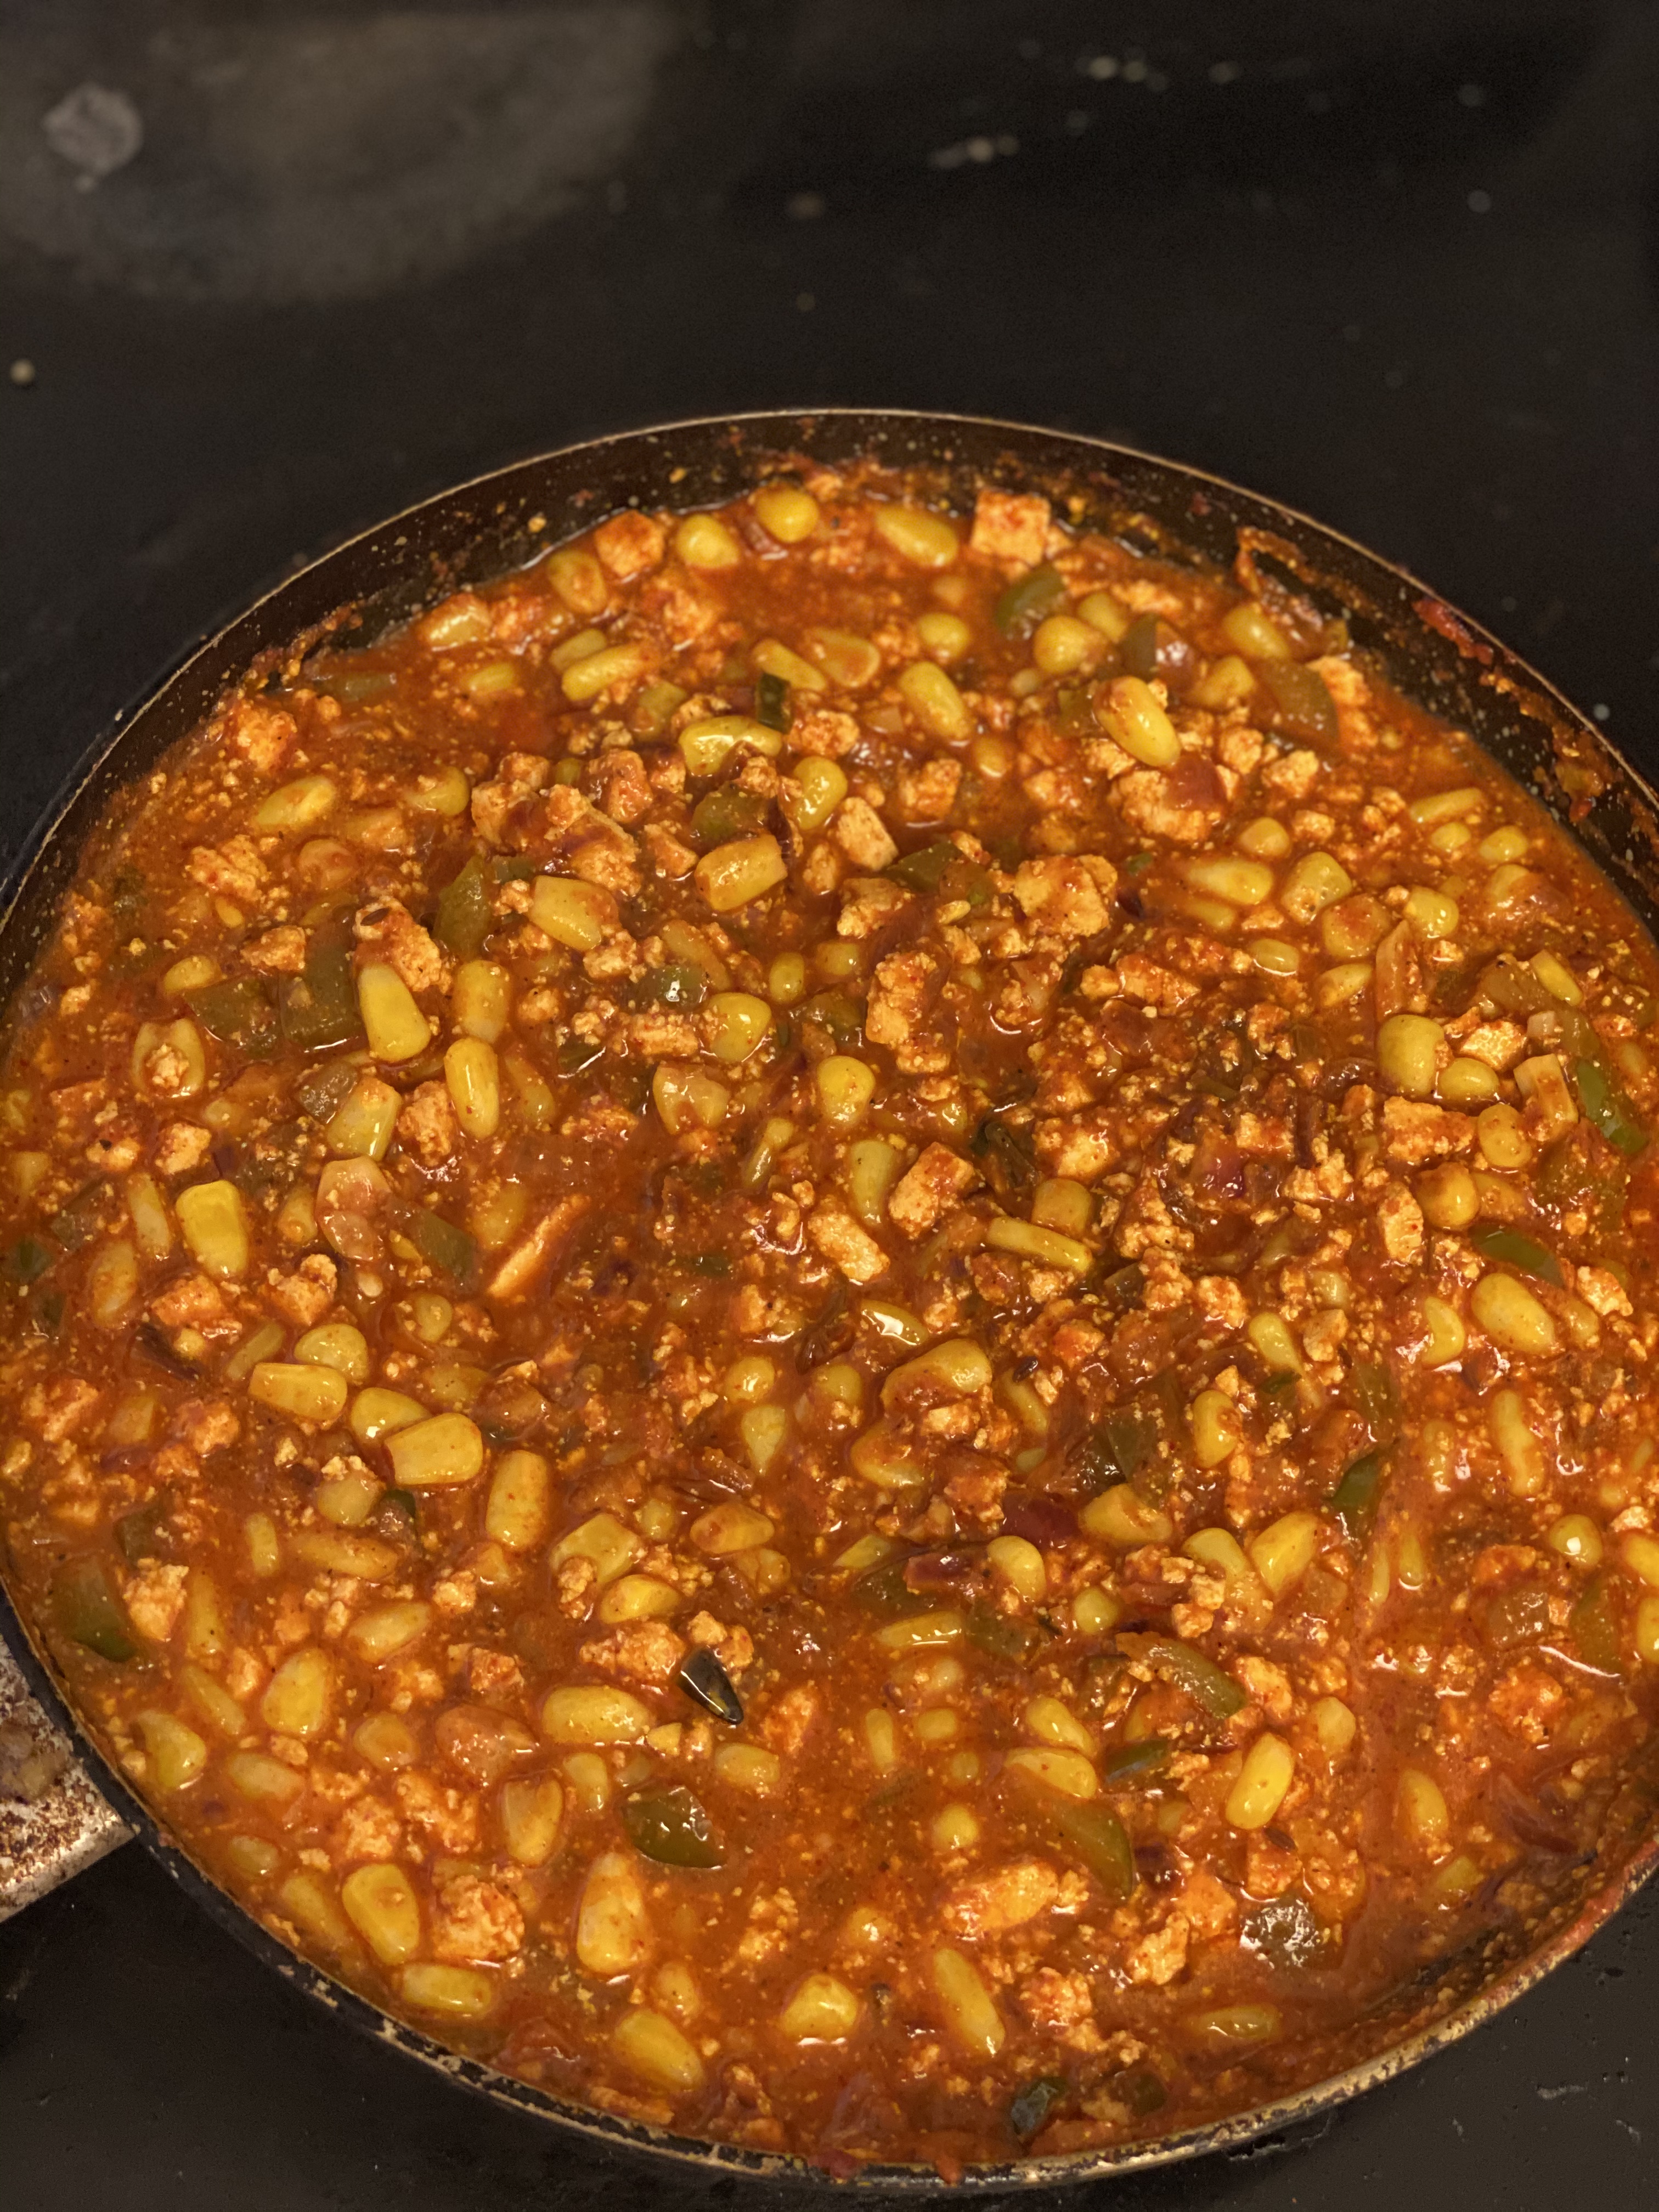
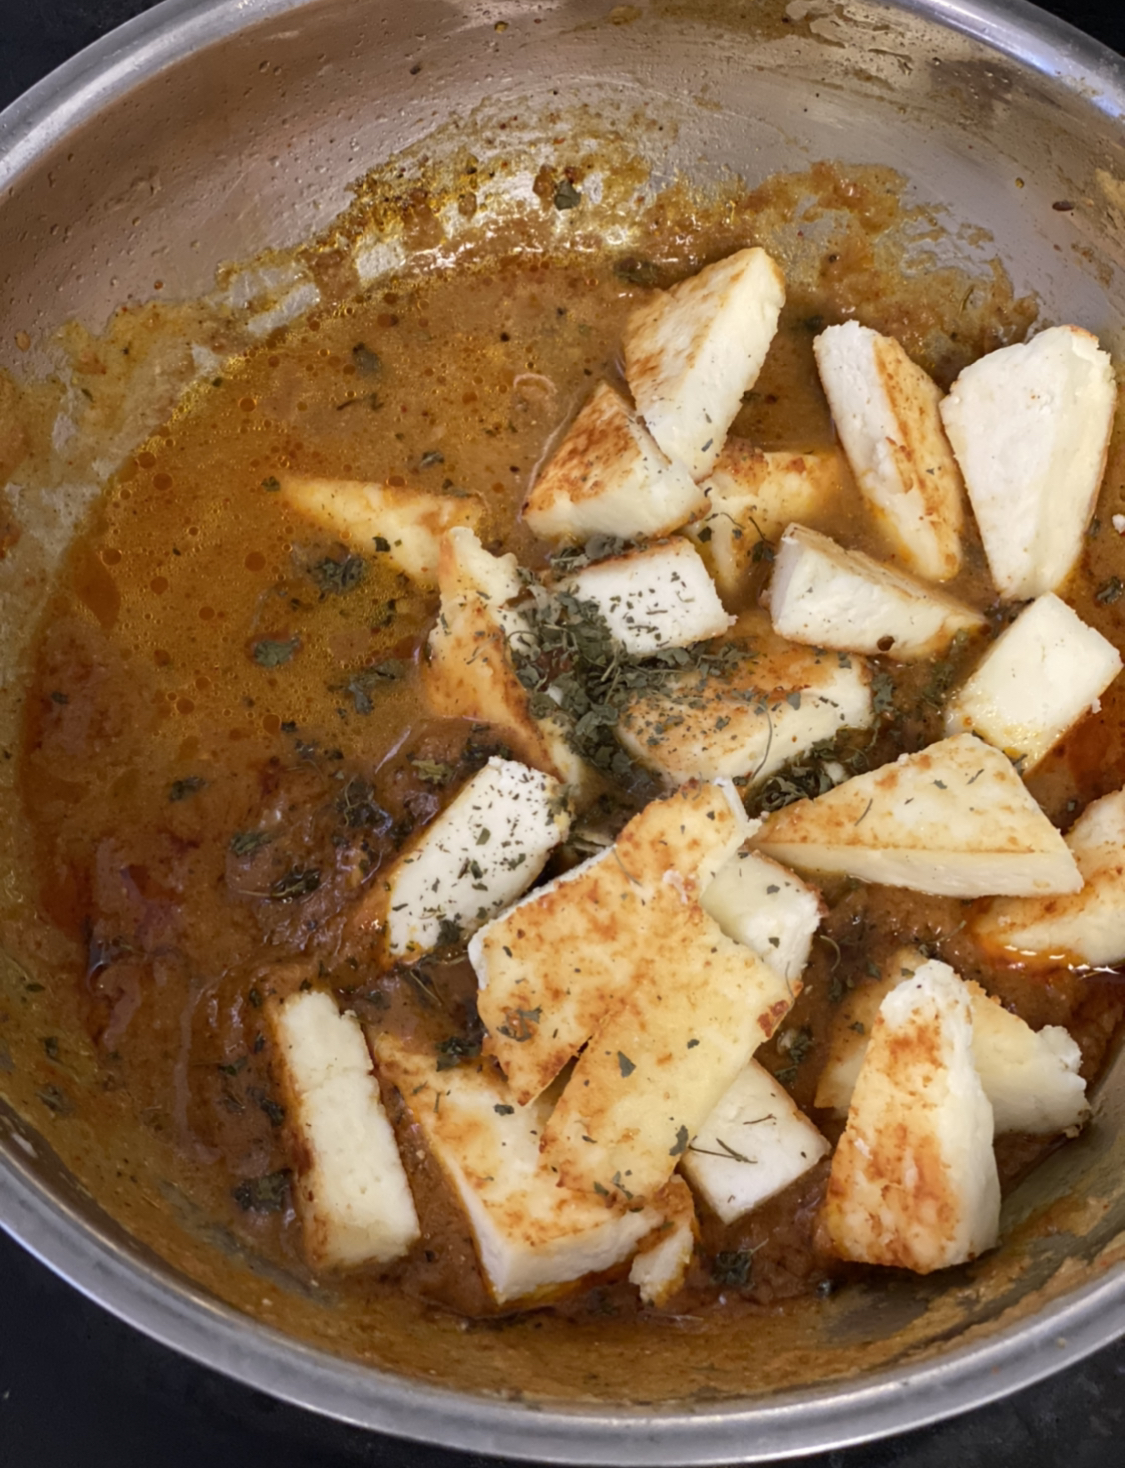
- Now add the roasted paneer,sugar and dry fenugreek leaves.
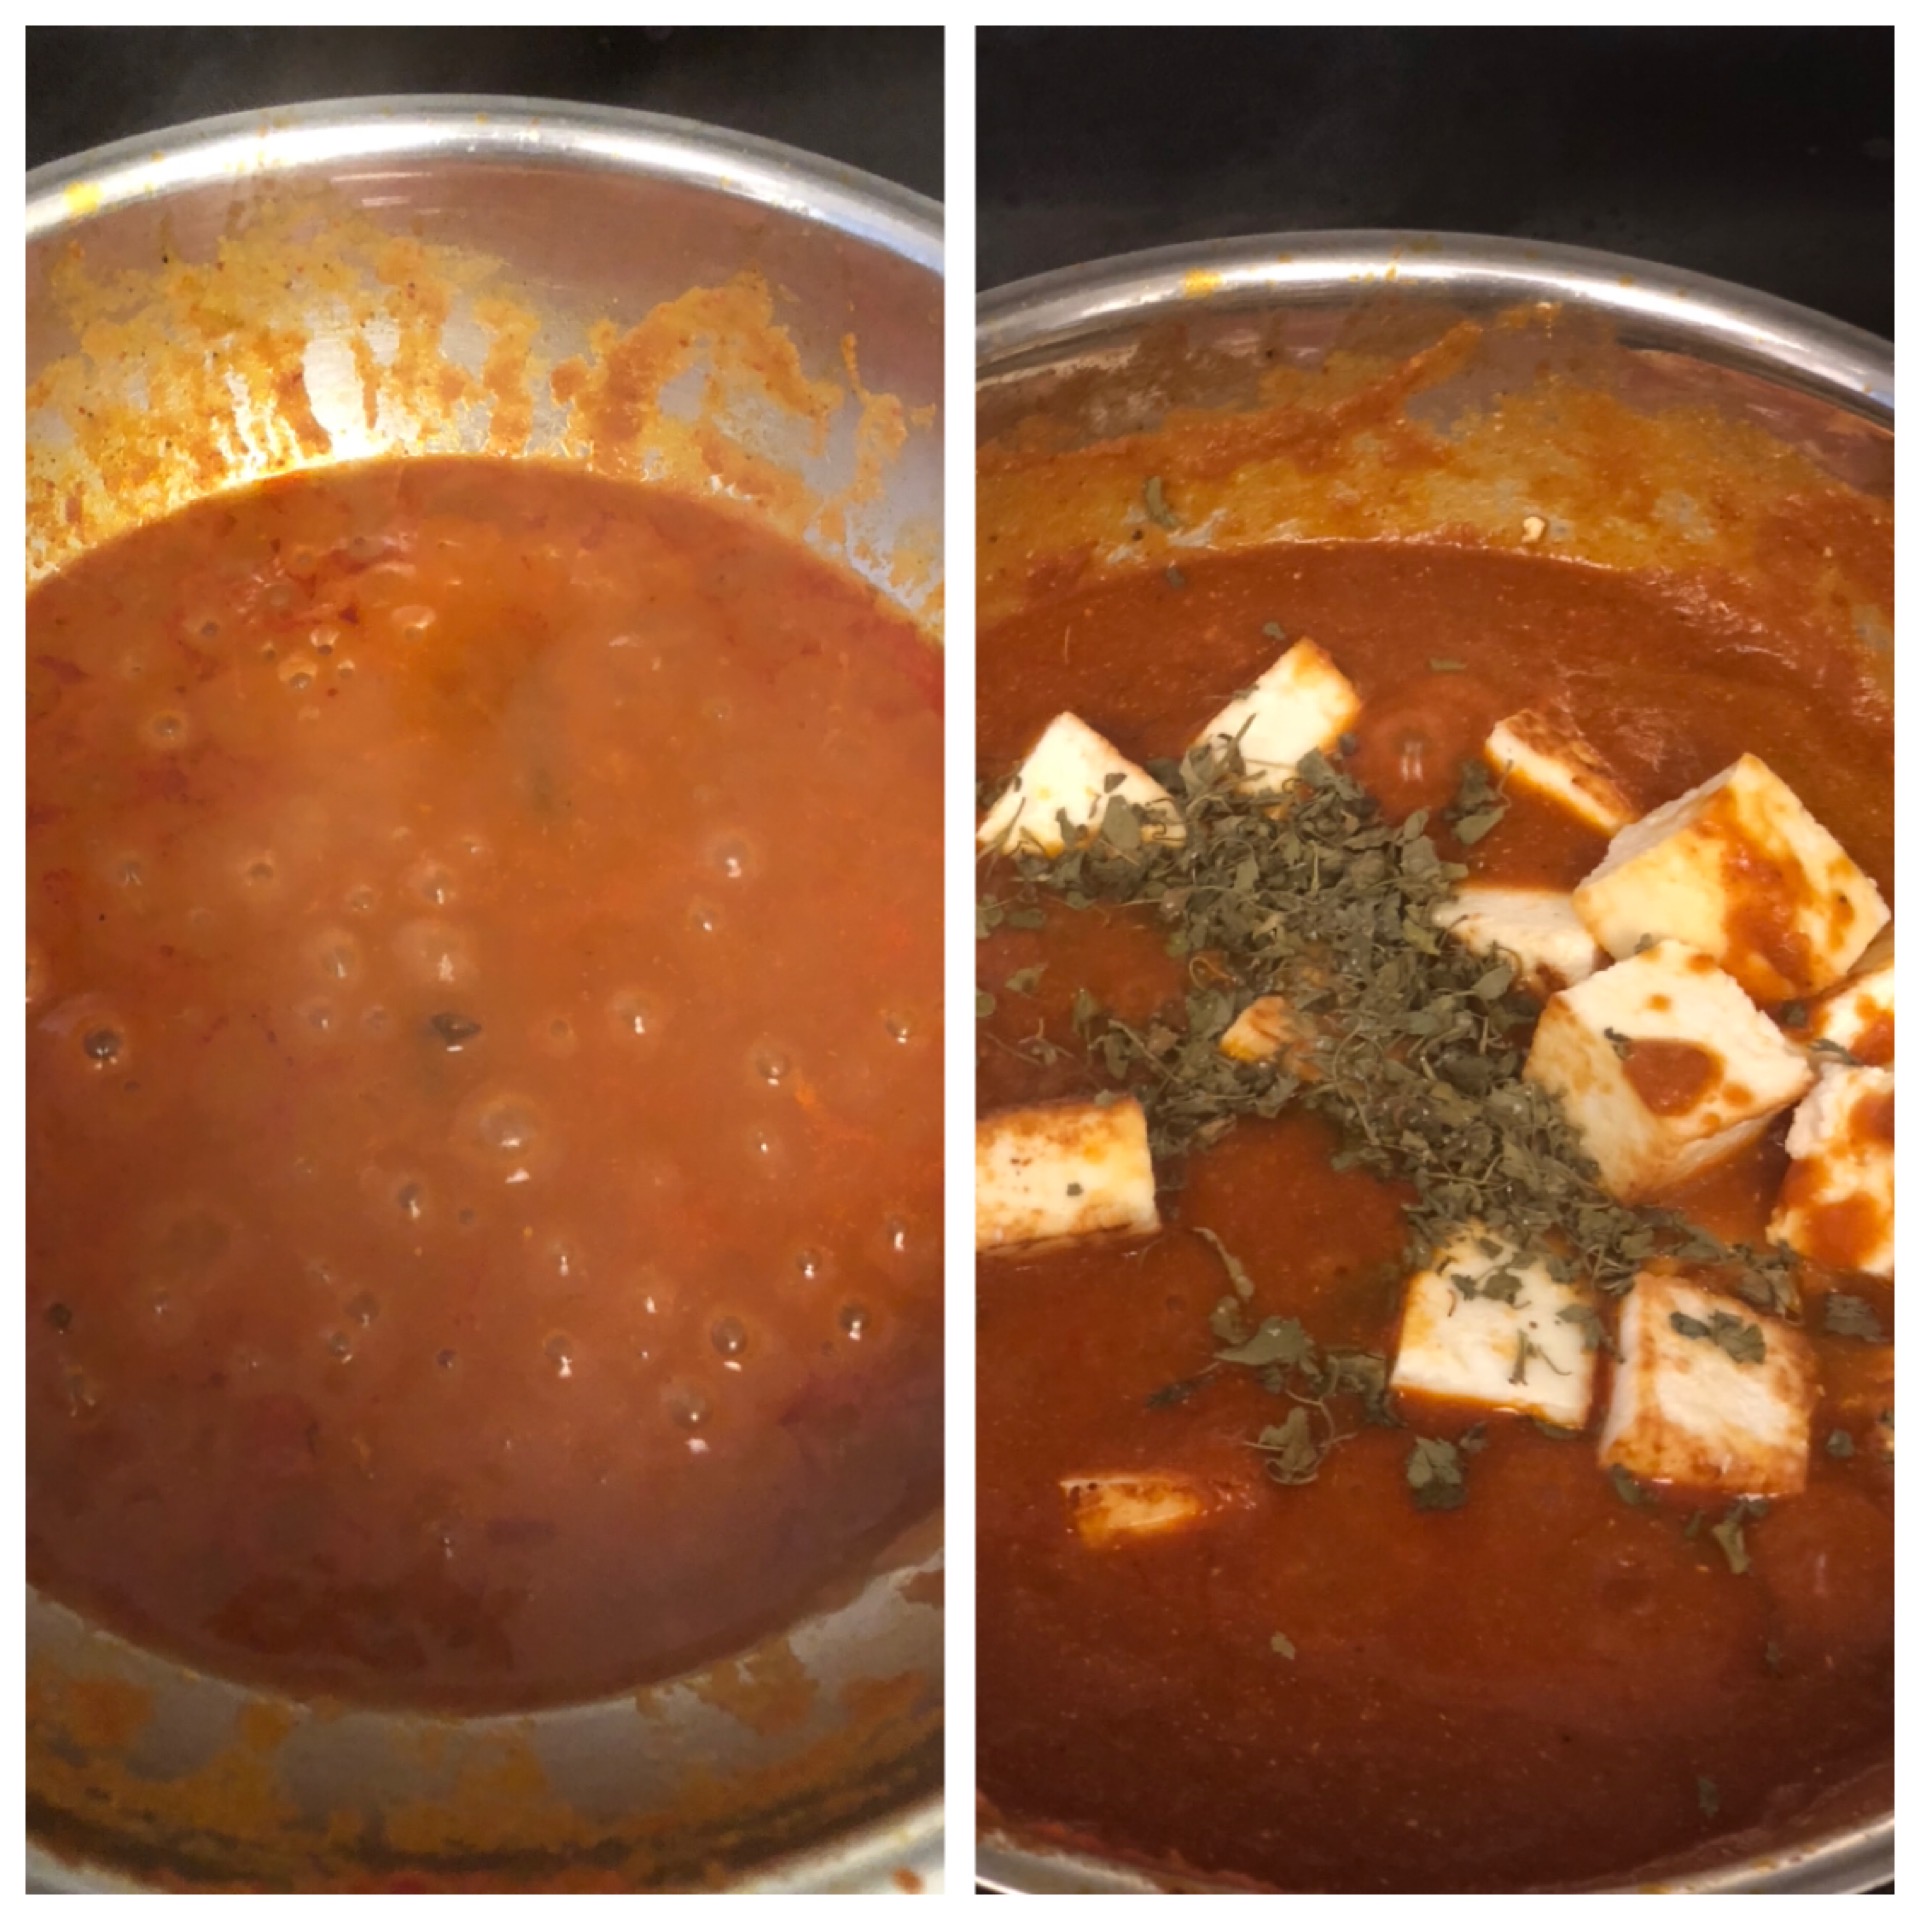
- Let it simmer for 10 minutes.
- Now open it and check salt (add salt if you need more). Switch off. Add chopped coriander leaves, crumbled paneer, greenchillies(sauted in oil) and lime juice to garnish.